An Infernal Dispute Act Guide and Walkthrough | Cultists Urns Locations
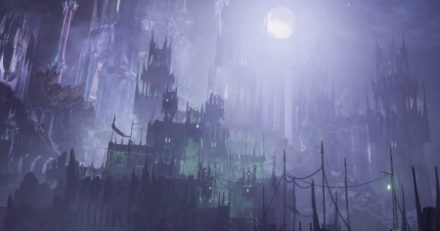
This is a walkthrough for An Infernal Dispute, Act 1 of The Order of the One Light in Dungeons & Dragons: Dark Alliance. Learn more about the objectives of this quest, available rewards, tips for completion, locations of attribute shrines, as well as boss fight strategies!
| Previous Quest | Current Quest | Next Quest |
|---|---|---|
| A Feast for All Cretins | An Infernal Dispute | Order of the One Light |
List of Contents
An Infernal Dispute Basic Information
Quest Information
| Quest | The Order of the One Light |
|---|---|
| Mission | |
| Cultists that worship the Crystal Shard like a god have found Kessell's body and infused it with arcane power, reanimating him. Now he seeks to rebuild his army and take his revenge on Icewind Dale. | |
Act Information
| Act No. | 1 |
|---|---|
| Type | Mission |
| Preferred Gear Set Drop | Captive of the Abyss (Wulfgar) Wearer of the Mask (Drizzt) Alustriel's Gift (Catti-brie) Keeper of Secrets (Bruenor) |
| Bosses | Skornn Soulreaver |
| Optional Bosses | First Pick crew |
| Unlock Requirement | Complete Companions of Icewind Dale |
| Description | |
| The Order of the One Light, they called themselves - cultist who worshipped the Crystal Shard like a god. We found the Order's fortress - hidden within the Spine of the World. They were under siege by the forces of Levistus and had erected a magical barrier to keep the devils at bay. We would have to recover the Netherese Keystones to bring down that barrier before we could enter the fortress and deal with the mages within. | |
An Infernal Dispute Main Objectives
Reach the gateway to the Wounded Mountain
| Objectives | |
|---|---|
| 1 | Follow the objective marker to the next area Just follow the objective marker to get your bearings in the stage. Be mindful of the ice spikes that are present in this level. |
Defeat the guardian of the Wounded Mountain
| Objectives | |
|---|---|
| 2 | Defeat all enemies Once you reach your objective point, defeat all the enemies there. |
Retrieve the Netherese Keystone at the gateway to the Wounded Mountain
| Objectives | |
|---|---|
| 3 | 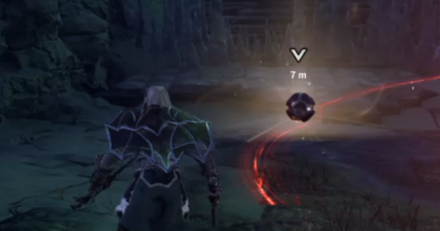 Get the Netherese Keystone Once you defeat all of the enemies, make sure you pick up the sphere the enemy dropped. This is a Netherese Keystone and you'll be picking up 4 of them in the entire stage. |
Reach the Blackburn Gate
| Objectives | |
|---|---|
| 4 | Continue on the path to the second keystone location Head right once you exit Wounded Mountain. Battle enemies there. Continue on the path until you reach a fork in the road. Head to the right up some stairs to reach Blackburn Gate. |
Retrieve the Netherese Keystone outside the Blackburn Gate
| Objectives | |
|---|---|
| 5 | 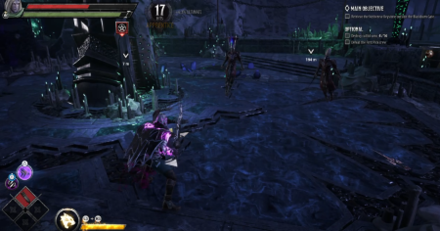 Defeat all enemies and get the keystone Battle all the enemies there and get the keystone in the spiky contraption in the middle of the area. |
Reach the Blackburn Caverns
| Objectives | |
|---|---|
| 6 | Continue on the path to reach the 3rd keystone Follow the objective marker into an icy cavern. Go around the area, avoiding the hole in the middle. Go to the back of the area to find a creature to defeat. |
Defeat the stygians within the Blackburn Caverns
| Objectives | |
|---|---|
| 7 | 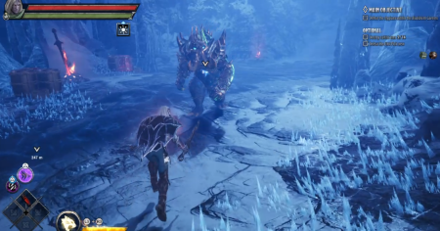 Defeat the monster Battle the huge enemy here. Take care while battling so as not to injure yourself in the ice field. |
Retrieve the Netherese Keystone inside the Blackburn Caverns
| Objectives | |
|---|---|
| 8 | Obtain the third keystone. Get the keystone on the table just behind the creature. |
Reach the entry to the broken bridge
| Objectives | |
|---|---|
| 9 | Continue on the path to the fourth keystone Head out of the cavern and follow the objective marker. Keep going forward to see some cultists surrounding four pillars. |
Defeat the forces holding the broken bridge
| Objectives | |
|---|---|
| 10 | 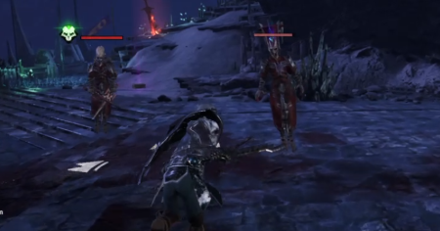 Defeat all cultists Defeat all of the enemies on the broken bridge. |
Retrieve the Netherese Keystone at the entry to the broken bridge
| Objectives | |
|---|---|
| 11 | Obtain the final keystone Once you defeat all cultists, one of them will drop the fourth and final keystone. |
Place all four Netherese Keystones to deactivate the magical barrier
| Objectives | |
|---|---|
| 12 | 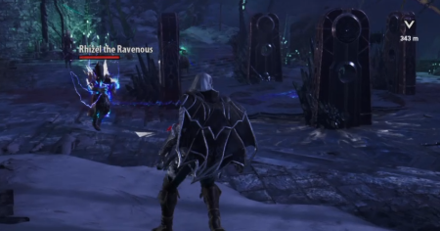 Go around each tower and place each keystone in the slot. Destroy the silencing stones if you wish. |
Cross the broken bridge
| Objectives | |
|---|---|
| 13 | Head to the left of the four pillars to the bridge and continue on the path, defeating the enemies as you go. |
Find the stygian siege commander within the outer fortress
| Objectives | |
|---|---|
| 14 | Once you reach the fortress, simply follow the path until you reach the top. Defeat all enemies along the way. |
Defeat Skornn Soulreaver
| Objectives | |
|---|---|
| 15 |  At the top of the tower, you will encounter the boss, Skornn Soulreaver. Defeat him to end the mission. |
An Infernal Dispute Optional Objectives
Destroy Cultist Urns
| Objectives | |
|---|---|
| 1 | 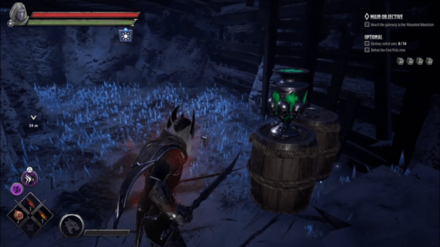 The chest is located underground near the starting area. Break the barricade then hop inside. Make sure to have a warmth buff before you go. |
| 2 | 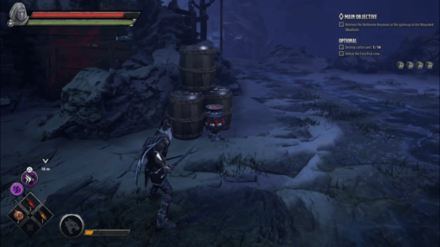 The urn is located besides a barrel stacked on top of each other at your first encounter. |
| 3 | 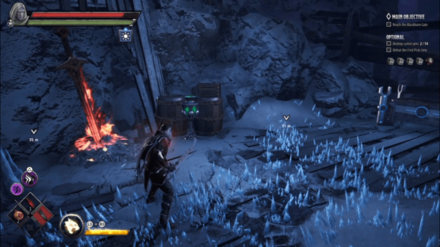 Just before the underpass, there is a path you can take on the left. Get the warmth buff and follow the path. At the end will be an urn besides some barrels. |
| 4 | 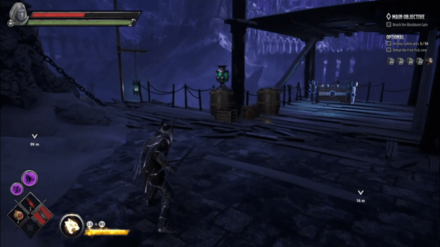 Just before crossing the bridge to Blackburn Gate, head to the right and destroy the barricade. Continue along the path and climb up some ledges. The Urn will be on top of a barrel, near the wooden balcony. |
| 5 | 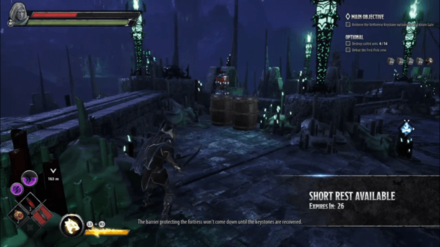 There's an urn on top of a barrel in Blackburn Gate. |
| 6 | 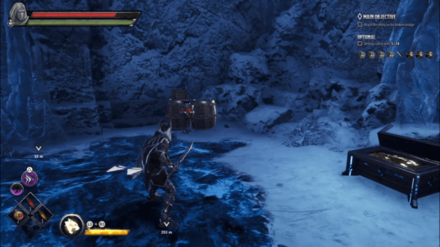 There's an urn besides some barrels in the area where you fight the First Pick crew. |
| 7+8 | 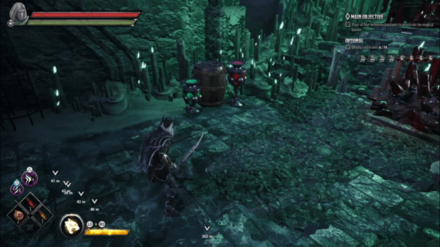 There are two urns located just at the entrance of the Broken Bridge. |
| 9 | 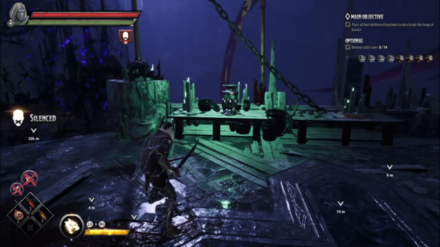 The urn is located just right to the entrance of the Broken Bridge ontop of a table. |
| 10 | 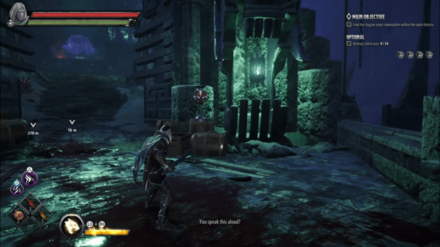 The urn is located just besides the entrance gate of the fortress after crossing the Broken Bridge. |
| 11 | 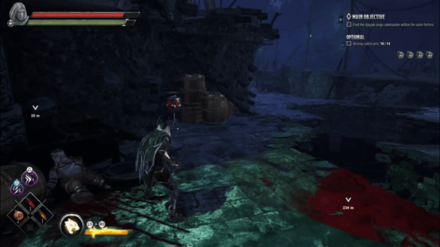 The urn is located on the path to the stygian siege commander, just before the flight of stairs. |
| 12 | 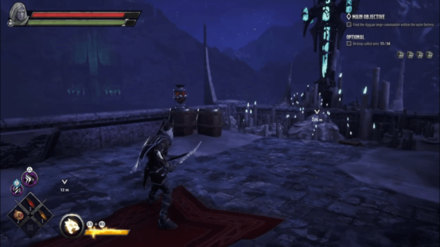 Located besides an altar, after climbing up the flight of stairs. |
| 13 | 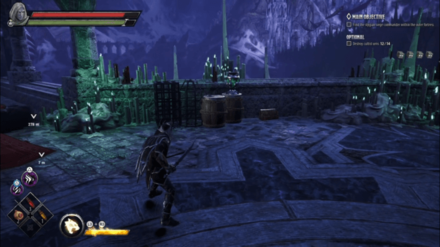 Located on top of a barrel in the balcony, just before the boss area. |
| 14 | 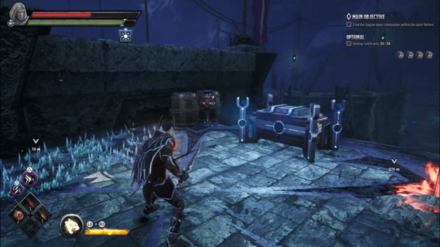 From the balcony, head down the flight of stairs with ice spikes. The urn is located besides a chest, near some barrels. |
Defeat the First Pick crew
| Objectives | |
|---|---|
| 1 | 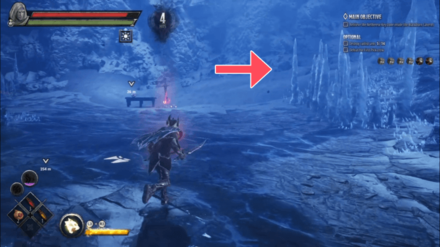 The First Pick crew is located inside Blackburn Cavern. There is a path you can take on the right to get to them but it is filled with ice spikes. Make sure to have the warmth buff before you venture forward. |
| 2 | 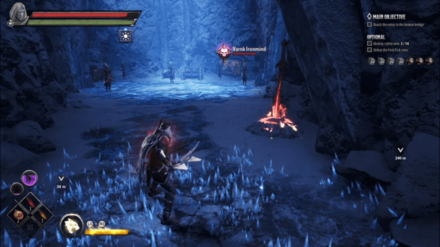 There will be two paths you can take at the end. Take the left path and it will lead you to the First Pick crew. Be prepared as there are a lot of cultist in this fight. |
Tips and Strategies
Do Not Attempt Early
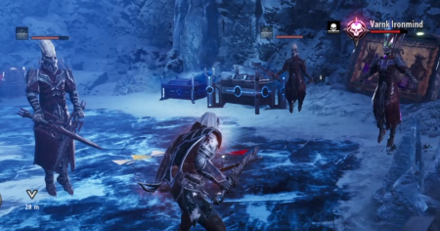
While you might be tempted to attempt these missions right after the Companions of Icewind Dale, it is highly recommended you do this AFTER finishing The Goblin's Shard and Verbeeg Jamboree. Some of the enemies here are fast, quick, and hits hard unlike most of the enemies you have faced so far.
Boss Strategy: Skornn Soulreaver
Skornn Soulreaver
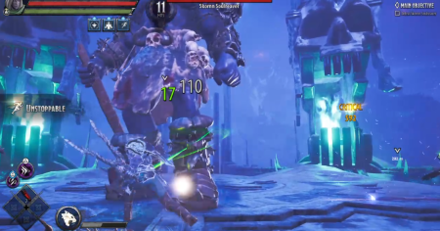
Despite his huge size, he's not exactly that difficult to defeat. Take care of his minions fast and then hit him hard.
In fact, if you've leveled up Drizzt enough and has a good weapon equipped (120+ Power), you can beat him in under 30 secs. Use your Ultimate Skill to defeat the minions fast, then activate Blink and Cloud of Daggers to quickly dispose of him.
An Infernal Dispute Attribute Shrine Locations
| Directions | |
|---|---|
| 1 | 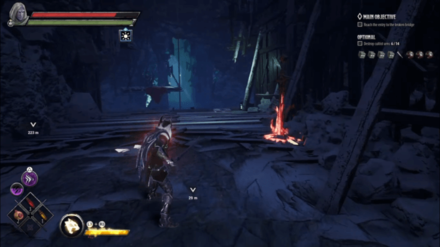 The attribute shrine is located in Blackburn Cavern on top of a hanging wooden platform. You will need a lever to activate the mechanism to get to the shrine. |
| 2 | 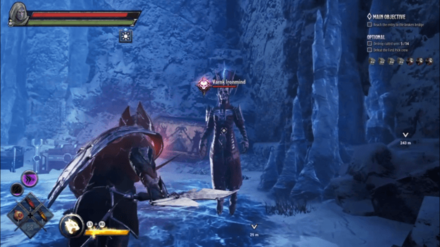 To get the lever, you must defeat Varnik Ironmind and the rest of the First Pick crew. |
| 3 | 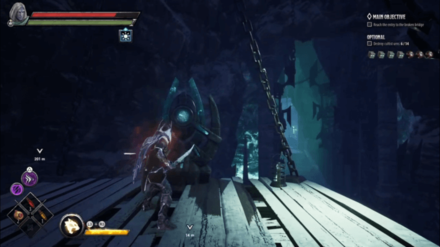 Once you got the lever, activate the mechanism and jump towards platform to get to the attribute shrine. |
An Infernal Dispute Chest Locations
| Location | Directions | |
|---|---|---|
| 1 | 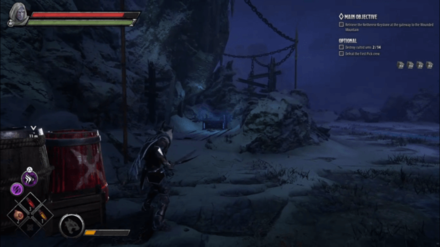 |
The chest is located behind the barricade at your first encounter. |
| 2 | 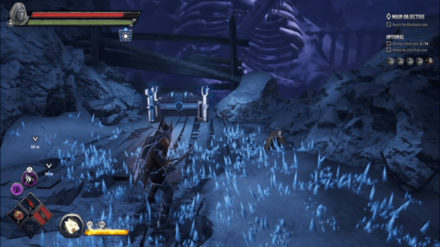 |
Just before the underpass, there is a path you can take on the left. Get the warmth buff and follow the path. At the end will be a chest. |
| 3 | 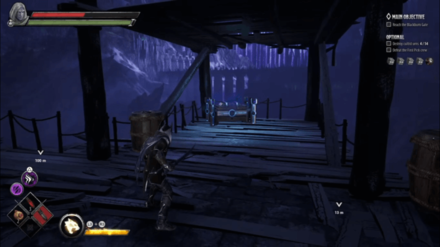 |
Just before crossing the bridge to Blackburn Gate, head to the right and destroy the barricade. Continue along the path and climb up some ledges. A chest will be located in the wooden balcony. |
| 4 | 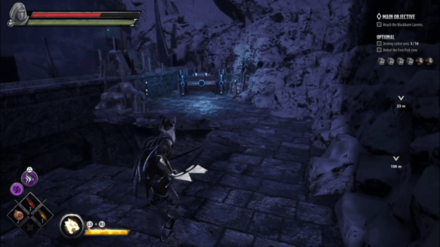 |
In Blackburn Gate, there is a path coated in Poison ooze. Destroy the Poison Mechanism then proceed to the path and at the end will be a chest. |
| 5+6 | 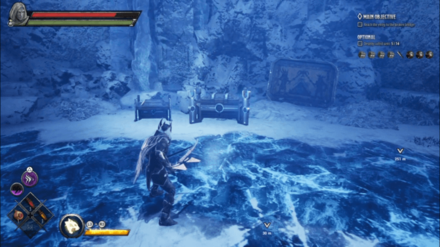 |
There are two chests located at the area where you fight the First Pick crew . Defeat them so you can open the chest safely. |
| 7 | 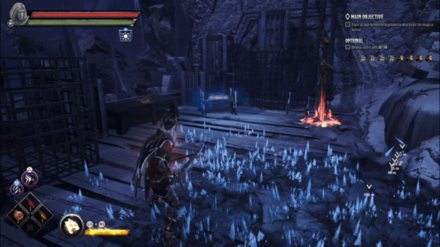 |
Take the ice path near the entrance of the broken bridge and at the end will be a chest. |
| 8 | 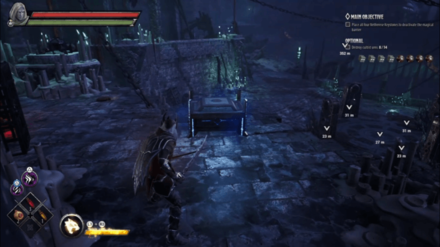 |
Head up the path besides the ice path. There will be a chest at the top. |
| 9 | 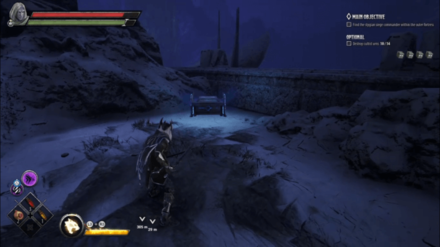 |
Right after crossing the broken bridge, take the path to the right to get to the chest. |
| 10 |  |
In the balcony just before the boss area, head down the flight of stairs with ice spikes to get to the chest. |
| 11 | 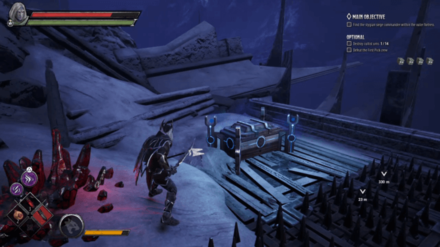 |
Head across the spike traps in the balcony area to get to the chest. You must defeat the cultists in the area to get the lever to deactive the spike traps. |
| 12 | 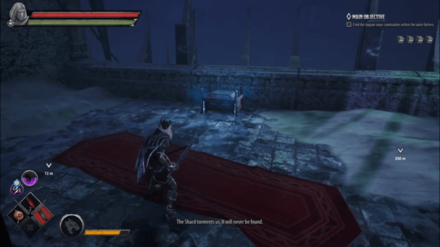 |
The chests is in the stairs heading to the boss area. |
Dark Alliance Related Links
| Companions of Icewind Dale |
|---|
| Goblins at the Gates |
| Halls of Duergar |
| Bangor's Span |
| The Goblin's Shard |
|---|
| The Goblin Valley |
| Goffin's Door |
| The Goblin Tower |
| Verbeeg Jamboree |
|---|
| The Verbeeg Jamboree |
| Designs of the Duergar |
| A Feast for All Cretins |
| The Order of the Light |
|---|
| An Infernal Dispute |
| Order of the One Light |
| The Return of the Tyrant |
| The Mask of Kelvin |
|---|
| Ghosts of the Past |
| The Broken City |
| The Face of Kelvin |
| Crystalline Dreams |
|---|
| The Floating City |
| Crystal Harvest |
| A Crystal Crown |
| The Fury of Icewind |
|---|
| The Hunting Grounds |
| The Hall of Judgment |
| A Tomb of Ice |
Author
An Infernal Dispute Act Guide and Walkthrough | Cultists Urns Locations
improvement survey
03/2026
improving Game8's site?

Your answers will help us to improve our website.
Note: Please be sure not to enter any kind of personal information into your response.

We hope you continue to make use of Game8.
Rankings
- We could not find the message board you were looking for.
Gaming News
Popular Games

Genshin Impact Walkthrough & Guides Wiki

Honkai: Star Rail Walkthrough & Guides Wiki

Umamusume: Pretty Derby Walkthrough & Guides Wiki

Pokemon Pokopia Walkthrough & Guides Wiki

Resident Evil Requiem (RE9) Walkthrough & Guides Wiki

Monster Hunter Wilds Walkthrough & Guides Wiki

Wuthering Waves Walkthrough & Guides Wiki

Arknights: Endfield Walkthrough & Guides Wiki

Pokemon FireRed and LeafGreen (FRLG) Walkthrough & Guides Wiki

Pokemon TCG Pocket (PTCGP) Strategies & Guides Wiki
Recommended Games

Diablo 4: Vessel of Hatred Walkthrough & Guides Wiki

Cyberpunk 2077: Ultimate Edition Walkthrough & Guides Wiki

Fire Emblem Heroes (FEH) Walkthrough & Guides Wiki

Yu-Gi-Oh! Master Duel Walkthrough & Guides Wiki

Super Smash Bros. Ultimate Walkthrough & Guides Wiki

Pokemon Brilliant Diamond and Shining Pearl (BDSP) Walkthrough & Guides Wiki

Elden Ring Shadow of the Erdtree Walkthrough & Guides Wiki

Monster Hunter World Walkthrough & Guides Wiki

The Legend of Zelda: Tears of the Kingdom Walkthrough & Guides Wiki

Persona 3 Reload Walkthrough & Guides Wiki
All rights reserved
© 1993-2021 Wizards of the Coast LLC, a subsidiary of Hasbro, Inc. All Rights Reserved.
The copyrights of videos of games used in our content and other intellectual property rights belong to the provider of the game.
The contents we provide on this site were created personally by members of the Game8 editorial department.
We refuse the right to reuse or repost content taken without our permission such as data or images to other sites.





![Monster Hunter Stories 3 Review [First Impressions] | Simply Rejuvenating](https://img.game8.co/4438641/2a31b7702bd70e78ec8efd24661dacda.jpeg/thumb)


