The Broken City Act Guide and Walkthrough | Noxious Troll Sacs Locations
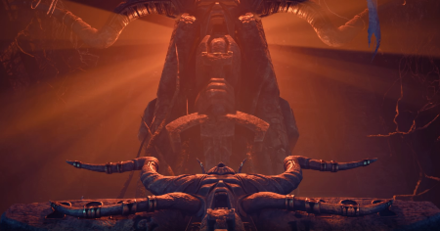
This is a walkthrough for The Broken City, Act 2 of The Mask of Kelvin in Dungeons & Dragons: Dark Alliance. Learn more about the objectives of this quest, available rewards, tips for completion, locations of attribute shrines, as well as boss fight strategies!
| Previous Quest | Current Quest | Next Quest |
|---|---|---|
| Ghosts of the Past | The Broken City | The Face of Kelvin |
List of Contents
The Broken City Basic Information
Quest Information
| Quest | The Mask of Kelvin |
|---|---|
| Mission | |
| A frost giant named Utaar is attempting to break into Kelvin's Tomb and recover an artifiact that he believes will help him find and claim the Crystal Shard. | |
Act Information
| Act No. | 2 |
|---|---|
| Type | Dungeon |
| Preferred Gear Set Drop | Flag Bearer (Wulfgar) Remorhaz Brotherhood (Drizzt) Barbarian Diplomat (Catti-brie) Battlehammer King (Bruenor) |
| Bosses | Kvorn the Gatekeeper |
| Optional Bosses | Wrigglin' Wrolly |
| Unlock Requirement | Complete The Mask of Kelvin |
| Description | |
| Utaar sought the Mask of Kelvin, believing that the artifact of his forefather would help him recover the Crystal Shard. To catch up with Utaar, we would have to pass through the shattered remnants of the Broken City. But, navigating to Kelvin's Tomb would be a challenge. We would need to recover the Netherese Keystones to activate the portal that would take us there. | |
The Broken City Main Objectives
Reach the entrance to the Broken City
| Objectives | |
|---|---|
| 1 | 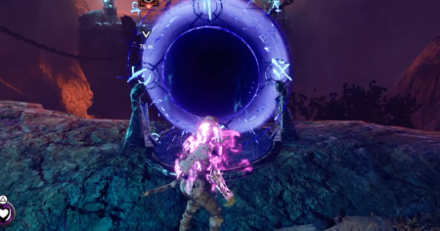 Go to the entrance of the city Go through the opening area and reach the portal to the entrance. |
Defeat the monsters at the entrance to the Broken City
| Objectives | |
|---|---|
| 2 | 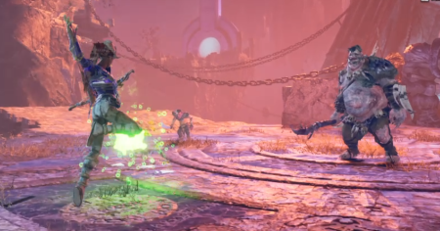 Defeat the monsters Simply defeat all enemies here. |
Retrieve the Netherese Keystone at the entrance to the Broken City
| Objectives | |
|---|---|
| 3 | 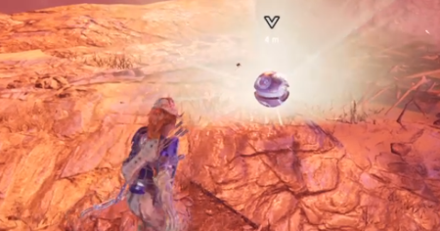 Acquire the first keystone One of the enemies you will defeat will drop the first keystone. |
Reach the fallen arena
| Objectives | |
|---|---|
| 4 | After getting the keystone, follow the objective marker to a portal and head to the fallen arena. |
Defeat the monsters protecting the Netherese Keystone at the fallen arena
| Objectives | |
|---|---|
| 5 | 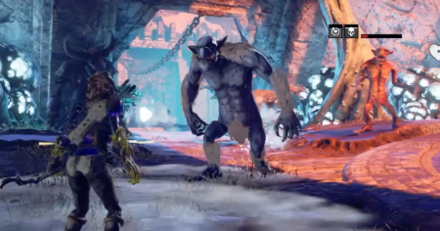 Defeat the trolls While not extremely hard, you will be battling six trolls in this area with two of them being of the frost variant. They're pretty tough, so watch out. Dodge and attack as necessary. |
Retrieve the Netherese Keystone at the fallen arena
| Objectives | |
|---|---|
| 6 | Acquire the second Netherese Keystone Once the last of the trolls fall, the barrier surrounding the platform in the middle of the area will cease. Get the keystone inside. |
Reach Kelvin's Courtyard
| Objectives | |
|---|---|
| 7 | Find the next area After getting the keystone, go to the portal nearby and follow the objective marker to your next area. |
Defeat the frost giant at Kelvin's Courtyard
| Objectives | |
|---|---|
| 8 | 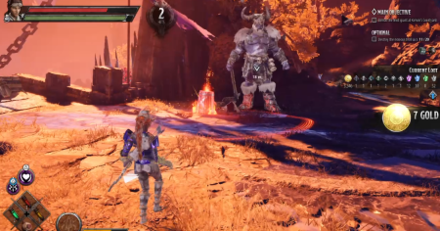 Battle the giant As you get the courtyard, the giant will wake to battle you. Take advantage of the explosive barrels nearby. They can deal good damage to these giants, making your life easier. |
Pick up the Netherese Keystone on the frost giant at Kevlin's Courtyard
| Objectives | |
|---|---|
| 9 | Get the third keystone Once the giant falls, get the third keystone from him. |
Reach the floating tower
| Objectives | |
|---|---|
| 10 | Get to the third area of the level Simply follow the objective marker to get to the floating tower. Defeat any enemy you come across |
Defeat the enemy forces at the floating tower
| Objectives | |
|---|---|
| 11 | 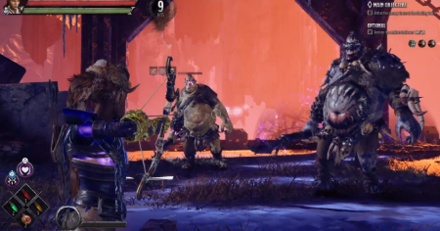 Defeat all enemies As soon as you get here, battle the verbeeg in the area. |
Pick up the Netherese Keystone at the floating tower
| Objectives | |
|---|---|
| 12 | Get the fourth and last keystone Once defeated, one of the creatures here will drop the fourth and final keystone. |
Reach the central island Netherese Gate
| Objectives | |
|---|---|
| 13 | Travel to the final area of the level Head towards the objective marker to find a portal that leads to the central island. |
Place the Netherese Keystones to activate the Netherese Gate
| Objectives | |
|---|---|
| 14 | 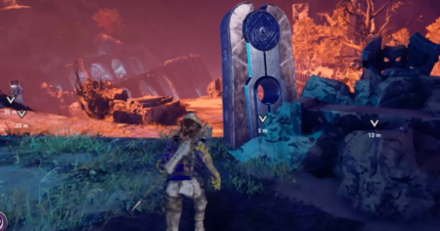 Place all keystones in their proper slots to open the gate After checking for loot around the area, you will notice four pillars flanking the gate. Put one keystone in each of them. |
Defeat Kvorn the Gatekeeper
| Objectives | |
|---|---|
| 15 | 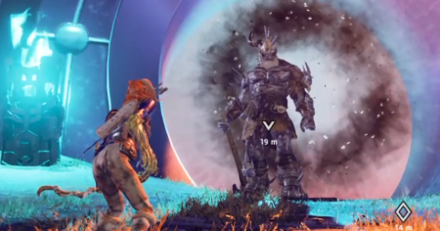 Defeat the boss After placing all keystones, the gate will open to reveal another frost giant. Defeat him to end the mission. |
The Broken City Optional Objectives
Defeat Wrigglin' Wolly
| Objectives | |
|---|---|
| 1 | 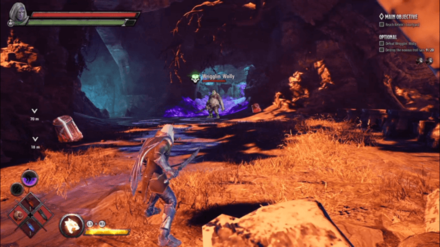 To get to Wrigglin' Wolly, take the path forward before entering Kelvin's Courtyard. From there you will see the verbeeg, Wrigglin' Wolly. He has a lot of AoE attacks so keep your distance when fighting against him. |
Destroy the Noxious Troll Sacs
| Objectives | |
|---|---|
| 1 | 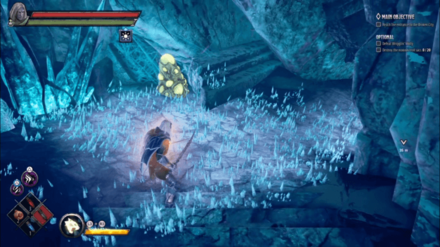 Located just after the starting area across a field of ice spikes. |
| 2 | 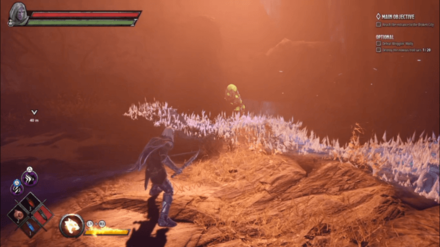 Located near a giant skeleton, on the way to entrance of the Broken City |
| 3 | 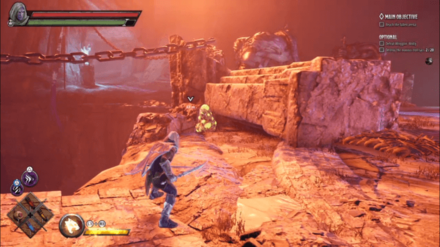 Located at the entrance of the Broken City, besides a pillar near the cliff. |
| 4 | 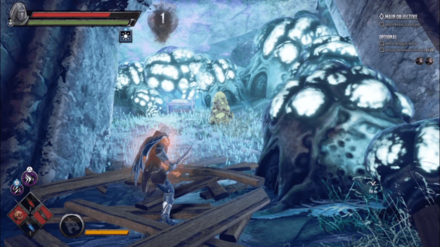 Located inside a sunken building, behind a barricade in the Fallen Arena. |
| 5 | 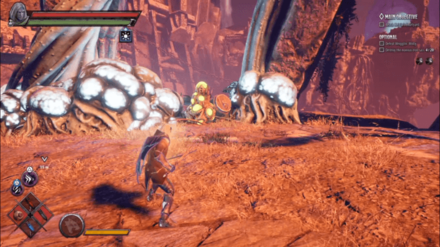 Located near the cliff in the Fallen Arena. |
| 6 | 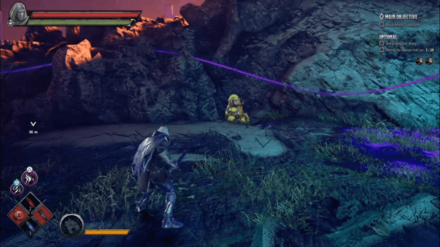 Located in the path towards the second level of the sunken building in Fallen Arena. |
| 7 | 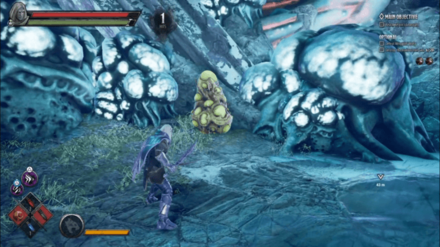 Located in the second level of the sunken building in the Fallen Arena, near the glowing mushrooms. |
| 8 | 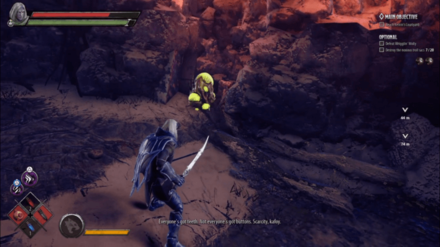 Located just after taking the portal to Kelvin's Courtyard, behind some barricades on the left path. |
| 9 | 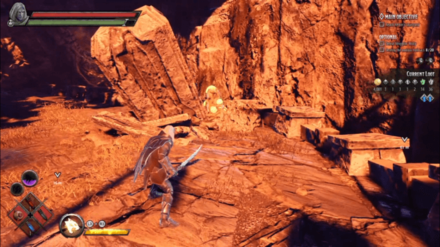 Located behind a pillar, before the fight with Wrigglin' Wolly. |
| 10 | 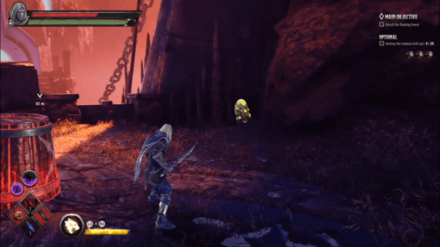 Located in the corner right of the Frost Giant in Kelvin's Courtyard. |
| 11 | 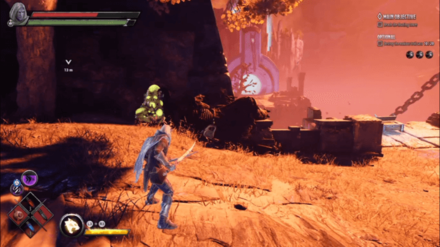 Located near a skeleton just left of the Frost Giant in Kelvin's Courtyard. |
| 12 | 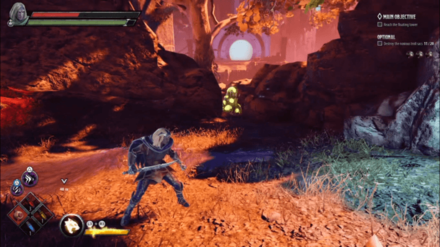 Located at the right giant statue in Kelvin's Courtyard. |
| 13 | 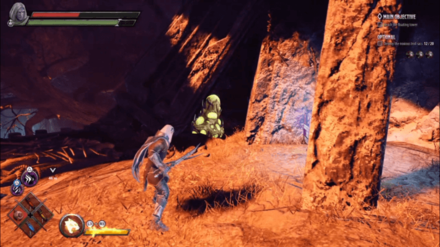 Located at the right path right after Kelvin's Courtyard. |
| 14 | 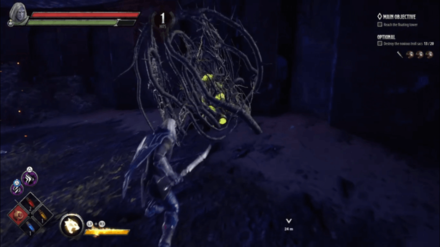 Located inside the fortress, where the Attribute Shrine is located. |
| 15 | 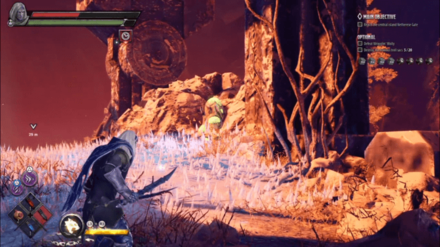 Located at the right in the icy field, just after the portal ride to the Floating Tower. |
| 16 | 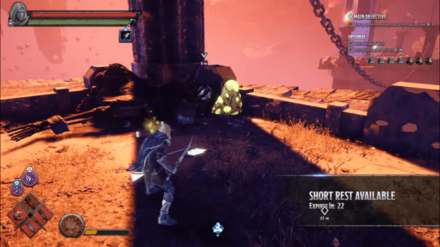 Located just besides the Netherese Keystone in the Floating Tower. |
| 17 | 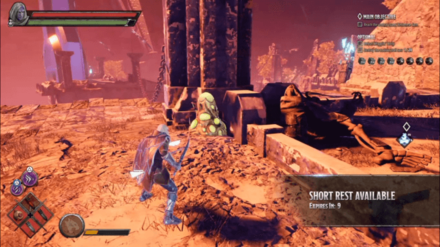 Located besides the pillar near the Netherese Keystone in the Floating Tower. |
| 18 | 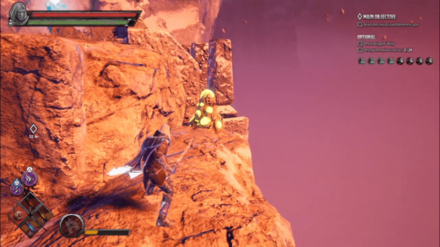 Located at the edge of the cliff, in the Floating Tower near the underground entrance. |
| 19 | 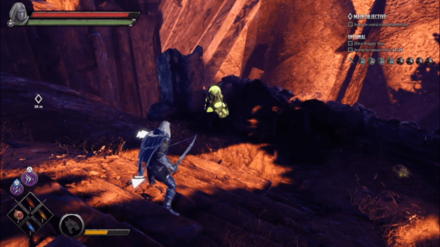 Located down a staircase in the Floating Tower. |
| 20 | 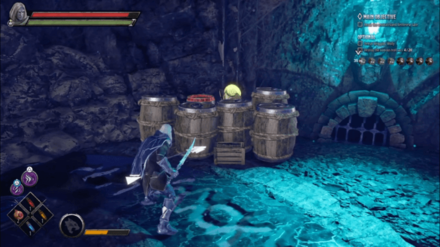 Located behind a bunch of barrels in the underground section of the Floating Tower. |
Tips and Strategies
Prioritize Hard Hitting Moves
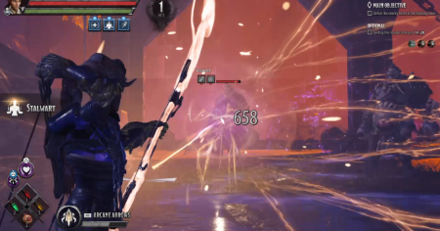
In this level, you will encounter waves of trolls which are not that easy to kill. Focusing your attack power and making sure you them with hard hitting moves will be key here. Do not be stingy on using your abilities and your Ultimate as well.
Boss Strategy: Kvorn the Gatekeeper
A Slow Giant
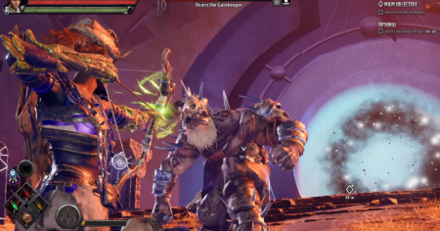
Like many of the giants you've faced so far, Kvorn is painfully slow which works to your advantage no matter which character to use. Combo him up up close or ranged and just dodge his foot slams or rushing attack.
The Broken City Attribute Shrines Locations
| Directions | |
|---|---|
| 1 | 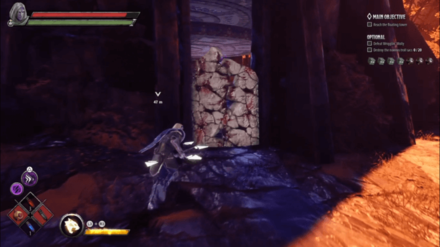 The Attribute Shrine is located just after taking the portal from Kelvin's Courtyard, towards the left path, inside a fortress. It's blocked by two debris that you can easily destroy. |
| 2 | 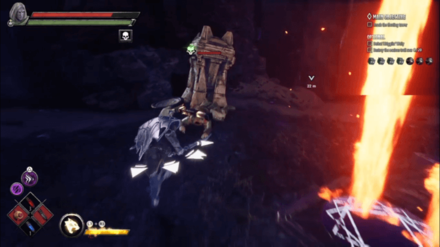 Before you can access the Attribute Shrine, you need to activate the runes on the floor blocked by a flamethrower. You need two levers to disable it. The first lever is just located inside the Attribute Shrine, near a corpse. |
| 3 | 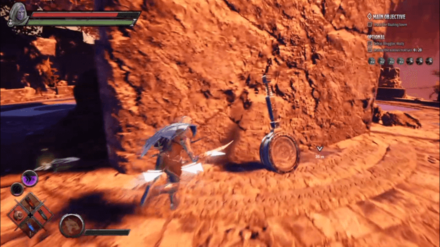 The second lever is located on the roof of the fortress. After getting two of the levers, head back inside and insert the levers in the mechanism to disable it. |
| 4 | 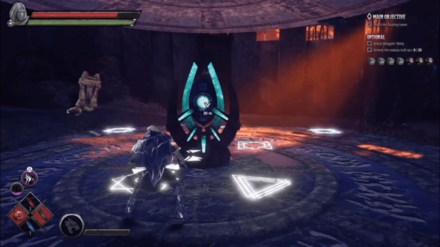 Finally, step on the runes to deactivate the force field, you will now be able to access the Attribute Shrine. |
The Broken City Chest Locations
| Location | Directions | |
|---|---|---|
| 1 | 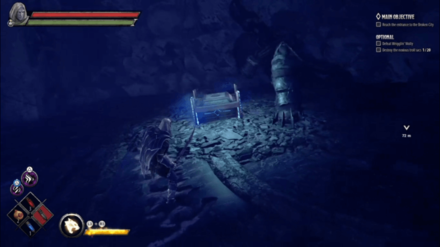 |
Located at the starting area, just behind from where you start. |
| 2 | 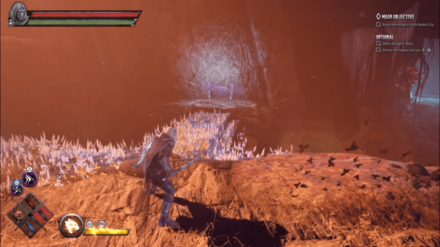 |
Located across a path of icy spikes on the way to entrance of the Broken City |
| 3 | 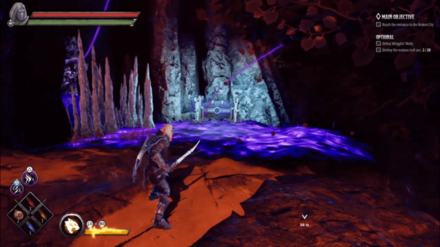 |
Take the path to the left just before heading down to the Broken City. Disable the poison mechanism to get to the chest. |
| 4 | 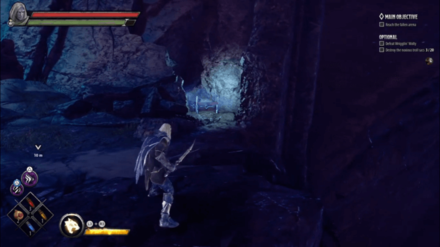 |
There is a chest near the cliff just after the entrance to the Broken City. |
| 5 |  |
Located inside a sunken building, behind a barricade in the Fallen Arena. |
| 6 | 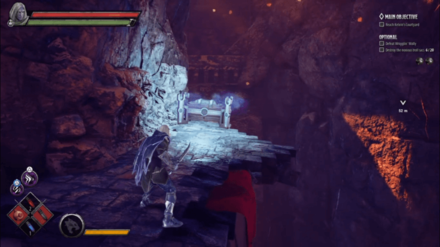 |
Located on the other side of a cliff in the Fallen Arena. |
| 7 | 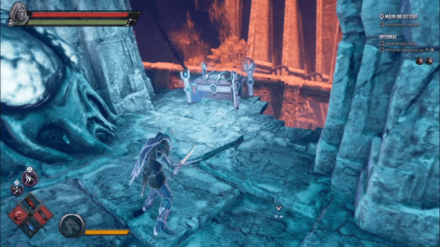 |
Located in the second level of the sunken building in the Fallen Arena, near the edge. |
| 8 | 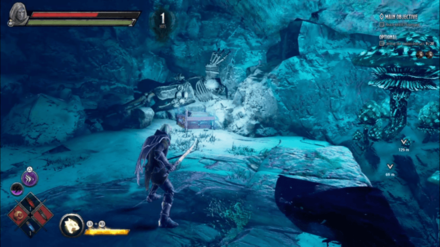 |
Located after the fight with Wrigglin' Wolly. Disable the poison traps then head inside a cavern filled with glowing mushroom, near a skeleton. |
| 9 | 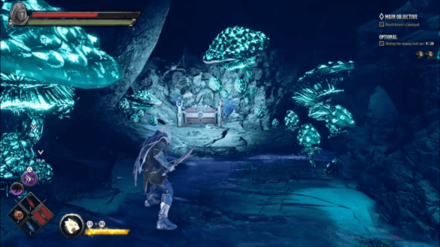 |
There is another chest deep inside the Mushroom Cave. |
| 10 | 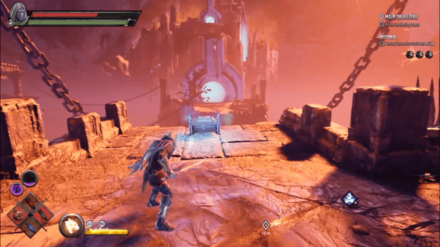 |
Located near the edge of the broken bridge in Kelvin's Courtyard. |
| 11 | 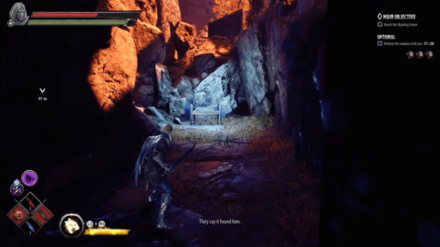 |
Located left of the Frost Giant in Kelvin's Courtyard, behind the barricade. Watch out for the lighting traps. |
| 12 | 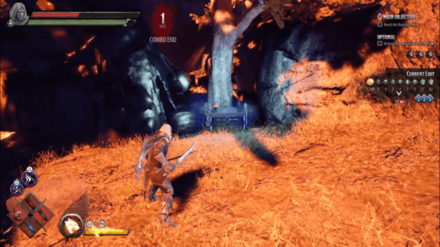 |
Located behind the left statue in Kelvin's Courtyard, near a tree. |
| 13 | 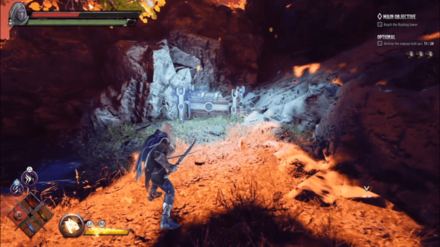 |
Located at the path behind the right statue in Kelvin's Courtyard. |
| 14 | 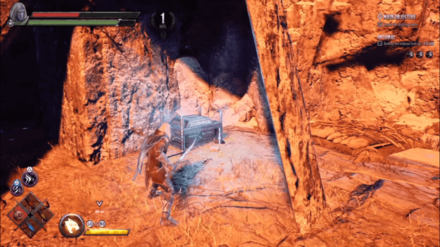 |
Located near the entrance to the Attribute Shrine, behind a pillar. |
| 15 | 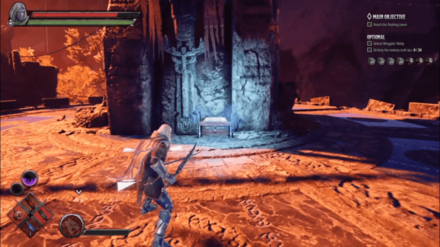 |
Located on top of the roof of the Attribute Shrine. |
| 16 | 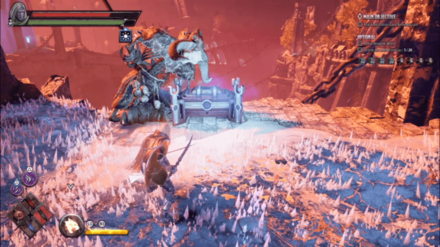 |
Located across an icy field, just after the portal ride to the Floating Tower. |
| 17 | 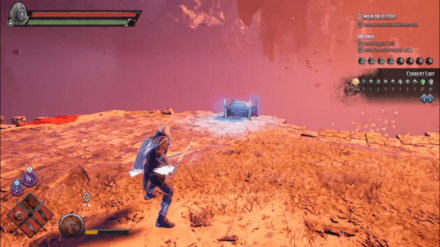 |
Located near the edge of the cliff in the Floating Tower. |
| 18 | 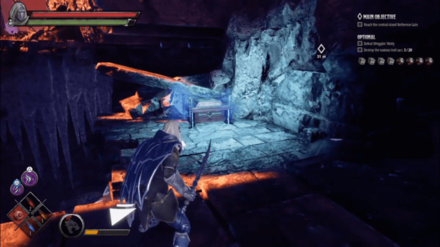 |
Located above the underground entrance of the Floating Tower. |
Dark Alliance Related Links
| Companions of Icewind Dale |
|---|
| Goblins at the Gates |
| Halls of Duergar |
| Bangor's Span |
| The Goblin's Shard |
|---|
| The Goblin Valley |
| Goffin's Door |
| The Goblin Tower |
| Verbeeg Jamboree |
|---|
| The Verbeeg Jamboree |
| Designs of the Duergar |
| A Feast for All Cretins |
| The Order of the Light |
|---|
| An Infernal Dispute |
| Order of the One Light |
| The Return of the Tyrant |
| The Mask of Kelvin |
|---|
| Ghosts of the Past |
| The Broken City |
| The Face of Kelvin |
| Crystalline Dreams |
|---|
| The Floating City |
| Crystal Harvest |
| A Crystal Crown |
| The Fury of Icewind |
|---|
| The Hunting Grounds |
| The Hall of Judgment |
| A Tomb of Ice |
Author
The Broken City Act Guide and Walkthrough | Noxious Troll Sacs Locations
improvement survey
03/2026
improving Game8's site?

Your answers will help us to improve our website.
Note: Please be sure not to enter any kind of personal information into your response.

We hope you continue to make use of Game8.
Rankings
- We could not find the message board you were looking for.
Gaming News
Popular Games

Genshin Impact Walkthrough & Guides Wiki

Honkai: Star Rail Walkthrough & Guides Wiki

Umamusume: Pretty Derby Walkthrough & Guides Wiki

Pokemon Pokopia Walkthrough & Guides Wiki

Resident Evil Requiem (RE9) Walkthrough & Guides Wiki

Monster Hunter Wilds Walkthrough & Guides Wiki

Wuthering Waves Walkthrough & Guides Wiki

Arknights: Endfield Walkthrough & Guides Wiki

Pokemon FireRed and LeafGreen (FRLG) Walkthrough & Guides Wiki

Pokemon TCG Pocket (PTCGP) Strategies & Guides Wiki
Recommended Games

Diablo 4: Vessel of Hatred Walkthrough & Guides Wiki

Cyberpunk 2077: Ultimate Edition Walkthrough & Guides Wiki

Fire Emblem Heroes (FEH) Walkthrough & Guides Wiki

Yu-Gi-Oh! Master Duel Walkthrough & Guides Wiki

Super Smash Bros. Ultimate Walkthrough & Guides Wiki

Pokemon Brilliant Diamond and Shining Pearl (BDSP) Walkthrough & Guides Wiki

Elden Ring Shadow of the Erdtree Walkthrough & Guides Wiki

Monster Hunter World Walkthrough & Guides Wiki

The Legend of Zelda: Tears of the Kingdom Walkthrough & Guides Wiki

Persona 3 Reload Walkthrough & Guides Wiki
All rights reserved
© 1993-2021 Wizards of the Coast LLC, a subsidiary of Hasbro, Inc. All Rights Reserved.
The copyrights of videos of games used in our content and other intellectual property rights belong to the provider of the game.
The contents we provide on this site were created personally by members of the Game8 editorial department.
We refuse the right to reuse or repost content taken without our permission such as data or images to other sites.




![Monster Hunter Stories 3 Review [First Impressions] | Simply Rejuvenating](https://img.game8.co/4438641/2a31b7702bd70e78ec8efd24661dacda.jpeg/thumb)


