Chapter 15: Mechonis Core Walkthrough
This is a walkthrough for the Mechonis Core section of Xenoblade Chronicles Definitive Edition for Nintendo Switch. For a map of Mechonis Core Landmarks and Locations, as well as boss strategy and other tips and tricks, read on!
List of Contents
| Previous Section | Next Section |
|---|---|
| Central Factory and Agniratha | Central Factory (Revisited) |
Chapter 15: Mechonis Core Walkthrough
Fallen Arm
| Objectives | |
|---|---|
| 1 | 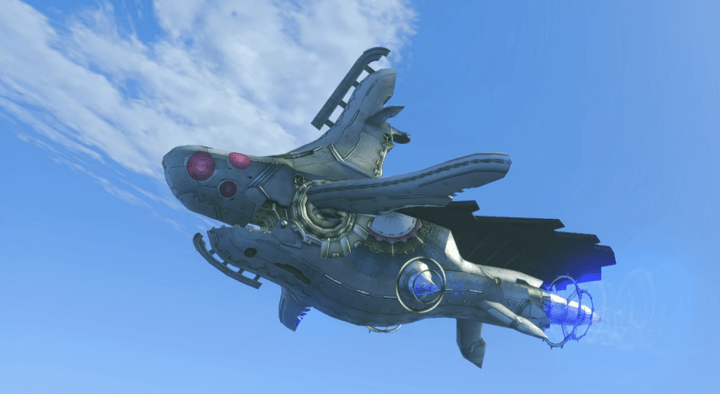 Head Inside Junks. After the cutscenes, you'll be safe on the deck of Junks. Enter the structure to speak to your saviors. |
| 2 | 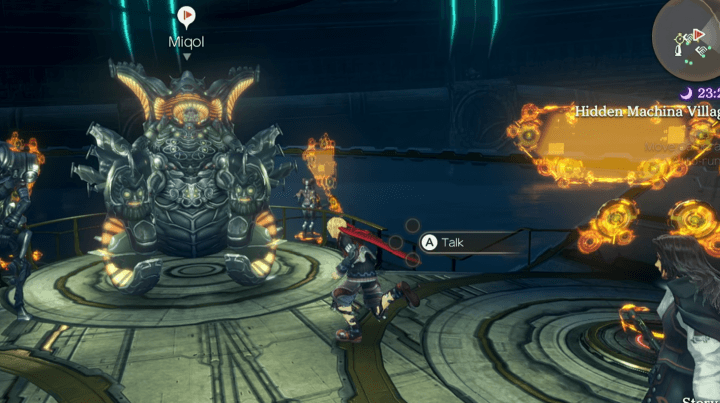 Talk to Miqol and ask him to take you to the Mechonis Core. You'll be back on the Fallen Arm. You can do some side quests, and shops will be available if you want to upgrade your gear, but when ready, speak to Miqol to return to the Central Factory and confront Egil. |
Central Factory
| Objectives | |
|---|---|
| Optional | Complete A New Weapon for Seven Side Quest. Though optional, this side quest is only available while on the Mechonis and rewards a powerful weapon for Seven. The process requires battling elite monsters up to Level 73, so you may need to level up past 70 to get the best possible result. |
| 1 | 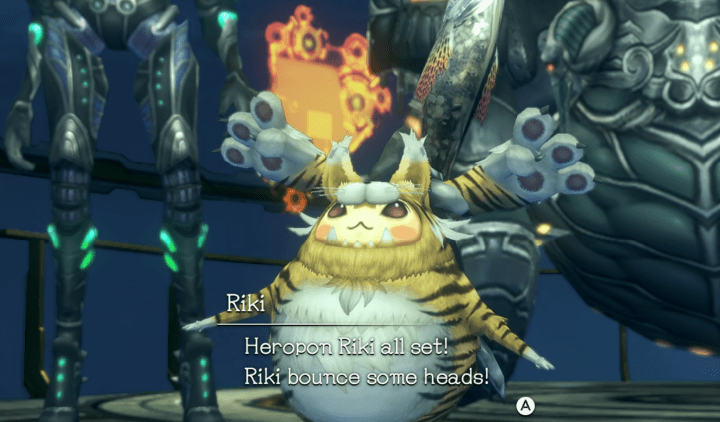 Follow the quest guide until you reach the bridge to the Apocrypha Follow the narrow pipes and the quest guide into the core of the Mechonis, towards the Apocrypha landmark. |
| 2 | 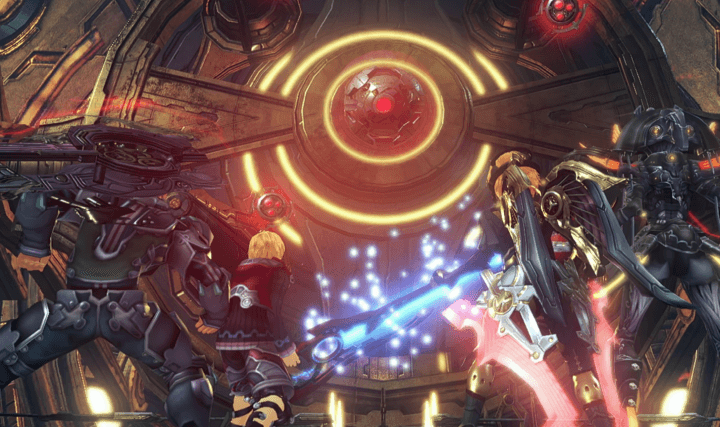 Defeat the Apocrypha Generator. Confront the orb-like Apocrypha Generator, and use Monado Shield to block its strongest lasers. |
| 3 | 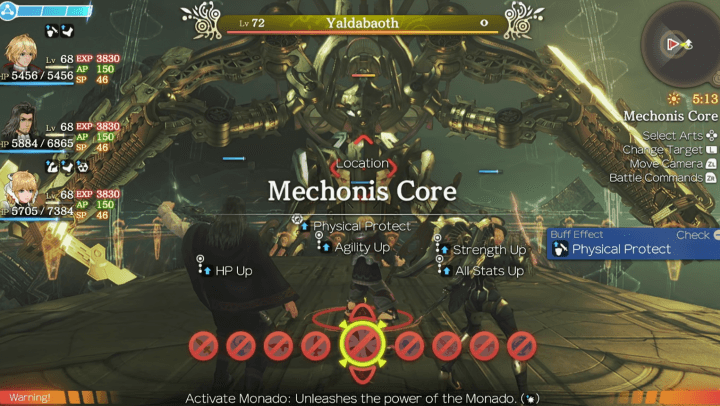 Defeat Yaldabaoth. Yaldabaoth is an immobile boss, but will prepare the massive Bionis Slash attack, during which time you should break targeting and take down the generators he summons. |
Chapter 16: Central Factory (Revisited) Walkthrough
Side Quests
The following side quests are available from this chapter:
Central Factory Side Quests
| Quest | Location | Giver | Rewards |
|---|---|---|---|
| New Weapon for Fiora | Ventillation Conduit | Junks Staff | 29500 G 32000 EXP War Blades |
Quests in Red Text indicate Timed Quests. As these quests will expire after progressing to a certain part of the game, be sure to complete them while they are still available!
Maps and Collectopaedia
Mechonis Core Map
 |
Mechonis Core Landmarks and Locations
Landmarks
None
Locations
| 1 | Mechonis Core |
|---|
Heart-to-Hearts
There are no available Heart-to-Hearts in this area.
Mechonis Core Collectopaedia
There is no collectopaedia in this area.
Tips and Strategies
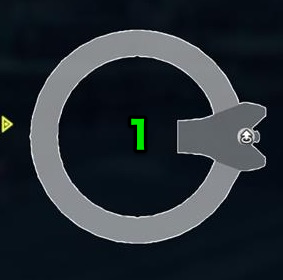
Vision Timer

You will notice that there is a number located on Shulk's vision. This indicates the seconds left until his vision becomes a reality. This will be incredibly useful for the last boss of this chapter.
Boss Strategy Guide
Apocrypha Generator
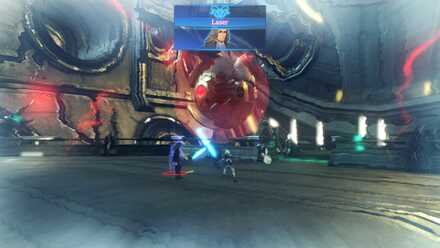
Similar to Gadolt, the Apocrypha Generator's main line attack consists of Ether-based moves. It can use Laser, which can deal around 2000-3000 damage to a single target, and it inflicts topple as well. Watch out for Great Laswer VI, and always ready your Talent Art Shield to block it. Also make sure to not let Apocrypha's aggro target you, so you can focus all your healing abilities on your tank.
Apocrypha Generator Recommended Characters
|
|
|
|
The Apocrypha Generator has a high amount of HP, and also has access to strong Ether Attacks. Shulk, Dunban, and Riki is the best set up against Apocrypha, due to their high Ether Defense and damaging abilities. Use Warn on Dunban, and let him take the Aggro if the Generator targets a different party member by selecting Blinding Blossom.
Yaldabaoth (Mechonis Core)
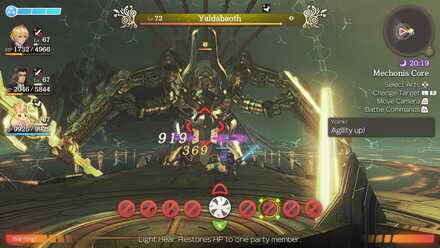
He's going to be immovable through the fight. You can only hit him in the front, so don't waste your time trying to circle the map to increase the effects of Shulk's Chain Arts. He will also summon several Mechons during the fight, so eliminate them once they appear. You can take the opportunity to fill the party gauge.
Make sure to always stay in range against Yaldabaoth (except when dispatching summoned mechons), as he can use Chastise, which will seal your movement, stopping you from attacking him if you're out of attack range.
Bionis Slash X

When you see a vision of the Bionis Slash X, immediately stop all attacks against Yaldabaoth, and focus on the three generators summoned on the area surrounding him. Do not panic, you have 2 minutes to destroy the generators, which should be more than enough.
Yaldabaoth Recommended Characters
|
|
|
|
Switch Sharla in for this fight. Her healing is needed against Yaldabaoth's heavy damage. You're also going to need Dunban to quickly eliminate the Mechons that gets summoned in the fight.
Story Walkthrough Related Links
Xenoblade Chronicles Story Walkthrough
| Prologue | The Battle of Sword Valley |
|---|---|
| Chapter 1 | Colony 9 and Tephra Cave |
| Chapter 2 | Colony 9 (Mechon Invasion) |
| Chapter 3 | Tephra Cave (Revisited) |
| Chapter 4 | Bionis' Leg |
| Chapter 5 | Colony 6 and Ether Mine |
| Chapter 6 | Satori Marsh and Bionis' Interior (1st Time) |
| Chapter 7 | Makna Forest and Frontier Village |
| Chapter 8 | Eryth Sea, Alcamoth, and High Entia Tomb |
| Chapter 9 | Prison Island (1st Time) |
| Chapter 10 | Valak Mountain |
| Chapter 11 | Sword Valley and Galahad Fortress |
| Chapter 12 | Fallen Arm |
| Chapter 13 | Mechonis Field |
| Chapter 14 | Central Factory and Agniratha |
| Chapter 15 | Mechonis Core |
| Chapter 16 | Central Factory (Revisited) |
| Chapter 17 | Bionis' Interior and Prison Island (Revisited) |
| Final Boss | Memory Space |
Author

Xenoblade Chronicles: Definitive Edition Walkthrough & Guides Wiki
Chapter 15: Mechonis Core Walkthrough
Rankings
- We could not find the message board you were looking for.
Gaming News


![Monster Hunter Stories 3 Review [First Impressions] | Simply Rejuvenating](https://img.game8.co/4438641/2a31b7702bd70e78ec8efd24661dacda.jpeg/thumb)
Popular Games

Genshin Impact Walkthrough & Guides Wiki
Honkai: Star Rail Walkthrough & Guides Wiki
Umamusume: Pretty Derby Walkthrough & Guides Wiki
Pokemon Pokopia Walkthrough & Guides Wiki
Resident Evil Requiem (RE9) Walkthrough & Guides Wiki
Monster Hunter Wilds Walkthrough & Guides Wiki
Wuthering Waves Walkthrough & Guides Wiki
Arknights: Endfield Walkthrough & Guides Wiki
Pokemon FireRed and LeafGreen (FRLG) Walkthrough & Guides Wiki
Pokemon TCG Pocket (PTCGP) Strategies & Guides Wiki


Recommended Games
Diablo 4: Vessel of Hatred Walkthrough & Guides Wiki
Cyberpunk 2077: Ultimate Edition Walkthrough & Guides Wiki
Fire Emblem Heroes (FEH) Walkthrough & Guides Wiki
Yu-Gi-Oh! Master Duel Walkthrough & Guides Wiki
Super Smash Bros. Ultimate Walkthrough & Guides Wiki
Pokemon Brilliant Diamond and Shining Pearl (BDSP) Walkthrough & Guides Wiki
Elden Ring Shadow of the Erdtree Walkthrough & Guides Wiki
Monster Hunter World Walkthrough & Guides Wiki
The Legend of Zelda: Tears of the Kingdom Walkthrough & Guides Wiki
Persona 3 Reload Walkthrough & Guides Wiki


All rights reserved
© 2010 - 2020 Nintendo / MONOLITHSOFT. Xenoblade Chronicles and Nintendo Switch are trademarks of Nintendo. © 2020 Nintendo.
The copyrights of videos of games used in our content and other intellectual property rights belong to the provider of the game.
The contents we provide on this site were created personally by members of the Game8 editorial department.
We refuse the right to reuse or repost content taken without our permission such as data or images to other sites.