A Deathward Negotiation Day 1 Guide
★ Exclusive: Check out the State of Meta in 4.0!
♦ Latest: 4.1 Livestream Redeem Codes
♦ Phase 2: Sparkxie, Sparkle, Cerydra, Rappa
♦ Upcoming: Ashveil, Silver Wolf Lv.999, Evanescia
♦ Events: Cosmicon, Roll On!, Ding! Arcadia Fun-Time Clock-In Essentials
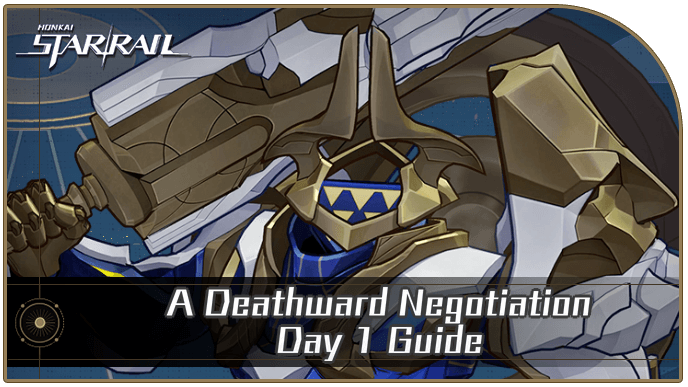
A Deathward Negotiation is Honkai: Star Rail's Enscrolled Crepusculum Day 1 challenge. See the best teams, how to beat Day 1, stage details, and all the rewards here!
| Enscrolled Crepusculum Guides | ||
|---|---|---|
 Event Guide Event Guide |
 Day 1 Day 1 |
 Day 2 Day 2 |
 Day 3 Day 3 |
 Day 4 Day 4 |
 Day 5 Day 5 |
A Deathward Negotiation Best Teams
Enscrolled Crepusculum Day 1 Best Team
| Best Team for Day 1 | |||
|---|---|---|---|
|
|
|
|
|
Feixiao, Robin, and Aventurine are Day 1 Trial Characters.
A follow-up attack team is the best team you can bring in this fight, as the Mutation only triggers after attacking an enemy a certain number of times. Use Feixiao as your main DPS as she is a trial character for this stage.
For your Sub-DPS, you can use Topaz for faster Flying Aureus stack build-up and constant FUA with Numby. For your support, Robin is the best pick here as she excels in FUA teams while Aventurine can help keep your team alive while dishing out his follow-up attacks.
Alternative Characters
| Character | Merits |
|---|---|
 Moze Moze
|
Sub-DPS Replacement Moze uses Follow-Up Attacks frequently, allowing you to trigger the Mutation easily. |
 March 7th (Imaginary) March 7th (Imaginary)
|
Sub-DPS Replacement March 7th (Hunt) can provide SPD to an ally and has a follow-up attack that can help trigger the Mutation. |
 Ruan Mei Ruan Mei
|
Support Replacement Ruan Mei provides a lot of offensive buffs through her Ultimate. |
 Pela Pela
|
Support Replacement Pela reduces the DEF of enemies with her Ultimate, allowing your DPS to deal more damage against them. |
 Lingsha Lingsha
|
Sustain Replacement Lingsha is a good sustain replacement as she can do Follow-up Attacks with Fuyuan. |
Enscrolled Crepusculum Day 1 F2P Team
| Best Free-to-Play Team for Day 1 | |||
|---|---|---|---|
|
|
|
|
|
This team is from Day 1's available Trial Characters.
For the Free-to-play, It's the same set-up as the premium team but replacing Topaz with Moze as he can fill her spot to do follow-up attacks and provide Feixiao with Flying Aureus stacks.
How to Beat A Deathward Negotiation
Focus on the Furiae Praetor
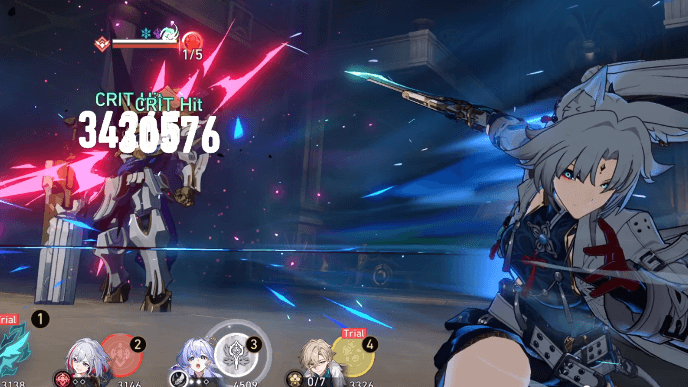
During the Buff Buildup phase, focus on the Furiae Praetor and try to reduce their War Armor stacks to 0 as much as possible. This will make them absorb adjacent enemies and defeat them instantly
This also triggers the Frenzied Absorption Mutation Mechanic that deals DMG to all enemies on the field.
Reach Rank 20 or More During the Buff Buildup Phase

Raise your Rank during the buff Buildup Phase by constantly triggering the Frenzied Absorption Mutation Mechanic from reducing a Furiae Praetor's War Armor stacks to 0.
It's recommended that you reach Rank 20 to easily defeat enemies during the Finak Showdown Phase. Use a Follow-Up attack team to trigger the Mutation Mechanic easily and get the recommended rank!
A Deathward Negotiation Stage Details
Enscrolled Crepusculum Day 1 Trial Characters
| Trial | Character Build |
|---|---|
|
|
|
|
|
|
|
|
|
|
|
|
|
|
Enscrolled Crepusculum Day 1 Mutation Mechanic and Stage Buff
| Day 1 Mutation Mechanic |
|---|
| Frenzied Absorption Attack this enemy to reduce its "War Armor" to 0, triggering "Frenzied Absorption" against adjacent targets. Absorbed enemies are defeated, and every enemy absorbed will deal one instance of DMG to all enemies. |
| Day 1 Stage Buff |
| Each time Frenzied Absorption is triggered, upgrades the rank of Stage Buff by 1. Additional DMG Increases all allies' CRIT DMG (increases with rank) and attacks are guaranteed to CRIT. Deals one instance of Additional DMG that can CRIT to the enemy after each attack. |
Enscrolled Crepusculum Day 1 Enemies
| Enemies | Weaknesses |
|---|---|
A Deathward Negotiation Rewards
Enscrolled Crepusculum Day 1 Rewards
| Objectives | Rewards |
|---|---|
| Trigger the "Frenzied Absorption" mechanic and improve Stage Buff to rank 8. |
|
| In the Final Showdown phase, reach 40,000 Points |
|
| In the Final Showdown phase, reach 60,000 Points |
|
| In the Final Showdown phase, reach 80,000 Points |
|
A Deathward Negotiation Information
Part of Enscrolled Crepusculum
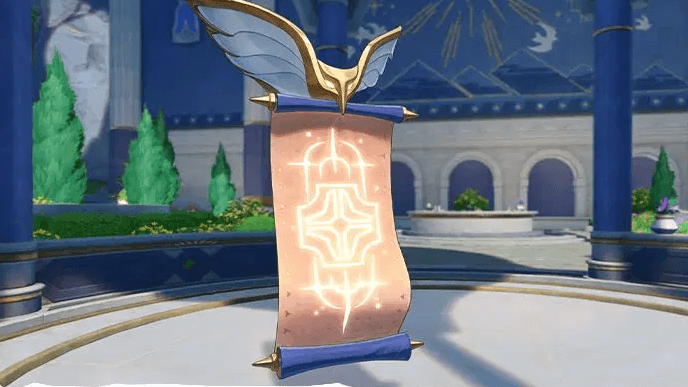
A Deathward Negotiation is the Day 1 stage of Enscrolled Crepusculum where the Furiae Praetor is featured as the key enemy that triggers the Mutation Mechanic. In this stage, Wind will be the best element to use.
Enscrolled Crepusculum Event Guide
Honkai: Star Related Guides

Enscrolled Crepusculum Event Guide
Enscrolled Crepusculum Day Guides
| Stage | Trial Characters |
|---|---|
 Day 1 Day 1 |
|
 Day 2 Day 2 |
|
 Day 3 Day 3 |
|
 Day 4 Day 4 |
|
 Day 5 Day 5 |
All Trial Characters from Previous Stages are Available |
Other Upcoming and Current Events

Comment
Author
A Deathward Negotiation Day 1 Guide
improvement survey
03/2026
improving Game8's site?

Your answers will help us to improve our website.
Note: Please be sure not to enter any kind of personal information into your response.

We hope you continue to make use of Game8.
Premium Articles
Rankings
- We could not find the message board you were looking for.
Gaming News
Popular Games

Genshin Impact Walkthrough & Guides Wiki

Honkai: Star Rail Walkthrough & Guides Wiki

Umamusume: Pretty Derby Walkthrough & Guides Wiki

Pokemon Pokopia Walkthrough & Guides Wiki

Resident Evil Requiem (RE9) Walkthrough & Guides Wiki

Monster Hunter Wilds Walkthrough & Guides Wiki

Wuthering Waves Walkthrough & Guides Wiki

Arknights: Endfield Walkthrough & Guides Wiki

Pokemon FireRed and LeafGreen (FRLG) Walkthrough & Guides Wiki

Pokemon TCG Pocket (PTCGP) Strategies & Guides Wiki
Recommended Games

Diablo 4: Vessel of Hatred Walkthrough & Guides Wiki

Fire Emblem Heroes (FEH) Walkthrough & Guides Wiki

Yu-Gi-Oh! Master Duel Walkthrough & Guides Wiki

Super Smash Bros. Ultimate Walkthrough & Guides Wiki

Pokemon Brilliant Diamond and Shining Pearl (BDSP) Walkthrough & Guides Wiki

Elden Ring Shadow of the Erdtree Walkthrough & Guides Wiki

Monster Hunter World Walkthrough & Guides Wiki

The Legend of Zelda: Tears of the Kingdom Walkthrough & Guides Wiki

Persona 3 Reload Walkthrough & Guides Wiki

Cyberpunk 2077: Ultimate Edition Walkthrough & Guides Wiki
All rights reserved
Copyright © 2024 HoYoverse, COGNOSPHERE. All Rights Reserved.
The copyrights of videos of games used in our content and other intellectual property rights belong to the provider of the game.
The contents we provide on this site were created personally by members of the Game8 editorial department.
We refuse the right to reuse or repost content taken without our permission such as data or images to other sites.


![Everwind Review [Early Access] | The Shaky First Step to A Very Long Journey](https://img.game8.co/4440226/ab079b1153298a042633dd1ef51e878e.png/thumb)

![Monster Hunter Stories 3 Review [First Impressions] | Simply Rejuvenating](https://img.game8.co/4438641/2a31b7702bd70e78ec8efd24661dacda.jpeg/thumb)


