Death Stranding 2 On the Beach (DS2)
Order No. 046 Walkthrough
★ Best Weapons | Best Backpack Component
☆ Outfits | Best Stats to Upgrade
★ Hats, Suits, Glasses, Waist & Chest Accessories
☆ Get all Unlockables and Upgrades
★ All Actors | Cameos
☆ List of Orders and Bosses
This is a guide for Order No. 046 - Deliver the Drawbridge Terminal Unit to F8 in Death Stranding 2: On the Beach (DS2). Read on for a complete walkthrough of Deliver the Drawbridge Terminal Unit to F8, the best routes to deliver the package, and how to beat the Giant Octopus Mech for the third time.
| ◀ Previous Guide | Next Guide ▶ |
|---|---|
| Order No. 045 | Order No. 047 |
List of Contents
Order No. 046 Walkthrough
| List of Objectives | ||
|---|---|---|
| 1 | Connect the Waystations to the Chiral Network | |
| 2 | Deliver the Drawbridge Terminal Unit to F8 | |
Connect the Waystations to the Chiral Network
| # | Step-by-step Walkthrough |
|---|---|
| 1 | 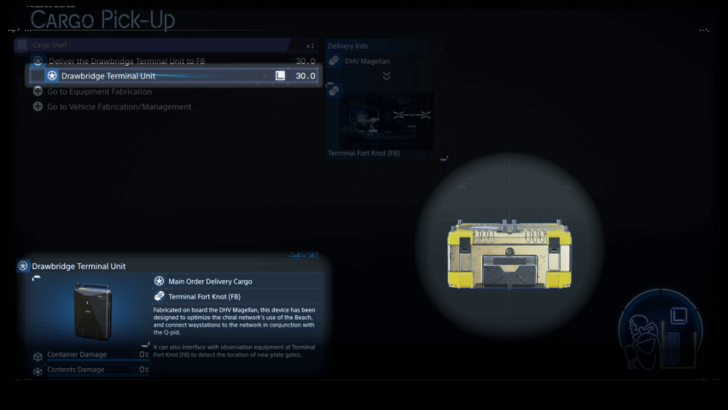 This order involves a lot of intense gunfights, so it's best to prepare accordingly. Stock up on Blood Bags and bring your best weapons. We also recommend using a Tri-Cruiser to transport the Drawbridge Terminal Unit and carrying at least 2 PCCs to build a Watchtower. |
| 2 | 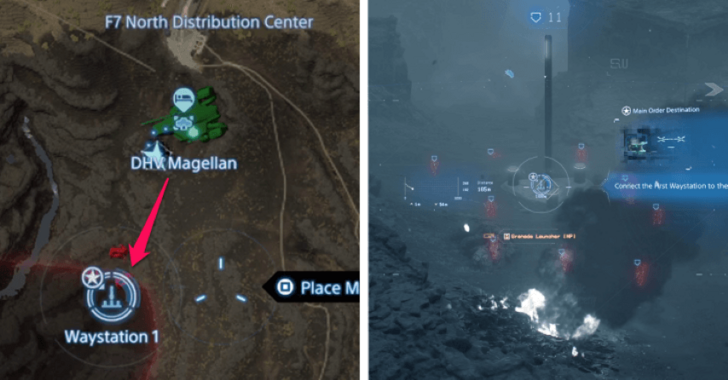 After making your preparations, head south toward Waystation 1. Use the PCC to build a Watchtower nearby and scan for enemies in the area. Make sure to park the Tri-Cruiser somewhere safe as well to avoid damaging the cargo, and retrieve it when connecting the Waystation. |
| 3 | 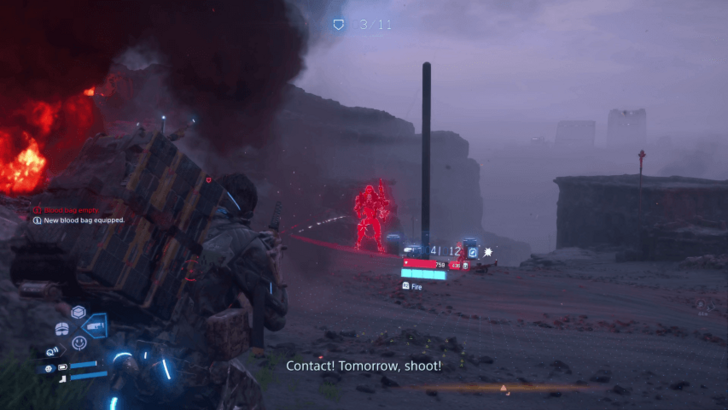 When you're ready, enter the First Waystation and defeat the Ghost Mechs. The DHV Magellan will offer air support, so you can lure tougher enemies into its line of fire to take them out much faster. |
| * | 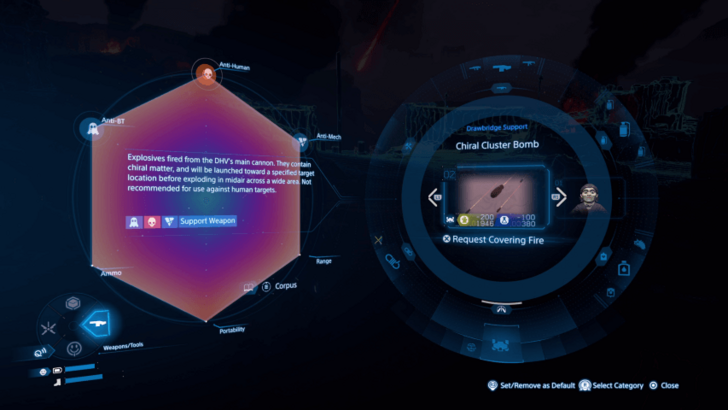 You can also call for Chiral Cluster Bomb support from the DHV Magellan in the Weapons/Tools Menu. We recommend requesting covering fire first to weaken the Ghost Mechs. |
| 4 | 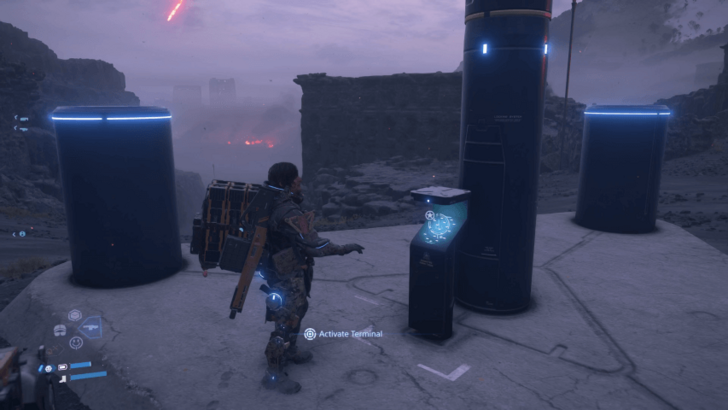 After clearing the area, interact with the First Waystation’s Terminal to connect it to the chiral network. |
| 5 | 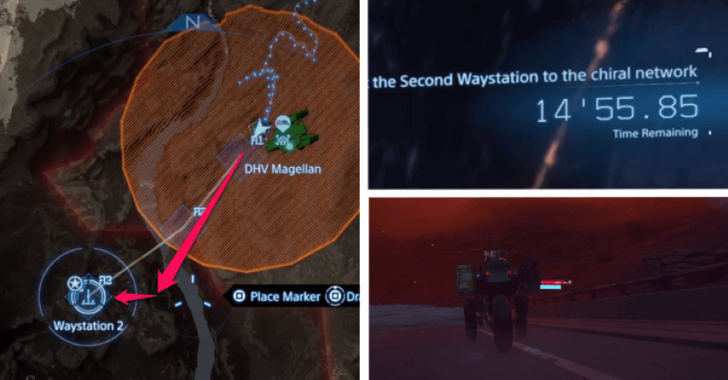 Next, head southwest toward Waystation 2. A 15-minute timer will suddenly appear. But don't worry, it will only take 3-4 minutes to complete the next objective. Boost your vehicle to escape the Ghost Mechs on your way and take the broken bridge to cross the river. |
| 6 | 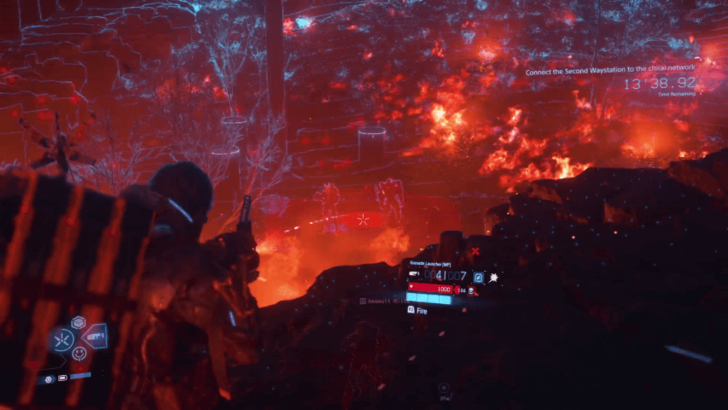 Once you're in the Second Waystation, defeat the Ghost Mechs. There will be fewer enemies here, so you can use your strongest weapons to take them down. |
| 7 | 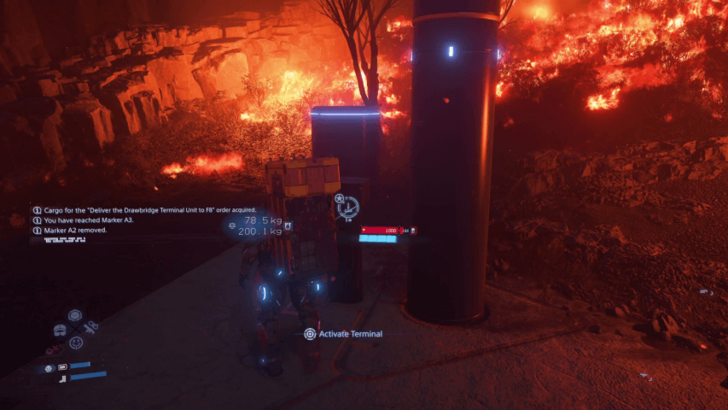 After clearing the area, interact with the Second Waystation’s Terminal to connect it to the chiral network. |
| 8 | 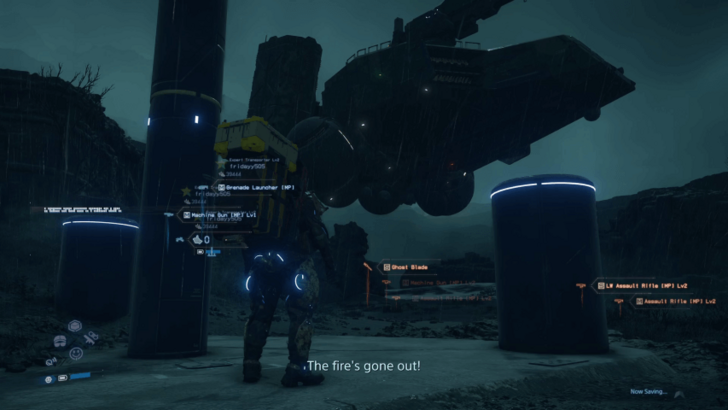 Once both Waystations are connected, the DHV Magellan will land nearby. Take this opportunity to restock on resources like Blood Bags, grenades, and weapons if needed. We also recommend using a Pickup Off-Roader from this point forward, as there will be a Timefall outside. |
Deliver the Drawbridge Terminal Unit to F8
| # | Step-by-step Walkthrough |
|---|---|
| 1 | 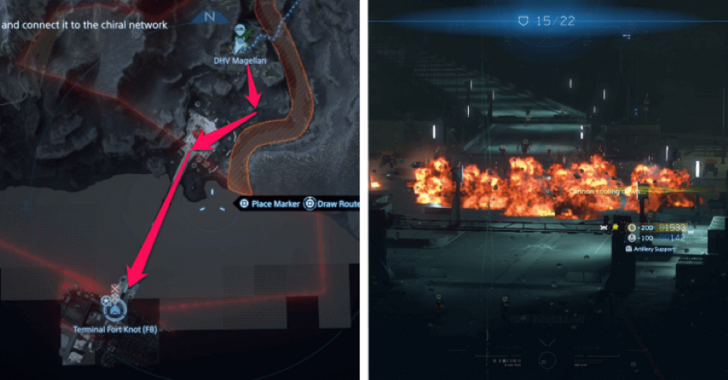 Head south to the Ghost Mechs’ base. Use the PCC to build a Watchtower nearby and scan for enemies. You can also call for Chiral Cluster Bombs again to weaken them. Park the Pickup Off-Roader with the cargo somewhere safe before engaging. |
| 2 | 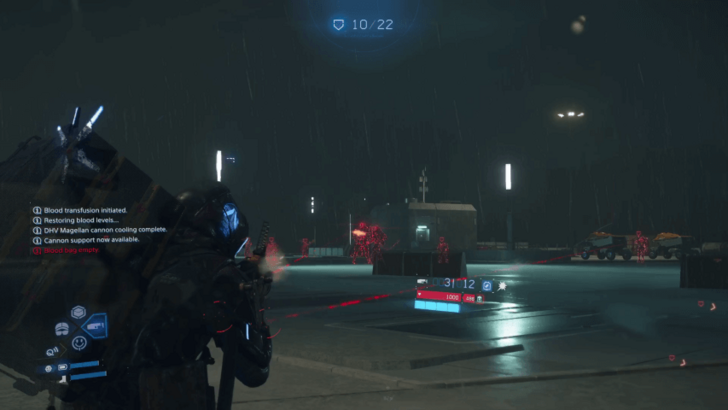 When ready, enter the Ghost Mechs’ base and defeat them. Note that the DHV Magellan still provides air support, so take advantage of this against tougher enemies. |
| 3 | 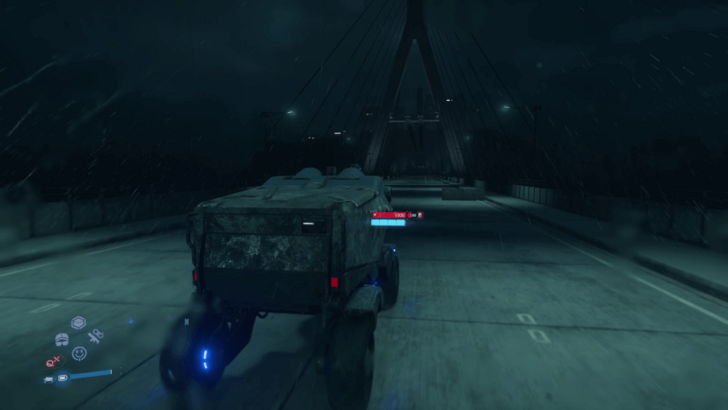 After clearing the area, drive across the bridge toward Terminal Fort Knot (F8). Ignore the Ghost Mechs that appear on the way and boost your vehicle to escape them. A cutscene will then play when you're near your destination. |
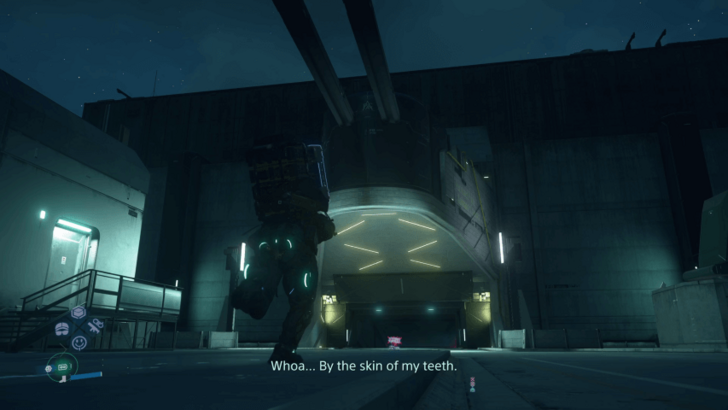
| 4 |  Following the cutscene, the bridge has collapsed and your vehicle has been lost. Make sure to retrieve the Drawbridge Terminal Unit from the water and carry it on your back. Continue to Terminal Fort Knot (F8) on foot until another cutscene triggers, which will then lead to a boss fight against the Giant Octopus Mech once again. |
| 5 | 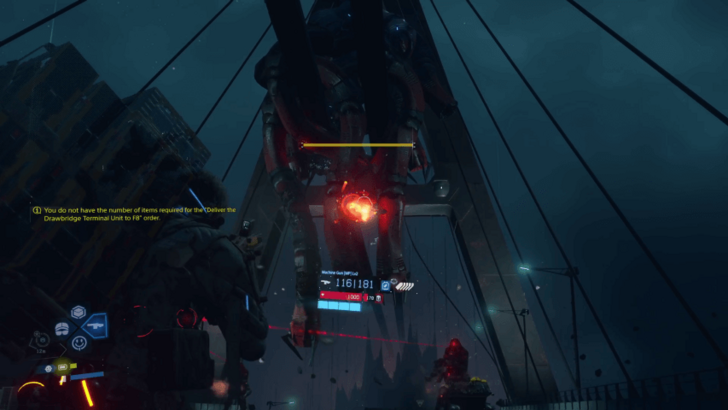 Defeat the Giant Octopus Mech! As with every encounter against the boss, shoot its head and the orange rings around its tentacles to deal damage. It will also perform a lot of vertical attacks, which are easy to dodge by maneuvering sideways. Make sure to also offload the cargo behind cover before fighting to avoid getting damaged. |
| 6 | 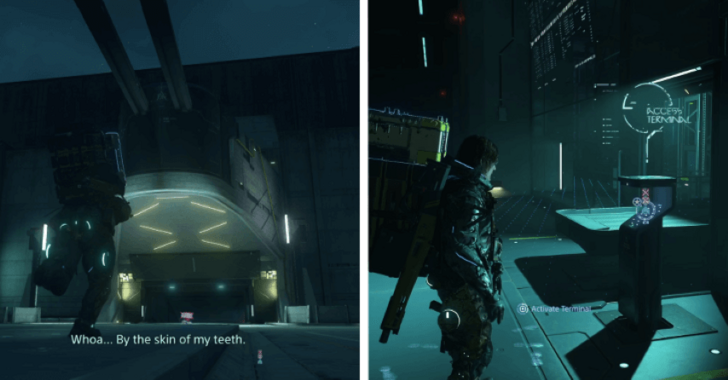 With the Giant Octopus Mech defeated, head to Terminal Fort Knot (F8) and interact with the Terminal to finally complete the order. |


![Star Savior Review [First Impressions] | Engaging, Entertaining, and Expensive](https://img.game8.co/4447603/8f500e9bf666bdb8adb1af478e9dfdbd.png/thumb)
![Death Stranding 2: On The Beach [PC] Review | A Port That Delivers](https://img.game8.co/4447392/15310a0c9aa1b6843bb713b2ea216930.jpeg/thumb)


