Hero, Return to Dawn in Mortality Mission Guide
★ Exclusive: Check out the State of Meta in 4.0!
♦ Latest: 4.1 Livestream Redeem Codes
♦ Phase 2: Sparkxie, Sparkle, Cerydra, Rappa
♦ Upcoming: Ashveil, Silver Wolf Lv.999, Evanescia
♦ Events: Cosmicon, Roll On!, Ding! Arcadia Fun-Time Clock-In Essentials
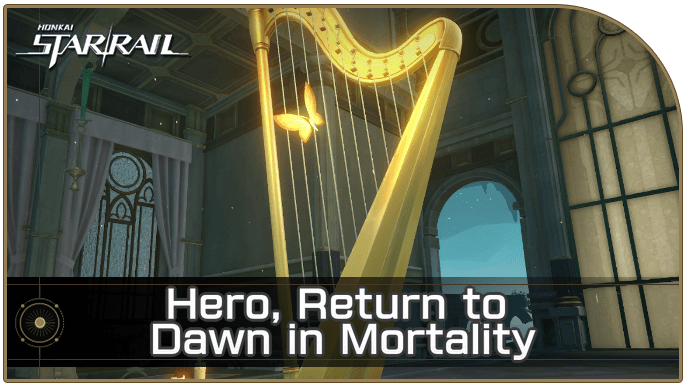
Hero, Return to Dawn in Mortality is a Trailblaze Mission in Honkai: Star Rail that is part of the As Tomorrow Became Yesterday mission series. Check out how to unlock this mission, its walkthrough, and the rewards for completion in this guide!
| Previous Mission | Next Mission |
|---|---|
| The Witch's Ardent Research | Pages, Ripples That Engrave Memories |
List of Contents
Hero, Return to Dawn in Mortality Information
| Mission Type | Trailblaze Mission |
|---|---|
| Location | Amphoreus, "Memortis Shore" Ruins of Time |
| Required Level | 34 |
Part of As Tomorrow Became Yesterday Mission Series
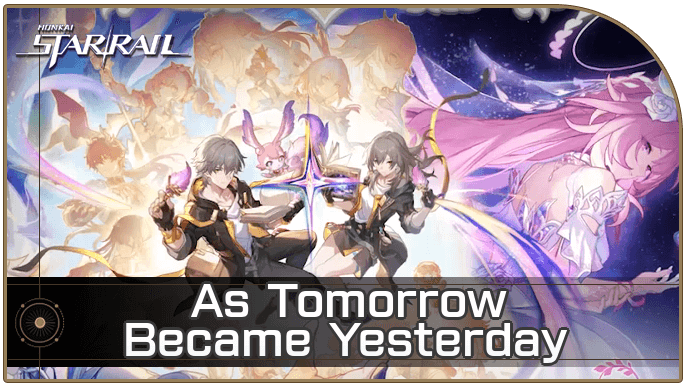
Hero, Return to Dawn in Mortality is the fourth quest for the As Tomorrow Became Yesterday Mission Series.
As Tomorrow Became Yesterday Mission Guide
How to Unlock Hero, Return to Dawn in Mortality
Unlock Requirements
| How to Unlock | Reach Trailblaze Level 34 or above Complete
Gods, Sound the Anthem of Creation
|
|---|
Complete The Witch's Ardent Research Mission
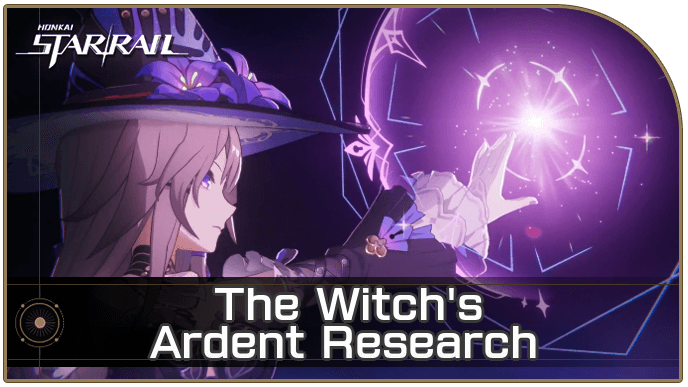
Hero, Return to Dawn in Mortality can be unlocked once you reach Trailblaze Level 34 or above and have completed The Witch's Ardent Research mission.
The Witch's Ardent Research Mission Guide
Hero, Return to Dawn in Mortality Walkthrough
How to Complete Hero, Return to Dawn in Mortality
- Step 1: Gather the Last Titans and Prepare to Face Irontomb
- Step 2: Awaken Phainon's Heroic Soul
- Step 3: Face The Anti-Creator, Hatred Inundate - Irontomb
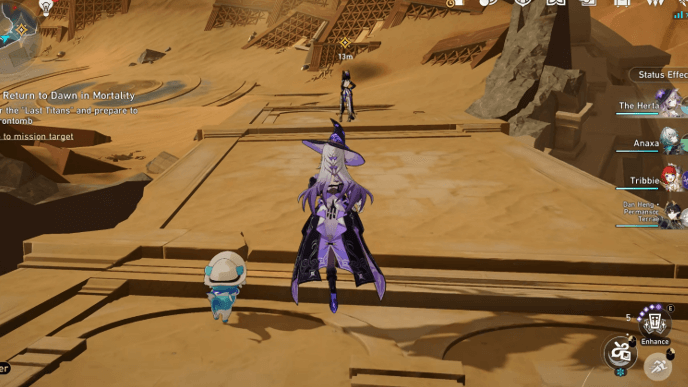
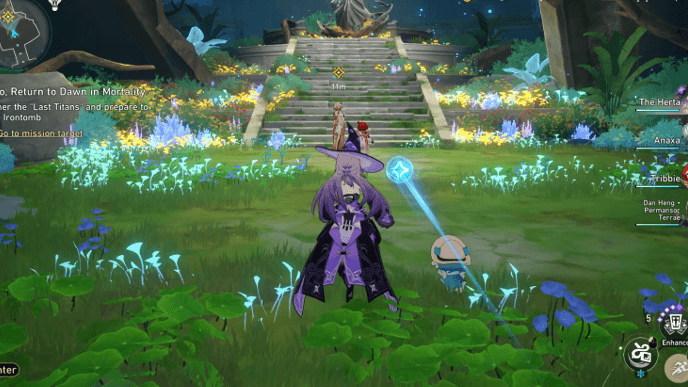
Gather the Last Titans and Prepare to Face Irontomb
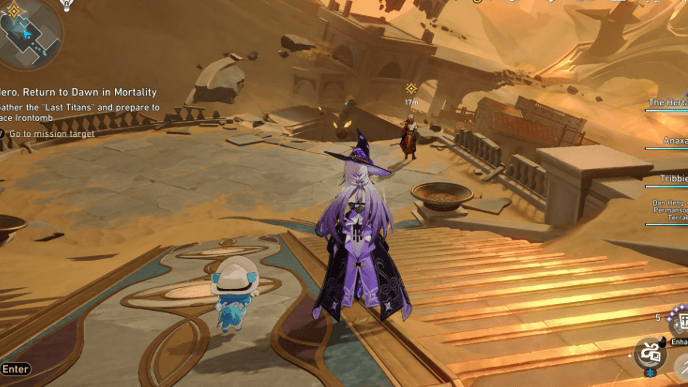
In Memortis Shore Ruins of Time, you'll be tasked to gather the remaining Titans and face Irontomb. Move forward and follow the path until you see Mydei.
Talk to Mydei
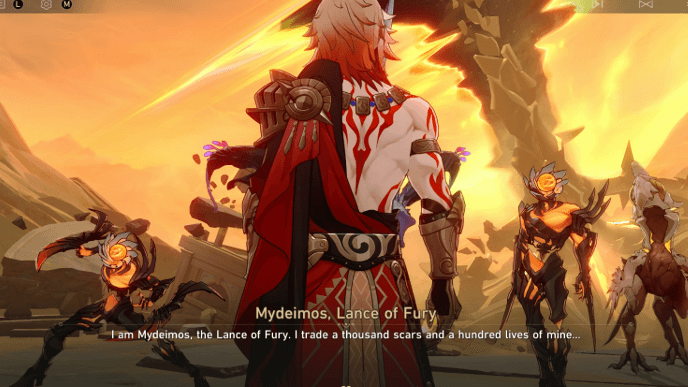
Talk to Mydei, and once you finish the dialogue, a battle will occur. Finish the battle and the dialogue right after, then continue down the path until you see Cipher.
You'll also get the Imperial Ring of Strife Mission Item after the conversation with Mydei.
Talk to Cipher
Talk to Cipher and finish the dialogue. Once you finish the dialogue, continue moving forward and use the Janus Passage to get to the other side. Keep moving until you see Castorice near a statue.
You'll also get the Trickery Coin Mission Item after your conversation with Cipher.
Talk to Castorice
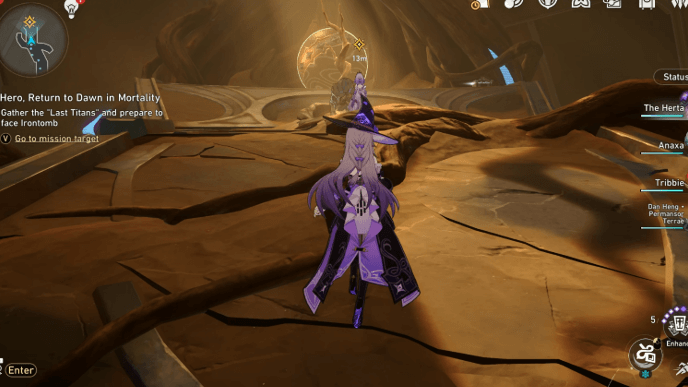
Talk to Castorice and finish the dialogue. The statue will disappear and you will obtain the Winter Blossom of Death Mission Item after talking with Castorice. Move forward right after and you'll notice a giant ball blocking your way.
Approach it and use the power of time to remove it. March 7th will help you remove the ball, and then you can proceed.
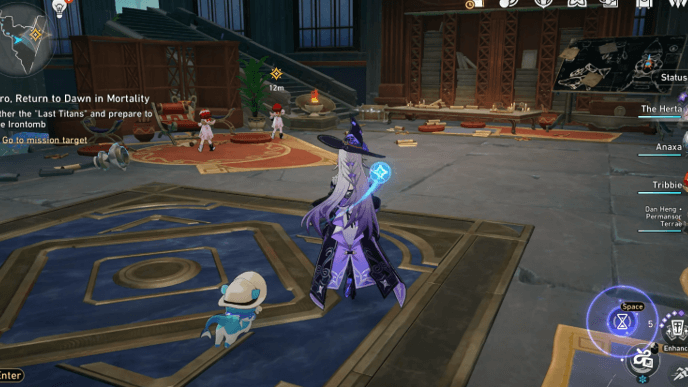
Talk to Hyacine

Ride the elevator down, and a short dialogue will commence. Finish the dialogue and follow the golden blood, which will lead you to Hyacine. Talk to Hyacine and interact with the golden harp.
After your conversation with Hyacine, you'll get the Skybound Spirit Kist Mission Item. Continue following the golden blood and it'll lead you to Anaxa.
Talk to Anaxa

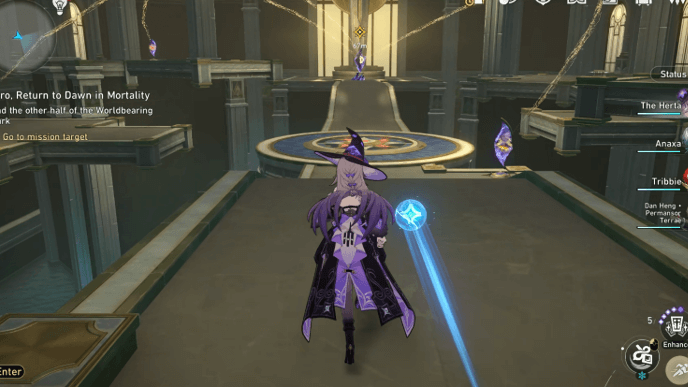
Talk to Anaxa and you'll be tasked to complete the Worldbearing Ceremony, which is a short puzzle. Approach the crystal and interact with it to start the puzzle.
Collect The First Wish
For the first wish, follow the marker and pass through the wall of light. You'll be teleported next to a Prophecy Tablet. Solve the tablet, and the wooden boxes will disappear, allowing you to approach the crystal and get the first wish.
Collect The Second Wish
After the dialogue, follow the marker and go up the ramp. Pass through the next wall of light and you'll be teleported next to the second crystal. Approach it and get the second wish.
Collect The Third Wish
For the third crystal, take the left path and ride the elevator down. Follow the marker and go up the stairs to get to the last crystal. Approach it and get the third wish.
Go back to the crystal in the middle and interact with it. Finish the dialogue and you'll get the Jade of Reason and Wish of Worldbearing Mission Items.
Talk to Cerydra and Hysilens

Go down the elevator from earlier and follow the marker. It will lead you to Cerydra and Hysilens. Talk to them and finish the dialogue, then climb the branch again to see the golden blood.
Talk to Trianne and Trinnon
Follow the golden blood and ride the flower up. Climb up the stairs to the right and it'll lead you to Trianne and Trinnon. Talk to them and they'll ask you to interact with the scrolls in the room.
Just follow the marker and interact with the two scrolls nearby. Talk to Trianne and Trinnon again, then head outside and follow the golden blood.
Find Other Half of Worldbearing Mark
Ride the platform to the other side. Go through the door and ride the elevator down. This will take you to another short puzzle like earlier.
Shatter The First Part of Despair
Interact with the crystal to start the puzzle. For the first part of despair, pass through the wall of light in front of you to get teleported to another area. Next, walk to the wall of light on the right and pass through it.
This will take you to the first crystal. Interact with it and shatter the first part of despair.
Shatter The Second Part of Despair
From the first crystal, pass through the wall of light in front of you to get teleported to another area. From there, go to the right and pass the wall of light. This will take you to the second crystal. Interact with it and shatter the second part of despair.
Shatter The Third Part of Despair
From the second crystal, follow the path to the right and it'll lead you to a Prophecy Tablet. Solve the tablet to remove the wooden boxes blocking the way. Go down the ramp and interact with the third crystal to shatter the third part of despair.
Interact with the crystal that has the Worldbearing Mark to finish the puzzle. Proceed with the dialogue and you'll receive the Despair of Worldbearing Mission Item.
Follow The Blank Wish
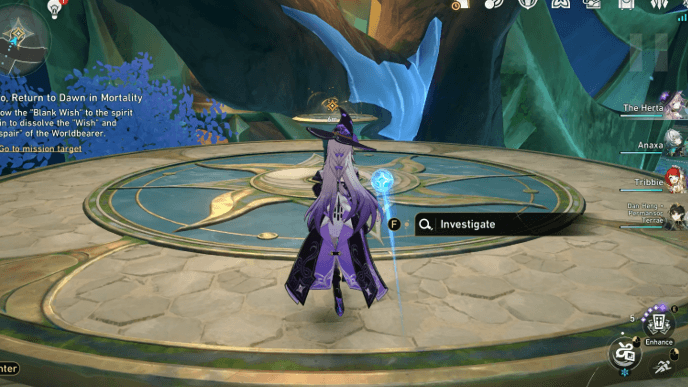
Ride the elevator down and follow the kid that appeared. Go through the Janus Passage to get to the other side. Go up the stairs and interact with the spirit basin.
Talk to Aglaea and Tribbie
Finish the dialogue and go up the stairs to see Aglaea and Tribbie. Talk to them and finish the dialogue. Talk to Cyrene to get to the next area and start the Final Flame-Chase Journey.
Awaken Phainon's Heroic Soul
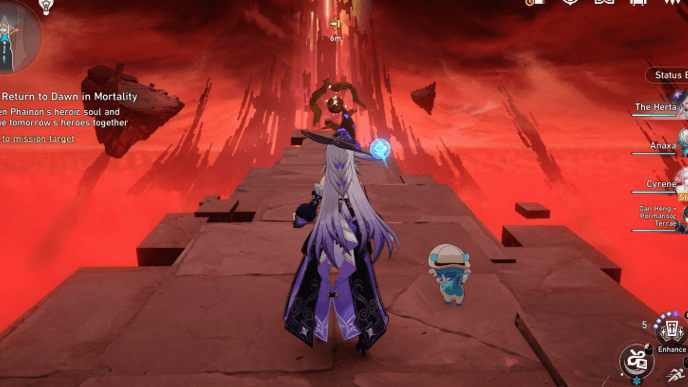
Set your team and set out on the Final Flame-Chase Journey. You'll be transported to where Irontomb will be born. Finish the opening dialogue and follow the marker. Use the Janus Passage to get to the other side.
Follow the marker and it'll lead you to Phainon. Proceed with the dialogue, and a battle will commence.
Fight The Vessel of Destruction, Khaslana
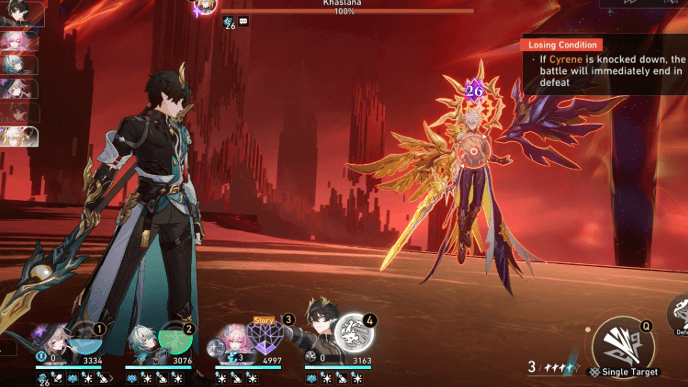
You'll be fighting against The Vessel of Destruction, Khaslana. In this battle, Khaslana will only summon some clones of the Flame Reaver and he doesn't really do anything special. Keep attacking Khaslana until his HP is depleted.
Right after the fight with Khaslana, you'll face Irontomb.
Face The Anti-Creator, Hatred Inundate - Irontomb
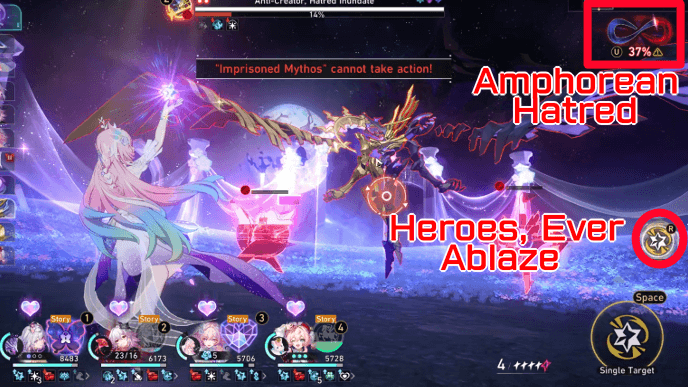
After the dialogue and cutscene, a battle against Irontomb will commence. Fight against Irontomb and use Heroes, Ever Ablaze to reduce its Amphorean Hatred. It will also heavily damage Irontomb.
If the Amphorean Hatred gets to 100%, you'll automatically lose the fight, so keep an eye on it! When it reaches 1% HP on the second phase, some dialogue happens and a cutscene will happen shortly after. Proceed with the dialogue, and the mission ends.
Recommended Teams Against Irontomb
| Castorice DPS | |||
|---|---|---|---|
 Castorice Castorice
|
 Evernight Evernight
|
 Cyrene Cyrene
|
 Hyacine Hyacine
|
| The Herta DPS | |||
 The Herta The Herta
|
 Anaxa Anaxa
|
Cyrene
|
Hyacine
|
| Aglaea DPS | |||
 Aglaea Aglaea
|
 Sunday Sunday
|
Cyrene
|
Hyacine
|
Here are some recommended teams that will make the battle against Irontomb easier. Characters with AoE attacks have a much easier team dealing with Irontomb because the damage its summons take is shared with it.
If the battle proves to be too difficult, you can change to Casual Mode when you get defeated to make it easier.
Hero, Return to Dawn in Mortality Rewards
| Mission Rewards | ||
|---|---|---|
 Stellar Jade
x110 Stellar Jade
x110 |
 Traveler's Guide
x8 Traveler's Guide
x8 |
 Lost Crystal
x8 Lost Crystal
x8 |
 Disorder Ambrosia
x360 Disorder Ambrosia
x360 |
 Credit
x129000 Credit
x129000 |
|
Honkai: Star Rail Related Guides

All Missions and Mission Types
Other As Tomorrow Became Yesterday Guides

| As Tomorrow Became Yesterday | |
|---|---|
| No Aha at Full Moon | |
| 1 | Dawn, Caress the Distant Lands Once More |
| 2 | Traverse Stars and Stride Cosmos |
| 3 | The Witch's Ardent Research |
| 4 | Hero, Return to Dawn in Mortality |
| 5 | Pages, Ripples That Engrave Memories |
| 6 | Silver Chariot, Part With That Humanity's Epic |
| 7 | Fallen Petals, Leave Fading Traces of Fragrance |
All Trailblaze Missions
| Prologue: Herta Space Station | |
|---|---|
| 1 | Today Is Yesterday's Tomorrow |
| Chapter 1: Jarilo-VI | |
| 2 | In the Withering Wintry Night |
| 3 | In the Sweltering Morning Sun |
| Chapter 2: The Xianzhou Loufu | |
| 4 | Windswept Wanderlust |
| 5 | Topclouded Towerthrust |
| 6 | Karmic Clouds Faded, War Banners Folded |
| Chapter 3: Penacony | |
| 7 | The Sound and the Fury |
| 8 | Cat Among Pigeons |
| 9 | In Our Time |
| 10 | Farewell, Penacony |
| 11 | A New Venture on the Eighth Dawn |
| Chapter 4: Amphoreus | |
| 12 | Heroic Saga of Flame-Chase |
| 13 | Light Slips the Gate, Shadow Greets the Throne |
| 14 | Through the Petals in the Land of Repose |
| 15 | The Fall at Dawn's Rise |
| 16 | For the Sun is Set to Die |
| 17 | Before Their Deaths |
| 18 | Back to Earth in Evernight |
| 19 | As Tomorrow Became Yesterday |
| Chapter 5: Planarcadia | |
| 1 | No Aha at Full Moon |
Comment
Author

Hero, Return to Dawn in Mortality Mission Guide
Premium Articles

Rankings
- We could not find the message board you were looking for.
Gaming News


![Monster Hunter Stories 3 Review [First Impressions] | Simply Rejuvenating](https://img.game8.co/4438641/2a31b7702bd70e78ec8efd24661dacda.jpeg/thumb)
![The Seven Deadly Sins: Origin [First Impressions] | A Promising Start](https://img.game8.co/4440581/584e0bfb87908f12c4eab6e846eb1afd.png/thumb)

Popular Games

Genshin Impact Walkthrough & Guides Wiki
Umamusume: Pretty Derby Walkthrough & Guides Wiki
Pokemon Pokopia Walkthrough & Guides Wiki
Honkai: Star Rail Walkthrough & Guides Wiki
Monster Hunter Stories 3: Twisted Reflection Walkthrough & Guides Wiki
Arknights: Endfield Walkthrough & Guides Wiki
Wuthering Waves Walkthrough & Guides Wiki
Zenless Zone Zero Walkthrough & Guides Wiki
Pokemon TCG Pocket (PTCGP) Strategies & Guides Wiki
Monster Hunter Wilds Walkthrough & Guides Wiki


Recommended Games
Diablo 4: Vessel of Hatred Walkthrough & Guides Wiki
Cyberpunk 2077: Ultimate Edition Walkthrough & Guides Wiki
Fire Emblem Heroes (FEH) Walkthrough & Guides Wiki
Yu-Gi-Oh! Master Duel Walkthrough & Guides Wiki
Super Smash Bros. Ultimate Walkthrough & Guides Wiki
Pokemon Brilliant Diamond and Shining Pearl (BDSP) Walkthrough & Guides Wiki
Elden Ring Shadow of the Erdtree Walkthrough & Guides Wiki
Monster Hunter World Walkthrough & Guides Wiki
The Legend of Zelda: Tears of the Kingdom Walkthrough & Guides Wiki
Persona 3 Reload Walkthrough & Guides Wiki


All rights reserved
Copyright © 2024 HoYoverse, COGNOSPHERE. All Rights Reserved.
The copyrights of videos of games used in our content and other intellectual property rights belong to the provider of the game.
The contents we provide on this site were created personally by members of the Game8 editorial department.
We refuse the right to reuse or repost content taken without our permission such as data or images to other sites.