Cave Worm Weaknesses and How to Beat

Learn how to beat the boss Cave Worm in the game Final Fantasy Crystal Chronicles: Remastered Edition (FFCC). This guide has all the details on Cave Worm's weaknesses and resistances, attack patterns, and what artifacts it drops.
List of Contents
| Normal | Hard |
|---|---|
| Cave Worm | Abyss Worm |
Cave Worm Basic Information
Resistance Ratings
| Fire | Blizzard | Thunder | Slow |
|---|---|---|---|
| 2 | 3 | 2 | 3 |
| Stop | Gravity | Holy | |
| 3 | 2 | 0 |
A lower number (min 0) indicates weakness to an element, while a higher number (max 3) indicates resistance to an element.
Cave Worm Boss Battle Guide
Thunder resistance will help
Electric Jellyfish will appear to assist in the battle, and when they come close, can deal damage and inflict Paralysis. Even if you try to ignore them, they will come after you and cause trouble, so these foes will be a significant nuisance when going in with no plan.
Changing the Crystal Chalice's Element to Wind will grant a resistance to Thunder, nullifying the Paralysis effect completely. Otherwise, Thunder-resisting Equipment will work as well.
Attack while the Cave Worm is in action
When the Cave Worm seems to be inactive, damaging it will enrage it and incite it to counter with its Neck Flail and Slam moves. These attacks are difficult to avoid, but it will almost never use them if not provoked.
Instead, wait for it to use its other attacks like Sand Breath and Inhale, and find a gap to attack, as it will not counterattack at this time. Try to attack Cave Worm only when it is using an attack, keeping a tactical head throughout the battle.
Attacking during Inhale is the safest bet
When the players take distance from Cave Worm, it will use Inhale to draw them back in. Inhale itself deals no damage, while also leaving the Cave Worm vulnerable to attack, making it a prime chance to get in some hits. Lure Cave Worm into using Inhale, then attack while being drawn in.
This strategy can take some time, but when struggling with the battle using other techniques, old slow and steady can pull through.
Cave Worm Attack Phases
Cave Worm Abilities and Attack Patterns
Cave Worm will counter with Slam and Neck Flail when provoked in its inactivate state. If it uses these attacks, you probably attacked too early, so try to wait longer before striking next time.
It uses Sand Breath with high frequency, an attack with a wide horizontal range. Start moving early to make sure you're well out of range of the attack.
When attacked in an inactive state
| Slam |
| Neck Flail |
When the players are far
| Sand Breath |
| Poison Cloud |
| Cannon Burst (when HP is 50% or lower) |
Attacks do not change in Cycles 2 and 3
Every time you encounter Cave Worm, its attack patterns will be the same, although its stats will increase in each progressive Cycle.
Cave Worm Rewards
Artifacts and Items Dropped
Each Boss drops a set of four Artifacts when defeated. The set of Artifacts dropped depends on the current cycle count, number of players, and the number of Bonus Points earned by the players. At high levels, non-Artifact items like rare Materials and Scrolls can also drop.
Players must earn at least the indicated number of Bonus Points for their given player count and cycle to receive a given Set.
Set 1
| Cycle 1 | Cycle 2 | Cycle 3 | Items Dropped | |
|---|---|---|---|---|
| 1P | 0 | - | - |
・Ogrekiller
・Dragon's Whisker ・Buckler ・Chocobo Pocket |
| 2P | 0 | - | - | |
| 3P | 0 | - | - | |
| 4P | 0 | - | - |
Set 2
| Cycle 1 | Cycle 2 | Cycle 3 | Items Dropped | |
|---|---|---|---|---|
| 1P | 158 | - | - |
・Ashura
・Rune Bell ・Silver Spectacles ・Ring of Thunder |
| 2P | 170 | - | - | |
| 3P | 193 | - | - | |
| 4P | 212 | - | - |
Set 3
| Cycle 1 | Cycle 2 | Cycle 3 | Items Dropped | |
|---|---|---|---|---|
| 1P | 197 | 0 | - |
・Kaiser Knuckles
・Mage Masher ・Moon Pendant |
| 2P | 212 | 0 | - | |
| 3P | 241 | 0 | - | |
| 4P | 265 | 0 | - |
Set 4
| Cycle 1 | Cycle 2 | Cycle 3 | Items Dropped | |
|---|---|---|---|---|
| 1P | 245 | 158 | - |
・Power Wristband
・Rune Staff ・Teddy Bear ・Ring of Thunder |
| 2P | 255 | 170 | - | |
| 3P | 302 | 193 | - | |
| 4P | 332 | 212 | - |
Set 5
| Cycle 1 | Cycle 2 | Cycle 3 | Items Dropped | |
|---|---|---|---|---|
| 1P | - | 197 | 0 |
・Sasuke's Blade
・Kris ・Diamond Armor |
| 2P | - | 212 | 0 | |
| 3P | - | 241 | 0 | |
| 4P | - | 265 | 0 |
Set 6
| Cycle 1 | Cycle 2 | Cycle 3 | Items Dropped | |
|---|---|---|---|---|
| 1P | - | 245 | 158 |
・Twisted Headband
・Gold Hairpin ・Moon Pendant ・Orichalcum |
| 2P | - | 255 | 170 | |
| 3P | - | 302 | 193 | |
| 4P | - | 332 | 212 |
Set 7
| Cycle 1 | Cycle 2 | Cycle 3 | Items Dropped | |
|---|---|---|---|---|
| 1P | - | - | 197 |
・Loaded Dice
・Sage's Staff ・Ring of Thunder ・Wind Crystal |
| 2P | - | - | 212 | |
| 3P | - | - | 241 | |
| 4P | - | - | 265 |
Set 8
| Cycle 1 | Cycle 2 | Cycle 3 | Items Dropped | |
|---|---|---|---|---|
| 1P | - | - | 245 |
・Ogrekiller
・Earth Armor ・Ring of Protection |
| 2P | - | - | 255 | |
| 3P | - | - | 302 | |
| 4P | - | - | 332 |
Boss Battle Related Articles

All Boss Fights
| All Normal Dungeon Bosses | |
|---|---|
 Giant Crab Giant Crab
|
 Malboro Malboro
|
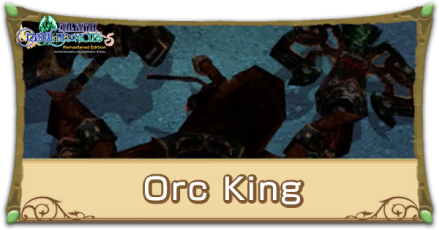 Orc King Orc King
|
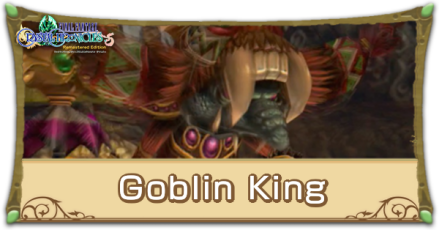 Goblin King Goblin King
|
 Armstrong Armstrong
|
 Gigas Lord Gigas Lord
|
 Golem Golem
|
 Lizardman King Lizardman King
|
|
Cave Worm
|
 Iron Giant Iron Giant
|
 Dragon Zombie Dragon Zombie
|
 Lich Lich
|
 Antlion Antlion
|
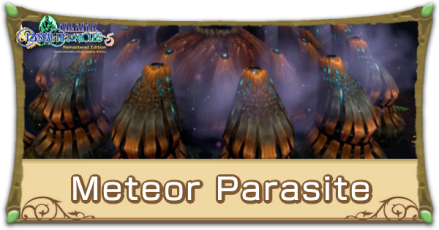 Meteor Parasite Meteor Parasite
|
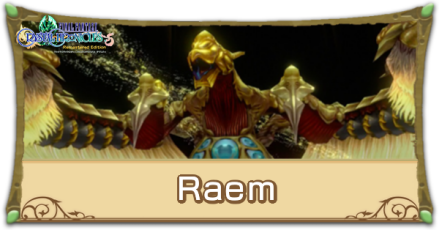 Raem Raem
|
 Memiroa Memiroa
|
All Post-Game Boss Fights
| All Post-Game Bosses | |
|---|---|
 Giant Crab (Hard) Giant Crab (Hard)
|
 Great Malboro Great Malboro
|
 Rottenheim Rottenheim
|
 Jack Moschet Jack Moschet
|
 Ice Golem Ice Golem
|
 Lizard Queen Lizard Queen
|
 Abyss Worm Abyss Worm
|
 Red Giant Red Giant
|
 Antlion (Hard) Antlion (Hard)
|
 Orc Lord Orc Lord
|
 Green Dragon Green Dragon
|
 Goblin Lord Goblin Lord
|
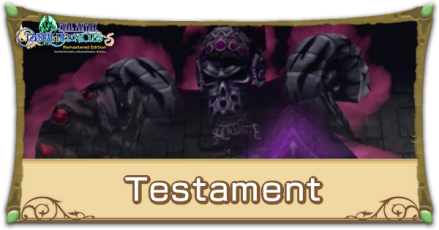 Testament Testament
|
|
Author
Cave Worm Weaknesses and How to Beat
Rankings
- We could not find the message board you were looking for.
Gaming News
![Neverness to Everness (NTE) Review [Beta Co-Ex Test] | Rolling the Dice on Something Special](https://img.game8.co/4414628/dd3192c8f1f074ea788451a11eb862a7.jpeg/show)


Popular Games

Genshin Impact Walkthrough & Guides Wiki
Honkai: Star Rail Walkthrough & Guides Wiki
Arknights: Endfield Walkthrough & Guides Wiki
Umamusume: Pretty Derby Walkthrough & Guides Wiki
Wuthering Waves Walkthrough & Guides Wiki
Pokemon TCG Pocket (PTCGP) Strategies & Guides Wiki
Abyss Walkthrough & Guides Wiki
Zenless Zone Zero Walkthrough & Guides Wiki
Digimon Story: Time Stranger Walkthrough & Guides Wiki
Clair Obscur: Expedition 33 Walkthrough & Guides Wiki


Recommended Games
Fire Emblem Heroes (FEH) Walkthrough & Guides Wiki
Pokemon Brilliant Diamond and Shining Pearl (BDSP) Walkthrough & Guides Wiki
Diablo 4: Vessel of Hatred Walkthrough & Guides Wiki
Super Smash Bros. Ultimate Walkthrough & Guides Wiki
Yu-Gi-Oh! Master Duel Walkthrough & Guides Wiki
Elden Ring Shadow of the Erdtree Walkthrough & Guides Wiki
Monster Hunter World Walkthrough & Guides Wiki
The Legend of Zelda: Tears of the Kingdom Walkthrough & Guides Wiki
Persona 3 Reload Walkthrough & Guides Wiki
Cyberpunk 2077: Ultimate Edition Walkthrough & Guides Wiki


All rights reserved
© 2003, 2020 SQUARE ENIX CO., LTD. All Rights Reserved.
The copyrights of videos of games used in our content and other intellectual property rights belong to the provider of the game.
The contents we provide on this site were created personally by members of the Game8 editorial department.
We refuse the right to reuse or repost content taken without our permission such as data or images to other sites.