100% Walkthrough Guide
★ Best Personality | Best Equipment | Best Party
☆ Class Tier List | Vamp Guide | Monster Wrangler
★ Friendly Monsters | Sparkly Spots | Keys Guide
☆ EXP Farming | Money Farming | Seed Farming
★ Post Game (Spoilers!) | Missables | Trophy Guide
This is a 100% walkthrough guide for Dragon Quest 3 H3-2D Remake (DQ3). It includes all the story steps from the early, mid, and late games, as well as tips on how to beat certain puzzles and bosses.
List of Contents
List of All Story Walkthroughs
Dragon Quest 3 H3-2D Remake Early Game Walkthrough
Aliahan Area Quest Walkthrough
| Jump to an Area Walkthrough! | ||
|---|---|---|
| Aliahan | Reeve | Romaria |
| Norvik | Asham | Portoga |
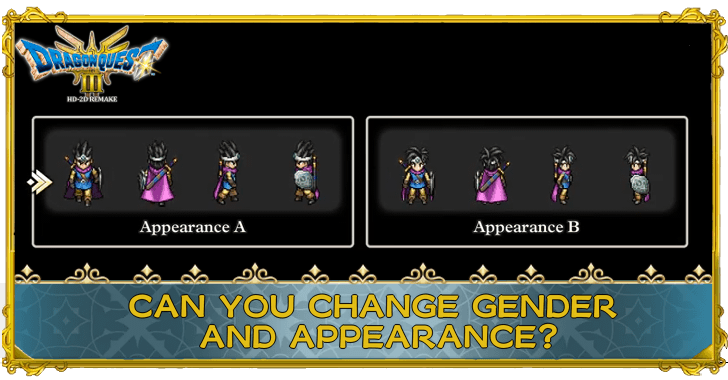
| 1 | 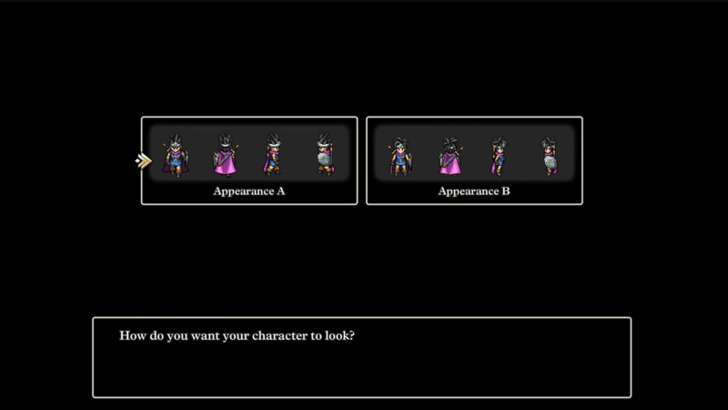 Select your protagonist and game settings. If you don't have a gender preference, we recommend starting as Appearance B so you can get the Vamp Personality. |
|---|---|
| 2 | 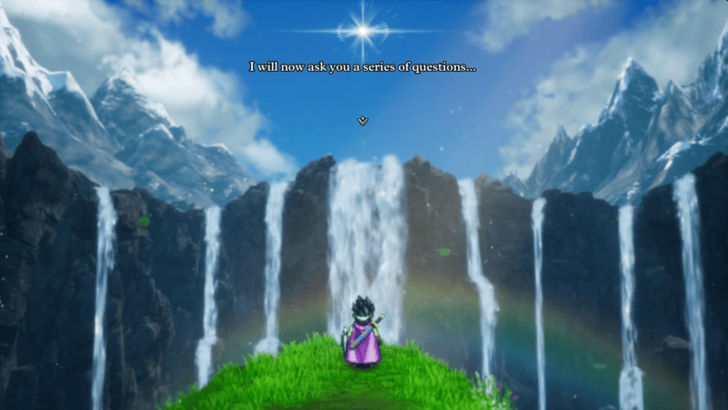 Approach the waterfall and complete the Personality Quiz. |
| 3 | 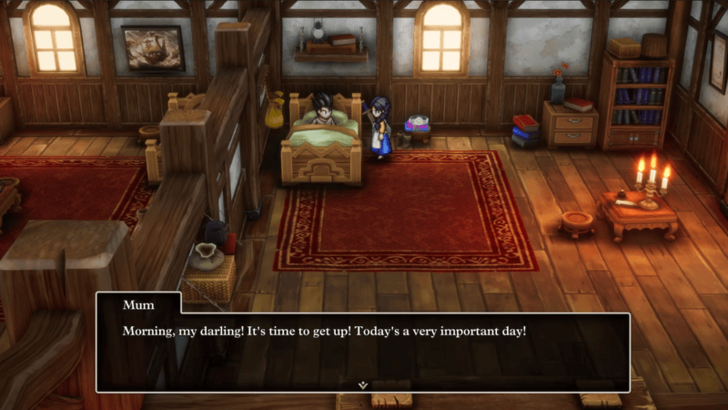 After the test, the story begins in Aliahan. |
| 4 | As soon as you can move, exit your house and enter Aliahan Castle to talk to the king. |
| * | 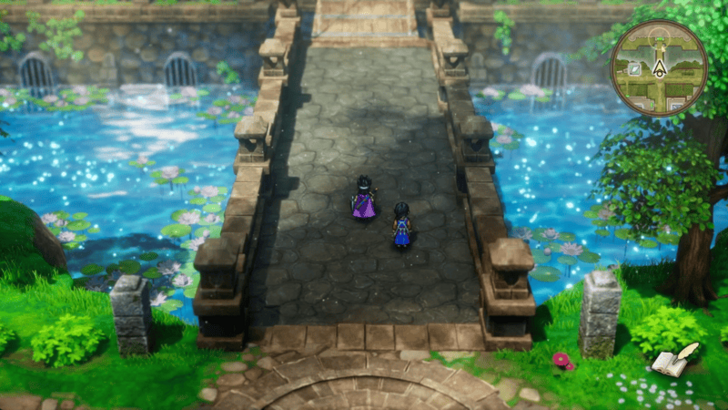 When you're on the bridge, don't go back to town or talk to your mother as this may alter your personality depending on your choices. |
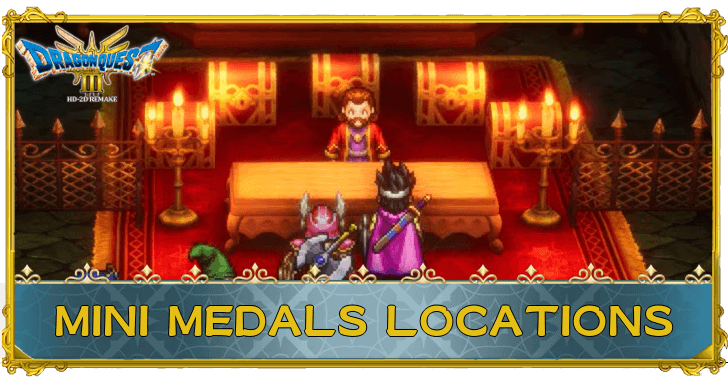
| 5 | After talking to him, explore the town for any items and Mini Medals you can find. Note that you can only enter the house on the right at nighttime. |
| 6 |  Assemble your party at Patty's Party Planning Place in the northwest of Aliahan. It's recommend to have a party of Warrior, Priest, and Mage for combat. As for exploration, you'll want to have at least a Merchant, Thief, or Monster Wrangler in the party. |
| * | 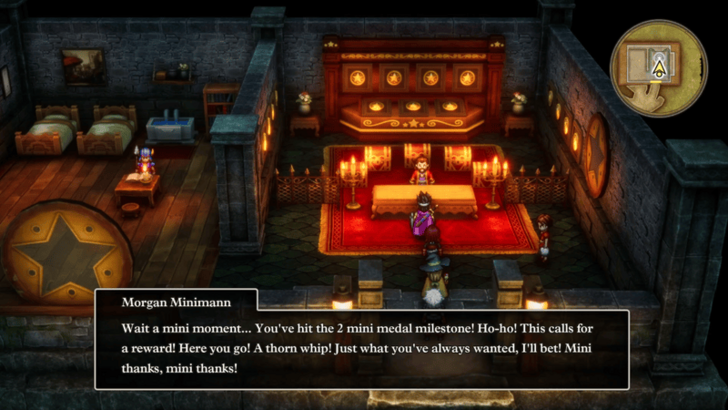 Before leaving, make sure you give the 2 Mini Medals you found in town to Morgan Minimann at the bottom of the well for a Thorn Whip. |
| 7 | When you're ready and have your party assembled, leave Aliahan and head northwest to Reeve. |
Aliahan Map and Available Items
Use Appearance B and the Vamp Personality
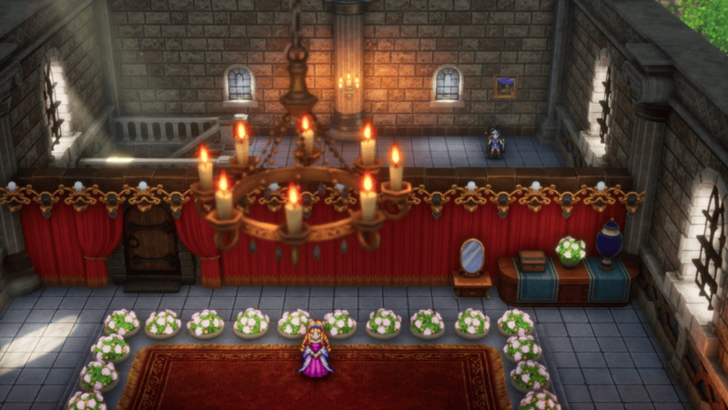
If you have no personal preferences, we recommend starting as Appearance B with the Vamp personality. This allows you to begin with a balanced amount of stat boosts with an emphasis on Agility and Luck.
All Personality Quiz Answers and Best Starting Personality
Recruit Custom Companions

When you're adding party members to your team, it's highly recommended to go to the second floor and talk to the man at the desk to recruit custom party members.
Unlike the default companions from Patty, you'll get to choose their name, gender, Vocation, appearance, and stat distribution. The most important part of this is the stat distribution, since it will change the personality that they get.
Best Personalities for Each Vocation
Reeve Area Quest Walkthrough
| Jump to an Area Walkthrough! | ||
|---|---|---|
| Aliahan | Reeve | Romaria |
| Norvik | Asham | Portoga |
| 1 | 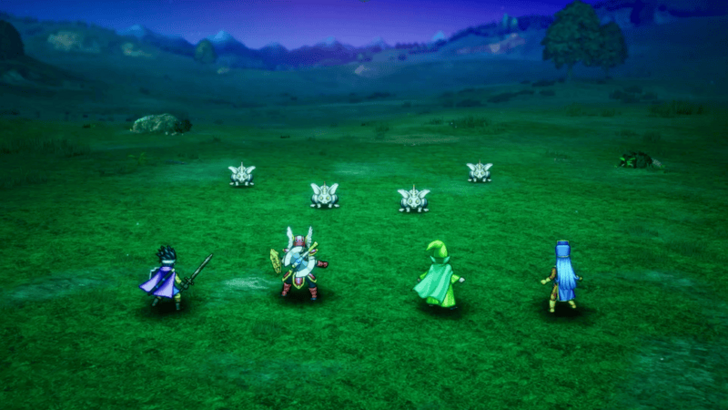 Defeat monsters around Reeve until you and your party get to at least Level 3. |
|---|---|
| 2 | 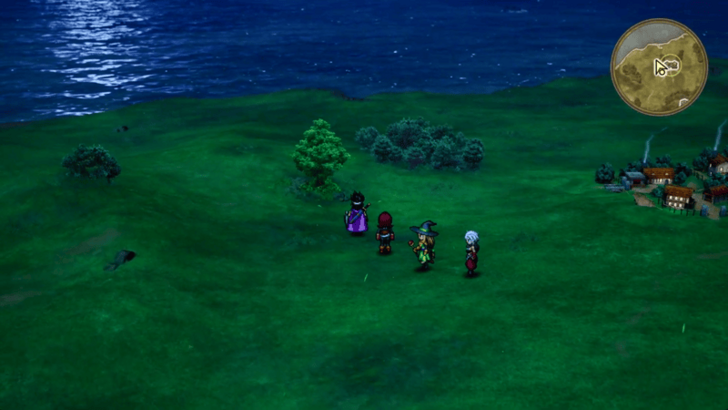 There's a Secret Spot right to the west of Reeve so make sure to go to the tree and grab the Divine Dagger inside. Afterwards, you can head into Reeve. ▶ All Secret Spot Locations |
| * | Whenever you enter a new town, it's recommended to purchase new equipment and restock your items if need be. |
| 3 | 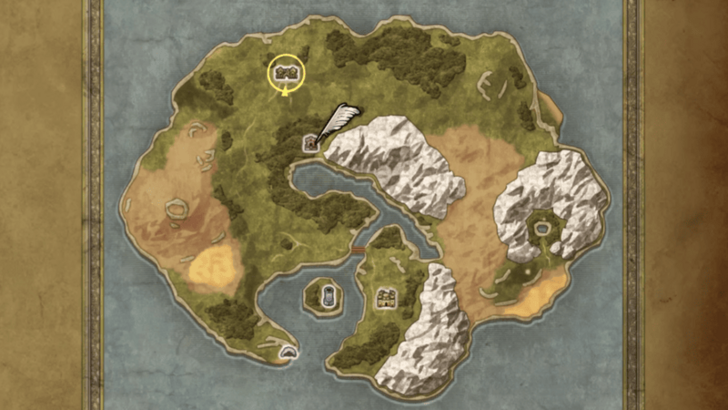 Head into the Shrine of the Plains directly south of Reeve. You can enter the Dreamer’s Tower through the entrance found to the left. |
| * | 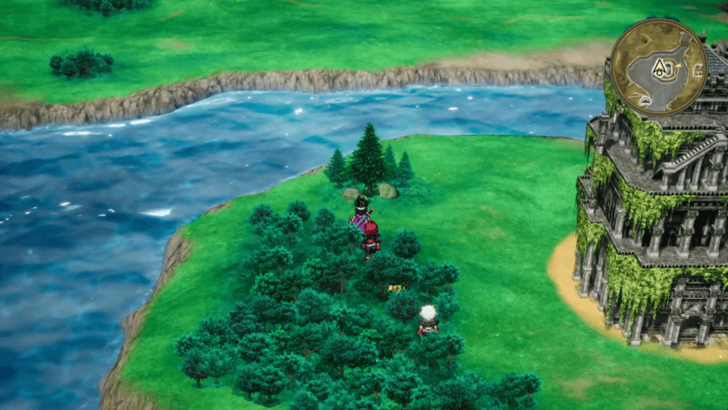 Before climbing the tower, head outside and visit the Secret Spot on the northwestern side of the island. |
| 4 | 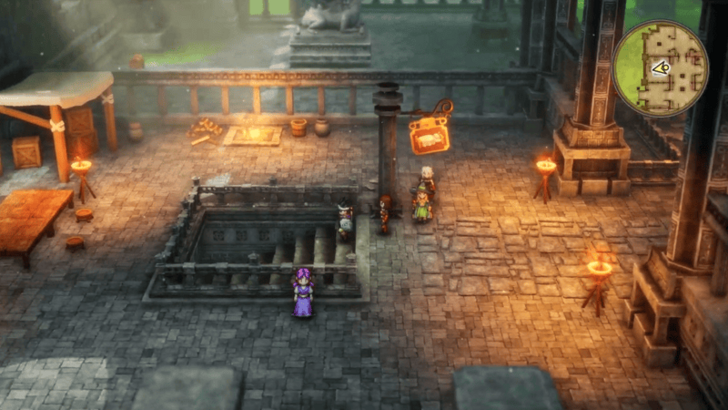 Climb the Dreamer's Tower from the basement towards the 4th floor. Remember to rest at the Inn on the 1st floor whenever you're low on MP. |
| 5 | 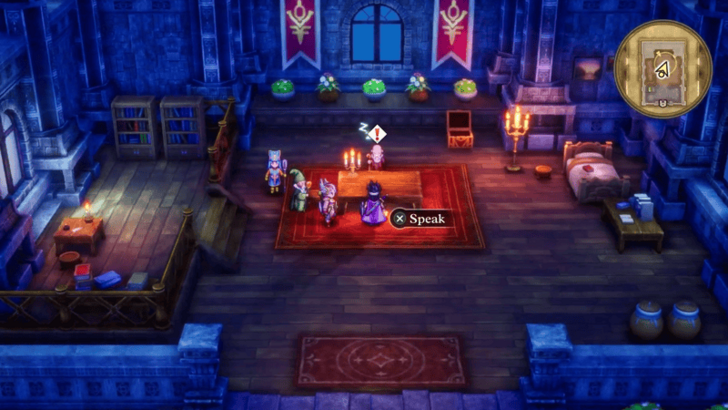 Talk to the old man on the fourth floor of the tower and receive the Thief's Key. To get to him, you'll need to take the spiral staircase on the 3rd floor, not the stairs on the southside. |
| 6 | 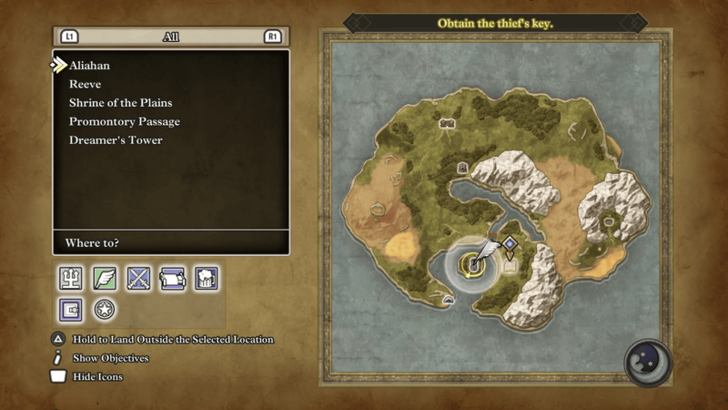 Leave Dreamer's Tower and return to Reeve. You can jump off the tower and use the Chimaera Wing from the chest next to the old man to quickly teleport there. |
| 7 | 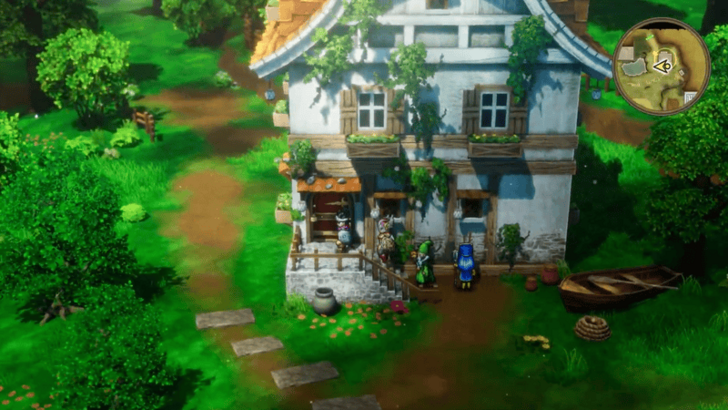 After arriving at Reeve, enter the house with the red door in the northeast to receive a Wrecking Ball from the old man on the second floor. |
| 8 | 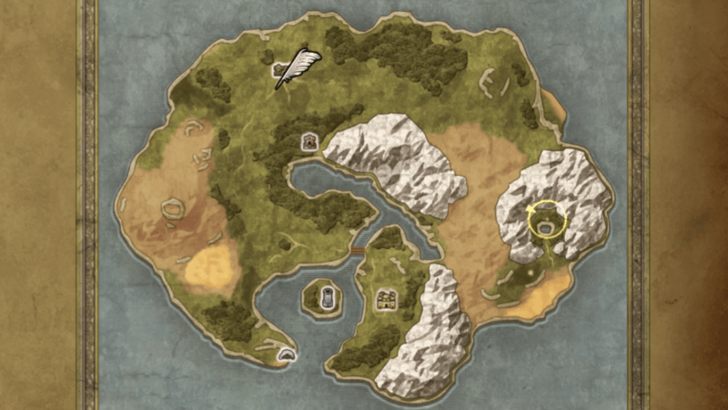 From Reeve, head southeast towards the Path of Promise. |
| 9 | Head down the stairs north of the pond. |
| 10 | 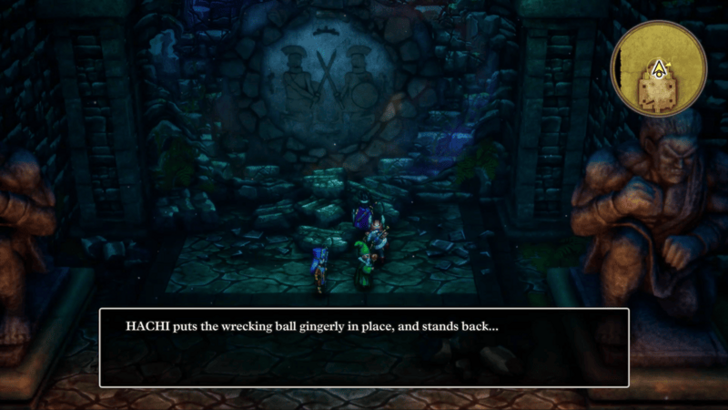 Follow the path and interact with the rubble in between the two stone statues to use the Wrecking Ball. |
| 11 | After destroying the wall, you will get the World Map from the old man. |
| 12 | Head down towards the deepest part of the dungeon. Don't forget to open chests and grab any items on the way down! |
| 13 | 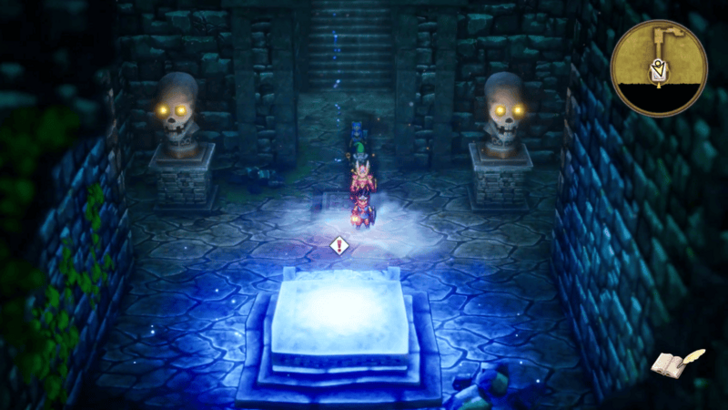 Enter the Teleportal to teleport to the Shrine of Promise. When you're ready, go up the stairs to head outside. |
| 14 | 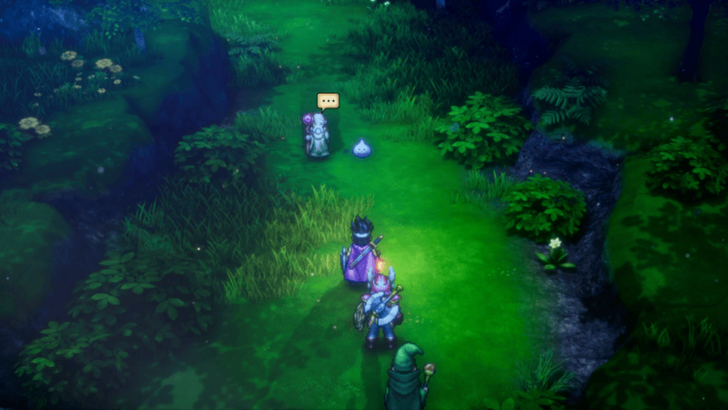 Follow the path north to encounter Monty and your first friendly monster, a Slime. |
| 15 | 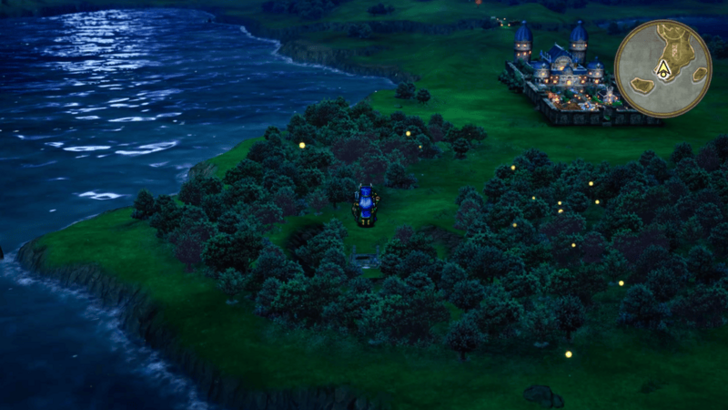 Once you are back in the overworld, go northeast towards Romaria. |
Alternate Path to the Dreamer’s Tower
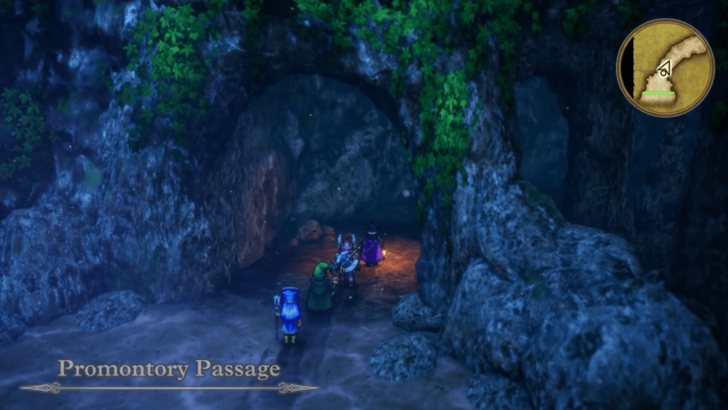
The shortest route to the Dreamer’s Tower is from a clearing in the forest south of Reeve. However, you can also reach the tower from Promontory Passage, if you wish to fight more monsters and open some chests.
Promontory Cave Map and Strategy Guide
Open Red Doors With the Thief's Key

After obtaining the Thief's Key, you will be able to open any red door that you come across. It's recommended to backtrack to areas you've previously visited, like the basement of Dreamer's Tower or Aliahan, to open any red doors you couldn't previously access.
How to Get the Thief's Key and Where to Use It
Romaria Area Quest Walkthrough
| Jump to an Area Walkthrough! | ||
|---|---|---|
| Aliahan | Reeve | Romaria |
| Norvik | Asham | Portoga |
| 1 | 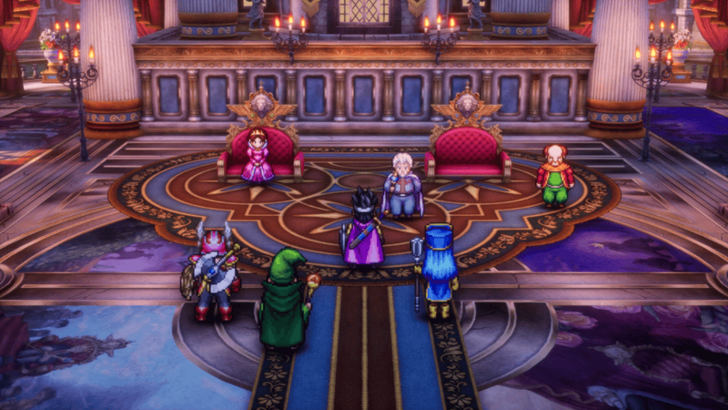 After arriving in Romaria, head to the castle and talk to the king. He'll ask you to defeat Robbin ‘Ood and retrieve his stolen crown. |
|---|---|
| 2 | 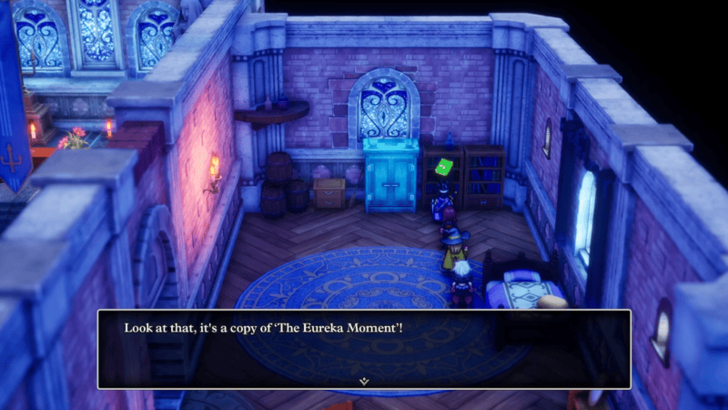 Explore Romaria and collect any items you find. The most important item is the The Eureka Moment! from the bookshelf in the church since it allows you to change one of your party member's personality to Genius. |
| * | 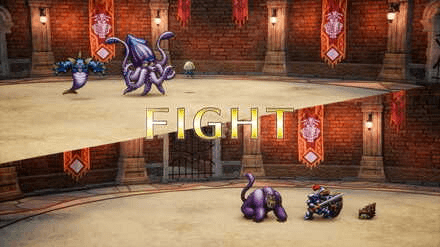 At this point, you'll have access to the Monster Arena. You can challenge some of these battles already, but it's recommended to take them on later once you've unlocked more friendly monsters. |
| 3 | Level up your characters by defeating enemies around Romaria. You can also use the gold from these fights to upgrade your equipment. |
| 4 | 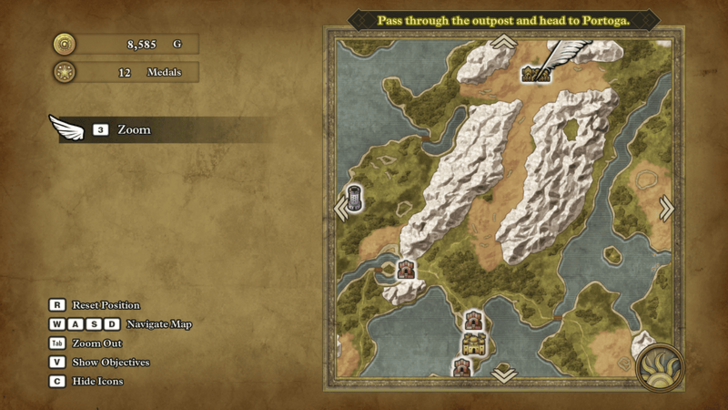 Leave Romaria and head north through the checkpoint towards Khoryv. Make sure that you also grab all the Sparkly Spots and Secret Spots on the way there. |
| 5 | Upgrade your equipment and grab any items in Khoryv to prepare yourself for the Skyfell Tower. There will also be a friendly Heal Slime in town during the evening so make sure not to miss them. |
| * | 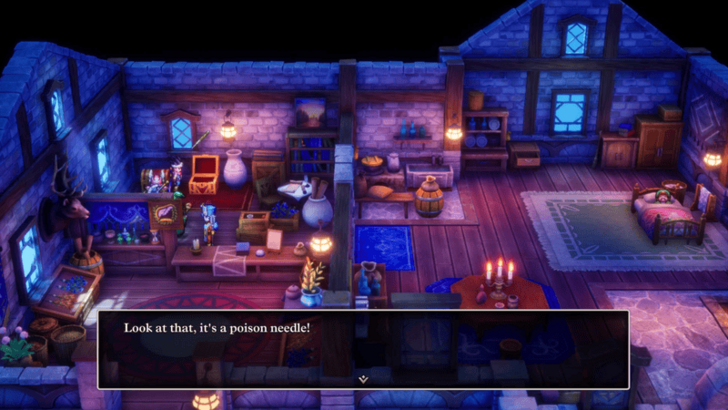 Make sure to visit the item shop at night to get a Poison Needle from the treasure chest. This is very useful for dealing with Metal Slimes so make sure you don't miss this. |
| 6 | 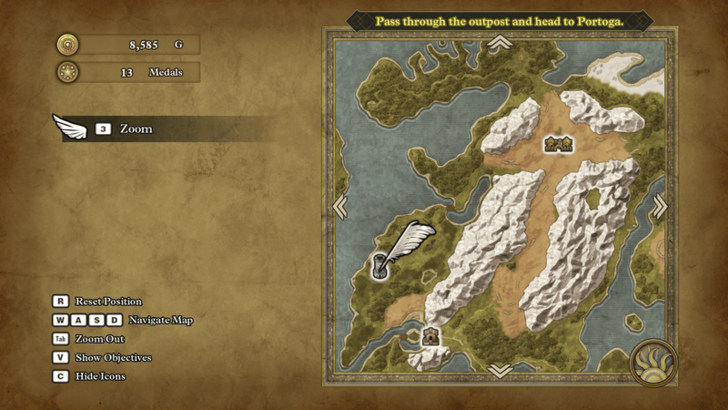 Once you're full prepared, head to Skyfell Tower located southwest of Khoryv. |
| 7 | On the way, make sure to get any Sparkly Spots, visit any Secret Spots, and recruit any Friendly Monsters you may encounter. |
| 8 | Climb the tower up towards the sixth floor, grabbing any items and chests on the way. |
| * | 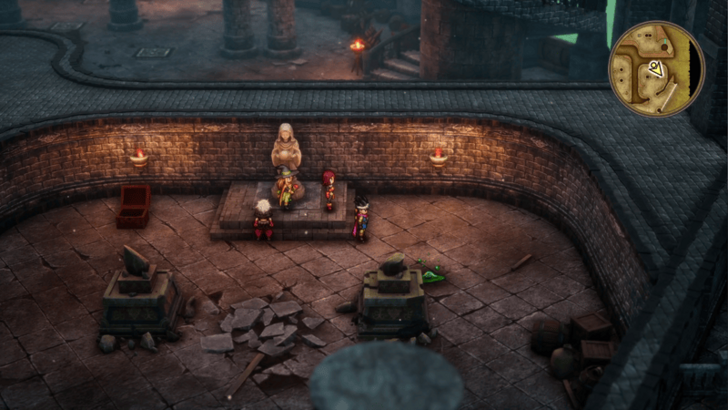 On the second floor, there will be a friendly Bubble Slime so make sure to recruit them. |
| 9 | 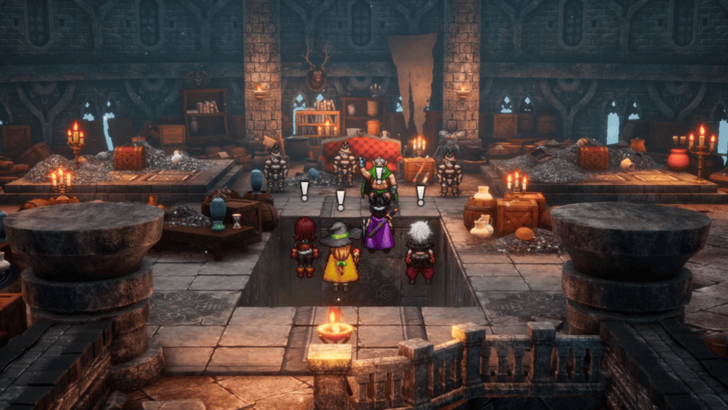 Once you reach the top, Robbin' 'Ood will open up a trap door and you'll fall back down the floor below. |
| 10 | Return to the sixth floor and loot the two chests here before jumping off to the east. |
| 11 | 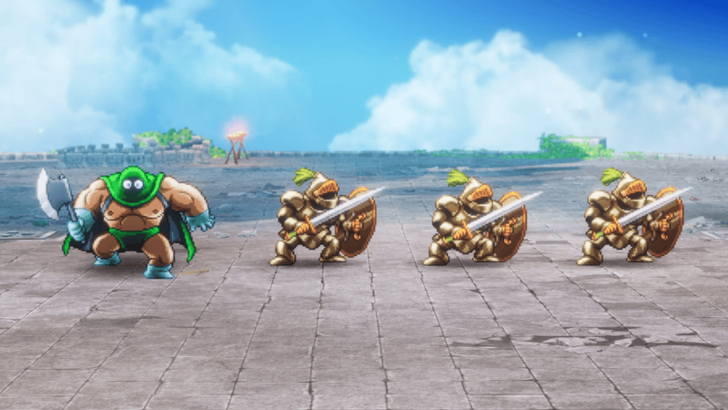 Approaching Robbin' 'Ood will initiate a boss fight with him so make sure you're prepared beforehand. Note that you can return to Khoryv first if you need to rest and replenish items. ▶ How to Beat Robin ‘Ood (Skyfell) |
| 12 | 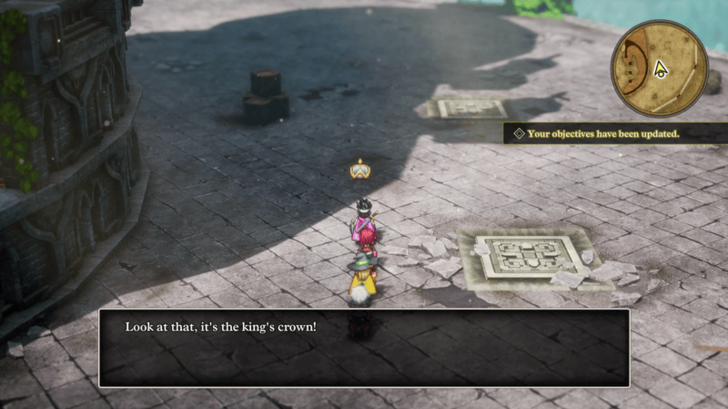 After the battle with Robbin' 'Ood, pick up the King's Crown. Afterwards, you can choose to head straight to Norvik instead of going back to Romaria and returning it to the King. |
| * | 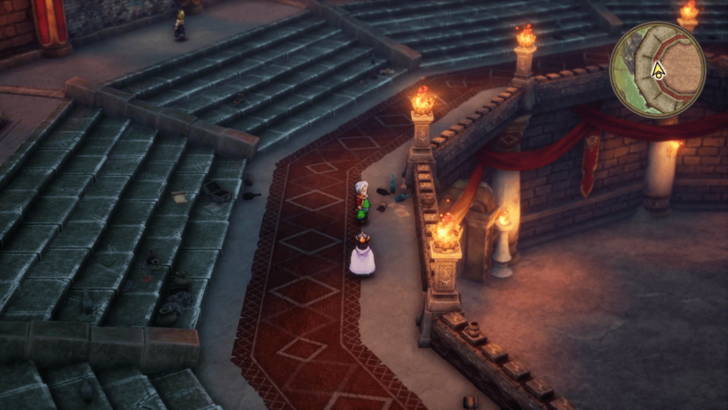 If you head back to Romaria, give the crown to the King and you'll become the new ruler of Romaria. From here, just talk to the King in the Monster Stadium to resume your journey. As a note, you can just say no to his request. However, you will miss out on an achievement. |
| 13 | If you choose not to return the Golden Crown, go to the right and jump off the tower. Afterwards, teleport back to Khoryv. |
| 14 | 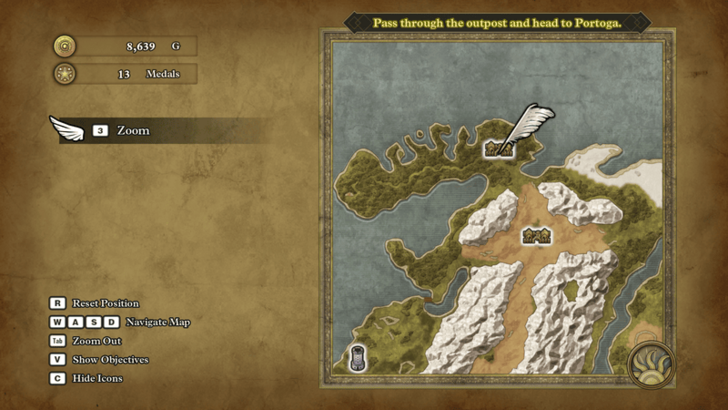 Make any final preparations and, when you're ready, head north towards Norvik. |
Robbin' 'Ood (Skyfell) Combat Guide
 |
||
| Rec. Level | Drops | |
|---|---|---|
| 12 | None | |
| Tips to Beat Robbin' 'Ood (Skyfell) | ||
|
・Kill the Robbin' 'Oodlums first with Ice attacks. ・Expolit Robbin' 'Ood's Fire weakness. ・Cast Kabuff to increase defense. ・Use a Priest or the Hero to heal the party. |
||
How to Beat Robbin ‘Ood (Skyfell)
What Happens if You Return the King's Crown?
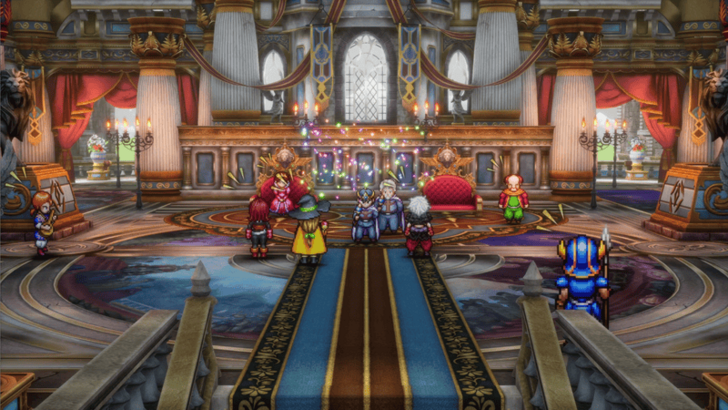
Returning the King's Crown to the King of Romaria turns you into a King or Queen. However, this does not grant you any special effects and you'll be stuck ruling Romaria.
If you wish to continue your journey, simply return the crown to the old King in the Monster Stadium, beneath the item and weapon shops.
Norvik Area Quest Walkthrough
| Jump to an Area Walkthrough! | ||
|---|---|---|
| Aliahan | Reeve | Romaria |
| Norvik | Asham | Portoga |
| 1 | 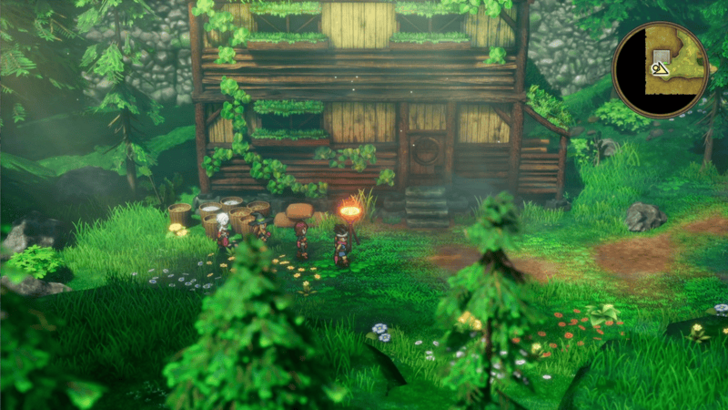 Talk to the old man in the southwestern house inside Norvik to learn about the curse. |
|---|---|
| 2 | Leave the house and explore Norvik. As of now, the town's residents are all asleep due to a curse, and you can fix this later in the story. As a note, all the shops and the inn are also closed since the people running it are asleep. |
| 3 | 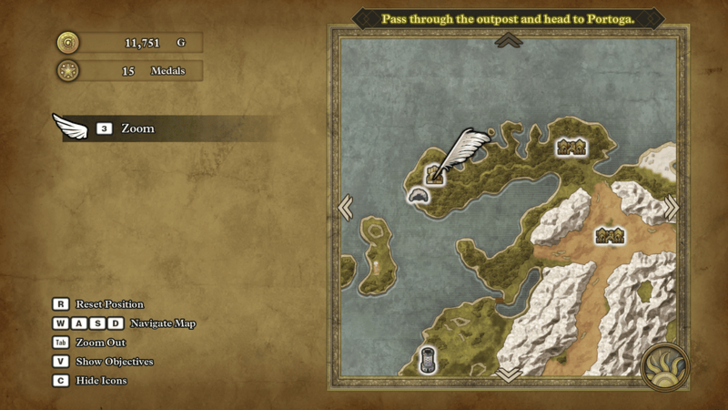 After looting the town, head to the Faerie Village west of Norvik. Make sure to pickup items and recruit friendly monsters on the way there. |
| 4 | 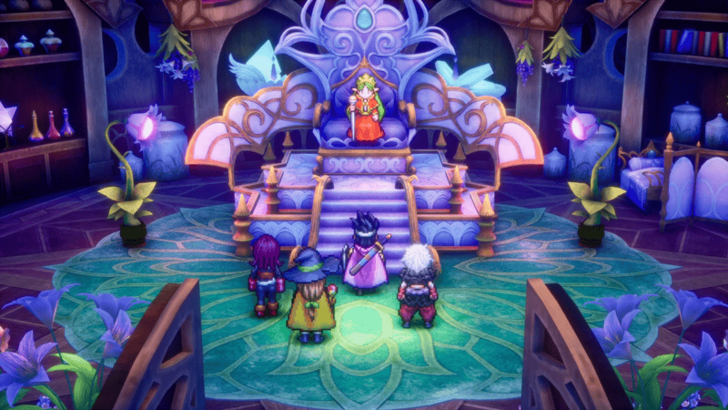 Talk to the Queen in the northeastern part of the village. |
| * | The item shop in the Faerie Village only becomes available after you have acquired a Mod Rod later in the story. |
| ** | 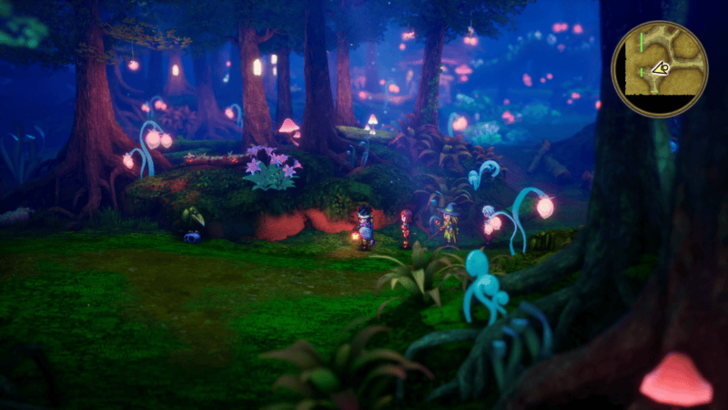 Visit the village at night so you can recruit a friendly Raven Lunatic in the southwest part of the village. |
| 5 | 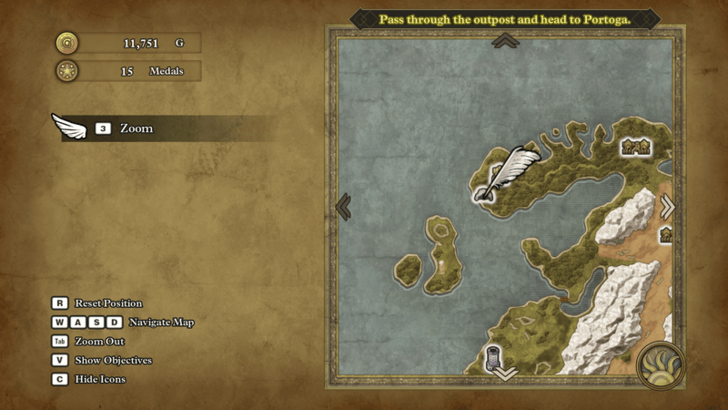 After exploring the village for any items and Mini Medals, head southwest to the Underground Lake to retrieve the Dreamstone. |
| 6 | 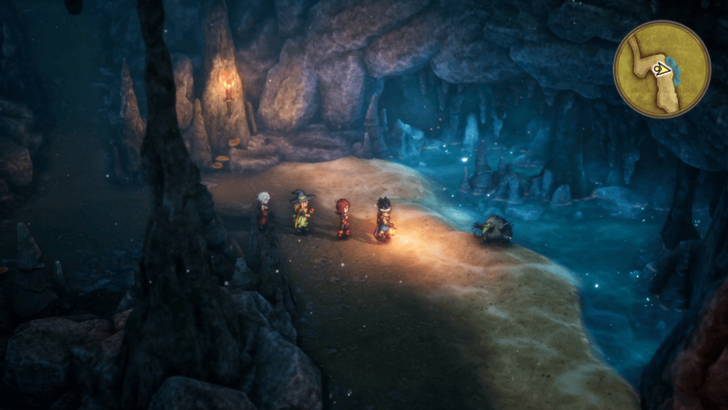 Head down the cave to the 4th floor, collecting any treasure and recruiting friendly monsters on the way there. |
| * | 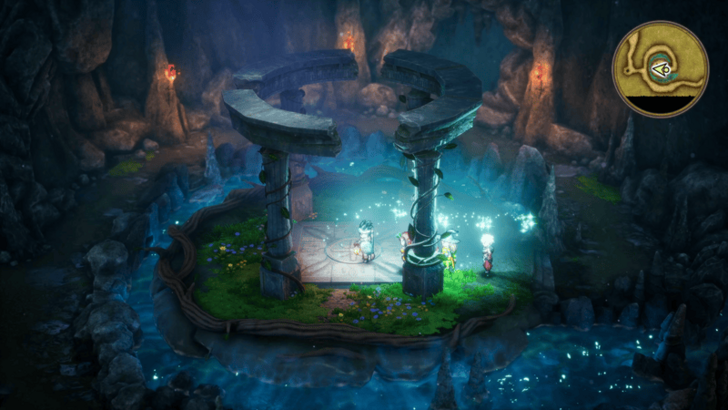 You can use the magic circle on the 2nd floor to fully recover your HP and MP. It's a good idea to use it as a rest point so that you can farm monsters in the cave for drops and EXP. |
| 7 | 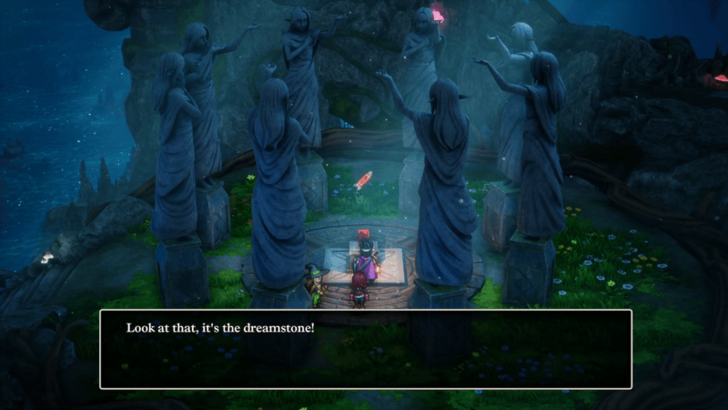 Get the Dreamstone from the treasure chest on the 4th floor and exit the cave with Evac. |
| 8 | 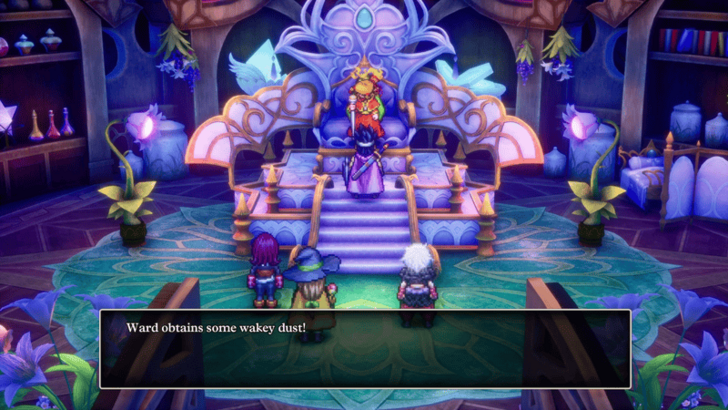 Return to the Faerie Village and talk to the Queen to obtain the Wakey Dust. |
| 9 | 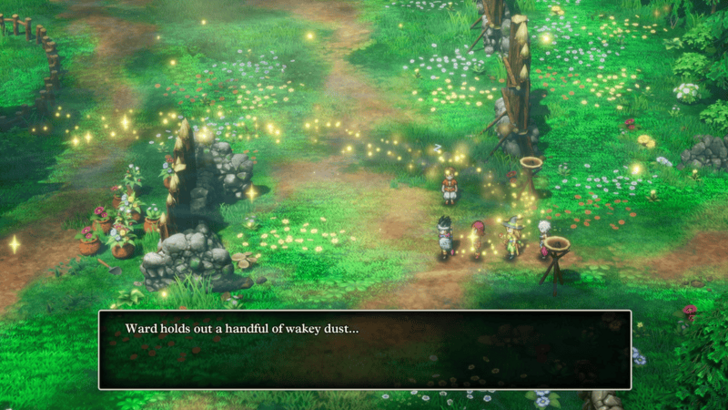 Return to Norvik and use the Wakey Dust to awaken the villagers. You'll automatically be prompoted to do this when entering the village. |
| 10 | Talk to the villagers to learn about the Magic Key and Asham. Also, grab any new items and equipment now that the villagers are awake. |
| 11 | 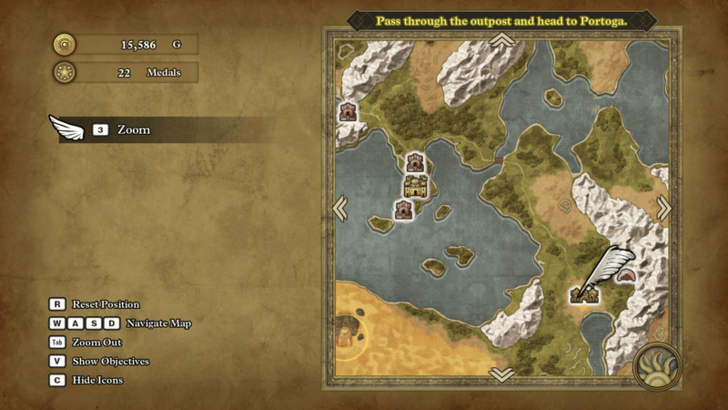 When you're ready, teleport to Romaria and head southeast to Asham. |
You Can Skip the Quest for the Dreamstone
You may choose to skip this quest as it does not affect the main storyline. Although, it's needed to help out the town of Norvik. If you do decide to ignore this, then you may immediately proceed to the next part of the story in Asham, southeast from Romaria.
How to Unlock the Faerie Village's Item Shop
To trade with the woman in the Faerie Village's Item Shop, you must first obtain a Mod Rod by defeating the Boss Troll in Manazo and transform into a race that she speaks to.
You can buy important items here, such as a Prayer Ring, so make sure to come back once you've obtained the Mod Rod.
Asham Area Quest Walkthrough
| Jump to an Area Walkthrough! | ||
|---|---|---|
| Aliahan | Reeve | Romaria |
| Norvik | Asham | Portoga |
| 1 | 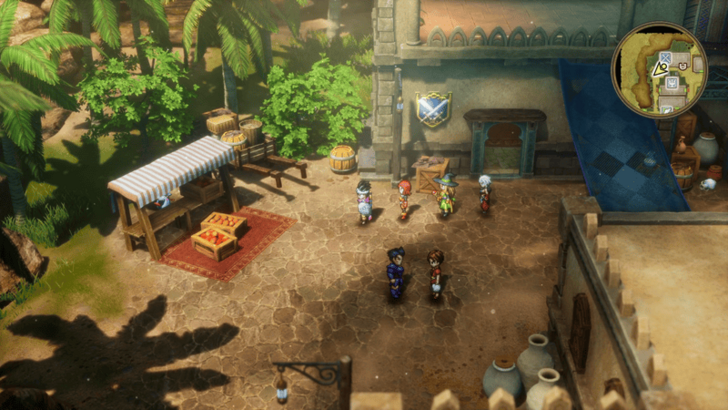 Explore the town and the surrounding areas to get any new items, equipment, Mini Medals, and friendly monsters. |
|---|---|
| * | 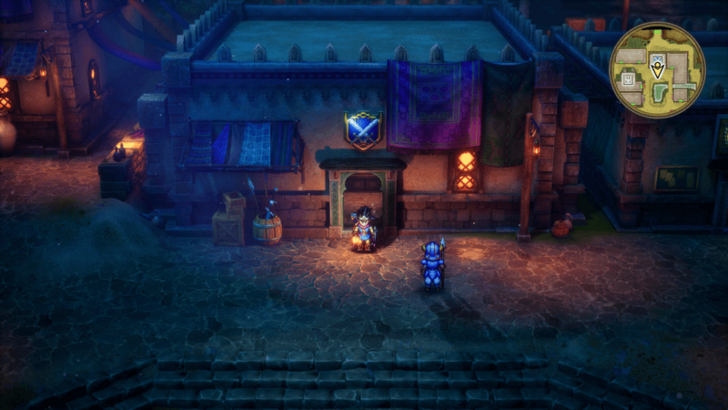 The weapon shop to the north is only open at night. There are a bunch of good weapons here so make sure to stop by when you can. |
| ** | 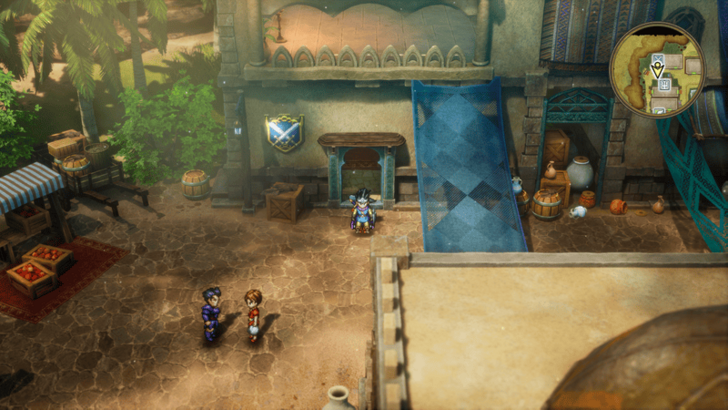 Avoid the equipment shop in the northwest since the items here are more expensive than normal, even at a discount. However, there is a trophy tied to buying an item here so just purchase one thing if you must. |
| 2 | 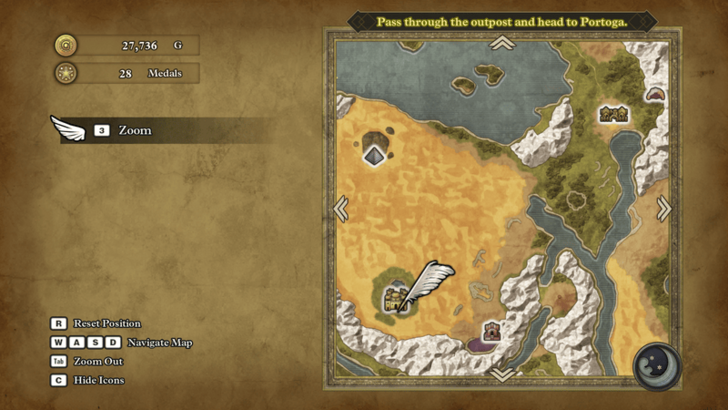 When you're ready, head southwest from Asham to Ibis, visiting any Secret Spots and Sparkly Spots on the way there. Once you hit the desert area, it's recommended to head straight to Ibis first so you can unlock it as a fast travel point before exploring the area. |
| * | You can also go east first to Nordy's Grotto so you can unlock it and teleport there later. |
| 3 | 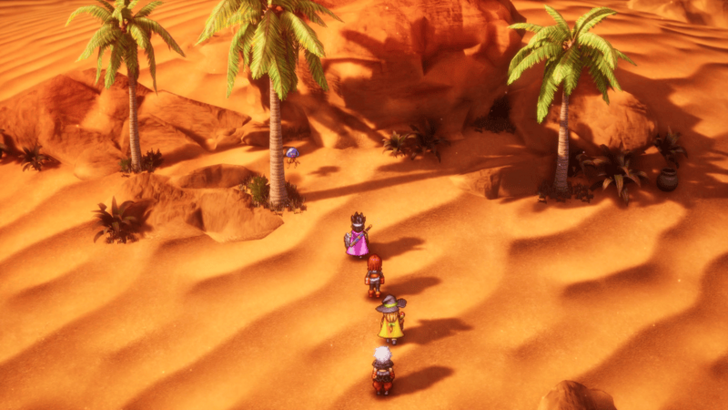 Explore Ibis and the surrounding desert for items, friendly monsters, Mini Medals, Secret Spots, and Sparkly Spots. Once you're done, head to Ibis Castle to do the same thing. |
| * | 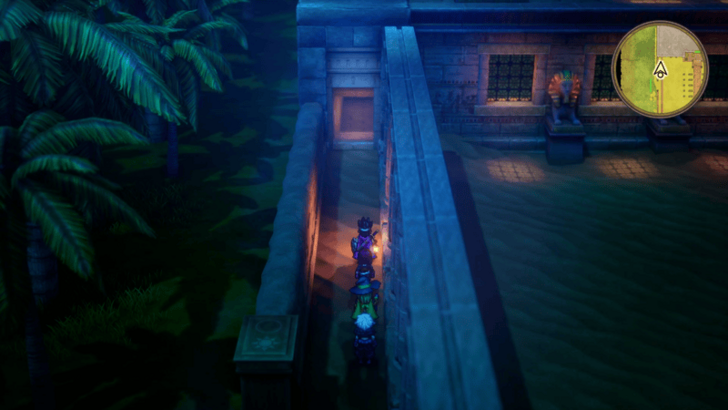 Before going inside the castle itself, go to the basement first via the path on the left to grab the powerful Meteorite Bracer accessory. A short cutscene will play after opening the chest, but your answers here don't matter. |
| 4 | 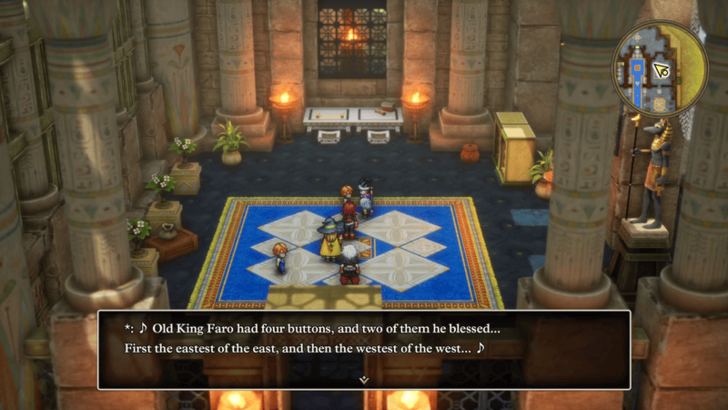 Once inside, talk to the children to learn a song that will give you the solution to the button puzzle in the pyramid. This isn't necessary and you can skip this if you wish. |
| 5 | 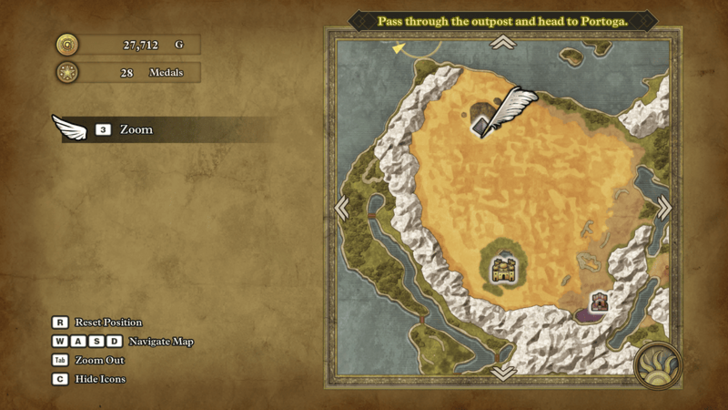 When you're ready, head north from Ibis to the Pyramid. Make sure to bring a lot of supplies since this dungeon has a ton of tough fights, especially if you're getting all the chests inside. |
| * | 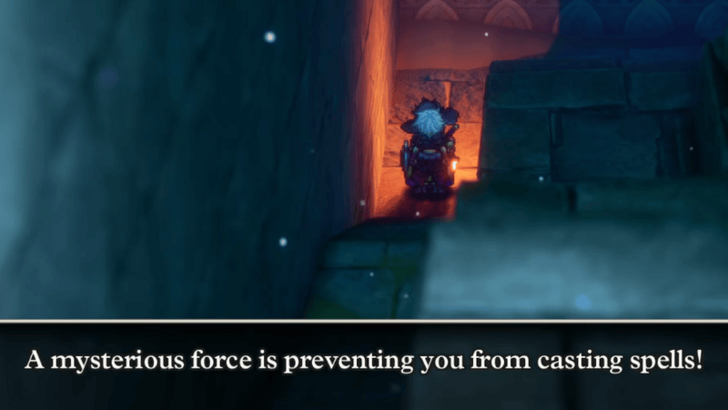 The basement of the pyramid will prevent any spells from being casted. Make sure that you don't step on the middle tiles with scales on the first floor so you don't fall below. If you do go down here to grab the treasures below, make sure you have party members with Abilities since they can still be used. |
| ** | 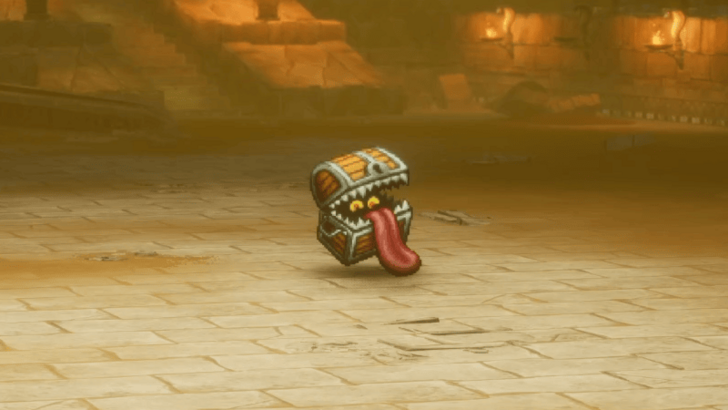 Another thing to be wary of are the Canniboxes disguised as treasure chests. If you have a Mage, use the Peep spell to check a chest's contents and avoid any unnecessary fights. |
| 6 | Climb the Pyramid and head to the third floor, where there'll be a large door in the center. As usual, make sure to grab any items and treasures on the way up. |
| 7 | 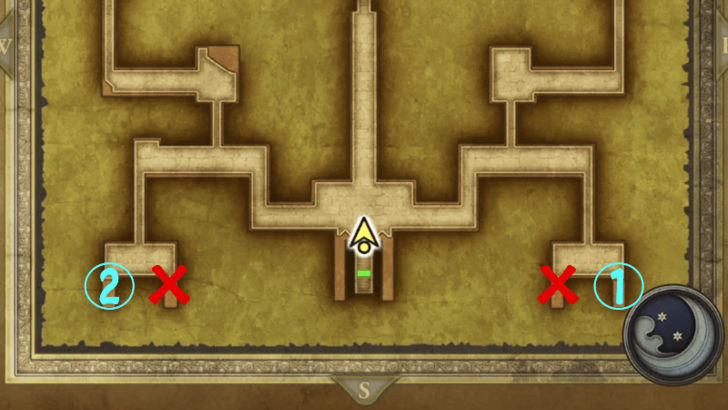 To open the door, press the buttons in the order from the children's rhyme in Ibis Castle. If you've missed this or don't want to figure it out yourself, then just press the right-most button followed by the left most one. |
| 8 | 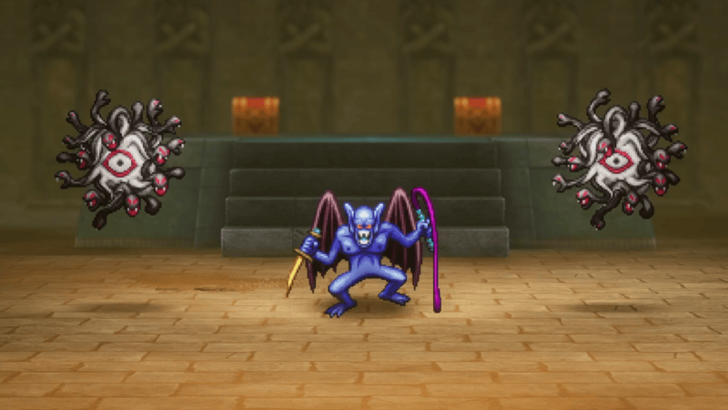 Once the door's open, prepare yourself to face the Ripper of the Rift. It will be accompanied by 2 Kyllas so make sure to take them down first to stop them from supporting the Ripper. ▶ How to Beat Ripper of the Rift |
| 9 | 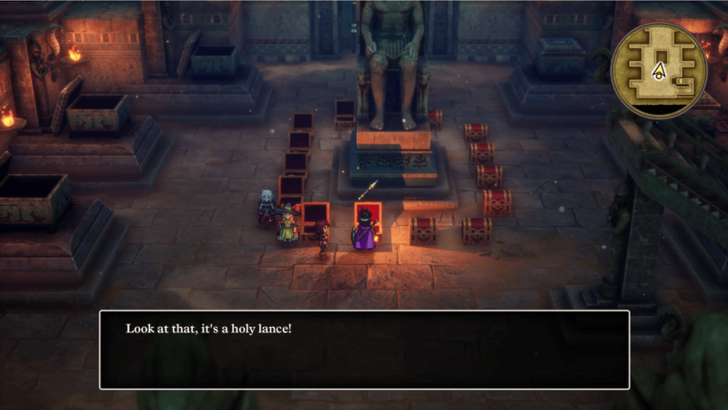 After the boss has been defeated, grab the Magic Key and Banishing Bell from the treasure chests. Continue exploring the upper floors of the Pyramid and teleport back to Romaria when you're done. Just be careful of the room with a lot of chests since opening each one will initiate a fight. |
| * | Now that you have the Magic Key, you can backtrack to areas that have blue doors that you couldn't unlock before. |
| 10 | 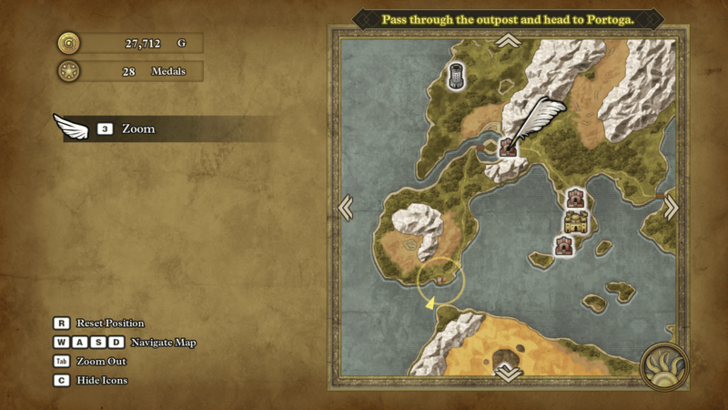 When you're ready, head west from Romaria and through the Romarian Outpost to get to Portoga. |
Ripper of the Rift Combat Guide
 |
||
| Rec. Level | Drops | |
|---|---|---|
| 17 | None | |
| Tips to Beat Ripper of the Rift | ||
|
・Kill the Kyllas first. ・Seal the Ripper's spells with Fizzle. ・Utilize the Hero's Lightning attacks. ・Bring multiple healing methods. |
||
How to Beat Ripper of the Rift
Portoga Area Quest Walkthrough
| Jump to an Area Walkthrough! | ||
|---|---|---|
| Aliahan | Reeve | Romaria |
| Norvik | Asham | Portoga |
| 1 | 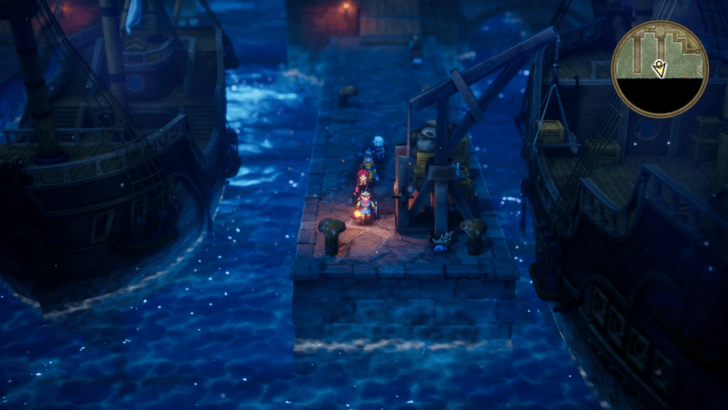 Explore the city for items and collectables, as well as a friendly Seaslime. When you're done, head to the castle to talk to the King. |
|---|---|
| * | 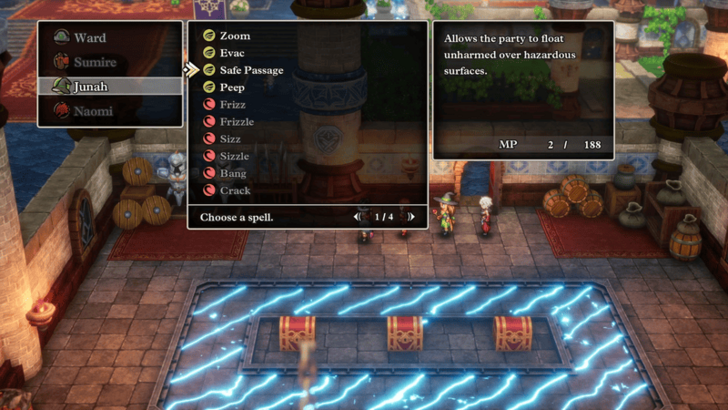 Inside the castle, there will be three chests surrounded by tiles that damage you. Cast Safe Passage so that you can step on these tiles without hurting yourself. |
| 2 | 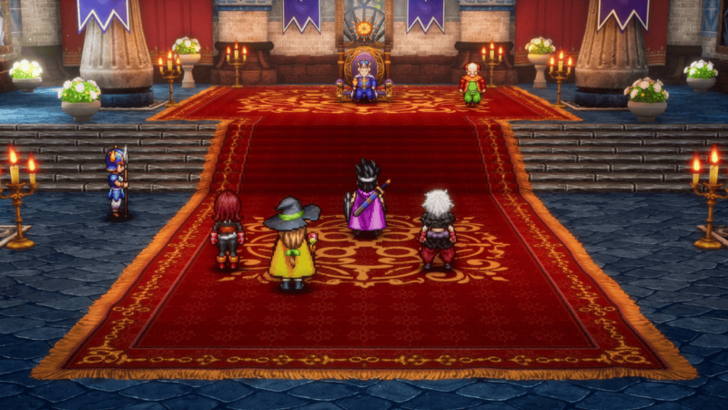 Go to the castle and talk to the king to get the Royal Missive. You'll be tasked with giving it to Nordy the dwarf so you can get some Black Pepper in the east. |
| 3 | 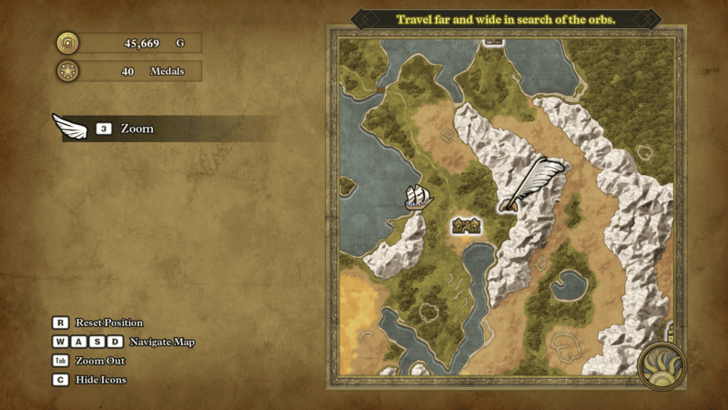 When you're ready, teleport to Asham and head northeast towards Nordy’s Grotto. |
| 4 | 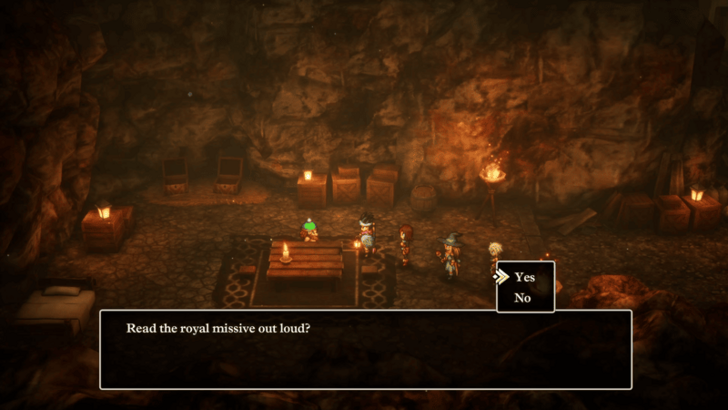 Follow the path through the cave and talk to Nordy. Don't forget to explore the cave and inside the well for hidden items. |
| 5 | 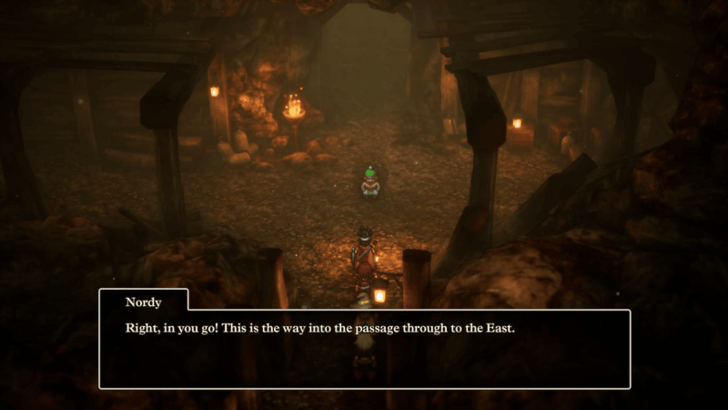 After reading the letter, Nordy will open up the path east. When you're ready, exit the cave to the other side of the mountain range. |
| 6 | 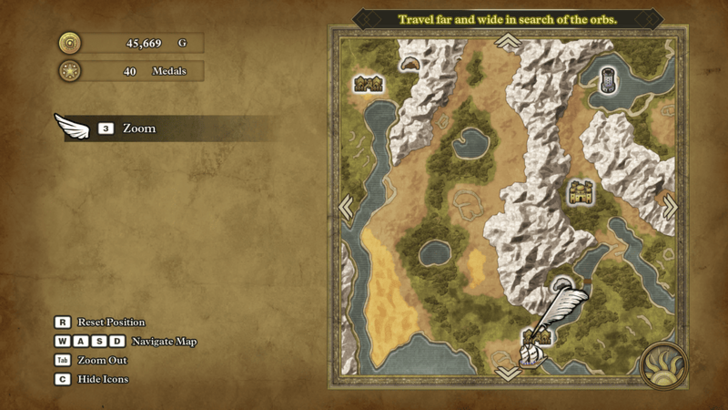 From the Nordy’s Grotto, go southeast towards Baharata, gathering any collectables on the way there. |
| * | 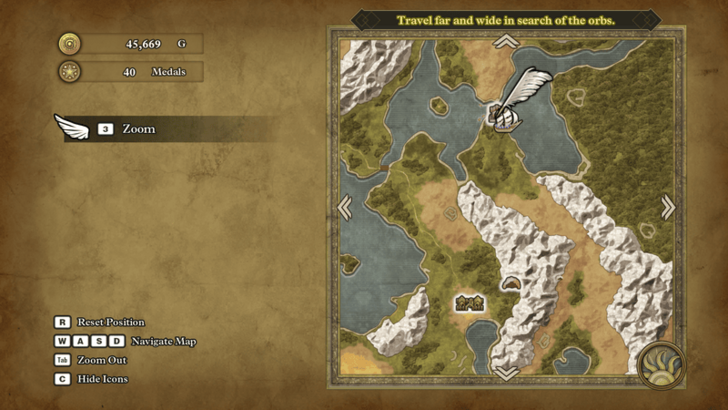 Optionally, head north first to Olivia's Promontory so you can unlock it as a fast travel location. |
| 7 | 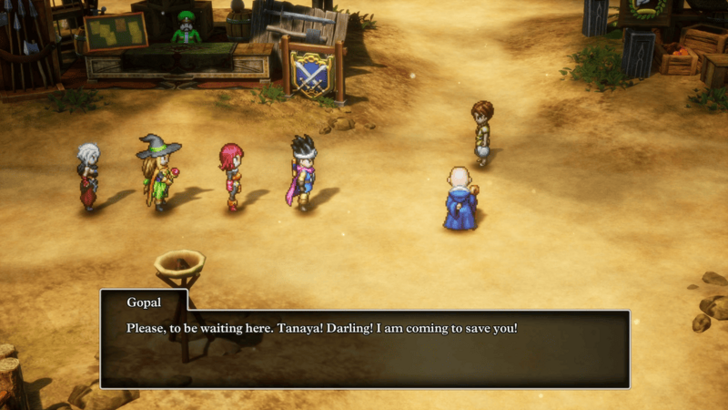 When you enter Baharata for the first time, a cutscene will play where Gopal will run off to save his fiancee, Tanaya. From here, you'll want to head to the Kidnapper's Cave to rescue the couple. |
| 8 | 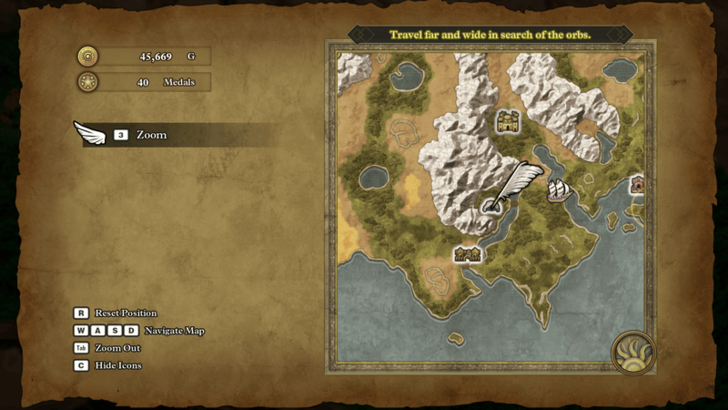 Once you're done exploring the town for any upgrades and collectables, head north towards the Kidnapper's Cave. On the way there, make sure to grab any Sparkly Spots and visit Secret Spots as usual. |
| 9 | 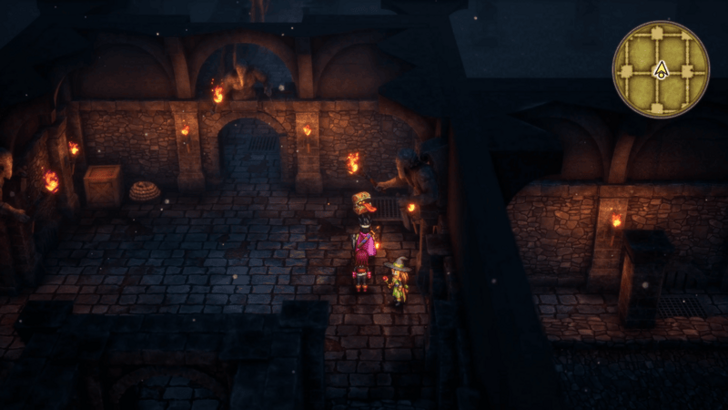 Make your way to the second floor, grabbing items and the friendly Cannibox on the way. The layout of the first floor can be confusing so make sure you're constantly checking the map! |
| 10 | 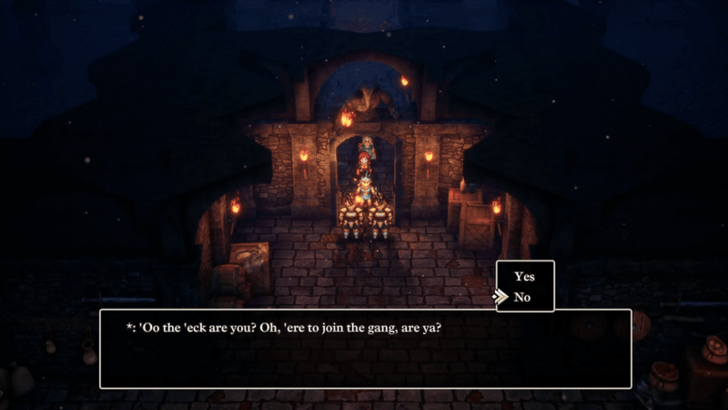 Once you reach the hideout, some Robbin’ ’Oodlums ask if you would like to join them. Answer "No" to start combat. Unlike their first encounter in Skyfell Tower, they now have access to Kasap and Midheal so make sure to preserve your HP and MP. |
| 11 | After the battle, activate the switch at the bottom left of the map to free Tanaya and Gopal. |
| 12 | 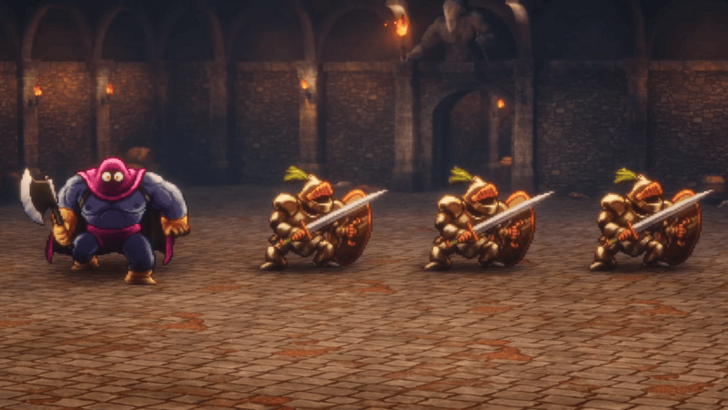 When you're ready, head back to the hideout to start the second boss fight with Robbin’ ’Ood. Like last time, deal with the lackeys first to stop them from spamming Kasap and healing. ▶ How to Beat Robbin’ ’Ood (Cave) |
| 13 | Once you've beaten them a second time, leave the cave and head back to Baharata. |
| 14 | Talk to Gopal inside the spice shop, but he will inform you that they've run out of Black Pepper. To get some, you'll need to talk to the merchant in the Alltrades Abbey further north. |
| 15 | 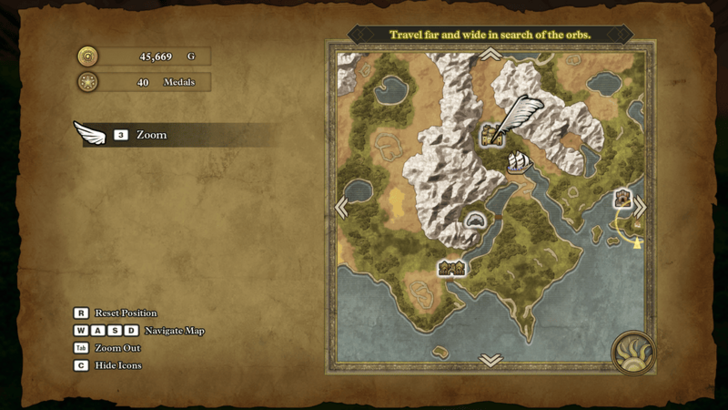 When you're ready, head north past the Kidnapper's Cave to reach the Alltrades Abbey. |
| 16 | 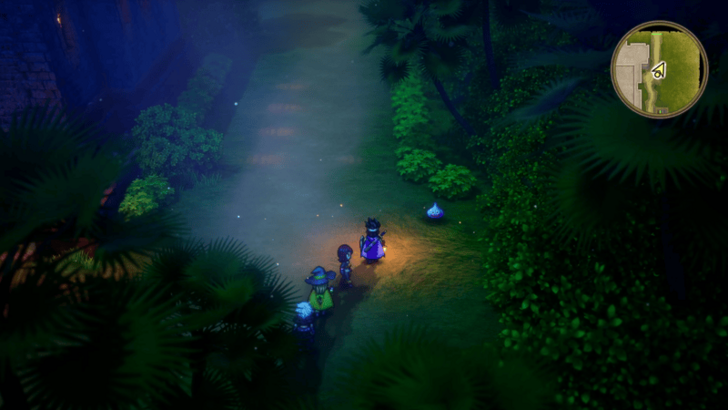 Explore the area first to grab any collectables and items, as well as the friendly Slime to the east at night. |
| 17 | 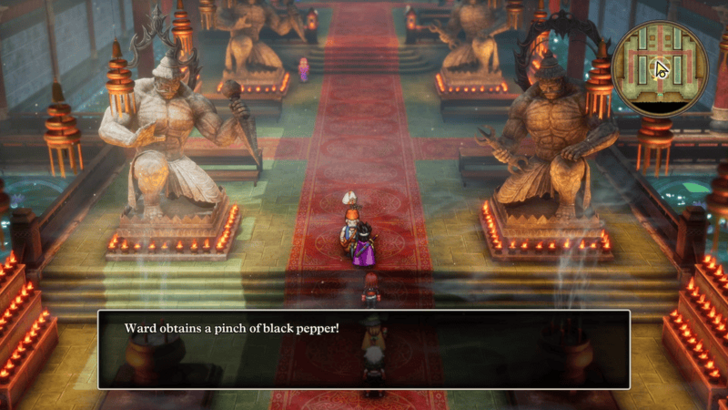 Talk to the merchant in the temple to grab some Black Pepper for Portoga's King. |
| * | If you wish, you can return to Portoga and give the pepper to the King. This will unlock the boat and allow you to resume the main story. |
| 18 | 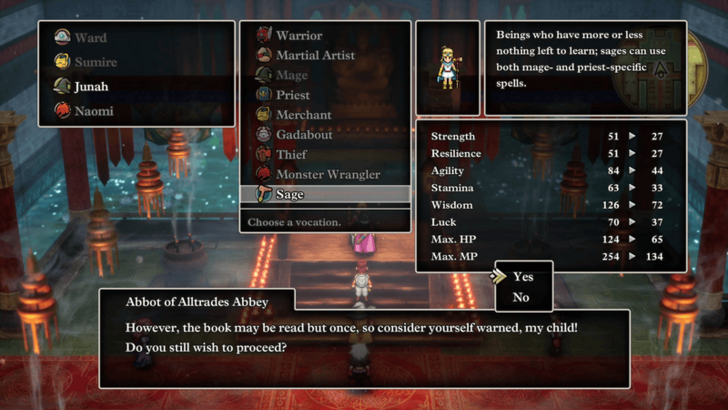 Before leaving the temple, it's recommended to change your party members Vocations, except for Mages and Priests since you'll want to unlock the Sage Vocation first. Doing this will reset their levels to 1 and cut their stats in half, but that means they will grow stronger over time and they'll also get to learn new Spells and Abilities. ▶ How to Class Change |
| * | As a note, your party members get to keep their spells and abilities when changing Vocations, so it may be worth holding off on changing classes first until they've learned all the Spells and Abilities that you want. |
| 19 | 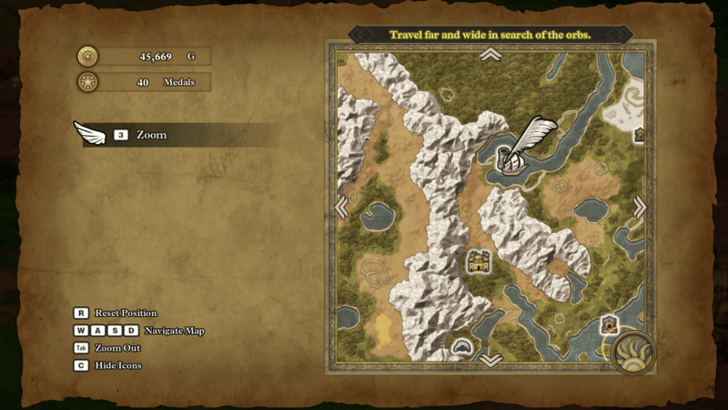 After changing Vocations, head north towards the Tower of Transcendence to get the Words of Wisdom needed to unlock the Sage Vocation. |
| * | 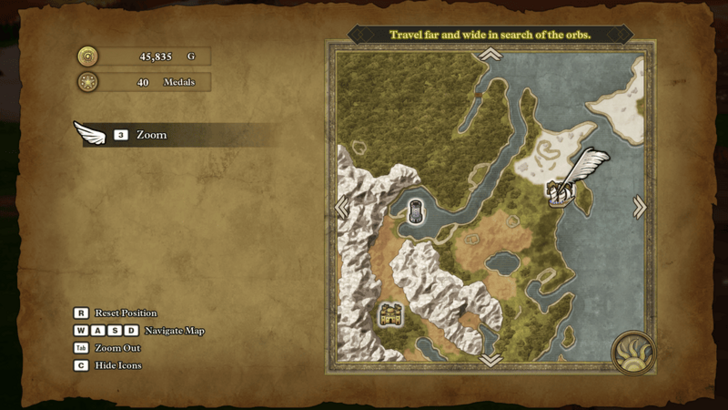 Alternatively, you could go northeast first to Mur to do a quick sidequest. As usual, visit any Sparkly Spots and Secret Spots on the way. |
| 20 | 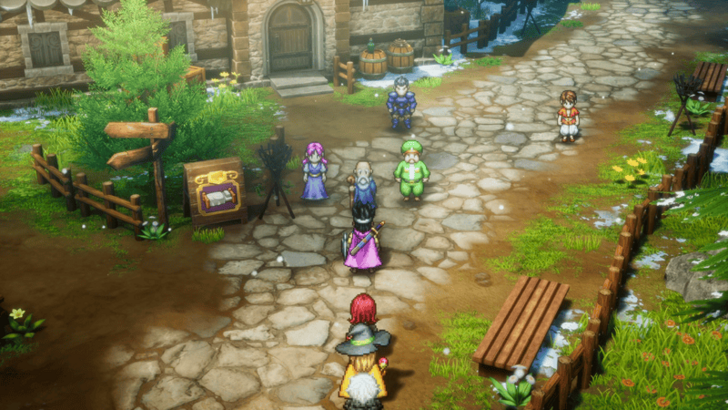 If you go to Mur, a quick cutscene will play and you will start the short sidequest to get Ortega's Helm. |
| 21 | 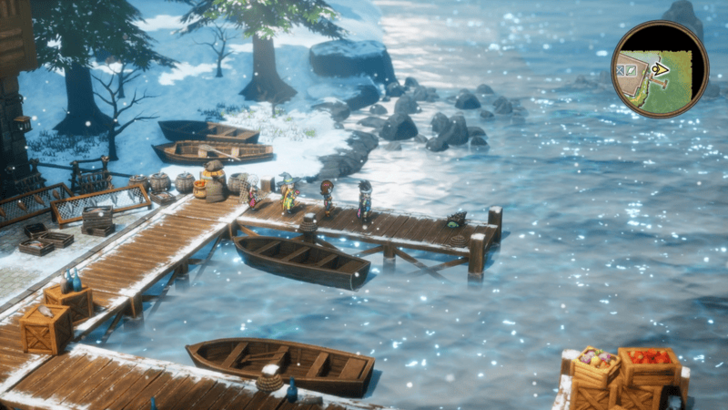 Before continuing, explore the area for items and a friendly Shell Slime. Once you're done, go through the door by the docks. |
| 22 | 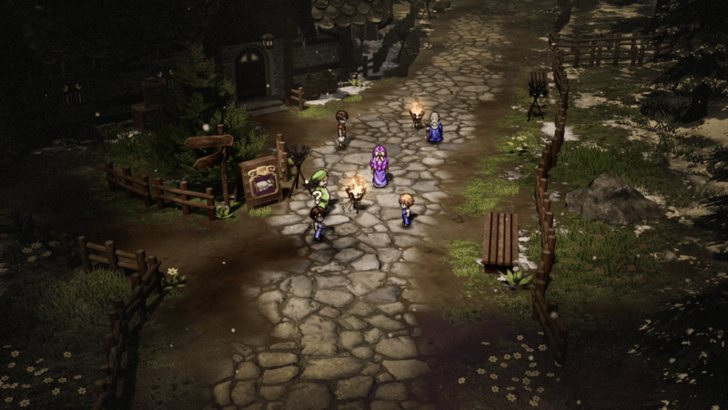 When you go through the door to the back of the market, another cutscene will play. Afterwards, head up to the second floor and talk to Petya for one final cutscene. |
| 23 | 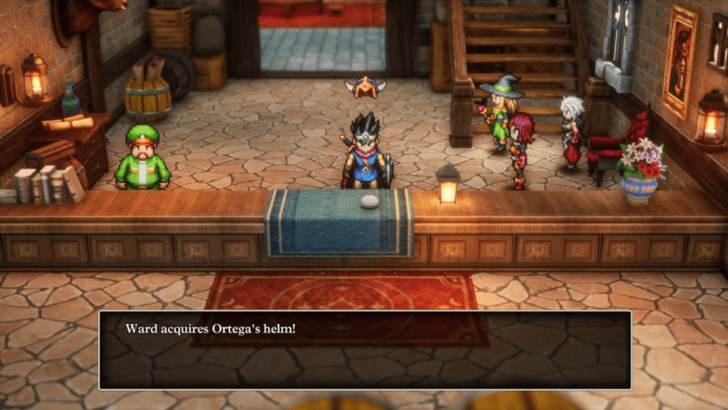 Head back down to the first floor and the man behind the counter will give you Ortega's Helmet. Make sure to equip this helmet since it will be the best one you'll have for a while. |
| 24 | When you're done here, you can resume your journey to the Tower of Transcendence. |
| 25 | 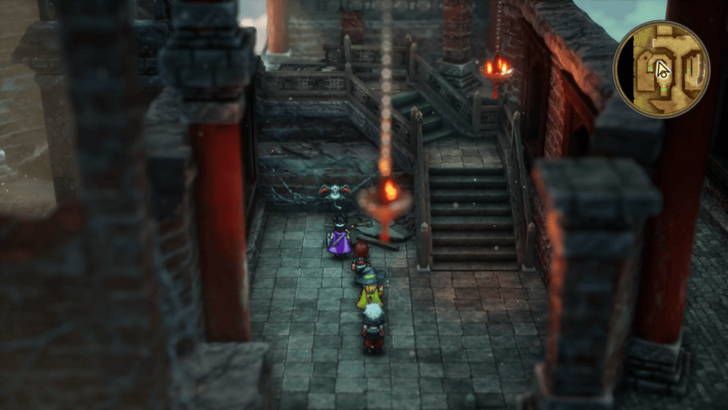 Head up the tower to the 5th floor. The Words of Wisdom aren't at the top, but you'll need to go there first to access the path to the scroll. There are a lot of chests and items around the tower so make sure to fully explore it first. |
| * | 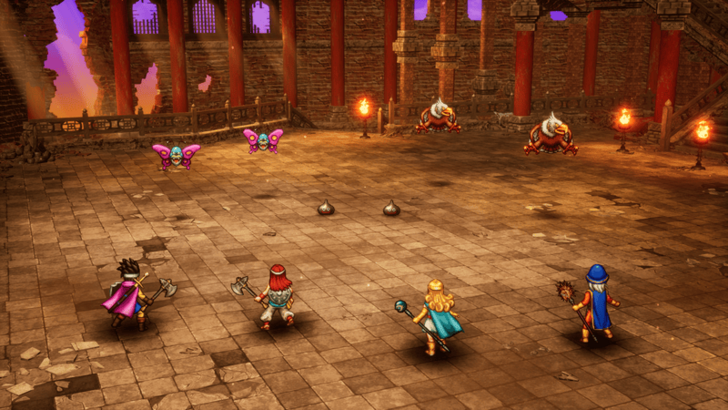 Fights on the 5th floor have a chance of spawning Metal Slimes that reward a ton of EXP when defeated. Use this spot to farm levels, especially if you've just changed Vocations. However, they're hard to kill so use Weapons or Abilities that instakill, like a Poison Needle or the Thief's Assassin's Stab, to deal with them. ▶ EXP Farming Guide: How to Level Up Fast |
| 26 | 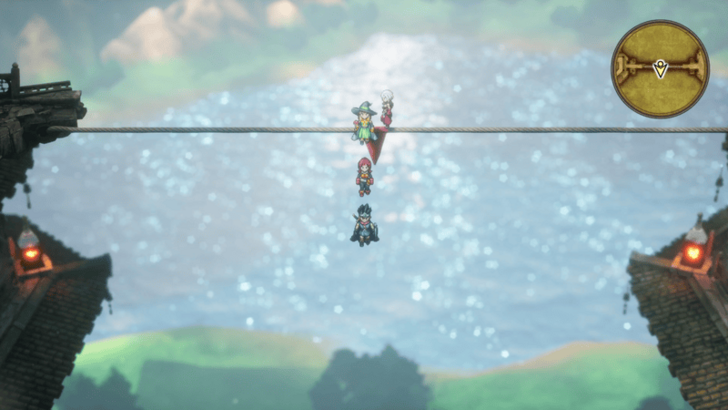 Once you're at the top, fall of the middle part of the rope to reach the next area. If you're playing on controller, use the D-Pad so that you don't prematurely fall off. |
| 27 | 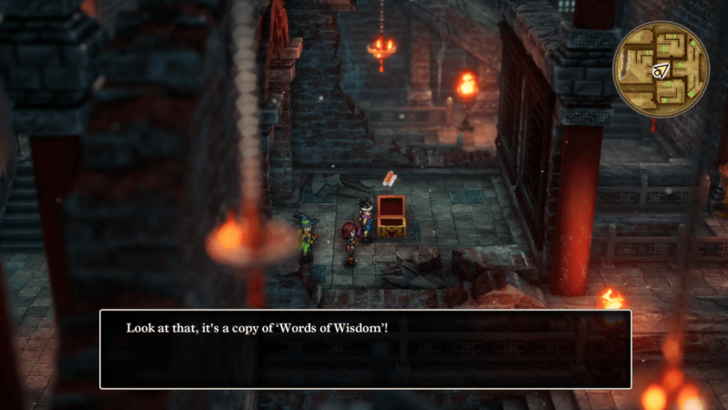 Head down to the 2nd floor and grab the Words of Wisdom from the chest. This will allow you to change a character's Vocation to Sage. |
| 28 | Once you're done in the tower, return to the Alltrades Abbey and make any final adjustments to your team. |
| 29 | When you're ready, teleport back to Portoga and give the Black Pepper to the King. After a cutscene, you'll now be able to sail the seas and collect 6 orbs to continue your quest. |
| * | 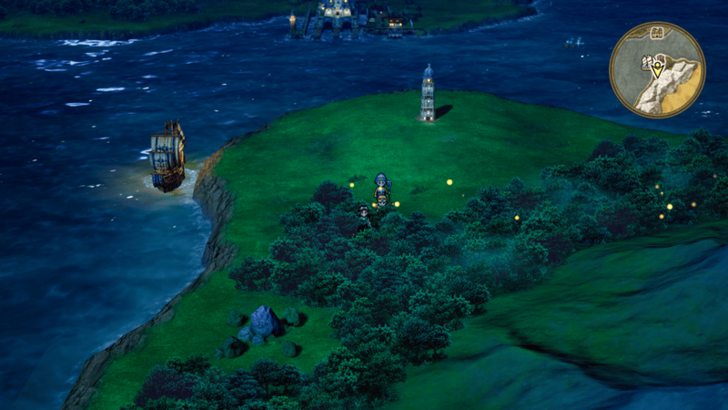 Before going off to explore the world, go directly south to Portoga Lighthouse first to grab any treasures inside, as well as to visit the Secret Spot just to the southwest of it. |
Robbin’ ’Ood (Cave) Combat Guide
 |
||
| Rec. Level | Drops | |
|---|---|---|
| 19 | None | |
| Tips to Beat Robbin' 'Ood (Cave) | ||
|
・Kill the Robbin’ ’Oodlums first. ・Cast Kabuff to increase the party's defense. ・Use Fizzle to seal the Robbin’ ’Oodlums' spells. ・Apply the Dazzle and Sleep status ailments. |
||
How to Beat Robbin’ ’Ood (Cave)
Purchase a Spiked Steel Whip From Portoga

We recommend purchasing a Spiked Steel Whip from Portoga since it's a powerful weapon that will last for a good while. Because it's a whip, it also attacks a whole group of enemies.
How to Get Spiked Steel Whip and Effects
Dragon Quest 3 H3-2D Remake Mid-Game Walkthrough
Orb Locations and How to Get Them
| Orb | Location | How to Get |
|---|---|---|
| Green | Theddon | Defeat the Dying Fire |
| Purple | Jipang | Defeat Orochi |
| Blue | Gaia’s Navel | Defeat the Chiromancer |
| Red | Pirates’ Den | Secret room under the statue in the northeast |
| Silver | Necrogond Shrine | Talk to the old man |
| Yellow | Immigrant Town | Search behind the Merchant’s throne Requires town to be upgraded to Stage 4 |
The mid-game main quest will task you to look for 6 orbs scattered around the world. Collecting all the orbs and presenting them at an altar will open a path to Baramos.
Green Orb Quest Walkthrough
| Jump to a Walkthrough! | ||
|---|---|---|
| Green Orb | Purple Orb | Blue and Red Orb |
| Silver Orb | Yellow Orb | Baramos’ Castle |
| * | This part isn't mandatory right now, but it's best to do it straight away so that you don't forget about it later. This can be done at any time so you can skip ahead to Theddon if you wish. |
|---|---|
| 1 | 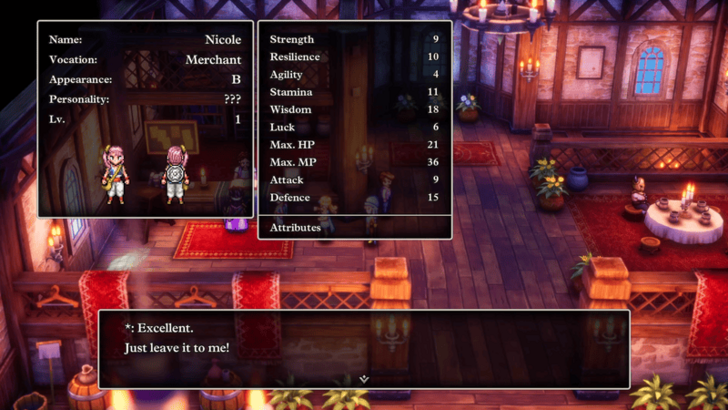 Recruit a new Merchant in Patty's Party Planning Place and add them to your party. Their stats and personality don't matter so just have the man distribute the seeds for you. |
| 2 | 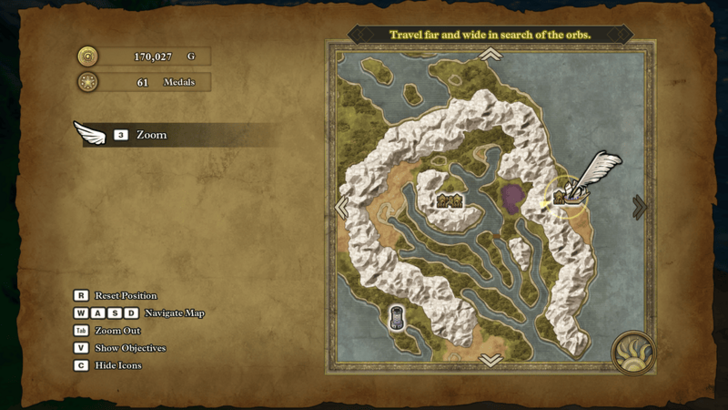 Head west from Portoga to an unnamed cabin just east of Persistence. |
| 3 | 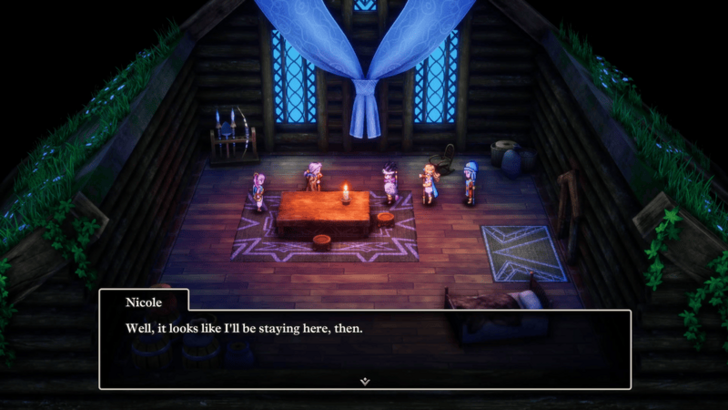 Talk to the man in the cabin and leave your Merchant here to start a new town. Remember to return to Aliahan after to reassemble your original party setup at Patty's. The Merchant will be permanently removed from your party and can no longer be taken on adventures. This is why it's recommended to recruit a new one rather than leaving one that you've been training since the beginning. |
| * | 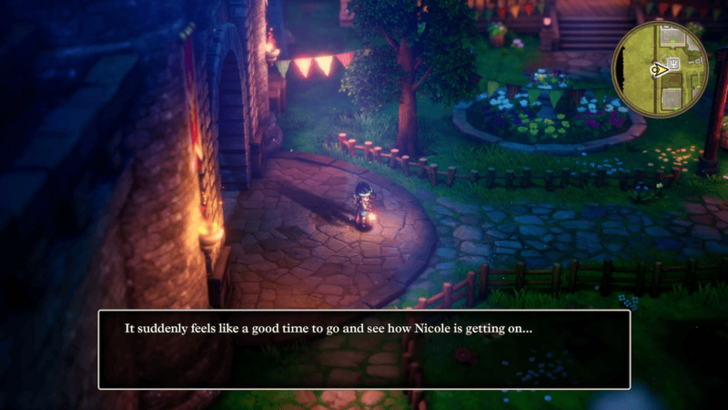 Starting the Immigrant Town is necessary to get the Yellow Orb later on as the town grows over time. You'll be notified whenever the town gets upgraded so you won't miss the Yellow Orb once it becomes available. It's also a good idea to check the shops every time the town's upgraded for any new items and equipment you could use. |
| ** | Now that you have access to the ship, you can sail around the world to visit all the Sparkly Spots and Secret Spots available to you. You can also visit every location you can sail to unlock them as fast travel points, making the search for the six orbs much easier. |
| 4 | 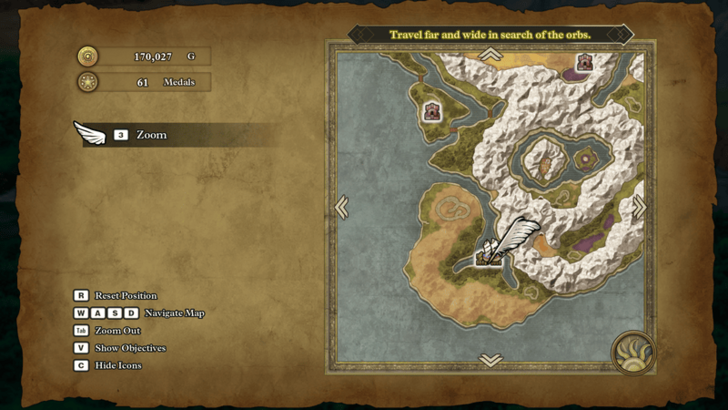 When you're ready, sail south from Portoga down to Theddon. |
| 5 | 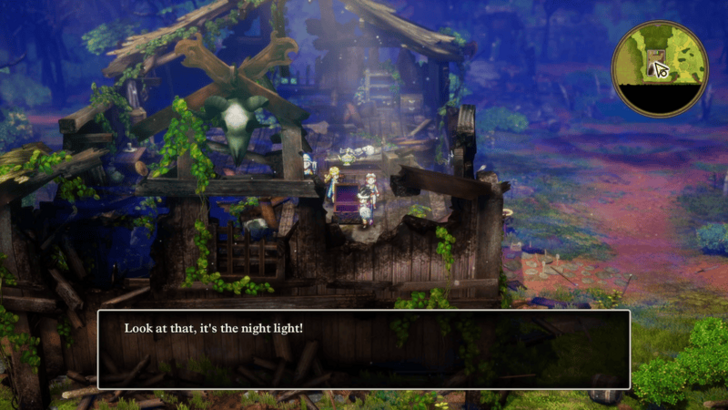 Once you're in town, explore it first for any new items, Mini Medals, and friendly monsters. Make sure you don't miss out on the Night Light on the second floor of the equipment shop. This is a very useful item that lets you turn the time to night whenever it's used. |
| 6 | 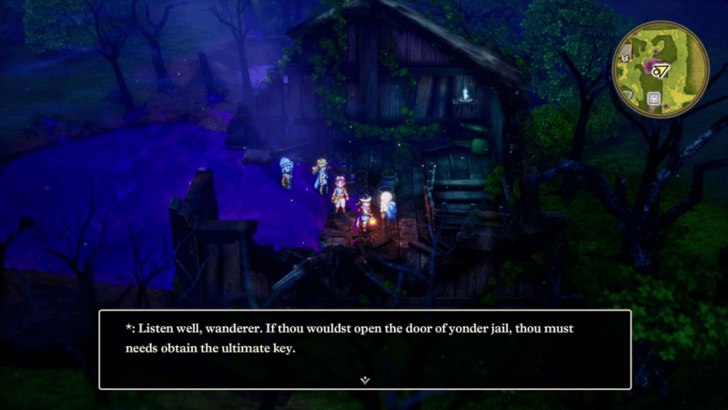 When you're done, use the Night Light to turn the time to night and get all the villagers to spawn. You can then talk to the man in the northeastern house to learn about the Ultimate Key required to open the jail cell. |
| 7 | 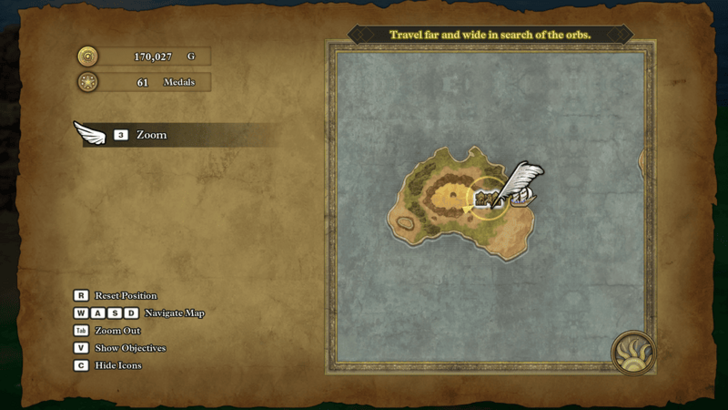 After you're done interacting with the villagers, sail southeast to Lanson. |
| 8 | 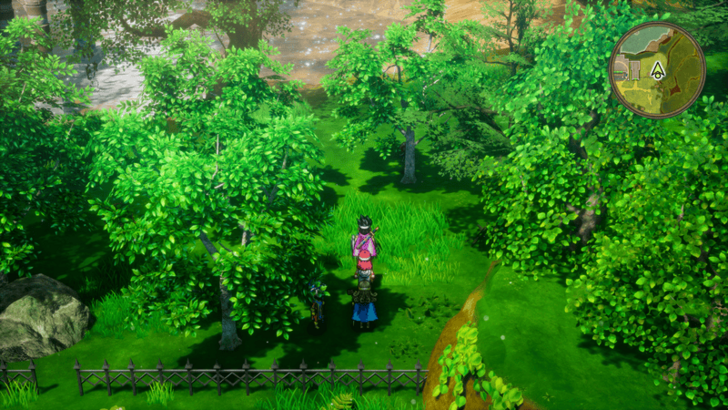 Once you're in town, explore it as usual for any new items and collectables. |
| 9 | 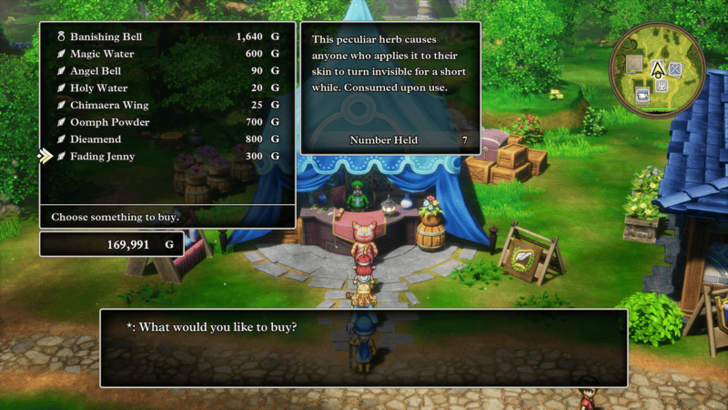 Talk to the item vendor to purchase some Fading Jennies. You can stock up on a ton of these if you wish since they're also useful for recruiting friendly monsters. |
| 10 | 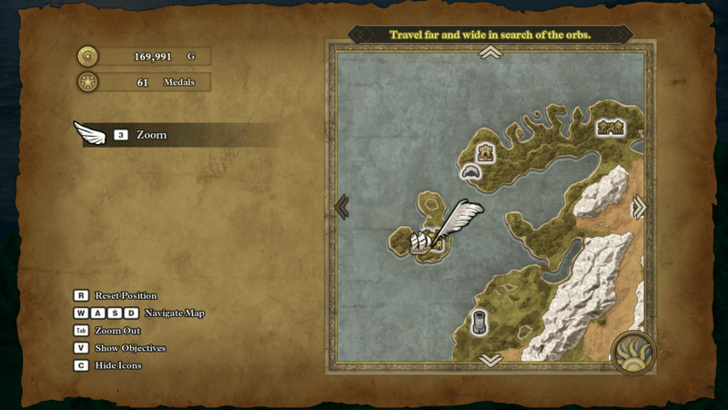 When you're done here, teleport to the Underground Lake and sail southwest to Edina. |
| 11 | 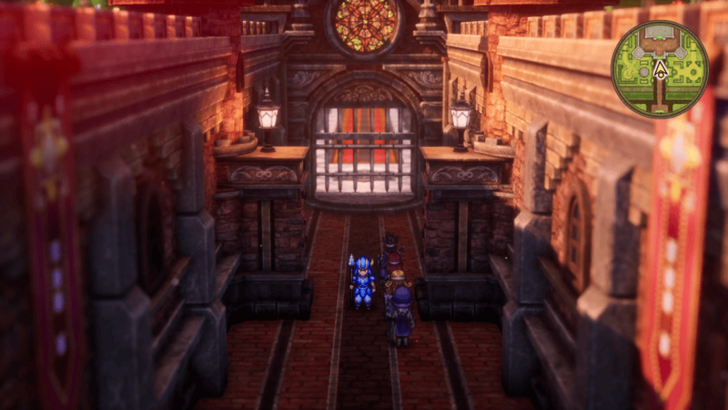 After the cutscene, use a Fading Jenny to sneak past the guard and enter the castle. |
| 12 | 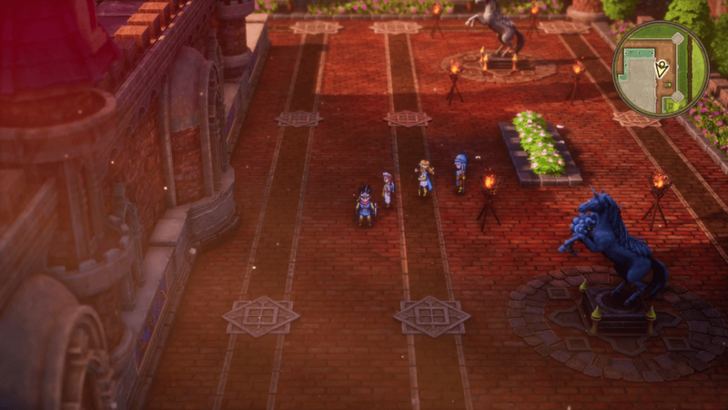 Explore the castle first for any items and collectables before going down to the basement. |
| 13 | Head to the basement solve the puzzle to open the room containing the Bottomless Pot. Once the door's open, head inside and open the chest. |
| 14 | 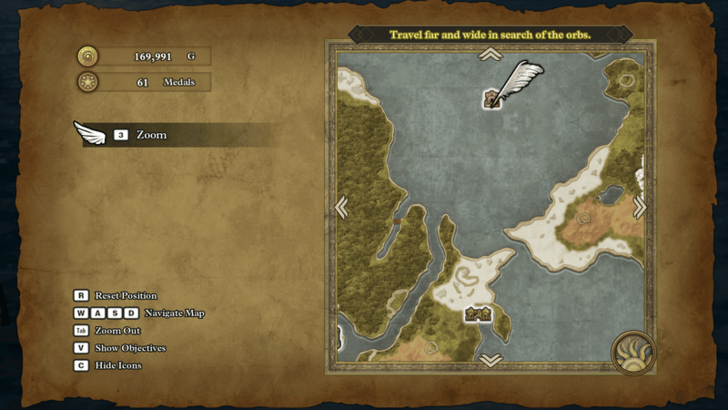 Once you've got the Bottomless Pot, teleport to Mur and sail north to the Shallows Shrine. |
| 15 | 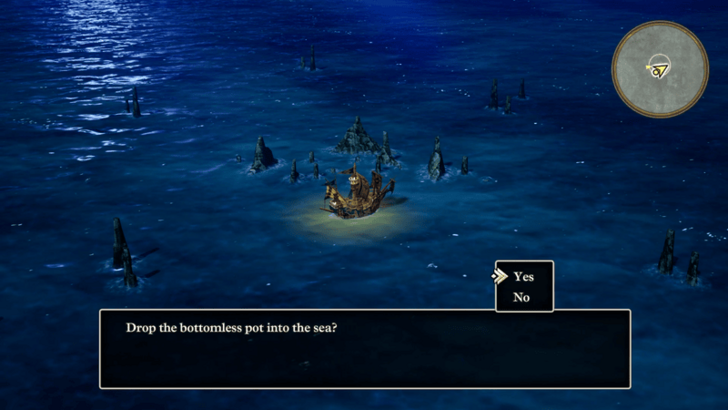 Once you've reached the reef, use the Bottomless Vase to reveal the shrine. |
| 16 | 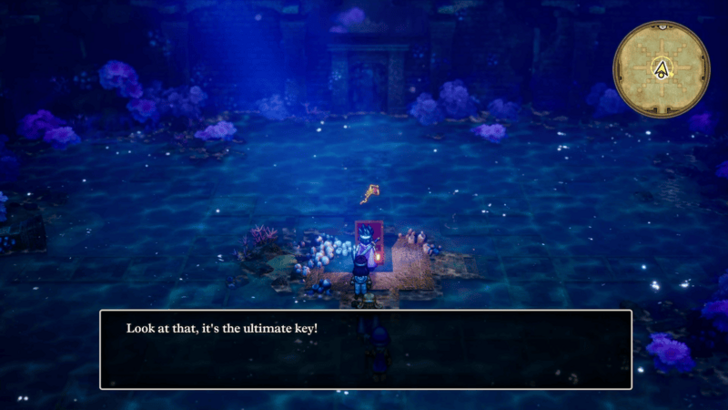 Enter the shrine and open the chest to grab the Ultimate Key. You can also talk to the skeleton at the back and interact with the floor right behind the chest for a Mini Medal. Now that you have the Ultimate Key, you can backtrack to locations that have locked grey and jail doors to open them. Once you're done doing this, you can resume your journey. ▶ Ultimate Key Location and Doors Opened |
| 17 | 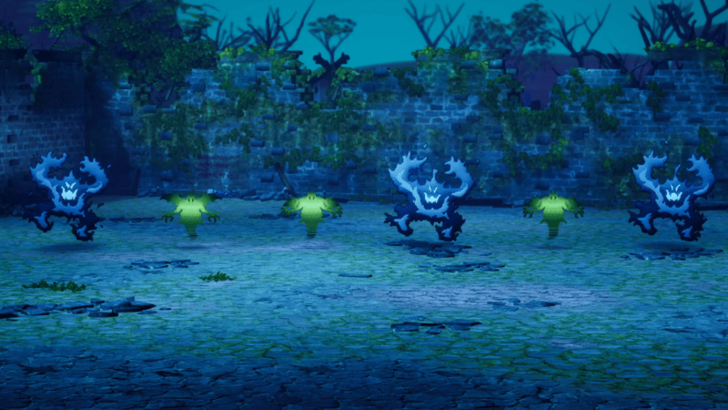 When you're ready, head back to Theddon at night and talk to the prisoner in the jail cell. This will start a boss fight against some Dying Fires and Phantasms so make sure you're prepared before opening the jail cell. ▶ How to Beat Dying Fire |
| 18 | 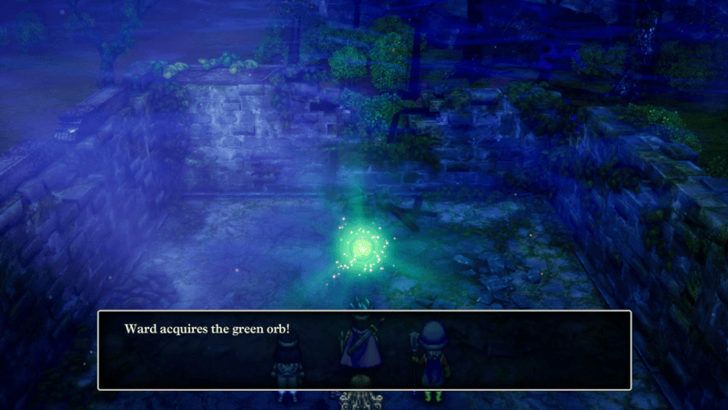 Once you've defeated the boss, a short cutscene will play and you'll now have the Green Orb. From here, you can leave the town to continue finding the other five Orbs. |
Theddon Villagers Only Spawn at Night
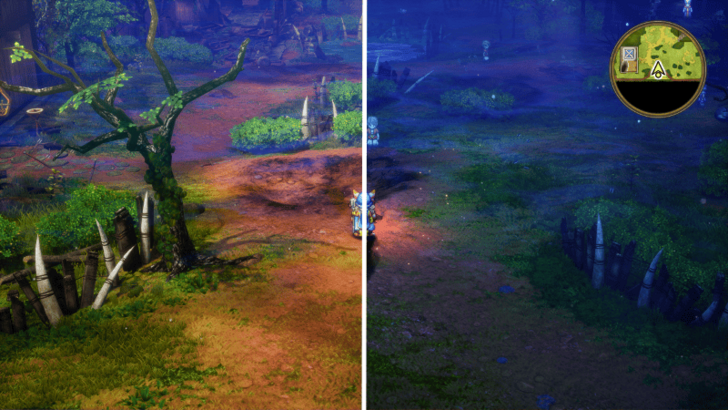
The villagers of Theddon only appear at night. However, if you visit during the day, you can always change the time by using the Night Light or the Tick-Tock spell.
Day Night Cycle: How to Change the Time
Dying Fire Combat Guide
 |
||
| Rec. Level | Drops | |
|---|---|---|
| 23 | None | |
| Tips to Beat Dying Fire | ||
|
・Prioritize defeating the Phantasms first. ・Use Magic Barrier to reduce spell damage. ・Bring Dieamends to counter instakill spells. ・Kill the Dying Fires at the same time. |
||
Purple Orb Quest Walkthrough
| Jump to a Walkthrough! | ||
|---|---|---|
| Green Orb | Purple Orb | Blue and Red Orb |
| Silver Orb | Yellow Orb | Baramos’ Castle |
| * | Visitng Persistence and Fifer's Spire aren't necessary, but they do give you useful items and collectables if you explore them. |
|---|---|
| 1 | 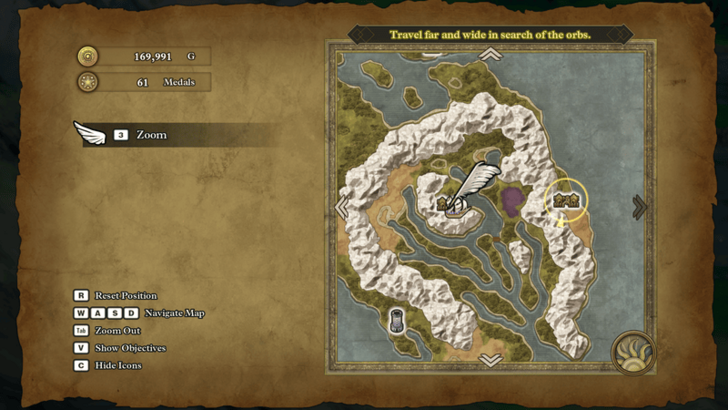 Teleport to the Immigrant Town and sail around west to Persistence. |
| 2 | 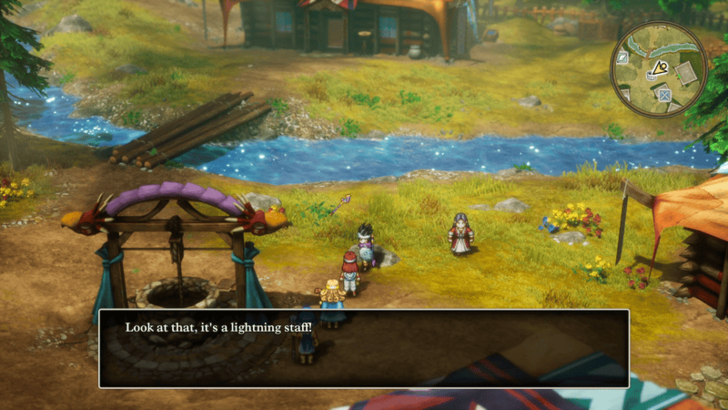 Explore the town for some items and collectables. Make sure to grab the Lightning Staff from the rock near the well since it's a pretty useful item in battle. |
| 3 | 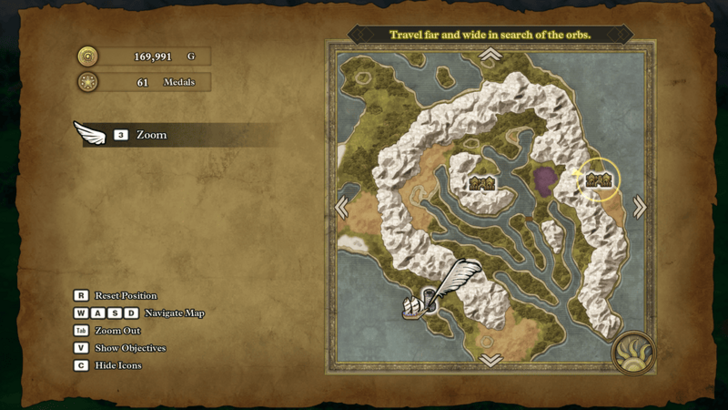 When you're done exploring the village, head southwest to the Fifer's Spire. |
| 4 | Once you're here, explore the tower for any treasures and friendly monsters inside. |
| 5 | 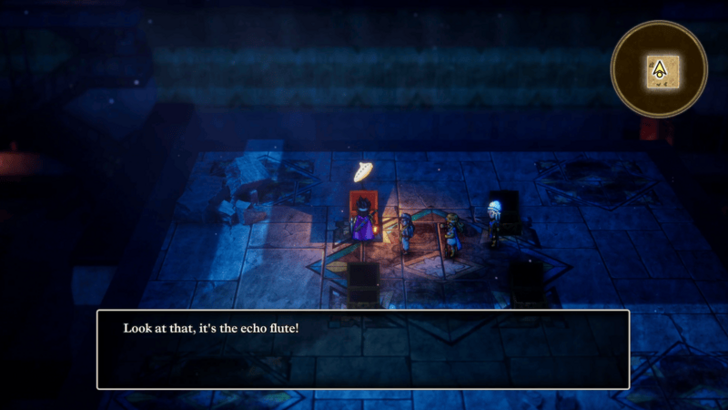 Head to the center platform to grab the Echo Flute from the four chests. This lets you check if an Orb is close by whenever you use it. After you've gotten everything inside the tower, you can leave and resume your journey for the Orbs. |
| * | 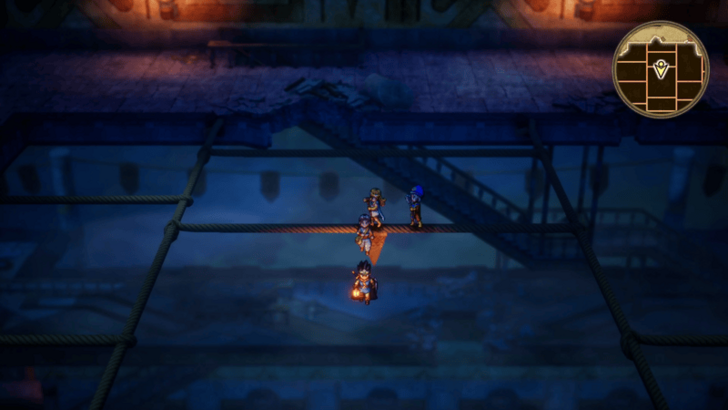 To get to the center platform with the chests, you'll need to drop off the rope on the fifth floor. You can tell exactly where you need to fall thanks to the flag marking the jumping point. If you're on controller, use the D-Pad while on the ropes so you don't prematurely fall off. |
| 6 | 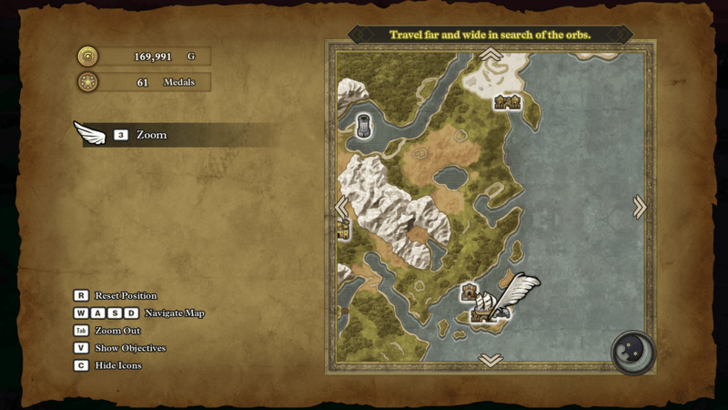 When you're ready, teleport to Mur and sail south to Jipang. |
| 7 | When you visit Jipang for the first time, a cutscene will play explaining the situation of the villagers. Once that's done, explore the area for items, collectables, and friendly monsters. |
| 8 | 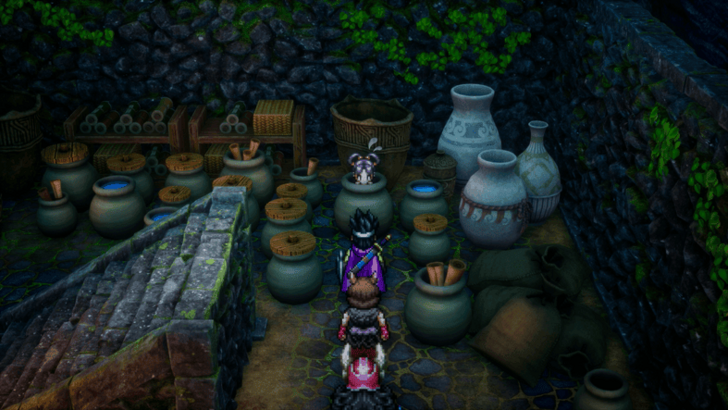 To progress the story, head to the basement storage in the west and interact with the pot to talk to Yayoi. She'll tell you more about Orochi and your next task will be to deal with them. |
| 9 | 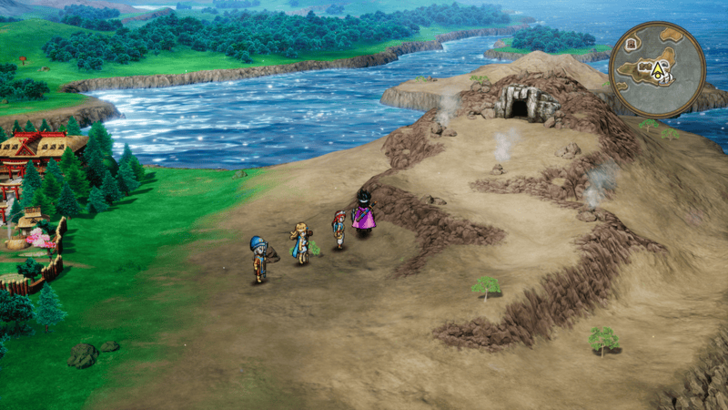 Head east from Jipang to the cave opening and enter Orochi's Lair. |
| 10 | Explore the cave for any new items and friendly monsters on the way down to the second floor. |
| 11 | 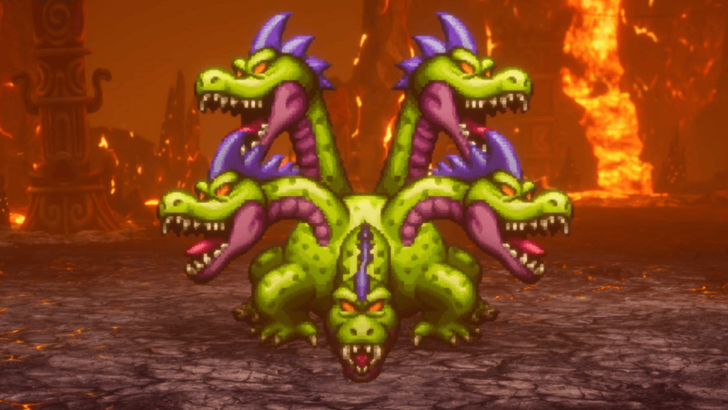 When you're ready, head to the most eastern part of the second floor to confront Orochi. Make sure to set up your defensive buffs first so that you don't take too much damage. ▶ How to Beat Orochi (Lair) |
| 12 | 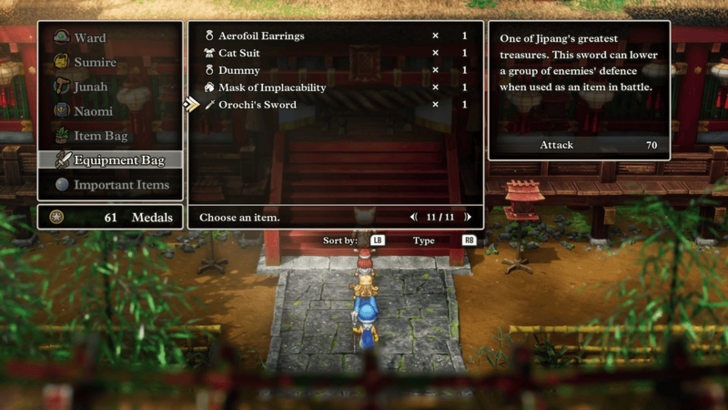 Once they've been defeated, you'll obtain Orochi's Sword and be teleported back to Jipang. Before entering the temple, heal up back at an inn and replenish your resources. |
| 13 | 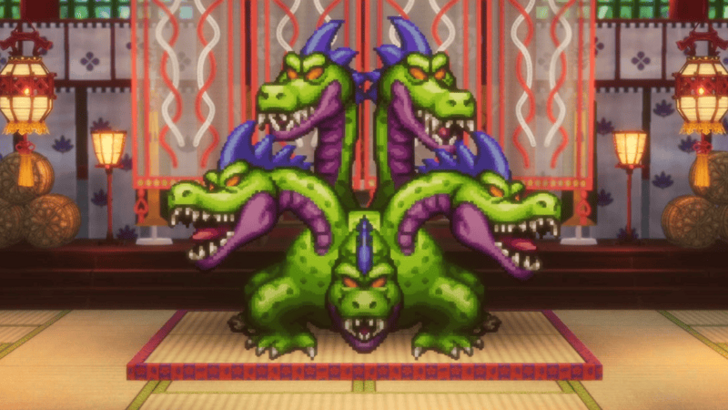 After resting up, head back to the temple and talk to Pimiko to start the second fight with Orochi. The fight will largely be the same, except for two new moves so watch out. ▶ How to Beat Orochi (Jipang) |
| 14 | 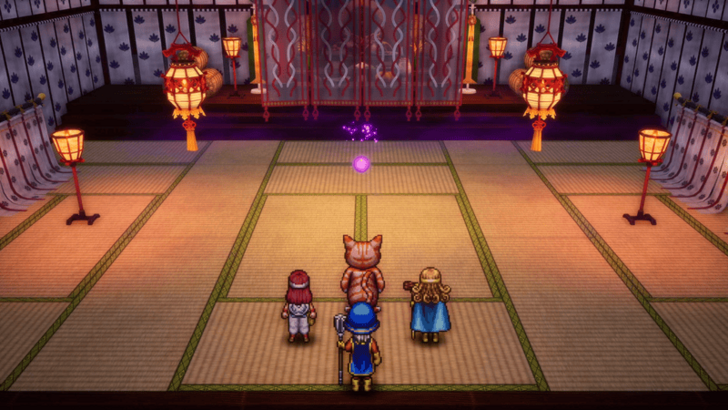 Beating Orochi the second time around will kill them for good, and you'll get the Purple Orb for your efforts. After the cutscene ends, you'll be free to search for the other four Orbs. |
Orochi (Lair) Combat Guide
 |
||
| Rec. Level | Drops | |
|---|---|---|
| 24 | Orochi's Sword | |
| Tips to Beat Orochi (Lair) | ||
|
・Dazzle helps make it easier to dodge attacks. ・Use Oomph and Sap to maximize damage output. ・Orochi is susceptible to Ice and Lightning. ・Constantly heal since its Breath attack hits everyone. ・Insulatle is amazing if you have it unlocked. |
||
Orochi (Jipang) Combat Guide
 |
||
| Rec. Level | Drops | |
|---|---|---|
| 24 | None | |
| Tips to Beat Orochi (Jipang) | ||
|
・Strategies from the first fight are still effective. ・Bring ways to prevent or cure Paralysis. ・Level up for Insulatle if you're having a hard time. |
||
Blue and Red Orb Quest Walkthrough
| Jump to a Walkthrough! | ||
|---|---|---|
| Green Orb | Purple Orb | Blue and Red Orb |
| Silver Orb | Yellow Orb | Baramos’ Castle |
| 1 |  Fly to Lanson and enter the shrine on the north side of the village. Once inside, talk to the priest to travel to Gaia's Navel. Be careful as only the first party member is allowed to enter. It's recommended to bring the Hero on this journey as the boss at the end of the dungeon is weak to Lightning. |
|---|---|
| * | 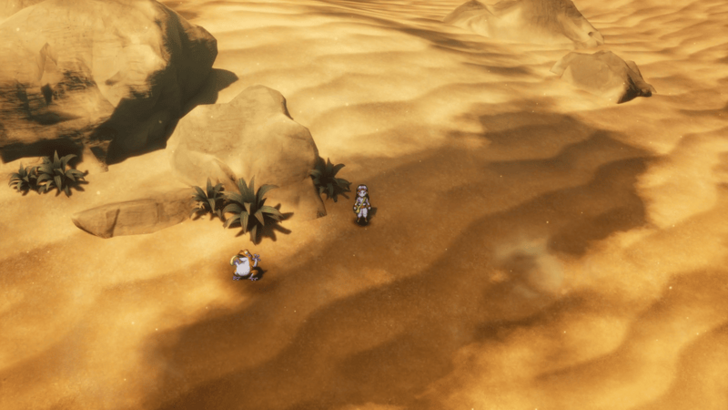 Before entering the cave in the center of the desert, swap a Thief or Monster Wrangler to the first party slot and have them talk to the Priest. There's a Secret Spot to the west that has a friendly monster that can only be recruited by Monster Wranglers or a character that's used Padfoot. |
| 2 | 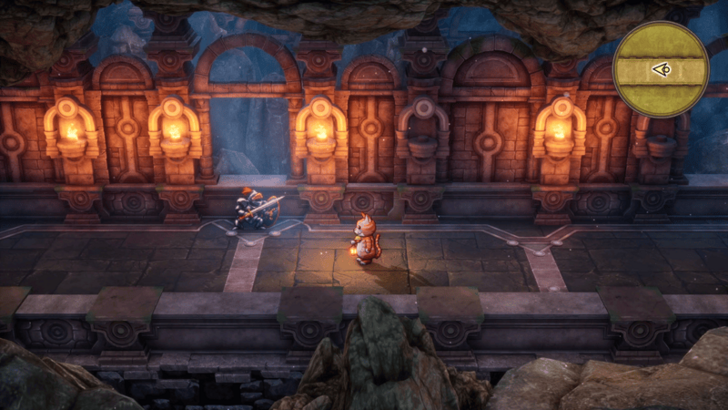 When you're ready, head inside the cave and explore Gaia's Navel for treasures and a friendly monster. Just be careful of the treasure chest in the southwest of the first floor since it's actually a Cannibox. |
| 3 | Head down to the third floor and take the north path to the Blue Orb. Ignore any of the talking heads on the way there since their warnings don't amount to anything. Once you see the Blue Orb, stop at the top of the stairs and prepare for a boss battle. |
| * | 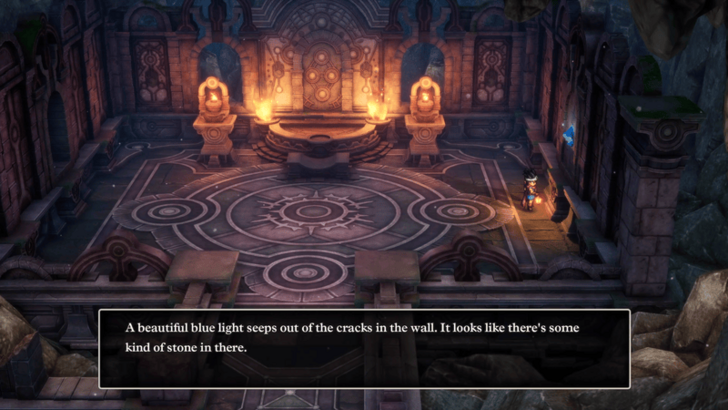 As a note, you can take the south path down to the fourth floor. However, you can't do anything with the blue stone in the wall just yet. |
| 4 | 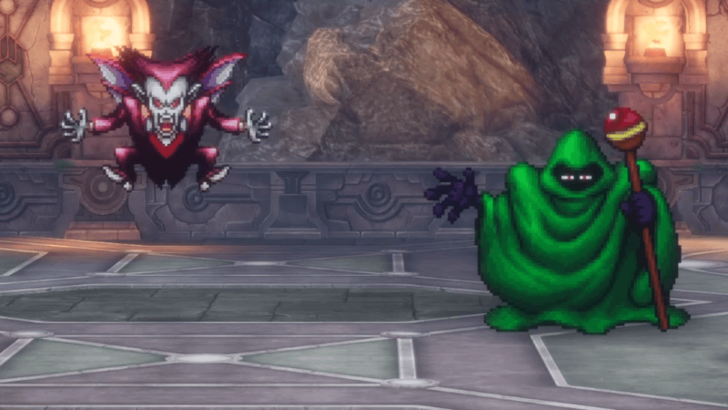 When you're ready, step down the stairs to face the Chiromancer. They'll be accompanied by a Madvlad so make sure to deal with them first. ▶ How to Beat Chiromancer |
| 5 | 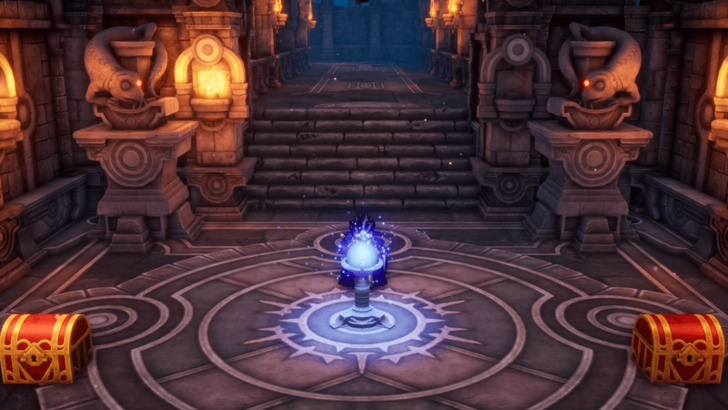 After you defeat them, you can now pick up the Blue Orb and the two chests to its sides. From here, feel free to Evac out of the dungeon and head back to Lanson. |
| 6 | 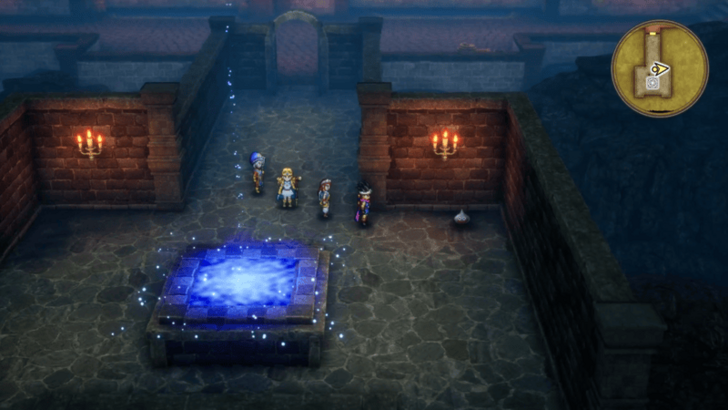 The next stop on our journey is Manoza. However, to get there, you'll need to navigate through some Teleportals first. To start off, teleport to the Romarian Outpost and head to the basement. Open the door to the south and recruit the friendly Metal Slime before going through the Teleportal. |
| 7 | 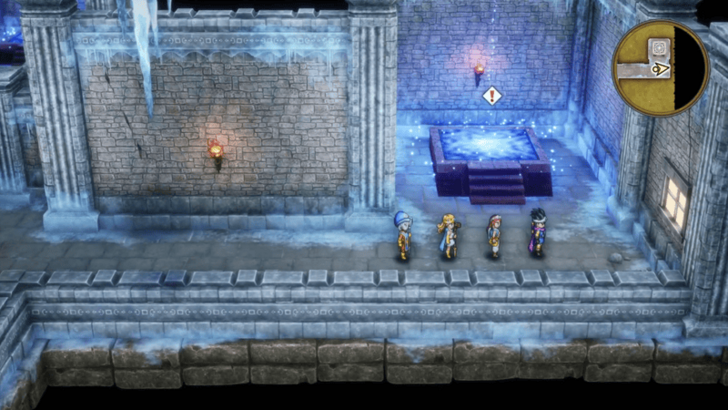 Going through the portal will bring you to the Teleportal Shrine. From here, take the rightmost portal to go to region Manoza is in. Also, there's a Mini Medal just above the water in the center so make sure to grab it while you're here. |
| 8 | 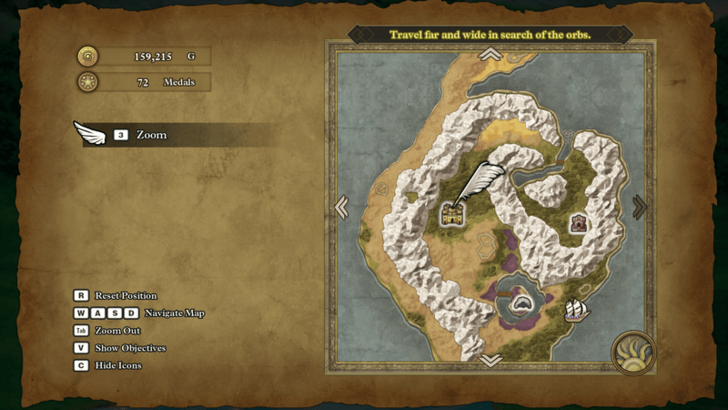 Exit the chapel and head around west to Manoza. There's also a Secret Spot just to the northwest of the chapel so make sure to visit it while you're in the area. |
| 9 | 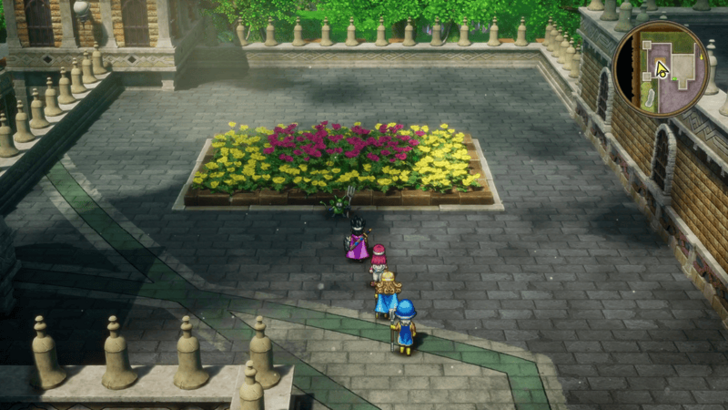 Once you've arrived in town, explore the area first for any new items and collectables. The equipment shop also sells some good upgrades so make sure to drop by if you need to. Also, there's a new set of Monster Arena battles here. As long as you've been recruiting friendly monsters, you should do these battles right away before purchasing equipment upgrades. |
| * | 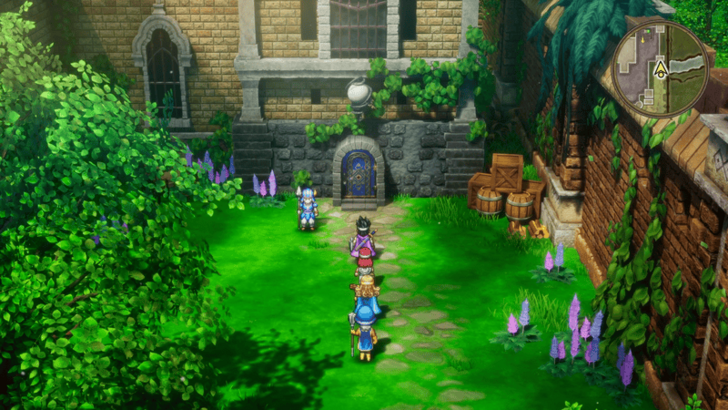 To enter the castle, you'll need to head to the side door in the east. While you're inside, don't approach the king until you're done exploring. |
| 10 | 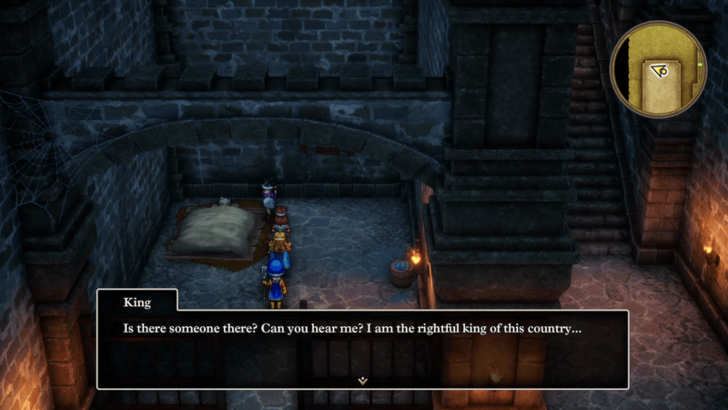 When you're done gathering collectables and friendly monsters, go to the king where you'll then be swiftly thrown into jail. To escape, unlock the cell in the bottom right and talk to the real king once you're down stairs. He'll ask you to escape through the passage to the right and go to Manoza Cave to retrieve Ra's Mirror. |
| 11 |  After escaping and finalizing any of your preparations, head south to Manoza Cave. |
| 12 | 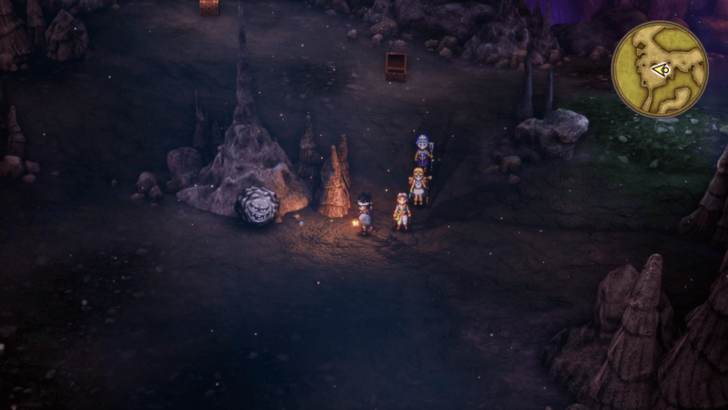 Go through the cave, opening any treasure chests on the way. Make sure to also recruit the friendly Rockbomb on the second floor. |
| * | 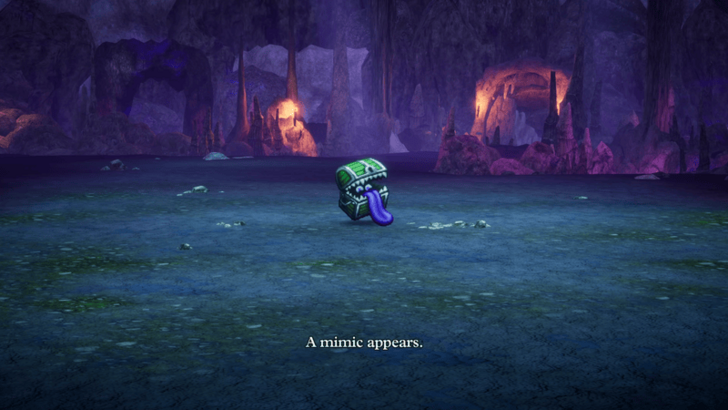 Be careful of the many chests on the second floor as half of these are actually Mimics. If you're not sure which chests to open, use the Peep spell to check beforehand. |
| 13 | 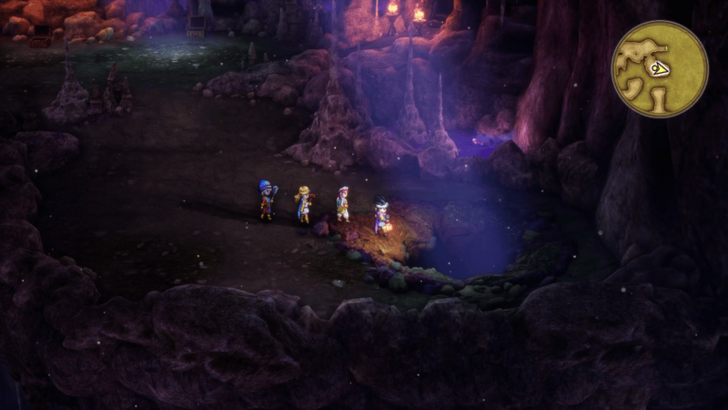 Once you're done exploring, go to the second floor and drop down the hole just below the way up to the first floor. This will take you to the island in the middle of the third floor, where Ra's Mirror is located. Once you've opened the chest and got the mirror, you can use Evac to leave the dungeon. |
| * | 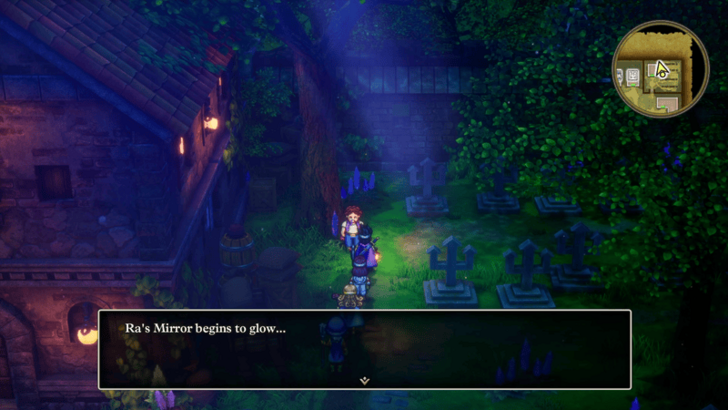 There are actually a ton of friendly monsters around the world that are disguised as a different form. Now that you have Ra's Mirror, you can backtrack and use it on certain NPCs to discern their true form and recruit them. ▶ All Friendly Monster Locations |
| 14 | 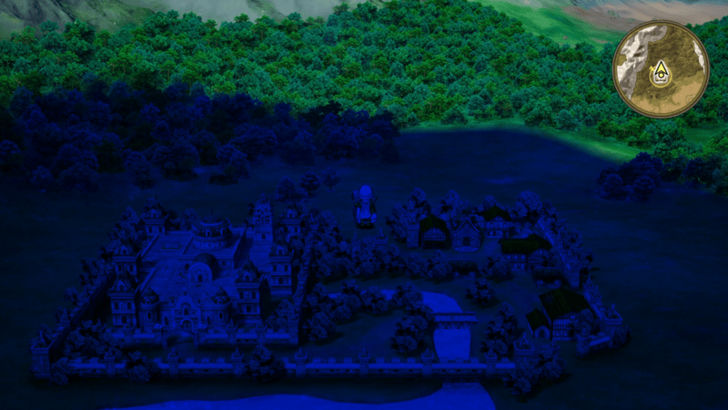 Before heading back to Manoza Castle, make sure that it's nighttime using the Night Light. |
| 15 |  When you're ready, go to the King's bedroom via the roof to face the Boss Troll. They can hit pretty hard so make sure to increase your defenses while also reducing their attack. ▶ How to Beat Boss Troll |
| 16 | 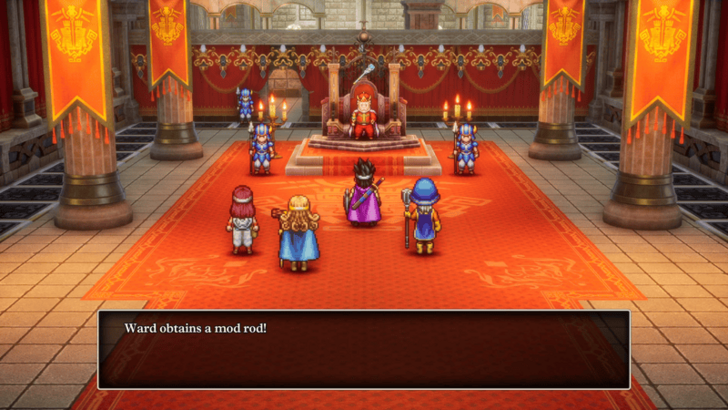 Once they've been defeated, a cutscene will play and you'll be told some steps for the next part of your journey. Afterwards, you'll meet with the true king and receive the Mod Rod, as well as a Mighty Armlet and an Elfin Elixir. |
| * | 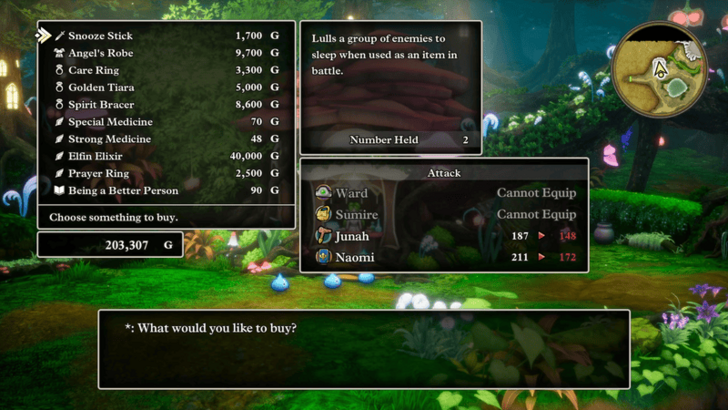 Now that you have the Mod Rod, you can head back to the Faerie Village and access the item shop. Make sure that you're transformed into either a Slime or a Dwarf so that the shopkeep will let you browse their wares. |
| 17 | 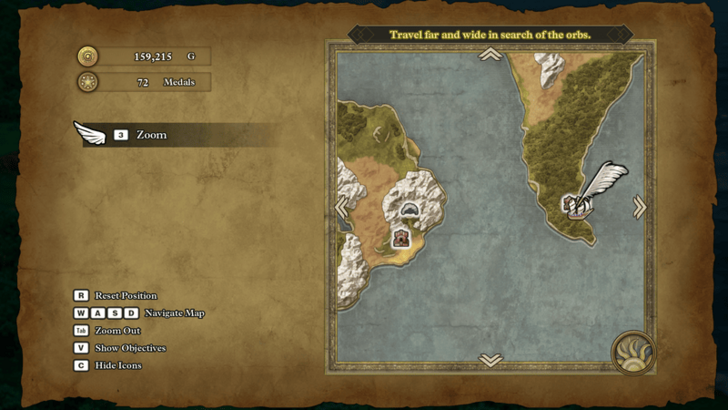 The next step now is to teleport to the Path of Promise and sail east to the Pirates' Den. Make sure that the time is set to morning so that you can explore the area while the pirates are away. |
| 18 | 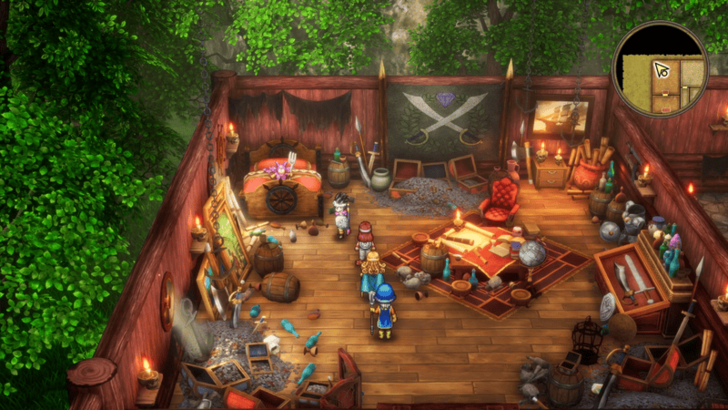 Once you're there, head inside and grab any treasures you find, as well as the friendly Imp. |
| 19 | 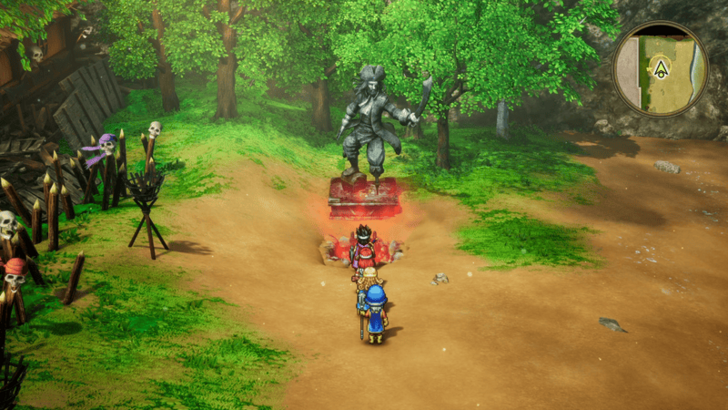 Afterwards head back outside and push the statue in the northeast to reveal a hidden ladder. Go down to find the Red Orb, as well as a Skull Ring and a Phantom Mask. When you're done, you can leave the Pirates' Den and resume your journey. |
| * | 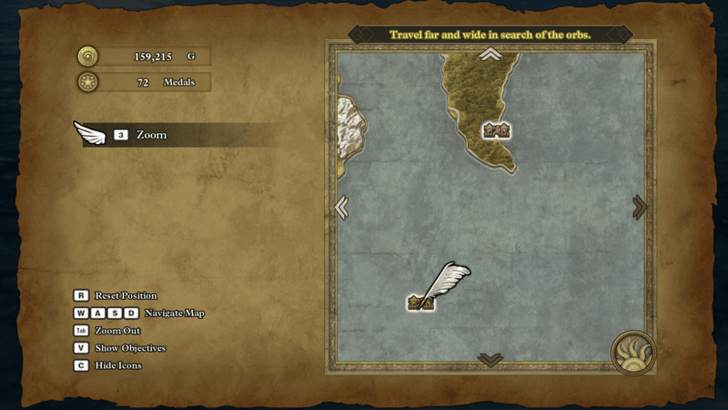 Make a quick detour southwest to Lozamii. There's not much to do here, but there are items, a Mini Medal, and friendly monsters to collect so make sure to stop on by. |
Chiromancer Combat Guide
 |
||
| Rec. Level | Drops | |
|---|---|---|
| 25 | None | |
| Tips to Beat Chiromancer | ||
|
・Kill the Madvlad first. ・Utilize the Hero's Lightning attacks. ・Equip spell resistant gear. |
||
Boss Troll Combat Guide
 |
||
| Rec. Level | Drops | |
|---|---|---|
| 28 | None | |
| Tips to Beat Boss Troll | ||
|
・Cast Kabuff to increase your party's defense. ・Use Fizzle to prevent spells from being cast. ・Reduce their attack with Attack Attacker. ・Apply Dazzle to make attacks to miss. |
||
Silver Orb Quest Walkthrough
| Jump to a Walkthrough! | ||
|---|---|---|
| Green Orb | Purple Orb | Blue and Red Orb |
| Silver Orb | Yellow Orb | Baramos’ Castle |
| 1 | 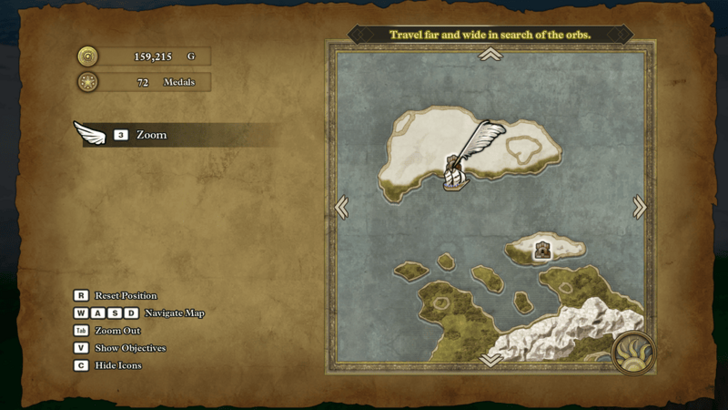 Head to Grimland, located northwest from the Teleportal Shrine. |
|---|---|
| 2 | 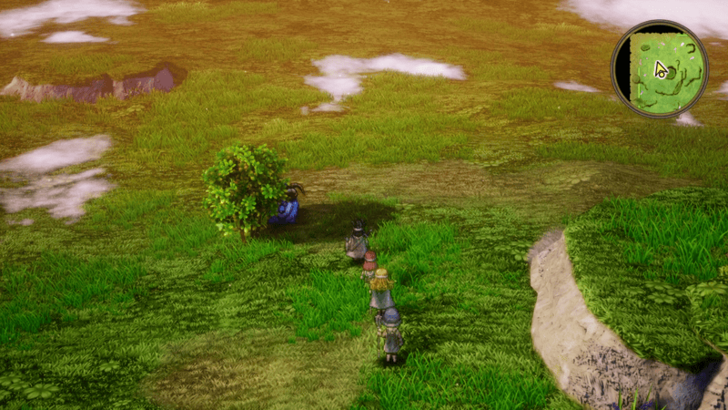 Once you're here, explore the area first for treasures and the friendly Rampage before heading into the cabin. |
| 3 | 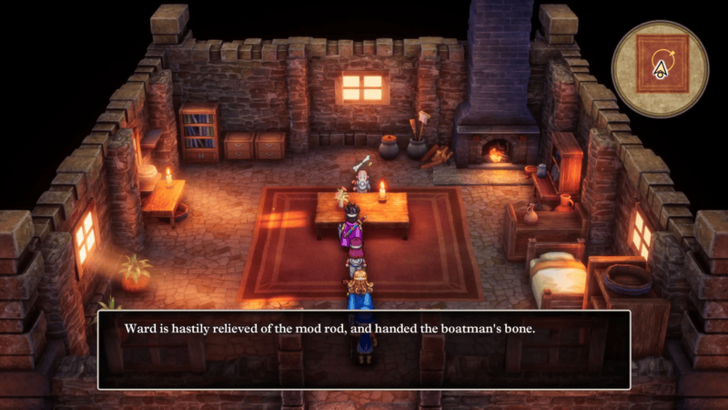 Talk to the Old Man to exchange the Mod Rod for the Boatman's Bone. Make sure that you've bought everything you need from the Faerie Village before doing this since the next Mod Rod you'll get will be a reward from the Monster Arena in Cantlin. |
| * | Now that you have the Boatman's Bone, you'll be able to see the Phantom Ship on the map. This also happens to be the next location that we'll go to on our journey. |
| 4 | 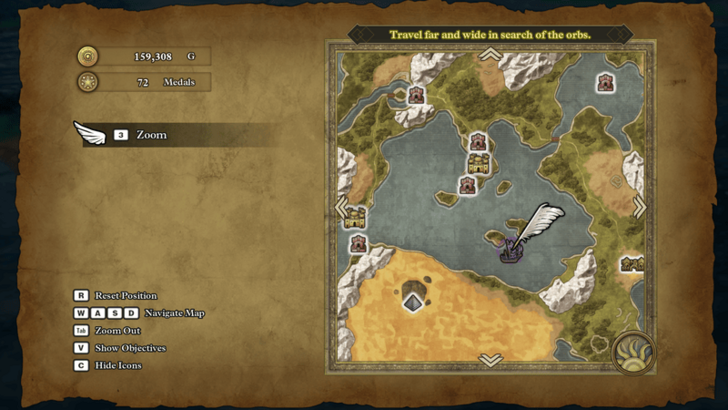 Teleport to Romaria and sail southeast to the Phantom Ship. Make sure to use the Night Light before boarding so you can recruit the friendly Squidzilla at the top of the boat. |
| 5 | 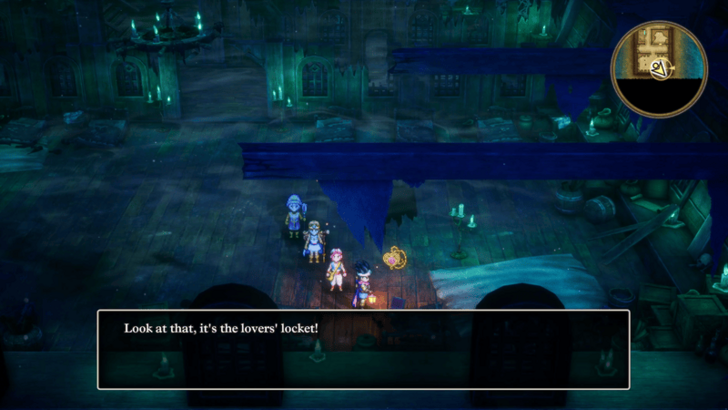 Explore the ship to grab any treasures you find. Once you're done, head to the southern part of the second floor to get the Lovers' Locket. This lets your ship cross Olivia's Promontory and access the Shrine of Shackles. |
| 6 | 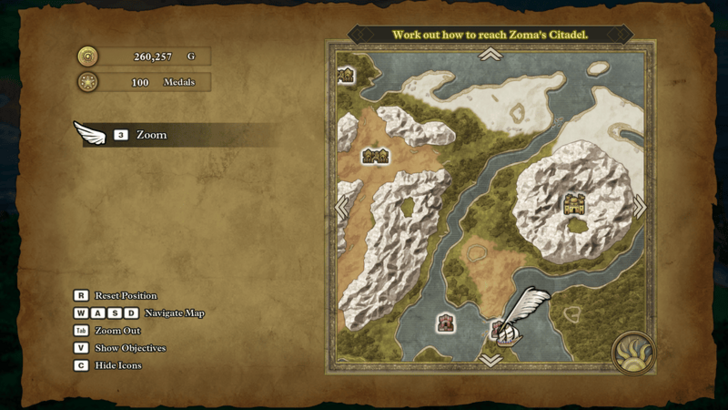 If you haven't visited the promontory yet, teleport to Khoryv and take the ship around southeast towards Olivia’s Promontory. |
| * | 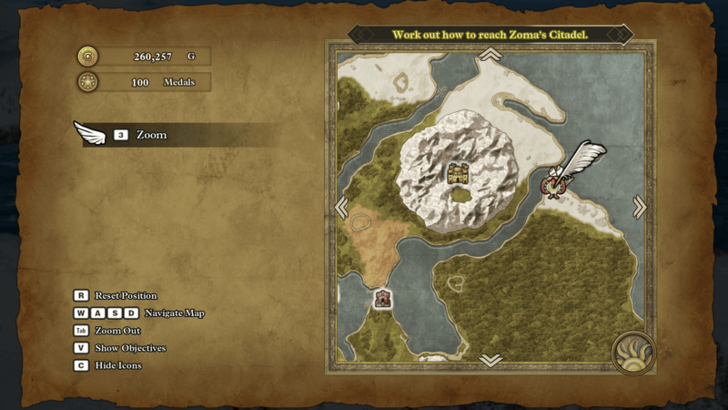 On the way there, visit the Shrine of the Dwarf for a cutscene about Ortega and to unlock it as a fast travel point for later. |
| 7 |  Once you've reached the promontory, sail your boat between the two statues to start a cutscene where the Lovers' Locket gets used. |
| 8 | After the cutscene, you'll be able to sail west to the Shrine of Shackles on the small island. Also, you can sail around the newly accessible waters for some Sparkly Spots if you wish. |
| 9 | 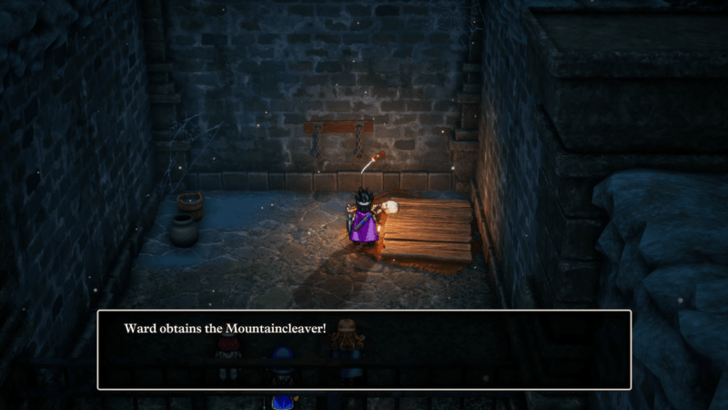 Quickly explore the jail for any treasures, and once you're done, head to bottom left cell for a cutscene. Afterwards, move over to the bottom right cell for another cutscene and the Mountaincleaver sword. |
| 10 | 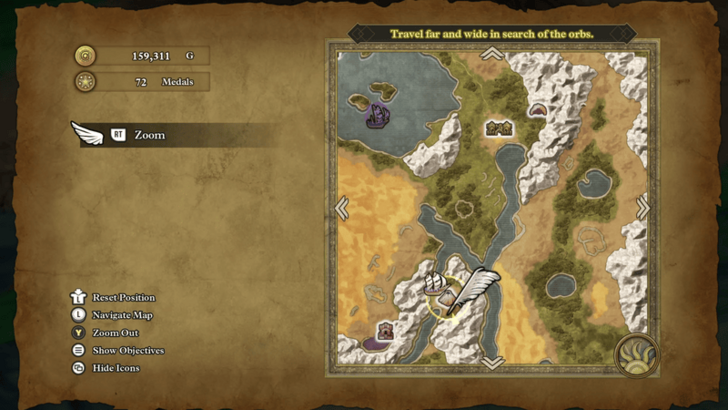 Once you've got the sword, you can leave the jail and teleport to Asham. From there, sail south to the volcano, Mt. Necrogond |
| 11 | 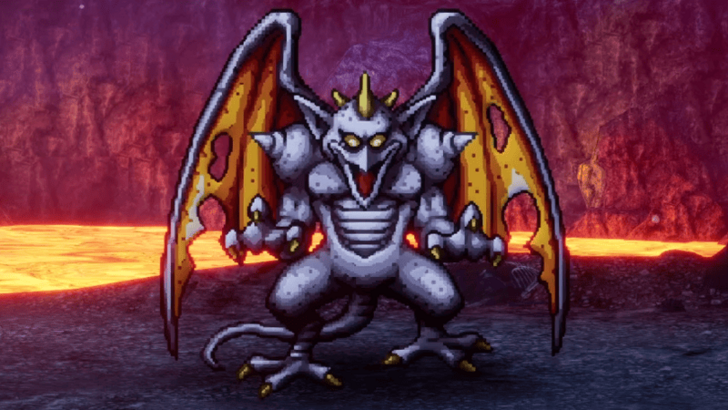 When you're ready, head up the top and interact with the pool of lava to throw Mountaincleaver into the volcano. This will start a boss fight with the Garboyle so make sure you're prepared. ▶ How to Beat Garboyle |
| 12 | 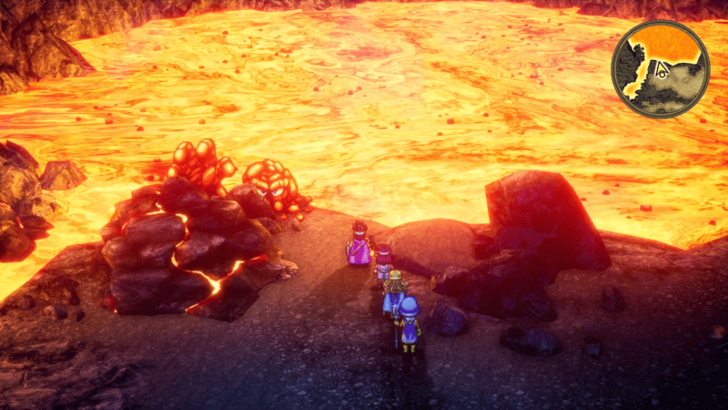 After the fight, interact with the lava again to start a cutscene. Once that's over, go left to recruit a friendly Magmalice. |
| * | Teleport back to a town and rest up first before resuming your journey. The next dungeon is pretty long so make sure to restock your items. |
| 13 | 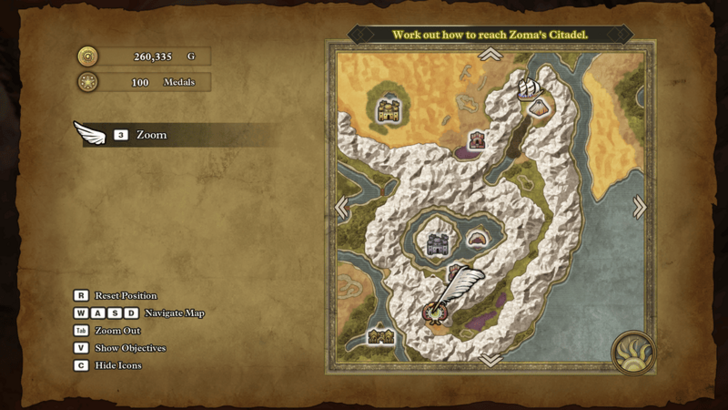 When you're ready, head south from the volcano towards the Maw of the Necrogond. |
| 14 | Explore the dungeon grabbing any items and collectables on the way to the 5th floor. |
| 15 | 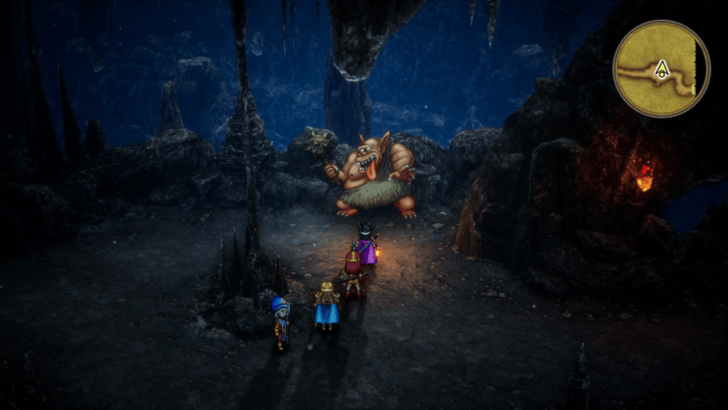 When you reach the 2nd floor, go east first to recruit a friendly Troll. If you continue going east, you'll just loop back around to the left exit so go west instead to leave the area. ▶ All Friendly Monster Locations |
| 16 | 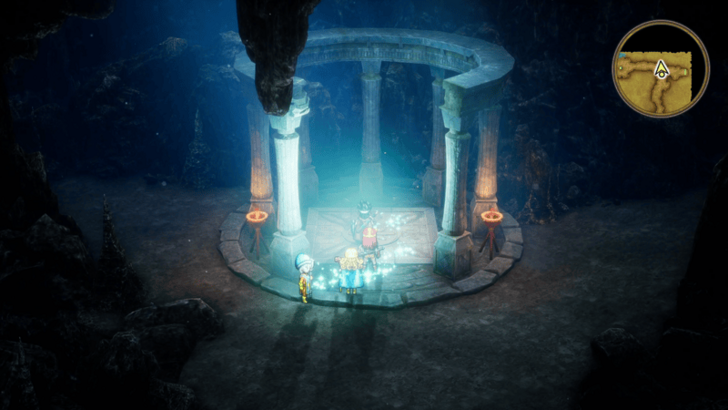 Continue going through the dungeon and picking up items until you reach the 3rd floor. There will be a healing glyph right before the way up to the 4th floor so use this opportunity to farm Liquid Metal Slimes. As a note, there will also be a friendly Mimic to the south before you'll need to jump down, so make sure to go there and recruit them. |
| 17 | Once you're done farming for EXP, head up to the 4th floor and grab the treasures there. From there, head up and out through the 5th floor. |
| 18 | 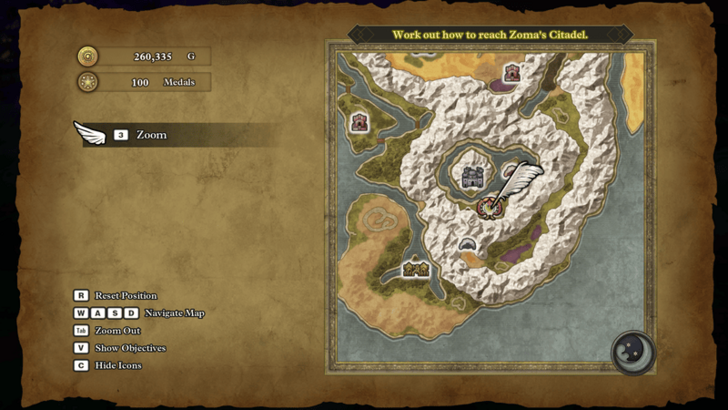 Head east and around up to Necrogond Shrine. There's a Secret Spot on the way there so make sure to stop by. |
| 19 | 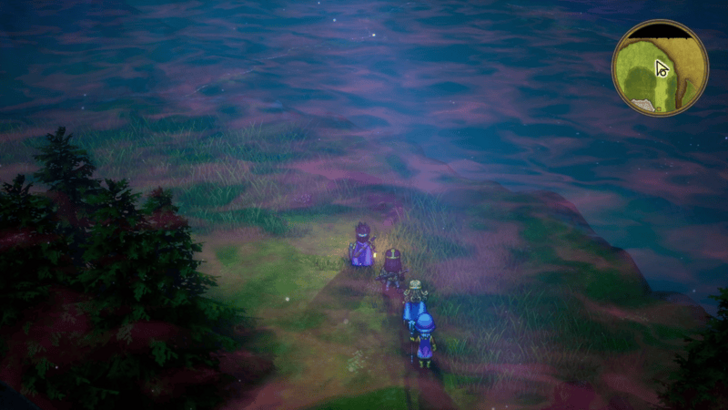 Before entering the shrine, use the Night Light to change the time to night. This is so you can recruit a friendly Shell Slime to the back right of the shrine's exterior. |
| 20 | 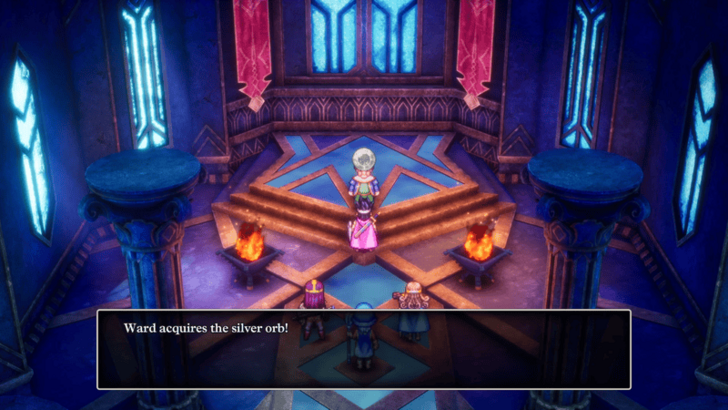 Head inside and talk to the man to receive the Silver Orb. Afterwards, search the area behind him for a Mini Medal and two seeds. Head inside and talk to the man to receive the Silver Orb. Afterwards, search the area behind him for a Mini Medal and two seeds. |
Garboyle Combat Guide
 |
||
| Rec. Level | Drops | |
|---|---|---|
| 30 | Restless Heart | |
| Tips to Beat Garboyle | ||
|
・Bring ways to reduce Fire and Spell damage. ・Monster Pile-On is highly effective. ・Beware of multiple status ailments. ・Empowers spell damage at low HP. |
||
Yellow Orb Quest Walkthrough
| Jump to a Walkthrough! | ||
|---|---|---|
| Green Orb | Purple Orb | Blue and Red Orb |
| Silver Orb | Yellow Orb | Baramos’ Castle |
| * | To get the Yellow Orb, you'll need to establish the Immigrant Town and upgrade it up to Stage 4. If you've already established the town before this and you've been visiting it regularly, then you should have already received the notification that it's been upgraded enough for you to get the Yellow Orb. |
|---|---|
| 1 |  Before doing anything else, head to Aliahan and recruit a new Merchant in Patty's Party Planning Place. Make sure to name them something you'll be happy with since the town will be named "Merchant's Name"-burg. For this example, since the Merchant is named Nicole, the town will be called Nicoleburg. |
| 2 |  Once you go your Merchant, go to Portoga and sail west to an unnamed cabin to the east of Persistence. |
| 3 |  Head inside the cabin and talk to the old man to leave your Merchant behind. They'll assist him in starting up the Immigrant Town and help it grow over time. As a note, the Merchant cannot be re-recruited until you've upgraded the town to its 5th and final stage so make sure you leave the new one instead of someone you've been levelling up. |
| 4 |  From here, you can teleport back to any town to receive a notification that you should check up on your Merchant. This is the sign that the town has been upgraded to the next level. |
| 5 | 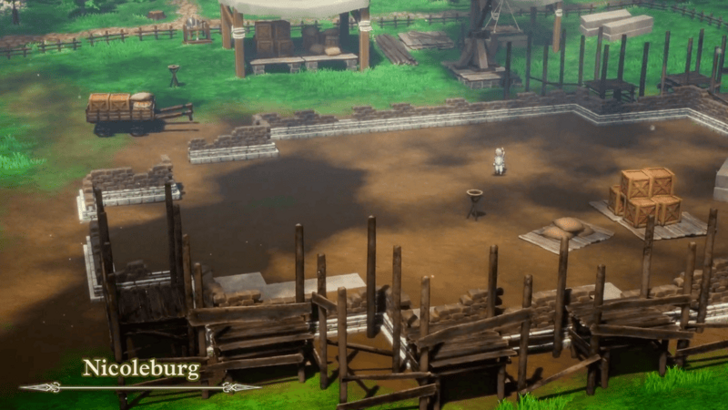 Teleport back to the Immigrant Town to see that it's been upgraded to Stage 2. There's not much to do right now so just teleport somewhere else. Doing this will get you another notification so just teleport back like before. |
| 6 | 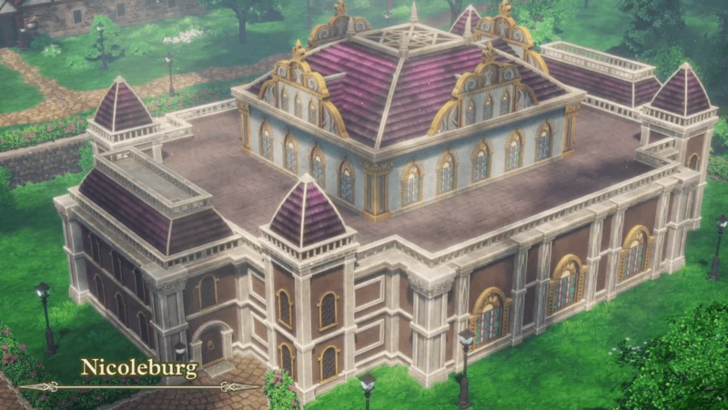 When you get back, the town will be upgraded to Stage 3. Make sure to explore the town first since there are new items that can be found. |
| 7 | 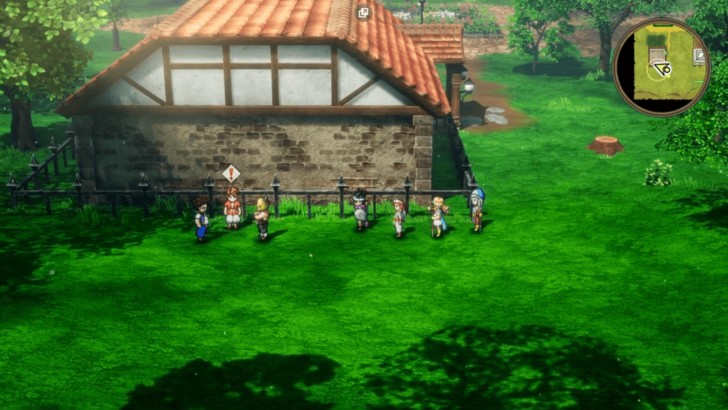 Go to the bottom left of the map and approach the three men to observe the Coup Event. Once that's done, you can teleport to another town. |
| 8 | 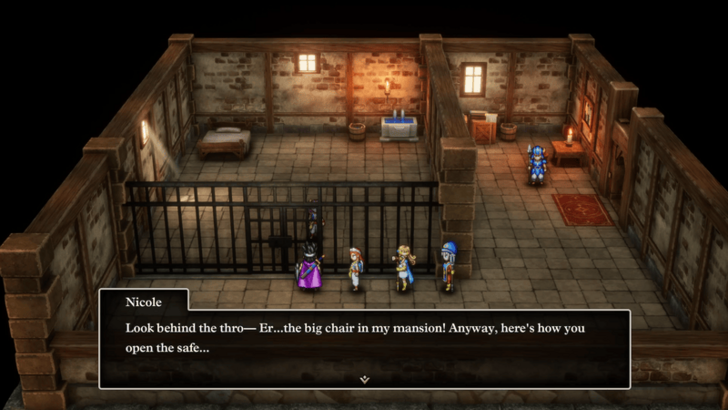 After receiving another notification, teleport back again. There won't be a mini cutscene this time, but the coup should've happened and the town should be upgraded to Stage 4. From here, go to the jail in the bottom left and talk to your Merchant to learn that they managed to get the Yellow Orb for you. |
| 9 | 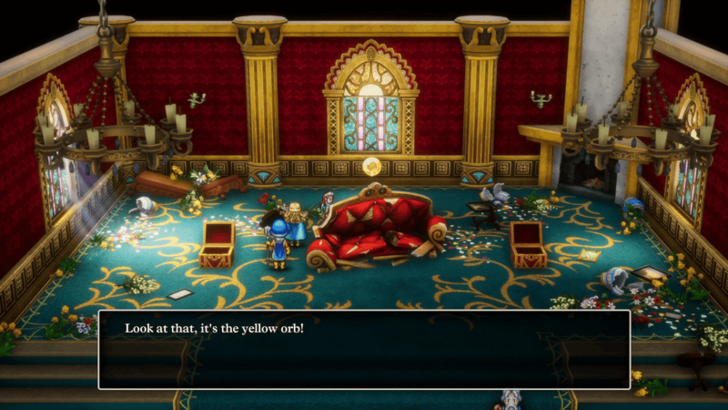 To get the orb, you'll simply need to visit the Merchant's mansion and inspect the back of the throne. Once you've got all 6 orbs, you can proceed to the Shrine of the Everbird. |
| * | There's still one more town upgrade after unlocking Ramia so make sure to come back here after visiting the Shrine of the Everbird. |
List of Conditions for Immigrant Town Upgrades
| Stage and Condition | |
|---|---|
| 1 | Leave the Merchant and go to a different town. Renames town to "Merchant's Name"-burg. |
| 2 | Obtain the Ultimate Key and defeat Orochi. |
| 3 | Defeat the Boss Troll and get the Mod Rod. |
| 4 | Collect 3+ Orbs and view the Coup Event. Unlocks the Yellow Orb. |
| 5 | Unlock Ramia, the Everbird. Can re-recruit Merchant to party. |
Baramos’ Castle Quest Walkthrough
| Jump to a Walkthrough! | ||
|---|---|---|
| Green Orb | Purple Orb | Blue and Red Orb |
| Silver Orb | Yellow Orb | Baramos’ Castle |
| 1 | 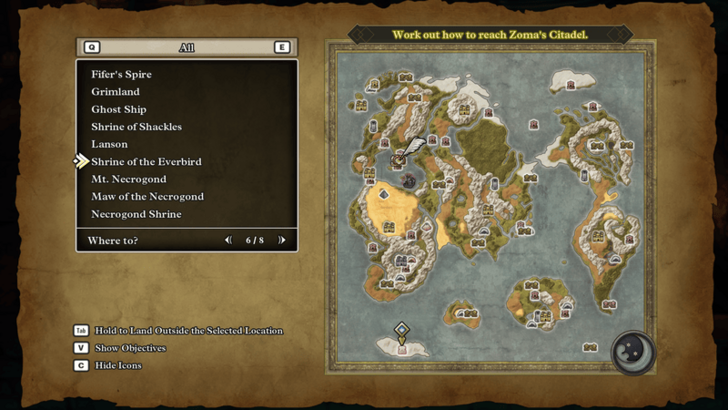 Once you've collected all six orbs, head to the southwesternmost island where the Shrine of the Everbird is. As a note, there's a Mini Medal to the right of the ladder so make sure to grab it before heading up. |
|---|---|
| 2 | 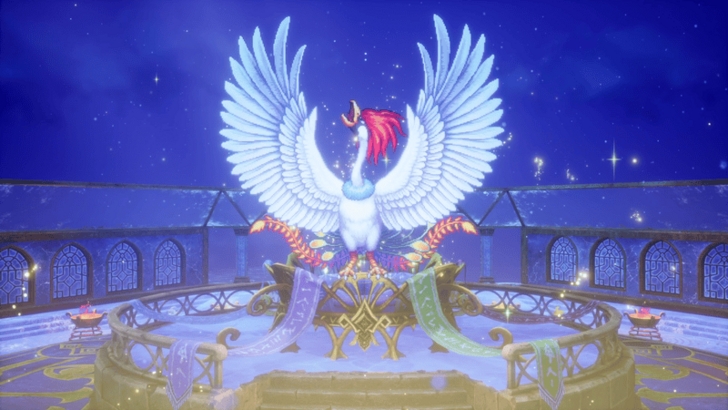 Head to the top and place the orbs in their respective slots. This will trigger a cutscene that will revive Ramia, the Everbird, allowing you to fly around the world. |
| * | Now that you have the ability to fly, you can visit all the Secret Spots and Sparkly Spots that you couldn't access before. |
| 3 | 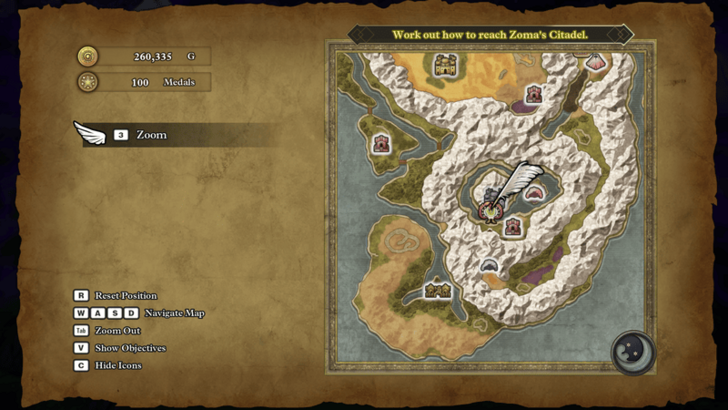 When you're ready, teleport to Necrogond Shrine and fly to Baramos' Lair. |
| * | 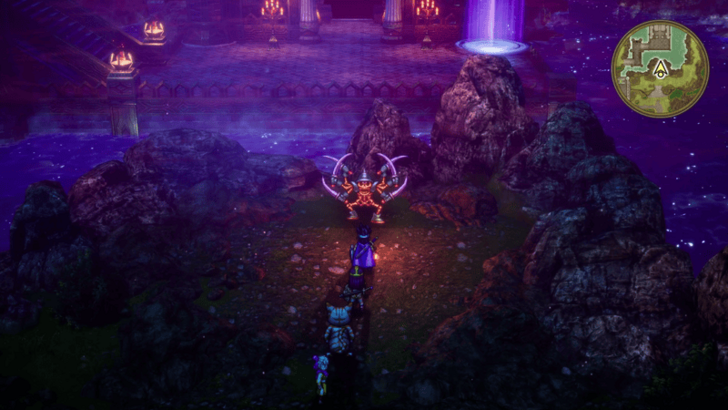 Before going inside, use the Night Light first since there are friendly monsters here that only show up at night. ▶ All Friendly Monster Locations |
| 4 | 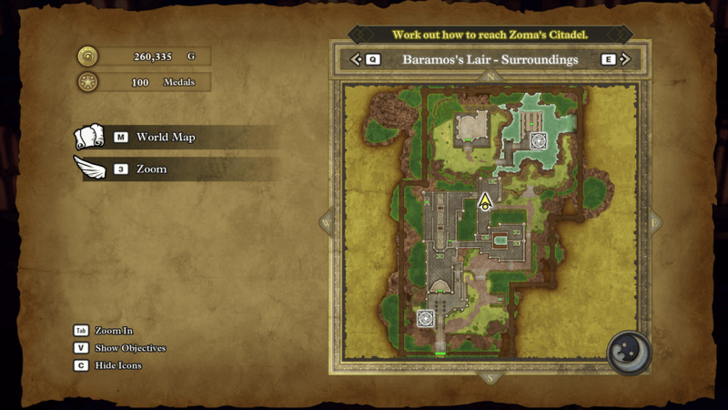 This dungeon has a lot of side areas so explore around for any items and treasures while going through it. When you want to proceed, head to the back entrance to enter the castle. |
| 5 | 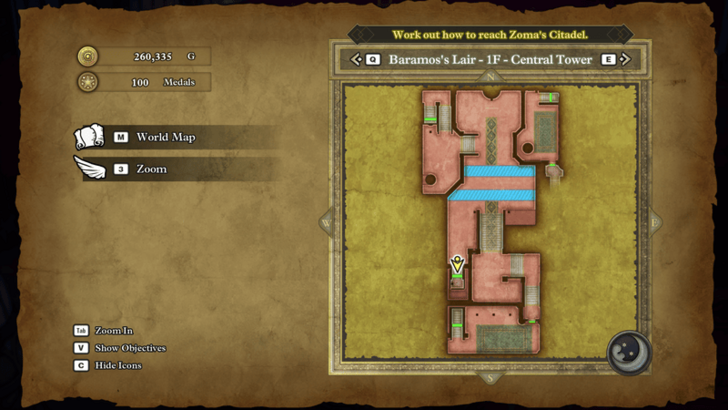 Follow the path forward until you reach a room with damage tiles. To continue to Baramos, take the bottom left stairs down to B1. From there, head east and up to the South-East Tower. |
| 6 | 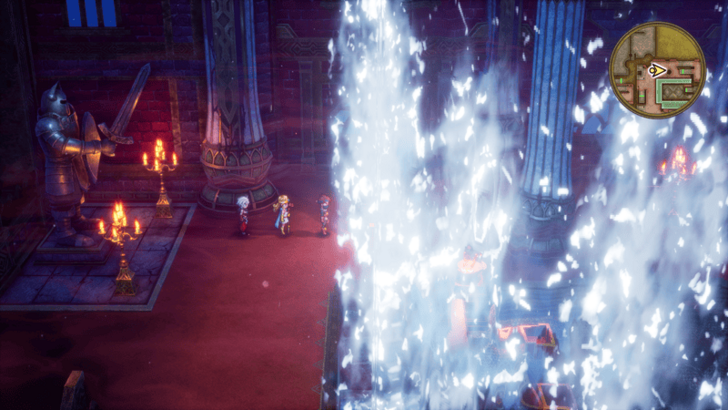 Go behind the waterfall and follow the path until you get to the courtyard on the other side. Head on through the door and keep following the path down through the B1 Passageway. |
| 7 | 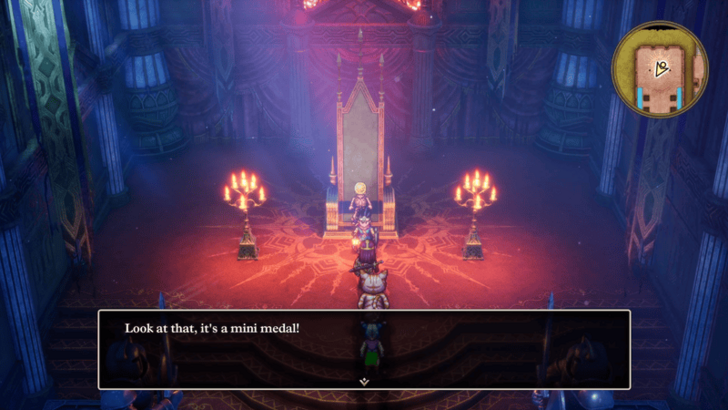 Eventually you'll reach the throne room with some damage tiles. Inspect the throne for a Mini Medal and head outside afterwards. |
| 8 | 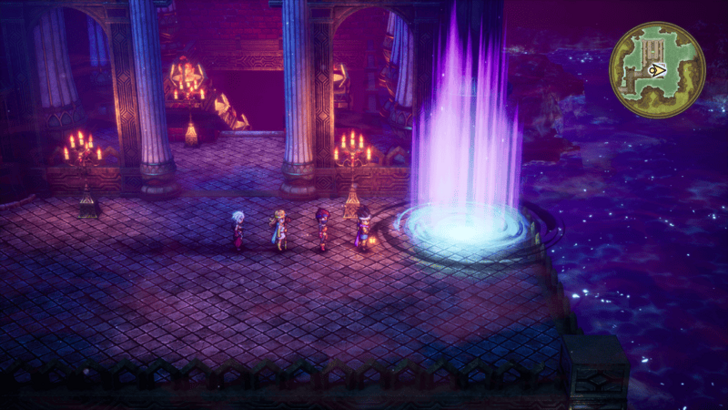 Head east until you see a portal that will teleport you back to the entrance. Take it to unlock the entrance portal and leave to make any final preparations before facing Baramos. Once you're ready, you can teleport back to this dungeon and take the portal to go back to the area right before Baramos. |
| 9 |  Head down the stairs to face Baramos. This fight gets harder as time goes on since he becomes more aggressive the lower his HP gets. If you're having a hard time, it's recommended to leave again and farm EXP by defeating Liquid Metal Slimes. ▶ How to Beat Baramos |
| * | As a note, you can also defeat Baramos solo with the Hero to get a free Bastard Sword. However, this requires you to be a decently high level so make sure to weigh the costs and benefits before attempting this. ▶ How to Solo Baramos with Hero |
| 10 |  After defeating Baramos, you'll be teleported back to Aliahan. Make your way through the castle to the king for a cutscene. If you defeated Baramos solo, then you'll get the Bastard Sword here. |
| 11 |  At night, head down and talk to your mother for another cutscene. When you go back to sleep, you'll dream of a castle in the mountains. When you're ready, head out of town and fly Ramia to the Castle of the Dragon Queen, west of the Shrine of the Dwarf. |
| * | 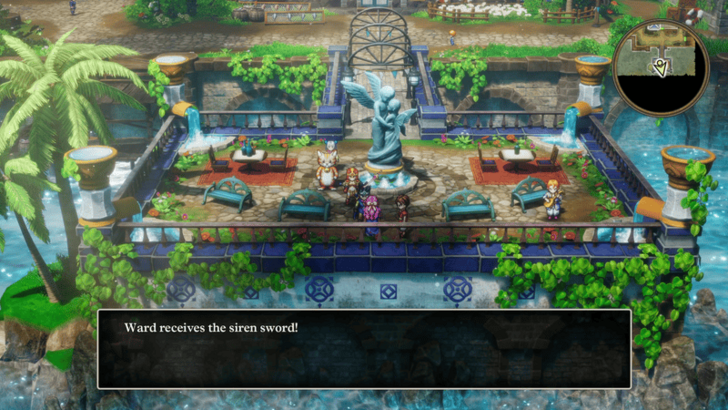 Before continuing your journey, stop by Portoga and talk to Sabrina by the statue near the entrance to receive a free Siren Sword. |
Baramos Combat Guide
 |
||
| Rec. Level | Drops | |
|---|---|---|
| 34 | None | |
| Tips to Beat Baramos | ||
|
・Cast Fizzle to stop Baramos from casting spells. ・Cast Insulatle to reduce the damage of breath attacks. ・Use Oomph and Sap to maximize damage output. ・Level up a Priest or Sage to get Multiheal. |
||
Dragon Quest 3 H3-2D Remake Late Game Walkthrough
All Three Sacred Shrine Items and Locations
| Item | Location | How to Get |
|---|---|---|
| Sunstone | Tantegel | Room through the staircase south of the kitchen. |
| Staff of Rain | Shrine of the Spirit | Talk to the Servant of Rubiss. |
| Sacred Amulet | Tower of Rubiss | Use the Faerie Flute in front of the statue on the 5th floor. |
The latter part of the game will require you to collect the three items required to make the Rainbow Drop, as well as other useful items to aid in your battle against Zoma.
Castle of the Dragon Queen Area Quest Walkthrough
| Jump to an Area Walkthrough! | ||
|---|---|---|
| Castle of the Dragon Queen | Damdara | Zoma’s Citadel |
| 1 | 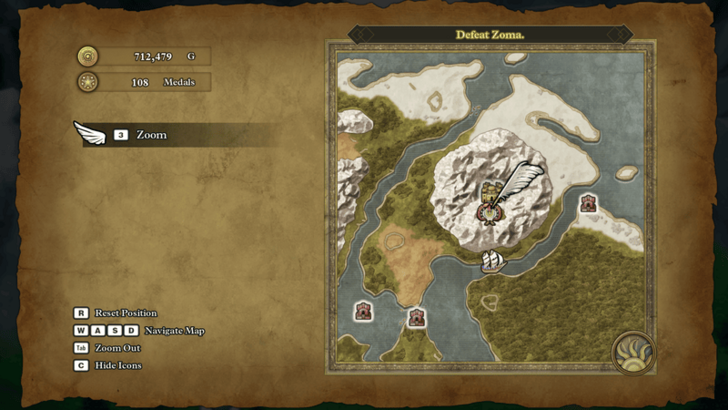 Teleport to the Shrine of the Dwarf and fly west to the Castle of the Dragon Queen. |
|---|---|
| * | 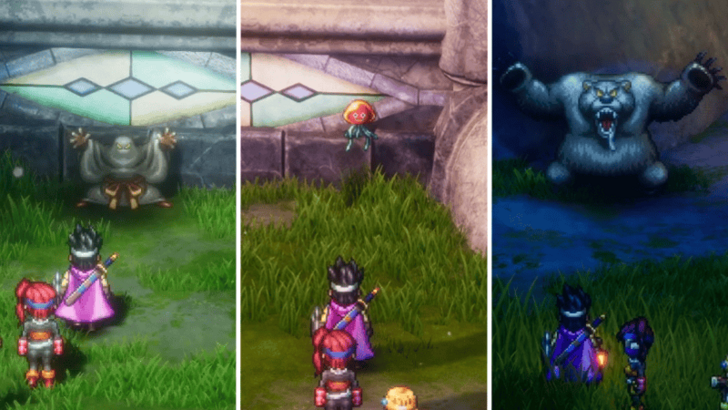 There are three friendly monsters that you can recruit here depending on the time of day. Change the time to day, evening, and night first and recruit the three different monsters before heading inside the castle. ▶ All Friendly Monster Locations |
| 2 | 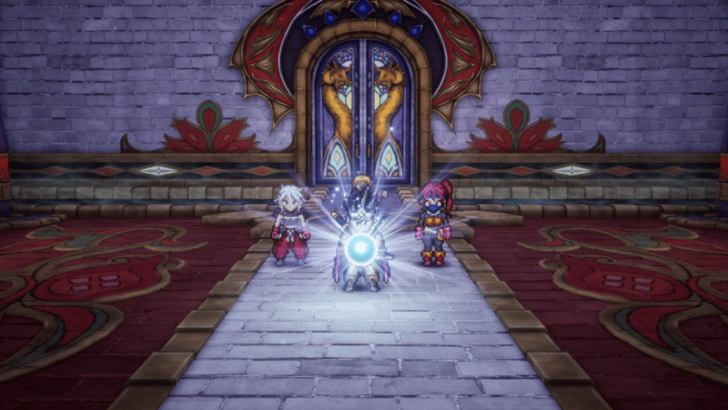 Go inside the castle and head to the central room. You'll then be thrown into a cutscene where you'll receive the Sphere of Light. From there, exit the room and head to the back of the castle to find a Mini Medal. |
| 3 | 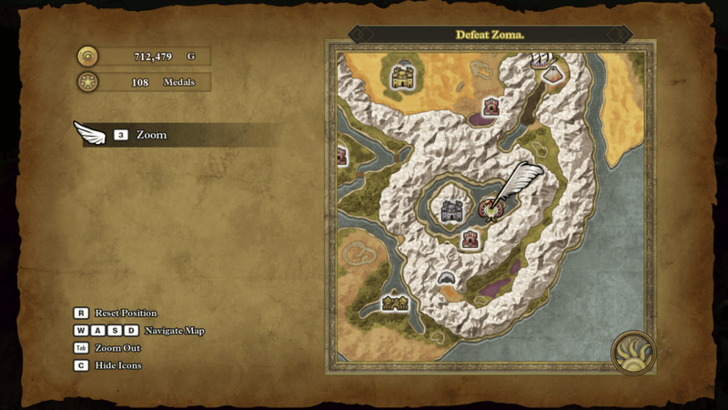 Once you're done here, you can teleport to Baramos' Lair and fly east to the Pit of Giaga. |
| 4 | 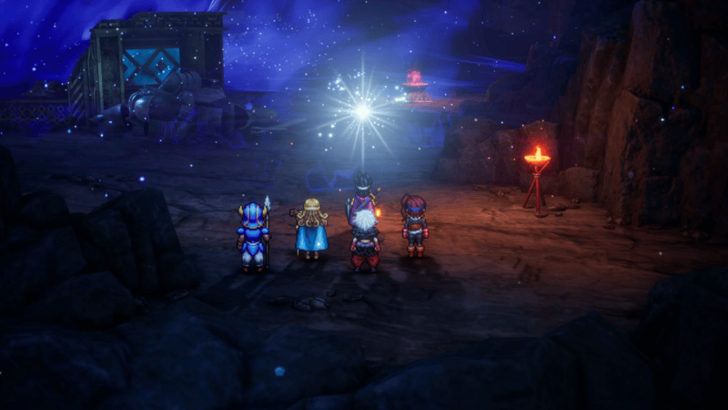 Walk towards the shadows to get a prompt to use the Sphere of Light and dispel the darkness. After the cutscene ends, you'll now be in Alefgard, a new world shrouded in darkness. |
| * | Once you have control of your character, you can teleport back to the cave to look for any items to pick up. |
| 5 | 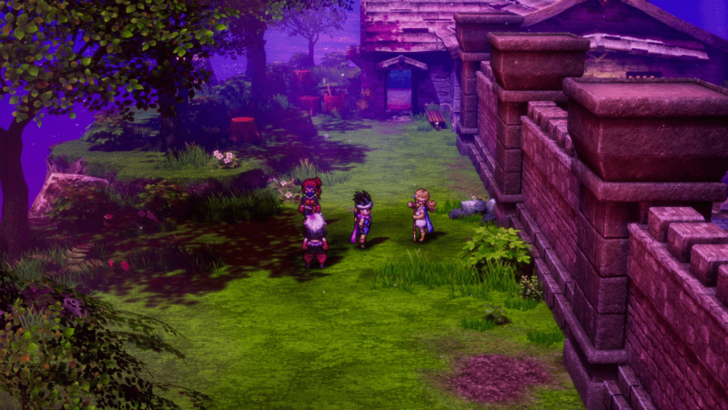 You'll first start off in West Tantegel Harbour, and as part of the cutscene, you'll now have a map of Alefgard and a new boat to use. Before sailing off, explore the area first for any items and collectables. |
| * | Since you got a boat right off the bat, you can explore Alefgard first for all the Sparkly and Secret Spots that aren't near Zoma's Citadel. |
| 6 | 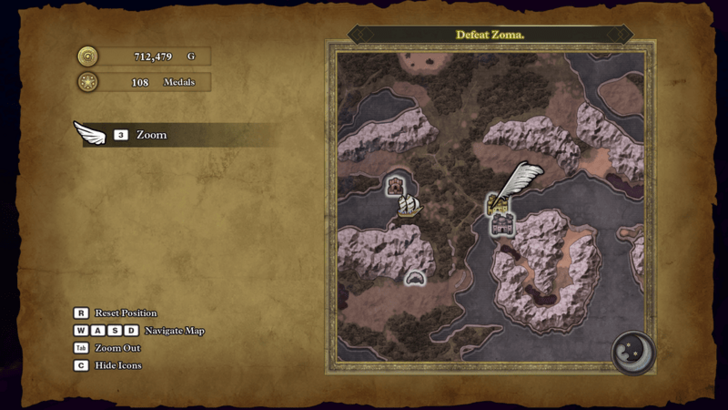 When you're ready, disembark just east of the harbour and walk on foot to Tantegel. |
| 7 | Before heading to the castle, explore the town for any items and collectables you can find. Make sure to visit the shops as well since you'll start encountering tougher enemies and you'll need the equipment upgrades to keep up. Also, make sure to talk to the NPCs that you encounter around Alefgard to gain information that will help you on your journey. |
| 8 | 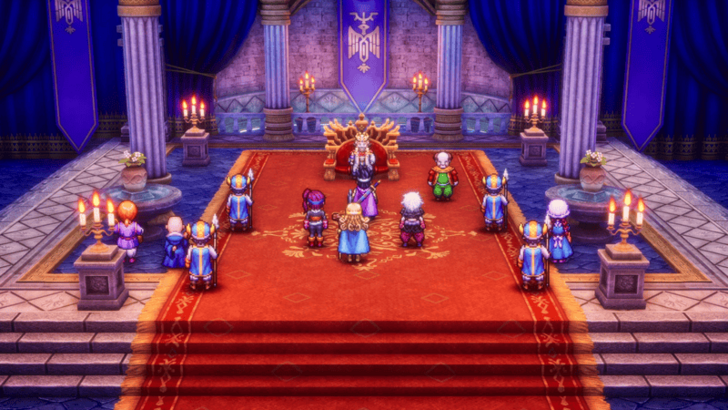 Once you're done exploring the town, head east and into the castle to meet the king. After the cutscene is done, you can explore the castle for any items and collectables you need. |
| 9 | 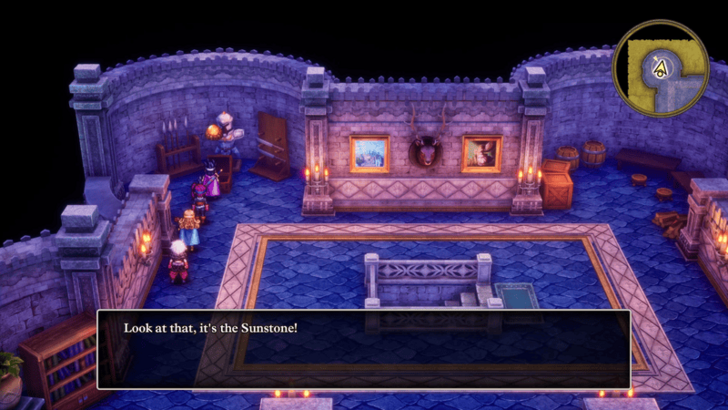 The one item that is required to progress the story is the Sunstone in the room up the stairs to the south of the kitchen. After you've got it, you're free to leave and continue your journey. |
| * | These next parts are optional, but highly recommended since we'll take a few detours to get some powerful items and equipment. If you want to skip ahead, you can go to the parts where you need to get the Staff of Rain and the Sacred Amulet. |
| 10 | 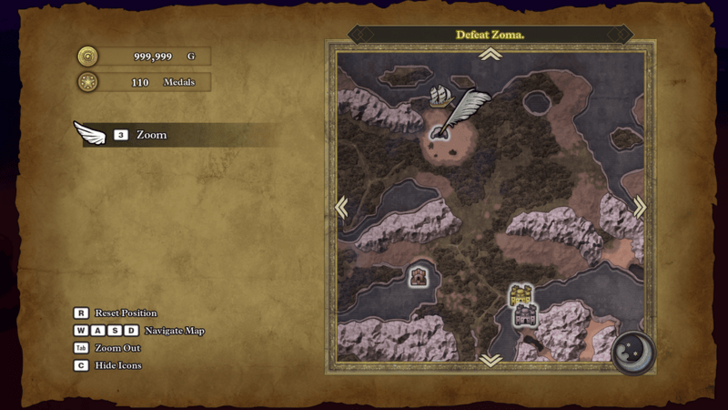 When you're ready, leave Tantegel and head northwest to Talontear Tunnel. Make sure that you've stocked up on healing items before going here since the entire dungeon prevents the use of magic. |
| 11 | 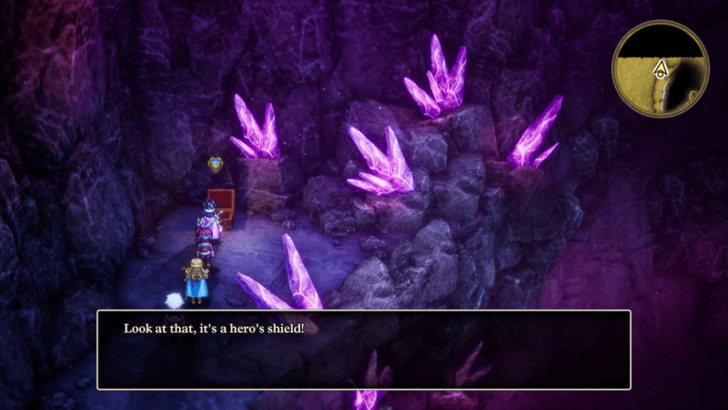 Head down to the 3rd floor, grabbing any items on the way there. Once you've arrived, open the chest in the top left to grab the Hero's Shield for your main character. |
| 12 | After you're done exploring the cave, you'll need to manually walk out since the cave prevents Evac and Chimaera Wings from working. |
| 13 | 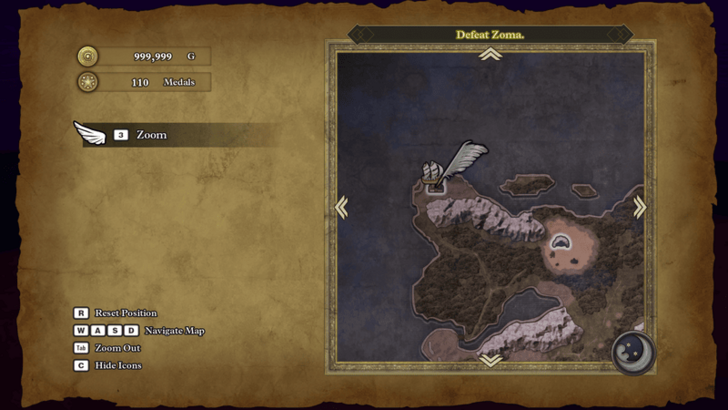 Once you're back outside, head around northwest towards Galen's House. |
| 14 | 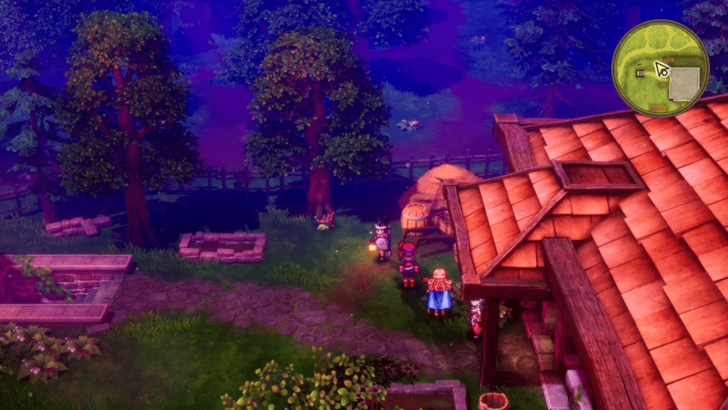 Explore the house and its exterior first for any items and a friendly Shell Slime. Once you're done, head down to the basement. |
| 15 | 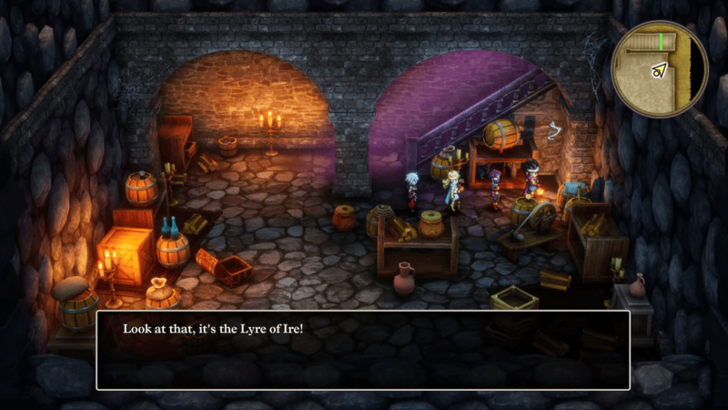 Inspect the sparkly spot to the right to get the Lyre of Ire. This is extremely useful for farming EXP since it calls monsters to you, similar to the effect of the Gadabout's Whistle ability. ▶ EXP Farming Guide: How to Level Up Fast |
| * | 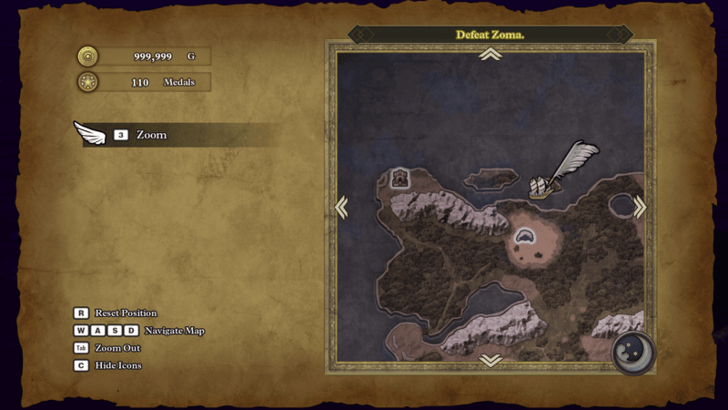 Now that you have the Lyre of Ire, you can head to the Slime Island, just northeast of Talontear Tunnel, to farm Metal and Liquid Metal Slimes. You'll know when you're on the right island since there's also a Secret Spot on it. ▶ Metal Slime Location and Farming Guide |
| 16 | 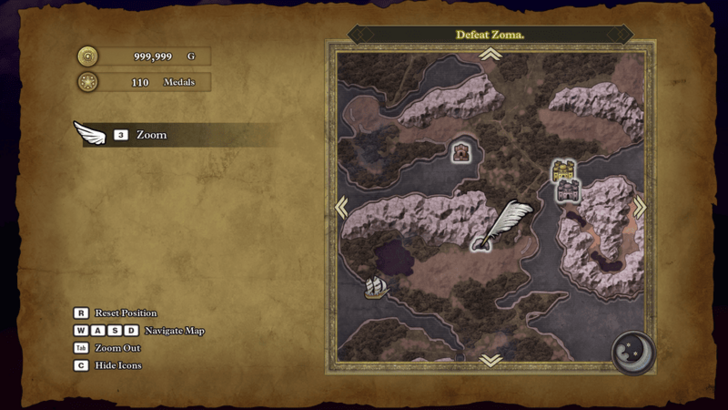 When you're ready, teleport back to Tantegel and head southeast to the Craggy Cave. |
| * | This is the one location that you can skip since the Sword of Ruin and Hate Mail you get from this dungeon are cursed. However, there is a friendly monster in here so stop by to recruit them at the very least. ▶ Cursed Items Guide |
| 17 | 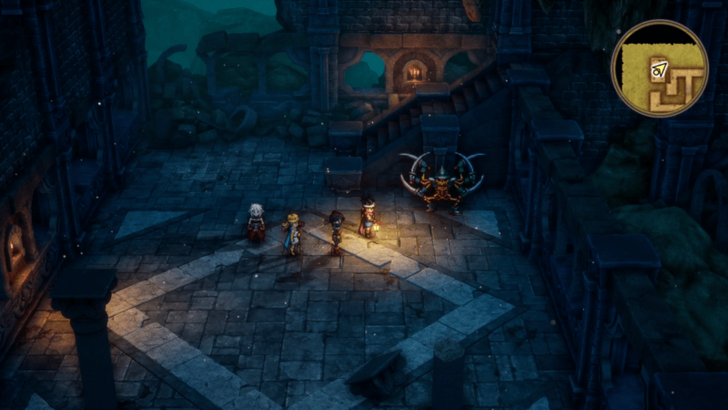 This dungeon only has two floors, so quickly explore them for anything useful, like the Demon Spear and the friendly Armful. |
| 18 | 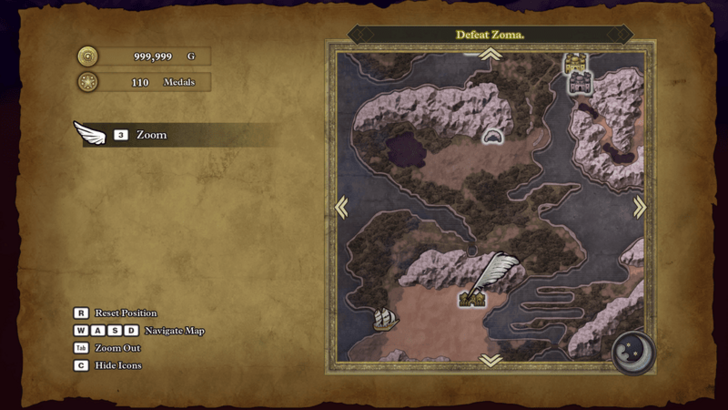 Once you're done, exit the dungeon and head south towards Damdara. |
Damdara Area Quest Walkthrough
| Jump to an Area Walkthrough! | ||
|---|---|---|
| Castle of the Dragon Queen | Damdara | Zoma’s Citadel |
| 1 | 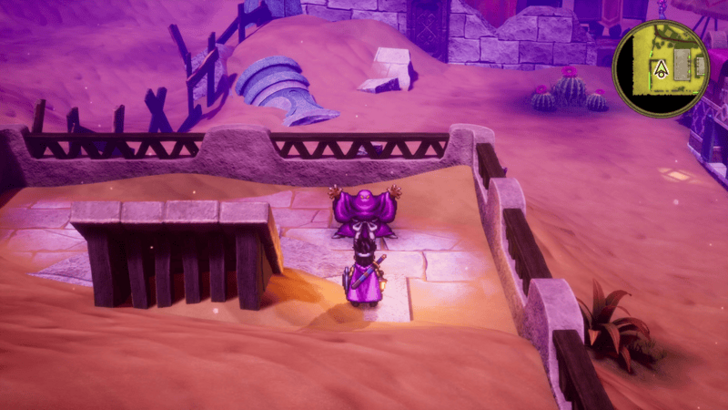 Explore the area first for any items and collectibles. There's also a friendly Hocus-Poker disguised as a human in the bottom left so make sure to recruit them as well. ▶ All Friendly Monster Locations |
|---|---|
| 2 | 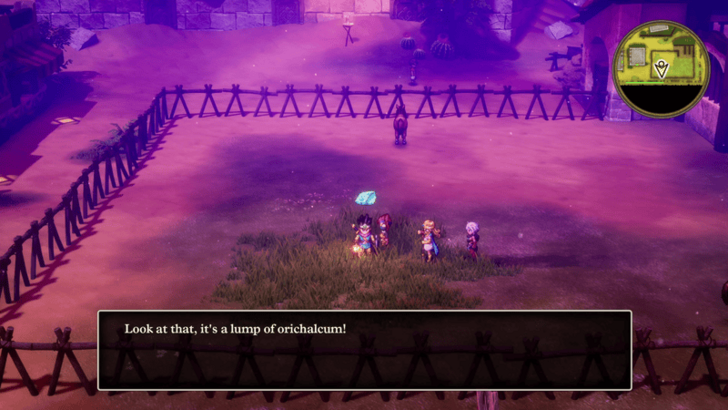 Once you're done, head to the stables in the southeast and examine the grass to find some Orichalcum. This is used to make the Sword of Kings later so make sure not to miss it. |
| 3 | 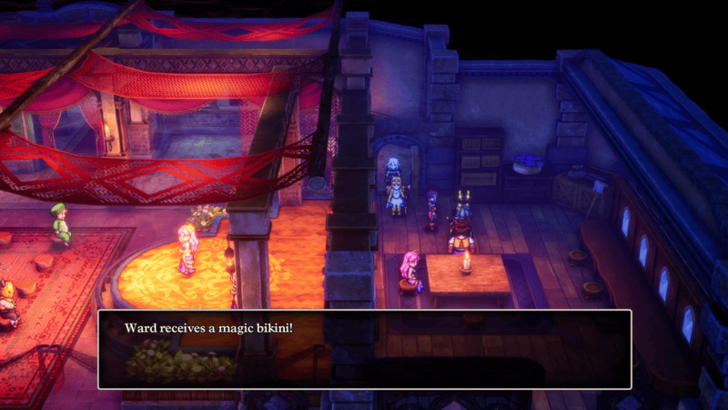 Afterwards, go to the inn and talk to Lena the dancer on the second floor. Doing so lets you receive the Magic Bikini from the Theatre Manager in Asham at night. |
| 4 | 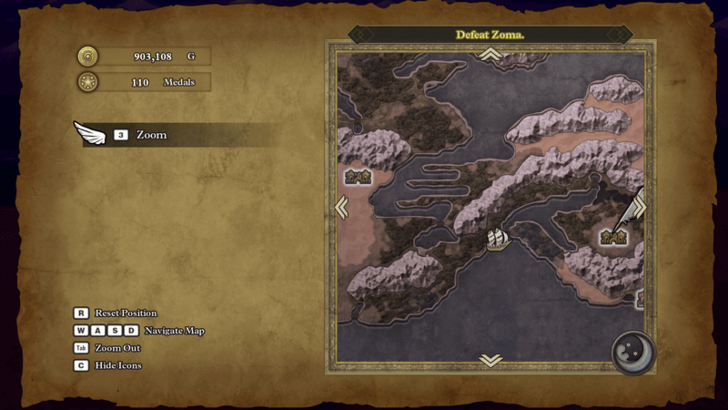 When you're done, teleport back to Damdara and head around southeast to Cantlin. |
| 5 | 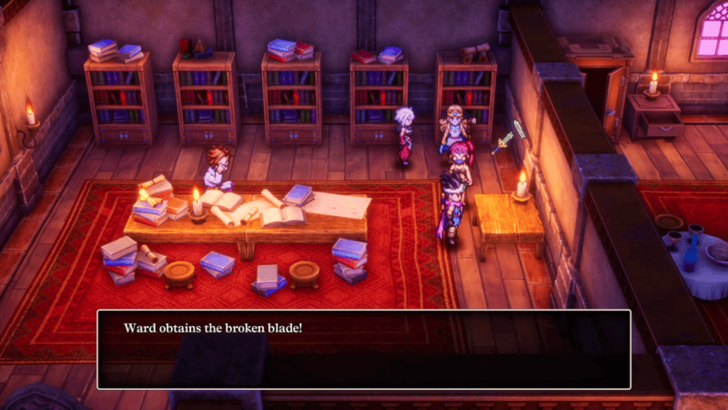 As usual, explore the area first for items and collectibles. The main thing that you're looking for here is the Broken Sword from the table on the second floor of the southwestern house. This is the other piece needed to create the Sword of Kings so make sure to grab it. |
| * | Before proceeding onwards, head to the Monster Arena in the northeast to complete its battles and claim the rewards. |
| 6 | 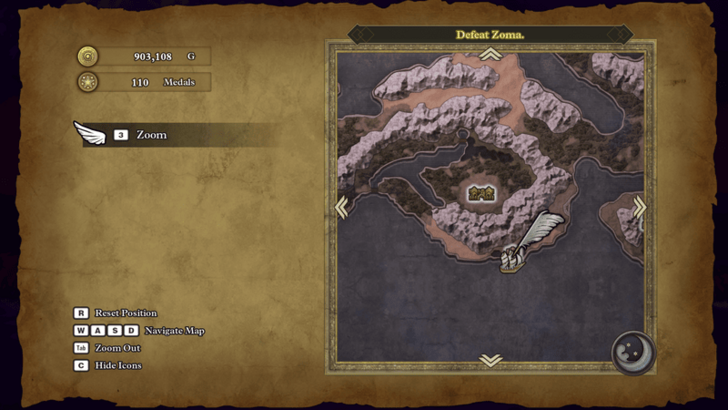 Once you're done here, head around southeast towards the Shrine of the Spirit. |
| 7 | 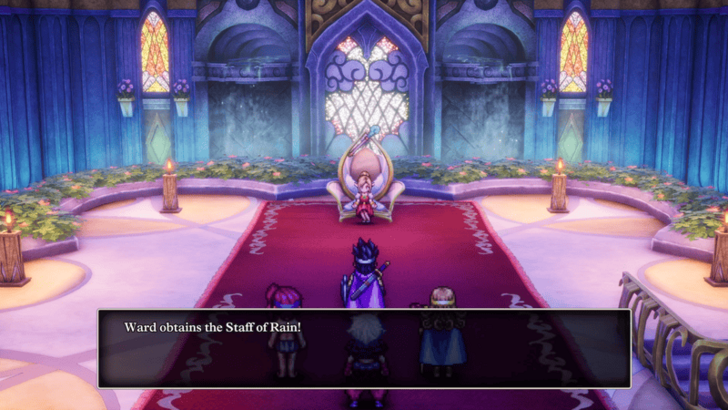 The only important thing to do here is to go to the second floor and start a cutscene to get the Staff of Rain. This is one of the three items you need to access the final dungeon so you must come here and pick it up. Besides that, there are a few hidden items on the ground, so make sure to grab those as well. |
| 8 | 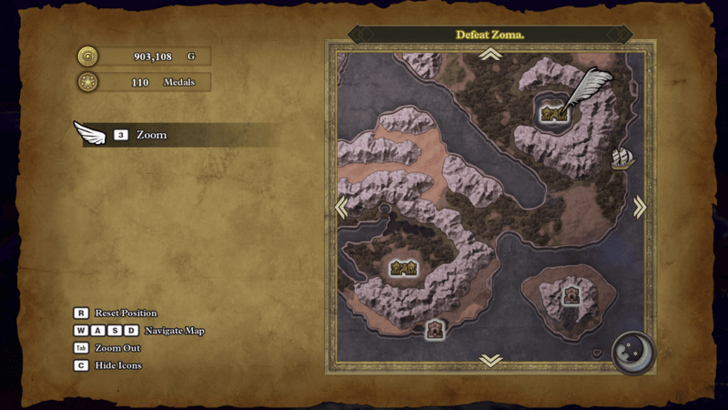 After you got the staff, you can head back out and continue your journey northeast to Rimuldar. |
| * | 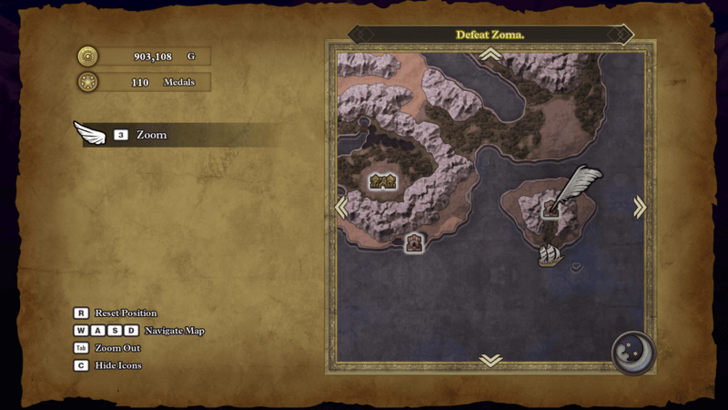 Before going there, make a detour to the Sanctum on the island east of the shrine. You can't do anything here yet besides grabbing the items in the area, but it's useful to unlock it as a fast travel point for later. |
| ** | 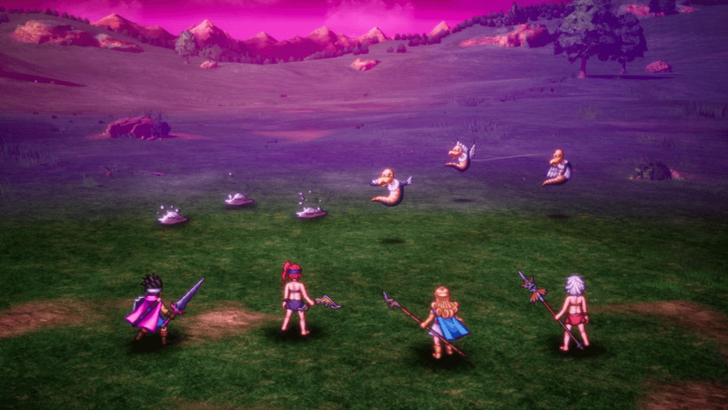 As a note, you can encounter Liquid Metal Slimes in the area around Rimuldar. If you wish, you can spend some time here to farm EXP before continuing to the next town. ▶ EXP Farming Guide: How to Level Up Fast |
| 9 | The NPCs in this town provide a lot of useful information for your journey so make sure to talk to them while exploring the area for items and collectibles. |
| 10 | 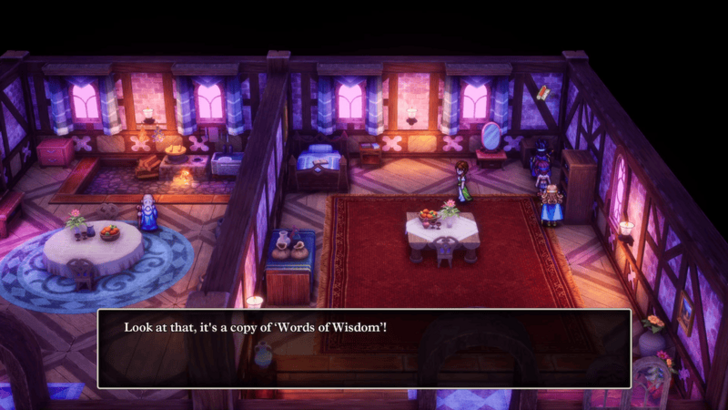 The most important item to get in this town are the Words of Wisdom from the right side of the northernmost house. Besides that, there is a Recovery Ring in the inn, but the cutscene you get from opening the chest is arguably more notable the accessory inside. |
| * | 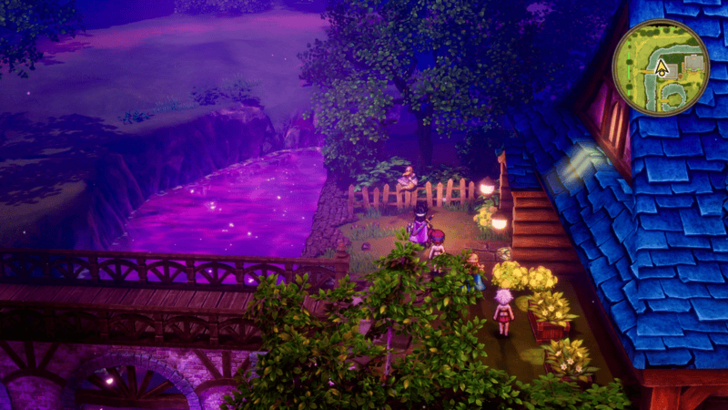 You're able to walk along the outskirts of town so make sure to explore around here as well. There's a friendly Chimaera and house to the northwest that's only accessible through the outskirts so make sure not to miss those. ▶ All Friendly Monster Locations |
| 11 | 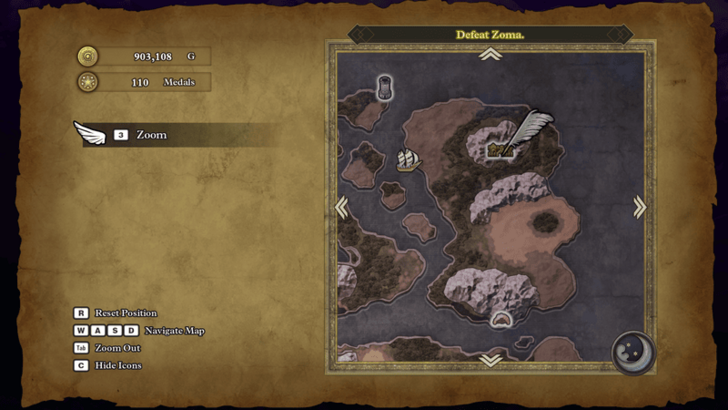 Once you're done here, board your ship and sail north towards Kol. If the ship is far away, you can always teleport back to Kol so that it spawns nearby to the east. You can also stop by Quagmire Cave, located between Rimuldar and Kol, on the way there so you can teleport to it later. |
| 12 | 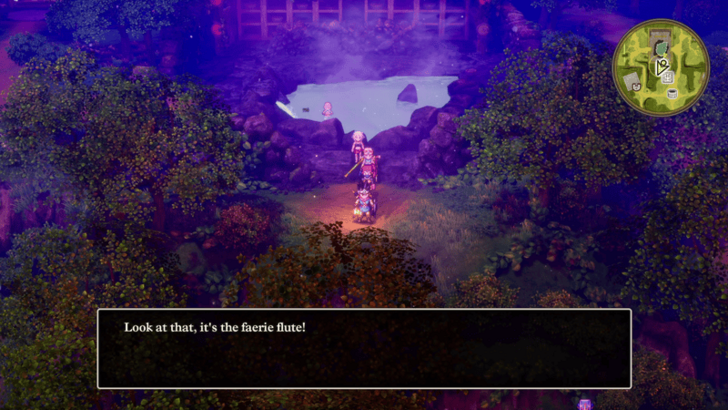 Again, do some exploration first to grab all the items and collectibles in the area. The one thing that you need to get is the Faerie Flute just south of the open-air bath. This is required to get the Sacred Amulet later on inside the Tower of Rubiss. |
| 13 | 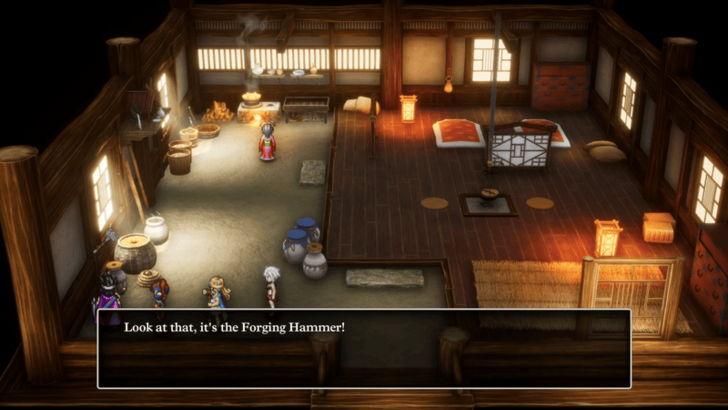 Once you're done exploring, teleport to Jipang so you can grab the Forging Hammer from the house in the northwest. This is the final item you'll need to craft the Sword of Kings, so once you have it, teleport back to Kol. |
| 14 | 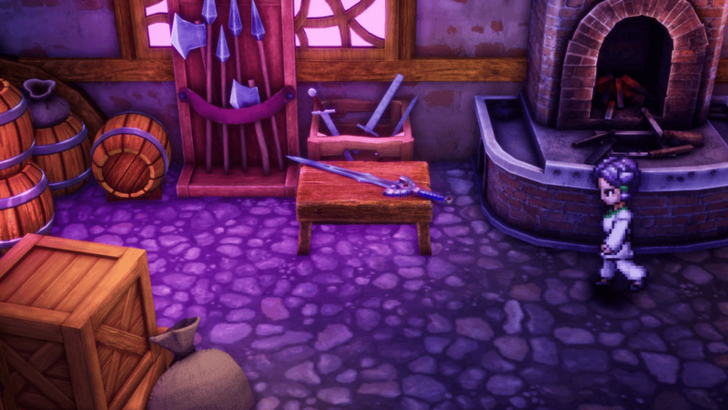 Go to the item shop and talk to the Swordsmith on the second floor to start a cutscene where he will craft the Sword of Kings. Make sure that you equip it on your Hero since this will be their best weapon until you reach the post-game. |
| * | After the cutscene ends and you've got the sword, the item shop will be upgraded to sell new equipment so take this chance to make any changes to your current builds. |
| 15 | 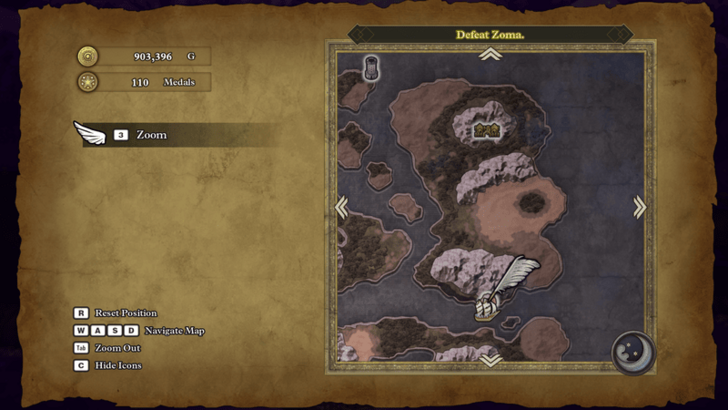 When you're done here, you can leave the town and go to Quagmire Cave. |
| 16 | 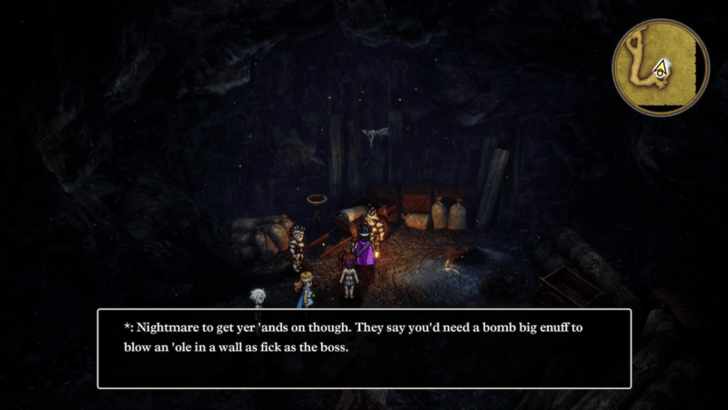 The only thing you need to do here is talk to the Robbin' 'Oodlums in the southeast to learn how to get Zenithium. |
| * | 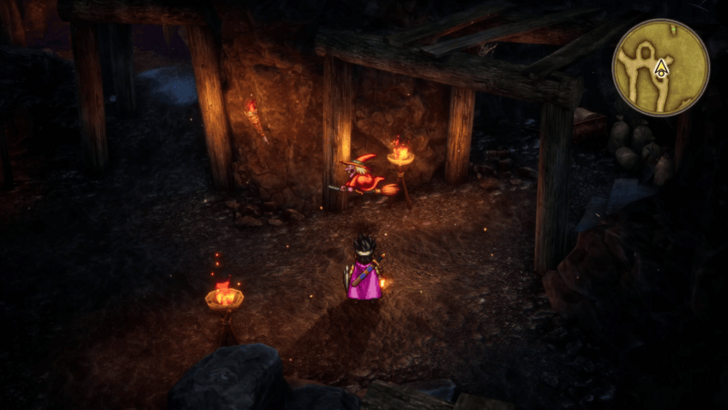 Besides that, there are a few collectables and a friendly Crone Ranger disguised as a human so make sure to explore the area for these. ▶ All Friendly Monster Locations |
| 17 | 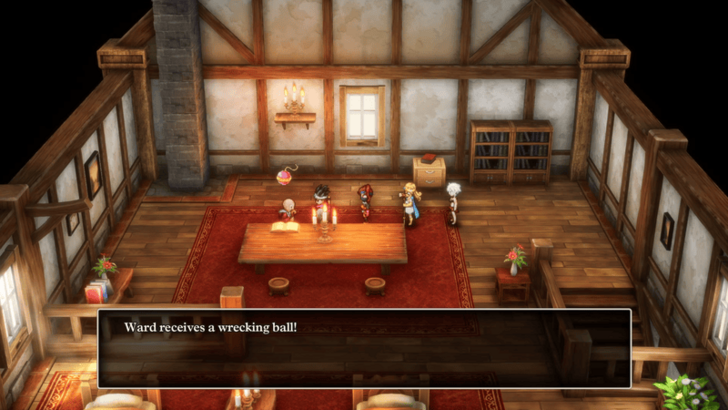 After talking to the 'Oodlums, teleport to Reeve and talk to the old man who gave you a Wrecking Ball before to get another one. |
| 18 | 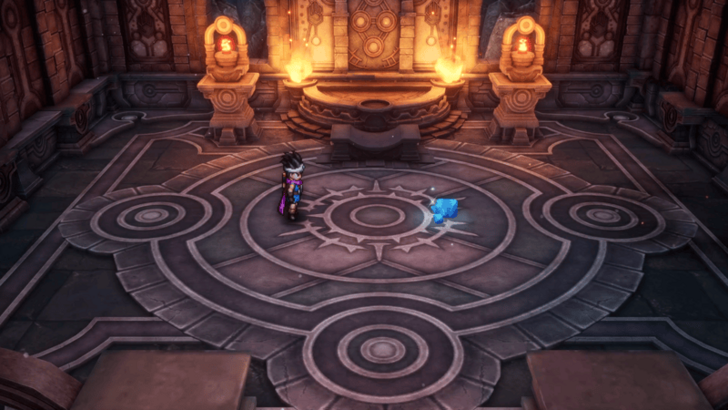 From there, teleport to Lanson and head to the bottom floor of Gaia's Navel. You'll now be able to get the blue ore stuck in the wall by using the Wrecking Ball to blow it up and dislodge it. |
| 19 | 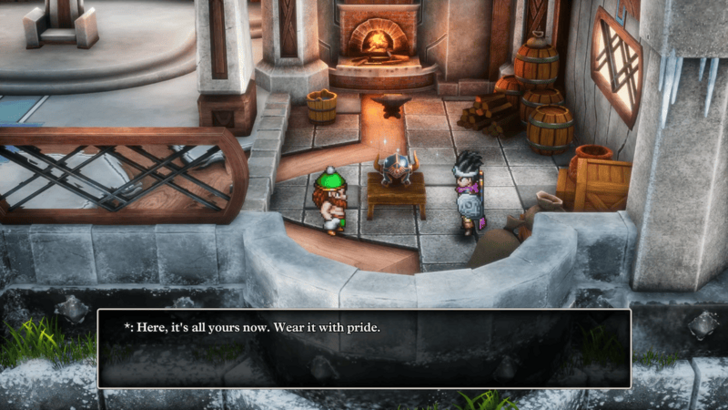 Once you got the Zenithium, leave the dungeon and teleport to the Shrine of the Dwarf. This will start a cutscene where he will craft the Auroral Helm, the best helmet for the Hero. |
| * | By this point, you should have the Auroral Helm, the Hero's Shield, and the Sword of Kings. If you've missed any of these, backtrack first to get them before continuing your journey. |
| 20 | 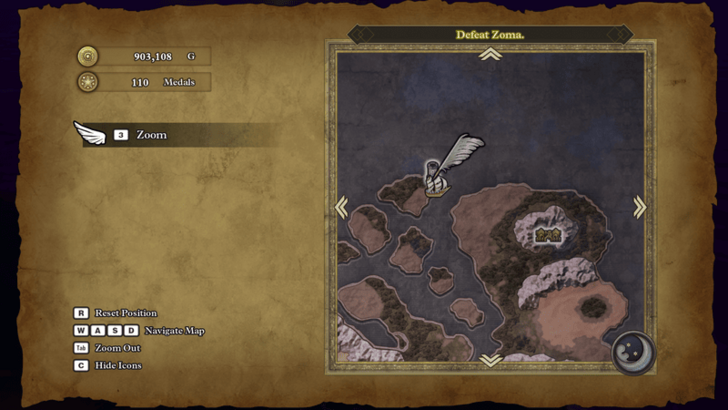 When you're ready, teleport back to Kol and sail northwest to the Tower of Rubiss. While you're making your way up the tower, remember to search for any treasures and friendly monsters on the way. |
| * |  This dungeon introduces the arrow tile gimmick which changes the direction of your inputs. The easiest way to navigate these tiles is by rotating your controls to where your input for up is the same as the orange triangle. |
| 21 | 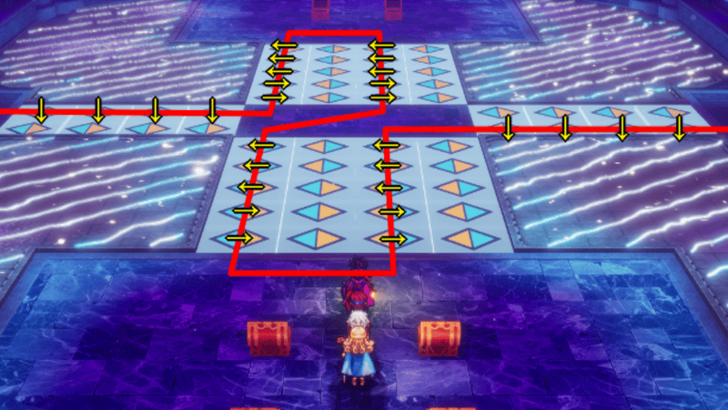 When you get to the second floor, you'll come across a room with 8 chests, as well as a bunch of arrow tiles and damaging floors. Follow the path and inputs above to safely reach both sets of chests to the north and south. As a note, the Safe Passage spell allows you to walk on the floor and ignore the arrows. However, you should use this opportunity to practice your movement on the arrows since you'll encounter more of them later. |
| 22 | 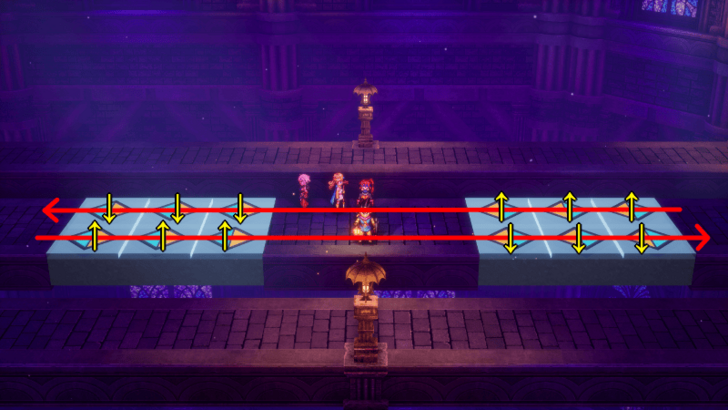 Once you've opened all the chests, head up to the middle room on the fourth floor. Grab the friendly Chimaera on the top path and the Auroral Armour at the end of the middle path. Afterwards, head back down to the third floor. Getting the Auroral Armour also completes your Hero's equipment set, perfectly setting them up for the rest of the game. |
| 23 | 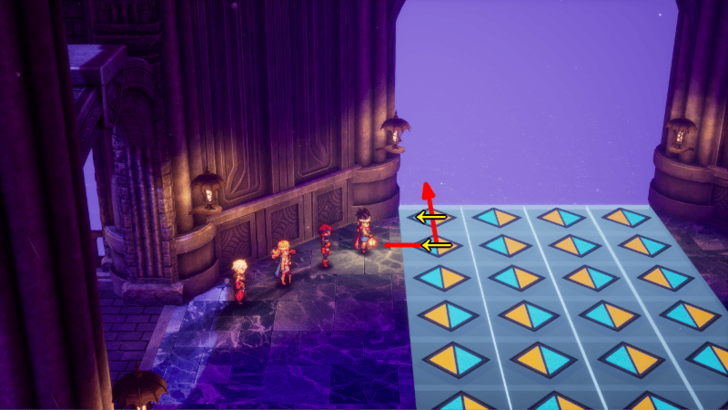 To access the top floors of the tower, you'll first need to jump off the northern part of the third floor. To do this, simply step on the tile below the top left one and move left twice. |
| 24 | 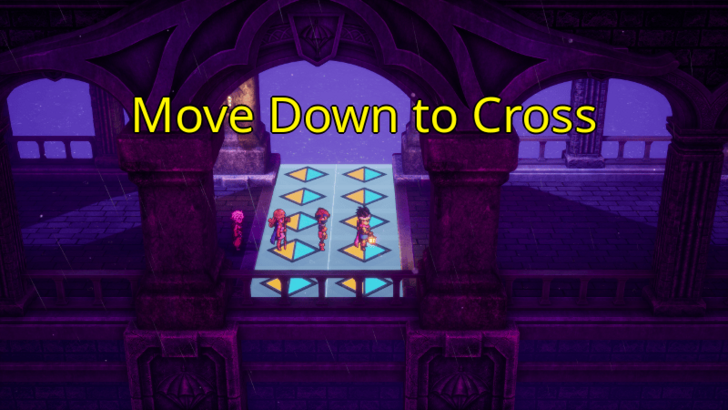 From here, just head up to the fifth floor. On the way there, you'll encounter two more sets of arrow tiles, but all you need to do is move down to cross them. |
| 25 | 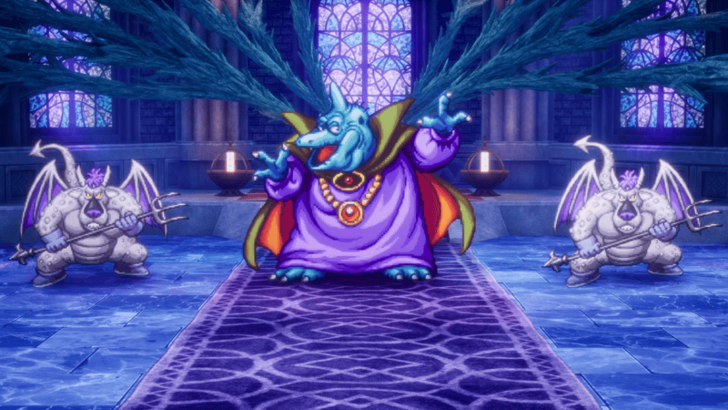 Once you're at the top, heal up before going through the red doors to face the Soul of Baramos. They fight alongside two Ashdemons so make sure to deal with them first. ▶ How to Beat Soul of Baramos (Rubiss) |
| 26 | 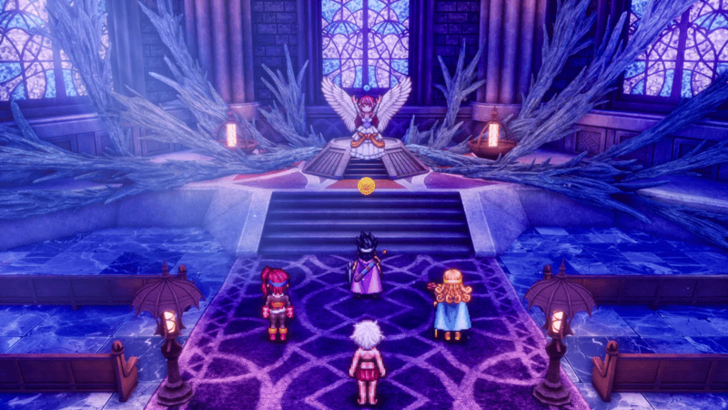 After the boss has been defeated, examine the statue to use the Faerie Flute and free Rubiss. She'll give you the Sacred Amulet as a reward, which is also the last piece that you need to make the Rainbow Drop. |
| 27 |  When you're done here, feel free to leave and teleport to the Sanctum. If you haven't unlocked this location yet, teleport to the Shrine of the Spirit and sail to the island in the east. |
| 28 | 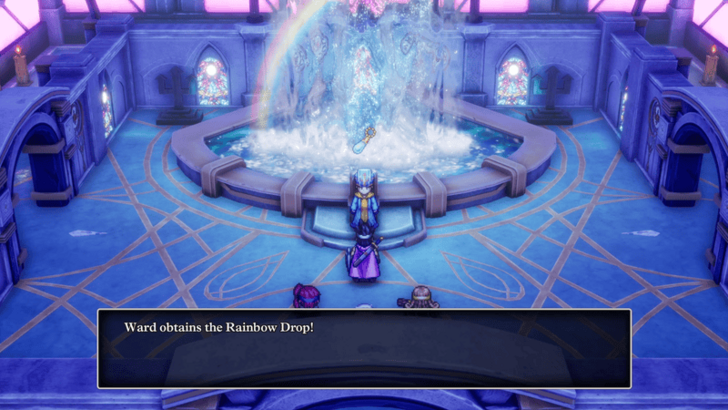 Once you've arrived, talk to the man so that he can make the Rainbow Drop. The cutscene that plays will also show you where to use it so that you can access Zoma's Citadel. |
| 29 | 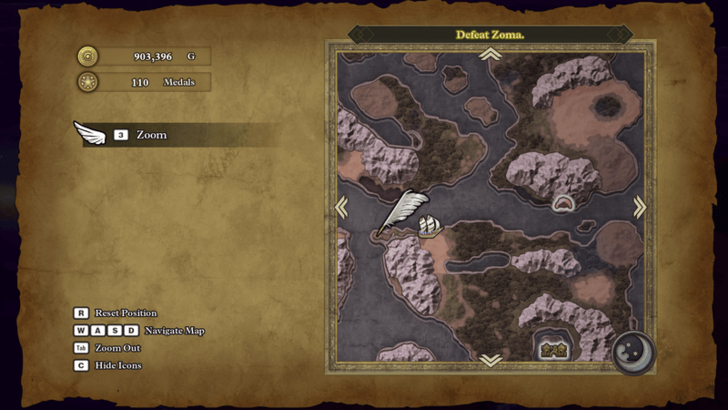 When you're ready, teleport to Quagmire Cave and sail west to get to the area where you'll use the Rainbow Drop. Interacting with the spot on the ground will start a cutscene and create a bridge that leads to the other side. |
| 30 | 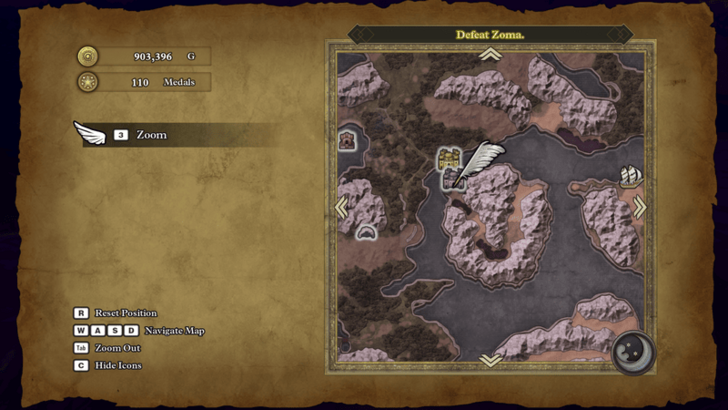 After the cutscene ends, all you need to do now is walk west to Zoma's Citadel. |
| * | Before taking on the final dungeon, it's recommended to tie up any loose ends such as collecting any Mini Medals and Friendly Monsters, as well as clearing all Sparkly Spots, Secret Spots, and Monster Arena fights. Doing all of these things will generally get you all the items and equipment you'll need to take on the final boss. |
Soul of Baramos (Rubiss) Combat Guide
 |
||
| Rec. Level | Drops | |
|---|---|---|
| 39 | None | |
| Tips to Beat Soul of Baramos (Rubiss) | ||
|
・Kill the Ashdemons first. ・Cast Magic Barrier and Insulatle. ・Remove any buffs applied by the Ashdemons. ・Inflict the Spell Seal and Sleep status effects. |
||
How to Beat Soul of Baramos (Rubiss)
Items Required to Make the Rainbow Drop
| Item | Location | How to Get |
|---|---|---|
| Sunstone | Tantegel | Inside the room accessed by the stairs south of the castle kitchen. |
| Staff of Rain | Shrine of the Spirit | Talk to the Servant of Rubiss on the second floor. |
| Sacred Amulet | Tower of Rubiss | Use the Faerie Flute in front of the statue on the fifth floor. |
How to Get Rainbow Drop and Effects
Zoma’s Citadel Area Quest Walkthrough
| Jump to an Area Walkthrough! | ||
|---|---|---|
| Castle of the Dragon Queen | Damdara | Zoma’s Citadel |
| 1 | When you're ready, head inside to take on the final dungeon of the game. There are a bunch of misleading paths in here so be careful when you're exploring for any items and collectibles. ▶ Zoma's Citadel Map and Strategy Guide |
|---|---|
| 2 | 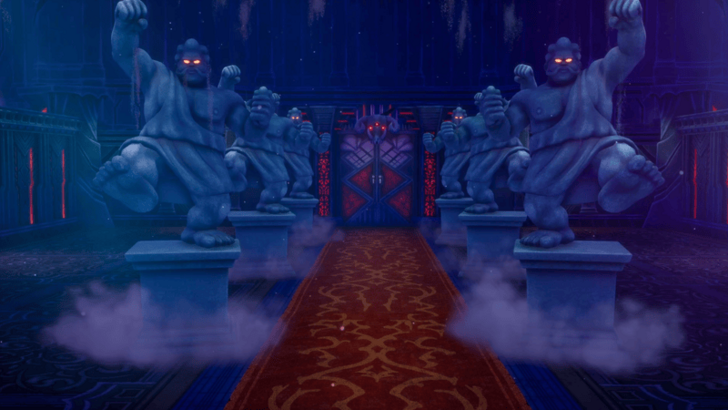 Start by exploring the side rooms and B1 first. Once you're done, head to the large room in the middle to face six Stone Guardians, in three batches of two. |
| 3 | 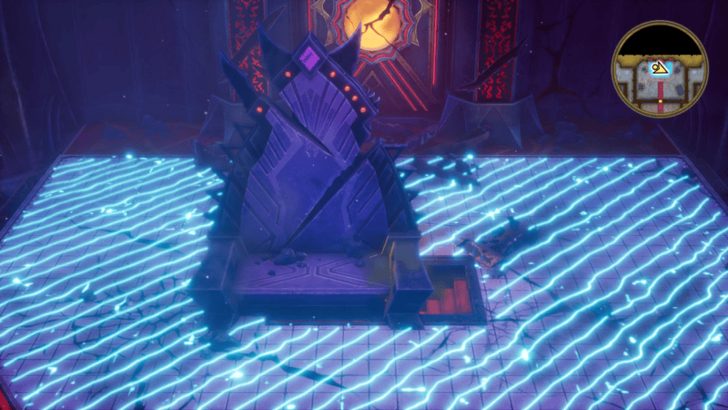 After defeating all the statues, head to the throne room in the back to grab a Mini Medal and open up the path down via a switch behind the throne. |
| 4 | 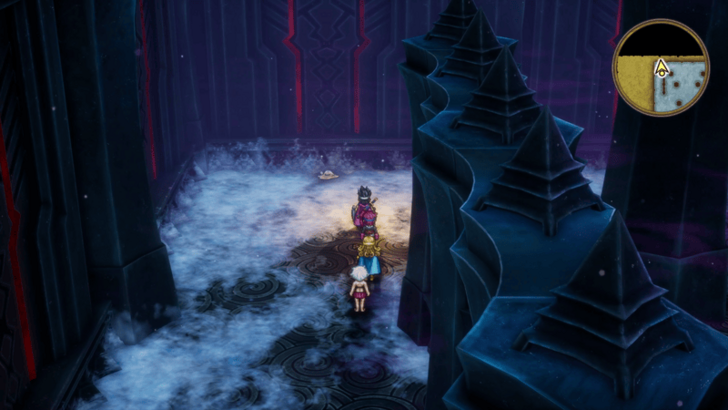 Head down to B2 and go to the room with all the arrow tiles from the Tower of Rubiss. Before proceeding forward, drop down the hole in the middle to explore the floor below. |
| 5 | Once you're done there, head back up and navigate the arrow tile room. If you want to quickly reach the next floor, you can just press up starting from the tile right before the hole. |
| * |  There are two chests on the sides of the arrow tile room. If you want to pick them up, follow the image above for the appropriate controls. |
| 6 | 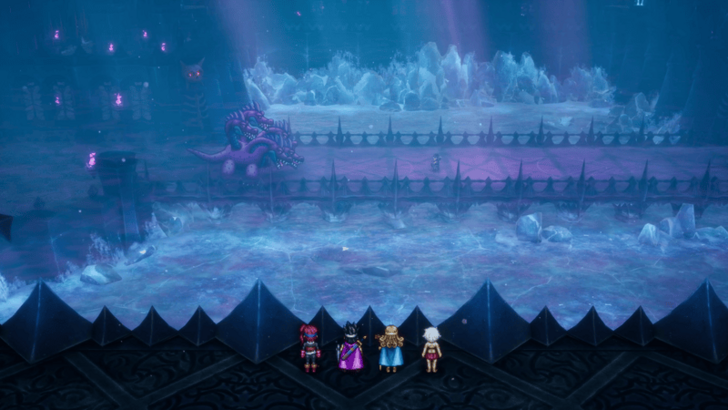 Make your way down to B4, opening any chests on the way. Reaching this floor will play a series of cutscenes regarding Ortega, and once they're done, continue downwards. Make sure to have the Auroral Helm equipped to get the full cutscene experience. |
| 7 | 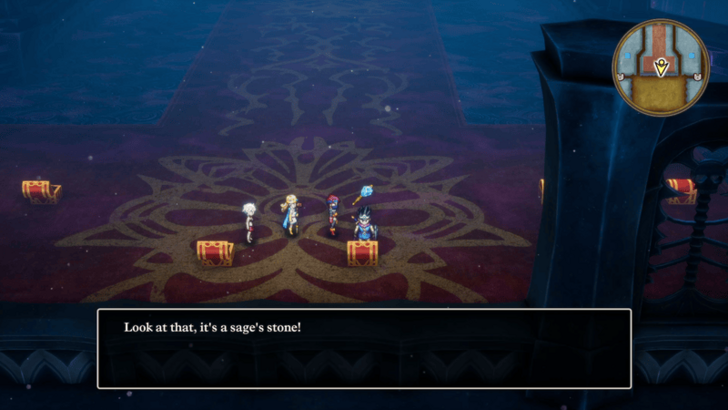 Before going down, go to the north room to open the six chests inside. The most important items to get here are the Sage's Stone and the Shimmering Dress so don't miss them. |
| 8 | 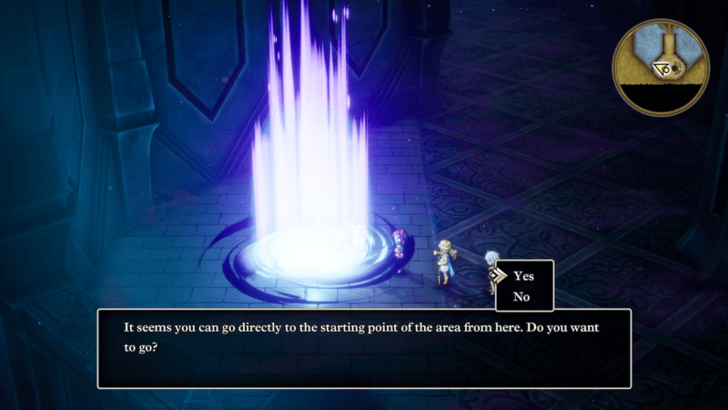 Once you've reached the bottom floor, take the portal to go back to the entrance. From here, leave the dungeon to rest up and make any final preparations before the final boss gauntlet. |
| 9 | When you're ready head back to the bottom floor of the citadel to face a series of four bosses in a row. Thankfully, you'll have breaks in between them so make sure to heal up and restock your bags before facing the next boss. |
| 10 | 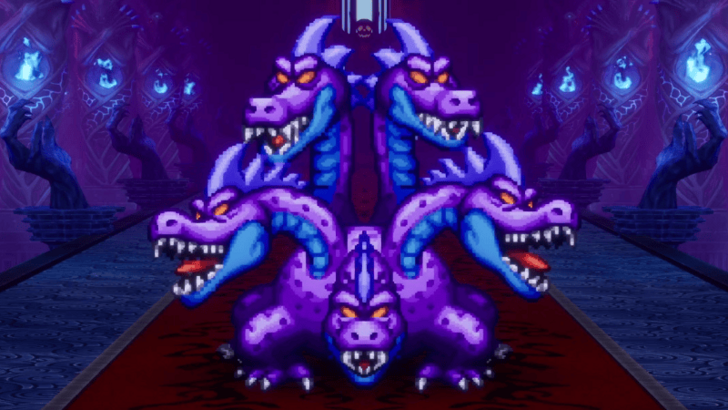 The first boss that you'll face is King Hydra. Besides applying status effects, their most threatening move is a Fire Breath attack so make sure to bring ways to deal with it. ▶ How to Beat King Hydra |
| 11 |  Once they go down, continue forwards to face the Soul of Baramos again. They'll be alone this time around, but they have an upgraded moveset so make sure that you're prepared. ▶ How to Beat Soul of Baramos (Citadel) |
| 12 | 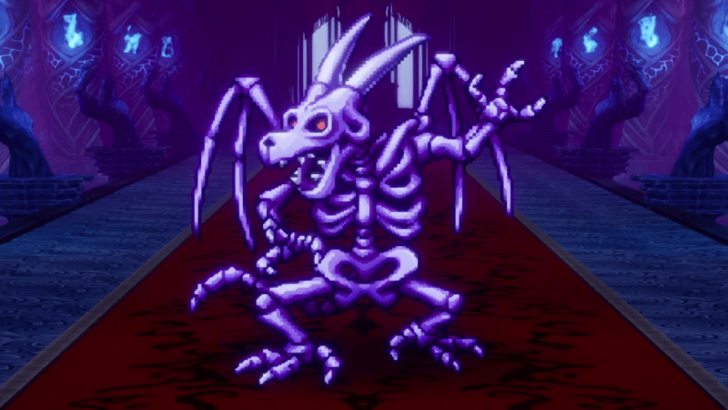 Afterwards, keep going forwards to the penultimate boss, the Bones of Baramos. This boss is a pure physical attacker so bring Kabuff and Attack Attacker with you to help out. ▶ How to Beat Bones of Baramos |
| * | Now that you've beaten the three bosses, the only one left to defeat is Zoma. Before facing him, make sure that you have the Sphere of Light in one of your party member's bags. |
| 13 |  When you're ready, approach the throne to face the final boss, Zoma. Remember to use the Sphere of Light at the start of the fight to dispel his Shroud of Shadows and weaken him. ▶ Final Boss Guide: How to Beat Zoma |
| 14 | After defeating Zoma, a cutscene will play and you'll fall into Talontear Tunnel. You still can't use spells in here so escape the cave on foot. ▶ Talontear Tunnel Map and Strategy Guide |
| 15 | 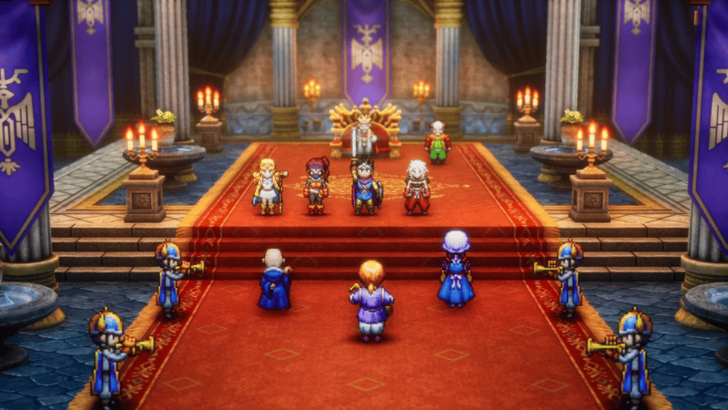 Once you've escaped, teleport to Tantegel and go to the castle to talk to the king. One final cutscene will play and you'll have successfully completed Dragon Quest III HD-2D! Once the credits end, make a save and you'll be taken back to the main menu. |
| 16 | Congratulations on beating the game! When you reload the save, you'll be taken back to Tantegel before Zoma is defeated. You'll also have access to all the post-game content so feel free to go to the Castle of the Dragon Queen to take them on! |
King Hydra Combat Guide
 |
||
| Rec. Level | Drops | |
|---|---|---|
| 45 | None | |
| Tips to Beat King Hydra | ||
|
・Use Sage's Stone for healing to preserve MP. ・Cast Insulatle to reduce Inferno's damage. ・Wear anti-sleep equipment or accesories. |
||
Soul of Baramos (Citadel) Strategy Guide
 |
||
| Rec. Level | Drops | |
|---|---|---|
| 45 | None | |
| Tips to Beat Soul of Baramos (Citadel) | ||
|
・Bring Dieamends to prevent instadeath. ・Use Sage's Stone for healing to preserve MP. ・Seal their spells with Fizzle or the Staff of Rain. ・Cast Insulatle to reduce Inferno's damage. |
||
How to Beat Soul of Baramos (Citadel)
Bones of Baramos Combat Guide
 |
||
| Rec. Level | Drops | |
|---|---|---|
| 45 | None | |
| Tips to Beat Bones of Baramos | ||
|
・Use Sage's Stone for healing to preserve MP. ・Cast Kabuff twice to max out your party's defense. ・Attack Attacker reduces their damage output. ・Inflict Dazzle to lower their hit rate. |
||
Zoma Combat Guide
 |
||
| Rec. Level | Drops | |
|---|---|---|
| 45 | None | |
| Tips to Beat Zoma | ||
|
・Sphere of Light removes the Shroud of Shadows. ・Setup Magic Barrier and Insulatle buffs. ・Wear anti-Ice equipment and accesories. ・Cancel Bounce with Ripple of Disruption. ・Physical attackers equip anti-dazzle accesories. |
||
Dragon Quest 3 HD-2D Remake Post-Game Walkthrough
Two Bonus Dungeons
After beating the game, you'll unlock the "???" dungeon, as well as the Cloudsgate Citadel and Citadel Tower further inside. Beating the boss at the top of the tower also gives you the option to unlock another dungeon, the Temple of Trials.
Post-Game Content Walkthrough
Dragon Quest 3 H3-2D Remake Related Guides

Dragon Quest 3 HD-2D Remake Wiki Front
Dragon Quest 3 HD-2D Remake Guides
| List of Categories | |
|---|---|
 Walkthrough Walkthrough |
 Tips and Tricks Tips and Tricks |
 Personalities Personalities |
 Classes Classes |
 Bosses Bosses |
 Maps Maps |
 Spells and Abilities Spells and Abilities |
 Monsters Monsters |
 Monster Arena Monster Arena |
 Weapons Weapons |
 Armor Armor |
 Shields Shields |
 Helmets Helmets |
 Accessories Accessories |
 Items Items |
 Seeds Seeds |
 Books Books |
 News and Game Info News and Game Info |
Recommended Guides
Comment
Author
100% Walkthrough Guide
Rankings
- We could not find the message board you were looking for.
Gaming News
Popular Games

Genshin Impact Walkthrough & Guides Wiki

Honkai: Star Rail Walkthrough & Guides Wiki

Umamusume: Pretty Derby Walkthrough & Guides Wiki

Pokemon Pokopia Walkthrough & Guides Wiki

Resident Evil Requiem (RE9) Walkthrough & Guides Wiki

Monster Hunter Wilds Walkthrough & Guides Wiki

Wuthering Waves Walkthrough & Guides Wiki

Arknights: Endfield Walkthrough & Guides Wiki

Pokemon FireRed and LeafGreen (FRLG) Walkthrough & Guides Wiki

Pokemon TCG Pocket (PTCGP) Strategies & Guides Wiki
Recommended Games

Diablo 4: Vessel of Hatred Walkthrough & Guides Wiki

Cyberpunk 2077: Ultimate Edition Walkthrough & Guides Wiki

Fire Emblem Heroes (FEH) Walkthrough & Guides Wiki

Yu-Gi-Oh! Master Duel Walkthrough & Guides Wiki

Super Smash Bros. Ultimate Walkthrough & Guides Wiki

Pokemon Brilliant Diamond and Shining Pearl (BDSP) Walkthrough & Guides Wiki

Elden Ring Shadow of the Erdtree Walkthrough & Guides Wiki

Monster Hunter World Walkthrough & Guides Wiki

The Legend of Zelda: Tears of the Kingdom Walkthrough & Guides Wiki

Persona 3 Reload Walkthrough & Guides Wiki
All rights reserved
© ARMOR PROJECT/BIRD STUDIO/SPIKE CHUNSOFT/SQUARE ENIX
© SUGIYAMA KOBO ℗ SUGIYAMA KOBO
The copyrights of videos of games used in our content and other intellectual property rights belong to the provider of the game.
The contents we provide on this site were created personally by members of the Game8 editorial department.
We refuse the right to reuse or repost content taken without our permission such as data or images to other sites.
 Personality Quiz Answers
 Best Personalities
 Can You Change Gender?
 List of Equipment
 Trophy Guide
 All Mini Medal Locations
 How to Earn Gold Fast
 How to Change Personalities
 Best Party Setup
 How To Unlock Zoom
 Best Classes Tier List
 How to Level Up Fast
 All Secret Spot Locations
 Class Change Guide
 All Friendly Monsters
 Metal Slime Farming Guide
 Best Equipment for Each Class
 Best Friendly Monster Tier List
 All Sparkly Spot Locations
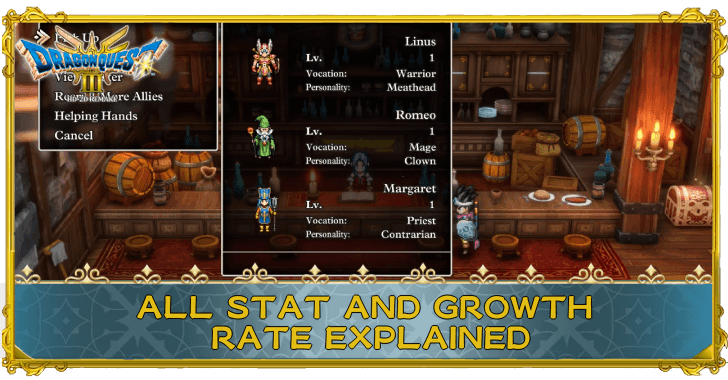 All Stat and Growth Rate Explained
 All Missables and Points of No Return
 Best Starting Personality
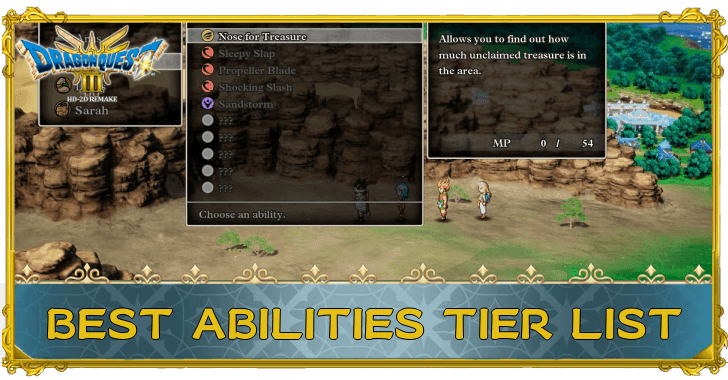 Best Abilities Tier List
 Best Spells Tier List





![Monster Hunter Stories 3 Review [First Impressions] | Simply Rejuvenating](https://img.game8.co/4438641/2a31b7702bd70e78ec8efd24661dacda.jpeg/thumb)


