How to Beat Bones of Baramos
★ Best Personality | Best Equipment | Best Party
☆ Class Tier List | Vamp Guide | Monster Wrangler
★ Friendly Monsters | Sparkly Spots | Keys Guide
☆ EXP Farming | Money Farming | Seed Farming
★ Post Game (Spoilers!) | Missables | Trophy Guide
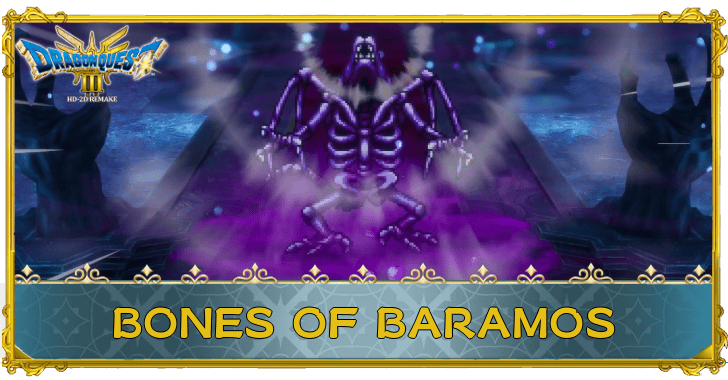
Bones of Baramos is a Story Boss in Dragon Quest 3 HD-2D Remake (DQ3). Check out their information and moveset, as well as the best strategies and party to beat them!
List of Contents
Bones of Baramos Basic Information
Bones of Baramos Stats and Information
| Bones of Baramos Information | ||
|---|---|---|
 |
||
| Rec. Level | Drops | |
| 45 | None | |
| Location and Walkthrough | ||
|
Zoma’s Citadel
Damdara to Zoma’s Citadel |
||
Bones of Baramos Weaknesses
| Enemy | Weakness |
|---|---|
| Bones of Baramos | Fire, Lightning |
Bones of Baramos Moveset
Bones of Baramos Spells and Abilities
| Number of Actions | |
|---|---|
| 2 ~ 3 Turns | |
| Move | Effect |
| Attack | Regular basic attack |
| Attack Attacker | Attack and reduce target's attack |
| Double Up | Strong attack, but reduces defenses |
| HP Recovery | Automatically restores HP every turn |
How to Beat Bones of Baramos
Cast Kabuff With a Duplic Hat
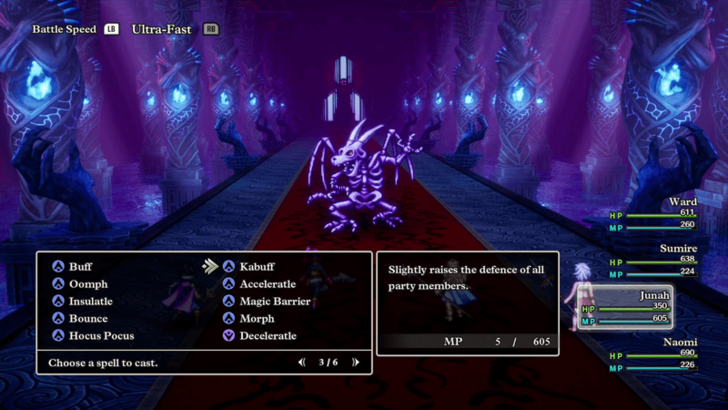
Since this boss only uses physical attacks, you want to maximize your party's defenses by casting Kabuff. Combine this with a Duplic Hat so that you can cast it twice on the same turn.
Kabuff Effects and Level Learned
Lower Attack with Attack Attacker
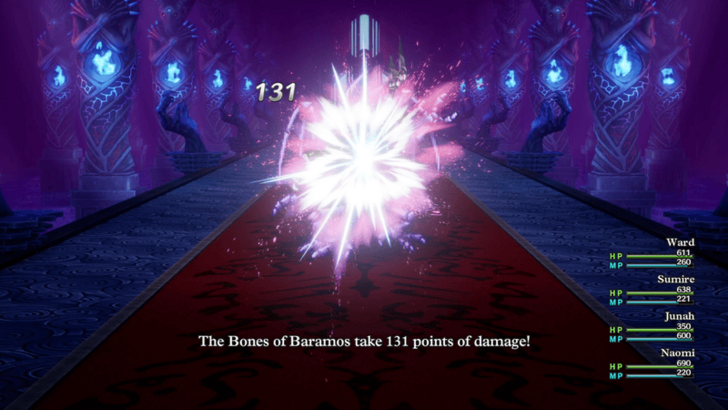
Besides Kabuff, you can also use a Monster Wrangler's Attack Attacker to further reduce the damage that it deals. Similar to the Duplic Hat, you want to use Wild Side in conjunction with this so that you can use it twice per turn.
Attack Attacker Effects and Level Learned
Apply Dazzle to the Boss
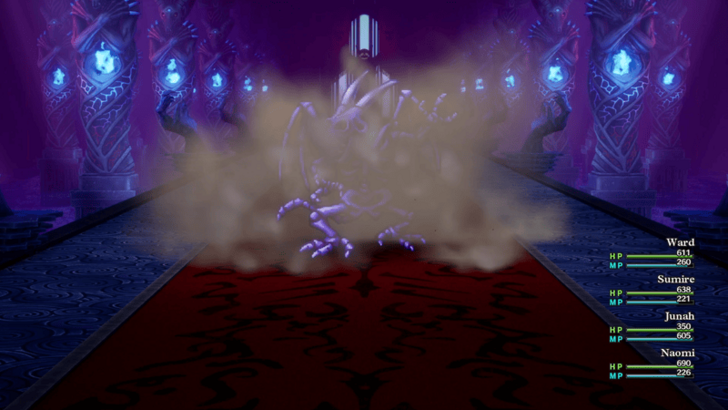
Dazzle is a great status effect against this boss because it makes it likely for all their attacks to miss. Make sure to use Dazzle, Sandstorm, or a Sandstorm Spear every turn to ensure that it never has a chance to attack with full accuracy.
All Status Effects and How to Cure
Outdamage Their Auto-Heals

Out of all the bosses so far, Bones of Baramos has the highest HP recovery per turn. Make sure that you use the Hero's Kazap and Gigaslash to deal enough damage before it heals back to full.
Hero Job Class and Best Personality
You Can Also Use Duplic Hat Kafrizzes
As a note, you can also use double-casted Kafrizzes with a Duplic Hat to deal a ton of damage. However, you should prioritize casting Kabuff and Multiheal before dealing damage.
Best Party to Beat Bones of Baramos
Recommended Party
| Vocation | Role and |
|---|---|
|
|
・Focus on attacking with Kazap or Gigaslash. |
|
|
Merchant - Monster Wrangler ・Use Wild Side + Attack Attacker to lower damage. ・Only use Monster Pile-On once attack drops are maxed out. ・Heal with Wild Side + Sage's Stone when needed. |
|
|
Thief - Monster Wrangler ・Use Wild Side + Sandstorm to blind the boss. ・Only use Monster Pile-On if it's still blind next turn. |
|
|
Mage - Sage ・Support with Duplic Hat Kabuffs. ・Use Kafrizz once Kabuff is set up. ・Cast Multiheal if the first Monster Wrangler needs help healing. |
Dragon Quest 3 HD-2D Remake (DQ3) Related Guides

Story Bosses
| List of Bosses | |
|---|---|
| Robbin ‘Ood (Skyfell) | Ripper of the Rift |
| Robbin ‘Ood (Cave) | Dying Fire |
| Orochi (Lair) | Orochi (Jipang) |
| Chiromancer | Boss Troll |
| Garboyle | Baramos |
| Soul of Baramos (Rubiss) | King Hydra |
| Soul of Baramos (Citdael) | Bones of Baramos |
| Final Boss: Zoma | |
| Other Relevant Guides | |
| How to Solo Baramos with Hero | |
Post-Game Bosses
| List of Bosses | |
|---|---|
| Xenlon | Grand Dragon |
Comment
Author
How to Beat Bones of Baramos
improvement survey
03/2026
improving Game8's site?

Your answers will help us to improve our website.
Note: Please be sure not to enter any kind of personal information into your response.

We hope you continue to make use of Game8.
Rankings
- We could not find the message board you were looking for.
Gaming News
Popular Games

Genshin Impact Walkthrough & Guides Wiki

Honkai: Star Rail Walkthrough & Guides Wiki

Umamusume: Pretty Derby Walkthrough & Guides Wiki

Pokemon Pokopia Walkthrough & Guides Wiki

Resident Evil Requiem (RE9) Walkthrough & Guides Wiki

Monster Hunter Wilds Walkthrough & Guides Wiki

Wuthering Waves Walkthrough & Guides Wiki

Arknights: Endfield Walkthrough & Guides Wiki

Pokemon FireRed and LeafGreen (FRLG) Walkthrough & Guides Wiki

Pokemon TCG Pocket (PTCGP) Strategies & Guides Wiki
Recommended Games

Fire Emblem Heroes (FEH) Walkthrough & Guides Wiki

Diablo 4: Vessel of Hatred Walkthrough & Guides Wiki

Yu-Gi-Oh! Master Duel Walkthrough & Guides Wiki

Super Smash Bros. Ultimate Walkthrough & Guides Wiki

Pokemon Brilliant Diamond and Shining Pearl (BDSP) Walkthrough & Guides Wiki

Elden Ring Shadow of the Erdtree Walkthrough & Guides Wiki

Monster Hunter World Walkthrough & Guides Wiki

The Legend of Zelda: Tears of the Kingdom Walkthrough & Guides Wiki

Persona 3 Reload Walkthrough & Guides Wiki

Cyberpunk 2077: Ultimate Edition Walkthrough & Guides Wiki
All rights reserved
© ARMOR PROJECT/BIRD STUDIO/SPIKE CHUNSOFT/SQUARE ENIX
© SUGIYAMA KOBO ℗ SUGIYAMA KOBO
The copyrights of videos of games used in our content and other intellectual property rights belong to the provider of the game.
The contents we provide on this site were created personally by members of the Game8 editorial department.
We refuse the right to reuse or repost content taken without our permission such as data or images to other sites.





![Slay the Spire 2 Review [Early Access] | Still the Deckbuilder to Beat](https://img.game8.co/4433115/44e19e1fb0b4755466b9e516ec7ffb1e.png/thumb)

![Resident Evil Village Review [Switch 2] | Almost Flawless Port](https://img.game8.co/4432790/e1859f64830960ce4248d898f8cd38d9.jpeg/thumb)


