Walkthrough Part 7: Gaia's Navel to the Phantom Ship
★ Best Personality | Best Equipment | Best Party
☆ Class Tier List | Vamp Guide | Monster Wrangler
★ Friendly Monsters | Sparkly Spots | Keys Guide
☆ EXP Farming | Money Farming | Seed Farming
★ Post Game (Spoilers!) | Missables | Trophy Guide
This is a walkthrough guide from Gaia's Navel to the Phantom Ship for Dragon Quest 3 HD-2D Remake (DQ3). Learn what you need to do for each region, as well as points and explanations for how to progress the story.
| ◀ Previous Guide | Next Guide ▶ |
|---|---|
| Theddon to Orochi’s Lair | Olivia’s Promontory to Baramos’ Lair |
List of Contents
Gaia's Navel to Phantom Ship Walkthrough Guide
Gaia's Navel - Blue Orb (Recommended Level 25)
| 1 |  Fly to Lanson and enter the shrine on the north side of the village. Once inside, talk to the priest to travel to Gaia's Navel. Be careful as only the first party member is allowed to enter. It's recommended to bring the Hero on this journey as the boss at the end of the dungeon is weak to Lightning. |
|---|---|
| * | 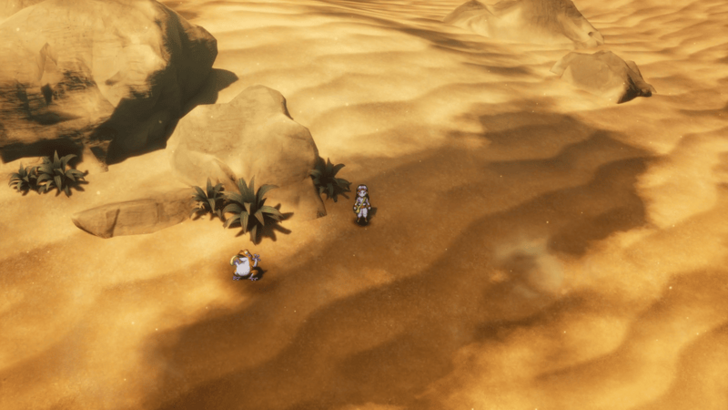 Before entering the cave in the center of the desert, swap a Thief or Monster Wrangler to the first party slot and have them talk to the Priest. There's a Secret Spot to the west that has a friendly monster that can only be recruited by Monster Wranglers or a character that's used Padfoot. |
| 2 | 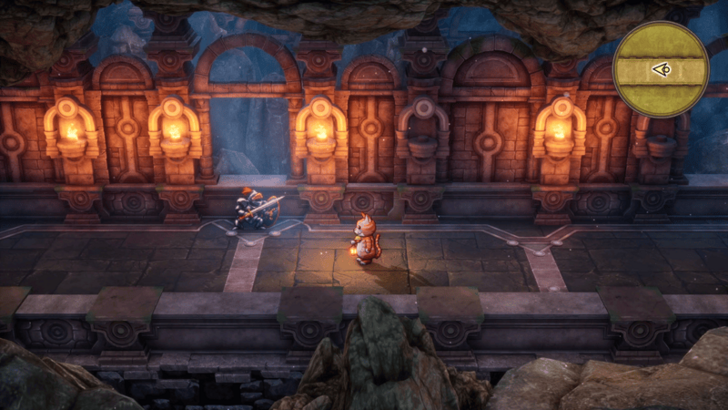 When you're ready, head inside the cave and explore Gaia's Navel for treasures and a friendly monster. Just be careful of the treasure chest in the southwest of the first floor since it's actually a Cannibox. |
| 3 | Head down to the third floor and take the north path to the Blue Orb. Ignore any of the talking heads on the way there since their warnings don't amount to anything. Once you see the Blue Orb, stop at the top of the stairs and prepare for a boss battle. |
| * | 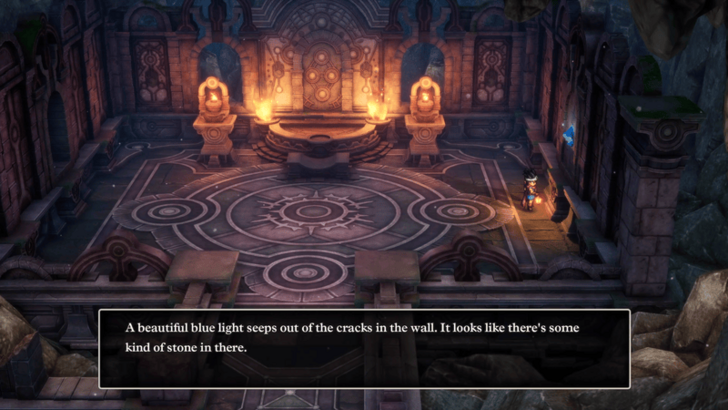 As a note, you can take the south path down to the fourth floor. However, you can't do anything with the blue stone in the wall just yet. |
| 4 | 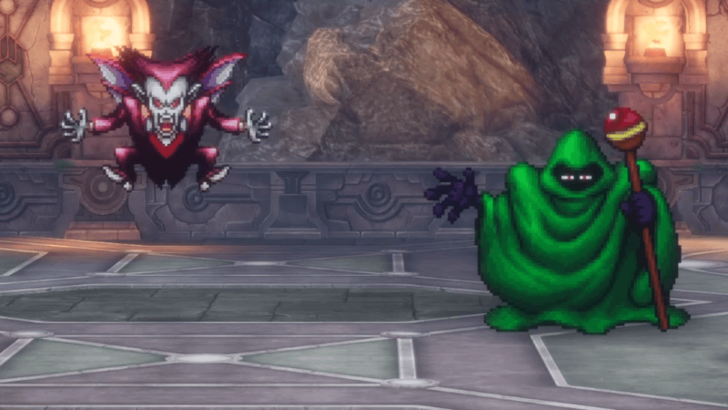 When you're ready, step down the stairs to face the Chiromancer. They'll be accompanied by a Madvlad so make sure to deal with them first. ▶ How to Beat Chiromancer |
| 5 | 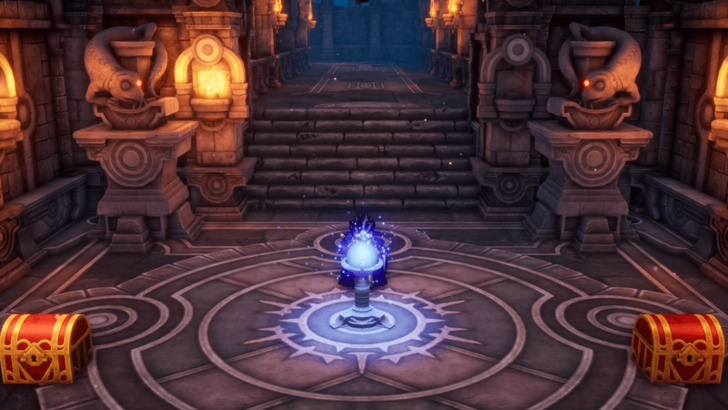 After you defeat them, you can now pick up the Blue Orb and the two chests to its sides. From here, feel free to Evac out of the dungeon and head back to Lanson. |
Gaia's Navel Map and Strategy Guide
Chiromancer Combat Guide
 |
||
| Rec. Level | Drops | |
|---|---|---|
| 25 | None | |
| Tips to Beat Chiromancer | ||
|
・Kill the Madvlad first. ・Utilize the Hero's Lightning attacks. ・Equip spell resistant gear. |
||
Manoza (Recommended Level 27)
| 1 | 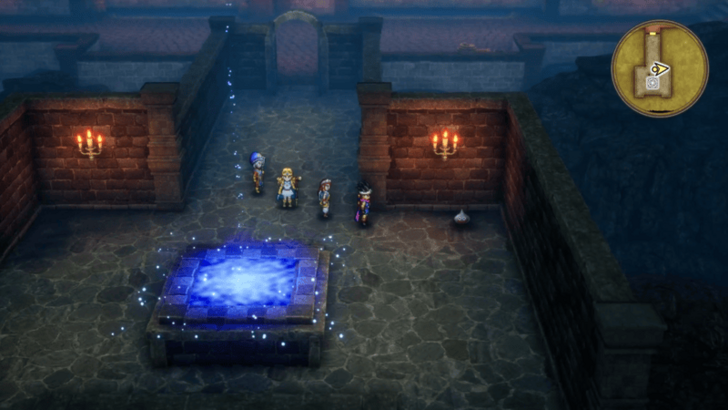 The next stop on our journey is Manoza. However, to get there, you'll need to navigate through some Teleportals first. To start off, teleport to the Romarian Outpost and head to the basement. Open the door to the south and recruit the friendly Metal Slime before going through the Teleportal. |
|---|---|
| 2 | 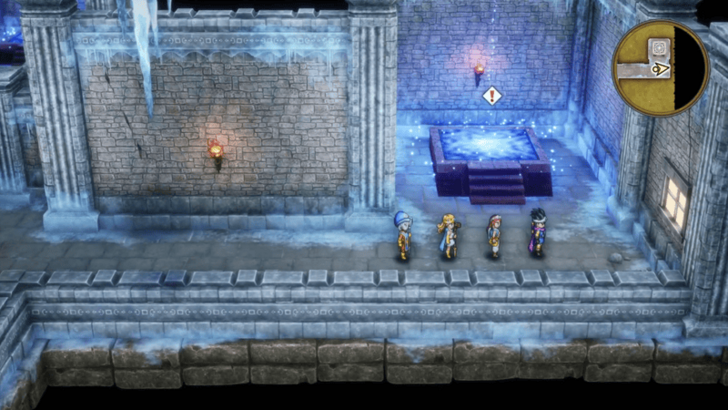 Going through the portal will bring you to the Teleportal Shrine. From here, take the rightmost portal to go to region Manoza is in. Also, there's a Mini Medal just above the water in the center so make sure to grab it while you're here. |
| 3 | 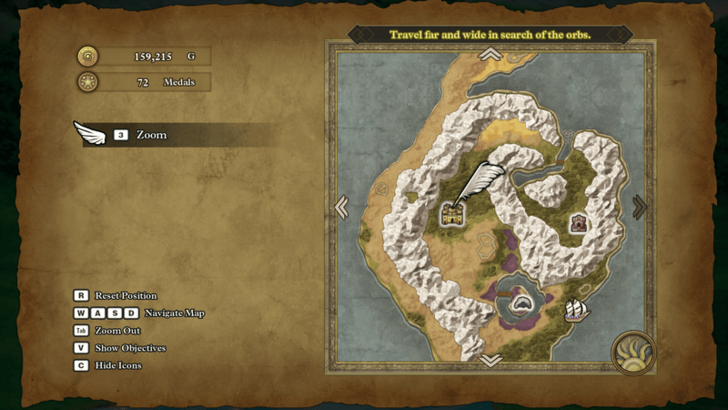 Exit the chapel and head around west to Manoza. There's also a Secret Spot just to the northwest of the chapel so make sure to visit it while you're in the area. |
| 4 | 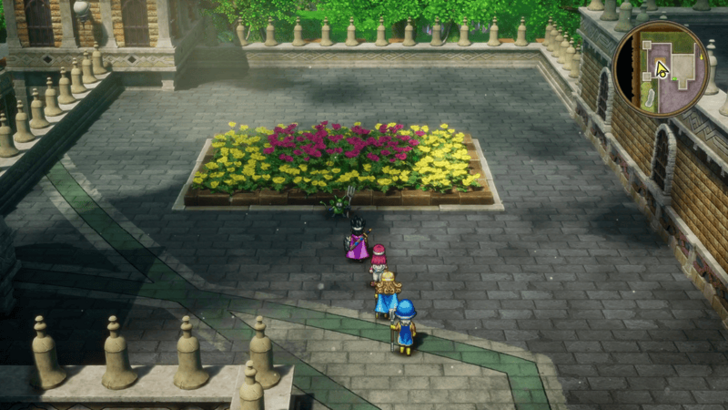 Once you've arrived in town, explore the area first for any new items and collectables. The equipment shop also sells some good upgrades so make sure to drop by if you need to. Also, there's a new set of Monster Arena battles here. As long as you've been recruiting friendly monsters, you should do these battles right away before purchasing equipment upgrades. |
| * | 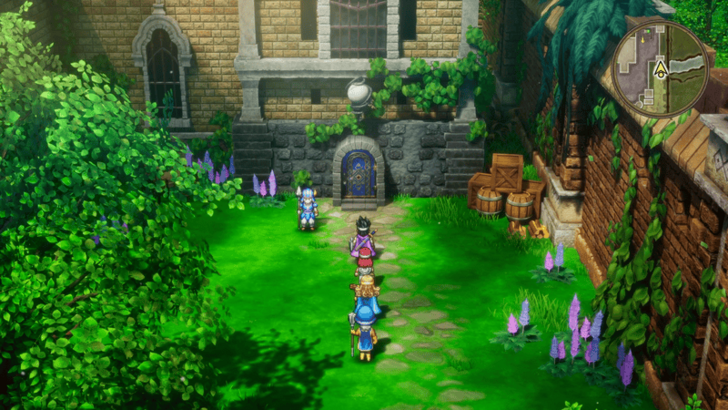 To enter the castle, you'll need to head to the side door in the east. While you're inside, don't approach the king until you're done exploring. |
| 5 | 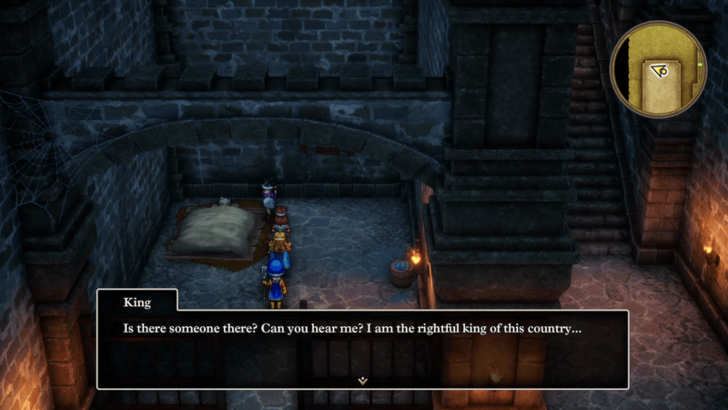 When you're done gathering collectables and friendly monsters, go to the king where you'll then be swiftly thrown into jail. To escape, unlock the cell in the bottom right and talk to the real king once you're down stairs. He'll ask you to escape through the passage to the right and go to Manoza Cave to retrieve Ra's Mirror. |
| 6 |  After escaping and finalizing any of your preparations, head south to Manoza Cave. |
Manoza Map and Available Items
Manoza Cave (Recommended Level 28)
| 1 | 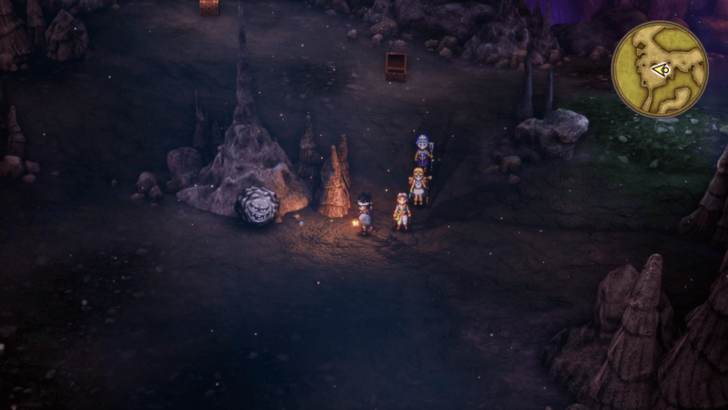 Go through the cave, opening any treasure chests on the way. Make sure to also recruit the friendly Rockbomb on the second floor. |
|---|---|
| * | 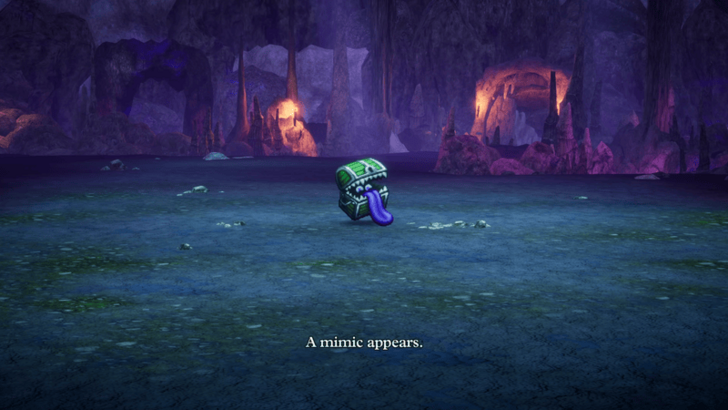 Be careful of the many chests on the second floor as half of these are actually Mimics. If you're not sure which chests to open, use the Peep spell to check beforehand. |
| 2 | 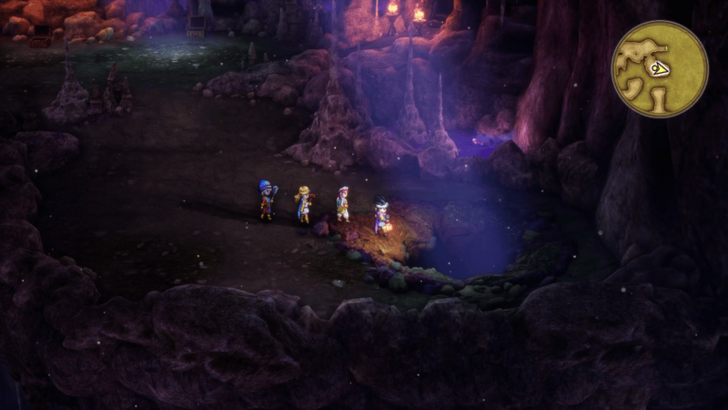 Once you're done exploring, go to the second floor and drop down the hole just below the way up to the first floor. This will take you to the island in the middle of the third floor, where Ra's Mirror is located. Once you've opened the chest and got the mirror, you can use Evac to leave the dungeon. |
| * | 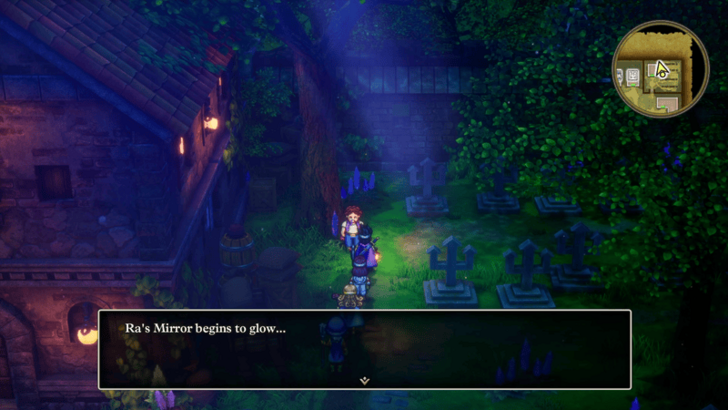 There are actually a ton of friendly monsters around the world that are disguised as a different form. Now that you have Ra's Mirror, you can backtrack and use it on certain NPCs to discern their true form and recruit them. ▶ All Friendly Monster Locations |
| 5 | 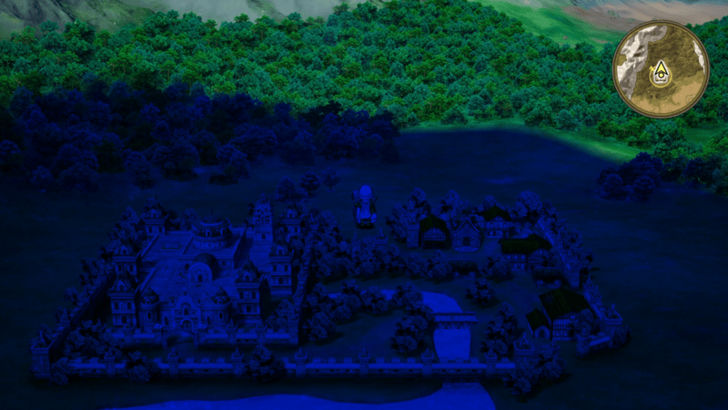 Before heading back to Manoza Castle, make sure that it's nighttime using the Night Light. |
| 6 | 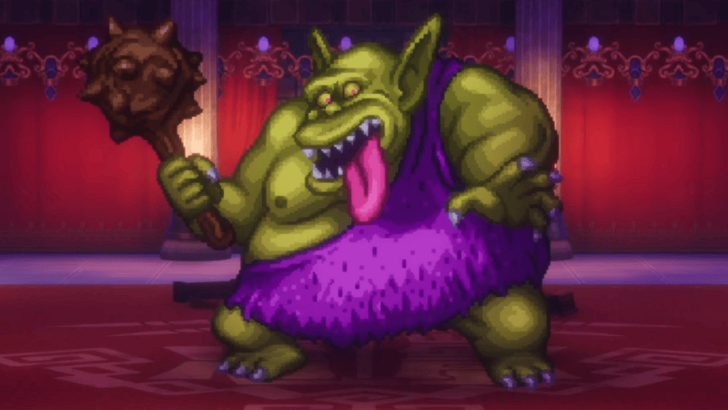 When you're ready, go to the King's bedroom via the roof to face the Boss Troll. They can hit pretty hard so make sure to increase your defenses while also reducing their attack. ▶ How to Beat Boss Troll |
| 7 | 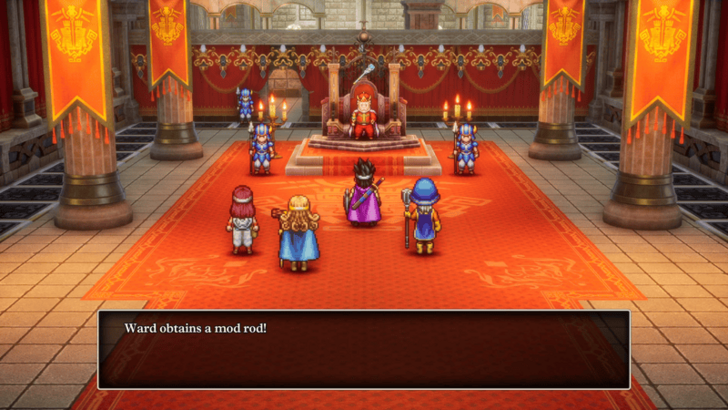 Once they've been defeated, a cutscene will play and you'll be told some steps for the next part of your journey. Afterwards, you'll meet with the true king and receive the Mod Rod, as well as a Mighty Armlet and an Elfin Elixir. |
| * | 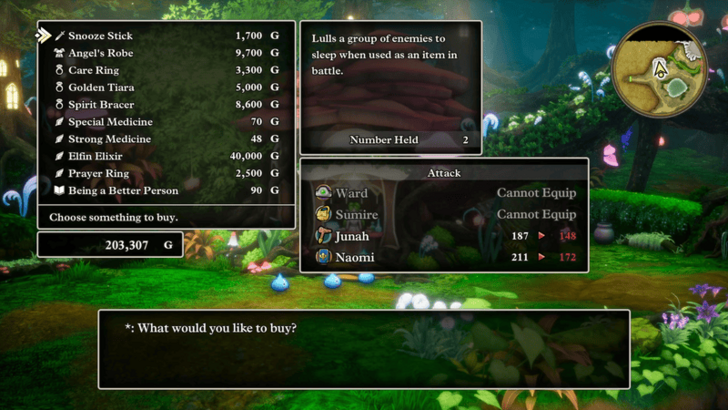 Now that you have the Mod Rod, you can head back to the Faerie Village and access the item shop. Make sure that you're transformed into either a Slime or a Dwarf so that the shopkeep will let you browse their wares. |
Manoza Cave Map and Strategy Guide
Boss Troll Combat Guide
 |
||
| Rec. Level | Drops | |
|---|---|---|
| 28 | None | |
| Tips to Beat Boss Troll | ||
|
・Cast Kabuff to increase your party's defense. ・Use Fizzle to prevent spells from being cast. ・Reduce their attack with Attack Attacker. ・Apply Dazzle to make attacks to miss. |
||
Pirates' Den - Red Orb (Recommended Level 28)
| 1 | 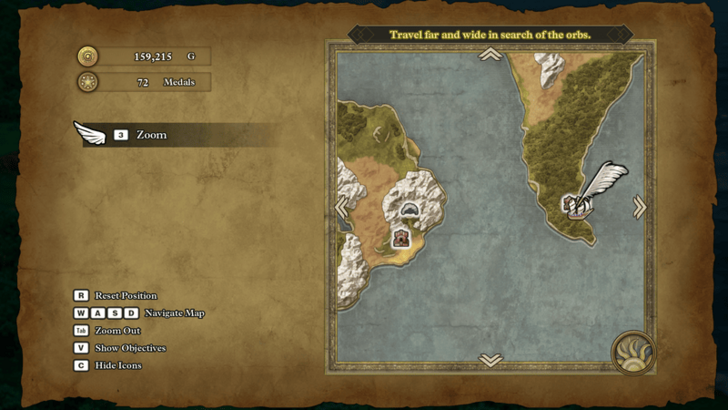 The next step now is to teleport to the Path of Promise and sail east to the Pirates' Den. Make sure that the time is set to morning so that you can explore the area while the pirates are away. |
|---|---|
| 2 | 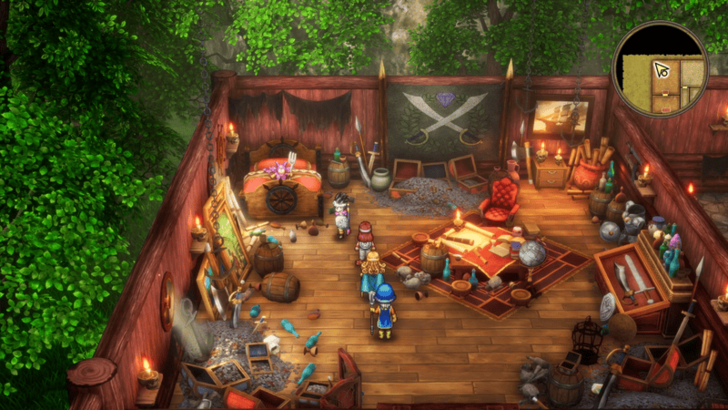 Once you're there, head inside and grab any treasures you find, as well as the friendly Imp. |
| 3 | 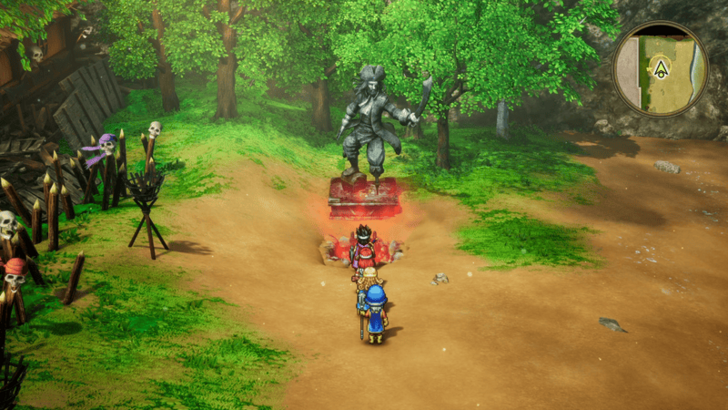 Afterwards head back outside and push the statue in the northeast to reveal a hidden ladder. Go down to find the Red Orb, as well as a Skull Ring and a Phantom Mask. When you're done, you can leave the Pirates' Den and resume your journey. |
| * | 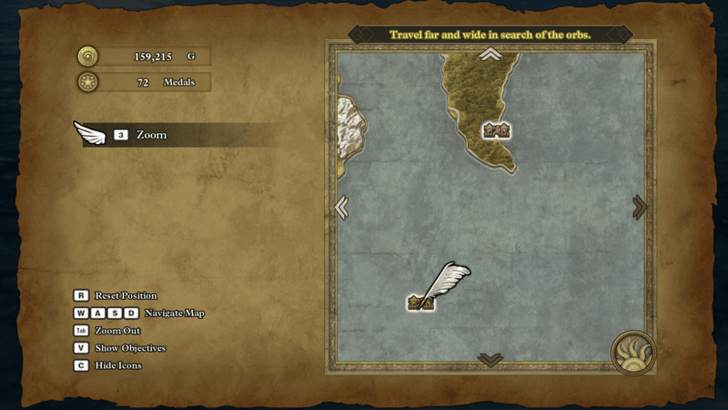 Make a quick detour southwest to Lozamii. There's not much to do here, but there are items, a Mini Medal, and friendly monsters to collect so make sure to stop on by. |
Pirates' Den Map and Available Items
Grimland (Recommended Level 28)
| 1 | 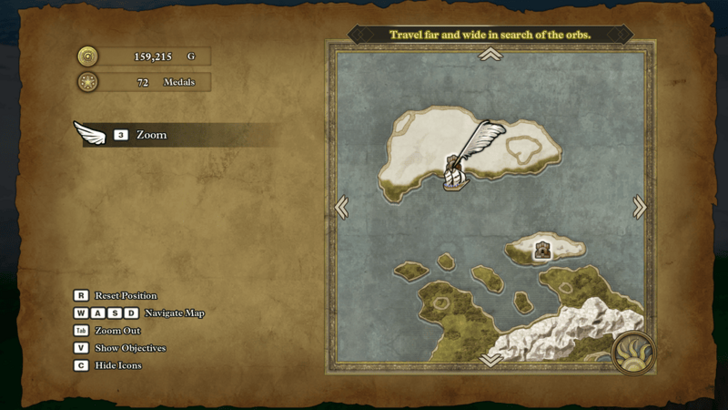 Head to Grimland, located northwest from the Teleportal Shrine. |
|---|---|
| 2 | 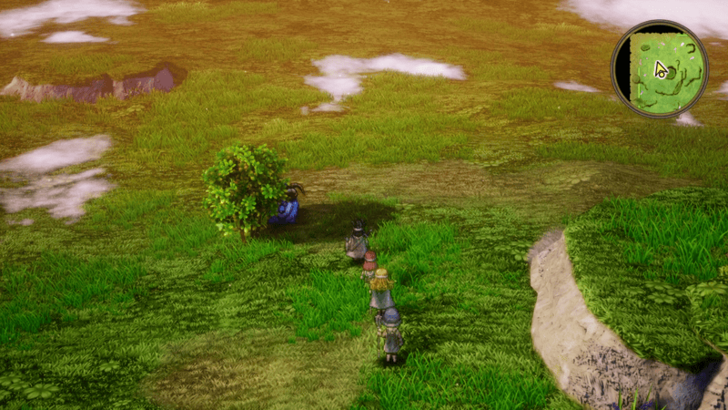 Once you're here, explore the area first for treasures and the friendly Rampage before heading into the cabin. |
| 3 | 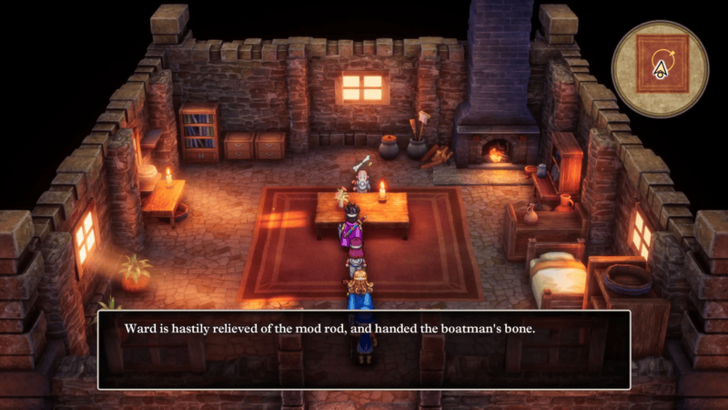 Talk to the Old Man to exchange the Mod Rod for the Boatman's Bone. Make sure that you've bought everything you need from the Faerie Village before doing this since the next Mod Rod you'll get will be a reward from the Monster Arena in Cantlin. |
| * | Now that you have the Boatman's Bone, you'll be able to see the Phantom Ship on the map. This also happens to be the next location that we'll go to on our journey. |
Grimland Map and Available Items
Phantom Ship (Recommended Level 28-29)
| 1 | 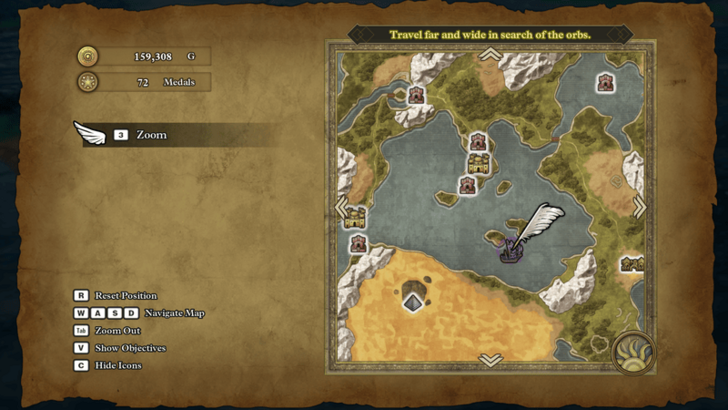 Teleport to Romaria and sail southeast to the Phantom Ship. Make sure to use the Night Light before boarding so you can recruit the friendly Squidzilla at the top of the boat. |
|---|---|
| 2 | 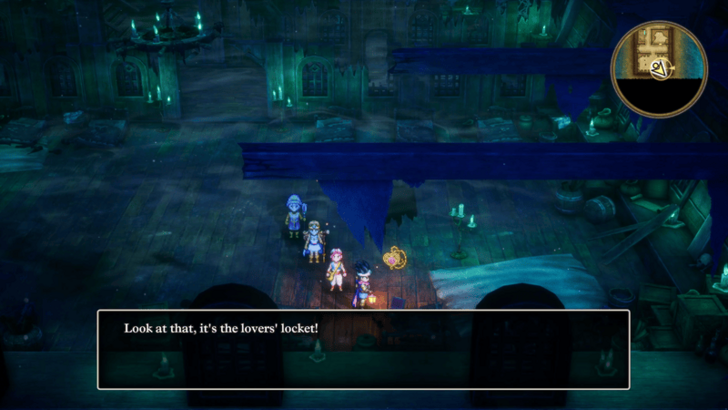 Explore the ship to grab any treasures you find. Once you're done, head to the southern part of the second floor to get the Lovers' Locket. This lets your ship cross Olivia's Promontory and access the Shrine of Shackles. ▶ Olivia’s Promontory to Baramos’ Lair Walkthrough |
Phantom Ship Map and Strategy Guide
Dragon Quest 3 HD-2D Remake Related Guides

List of All Story Walkthroughs
| All Story Walkthroughs | |
|---|---|
| 1 | Aliahan to the Path of Promise |
| 2 | Romaria to Skyfell Tower |
| 3 | Norvik to the Underground Lake |
| 4 | Asham to the Pyramid |
| 5 | Portoga to the Tower of Transcendence |
| 6 | Theddon to Orochi’s Lair |
| 7 | Manoza to the Phantom Ship |
| 8 | Olivia’s Promontory to Baramos’ Lair |
| 9 | Castle of the Dragon Queen to the Craggy Cave |
| 10 | Damdara to Zoma’s Citadel |
| 11 | Endgame Content |
Comment
Author
Walkthrough Part 7: Gaia's Navel to the Phantom Ship
Rankings
- We could not find the message board you were looking for.
Gaming News
Popular Games

Genshin Impact Walkthrough & Guides Wiki

Umamusume: Pretty Derby Walkthrough & Guides Wiki

Crimson Desert Walkthrough & Guides Wiki

Monster Hunter Stories 3: Twisted Reflection Walkthrough & Guides Wiki

Honkai: Star Rail Walkthrough & Guides Wiki

Pokemon Pokopia Walkthrough & Guides Wiki

The Seven Deadly Sins: Origin Walkthrough & Guides Wiki

Wuthering Waves Walkthrough & Guides Wiki

Zenless Zone Zero Walkthrough & Guides Wiki

Arknights: Endfield Walkthrough & Guides Wiki
Recommended Games

Fire Emblem Heroes (FEH) Walkthrough & Guides Wiki

Diablo 4: Vessel of Hatred Walkthrough & Guides Wiki

Cyberpunk 2077: Ultimate Edition Walkthrough & Guides Wiki

Yu-Gi-Oh! Master Duel Walkthrough & Guides Wiki

Super Smash Bros. Ultimate Walkthrough & Guides Wiki

Pokemon Brilliant Diamond and Shining Pearl (BDSP) Walkthrough & Guides Wiki

Elden Ring Shadow of the Erdtree Walkthrough & Guides Wiki

Monster Hunter World Walkthrough & Guides Wiki

The Legend of Zelda: Tears of the Kingdom Walkthrough & Guides Wiki

Persona 3 Reload Walkthrough & Guides Wiki
All rights reserved
© ARMOR PROJECT/BIRD STUDIO/SPIKE CHUNSOFT/SQUARE ENIX
© SUGIYAMA KOBO ℗ SUGIYAMA KOBO
The copyrights of videos of games used in our content and other intellectual property rights belong to the provider of the game.
The contents we provide on this site were created personally by members of the Game8 editorial department.
We refuse the right to reuse or repost content taken without our permission such as data or images to other sites.


