How to Beat King Hydra
★ Best Personality | Best Equipment | Best Party
☆ Class Tier List | Vamp Guide | Monster Wrangler
★ Friendly Monsters | Sparkly Spots | Keys Guide
☆ EXP Farming | Money Farming | Seed Farming
★ Post Game (Spoilers!) | Missables | Trophy Guide
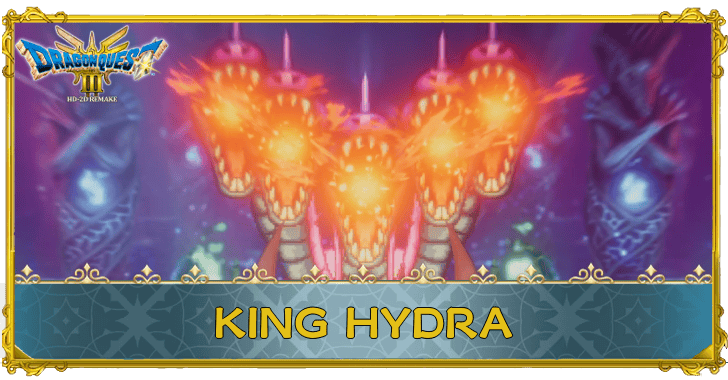
King Hydra is a Story Boss in Dragon Quest 3 HD-2D Remake (DQ3). Check out their information and moveset, as well as the best strategies and party to beat them!
List of Contents
King Hydra Basic Information
King Hydra Stats and Information
| King Hydra Information | ||
|---|---|---|
 |
||
| Rec. Level | Drops | |
| 45 | None | |
| Location and Walkthrough | ||
|
Zoma’s Citadel
Damdara to Zoma’s Citadel |
||
King Hydra Weaknesses
| Enemy | Weakness |
|---|---|
| King Hydra | None |
King Hydra Moveset
King Hydra Spells and Abilities
| Number of Actions | |
|---|---|
| 2 ~ 3 Turns | |
| Move | Effect |
| Attack | Regular basic attack |
| Inferno | Strong Fire Breath damage |
| War Cry | Chance to fear party |
| Sweet Breath | Chance to put party to sleep |
| Fog of War | Cancels all spells and spell effects |
| Recover HP | Automatically restores HP every turn |
How to Beat King Hydra
- Equip Rousing Rings to Prevent Sleep
- Heal Using the Sage's Stone
- Equip Fire Resistant Gear
- Lower Inferno's Damage with Insulatle
- Put King Hydra to Sleep
- Move First With an Accelaratle Buff
- Use Monster Pile-On as Your Main Attack
Equip Rousing Rings to Prevent Sleep
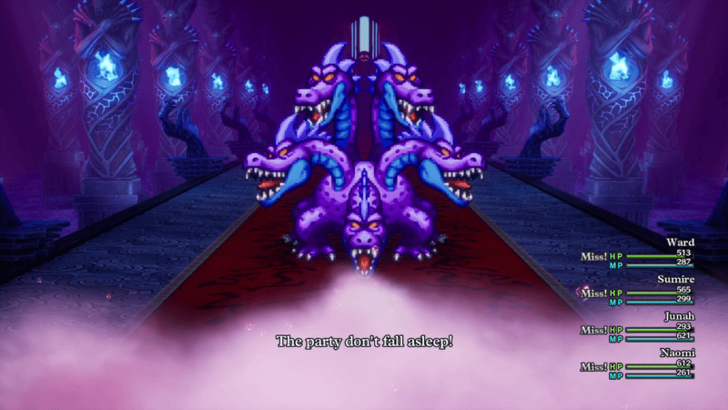
Sweet Breath is an annoying move that can put multiple party members to sleep. Equip Rousing Rings on everyone to prevent this from happening because you can easily get wiped if multiple characters are asleep.
Heal Using the Sage's Stone
Instead of casting healing spells, you should use the Sage's Stone instead. This both preserves your MP for future boss fights, as well as lets you heal while Fog of War is active.
How to Get Sage's Stone and Effects
Equip Fire Resistant Gear
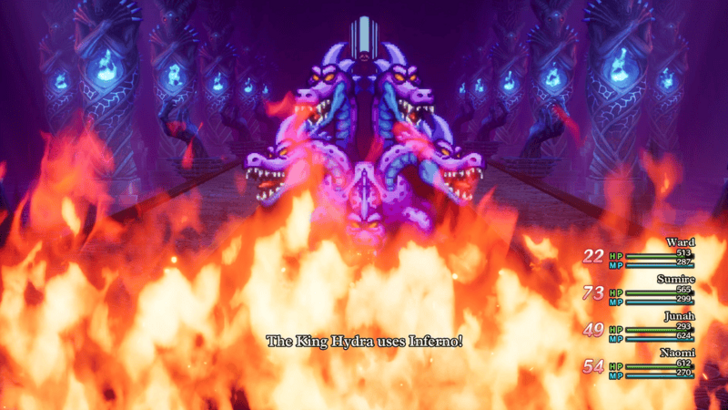
Since King Hydra's most threatening attack is Inferno, you'll want to wear fire-resistant equipment to counter it. Make sure you do this so that the Sage's Stone can keep you topped up.
List of Fire-Resistant Equipment
| Equipment | Location | Price |
|---|---|---|
| Ice Shield | Mur | 3,100 G |
| Asbestos Earrings | Immigrant Town | 3,300 G |
| Dragon Shield | Tantegel | 6,200 G |
| Dragon Mail | 13,800 G | |
| Dragon Dojo Duds | Kol | 31,500 G |
| Flowing Dress | 26,000 G | |
| Shimmering Dress | Zoma's Citadel | - |
| Hero's Shield | Talontear Tunnel | - |
| Auroral Armour | Tower of Rubiss | - |
The Hero's Shield and Auroral Armour are extremely powerful Hero-exclusive equipment.
Lower Inferno's Damage with Insulatle
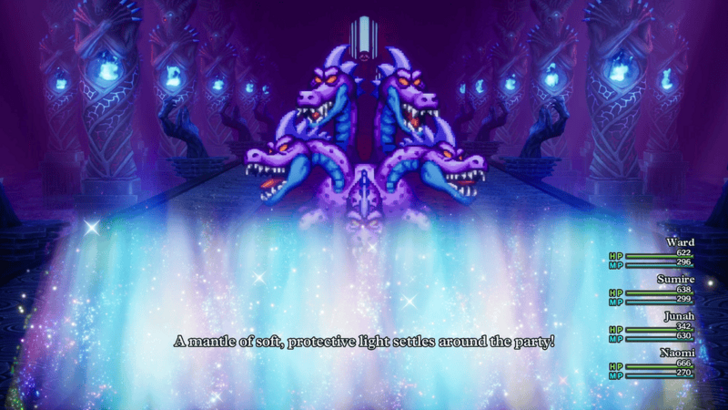
Besides wearing fire-resistant equipment, you'll also want to cast Insulatle to further reduce the damage of Inferno. However, you should still be wary of its regular attacks, especially for spell casters who have a relatively lower defense stat.
Insulatle Effects and Level Learned
Put King Hydra to Sleep

If you don't want to worry about the King Hydra's actions, you can always put it to sleep instead. Use the Duplic Hat and Snooze combo to cast it twice a turn, but once Fog of War becomes active, use abilities and items like Sleepy Slap and a Snooze Stick instead.
Move First With an Accelaratle Buff
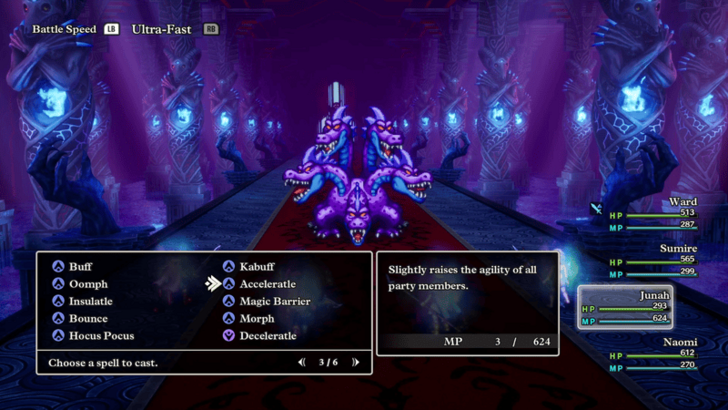
If you find that your party's slower than King Hydra, you should cast Acceleratle to increase your party's Speed. This is especially important for whoever's trying to put the boss to sleep so that they can get it off before they act.
Acceleratle Effects and Level Learned
Use Monster Pile-On as Your Main Attack

Unless you have a high Attack stat, you'll want to use Monster Pile-On as your main attack. Instead of taking into account your weapon and stats, the damage increases depending on how many friendly monsters you've recruited.
Monster Pile-On Effects and Level Learned
Recruit at Least 100 Monsters
Since the ability's damage scales with the number of monsters you've recruited, you'll want to have at least 100 friendly monsters to maximize its damage output.
All Friendly Monster Locations
Use Wild Side to Act Twice Per Turn
If you've recruited 50 monsters, Monster Wranglers will be able to use Wild Side to perform Monster Pile-On twice per turn. This also applies for every other action so, for example, if you used Wild Side with the Duplic Hat, you can get up to four spell casts per turn!
Wild Side Effects and Level Learned
Best Party to Beat King Hydra
Recommended Party
| Vocation | Role and |
|---|---|
|
|
・Use a Snooze Rod to put the boss to sleep. ・Assist with healing if needed. |
|
|
Merchant - Monster Wrangler ・Spam Wild Side + Monster Pile-On. ・Help put King Hydra to sleep if needed. |
|
|
Thief - Monster Wrangler ・Spam Wild Side + Monster Pile-On. |
|
|
Mage - Sage ・Support the team with Acceleratle, Insulatle, and the Sage's Stone. ・Can give the Sage's Stone to someone else if you really need a second person to help heal. |
Dragon Quest 3 HD-2D Remake (DQ3) Related Guides

Story Bosses
| List of Bosses | |
|---|---|
| Robbin ‘Ood (Skyfell) | Ripper of the Rift |
| Robbin ‘Ood (Cave) | Dying Fire |
| Orochi (Lair) | Orochi (Jipang) |
| Chiromancer | Boss Troll |
| Garboyle | Baramos |
| Soul of Baramos (Rubiss) | King Hydra |
| Soul of Baramos (Citdael) | Bones of Baramos |
| Final Boss: Zoma | |
| Other Relevant Guides | |
| How to Solo Baramos with Hero | |
Post-Game Bosses
| List of Bosses | |
|---|---|
| Xenlon | Grand Dragon |
Comment
Author
How to Beat King Hydra
improvement survey
03/2026
improving Game8's site?

Your answers will help us to improve our website.
Note: Please be sure not to enter any kind of personal information into your response.

We hope you continue to make use of Game8.
Rankings
- We could not find the message board you were looking for.
Gaming News
Popular Games

Genshin Impact Walkthrough & Guides Wiki

Honkai: Star Rail Walkthrough & Guides Wiki

Umamusume: Pretty Derby Walkthrough & Guides Wiki

Pokemon Pokopia Walkthrough & Guides Wiki

Resident Evil Requiem (RE9) Walkthrough & Guides Wiki

Monster Hunter Wilds Walkthrough & Guides Wiki

Wuthering Waves Walkthrough & Guides Wiki

Arknights: Endfield Walkthrough & Guides Wiki

Pokemon FireRed and LeafGreen (FRLG) Walkthrough & Guides Wiki

Pokemon TCG Pocket (PTCGP) Strategies & Guides Wiki
Recommended Games

Diablo 4: Vessel of Hatred Walkthrough & Guides Wiki

Fire Emblem Heroes (FEH) Walkthrough & Guides Wiki

Yu-Gi-Oh! Master Duel Walkthrough & Guides Wiki

Super Smash Bros. Ultimate Walkthrough & Guides Wiki

Pokemon Brilliant Diamond and Shining Pearl (BDSP) Walkthrough & Guides Wiki

Elden Ring Shadow of the Erdtree Walkthrough & Guides Wiki

Monster Hunter World Walkthrough & Guides Wiki

The Legend of Zelda: Tears of the Kingdom Walkthrough & Guides Wiki

Persona 3 Reload Walkthrough & Guides Wiki

Cyberpunk 2077: Ultimate Edition Walkthrough & Guides Wiki
All rights reserved
© ARMOR PROJECT/BIRD STUDIO/SPIKE CHUNSOFT/SQUARE ENIX
© SUGIYAMA KOBO ℗ SUGIYAMA KOBO
The copyrights of videos of games used in our content and other intellectual property rights belong to the provider of the game.
The contents we provide on this site were created personally by members of the Game8 editorial department.
We refuse the right to reuse or repost content taken without our permission such as data or images to other sites.





![Everwind Review [Early Access] | The Shaky First Step to A Very Long Journey](https://img.game8.co/4440226/ab079b1153298a042633dd1ef51e878e.png/thumb)

![Monster Hunter Stories 3 Review [First Impressions] | Simply Rejuvenating](https://img.game8.co/4438641/2a31b7702bd70e78ec8efd24661dacda.jpeg/thumb)


