How to Solo Baramos with Hero
★ Best Personality | Best Equipment | Best Party
☆ Class Tier List | Vamp Guide | Monster Wrangler
★ Friendly Monsters | Sparkly Spots | Keys Guide
☆ EXP Farming | Money Farming | Seed Farming
★ Post Game (Spoilers!) | Missables | Trophy Guide
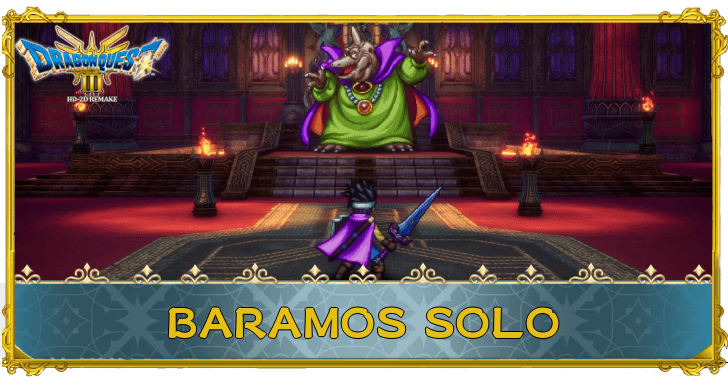
This guide teaches you how to solo Baramos with the Hero in Dragon Quest 3 HD-2D Remake (DQ3). Check out the benefits of taking down Baramos solo, and the easiest way to do it!
| Baramos Boss Guides | |
|---|---|
| Full Party | Solo |
Rewards for Soloing Baramos
Free Bastard Sword

If you beat Baramos using only the Hero and no other party members, you'll receive a Bastard Sword from the King of Aliahan. This is a strong weapon for the Hero or a Warrior until you can get a better weapon later on.
How to Get Bastard Sword and Effects
Bastard Swords Can be Bought Later On
It should be noted that you'll be able to buy Bastard Swords in Rimuldar once you get to Alefgard so it's okay to ignore this challenge and beat Baramos with a full party instead.
Baramos Basic Information
Baramos Stats and Information
| Baramos Information | ||
|---|---|---|
 |
||
| Rec. Level | Drops | |
| 34 | None | |
| Location and Walkthrough | ||
|
Baramos’ Lair
Olivia’s Promontory to Baramos’ Lair |
||
Note: The recommended level is if you're bringing a full team with you for this fight.
Baramos Weaknesses
| Enemy | Weakness |
|---|---|
| Baramos | Ice, Wind |
How to Beat Baramos Solo
- Level Up to at Least Level 40
- Follow Baramos' Attack Pattern
- Outdamage His Heals With Gust Slash
- Bring MP Restorative Items
- Cast Bounce Using a Staff of Strife
- Use Meditation at Around 25% HP
Level Up to at Least Level 40
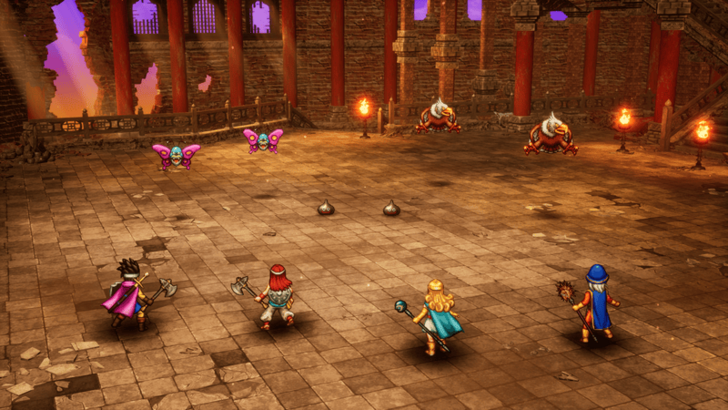
Before facing this boss, it's highly recommended to level up to at least Level 40 to increase your survivability and damage output. You'll also learn the powerful Kazap spell at 38, making the grind even more worth it.
EXP Farming Guide: How to Level Up Fast
Use All Your Seeds if You're Lacking Stats

If you find that your stats are low, then you can use whatever seeds you have saved up to increase them. This fight can be hard solo so you should increase your stats before going in alone.
Follow Baramos' Attack Pattern
| 100% HP | 75% HP | 50% HP | 25% HP | |
|---|---|---|---|---|
| 1 | Kaboom | Kaboom | Blasto | Kafrizz Uses Once |
| 2 | Attack | Attack | Kafrizz | Attack |
| 3 | Inferno | Kafrizz | Spooky Aura Attack |
Attack |
| 4 | Attack | Inferno | Dazzle Fuddle |
Inferno |
| 5 | Kafrizz | Kafrizz | Inferno | Attack |
| 6 | Fuddle | Dazzle Fuddle |
Spooky Aura Attack |
Attack |
| 7 | Kafrizz | Kaboom | Kaboom | Attack |
| 8 | Dazzle | Dazzle Fuddle |
- | Attack |
These HP thresholds are an estimate, and Baramos may change patterns earlier or later than expected.
When facing Baramos alone, it's necessary to learn his attack pattern. This way you know when it's safe for you to attack and when you should heal in case he acts three turns in a row.
Outdamage His Heals With Gust Slash

Your best attack for this fight is Gust Slash since it exploits Baramos' weakness while also being light on MP consumption. The fight can get pretty long, making MP preservation just as important as HP management.
Can Also Use Kazap for Maximum Damage

You can also use Kazap to deal as much damage as possible and ensure you do more damage than what he heals every turn. However, this costs a ton of MP and isn't worth it if your Gust Slash can do more than 100 damage per turn.
However, if you're doing a high Wisdom build instead of a Strength or balanced build, then it may be worth using Kazap over Gust Slash.
Bring MP Restorative Items

Since you'll be fighting alone, you might run out of MP during the fight. Make sure that you bring some MP restorative items, like Sage's Elixirs, in your bag so you can use them when needed.
Don't Use Elfin Elixirs if Possible
While Elfin Elixirs will restore your full MP bar, it's not recommended to use them since they are rare and expensive. Also, you will need a ton of them for the post-game so it's better to save them for when you get there.
Cast Bounce Using a Staff of Strife

More than half of Baramos' moves are spells, making Bounce an amazing counter. Thankfully, you can use a Staff of Strife to cast Bounce on the Hero since they don't normally learn it.
How to Get Staff of Strife and Effects
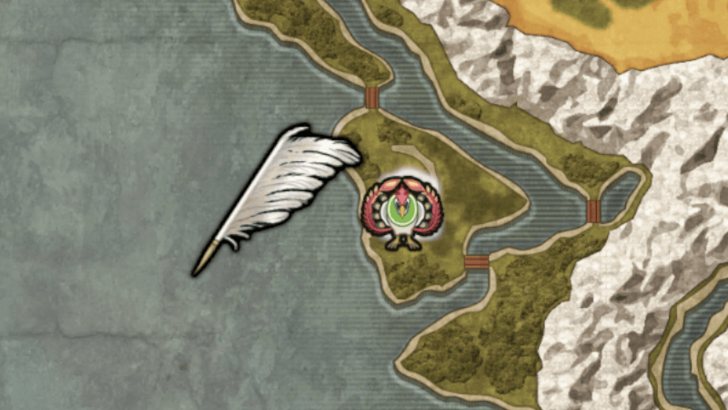
Obtained from the Secret Spot West of the Wayfarer's Shrine
| Map | Overworld |
|---|---|
 |
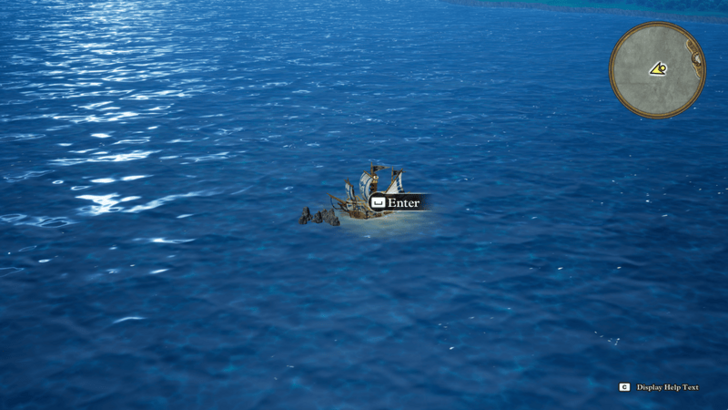 |
To get a Staff of Strife, you'll need to sail to the Secret Spot west of the Wayfarer's Shrine. It's in the middle of the ocean, and may be a bit difficult to locate due to the lack of landmarks.
Use Meditation at Around 25% HP

Whenever you're at around 25% HP, make sure to use Meditation to heal back 500 HP. It's safer to always do it around this HP range just in case Baramos uses three attacks in a row.
Best Build to Solo Baramos
Recommended Equipment
| Slot | Equipment and Explanation |
|---|---|
| Weapon | Blizzard Blade Strongest weapon you can get |
| Shield | Ice Shield Reduces damage of Fire attacks |
| Helmet | Thinking Cap Highest defense helmet you can get |
| Armour | Dragon Mail Reduces damage of Fire attacks |
| Accessory 1 | Meteorite Bracer Ensures you act first |
| Accessory 2 | Asbestos Earrings Reduces damage of Fire attacks |
Alternate Equipment Options
| Slot | Equipment and Explanation |
|---|---|
| Shield | Tempest Shield Reduces damage of Kaboom |
| Helmet | Ortega's Helm Increased chance of dodging status ailments |
You should only use these pieces of equipment if you're not using the Staff of Strife to cast Bounce.
Dragon Quest 3 HD-2D Remake (DQ3) Related Guides

Story Bosses
| List of Bosses | |
|---|---|
| Robbin ‘Ood (Skyfell) | Ripper of the Rift |
| Robbin ‘Ood (Cave) | Dying Fire |
| Orochi (Lair) | Orochi (Jipang) |
| Chiromancer | Boss Troll |
| Garboyle | Baramos |
| Soul of Baramos (Rubiss) | King Hydra |
| Soul of Baramos (Citdael) | Bones of Baramos |
| Final Boss: Zoma | |
| Other Relevant Guides | |
| How to Solo Baramos with Hero | |
Post-Game Bosses
| List of Bosses | |
|---|---|
| Xenlon | Grand Dragon |
Comment
Author
How to Solo Baramos with Hero
improvement survey
02/2026
improving Game8's site?

Your answers will help us to improve our website.
Note: Please be sure not to enter any kind of personal information into your response.

We hope you continue to make use of Game8.
Rankings
- We could not find the message board you were looking for.
Gaming News
Popular Games

Genshin Impact Walkthrough & Guides Wiki

Arknights: Endfield Walkthrough & Guides Wiki

Honkai: Star Rail Walkthrough & Guides Wiki

Wuthering Waves Walkthrough & Guides Wiki

Umamusume: Pretty Derby Walkthrough & Guides Wiki

Zenless Zone Zero Walkthrough & Guides Wiki

Pokemon TCG Pocket (PTCGP) Strategies & Guides Wiki

Clair Obscur: Expedition 33 Walkthrough & Guides Wiki

Digimon Story: Time Stranger Walkthrough & Guides Wiki

Where Winds Meet Walkthrough & Guides Wiki
Recommended Games

Fire Emblem Heroes (FEH) Walkthrough & Guides Wiki

Diablo 4: Vessel of Hatred Walkthrough & Guides Wiki

Super Smash Bros. Ultimate Walkthrough & Guides Wiki

Yu-Gi-Oh! Master Duel Walkthrough & Guides Wiki

Pokemon Brilliant Diamond and Shining Pearl (BDSP) Walkthrough & Guides Wiki

Elden Ring Shadow of the Erdtree Walkthrough & Guides Wiki

Monster Hunter World Walkthrough & Guides Wiki

The Legend of Zelda: Tears of the Kingdom Walkthrough & Guides Wiki

Persona 3 Reload Walkthrough & Guides Wiki

Cyberpunk 2077: Ultimate Edition Walkthrough & Guides Wiki
All rights reserved
© ARMOR PROJECT/BIRD STUDIO/SPIKE CHUNSOFT/SQUARE ENIX
© SUGIYAMA KOBO ℗ SUGIYAMA KOBO
The copyrights of videos of games used in our content and other intellectual property rights belong to the provider of the game.
The contents we provide on this site were created personally by members of the Game8 editorial department.
We refuse the right to reuse or repost content taken without our permission such as data or images to other sites.



![Animal Crossing: New Horizons Review [Switch 2] | Needlessly Crossing Over to a New Generation](https://img.game8.co/4391759/47d0408b0b8a892e453a0b90f54beb8a.png/show)
