Walkthrough Part 10: Damdara to Zoma’s Citadel
★ Best Personality | Best Equipment | Best Party
☆ Class Tier List | Vamp Guide | Monster Wrangler
★ Friendly Monsters | Sparkly Spots | Keys Guide
☆ EXP Farming | Money Farming | Seed Farming
★ Post Game (Spoilers!) | Missables | Trophy Guide
This is a walkthrough guide from Damdara to Zoma’s Citadel for Dragon Quest 3 HD-2D Remake (DQ3). Learn what you need to do for each region, as well as points and explanations for how to progress the story.
| ◀ Previous Guide | Next Guide ▶ |
|---|---|
| Castle of the Dragon Queen to the Craggy Cave | Post-Game Content |
List of Contents
Damdara to Zoma’s Citadel Walkthrough Guide
Damdara
| 1 | 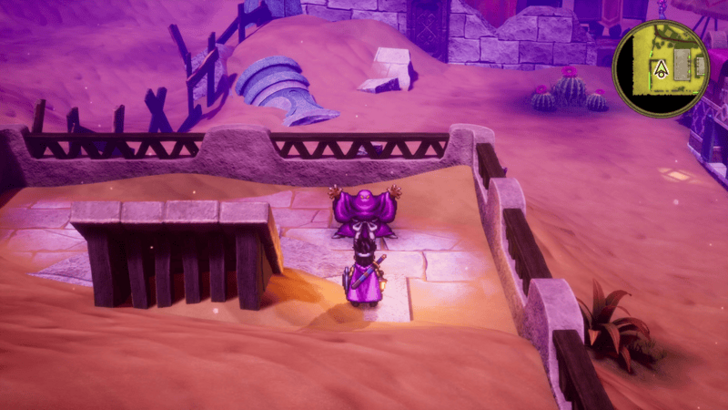 Explore the area first for any items and collectibles. There's also a friendly Hocus-Poker disguised as a human in the bottom left so make sure to recruit them as well. ▶ All Friendly Monster Locations |
|---|---|
| 2 | 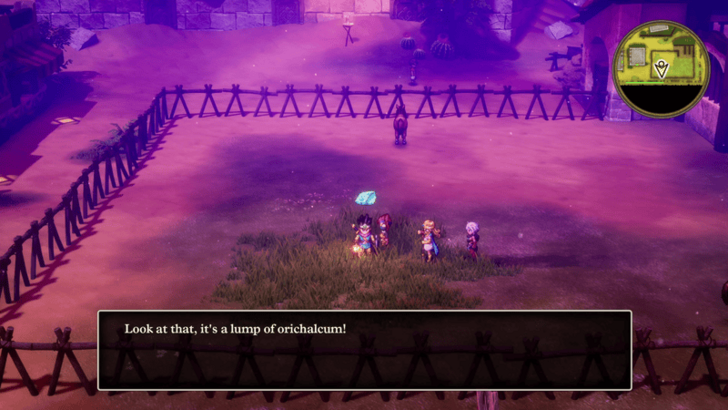 Once you're done, head to the stables in the southeast and examine the grass to find some Orichalcum. This is used to make the Sword of Kings later so make sure not to miss it. |
| 3 | 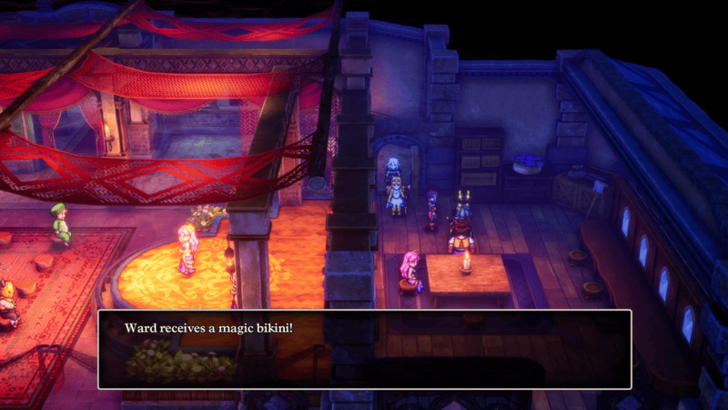 Afterwards, go to the inn and talk to Lena the dancer on the second floor. Doing so lets you receive the Magic Bikini from the Theatre Manager in Asham at night. |
| 4 | 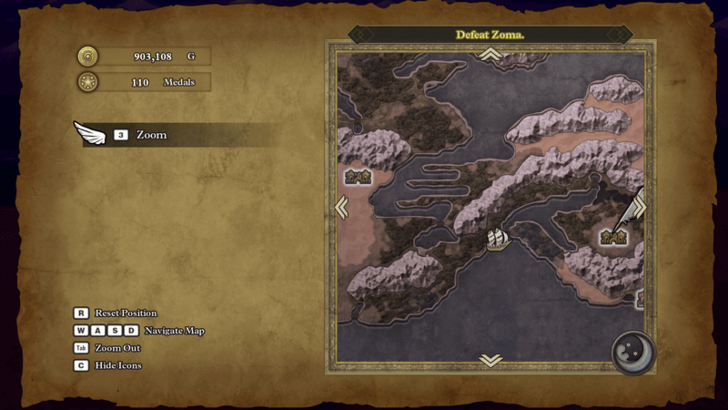 When you're done, teleport back to Damdara and head around southeast to Cantlin. |
Damdara Map and Available Items
Cantlin
| 1 | 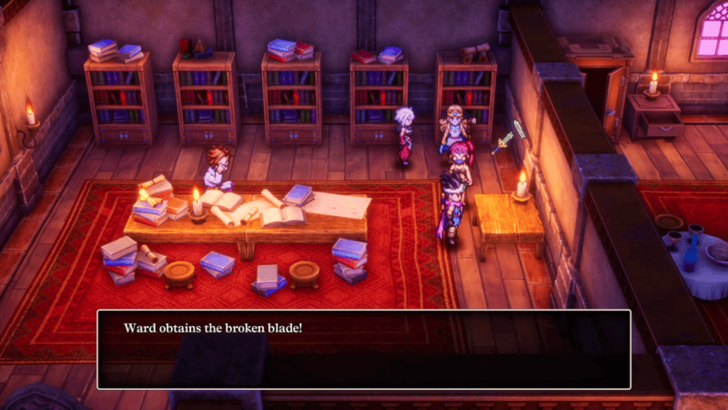 As usual, explore the area first for items and collectibles. The main thing that you're looking for here is the Broken Sword from the table on the second floor of the southwestern house. This is the other piece needed to create the Sword of Kings so make sure to grab it. |
|---|---|
| * | Before proceeding onwards, head to the Monster Arena in the northeast to complete its battles and claim the rewards. |
| 2 | 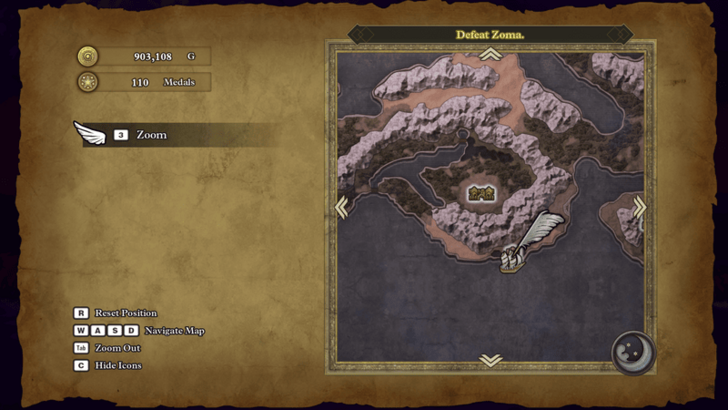 Once you're done here, head around southeast towards the Shrine of the Spirit. |
Cantlin Map and Available Items
Shrine of the Spirit
| 1 | 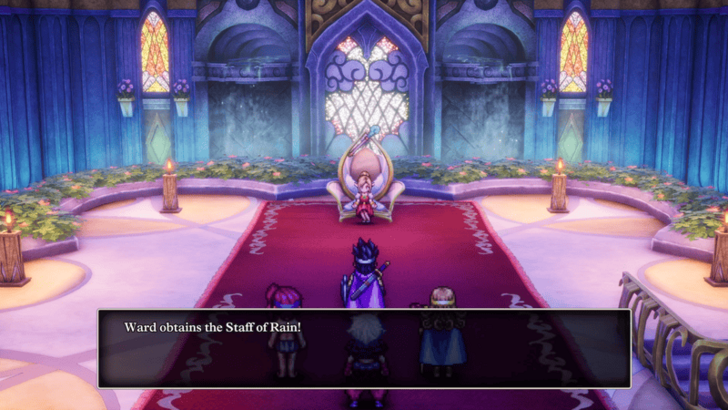 The only important thing to do here is to go to the second floor and start a cutscene to get the Staff of Rain. This is one of the three items you need to access the final dungeon so you must come here and pick it up. Besides that, there are a few hidden items on the ground, so make sure to grab those as well. |
|---|---|
| 2 | 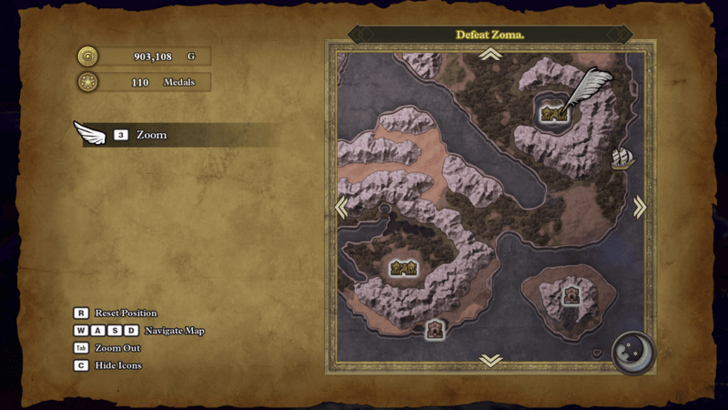 After you got the staff, you can head back out and continue your journey northeast to Rimuldar. |
| * | 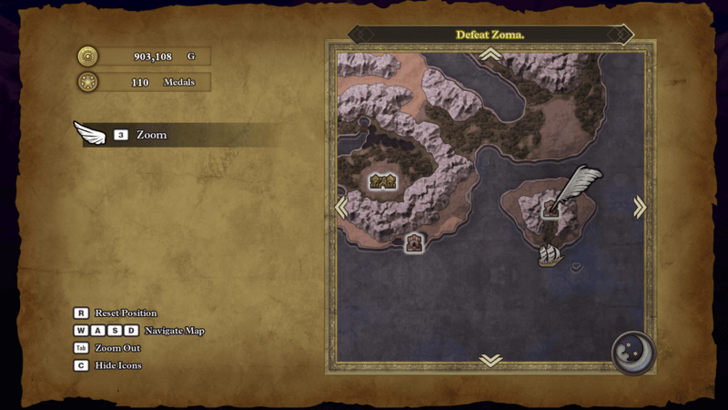 Before going there, make a detour to the Sanctum on the island east of the shrine. You can't do anything here yet besides grabbing the items in the area, but it's useful to unlock it as a fast travel point for later. |
Shrine of the Spirit Map and Available Items
Rimuldar
| * | 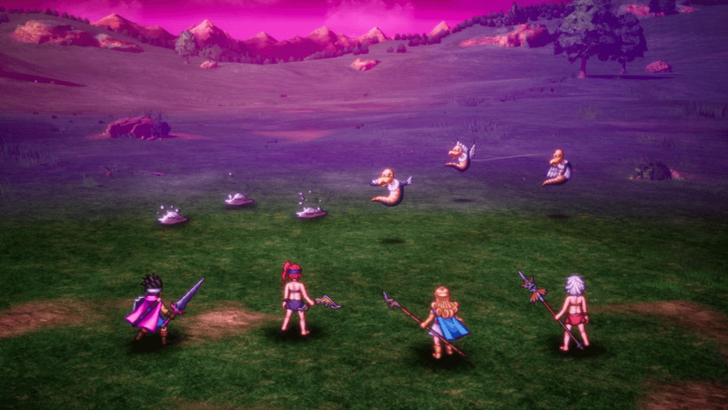 As a note, you can encounter Liquid Metal Slimes in the area around Rimuldar. If you wish, you can spend some time here to farm EXP before continuing to the next town. ▶ EXP Farming Guide: How to Level Up Fast |
|---|---|
| 1 | The NPCs in this town provide a lot of useful information for your journey so make sure to talk to them while exploring the area for items and collectibles. |
| 2 | 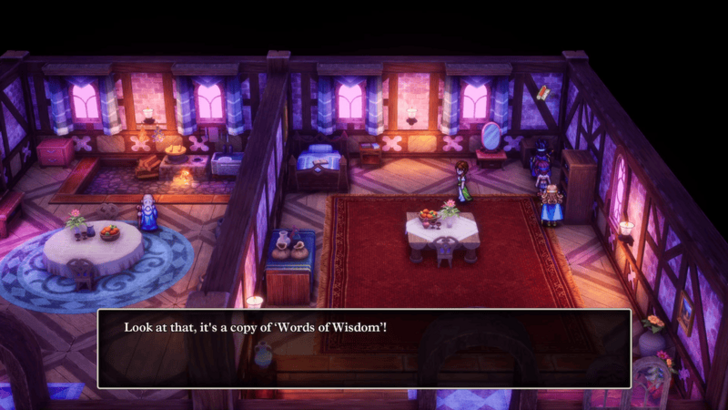 The most important item to get in this town are the Words of Wisdom from the right side of the northernmost house. Besides that, there is a Recovery Ring in the inn, but the cutscene you get from opening the chest is arguably more notable the accessory inside. |
| * | 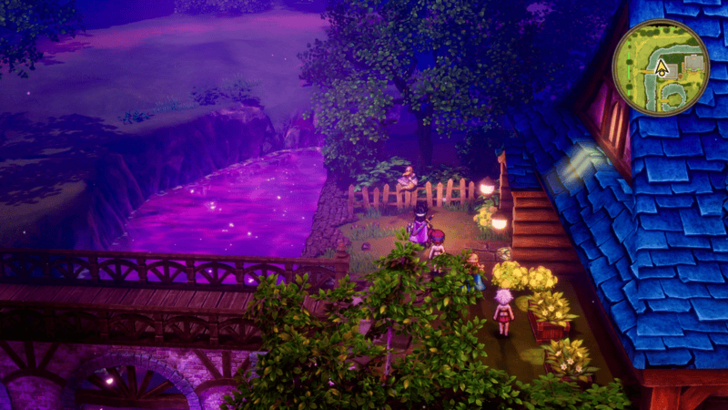 You're able to walk along the outskirts of town so make sure to explore around here as well. There's a friendly Chimaera and house to the northwest that's only accessible through the outskirts so make sure not to miss those. ▶ All Friendly Monster Locations |
| 3 | 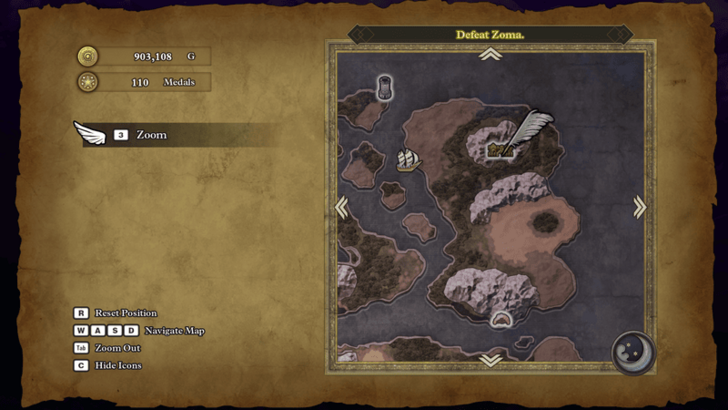 Once you're done here, board your ship and sail north towards Kol. If the ship is far away, you can always teleport back to Kol so that it spawns nearby to the east. You can also stop by Quagmire Cave, located between Rimuldar and Kol, on the way there so you can teleport to it later. |
Rimuldar Map and Available Items
Kol
| 1 | 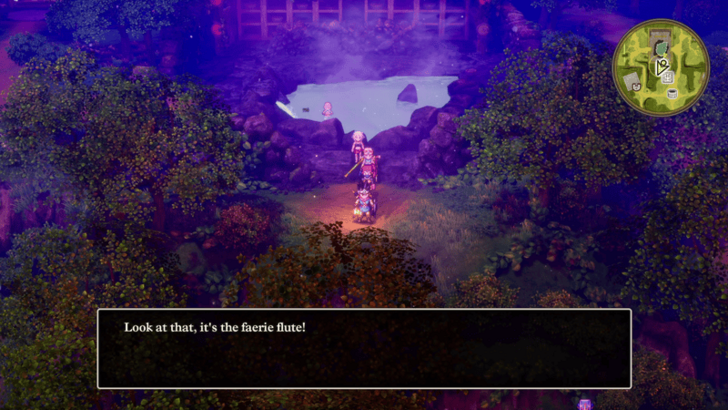 Again, do some exploration first to grab all the items and collectibles in the area. The one thing that you need to get is the Faerie Flute just south of the open-air bath. This is required to get the Sacred Amulet later on inside the Tower of Rubiss. |
|---|---|
| 2 | 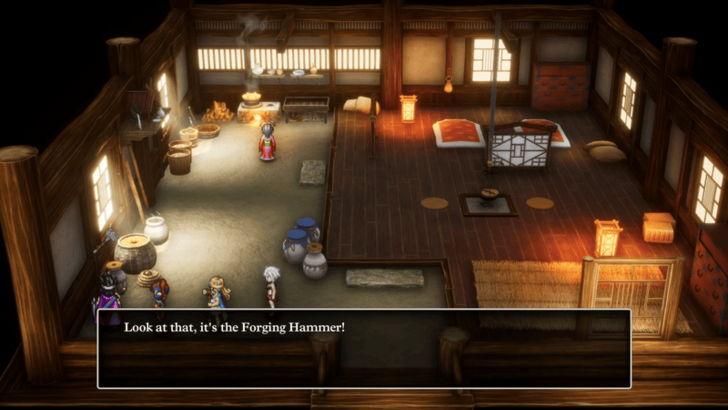 Once you're done exploring, teleport to Jipang so you can grab the Forging Hammer from the house in the northwest. This is the final item you'll need to craft the Sword of Kings, so once you have it, teleport back to Kol. |
| 3 | 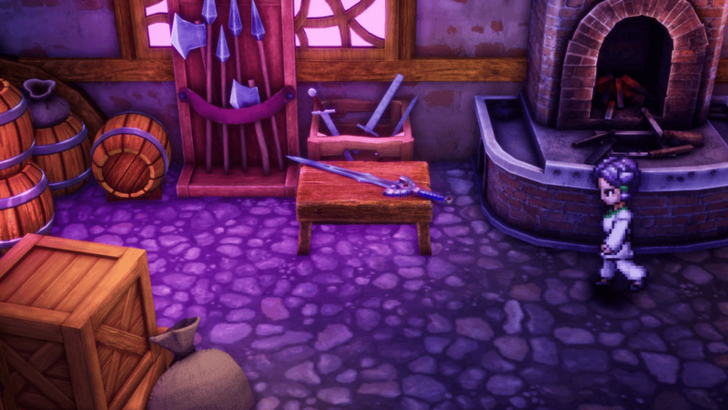 Go to the item shop and talk to the Swordsmith on the second floor to start a cutscene where he will craft the Sword of Kings. Make sure that you equip it on your Hero since this will be their best weapon until you reach the post-game. |
| * | After the cutscene ends and you've got the sword, the item shop will be upgraded to sell new equipment so take this chance to make any changes to your current builds. |
| 4 | 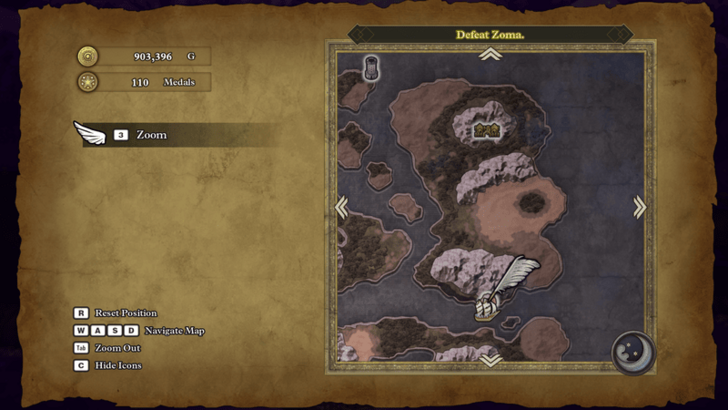 When you're done here, you can leave the town and go to Quagmire Cave. |
Quagmire Cave
| 1 | 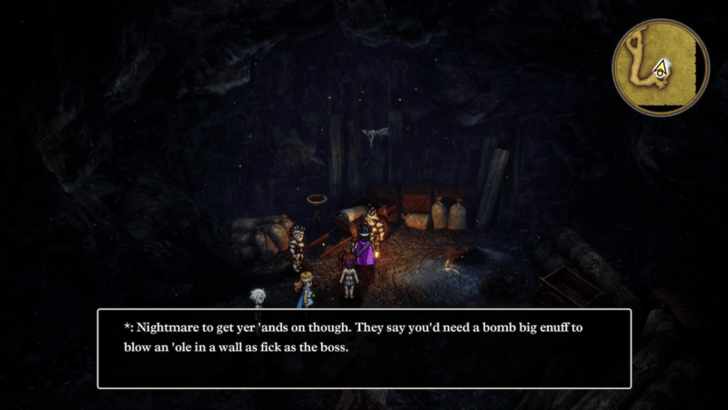 The only thing you need to do here is talk to the Robbin' 'Oodlums in the southeast to learn how to get Zenithium. |
|---|---|
| * | 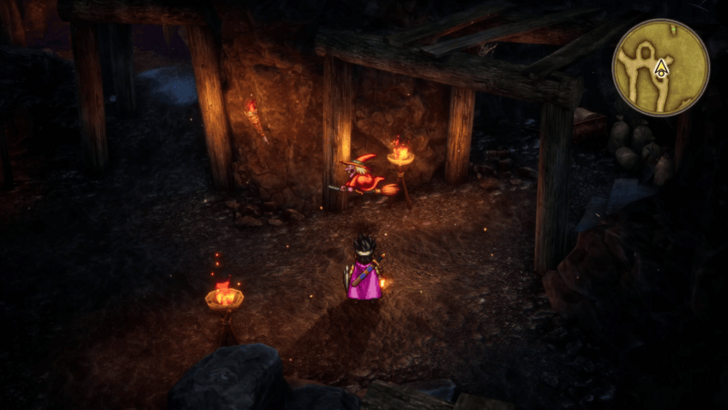 Besides that, there are a few collectables and a friendly Crone Ranger disguised as a human so make sure to explore the area for these. ▶ All Friendly Monster Locations |
| 2 | 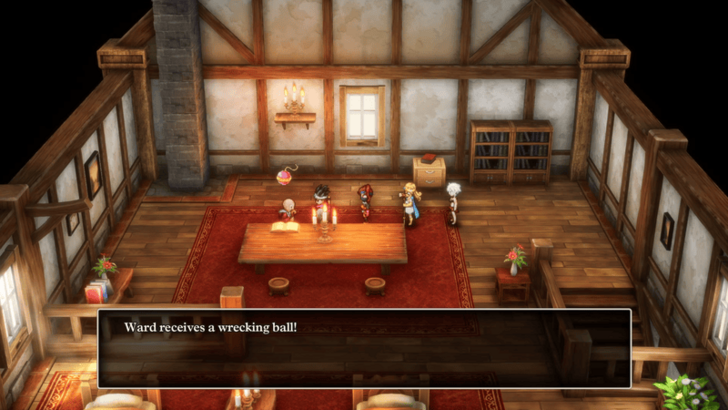 After talking to the 'Oodlums, teleport to Reeve and talk to the old man who gave you a Wrecking Ball before to get another one. |
| 3 | 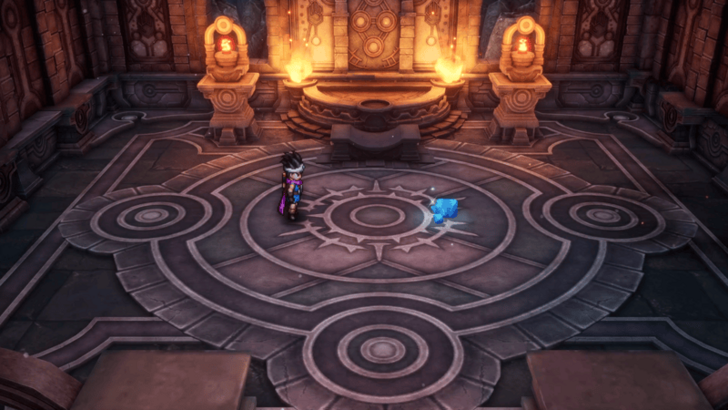 From there, teleport to Lanson and head to the bottom floor of Gaia's Navel. You'll now be able to get the blue ore stuck in the wall by using the Wrecking Ball to blow it up and dislodge it. |
| 4 | 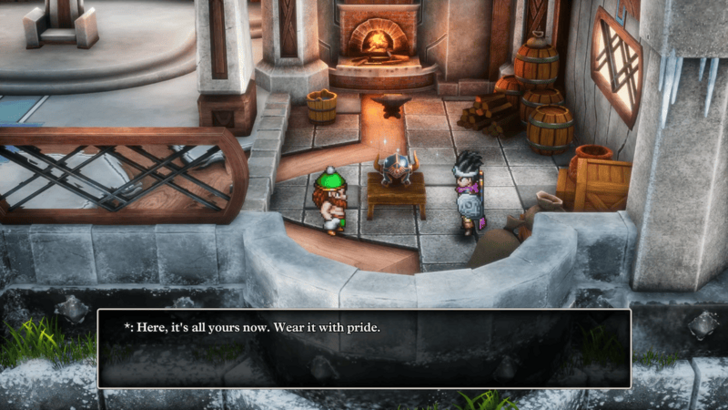 Once you got the Zenithium, leave the dungeon and teleport to the Shrine of the Dwarf. This will start a cutscene where he will craft the Auroral Helm, the best helmet for the Hero. |
| * | By this point, you should have the Auroral Helm, the Hero's Shield, and the Sword of Kings. If you've missed any of these, backtrack first to get them before continuing your journey. |
Tower of Rubiss
| 1 | 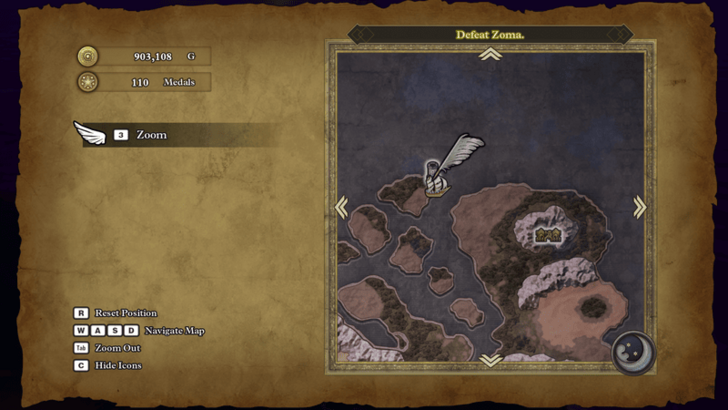 When you're ready, teleport back to Kol and sail northwest to the Tower of Rubiss. While you're making your way up the tower, remember to search for any treasures and friendly monsters on the way. |
|---|---|
| * | 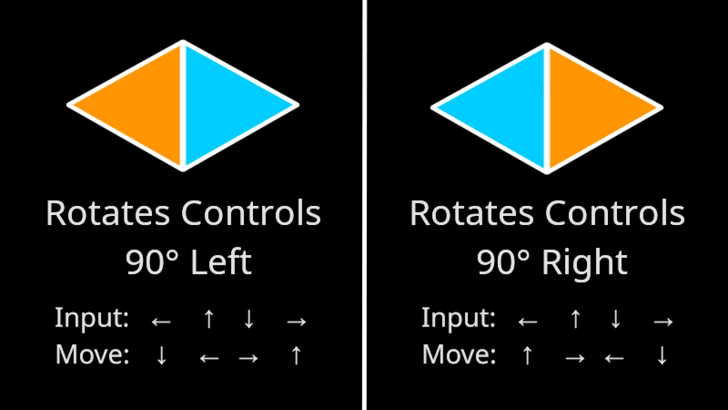 This dungeon introduces the arrow tile gimmick which changes the direction of your inputs. The easiest way to navigate these tiles is by rotating your controls to where your input for up is the same as the orange triangle. |
| 2 | 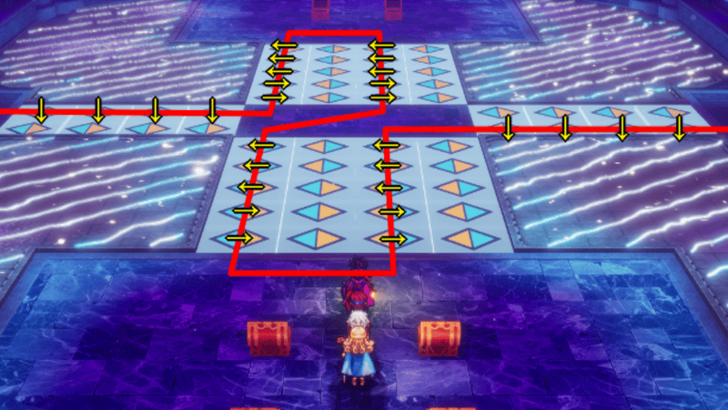 When you get to the second floor, you'll come across a room with 8 chests, as well as a bunch of arrow tiles and damaging floors. Follow the path and inputs above to safely reach both sets of chests to the north and south. As a note, the Safe Passage spell allows you to walk on the floor and ignore the arrows. However, you should use this opportunity to practice your movement on the arrows since you'll encounter more of them later. |
| 3 | 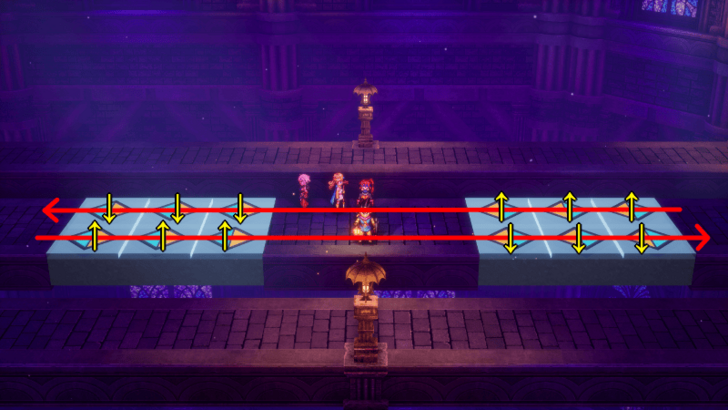 Once you've opened all the chests, head up to the middle room on the fourth floor. Grab the friendly Chimaera on the top path and the Auroral Armour at the end of the middle path. Afterwards, head back down to the third floor. Getting the Auroral Armour also completes your Hero's equipment set, perfectly setting them up for the rest of the game. |
| 4 | 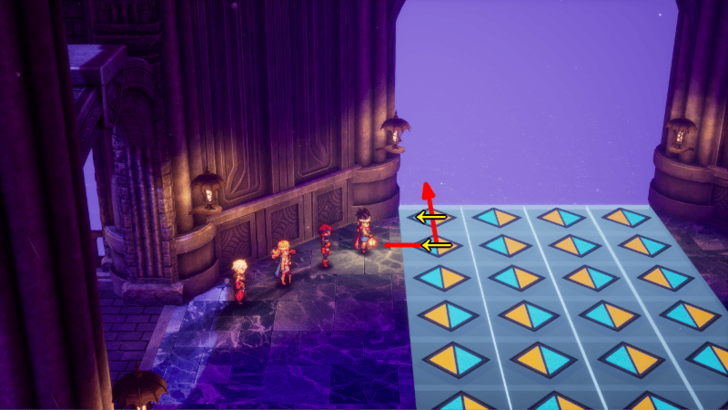 To access the top floors of the tower, you'll first need to jump off the northern part of the third floor. To do this, simply step on the tile below the top left one and move left twice. |
| 5 | 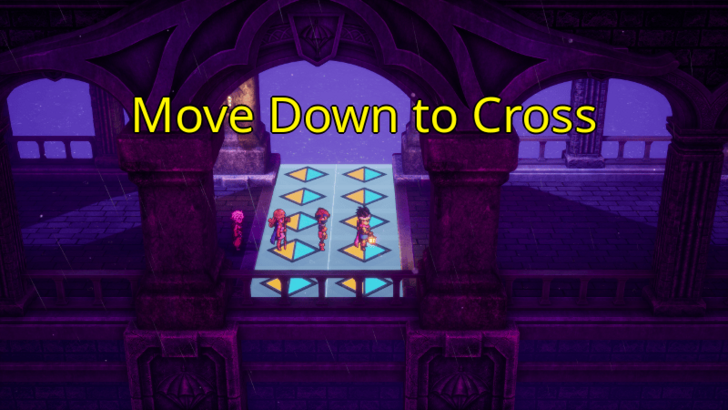 From here, just head up to the fifth floor. On the way there, you'll encounter two more sets of arrow tiles, but all you need to do is move down to cross them. |
| 6 | 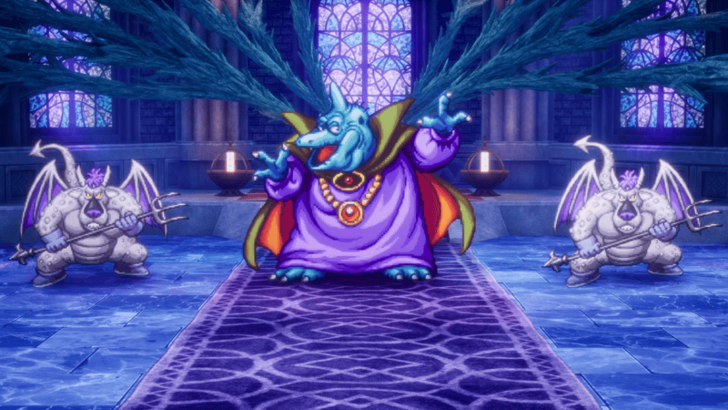 Once you're at the top, heal up before going through the red doors to face the Soul of Baramos. They fight alongside two Ashdemons so make sure to deal with them first. ▶ How to Beat Soul of Baramos (Rubiss) |
| 7 | 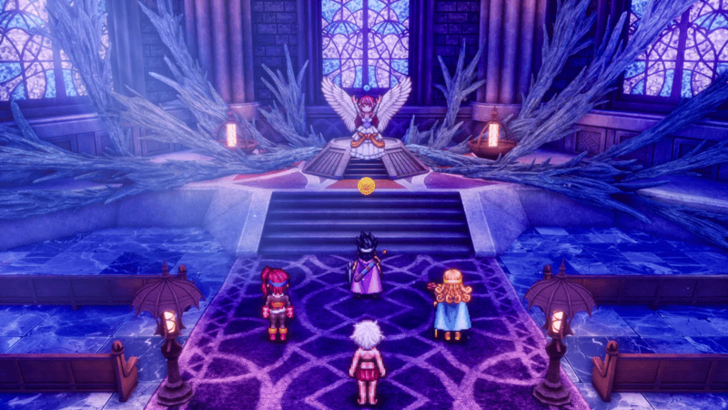 After the boss has been defeated, examine the statue to use the Faerie Flute and free Rubiss. She'll give you the Sacred Amulet as a reward, which is also the last piece that you need to make the Rainbow Drop. |
| 8 |  When you're done here, feel free to leave and teleport to the Sanctum. If you haven't unlocked this location yet, teleport to the Shrine of the Spirit and sail to the island in the east. |
Tower of Rubiss Map and Strategy Guide
Soul of Baramos (Rubiss) Combat Guide
 |
||
| Rec. Level | Drops | |
|---|---|---|
| 39 | None | |
| Tips to Beat Soul of Baramos (Rubiss) | ||
|
・Kill the Ashdemons first. ・Cast Magic Barrier and Insulatle. ・Remove any buffs applied by the Ashdemons. ・Inflict the Spell Seal and Sleep status effects. |
||
How to Beat Soul of Baramos (Rubiss)
Sanctum
| 1 | 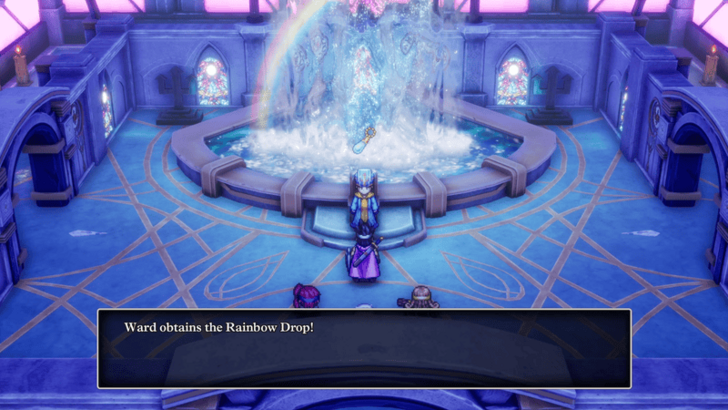 Once you've arrived, talk to the man so that he can make the Rainbow Drop. The cutscene that plays will also show you where to use it so that you can access Zoma's Citadel. |
|---|---|
| 2 | 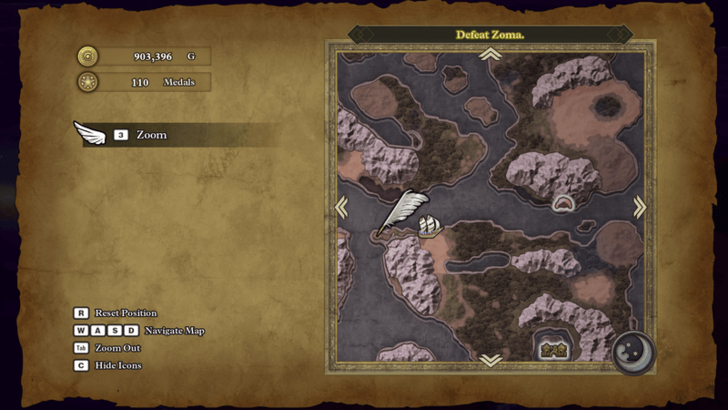 When you're ready, teleport to Quagmire Cave and sail west to get to the area where you'll use the Rainbow Drop. Interacting with the spot on the ground will start a cutscene and create a bridge that leads to the other side. |
| 3 | 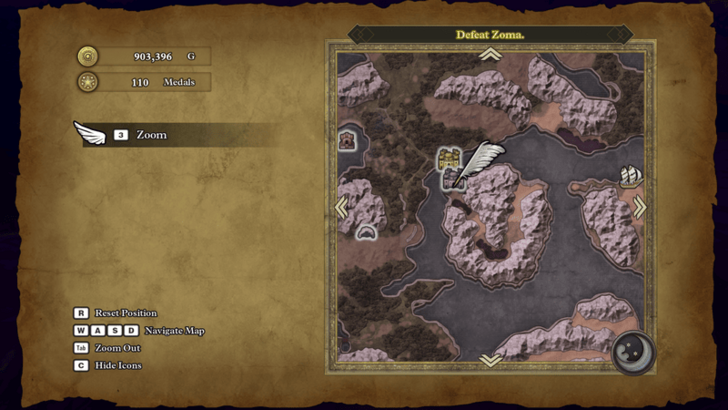 After the cutscene ends, all you need to do now is walk west to Zoma's Citadel. |
| * | Before taking on the final dungeon, it's recommended to tie up any loose ends such as collecting any Mini Medals and Friendly Monsters, as well as clearing all Sparkly Spots, Secret Spots, and Monster Arena fights. Doing all of these things will generally get you all the items and equipment you'll need to take on the final boss. |
Items Required to Make the Rainbow Drop
| Item | Location | How to Get |
|---|---|---|
| Sunstone | Tantegel | Inside the room accessed by the stairs south of the castle kitchen. |
| Staff of Rain | Shrine of the Spirit | Talk to the Servant of Rubiss on the second floor. |
| Sacred Amulet | Tower of Rubiss | Use the Faerie Flute in front of the statue on the fifth floor. |
How to Get Rainbow Drop and Effects
Zoma's Citadel
| 1 | When you're ready, head inside to take on the final dungeon of the game. There are a bunch of misleading paths in here so be careful when you're exploring for any items and collectibles. |
|---|---|
| 2 | 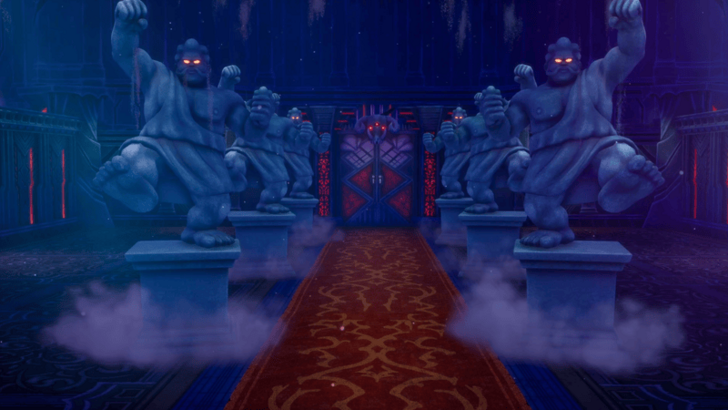 Start by exploring the side rooms and B1 first. Once you're done, head to the large room in the middle to face six Stone Guardians, in three batches of two. |
| 3 | 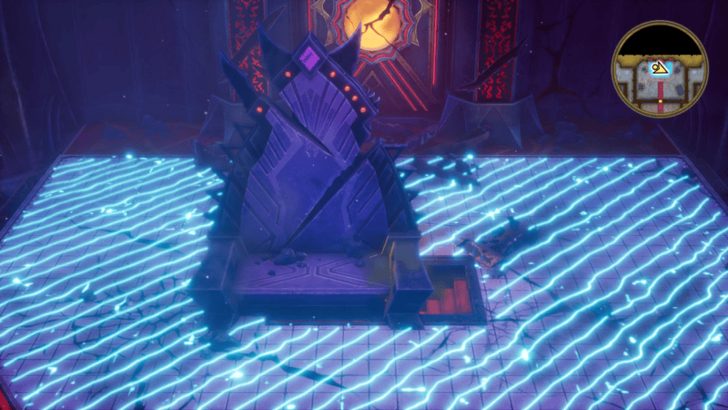 After defeating all the statues, head to the throne room in the back to grab a Mini Medal and open up the path down via a switch behind the throne. |
| 4 | 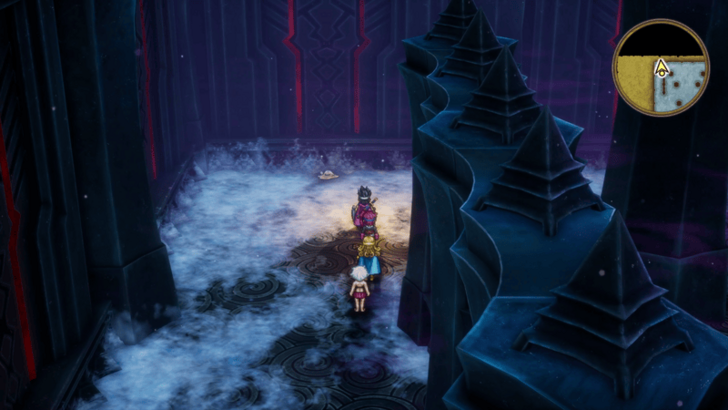 Head down to B2 and go to the room with all the arrow tiles from the Tower of Rubiss. Before proceeding forward, drop down the hole in the middle to explore the floor below. |
| 5 | Once you're done there, head back up and navigate the arrow tile room. If you want to quickly reach the next floor, you can just press up starting from the tile right before the hole. |
| * |  There are two chests on the sides of the arrow tile room. If you want to pick them up, follow the image above for the appropriate controls. |
| 6 | 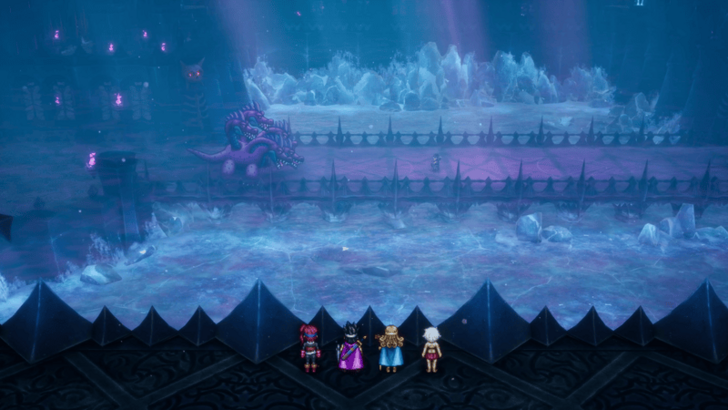 Make your way down to B4, opening any chests on the way. Reaching this floor will play a series of cutscenes regarding Ortega, and once they're done, continue downwards. Make sure to have the Auroral Helm equipped to get the full cutscene experience. |
| 7 | 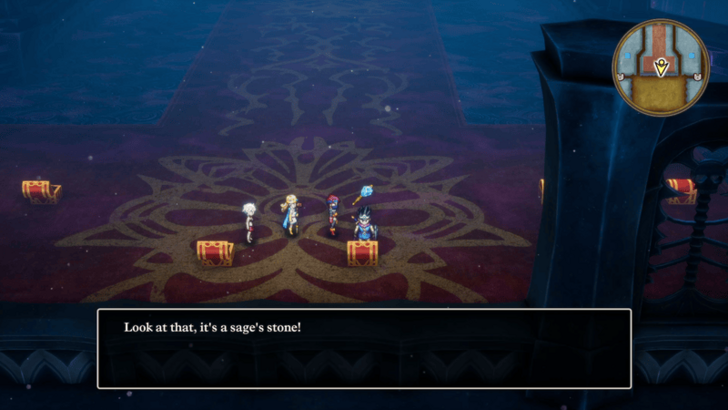 Before going down, go to the north room to open the six chests inside. The most important items to get here are the Sage's Stone and the Shimmering Dress so don't miss them. |
| 8 | 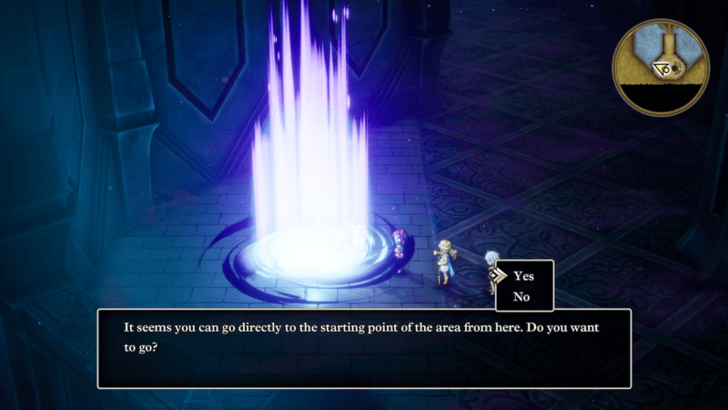 Once you've reached the bottom floor, take the portal to go back to the entrance. From here, leave the dungeon to rest up and make any final preparations before the final boss gauntlet. |
| 9 | When you're ready head back to the bottom floor of the citadel to face a series of four bosses in a row. Thankfully, you'll have breaks in between them so make sure to heal up and restock your bags before facing the next boss. |
| 10 |  The first boss that you'll face is King Hydra. Besides applying status effects, their most threatening move is a Fire Breath attack so make sure to bring ways to deal with it. ▶ How to Beat King Hydra |
| 11 |  Once they go down, continue forwards to face the Soul of Baramos again. They'll be alone this time around, but they have an upgraded moveset so make sure that you're prepared. ▶ How to Beat Soul of Baramos (Citadel) |
| 12 |  Afterwards, keep going forwards to the penultimate boss, the Bones of Baramos. This boss is a pure physical attacker so bring Kabuff and Attack Attacker with you to help out. ▶ How to Beat Bones of Baramos |
| * | Now that you've beaten the three bosses, the only one left to defeat is Zoma. Before facing him, make sure that you have the Sphere of Light in one of your party member's bags. |
| 13 |  When you're ready, approach the throne to face the final boss, Zoma. Remember to use the Sphere of Light at the start of the fight to dispel his Shroud of Shadows and weaken him. ▶ Final Boss Guide: How to Beat Zoma |
| 14 | After defeating Zoma, a cutscene will play and you'll fall into Talontear Tunnel. You still can't use spells in here so escape the cave on foot. ▶ Talontear Tunnel Map and Strategy Guide |
| 15 | 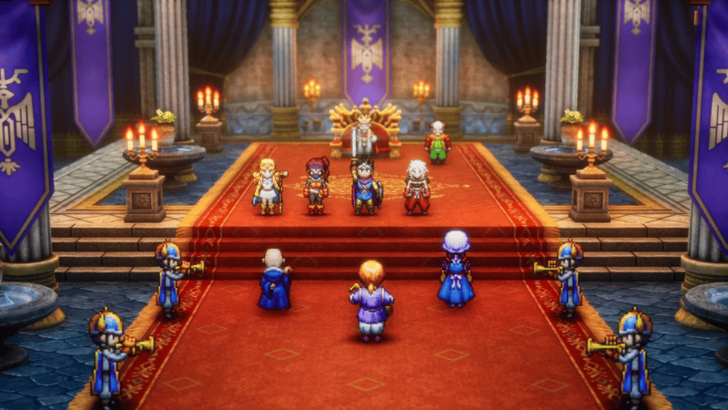 Once you've escaped, teleport to Tantegel and go to the castle to talk to the king. One final cutscene will play and you'll have successfully completed Dragon Quest III HD-2D! Once the credits end, make a save and you'll be taken back to the main menu. |
| 16 | Congratulations on beating the game! When you reload the save, you'll be taken back to Tantegel before Zoma is defeated. You'll also have access to all the post-game content so feel free to go to the Castle of the Dragon Queen to take them on! ▶ Post-Game Content Walkthrough |
Zoma's Citadel Map and Strategy Guide
King Hydra Combat Guide
 |
||
| Rec. Level | Drops | |
|---|---|---|
| 45 | None | |
| Tips to Beat King Hydra | ||
|
・Use Sage's Stone for healing to preserve MP. ・Cast Insulatle to reduce Inferno's damage. ・Wear anti-sleep equipment or accesories. |
||
Soul of Baramos (Citadel) Strategy Guide
 |
||
| Rec. Level | Drops | |
|---|---|---|
| 45 | None | |
| Tips to Beat Soul of Baramos (Citadel) | ||
|
・Bring Dieamends to prevent instadeath. ・Use Sage's Stone for healing to preserve MP. ・Seal their spells with Fizzle or the Staff of Rain. ・Cast Insulatle to reduce Inferno's damage. |
||
How to Beat Soul of Baramos (Citadel)
Bones of Baramos Combat Guide
 |
||
| Rec. Level | Drops | |
|---|---|---|
| 45 | None | |
| Tips to Beat Bones of Baramos | ||
|
・Use Sage's Stone for healing to preserve MP. ・Cast Kabuff twice to max out your party's defense. ・Attack Attacker reduces their damage output. ・Inflict Dazzle to lower their hit rate. |
||
Zoma Combat Guide
 |
||
| Rec. Level | Drops | |
|---|---|---|
| 45 | None | |
| Tips to Beat Zoma | ||
|
・Sphere of Light removes the Shroud of Shadows. ・Setup Magic Barrier and Insulatle buffs. ・Wear anti-Ice equipment and accesories. ・Cancel Bounce with Ripple of Disruption. ・Physical attackers equip anti-dazzle accesories. |
||
Dragon Quest 3 HD-2D Remake Related Guides

List of All Story Walkthroughs
| All Story Walkthroughs | |
|---|---|
| 1 | Aliahan to the Path of Promise |
| 2 | Romaria to Skyfell Tower |
| 3 | Norvik to the Underground Lake |
| 4 | Asham to the Pyramid |
| 5 | Portoga to the Tower of Transcendence |
| 6 | Theddon to Orochi’s Lair |
| 7 | Manoza to the Phantom Ship |
| 8 | Olivia’s Promontory to Baramos’ Lair |
| 9 | Castle of the Dragon Queen to the Craggy Cave |
| 10 | Damdara to Zoma’s Citadel |
| 11 | Endgame Content |
Comment
Author
Walkthrough Part 10: Damdara to Zoma’s Citadel
improvement survey
03/2026
improving Game8's site?

Your answers will help us to improve our website.
Note: Please be sure not to enter any kind of personal information into your response.

We hope you continue to make use of Game8.
Rankings
- We could not find the message board you were looking for.
Gaming News
Popular Games

Genshin Impact Walkthrough & Guides Wiki

Honkai: Star Rail Walkthrough & Guides Wiki

Umamusume: Pretty Derby Walkthrough & Guides Wiki

Pokemon Pokopia Walkthrough & Guides Wiki

Resident Evil Requiem (RE9) Walkthrough & Guides Wiki

Monster Hunter Wilds Walkthrough & Guides Wiki

Wuthering Waves Walkthrough & Guides Wiki

Arknights: Endfield Walkthrough & Guides Wiki

Pokemon FireRed and LeafGreen (FRLG) Walkthrough & Guides Wiki

Pokemon TCG Pocket (PTCGP) Strategies & Guides Wiki
Recommended Games

Diablo 4: Vessel of Hatred Walkthrough & Guides Wiki

Fire Emblem Heroes (FEH) Walkthrough & Guides Wiki

Yu-Gi-Oh! Master Duel Walkthrough & Guides Wiki

Super Smash Bros. Ultimate Walkthrough & Guides Wiki

Pokemon Brilliant Diamond and Shining Pearl (BDSP) Walkthrough & Guides Wiki

Elden Ring Shadow of the Erdtree Walkthrough & Guides Wiki

Monster Hunter World Walkthrough & Guides Wiki

The Legend of Zelda: Tears of the Kingdom Walkthrough & Guides Wiki

Persona 3 Reload Walkthrough & Guides Wiki

Cyberpunk 2077: Ultimate Edition Walkthrough & Guides Wiki
All rights reserved
© ARMOR PROJECT/BIRD STUDIO/SPIKE CHUNSOFT/SQUARE ENIX
© SUGIYAMA KOBO ℗ SUGIYAMA KOBO
The copyrights of videos of games used in our content and other intellectual property rights belong to the provider of the game.
The contents we provide on this site were created personally by members of the Game8 editorial department.
We refuse the right to reuse or repost content taken without our permission such as data or images to other sites.





![Everwind Review [Early Access] | The Shaky First Step to A Very Long Journey](https://img.game8.co/4440226/ab079b1153298a042633dd1ef51e878e.png/thumb)

![Monster Hunter Stories 3 Review [First Impressions] | Simply Rejuvenating](https://img.game8.co/4438641/2a31b7702bd70e78ec8efd24661dacda.jpeg/thumb)


