Walkthrough Part 8: Olivia’s Promontory to Baramos’ Lair
★ Best Personality | Best Equipment | Best Party
☆ Class Tier List | Vamp Guide | Monster Wrangler
★ Friendly Monsters | Sparkly Spots | Keys Guide
☆ EXP Farming | Money Farming | Seed Farming
★ Post Game (Spoilers!) | Missables | Trophy Guide
This is a walkthrough guide from Olivia’s Promontory to Baramos’ Lair for Dragon Quest 3 HD-2D Remake (DQ3). Learn what you need to do for each region, as well as points and explanations for how to progress the story.
| ◀ Previous Guide | Next Guide ▶ |
|---|---|
| Gaia's Navel to the Phantom Ship | Castle of the Dragon Queen to the Craggy Cave |
List of Contents
Olivia’s Promontory to Baramos’ Lair Walkthrough Guide
Olivia’s Promontory (Recommended Level 29)
| 1 | 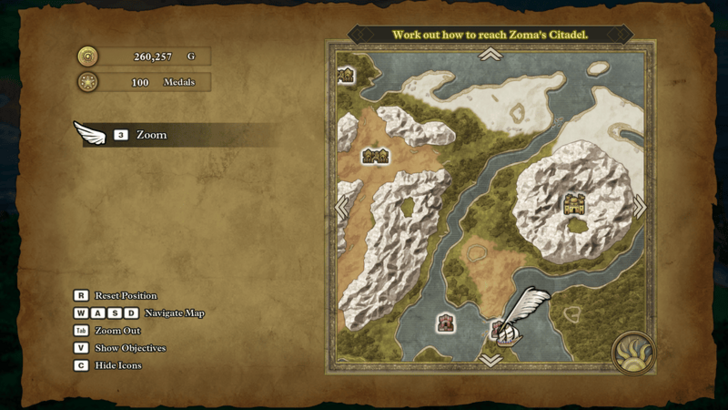 If you haven't visited this location yet, teleport to Khoryv and take the ship around southeast towards Olivia’s Promontory. |
|---|---|
| * | 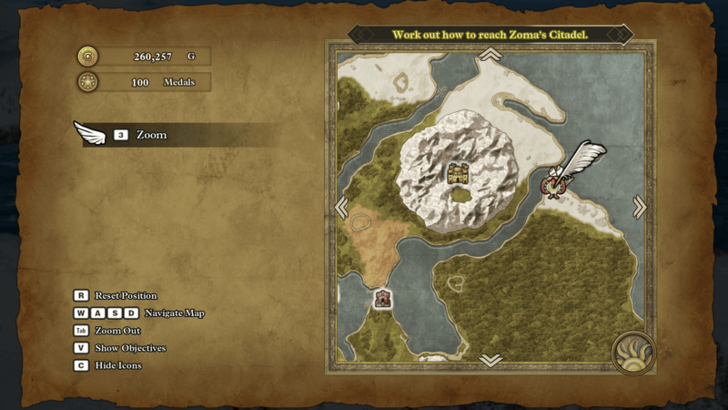 On the way there, visit the Shrine of the Dwarf for a cutscene about Ortega and to unlock it as a fast travel point for later. |
| 2 |  Once you've reached the promontory, sail your boat between the two statues to start a cutscene where the Lovers' Locket gets used. |
| 3 | After the cutscene, you'll be able to sail west to the Shrine of Shackles on the small island. Also, you can sail around the newly accessible waters for some Sparkly Spots if you wish. |
Olivia's Promontory Map and Available Items
Shrine of Shackles (Recommended Level 30)
| 1 | 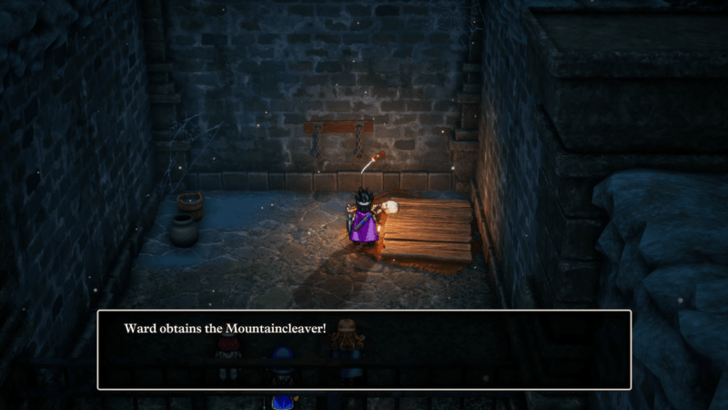 Quickly explore the jail for any treasures, and once you're done, head to bottom left cell for a cutscene. Afterwards, move over to the bottom right cell for another cutscene and the Mountaincleaver sword. |
|---|---|
| 2 | 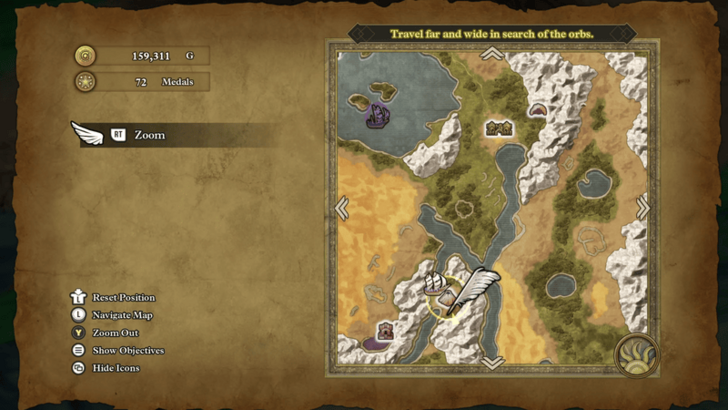 Once you've got the sword, you can leave the jail and teleport to Asham. From there, sail south to the volcano, Mt. Necrogond |
Shrine of Shackles Map and Available Items
Mt. Necrogond (Recommended Level 30)
| 1 |  When you're ready, head up the top and interact with the pool of lava to throw Mountaincleaver into the volcano. This will start a boss fight with the Garboyle so make sure you're prepared. ▶ How to Beat Garboyle |
|---|---|
| 2 | 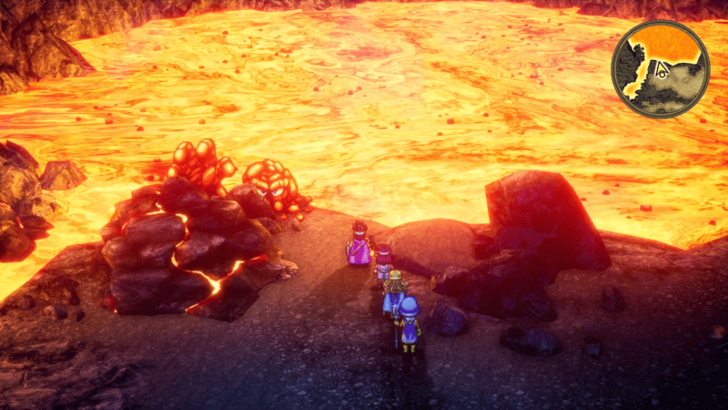 After the fight, interact with the lava again to start a cutscene. Once that's over, go left to recruit a friendly Magmalice. |
| * | Teleport back to a town and rest up first before resuming your journey. The next dungeon is pretty long so make sure to restock your items. |
| 3 | 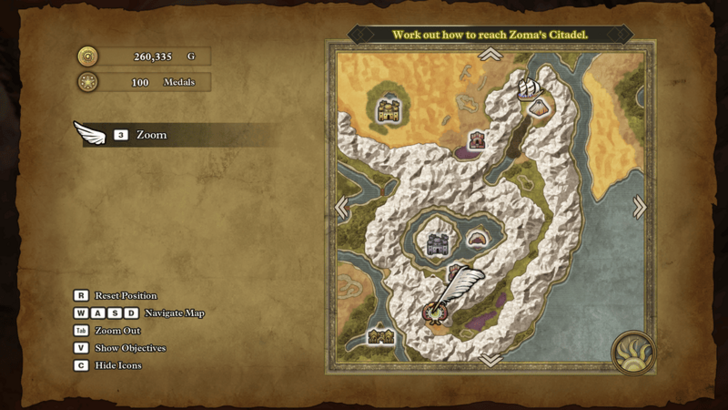 When you're ready, head south from the volcano towards the Maw of the Necrogond. |
Garboyle Combat Guide
 |
||
| Rec. Level | Drops | |
|---|---|---|
| 30 | Restless Heart | |
| Tips to Beat Garboyle | ||
|
・Bring ways to reduce Fire and Spell damage. ・Monster Pile-On is highly effective. ・Beware of multiple status ailments. ・Empowers spell damage at low HP. |
||
Maw of the Necrogond (Recommended Level 31)
| 1 | Explore the dungeon grabbing any items and collectables on the way to the 5th floor. |
|---|---|
| 2 | 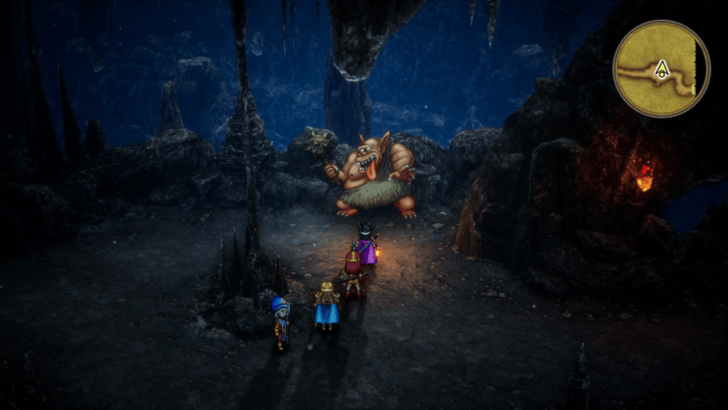 When you reach the 2nd floor, go east first to recruit a friendly Troll. If you continue going east, you'll just loop back around to the left exit so go west instead to leave the area. ▶ All Friendly Monster Locations |
| 3 | 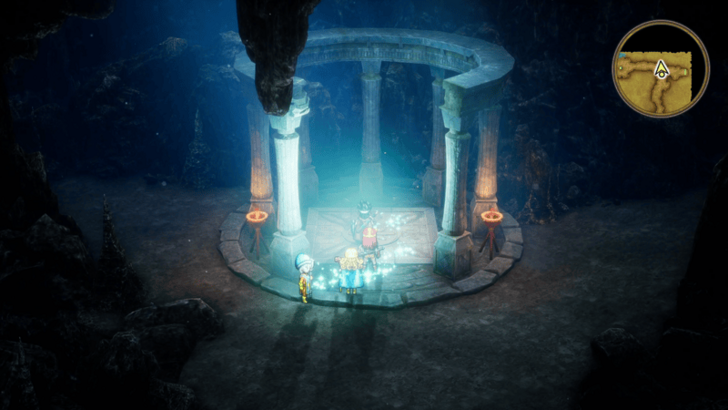 Continue going through the dungeon and picking up items until you reach the 3rd floor. There will be a healing glyph right before the way up to the 4th floor so use this opportunity to farm Liquid Metal Slimes. As a note, there will also be a friendly Mimic to the south before you'll need to jump down, so make sure to go there and recruit them. |
| 4 | Once you're done farming for EXP, head up to the 4th floor and grab the treasures there. From there, head up and out through the 5th floor. |
| 5 | 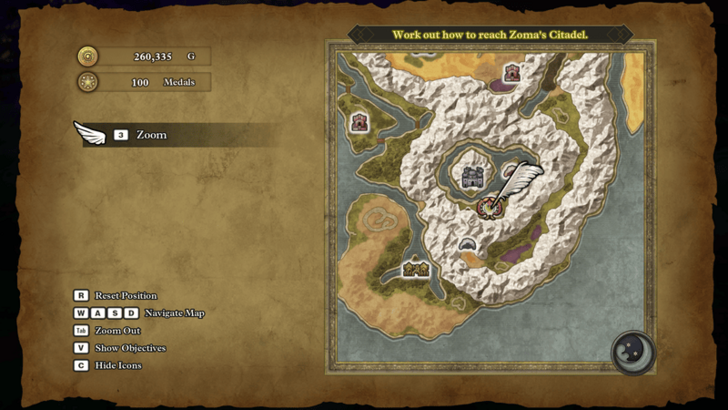 Head east and around up to Necrogond Shrine. There's a Secret Spot on the way there so make sure to stop by. |
Maw of the Necrogond Map and Strategy Guide
Necrogond Shrine - Silver Orb
| 1 | 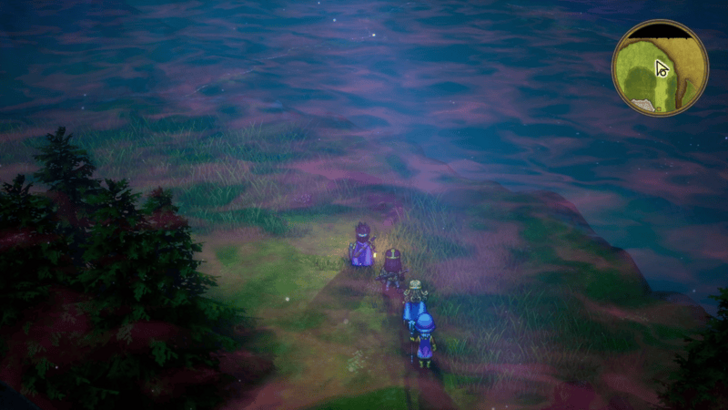 Before entering the shrine, use the Night Light to change the time to night. This is so you can recruit a friendly Shell Slime to the back right of the shrine's exterior. |
|---|---|
| 2 | 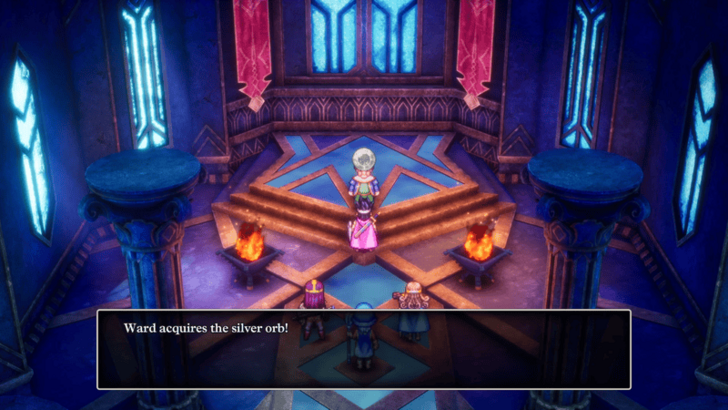 Head inside and talk to the man to receive the Silver Orb. Afterwards, search the area behind him for a Mini Medal and two seeds. Head inside and talk to the man to receive the Silver Orb. Afterwards, search the area behind him for a Mini Medal and two seeds. |
Necrogond Shrine Map and Available Items
Immigrant Town - Yellow Orb
| * | To get the Yellow Orb, you'll need to establish the Immigrant Town and upgrade it up to Stage 4. If you've already established the town before this and you've been visiting it regularly, then you should have already received the notification that it's been upgraded enough for you to get the Yellow Orb. |
|---|---|
| 1 | 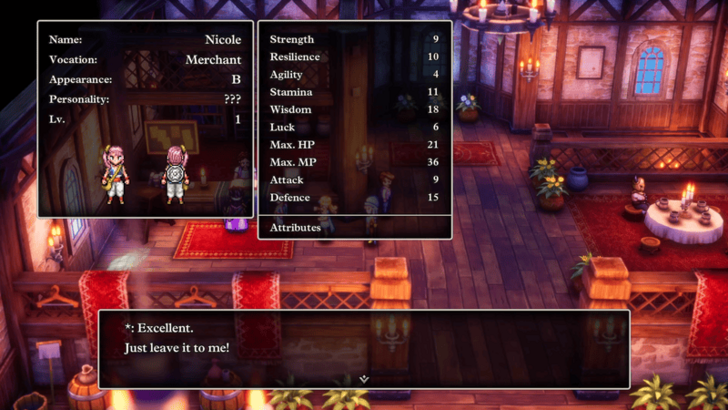 Before doing anything else, head to Aliahan and recruit a new Merchant in Patty's Party Planning Place. Make sure to name them something you'll be happy with since the town will be named "Merchant's Name"-burg. For this example, since the Merchant is named Nicole, the town will be called Nicoleburg. |
| 2 | 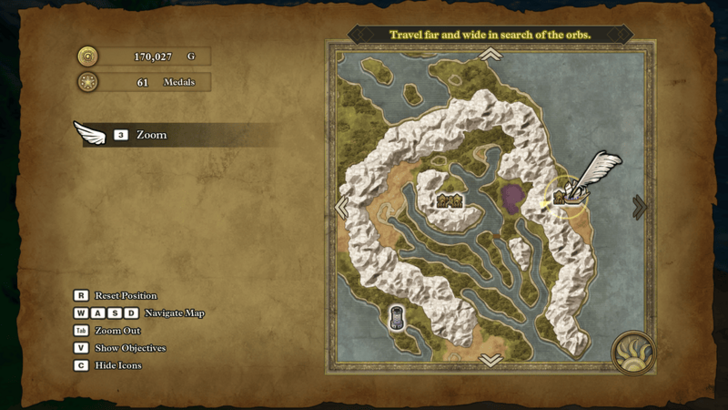 Once you go your Merchant, go to Portoga and sail west to an unnamed cabin to the east of Persistence. |
| 3 | 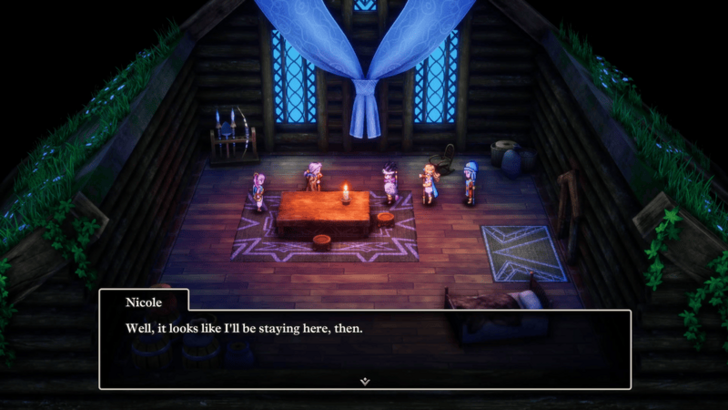 Head inside the cabin and talk to the old man to leave your Merchant behind. They'll assist him in starting up the Immigrant Town and help it grow over time. As a note, the Merchant cannot be re-recruited until you've upgraded the town to its 5th and final stage so make sure you leave the new one instead of someone you've been levelling up. |
| 4 | 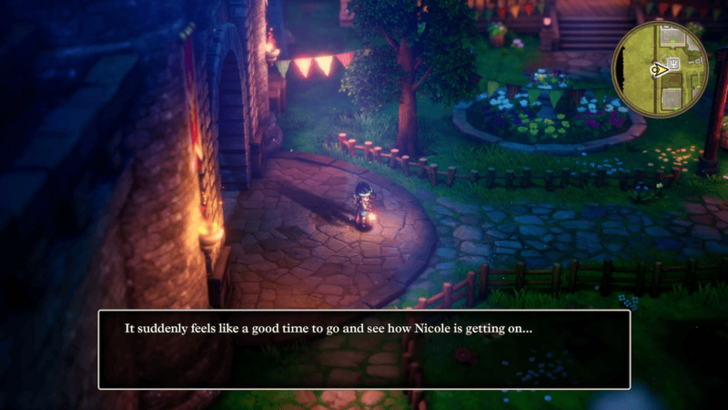 From here, you can teleport back to any town to receive a notification that you should check up on your Merchant. This is the sign that the town has been upgraded to the next level. |
| 5 | 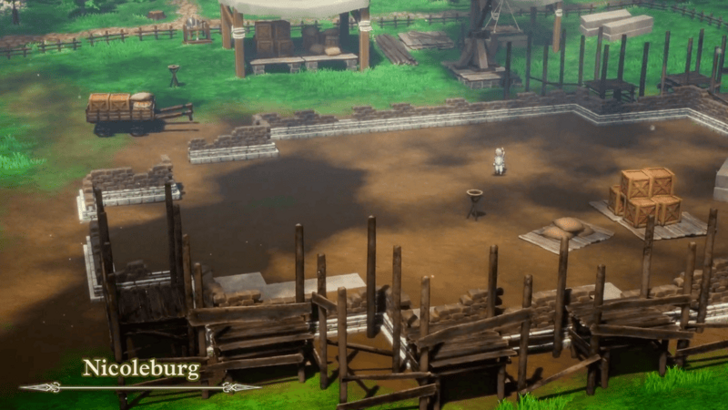 Teleport back to the Immigrant Town to see that it's been upgraded to Stage 2. There's not much to do right now so just teleport somewhere else. Doing this will get you another notification so just teleport back like before. |
| 6 | 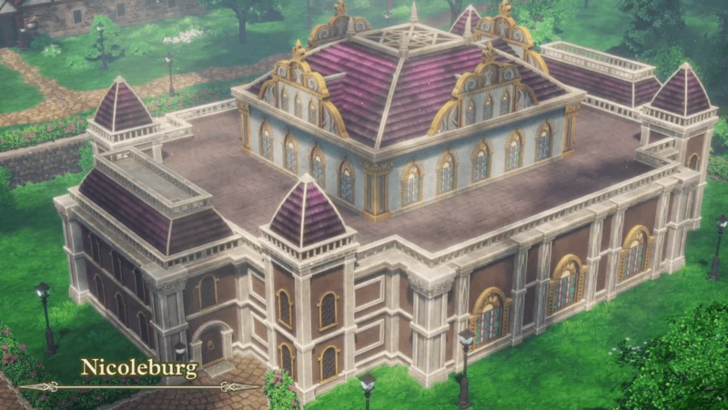 When you get back, the town will be upgraded to Stage 3. Make sure to explore the town first since there are new items that can be found. |
| 7 | 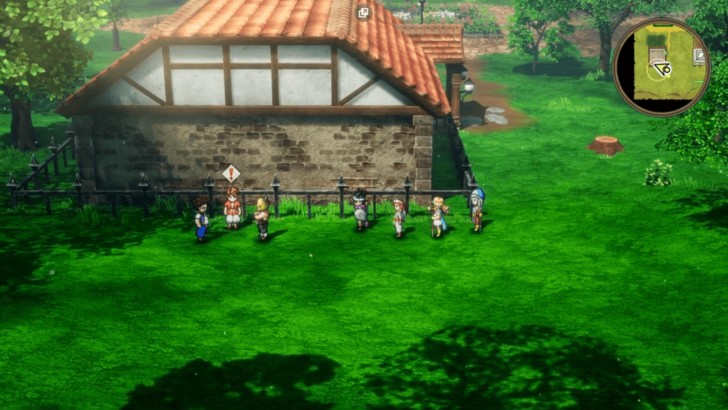 Go to the bottom left of the map and approach the three men to observe the Coup Event. Once that's done, you can teleport to another town. |
| 8 | 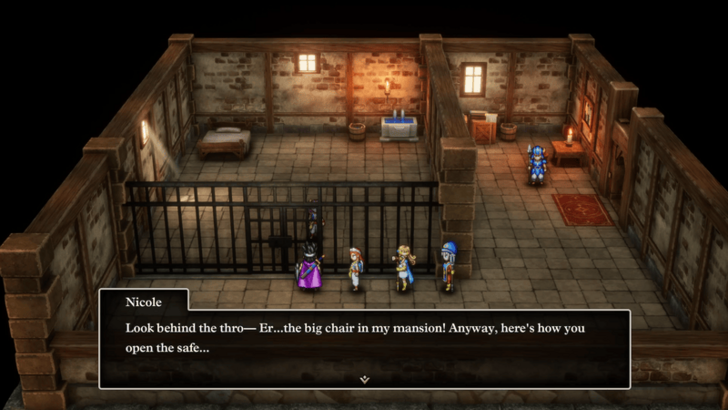 After receiving another notification, teleport back again. There won't be a mini cutscene this time, but the coup should've happened and the town should be upgraded to Stage 4. From here, go to the jail in the bottom left and talk to your Merchant to learn that they managed to get the Yellow Orb for you. |
| 9 | 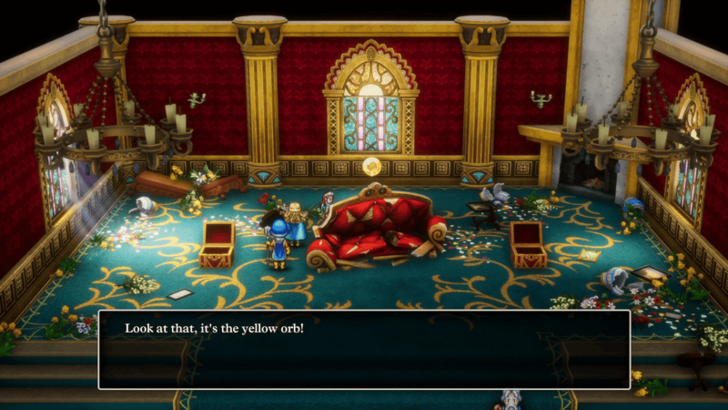 To get the orb, you'll simply need to visit the Merchant's mansion and inspect the back of the throne. Once you've got all 6 orbs, you can proceed to the Shrine of the Everbird. |
| * | There's still one more town upgrade after unlocking Ramia so make sure to come back here after visiting the Shrine of the Everbird. |
Immigrant Town Map and Available Items
List of Conditions for Immigrant Town Upgrades
| Stage and Condition | |
|---|---|
| 1 | Leave the Merchant and go to a different town. Renames town to "Merchant's Name"-burg. |
| 2 | Obtain the Ultimate Key and defeat Orochi. |
| 3 | Defeat the Boss Troll and get the Mod Rod. |
| 4 | Collect 3+ Orbs and view the Coup Event. Unlocks the Yellow Orb. |
| 5 | Unlock Ramia, the Everbird. Can re-recruit Merchant to party. |
Shrine of the Everbird
| 1 | 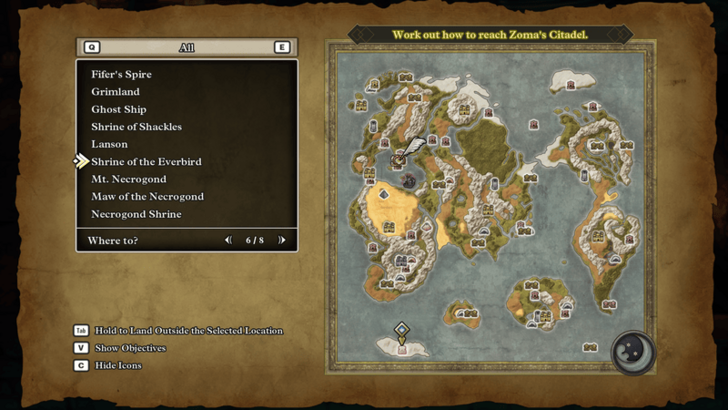 Once you've collected all six orbs, head to the southwesternmost island where the Shrine of the Everbird is. As a note, there's a Mini Medal to the right of the ladder so make sure to grab it before heading up. |
|---|---|
| 2 |  Head to the top and place the orbs in their respective slots. This will trigger a cutscene that will revive Ramia, the Everbird, allowing you to fly around the world. |
| * | Now that you have the ability to fly, you can visit all the Secret Spots and Sparkly Spots that you couldn't access before. |
| 3 | 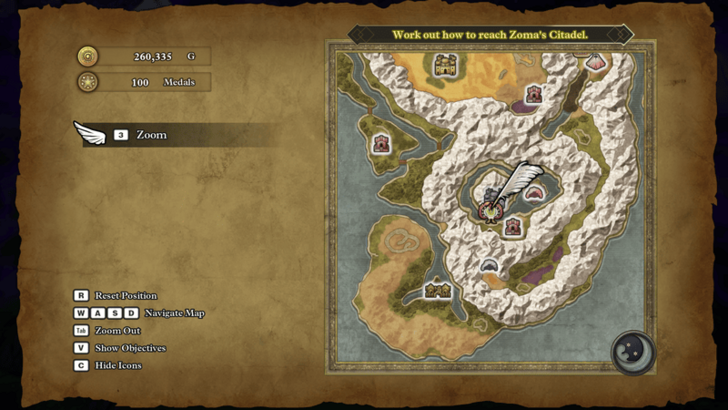 When you're ready, teleport to Necrogond Shrine and fly to Baramos' Lair. |
Shrine of the Everbird Map and Available Items
All Orb Locations and How to Get Them
| Orb | Location | How to Get |
|---|---|---|
| Green | Theddon | Defeat the Dying Fire. |
| Purple | Jipang | Defeat Orochi. |
| Blue | Gaia’s Navel | Defeat the Chiromancer. |
| Red | Pirates’ Den. | Secret room under the statue in the northeast. |
| Silver | Necrogond Shrine. | Talk to the old man. |
| Yellow | Immigrant Town. | Search behind the Merchant’s throne Requires town to be upgraded to Stage 4. |
Baramos' Lair (Recommended Level 33 - 34)
| * | 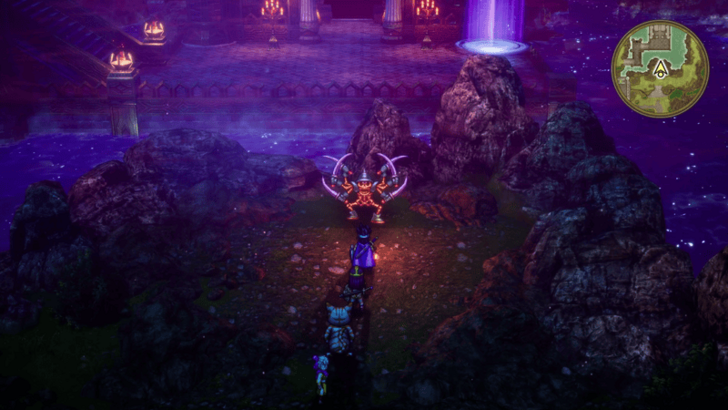 Before going inside, use the Night Light first since there are friendly monsters here that only show up at night. ▶ All Friendly Monster Locations |
|---|---|
| 1 | 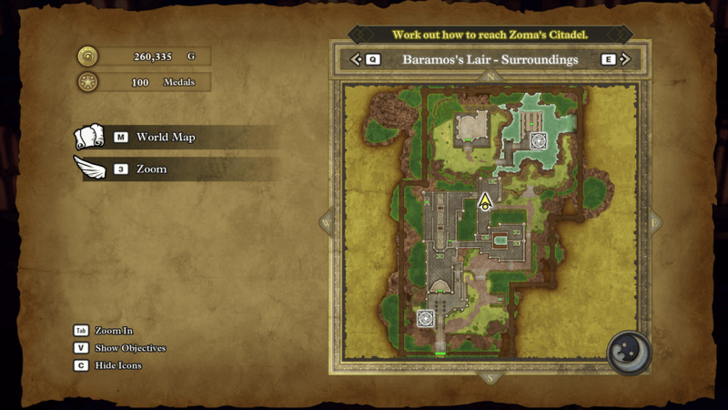 This dungeon has a lot of side areas so explore around for any items and treasures while going through it. When you want to proceed, head to the back entrance to enter the castle. |
| 2 | 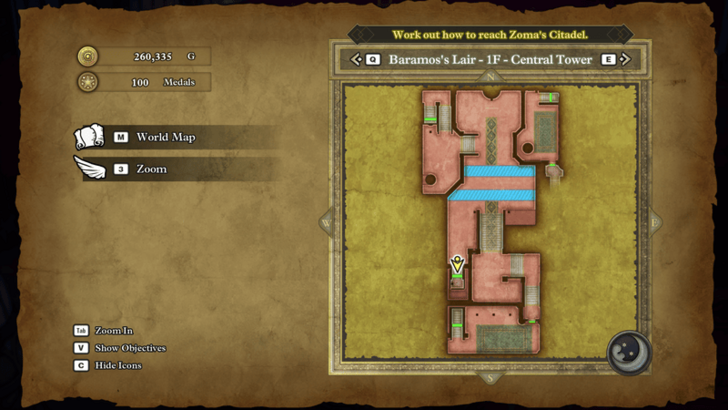 Follow the path forward until you reach a room with damage tiles. To continue to Baramos, take the bottom left stairs down to B1. From there, head east and up to the South-East Tower. |
| 3 | 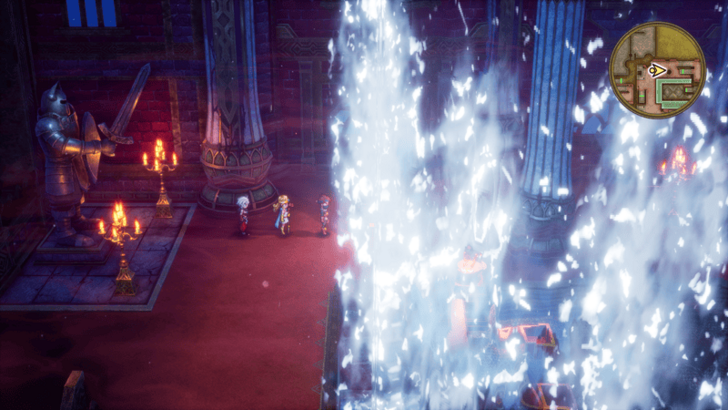 Go behind the waterfall and follow the path until you get to the courtyard on the other side. Head on through the door and keep following the path down through the B1 Passageway. |
| 4 | 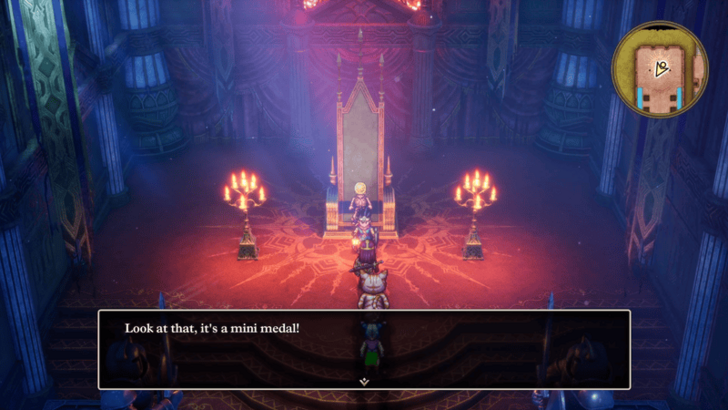 Eventually you'll reach the throne room with some damage tiles. Inspect the throne for a Mini Medal and head outside afterwards. |
| 5 | 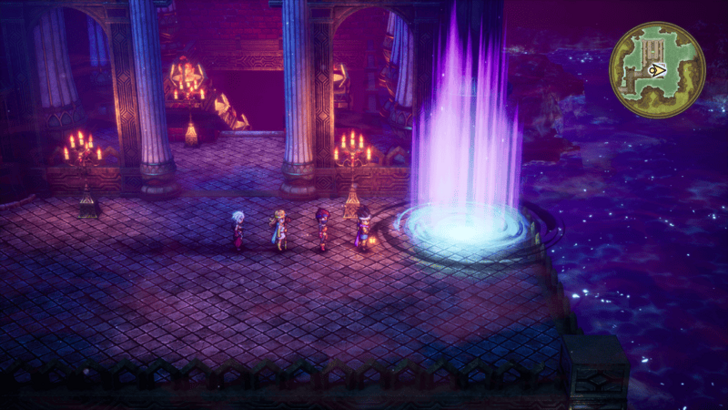 Head east until you see a portal that will teleport you back to the entrance. Take it to unlock the entrance portal and leave to make any final preparations before facing Baramos. Once you're ready, you can teleport back to this dungeon and take the portal to go back to the area right before Baramos. |
| 6 |  Head down the stairs to face Baramos. This fight gets harder as time goes on since he becomes more aggressive the lower his HP gets. If you're having a hard time, it's recommended to leave again and farm EXP by defeating Liquid Metal Slimes. ▶ How to Beat Baramos |
| * | As a note, you can also defeat Baramos solo with the Hero to get a free Bastard Sword. However, this requires you to be a decently high level so make sure to weigh the costs and benefits before attempting this. ▶ How to Solo Baramos with Hero |
| 7 |  After defeating Baramos, you'll be teleported back to Aliahan. Make your way through the castle to the king for a cutscene. If you defeated Baramos solo, then you'll get the Bastard Sword here. |
| 8 | 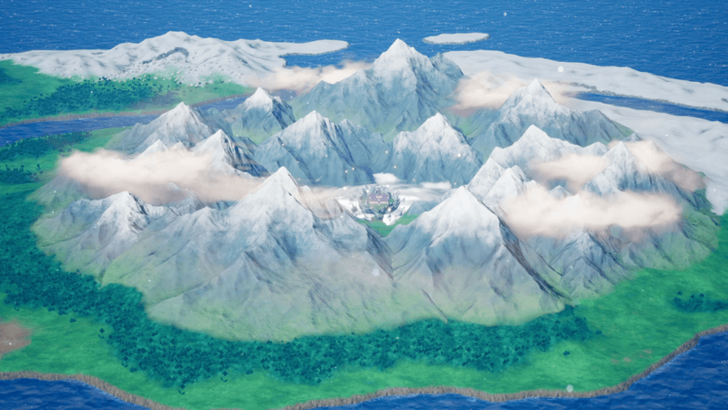 At night, head down and talk to your mother for another cutscene. When you go back to sleep, you'll dream of a castle in the mountains. When you're ready, head out of town and fly Ramia to the Castle of the Dragon Queen, west of the Shrine of the Dwarf. |
| * | 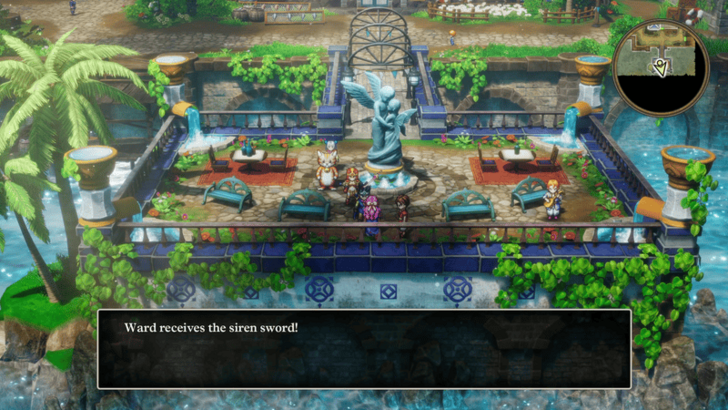 Before continuing your journey, stop by Portoga and talk to Sabrina by the statue near the entrance to receive a free Siren Sword. |
Baramos' Lair Map and Strategy Guide
Baramos Combat Guide
 |
||
| Rec. Level | Drops | |
|---|---|---|
| 34 | None | |
| Tips to Beat Baramos | ||
|
・Cast Fizzle to stop Baramos from casting spells. ・Cast Insulatle to reduce the damage of breath attacks. ・Use Oomph and Sap to maximize damage output. ・Level up a Priest or Sage to get Multiheal. |
||
Dragon Quest 3 HD-2D Remake Related Guides

List of All Story Walkthroughs
| All Story Walkthroughs | |
|---|---|
| 1 | Aliahan to the Path of Promise |
| 2 | Romaria to Skyfell Tower |
| 3 | Norvik to the Underground Lake |
| 4 | Asham to the Pyramid |
| 5 | Portoga to the Tower of Transcendence |
| 6 | Theddon to Orochi’s Lair |
| 7 | Manoza to the Phantom Ship |
| 8 | Olivia’s Promontory to Baramos’ Lair |
| 9 | Castle of the Dragon Queen to the Craggy Cave |
| 10 | Damdara to Zoma’s Citadel |
| 11 | Endgame Content |
Comment
Author
Walkthrough Part 8: Olivia’s Promontory to Baramos’ Lair
Rankings
- We could not find the message board you were looking for.
Gaming News
Popular Games

Genshin Impact Walkthrough & Guides Wiki

Umamusume: Pretty Derby Walkthrough & Guides Wiki

Crimson Desert Walkthrough & Guides Wiki

Monster Hunter Stories 3: Twisted Reflection Walkthrough & Guides Wiki

Honkai: Star Rail Walkthrough & Guides Wiki

Pokemon Pokopia Walkthrough & Guides Wiki

The Seven Deadly Sins: Origin Walkthrough & Guides Wiki

Wuthering Waves Walkthrough & Guides Wiki

Zenless Zone Zero Walkthrough & Guides Wiki

Arknights: Endfield Walkthrough & Guides Wiki
Recommended Games

Fire Emblem Heroes (FEH) Walkthrough & Guides Wiki

Diablo 4: Vessel of Hatred Walkthrough & Guides Wiki

Cyberpunk 2077: Ultimate Edition Walkthrough & Guides Wiki

Yu-Gi-Oh! Master Duel Walkthrough & Guides Wiki

Super Smash Bros. Ultimate Walkthrough & Guides Wiki

Pokemon Brilliant Diamond and Shining Pearl (BDSP) Walkthrough & Guides Wiki

Elden Ring Shadow of the Erdtree Walkthrough & Guides Wiki

Monster Hunter World Walkthrough & Guides Wiki

The Legend of Zelda: Tears of the Kingdom Walkthrough & Guides Wiki

Persona 3 Reload Walkthrough & Guides Wiki
All rights reserved
© ARMOR PROJECT/BIRD STUDIO/SPIKE CHUNSOFT/SQUARE ENIX
© SUGIYAMA KOBO ℗ SUGIYAMA KOBO
The copyrights of videos of games used in our content and other intellectual property rights belong to the provider of the game.
The contents we provide on this site were created personally by members of the Game8 editorial department.
We refuse the right to reuse or repost content taken without our permission such as data or images to other sites.


