Walkthrough Part 9: Castle of the Dragon Queen to the Craggy Cave
★ Best Personality | Best Equipment | Best Party
☆ Class Tier List | Vamp Guide | Monster Wrangler
★ Friendly Monsters | Sparkly Spots | Keys Guide
☆ EXP Farming | Money Farming | Seed Farming
★ Post Game (Spoilers!) | Missables | Trophy Guide
This is a walkthrough guide from the Castle of the Dragon Queen to the Craggy Cave for Dragon Quest 3 HD-2D Remake (DQ3). Learn what you need to do for each region, as well as points and explanations for how to progress the story.
| ◀ Previous Guide | Next Guide ▶ |
|---|---|
| Olivia’s Promontory to Baramos’ Lair | Damdara to Zoma’s Citadel |
List of Contents
Castle of the Dragon Queen to Craggy Cave Walkthrough Guide
Castle of the Dragon Queen
| 1 | 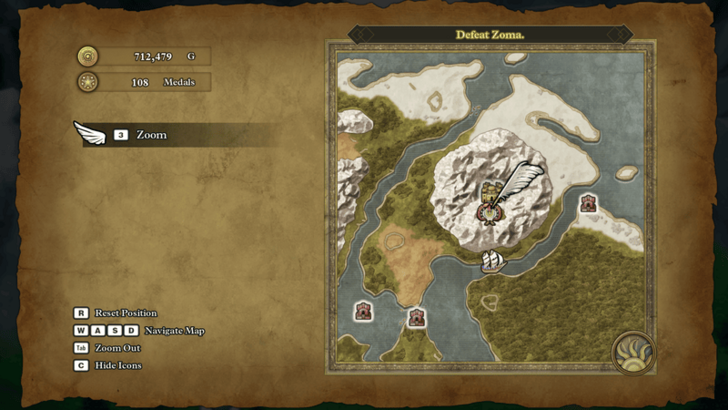 Teleport to the Shrine of the Dwarf and fly west to the Castle of the Dragon Queen. |
|---|---|
| * | 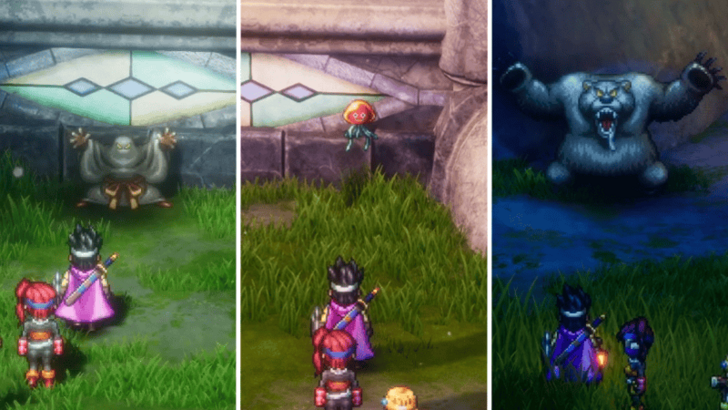 There are three friendly monsters that you can recruit here depending on the time of day. Change the time to day, evening, and night first and recruit the three different monsters before heading inside the castle. ▶ All Friendly Monster Locations |
| 2 | 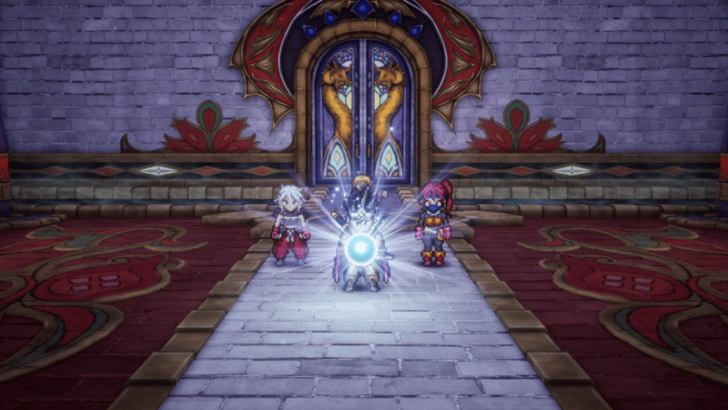 Go inside the castle and head to the central room. You'll then be thrown into a cutscene where you'll receive the Sphere of Light. From there, exit the room and head to the back of the castle to find a Mini Medal. |
| 3 | 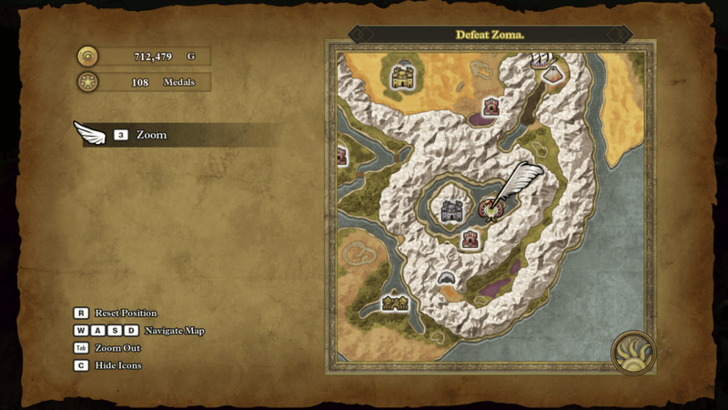 Once you're done here, you can teleport to Baramos' Lair and fly east to the Pit of Giaga. |
Castle of the Dragon Queen Map and Available Items
Pit of Giaga
| 1 | 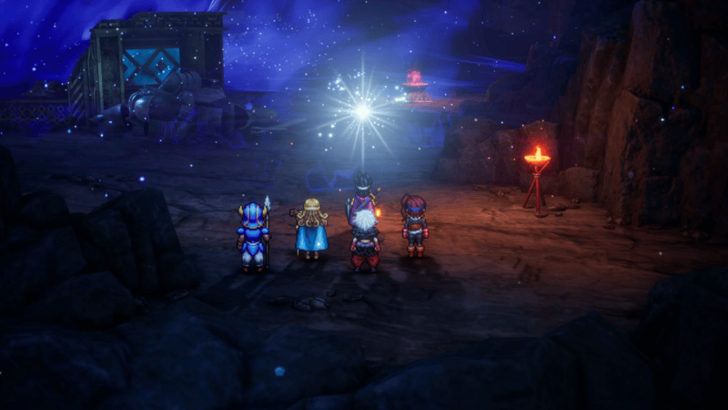 Walk towards the shadows to get a prompt to use the Sphere of Light and dispel the darkness. After the cutscene ends, you'll now be in Alefgard, a new world shrouded in darkness. |
|---|---|
| * | Once you have control of your character, you can teleport back to the cave to look for any items to pick up. |
Pit of Giaga Map and Available Items
Tantegel
| 1 | 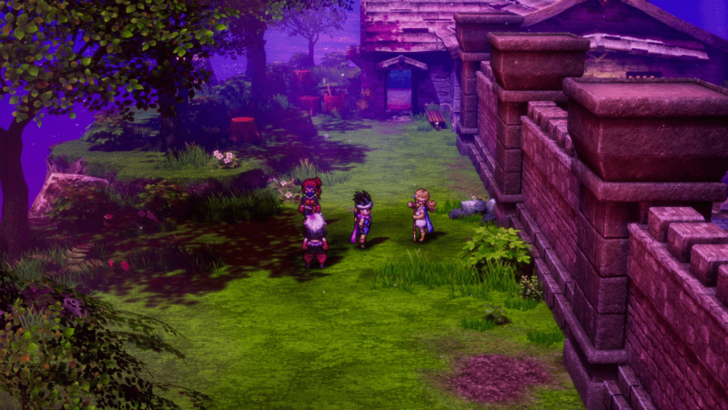 You'll first start off in West Tantegel Harbour, and as part of the cutscene, you'll now have a map of Alefgard and a new boat to use. Before sailing off, explore the area first for any items and collectables. |
|---|---|
| * | Since you got a boat right off the bat, you can explore Alefgard first for all the Sparkly and Secret Spots that aren't near Zoma's Citadel. |
| 3 | 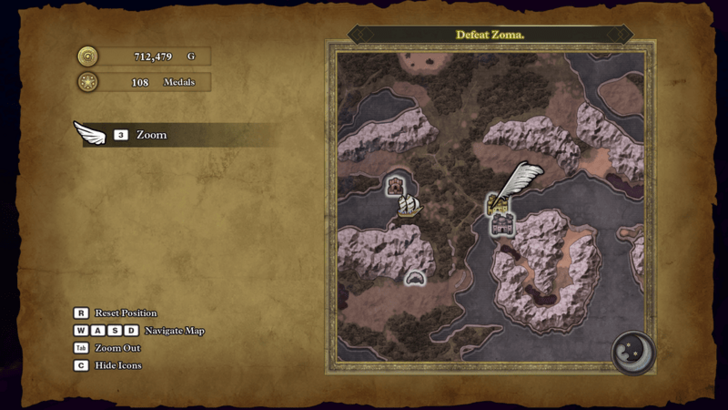 When you're ready, disembark just east of the harbour and walk on foot to Tantegel. |
| 4 | Before heading to the castle, explore the town for any items and collectables you can find. Make sure to visit the shops as well since you'll start encountering tougher enemies and you'll need the equipment upgrades to keep up. Also, make sure to talk to the NPCs that you encounter around Alefgard to gain information that will help you on your journey. |
| 5 | 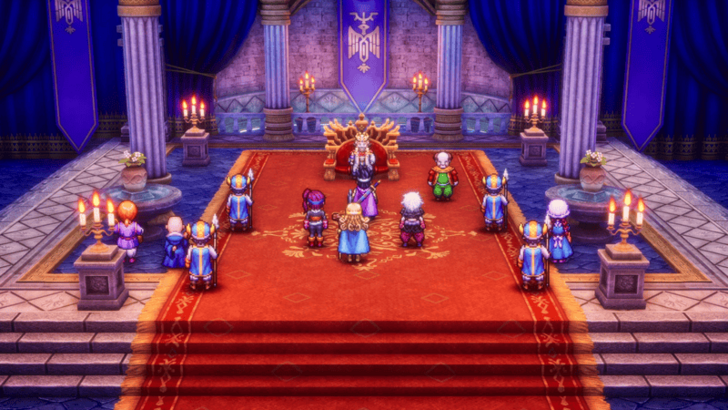 Once you're done exploring the town, head east and into the castle to meet the king. After the cutscene is done, you can explore the castle for any items and collectables you need. |
| 6 | 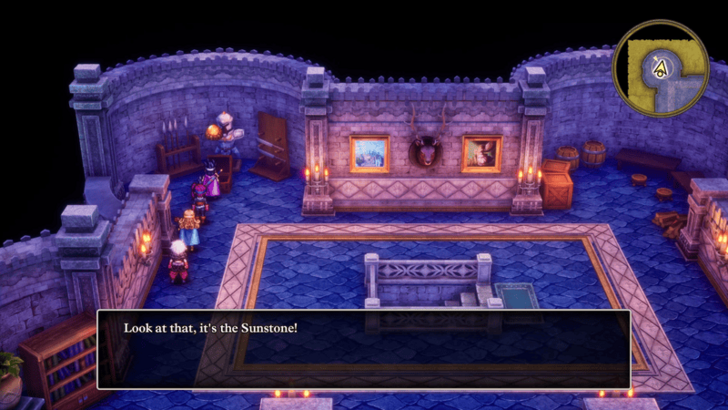 The one item that is required to progress the story is the Sunstone in the room up the stairs to the south of the kitchen. After you've got it, you're free to leave and continue your journey. |
| * | These next parts are optional, but highly recommended since we'll take a few detours to get some powerful items and equipment. If you want to skip ahead, you can go to the parts where you need to get the Staff of Rain and the Sacred Amulet. ▶ Damdara to Zoma’s Citadel Walkthrough |
Tantegel Map and Available Items
Talontear Tunnel
| 1 | 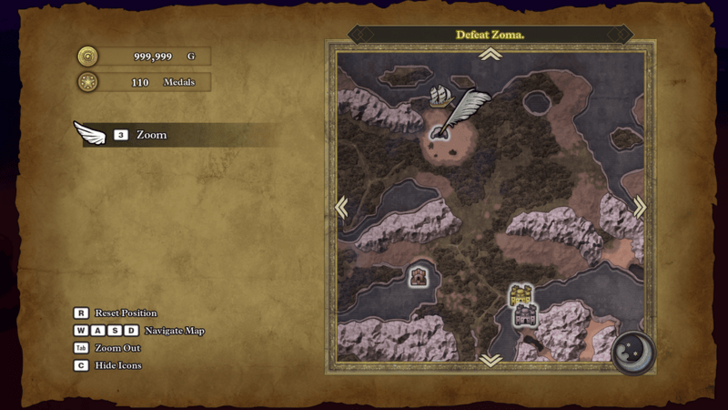 When you're ready, leave Tantegel and head northwest to Talontear Tunnel. Make sure that you've stocked up on healing items before going here since the entire dungeon prevents the use of magic. |
|---|---|
| 2 | 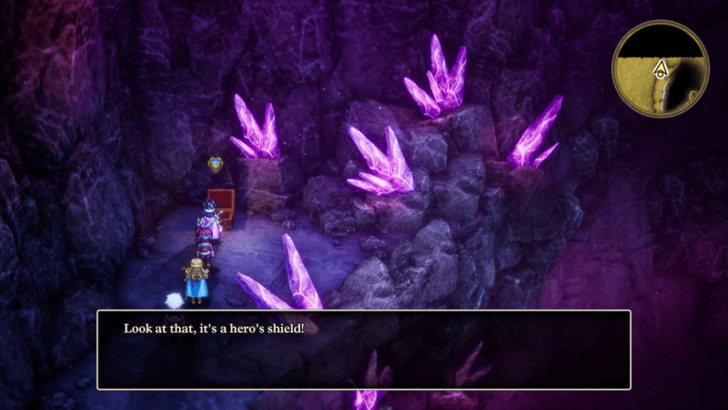 Head down to the 3rd floor, grabbing any items on the way there. Once you've arrived, open the chest in the top left to grab the Hero's Shield for your main character. |
| 3 | After you're done exploring the cave, you'll need to manually walk out since the cave prevents Evac and Chimaera Wings from working. |
| 4 | 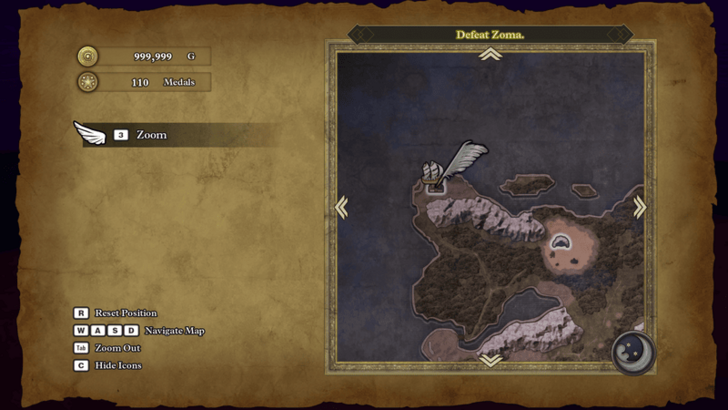 Once you're back outside, head around northwest towards Galen's House. |
Talontear Tunnel Map and Strategy Guide
Galen's House
| 1 | 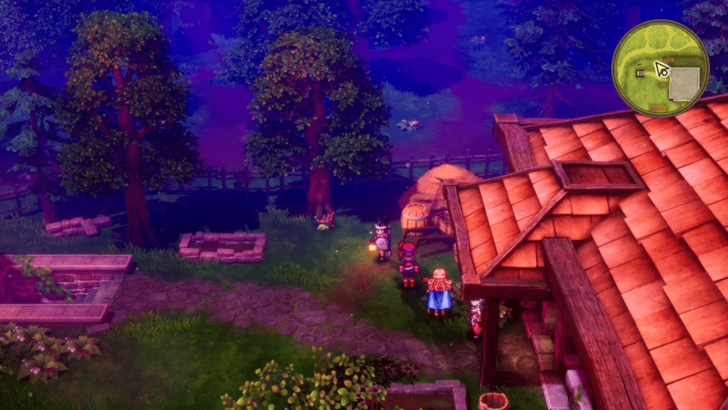 Explore the house and its exterior first for any items and a friendly Shell Slime. Once you're done, head down to the basement. |
|---|---|
| 2 | 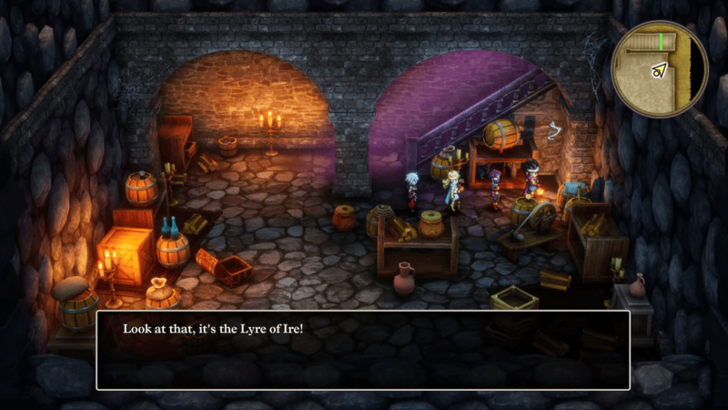 Inspect the sparkly spot to the right to get the Lyre of Ire. This is extremely useful for farming EXP since it calls monsters to you, similar to the effect of the Gadabout's Whistle ability. ▶ EXP Farming Guide: How to Level Up Fast |
| * | 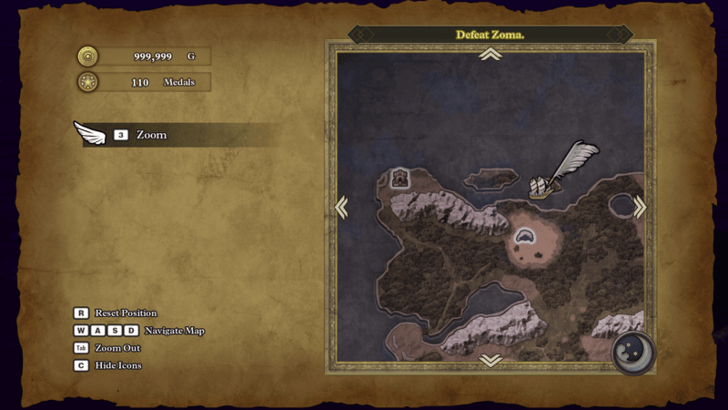 Now that you have the Lyre of Ire, you can head to the Slime Island, just northeast of Talontear Tunnel, to farm Metal and Liquid Metal Slimes. You'll know when you're on the right island since there's also a Secret Spot on it. ▶ Metal Slime Location and Farming Guide |
| 3 | 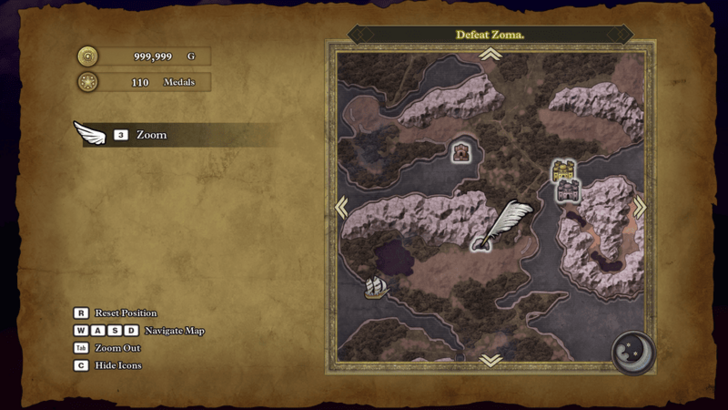 When you're ready, teleport back to Tantegel and head southeast to the Craggy Cave. |
Galen's House Map and Available Items
Craggy Cave
| * | This is the one location that you can skip since the Sword of Ruin and Hate Mail you get from this dungeon are cursed. However, there is a friendly monster in here so stop by to recruit them at the very least. ▶ Cursed Items Guide |
|---|---|
| 1 | 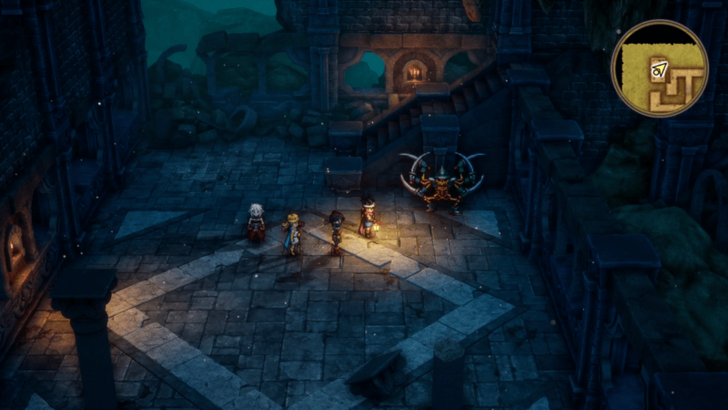 This dungeon only has two floors, so quickly explore them for anything useful, like the Demon Spear and the friendly Armful. ▶ All Friendly Monster Locations |
| 2 | 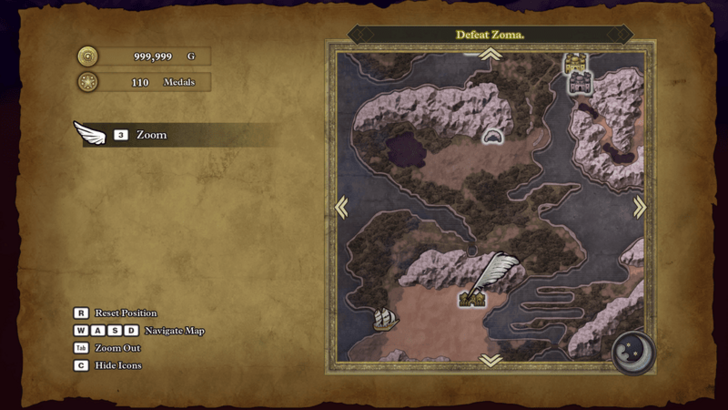 Once you're done, exit the dungeon and head south towards Damdara. ▶ Damdara to Zoma’s Citadel Walkthrough |
Craggy Cave Map and Strategy Guide
Dragon Quest 3 HD-2D Remake Related Guides

List of All Story Walkthroughs
| All Story Walkthroughs | |
|---|---|
| 1 | Aliahan to the Path of Promise |
| 2 | Romaria to Skyfell Tower |
| 3 | Norvik to the Underground Lake |
| 4 | Asham to the Pyramid |
| 5 | Portoga to the Tower of Transcendence |
| 6 | Theddon to Orochi’s Lair |
| 7 | Manoza to the Phantom Ship |
| 8 | Olivia’s Promontory to Baramos’ Lair |
| 9 | Castle of the Dragon Queen to the Craggy Cave |
| 10 | Damdara to Zoma’s Citadel |
| 11 | Endgame Content |
Comment
Author
Walkthrough Part 9: Castle of the Dragon Queen to the Craggy Cave
Rankings
- We could not find the message board you were looking for.
Gaming News
Popular Games

Genshin Impact Walkthrough & Guides Wiki

Umamusume: Pretty Derby Walkthrough & Guides Wiki

Crimson Desert Walkthrough & Guides Wiki

Monster Hunter Stories 3: Twisted Reflection Walkthrough & Guides Wiki

Honkai: Star Rail Walkthrough & Guides Wiki

Pokemon Pokopia Walkthrough & Guides Wiki

The Seven Deadly Sins: Origin Walkthrough & Guides Wiki

Wuthering Waves Walkthrough & Guides Wiki

Zenless Zone Zero Walkthrough & Guides Wiki

Arknights: Endfield Walkthrough & Guides Wiki
Recommended Games

Fire Emblem Heroes (FEH) Walkthrough & Guides Wiki

Diablo 4: Vessel of Hatred Walkthrough & Guides Wiki

Cyberpunk 2077: Ultimate Edition Walkthrough & Guides Wiki

Yu-Gi-Oh! Master Duel Walkthrough & Guides Wiki

Super Smash Bros. Ultimate Walkthrough & Guides Wiki

Pokemon Brilliant Diamond and Shining Pearl (BDSP) Walkthrough & Guides Wiki

Elden Ring Shadow of the Erdtree Walkthrough & Guides Wiki

Monster Hunter World Walkthrough & Guides Wiki

The Legend of Zelda: Tears of the Kingdom Walkthrough & Guides Wiki

Persona 3 Reload Walkthrough & Guides Wiki
All rights reserved
© ARMOR PROJECT/BIRD STUDIO/SPIKE CHUNSOFT/SQUARE ENIX
© SUGIYAMA KOBO ℗ SUGIYAMA KOBO
The copyrights of videos of games used in our content and other intellectual property rights belong to the provider of the game.
The contents we provide on this site were created personally by members of the Game8 editorial department.
We refuse the right to reuse or repost content taken without our permission such as data or images to other sites.


