Walkthrough Part 5: Portoga to the Tower of Transcendence
★ Best Personality | Best Equipment | Best Party
☆ Class Tier List | Vamp Guide | Monster Wrangler
★ Friendly Monsters | Sparkly Spots | Keys Guide
☆ EXP Farming | Money Farming | Seed Farming
★ Post Game (Spoilers!) | Missables | Trophy Guide
This is a walkthrough guide from Portoga to the Tower of Transcendence for Dragon Quest 3 HD-2D Remake (DQ3). Learn what you need to do for each region, as well as points and explanations for how to progress the story.
| ◀ Previous Guide | Next Guide ▶ |
|---|---|
| Asham to the Pyramid | Theddon to Orochi’s Lair |
List of Contents
Portoga to the Tower of Transcendence Walkthrough Guide
Portoga (Recommended Level 17)
| 1 | 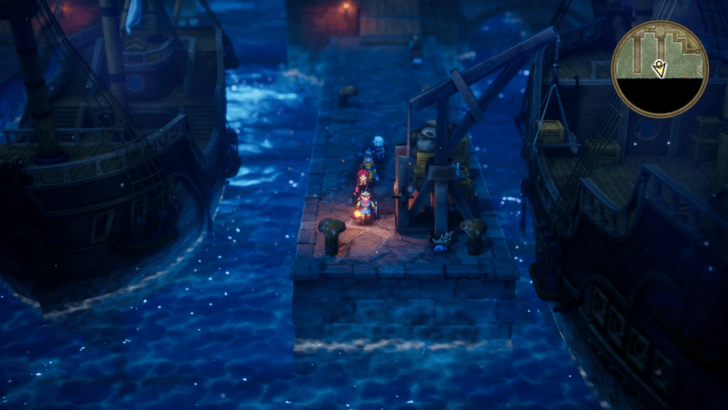 Explore the city for items and collectables, as well as a friendly Seaslime. When you're done, head to the castle to talk to the King. |
|---|---|
| * | 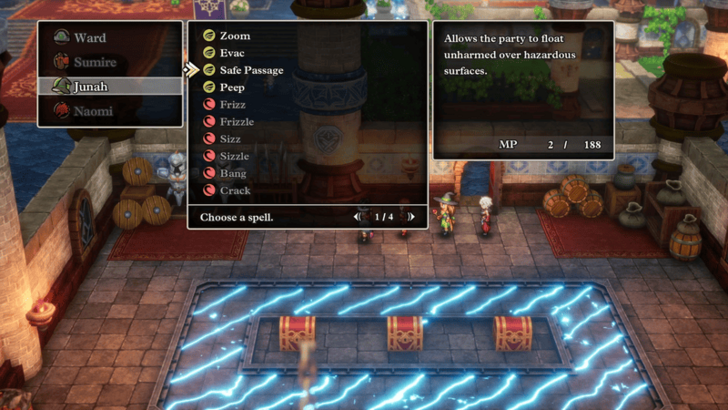 Inside the castle, there will be three chests surrounded by tiles that damage you. Cast Safe Passage so that you can step on these tiles without hurting yourself. |
| 2 | 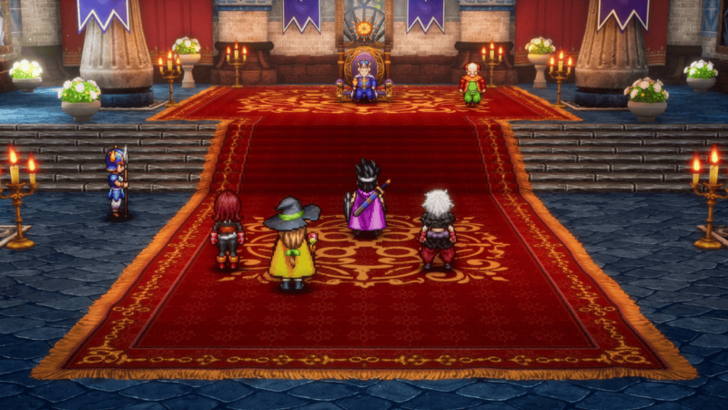 Go to the castle and talk to the king to get the Royal Missive. You'll be tasked with giving it to Nordy the dwarf so you can get some Black Pepper in the east. |
| 3 | 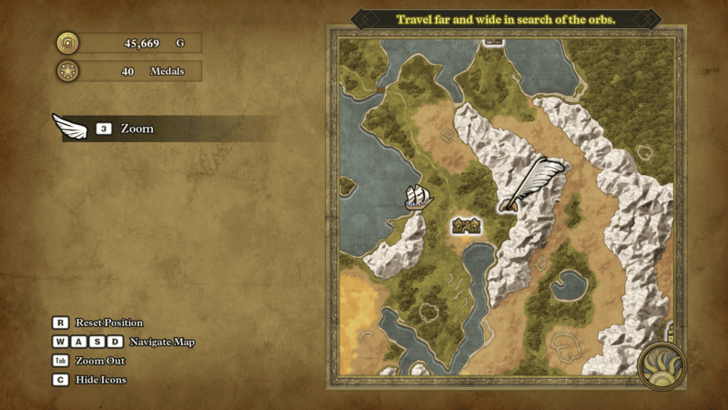 When you're ready, teleport to Asham and head northeast towards Nordy’s Grotto. |
Portoga Map and Available Items
Purchase a Spiked Steel Whip From Portoga

We recommend purchasing a Spiked Steel Whip from Portoga since it's a powerful weapon that will last for a good while. Because it's a whip, it also attacks a whole group of enemies.
How to Get Spiked Steel Whip and Effects
Nordy’s Grotto
| 1 | 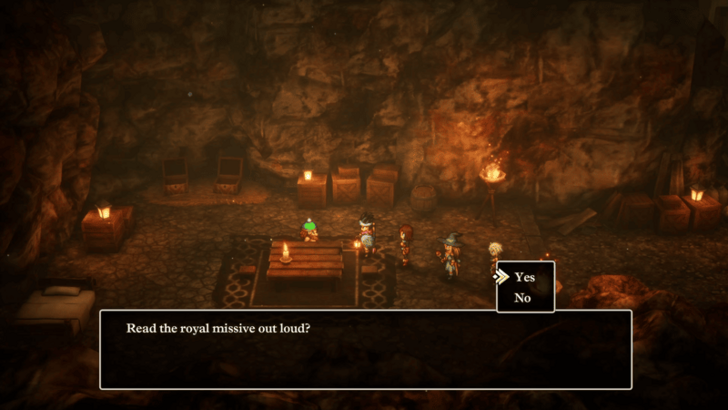 Follow the path through the cave and talk to Nordy. Don't forget to explore the cave and inside the well for hidden items. |
|---|---|
| 2 | 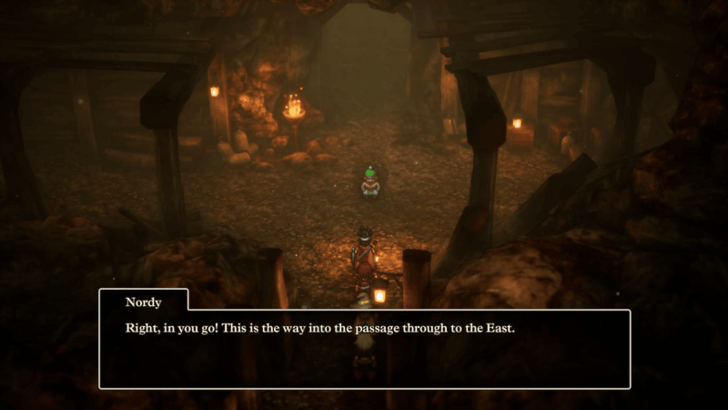 After reading the letter, Nordy will open up the path east. When you're ready, exit the cave to the other side of the mountain range. |
| 3 | 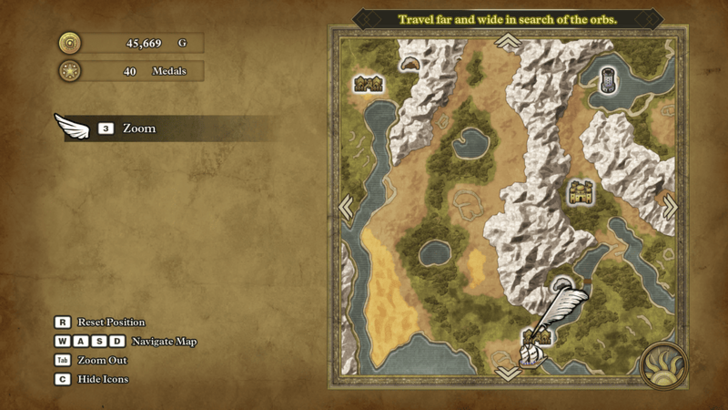 From the Nordy’s Grotto, go southeast towards Baharata, gathering any collectables on the way there. |
| * | 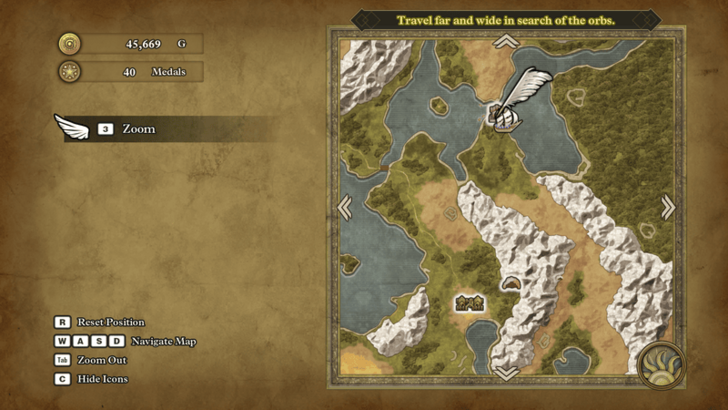 Optionally, head north first to Olivia's Promontory so you can unlock it as a fast travel location. |
Nordy’s Grotto Map and Available Items
Baharata (Recommended Level 18)
| 1 | 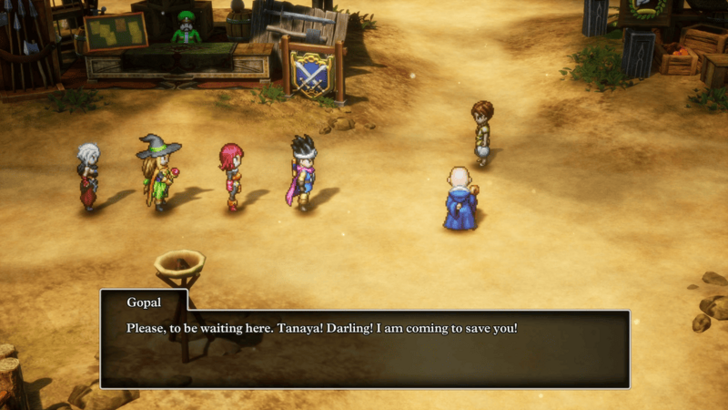 When you enter Baharata for the first time, a cutscene will play where Gopal will run off to save his fiancee, Tanaya. From here, you'll want to head to the Kidnapper's Cave to rescue the couple. |
|---|---|
| 2 | 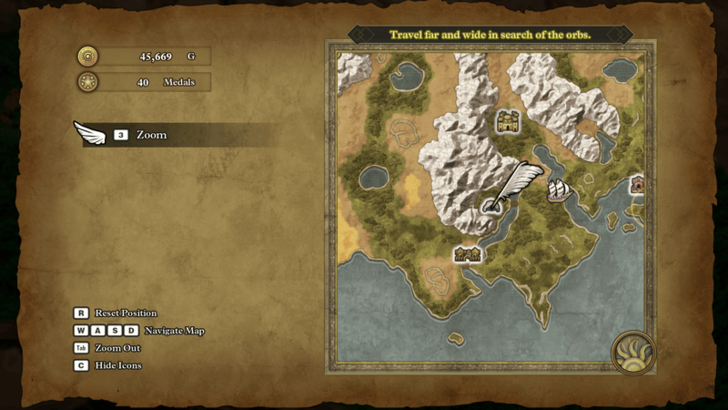 Once you're done exploring the town for any upgrades and collectables, head north towards the Kidnapper's Cave. On the way there, make sure to grab any Sparkly Spots and visit Secret Spots as usual. |
Baharata Map and Available Items
Kidnapper’s Cave (Recommended Level 18)
| 1 | 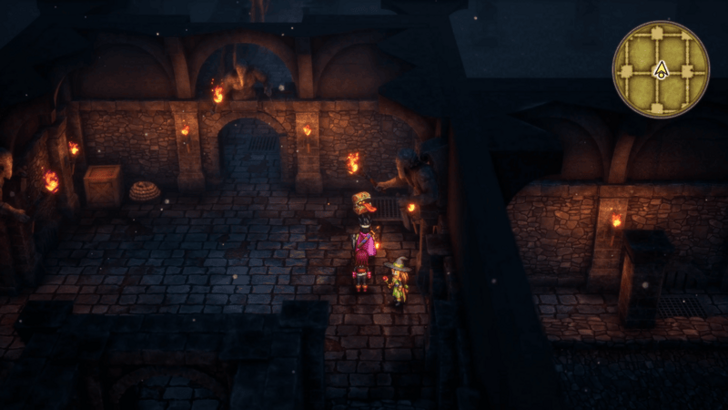 Make your way to the second floor, grabbing items and the friendly Cannibox on the way. The layout of the first floor can be confusing so make sure you're constantly checking the map! |
|---|---|
| 2 | 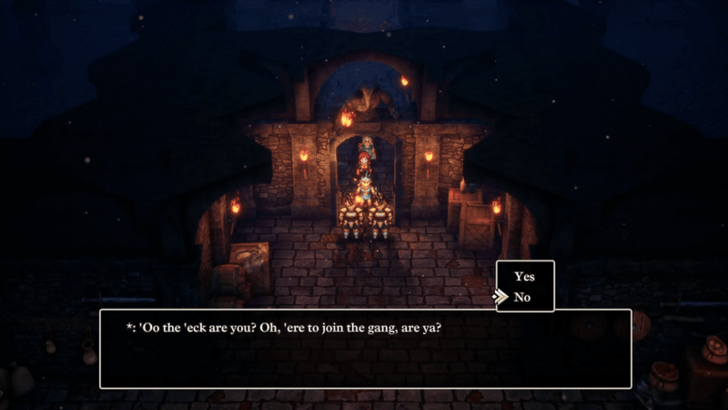 Once you reach the hideout, some Robbin’ ’Oodlums ask if you would like to join them. Answer "No" to start combat. Unlike their first encounter in Skyfell Tower, they now have access to Kasap and Midheal so make sure to preserve your HP and MP. |
| 3 | After the battle, activate the switch at the bottom left of the map to free Tanaya and Gopal. |
| 4 | 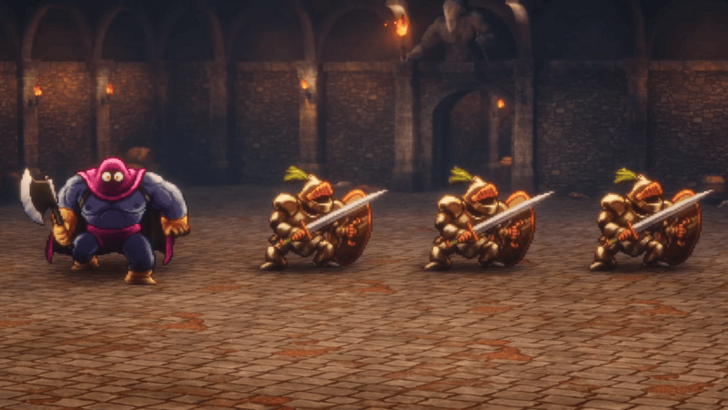 When you're ready, head back to the hideout to start the second boss fight with Robbin’ ’Ood. Like last time, deal with the lackeys first to stop them from spamming Kasap and healing. ▶ How to Beat Robbin’ ’Ood (Cave) |
| 5 | Once you've beaten them a second time, leave the cave and head back to Baharata. |
| 6 | Talk to Gopal inside the spice shop, but he will inform you that they've run out of Black Pepper. To get some, you'll need to talk to the merchant in the Alltrades Abbey further north. |
| 8 | 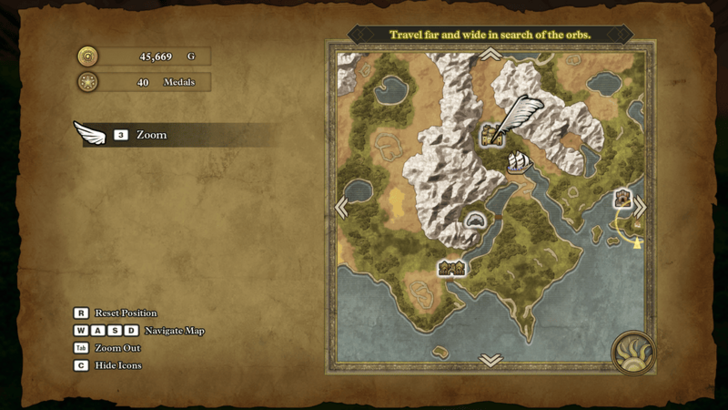 When you're ready, head north past the Kidnapper's Cave to reach the Alltrades Abbey. |
Kidnapper’s Cave Map and Strategy Guide
Robbin’ ’Ood (Cave) Combat Guide
 |
||
| Rec. Level | Drops | |
|---|---|---|
| 19 | None | |
| Tips to Beat Robbin' 'Ood (Cave) | ||
|
・Kill the Robbin’ ’Oodlums first. ・Cast Kabuff to increase the party's defense. ・Use Fizzle to seal the Robbin’ ’Oodlums' spells. ・Apply the Dazzle and Sleep status ailments. |
||
How to Beat Robbin’ ’Ood (Cave)
Alltrades Abbey (Recommended Level 20)
| 1 | 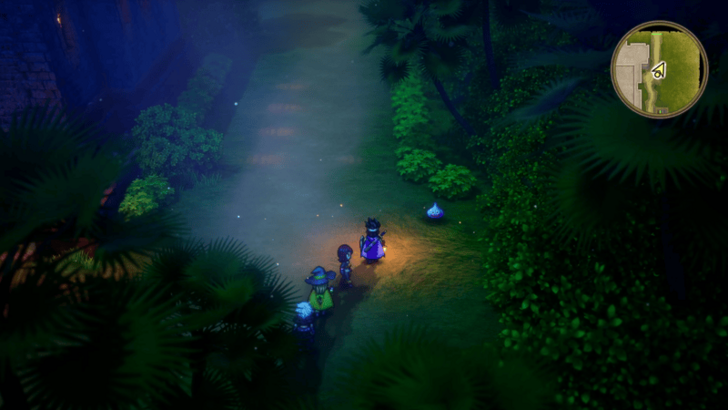 Explore the area first to grab any collectables and items, as well as the friendly Slime to the east at night. |
|---|---|
| 2 | 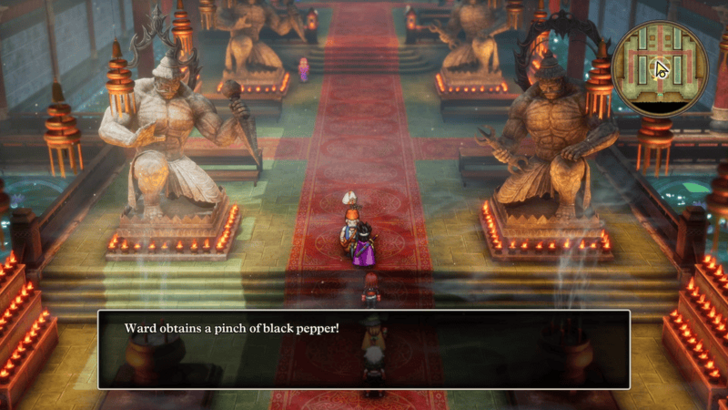 Talk to the merchant in the temple to grab some Black Pepper for Portoga's King. |
| * | If you wish, you can return to Portoga and give the pepper to the King. This will unlock the boat and allow you to resume the main story. ▶ Theddon to Orochi’s Lair Walkthrough |
| 3 | 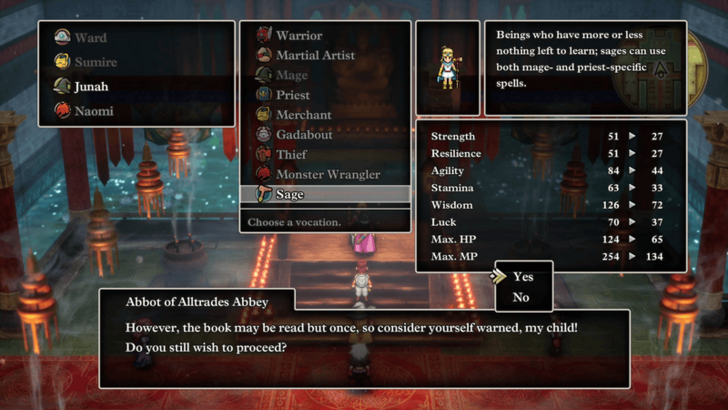 Before leaving the temple, it's recommended to change your party members Vocations, except for Mages and Priests since you'll want to unlock the Sage Vocation first. Doing this will reset their levels to 1 and cut their stats in half, but that means they will grow stronger over time and they'll also get to learn new Spells and Abilities. ▶ How to Class Change |
| * | As a note, your party members get to keep their spells and abilities when changing Vocations, so it may be worth holding off on changing classes first until they've learned all the Spells and Abilities that you want. |
| 4 | 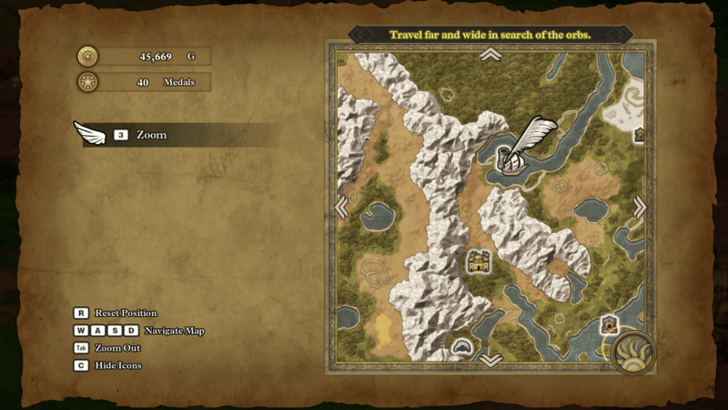 After changing Vocations, head north towards the Tower of Transcendence to get the Words of Wisdom needed to unlock the Sage Vocation. |
| * | 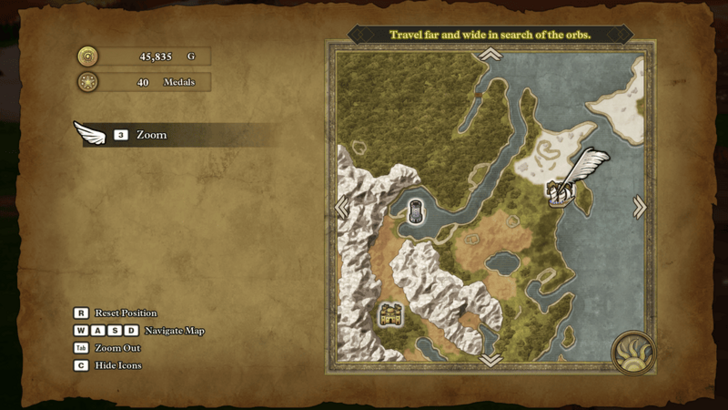 Alternatively, you could go northeast first to Mur to do a quick sidequest. As usual, visit any Sparkly Spots and Secret Spots on the way. |
Alltrades Abbey Map and Available Items
Mur (Recommended Level 21)
| 1 | 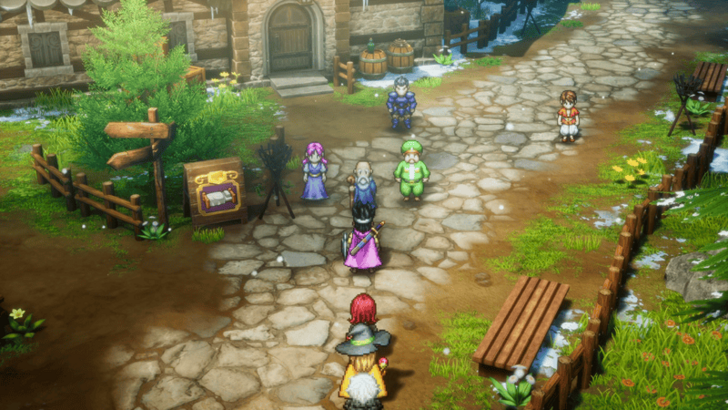 If you go to Mur, a quick cutscene will play and you will start the short sidequest to get Ortega's Helm. |
|---|---|
| 2 | 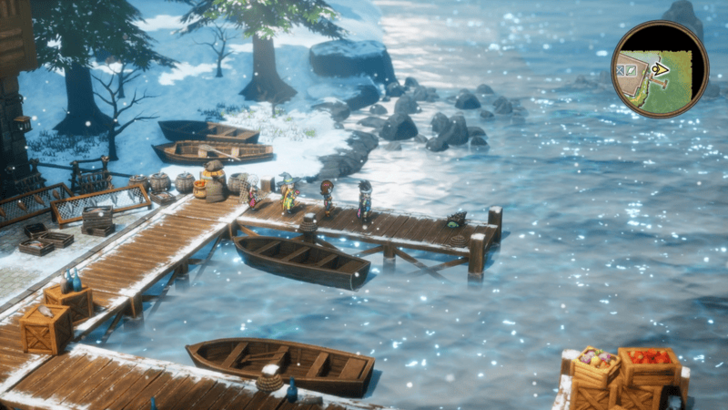 Before continuing, explore the area for items and a friendly Shell Slime. Once you're done, go through the door by the docks. |
| 3 | 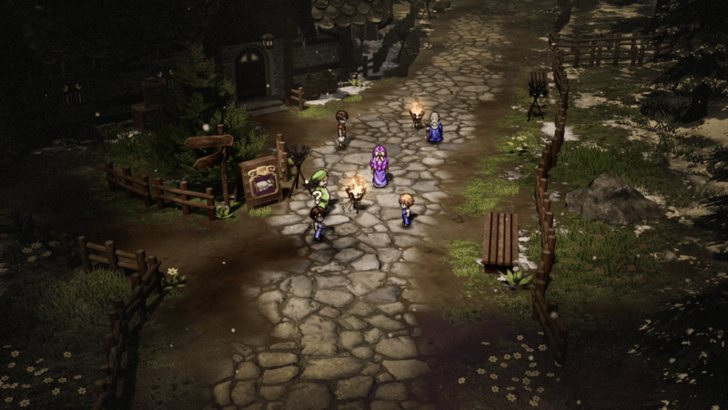 When you go through the door to the back of the market, another cutscene will play. Afterwards, head up to the second floor and talk to Petya for one final cutscene. |
| 4 | 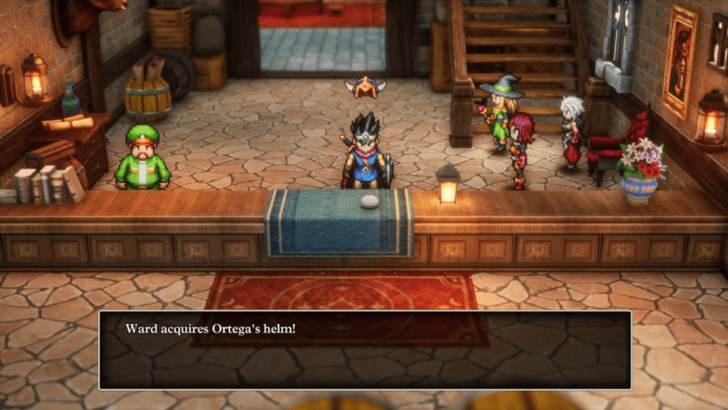 Head back down to the first floor and the man behind the counter will give you Ortega's Helmet. Make sure to equip this helmet since it will be the best one you'll have for a while. |
| 5 | When you're done here, you can resume your journey to the Tower of Transcendence. |
Tower of Transcendence (Recommended Level 21)
| 1 | 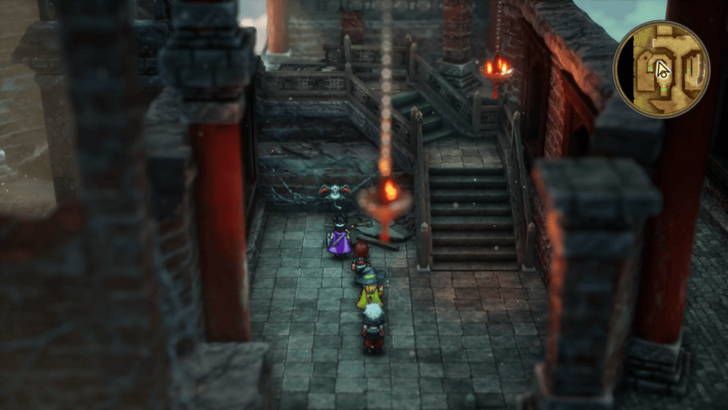 Head up the tower to the 5th floor. The Words of Wisdom aren't at the top, but you'll need to go there first to access the path to the scroll. There are a lot of chests and items around the tower so make sure to fully explore it first. |
|---|---|
| * | 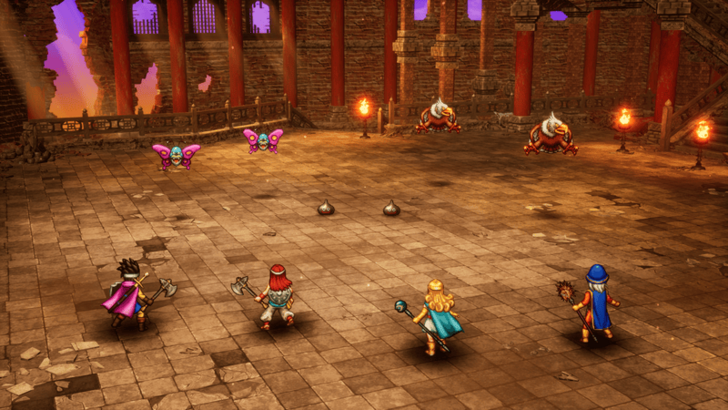 Fights on the 5th floor have a chance of spawning Metal Slimes that reward a ton of EXP when defeated. Use this spot to farm levels, especially if you've just changed Vocations. However, they're hard to kill so use Weapons or Abilities that instakill, like a Poison Needle or the Thief's Assassin's Stab, to deal with them. ▶ EXP Farming Guide: How to Level Up Fast |
| 2 | 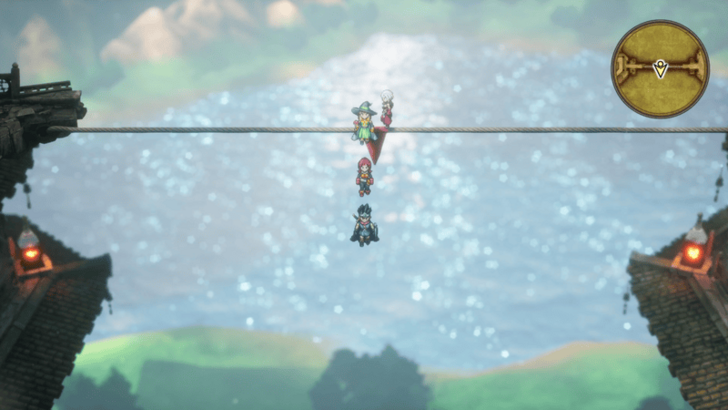 Once you're at the top, fall of the middle part of the rope to reach the next area. If you're playing on controller, use the D-Pad so that you don't prematurely fall off. |
| 3 | 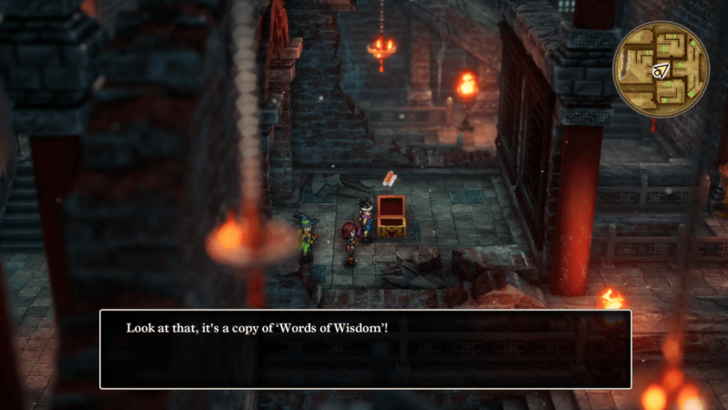 Head down to the 2nd floor and grab the Words of Wisdom from the chest. This will allow you to change a character's Vocation to Sage. |
| 4 | Once you're done in the tower, return to the Alltrades Abbey and make any final adjustments to your team. |
| 5 | When you're ready, teleport back to Portoga and give the Black Pepper to the King. After a cutscene, you'll now be able to sail the seas and collect 6 orbs to continue your quest. ▶ Theddon to Orochi’s Lair Walkthrough |
| * | 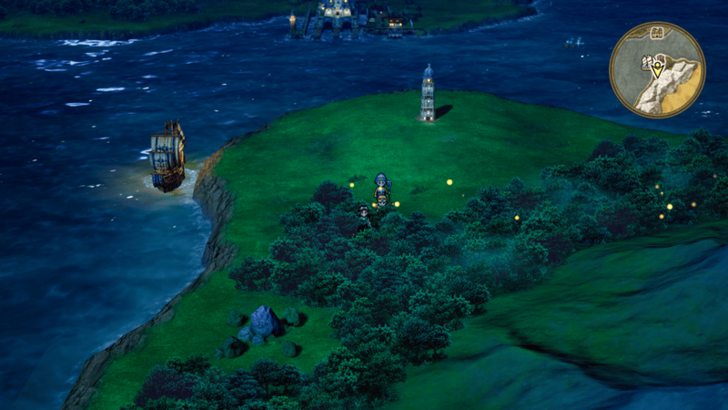 Before going off to explore the world, go directly south to Portoga Lighthouse first to grab any treasures inside, as well as to visit the Secret Spot just to the southwest of it. |
Tower of Transcendence Map and Strategy Guide
Dragon Quest 3 HD-2D Remake Related Guides

List of All Story Walkthroughs
| All Story Walkthroughs | |
|---|---|
| 1 | Aliahan to the Path of Promise |
| 2 | Romaria to Skyfell Tower |
| 3 | Norvik to the Underground Lake |
| 4 | Asham to the Pyramid |
| 5 | Portoga to the Tower of Transcendence |
| 6 | Theddon to Orochi’s Lair |
| 7 | Manoza to the Phantom Ship |
| 8 | Olivia’s Promontory to Baramos’ Lair |
| 9 | Castle of the Dragon Queen to the Craggy Cave |
| 10 | Damdara to Zoma’s Citadel |
| 11 | Endgame Content |
Comment
Author
Walkthrough Part 5: Portoga to the Tower of Transcendence
Rankings
- We could not find the message board you were looking for.
Gaming News
Popular Games

Genshin Impact Walkthrough & Guides Wiki

Umamusume: Pretty Derby Walkthrough & Guides Wiki

Crimson Desert Walkthrough & Guides Wiki

Monster Hunter Stories 3: Twisted Reflection Walkthrough & Guides Wiki

Honkai: Star Rail Walkthrough & Guides Wiki

Pokemon Pokopia Walkthrough & Guides Wiki

The Seven Deadly Sins: Origin Walkthrough & Guides Wiki

Wuthering Waves Walkthrough & Guides Wiki

Zenless Zone Zero Walkthrough & Guides Wiki

Arknights: Endfield Walkthrough & Guides Wiki
Recommended Games

Fire Emblem Heroes (FEH) Walkthrough & Guides Wiki

Diablo 4: Vessel of Hatred Walkthrough & Guides Wiki

Cyberpunk 2077: Ultimate Edition Walkthrough & Guides Wiki

Yu-Gi-Oh! Master Duel Walkthrough & Guides Wiki

Super Smash Bros. Ultimate Walkthrough & Guides Wiki

Pokemon Brilliant Diamond and Shining Pearl (BDSP) Walkthrough & Guides Wiki

Elden Ring Shadow of the Erdtree Walkthrough & Guides Wiki

Monster Hunter World Walkthrough & Guides Wiki

The Legend of Zelda: Tears of the Kingdom Walkthrough & Guides Wiki

Persona 3 Reload Walkthrough & Guides Wiki
All rights reserved
© ARMOR PROJECT/BIRD STUDIO/SPIKE CHUNSOFT/SQUARE ENIX
© SUGIYAMA KOBO ℗ SUGIYAMA KOBO
The copyrights of videos of games used in our content and other intellectual property rights belong to the provider of the game.
The contents we provide on this site were created personally by members of the Game8 editorial department.
We refuse the right to reuse or repost content taken without our permission such as data or images to other sites.




![Death Stranding 2: On The Beach [PC] Review | A Port That Delivers](https://img.game8.co/4447392/15310a0c9aa1b6843bb713b2ea216930.jpeg/show)


