Path of Promise Map and Strategy Guide
★ Best Personality | Best Equipment | Best Party
☆ Class Tier List | Vamp Guide | Monster Wrangler
★ Friendly Monsters | Sparkly Spots | Keys Guide
☆ EXP Farming | Money Farming | Seed Farming
★ Post Game (Spoilers!) | Missables | Trophy Guide
This is a map and strategy guide for the Path of Promise dungeon in Dragon Quest 3 (DQ3). It includes the recommended level for Path of Promise, the route to take, the location of treasure chests, obtainable items, and monsters that appear.
List of Contents
Path of Promise Location
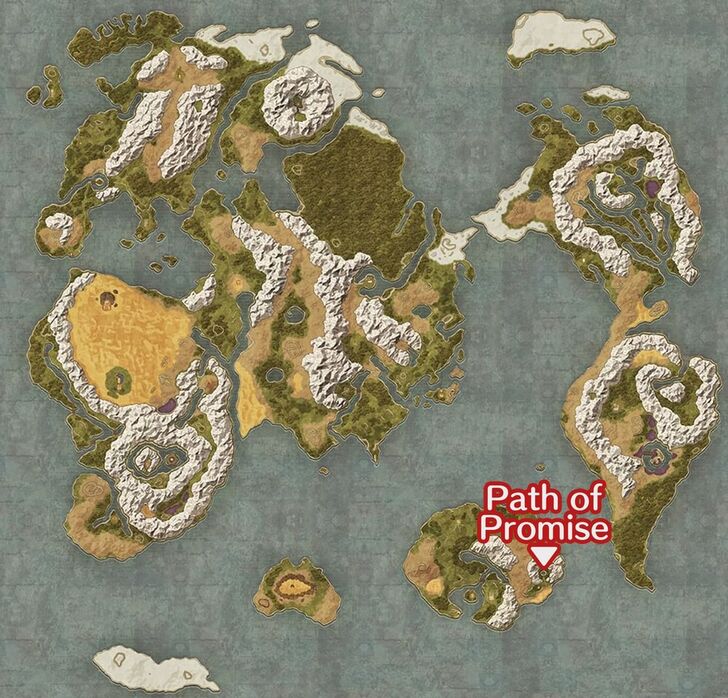
Head Southeast From Reeve
Path of Promise is a dungeon that can be reached from the southeast of Reeve.
Starting Area to Path of Promise Walkthrough
Path of Promise Map Overview
| Jump to a Path of Promise Floor! | |
|---|---|
| Basement Floor B1 | Basement Floor B2 |
| Basement Floor B3A | Basement Floor B3B |
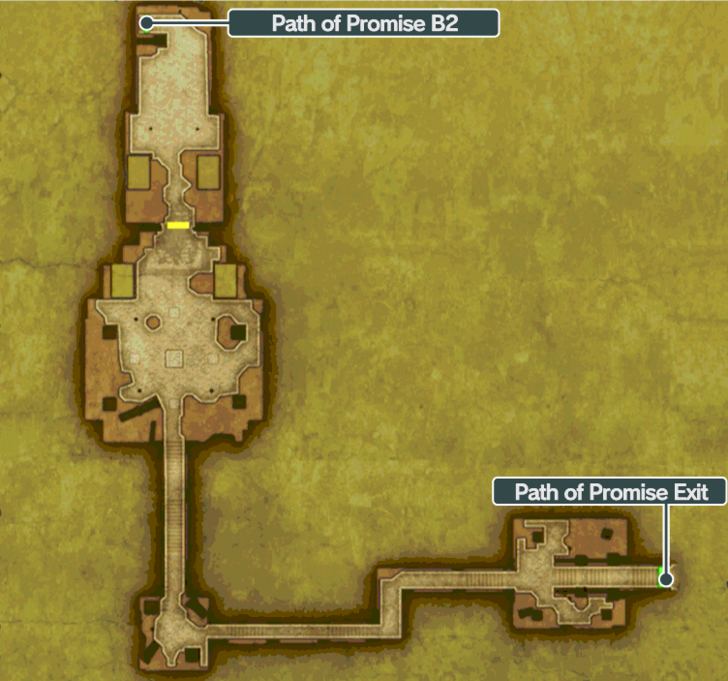
Path of Promise Floor B1
| Path of Promise B1 Map | ||
|---|---|---|
 |
||
| Treasures | ||
| No items found here. |
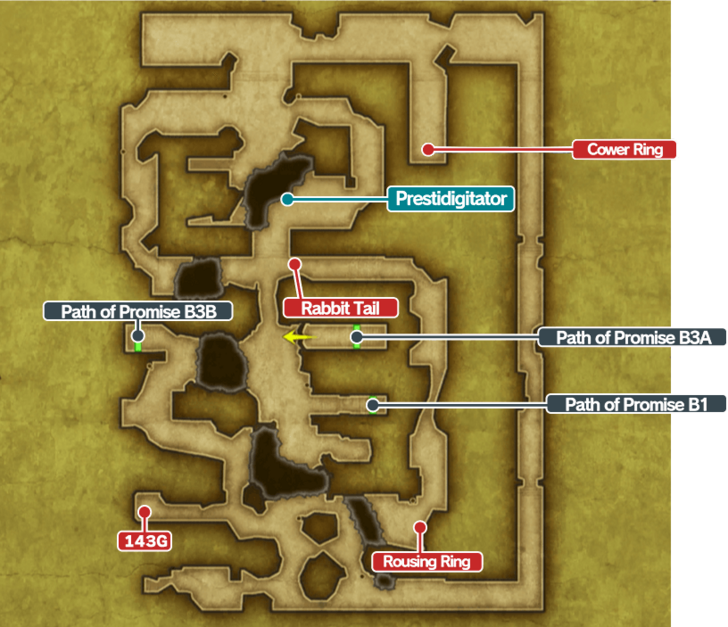
Path of Promise Floor B2
| Path of Promise B2 Map | ||
|---|---|---|
 |
||
| Treasures | ||
| Rabbit Tail | 143 Gold | |
| Cower Ring | Rousing Ring | |
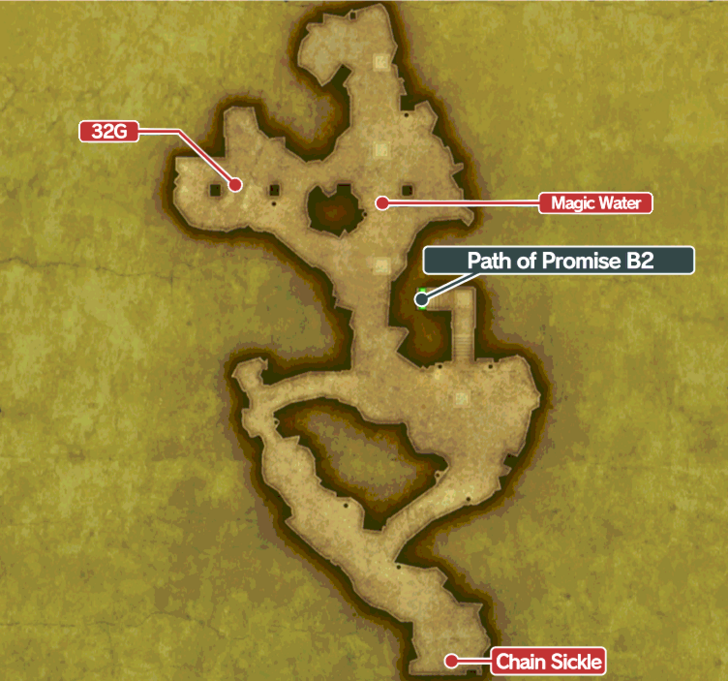
Path of Promise Floor B3A
| Path of Promise B3A Map | ||
|---|---|---|
 |
||
| Treasures | ||
| Magic Water | 113 Gold | |
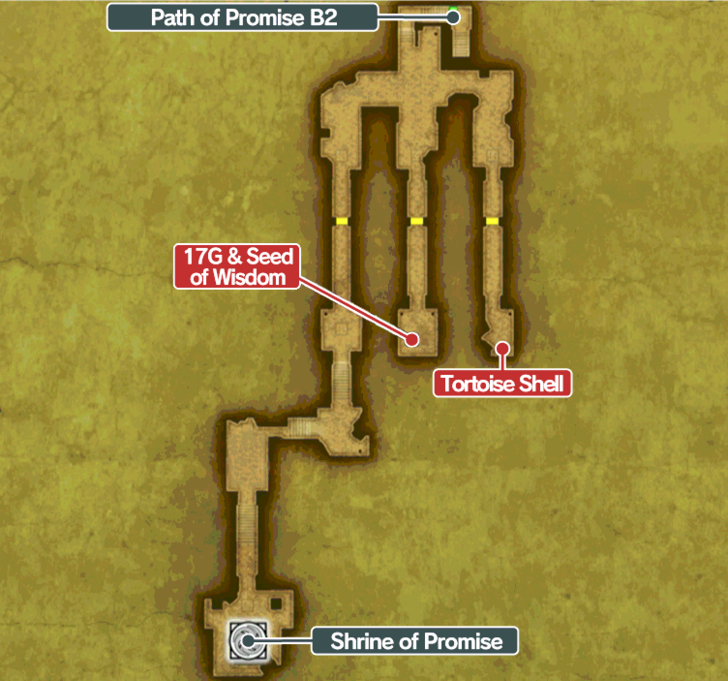
Path of Promise Floor B3B
| Path of Promise B3B Map | ||
|---|---|---|
 |
||
| Treasures | ||
| Tortoise Shell | Seed of Wisdom | 17 Gold |
Path of Promise Walkthrough
Path of Promise (Recommended Level 6 - 7)
| 1 | Head down the stairs north of the pond. |
|---|---|
| 2 | 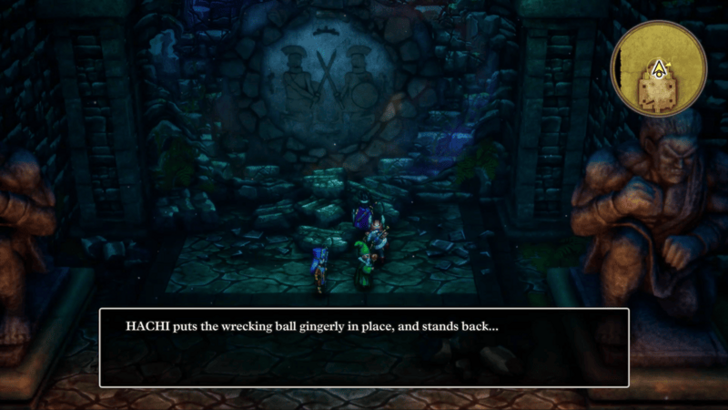 Follow the path and interact with the rubble in between the two stone statues to use the Wrecking Ball. |
| 3 | After destroying the wall, you will get the World Map from the old man. |
| 4 | Head down towards the deepest part of the dungeon. Don't forget to open chests and grab any items on the way down! |
| 5 | 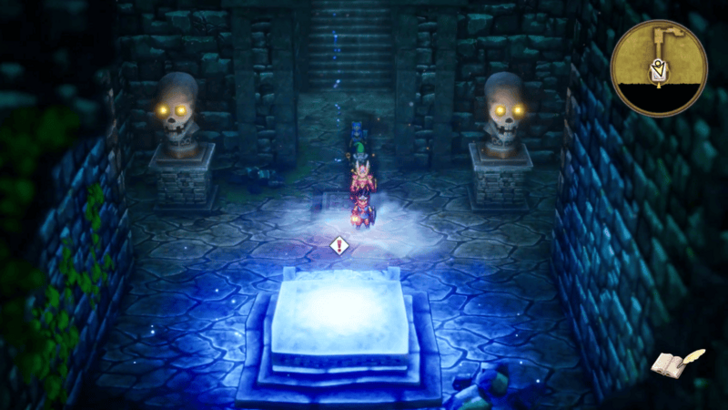 Enter the Teleportal to teleport to the Shrine of Promise. When you're ready, go up the stairs to head outside. |
| 6 | 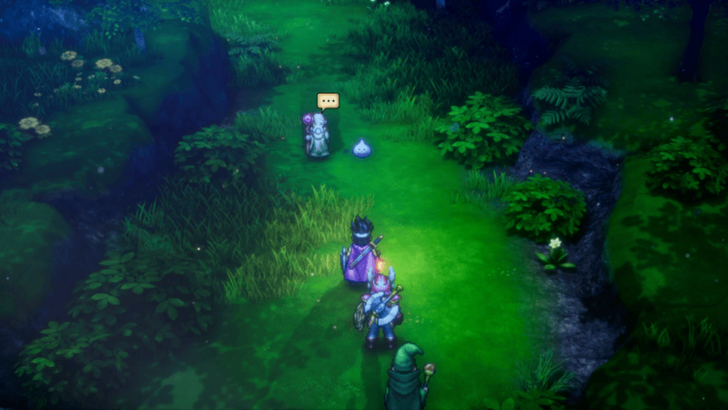 Follow the path north to encounter Monty and your first friendly monster, a Slime. |
| 7 | 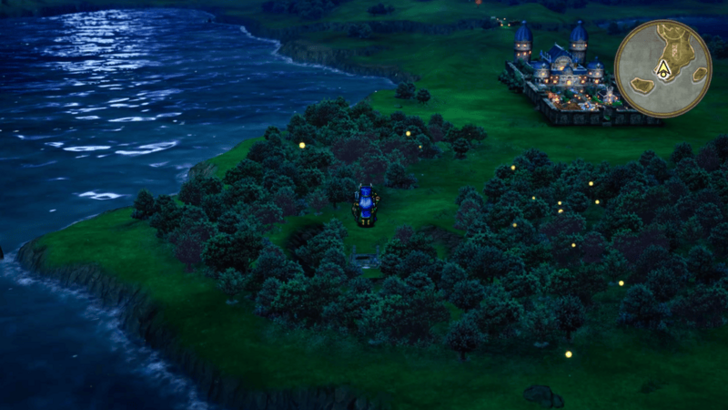 Once you are back in the overworld, go northeast towards Romaria. ▶ Romaria to Skyfell Tower Walkthrough |
Walkthrough Part 1: Aliahan to the Path of Promise
Path of Promise Friendly Monsters
| This Area has no Friendly Monsters |
DQ3 All Friendly Monster Locations
Path of Promise Mini Medals
| This Area has no Mini Medals |
All Mini Medals List: Mini Medal Locations and Rewards
Path of Promise Enemies
| List of Enemies | |||
|---|---|---|---|
Path of Promise Strategy Guide
Beware of the Spiked Hares
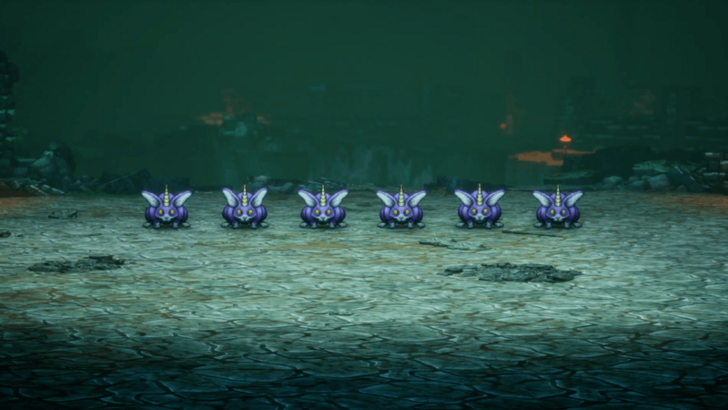
The Spiked Hares that appears in the Path of Promise are troublesome monsters that can put you and your allies to sleep. If your whole party falls asleep, there is a risk of them being wiped out in an instant so take caution when dealing with these foes.
Go Clockwise to Avoid the Cracks

On the second level of the Path of Promise, there are large cracks in the ground that will cause you to fall to the level below if you step inside. To reach the stairs to get to the next area, follow the path clockwise from the top.
Dragon Quest 3 HD-2D Remake Related Guides

List of All Towns
List of All Dungeons
Author
Path of Promise Map and Strategy Guide
improvement survey
03/2026
improving Game8's site?

Your answers will help us to improve our website.
Note: Please be sure not to enter any kind of personal information into your response.

We hope you continue to make use of Game8.
Rankings
- We could not find the message board you were looking for.
Gaming News
Popular Games

Genshin Impact Walkthrough & Guides Wiki

Honkai: Star Rail Walkthrough & Guides Wiki

Umamusume: Pretty Derby Walkthrough & Guides Wiki

Pokemon Pokopia Walkthrough & Guides Wiki

Resident Evil Requiem (RE9) Walkthrough & Guides Wiki

Monster Hunter Wilds Walkthrough & Guides Wiki

Wuthering Waves Walkthrough & Guides Wiki

Arknights: Endfield Walkthrough & Guides Wiki

Pokemon FireRed and LeafGreen (FRLG) Walkthrough & Guides Wiki

Pokemon TCG Pocket (PTCGP) Strategies & Guides Wiki
Recommended Games

Diablo 4: Vessel of Hatred Walkthrough & Guides Wiki

Fire Emblem Heroes (FEH) Walkthrough & Guides Wiki

Yu-Gi-Oh! Master Duel Walkthrough & Guides Wiki

Super Smash Bros. Ultimate Walkthrough & Guides Wiki

Pokemon Brilliant Diamond and Shining Pearl (BDSP) Walkthrough & Guides Wiki

Elden Ring Shadow of the Erdtree Walkthrough & Guides Wiki

Monster Hunter World Walkthrough & Guides Wiki

The Legend of Zelda: Tears of the Kingdom Walkthrough & Guides Wiki

Persona 3 Reload Walkthrough & Guides Wiki

Cyberpunk 2077: Ultimate Edition Walkthrough & Guides Wiki
All rights reserved
© ARMOR PROJECT/BIRD STUDIO/SPIKE CHUNSOFT/SQUARE ENIX
© SUGIYAMA KOBO ℗ SUGIYAMA KOBO
The copyrights of videos of games used in our content and other intellectual property rights belong to the provider of the game.
The contents we provide on this site were created personally by members of the Game8 editorial department.
We refuse the right to reuse or repost content taken without our permission such as data or images to other sites.





![Monster Hunter Stories 3 Review [First Impressions] | Simply Rejuvenating](https://img.game8.co/4438641/2a31b7702bd70e78ec8efd24661dacda.jpeg/thumb)


Seed of Life, far SW corner, B2