Walkthrough Part 1: Aliahan to the Path of Promise
★ Best Personality | Best Equipment | Best Party
☆ Class Tier List | Vamp Guide | Monster Wrangler
★ Friendly Monsters | Sparkly Spots | Keys Guide
☆ EXP Farming | Money Farming | Seed Farming
★ Post Game (Spoilers!) | Missables | Trophy Guide
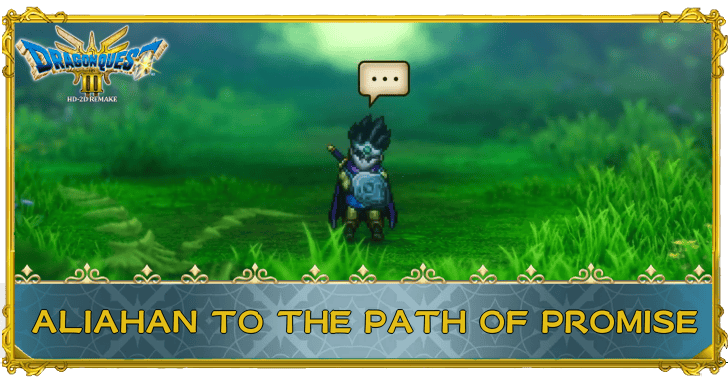
This is a walkthrough guide from Aliahan to the Path of Promise for Dragon Quest 3 HD-2D Remake (DQ3). Learn what you need to do for each region, as well as points and explanations for how to progress the story.
| Next Guide ▶ |
|---|
| Romaria to Skyfell Tower |
List of Contents
Aliahan to the Path of Promise Walkthrough Guide
Starting Area
| 1 | 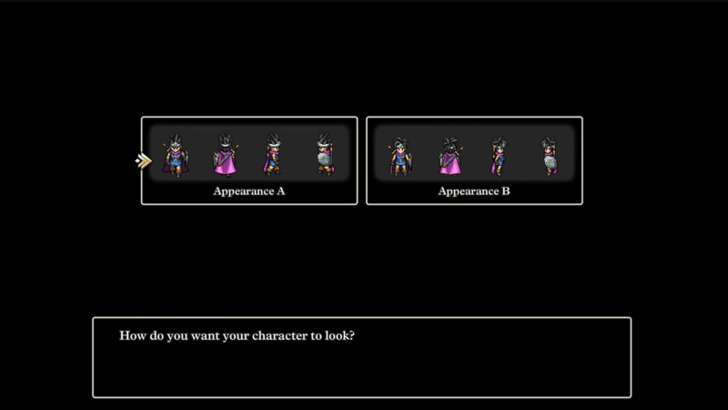 Select your protagonist and game settings. If you don't have a gender preference, we recommend starting as Appearance B so you can get the Vamp Personality. |
|---|---|
| 2 | 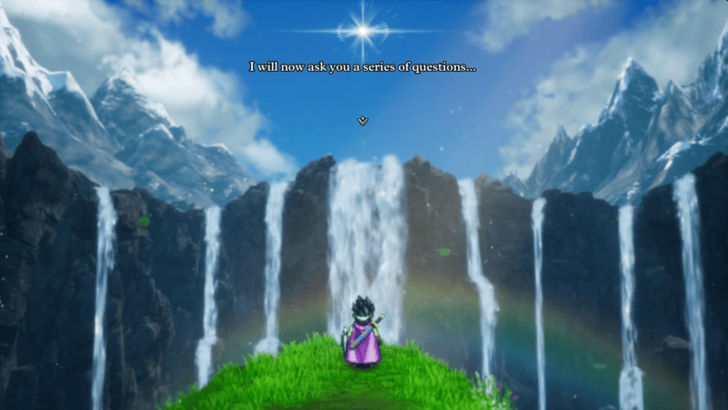 Approach the waterfall and complete the Personality Quiz. |
| 3 | 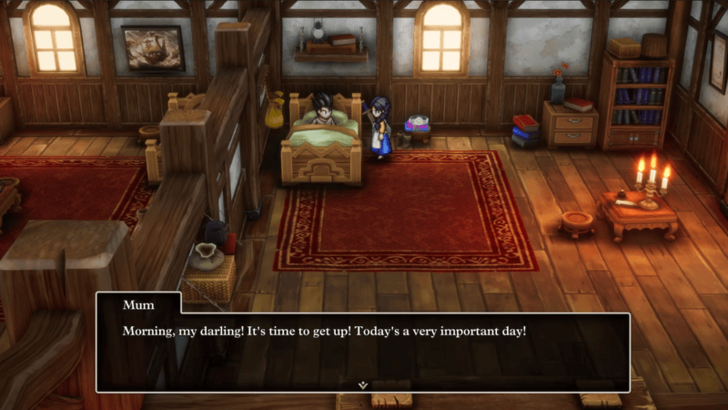 After the test, the story begins in Aliahan. |
Use Appearance B and the Vamp Personality

If you have no personal preferences, we recommend starting as Appearance B with the Vamp personality. This allows you to begin with a balanced amount of stat boosts with an emphasis on Agility and Luck.
Aliahan
| 1 | As soon as you can move, exit your house and enter Aliahan Castle to talk to the king. |
|---|---|
| * |  When you're on the bridge, don't go back to town or talk to your mother as this may alter your personality depending on your choices. |
| 2 | After talking to him, explore the town for any items and Mini Medals you can find. Note that you can only enter the house on the right at nighttime. |
| 3 |  Assemble your party at Patty's Party Planning Place in the northwest of Aliahan. It's recommend to have a party of Warrior, Priest, and Mage for combat. As for exploration, you'll want to have at least a Merchant, Thief, or Monster Wrangler in the party. |
| * | 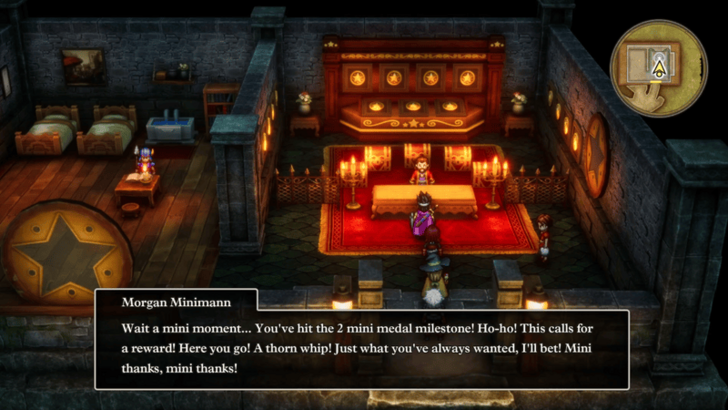 Before leaving, make sure you give the 2 Mini Medals you found in town to Morgan Minimann at the bottom of the well for a Thorn Whip. |
| 4 | When you're ready and have your party assembled, leave Aliahan and head northwest to Reeve. |
Aliahan Map and Available Items
Recruit Custom Companions

When you're adding party members to your team, it's highly recommended to go to the second floor and talk to the man at the desk to recruit custom party members.
Unlike the default companions from Patty, you'll get to choose their name, gender, Vocation, appearance, and stat distribution. The most important part of this is the stat distribution, since it will change the personality that they get.
Best Personalities for Each Vocation
Reeve (Recommended Level 2 - 3)
| 1 |  Defeat monsters around Reeve until you and your party get to at least Level 3. |
|---|---|
| 2 |  There's a Secret Spot right to the west of Reeve so make sure to go to the tree and grab the Divine Dagger inside. Afterwards, you can head into Reeve. ▶ All Secret Spot Locations |
| * | Whenever you enter a new town, it's recommended to purchase new equipment and restock your items if need be. |
| 3 | 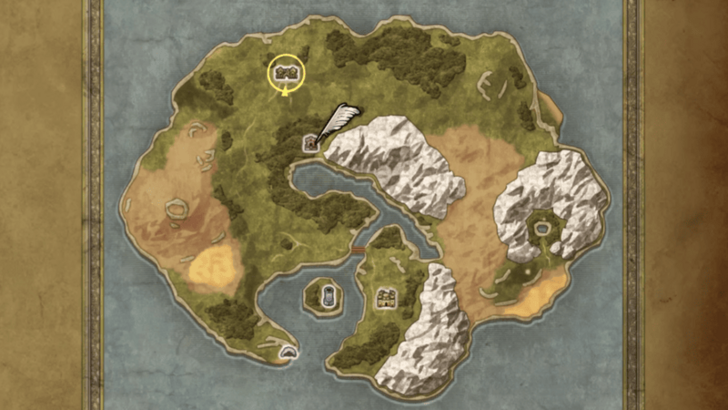 Head into the Shrine of the Plains directly south of Reeve. You can enter the Dreamer’s Tower through the entrance found to the left. |
Going to Reeve is Optional
You can progress the story without stopping by Reeve, but it is recommended to stop by the area to prepare yourself for the battles to come.
It is a good idea to rest up at the inn and purchase about 15 Medicinal Herbs before heading to Dreamer’s Tower if you don't have a dedicated healer in the party.
Alternate Path to the Dreamer’s Tower
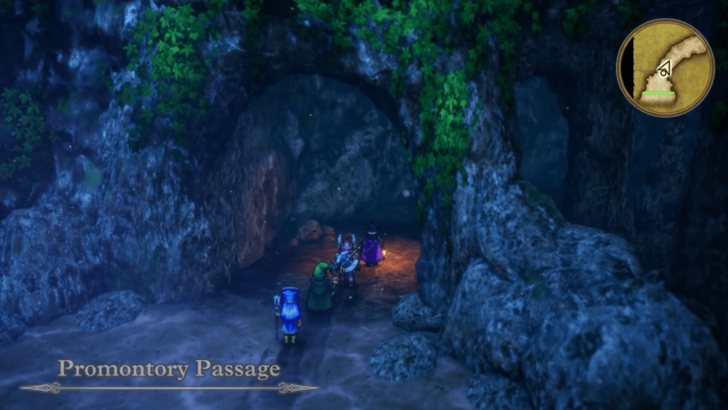
The shortest route to the Dreamer’s Tower is from a clearing in the forest south of Reeve. However, you can also reach the tower from Promontory Passage, if you wish to fight more monsters and open some chests.
Promontory Cave Map and Strategy Guide
Dreamer's Tower (Recommended Level 3 - 4 )
| * | 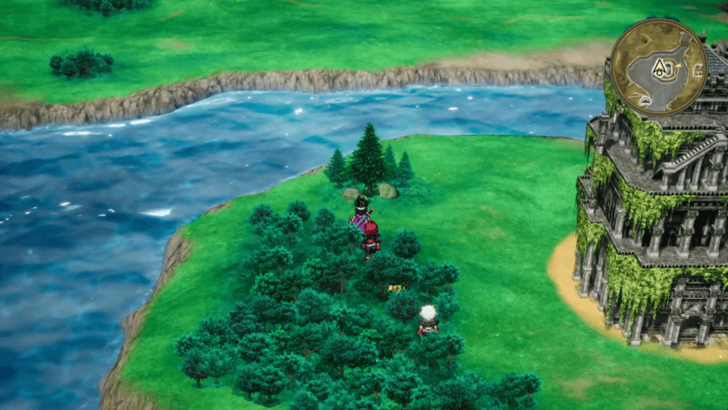 Before climbing the tower, head outside and visit the Secret Spot on the northwestern side of the island. |
|---|---|
| 1 |  Climb the Dreamer's Tower from the basement towards the 4th floor. Remember to rest at the Inn on the 1st floor whenever you're low on MP. |
| 2 | 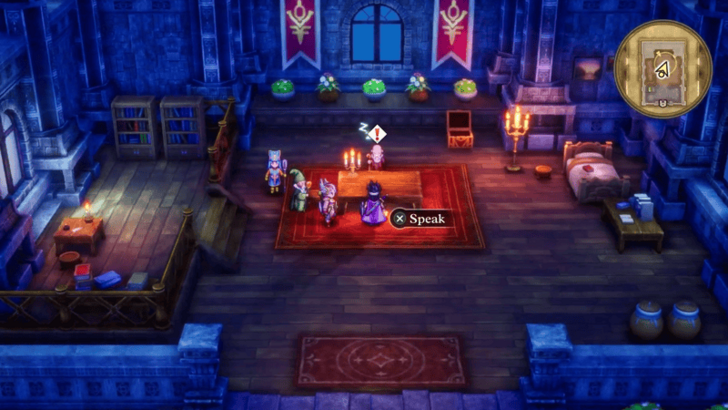 Talk to the old man on the fourth floor of the tower and receive the Thief's Key. To get to him, you'll need to take the spiral staircase on the 3rd floor, not the stairs on the southside. |
| 3 | 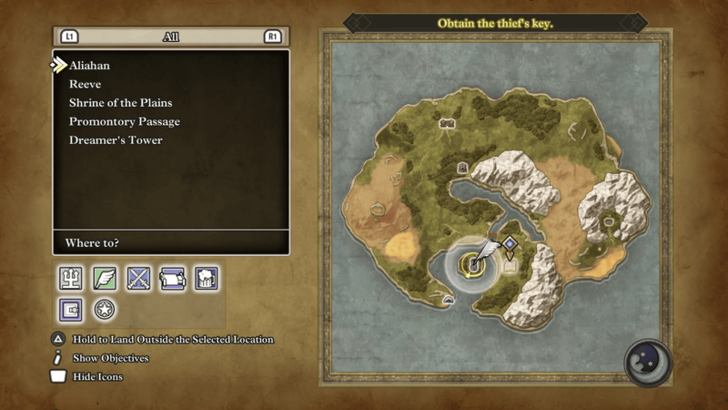 Leave Dreamer's Tower and return to Reeve. You can jump off the tower and use the Chimaera Wing from the chest next to the old man to quickly teleport there. |
| 4 | 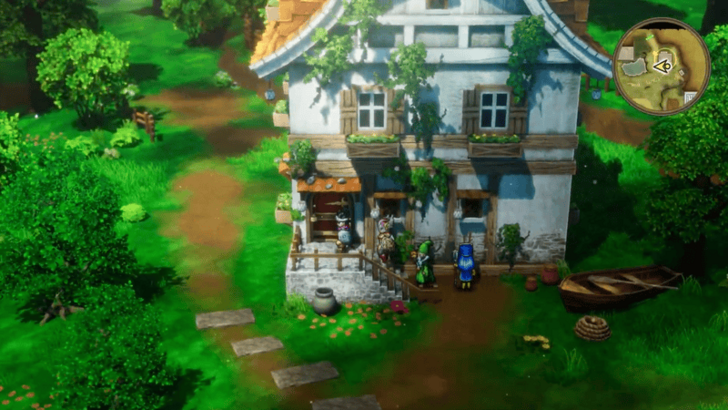 After arriving at Reeve, enter the house with the red door in the northeast to receive a Wrecking Ball from the old man on the second floor. |
| 5 | 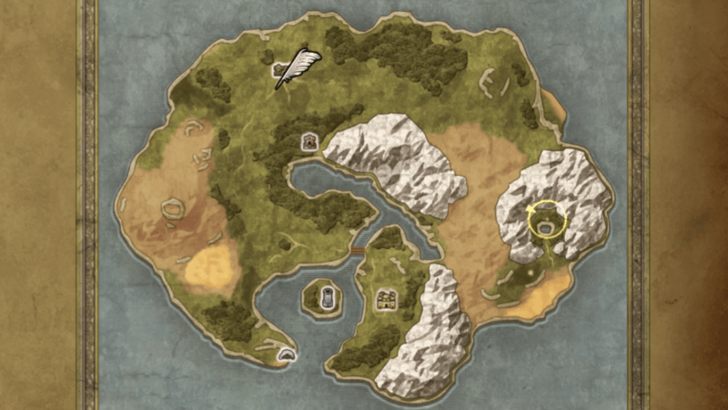 From Reeve, head southeast towards the Path of Promise. |
Dreamer's Tower Map and Strategy Guide
Open Red Doors With the Thief's Key

After obtaining the Thief's Key, you will be able to open any red door that you come across. It's recommended to backtrack to areas you've previously visited, like the basement of Dreamer's Tower or Aliahan, to open any red doors you couldn't previously access.
How to Get the Thief's Key and Where to Use It
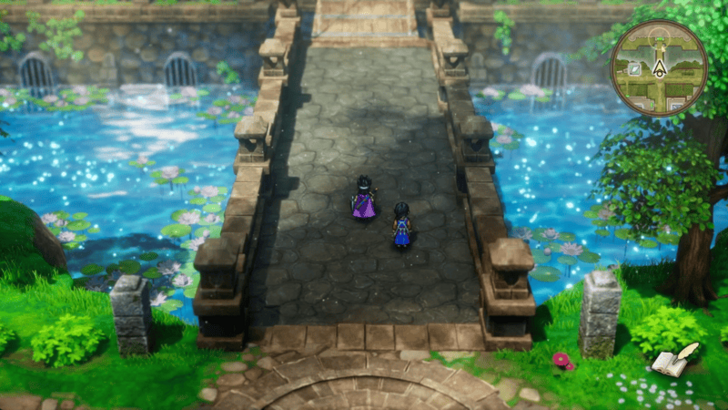
Path of Promise (Recommended Level 6 - 7)
| 1 | Head down the stairs north of the pond. |
|---|---|
| 2 | 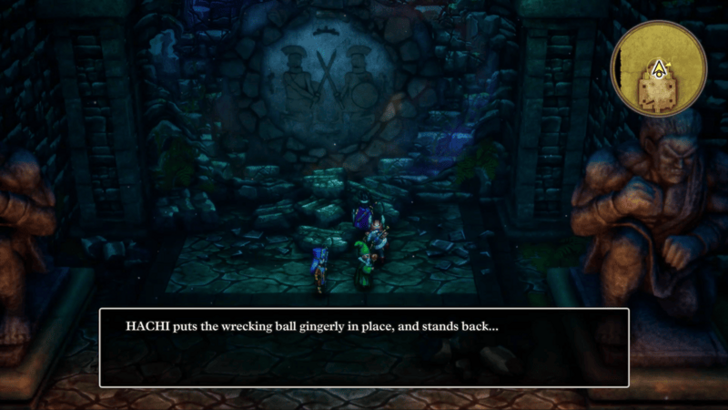 Follow the path and interact with the rubble in between the two stone statues to use the Wrecking Ball. |
| 3 | After destroying the wall, you will get the World Map from the old man. |
| 4 | Head down towards the deepest part of the dungeon. Don't forget to open chests and grab any items on the way down! |
| 5 |  Enter the Teleportal to teleport to the Shrine of Promise. When you're ready, go up the stairs to head outside. |
| 6 | 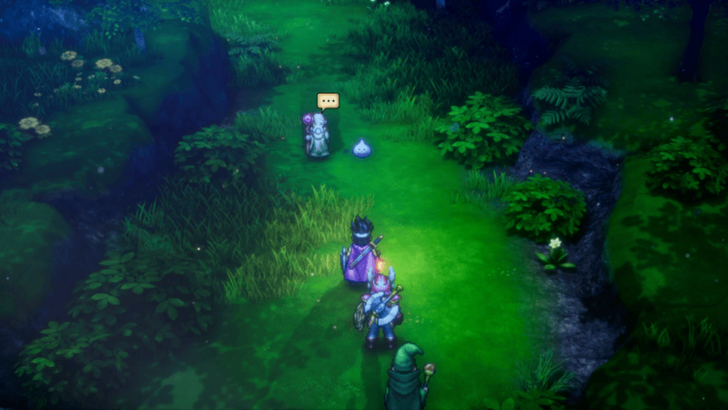 Follow the path north to encounter Monty and your first friendly monster, a Slime. |
| 7 | 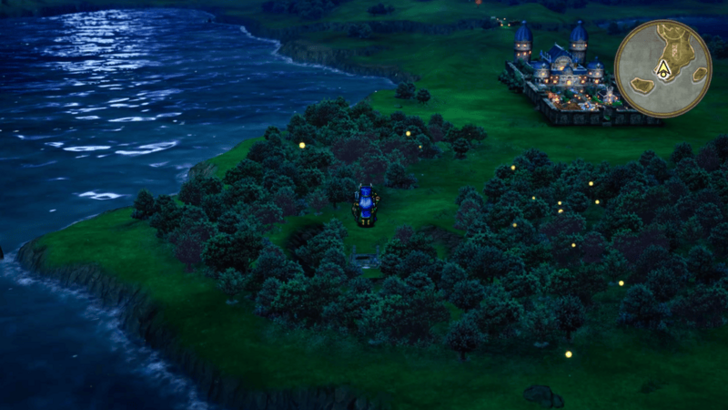 Once you are back in the overworld, go northeast towards Romaria. ▶ Romaria to Skyfell Tower Walkthrough |
Path of Promise Map and Strategy Guide
Beware of the Spiked Hares
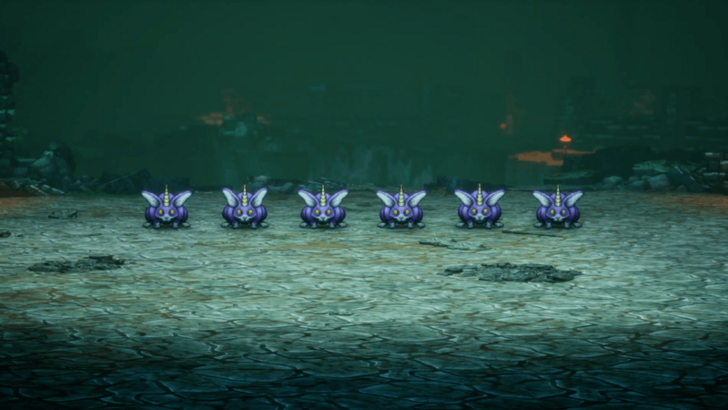
The Spiked Hares that appears in the Path of Promise are troublesome monsters that can put you and your allies to sleep. If your whole party falls asleep, there is a risk of them being wiped out in an instant so take caution when dealing with these foes.
Go Clockwise to Avoid the Cracks

On the second level of the Path of Promise, there are large cracks in the ground that will cause you to fall to the level below if you step inside. To reach the stairs to get to the next area, follow the path clockwise from the top.
Dragon Quest 3 HD-2D Remake Related Guides

List of All Story Walkthroughs
| All Story Walkthroughs | |
|---|---|
| 1 | Aliahan to the Path of Promise |
| 2 | Romaria to Skyfell Tower |
| 3 | Norvik to the Underground Lake |
| 4 | Asham to the Pyramid |
| 5 | Portoga to the Tower of Transcendence |
| 6 | Theddon to Orochi’s Lair |
| 7 | Manoza to the Phantom Ship |
| 8 | Olivia’s Promontory to Baramos’ Lair |
| 9 | Castle of the Dragon Queen to the Craggy Cave |
| 10 | Damdara to Zoma’s Citadel |
| 11 | Endgame Content |
Author

Walkthrough Part 1: Aliahan to the Path of Promise
Rankings
- We could not find the message board you were looking for.
Gaming News


Popular Games

Genshin Impact Walkthrough & Guides Wiki
Umamusume: Pretty Derby Walkthrough & Guides Wiki
Crimson Desert Walkthrough & Guides Wiki
Monster Hunter Stories 3: Twisted Reflection Walkthrough & Guides Wiki
Honkai: Star Rail Walkthrough & Guides Wiki
Pokemon Pokopia Walkthrough & Guides Wiki
The Seven Deadly Sins: Origin Walkthrough & Guides Wiki
Wuthering Waves Walkthrough & Guides Wiki
Zenless Zone Zero Walkthrough & Guides Wiki
Arknights: Endfield Walkthrough & Guides Wiki


Recommended Games
Fire Emblem Heroes (FEH) Walkthrough & Guides Wiki
Diablo 4: Vessel of Hatred Walkthrough & Guides Wiki
Cyberpunk 2077: Ultimate Edition Walkthrough & Guides Wiki
Yu-Gi-Oh! Master Duel Walkthrough & Guides Wiki
Super Smash Bros. Ultimate Walkthrough & Guides Wiki
Pokemon Brilliant Diamond and Shining Pearl (BDSP) Walkthrough & Guides Wiki
Elden Ring Shadow of the Erdtree Walkthrough & Guides Wiki
Monster Hunter World Walkthrough & Guides Wiki
The Legend of Zelda: Tears of the Kingdom Walkthrough & Guides Wiki
Persona 3 Reload Walkthrough & Guides Wiki


All rights reserved
© ARMOR PROJECT/BIRD STUDIO/SPIKE CHUNSOFT/SQUARE ENIX
© SUGIYAMA KOBO ℗ SUGIYAMA KOBO
The copyrights of videos of games used in our content and other intellectual property rights belong to the provider of the game.
The contents we provide on this site were created personally by members of the Game8 editorial department.
We refuse the right to reuse or repost content taken without our permission such as data or images to other sites.