Walkthrough Part 6: Theddon to Orochi’s Lair
★ Best Personality | Best Equipment | Best Party
☆ Class Tier List | Vamp Guide | Monster Wrangler
★ Friendly Monsters | Sparkly Spots | Keys Guide
☆ EXP Farming | Money Farming | Seed Farming
★ Post Game (Spoilers!) | Missables | Trophy Guide
This is a walkthrough guide from Theddon to Orochi’s Lair for Dragon Quest 3 HD-2D Remake (DQ3). Learn what you need to do for each region, as well as points and explanations for how to progress the story.
| ◀ Previous Guide | Next Guide ▶ |
|---|---|
| Portoga to the Tower of Transcendence | Gaia's Navel to the Phantom Ship |
List of Contents
Theddon to Orochi’s Lair Walkthrough Guide
Immigrant Town
| * | This part isn't mandatory right now, but it's best to do it straight away so that you don't forget about it later. This can be done at any time so you can skip ahead to Theddon if you wish. |
|---|---|
| 1 | 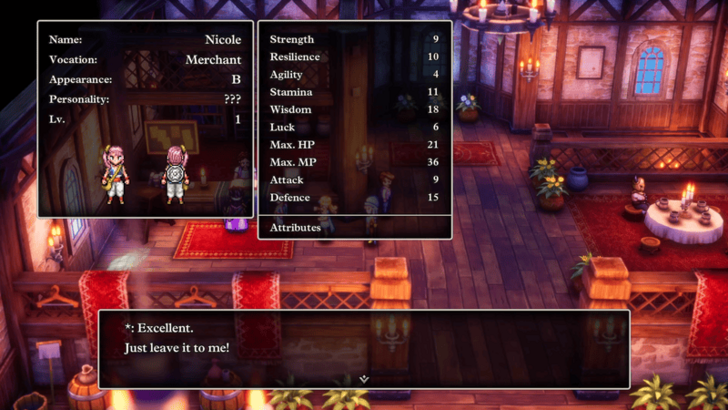 Recruit a new Merchant in Patty's Party Planning Place and add them to your party. Their stats and personality don't matter so just have the man distribute the seeds for you. |
| 2 | 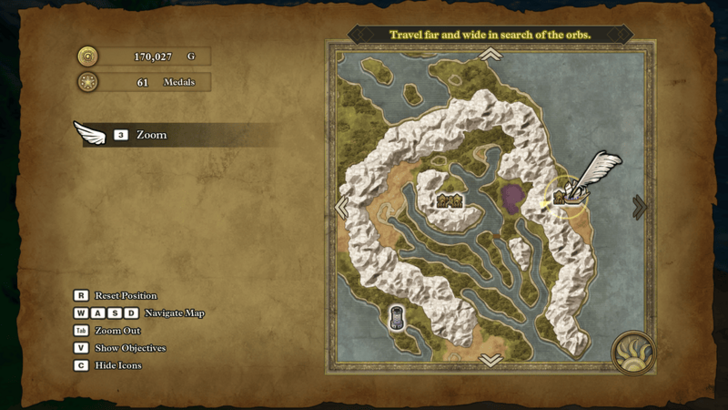 Head west from Portoga to an unnamed cabin just east of Persistence. |
| 3 | 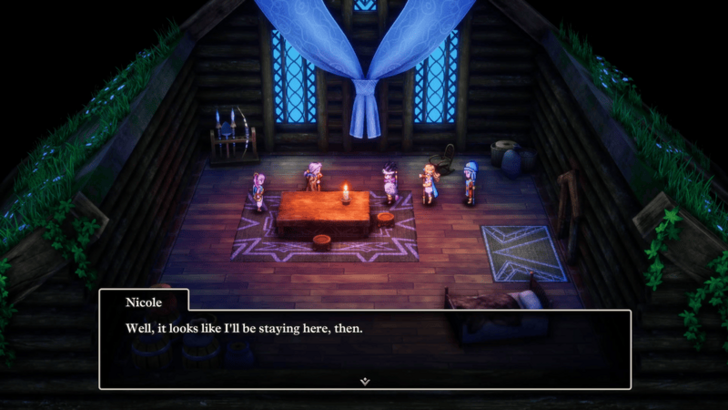 Talk to the man in the cabin and leave your Merchant here to start a new town. Remember to return to Aliahan after to reassemble your original party setup at Patty's. The Merchant will be permanently removed from your party and can no longer be taken on adventures. This is why it's recommended to recruit a new one rather than leaving one that you've been training since the beginning. |
| * | 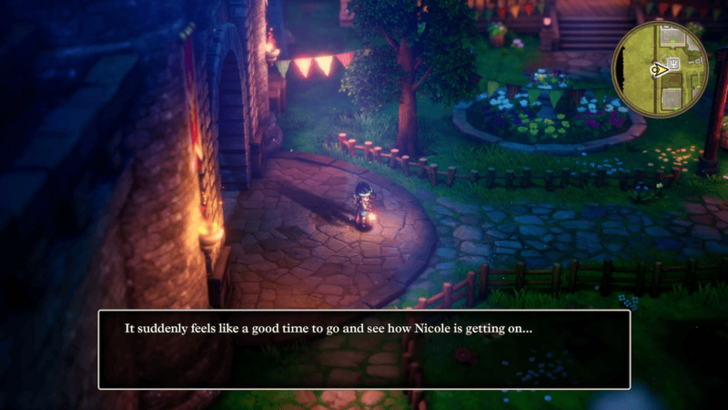 Starting the Immigrant Town is necessary to get the Yellow Orb later on as the town grows over time. You'll be notified whenever the town gets upgraded so you won't miss the Yellow Orb once it becomes available. It's also a good idea to check the shops every time the town's upgraded for any new items and equipment you could use. |
Immigrant Town Map and Available Items
Theddon (Recommended Level 22)
| * | Now that you have access to the ship, you can sail around the world to visit all the Sparkly Spots and Secret Spots available to you. You can also visit every location you can sail to unlock them as fast travel points, making the search for the six orbs much easier. |
|---|---|
| 1 | 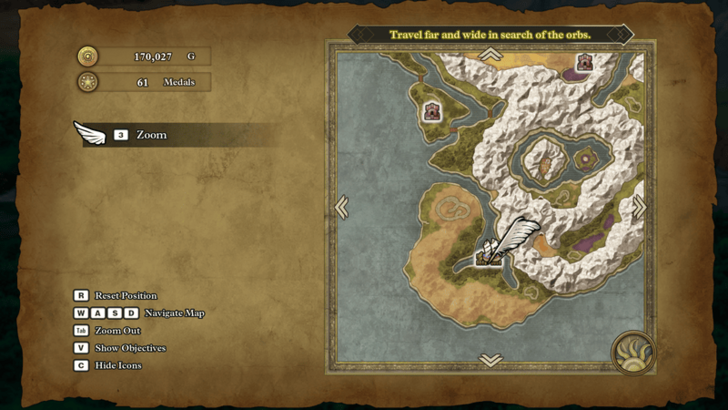 When you're ready, sail south from Portoga down to Theddon. |
| 2 | 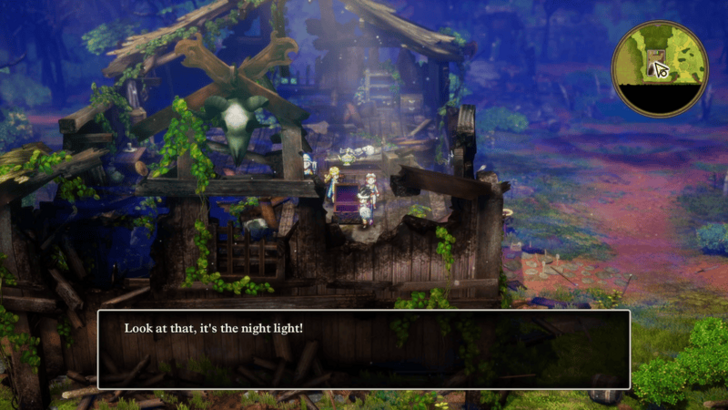 Once you're in town, explore it first for any new items, Mini Medals, and friendly monsters. Make sure you don't miss out on the Night Light on the second floor of the equipment shop. This is a very useful item that lets you turn the time to night whenever it's used. |
| 3 | 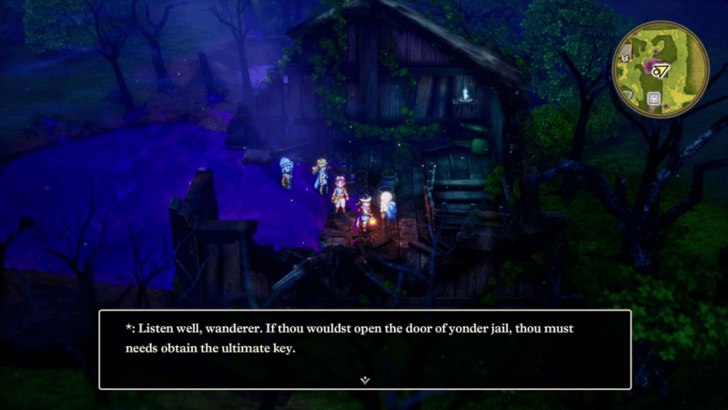 When you're done, use the Night Light to turn the time to night and get all the villagers to spawn. You can then talk to the man in the northeastern house to learn about the Ultimate Key required to open the jail cell. |
| 4 | 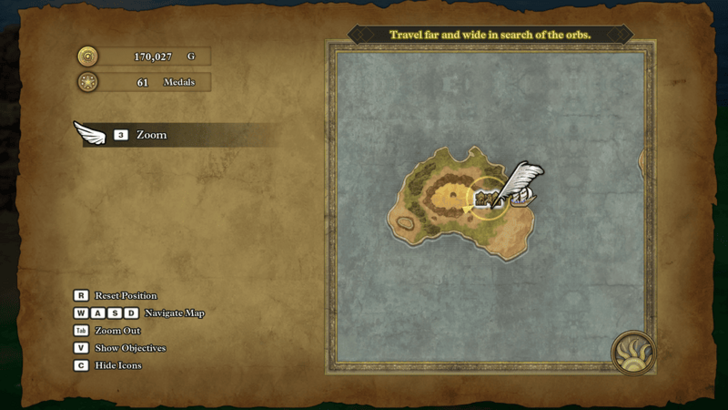 After you're done interacting with the villagers, sail southeast to Lanson. |
Theddon Map and Available Items
Theddon Villagers Only Spawn at Night
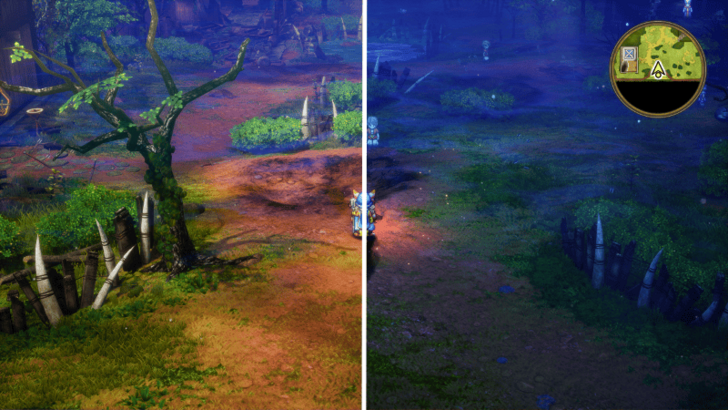
The villagers of Theddon only appear at night. However, if you visit during the day, you can always change the time by using the Night Light or the Tick-Tock spell.
Day Night Cycle: How to Change the Time
Lanson (Recommended Level 23)
| 1 | 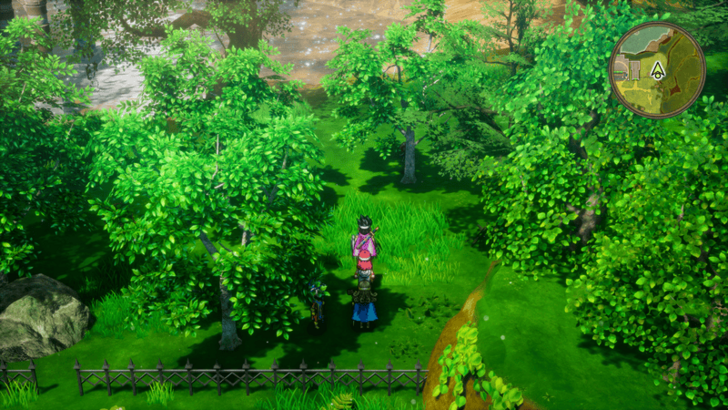 Once you're in town, explore it as usual for any new items and collectables. |
|---|---|
| 2 | 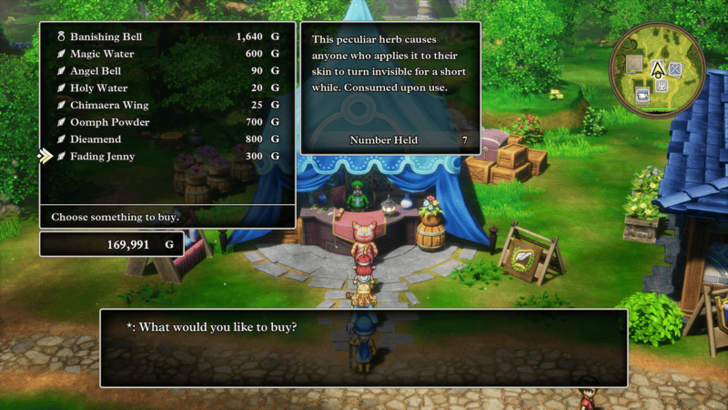 Talk to the item vendor to purchase some Fading Jennies. You can stock up on a ton of these if you wish since they're also useful for recruiting friendly monsters. |
| 3 | 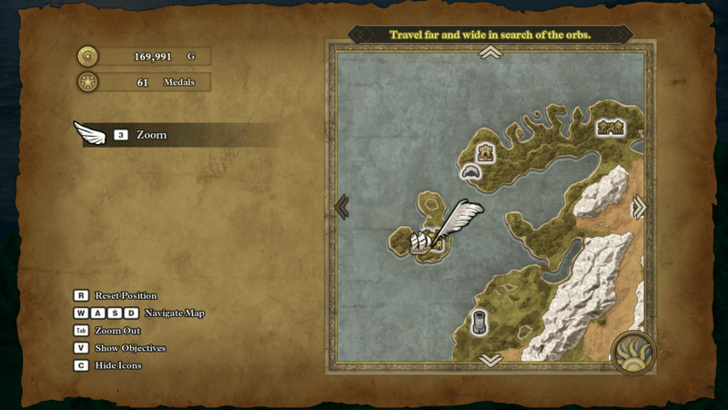 When you're done here, teleport to the Underground Lake and sail southwest to Edina. |
Lanson Map and Available Items
Edina (Recommended Level 23)
| 1 | 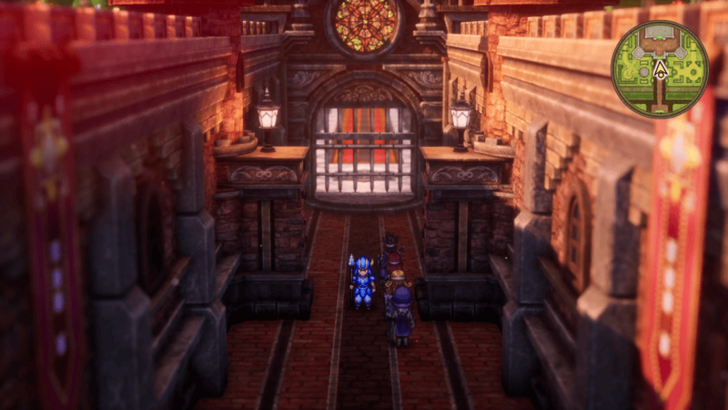 After the cutscene, use a Fading Jenny to sneak past the guard and enter the castle. |
|---|---|
| 2 | 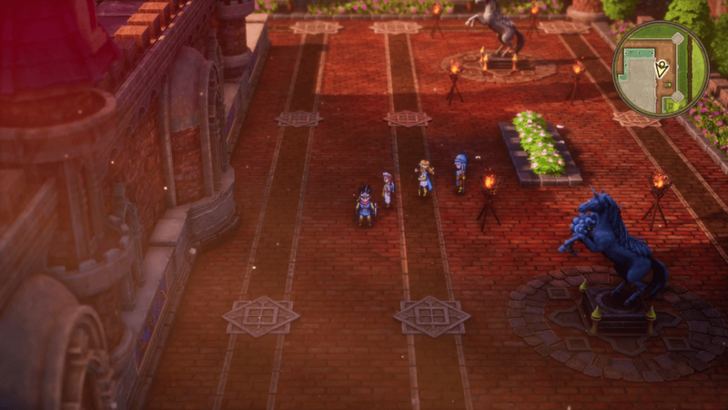 Explore the castle first for any items and collectables before going down to the basement. |
| 3 | Head to the basement solve the puzzle to open the room containing the Bottomless Pot. Once the door's open, head inside and open the chest. |
| 4 | 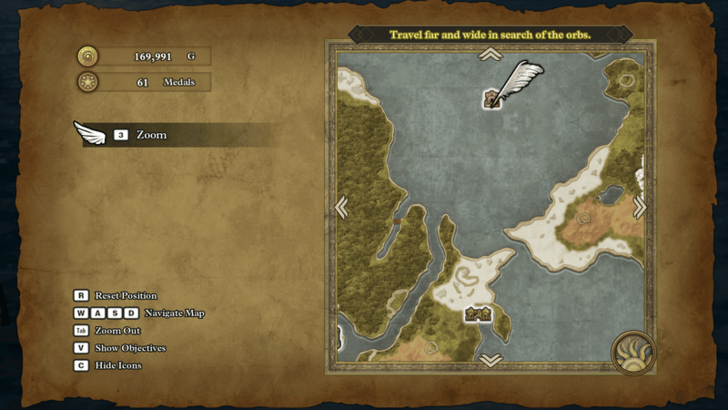 Once you've got the Bottomless Pot, teleport to Mur and sail north to the Shallows Shrine. |
Shallows Shrine - Green Orb (Recommended Level 23)
| 1 | 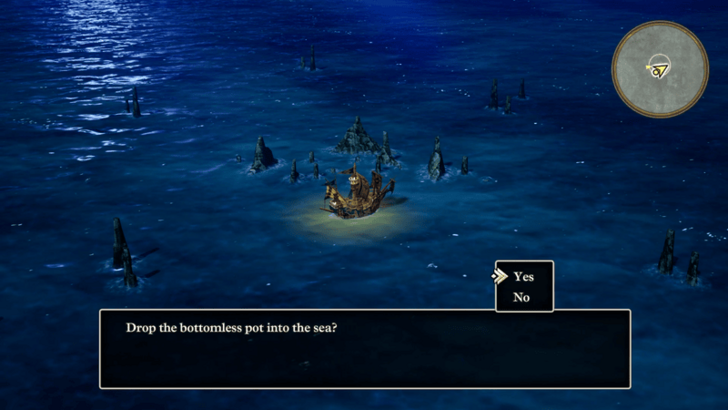 Once you've reached the reef, use the Bottomless Vase to reveal the shrine. |
|---|---|
| 2 | 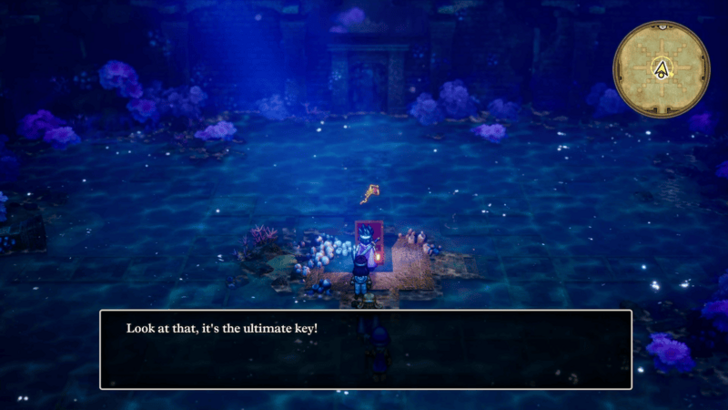 Enter the shrine and open the chest to grab the Ultimate Key. You can also talk to the skeleton at the back and interact with the floor right behind the chest for a Mini Medal. Now that you have the Ultimate Key, you can backtrack to locations that have locked grey and jail doors to open them. Once you're done doing this, you can resume your journey. ▶ Ultimate Key Location and Doors Opened |
| 3 | 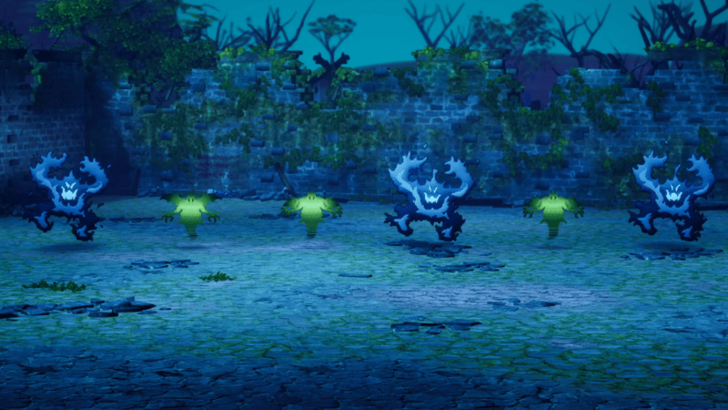 When you're ready, head back to Theddon at night and talk to the prisoner in the jail cell. This will start a boss fight against some Dying Fires and Phantasms so make sure you're prepared before opening the jail cell. ▶ How to Beat Dying Fire |
| 4 | 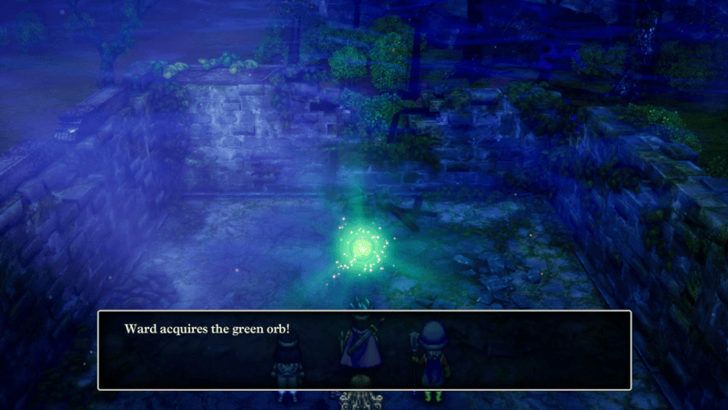 Once you've defeated the boss, a short cutscene will play and you'll now have the Green Orb. From here, you can leave the town to continue finding the other five Orbs. |
Shallows Shrine Map and Available Items
Dying Fire Combat Guide
 |
||
| Rec. Level | Drops | |
|---|---|---|
| 23 | None | |
| Tips to Beat Dying Fire | ||
|
・Prioritize defeating the Phantasms first. ・Use Magic Barrier to reduce spell damage. ・Bring Dieamends to counter instakill spells. ・Kill the Dying Fires at the same time. |
||
Persistence (Recommended Level 23)
| * | Visitng Persistence and Fifer's Spire aren't necessary, but they do give you useful items and collectables if you explore them. |
|---|---|
| 1 | 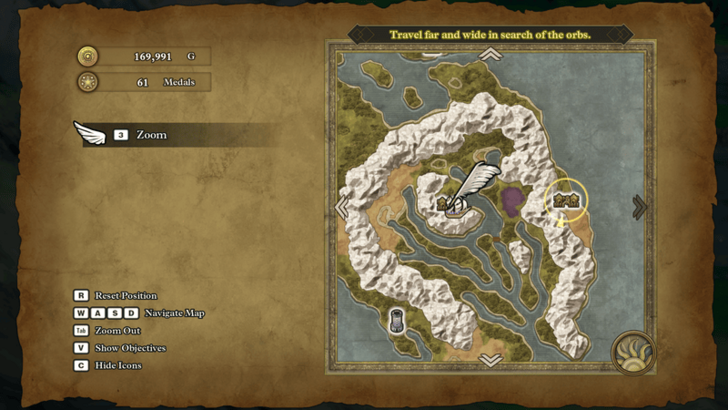 Teleport to the Immigrant Town and sail around west to Persistence. |
| 2 | 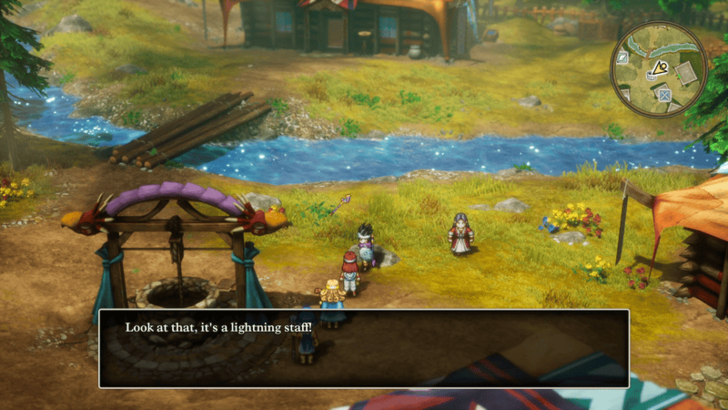 Explore the town for some items and collectables. Make sure to grab the Lightning Staff from the rock near the well since it's a pretty useful item in battle. |
| 3 | 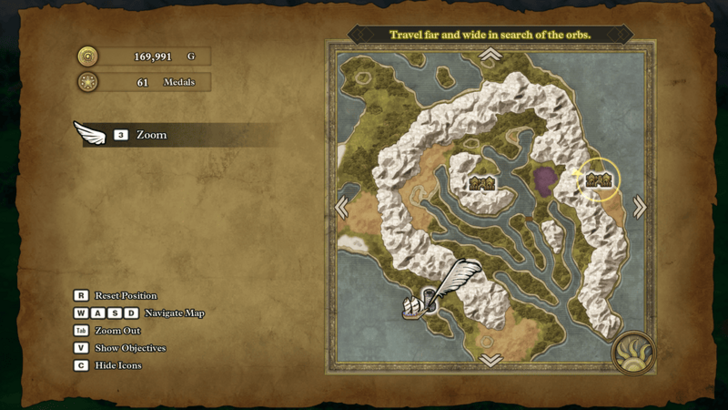 When you're done exploring the village, head southwest to the Fifer's Spire. |
Persistence Map and Available Items
Fifer's Spire (Recommended Level 23)
| 1 | Once you're here, explore the tower for any treasures and friendly monsters inside. |
|---|---|
| 2 | 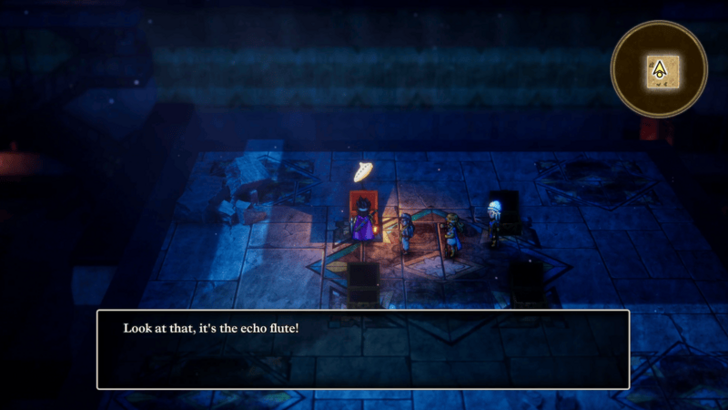 Head to the center platform to grab the Echo Flute from the four chests. This lets you check if an Orb is close by whenever you use it. After you've gotten everything inside the tower, you can leave and resume your journey for the Orbs. |
| * | 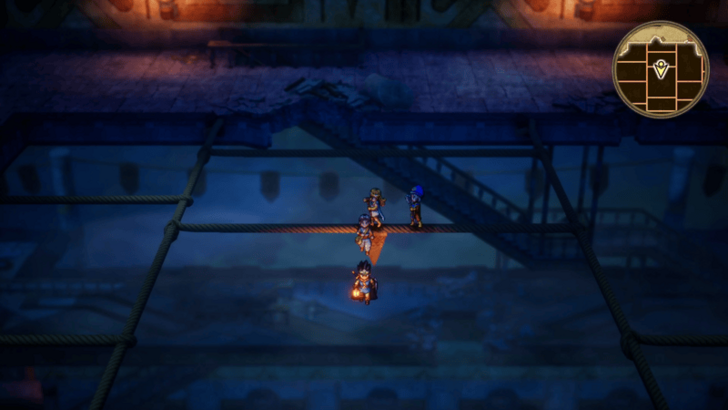 To get to the center platform with the chests, you'll need to drop off the rope on the fifth floor. You can tell exactly where you need to fall thanks to the flag marking the jumping point. If you're on controller, use the D-Pad while on the ropes so you don't prematurely fall off. |
Fifer's Spire Map and Strategy Guide
Jipang (Recommended Level 23)
| 1 | 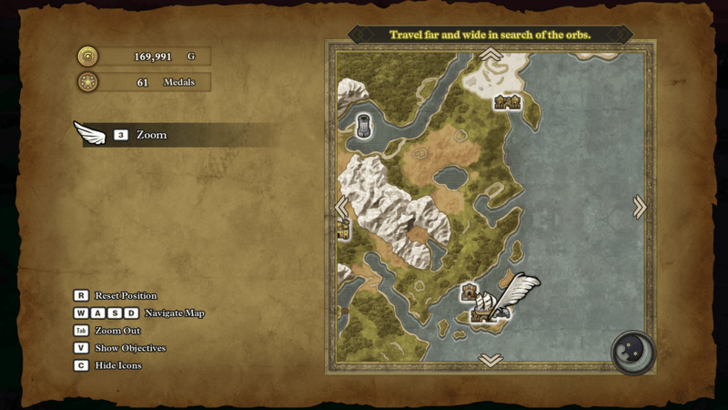 When you're ready, teleport to Mur and sail south to Jipang. |
|---|---|
| 2 | When you visit Jipang for the first time, a cutscene will play explaining the situation of the villagers. Once that's done, explore the area for items, collectables, and friendly monsters. |
| 3 | 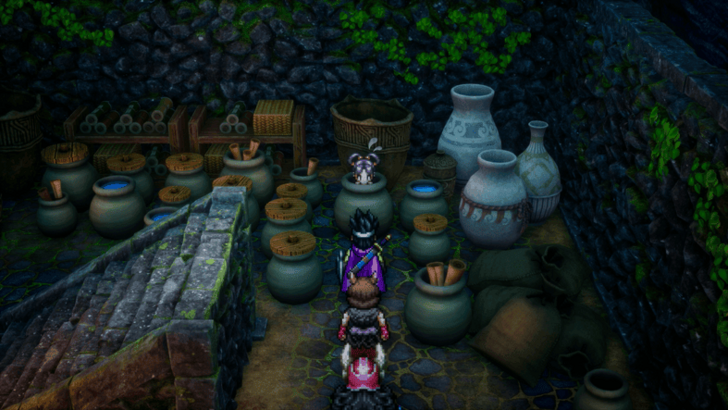 To progress the story, head to the basement storage in the west and interact with the pot to talk to Yayoi. She'll tell you more about Orochi and your next task will be to deal with them. |
Jipang Map and Available Items
Orochi's Lair - Purple Orb (Recommended Level 24 - 25)
| 1 | 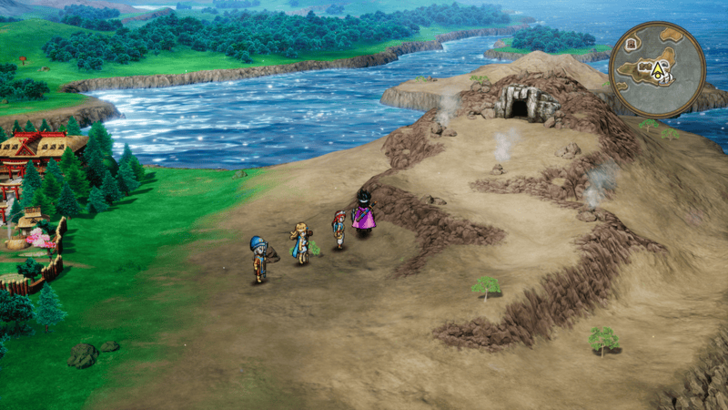 Head east from Jipang to the cave opening and enter Orochi's Lair. |
|---|---|
| 2 | Explore the cave for any new items and friendly monsters on the way down to the second floor. |
| 3 |  When you're ready, head to the most eastern part of the second floor to confront Orochi. Make sure to set up your defensive buffs first so that you don't take too much damage. ▶ How to Beat Orochi (Lair) |
| 4 | 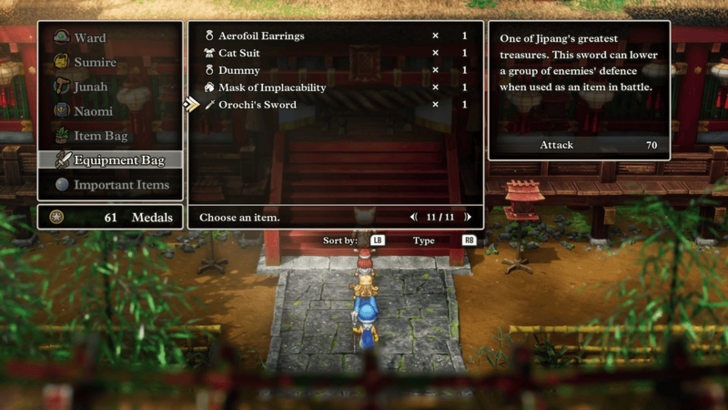 Once they've been defeated, you'll obtain Orochi's Sword and be teleported back to Jipang. Before entering the temple, heal up back at an inn and replenish your resources. |
| 5 | 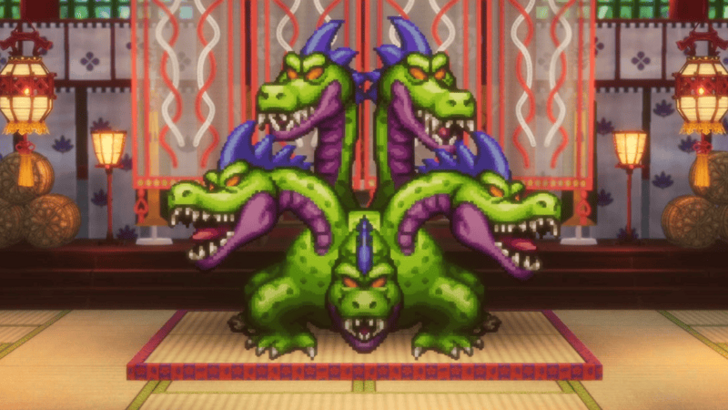 After resting up, head back to the temple and talk to Pimiko to start the second fight with Orochi. The fight will largely be the same, except for two new moves so watch out. ▶ How to Beat Orochi (Jipang) |
| 6 | 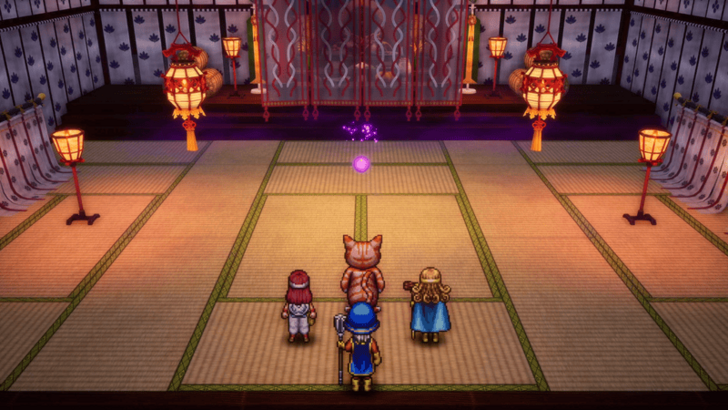 Beating Orochi the second time around will kill them for good, and you'll get the Purple Orb for your efforts. After the cutscene ends, you'll be free to search for the other four Orbs. ▶ Gaia's Navel to the Phantom Ship Walkthrough |
Orochi's Lair Map and Strategy Guide
Orochi (Lair) Combat Guide
 |
||
| Rec. Level | Drops | |
|---|---|---|
| 24 | Orochi's Sword | |
| Tips to Beat Orochi (Lair) | ||
|
・Dazzle helps make it easier to dodge attacks. ・Use Oomph and Sap to maximize damage output. ・Orochi is susceptible to Ice and Lightning. ・Constantly heal since its Breath attack hits everyone. ・Insulatle is amazing if you have it unlocked. |
||
Orochi (Jipang) Combat Guide
 |
||
| Rec. Level | Drops | |
|---|---|---|
| 24 | None | |
| Tips to Beat Orochi (Jipang) | ||
|
・Strategies from the first fight are still effective. ・Bring ways to prevent or cure Paralysis. ・Level up for Insulatle if you're having a hard time. |
||
Dragon Quest 3 HD-2D Remake Related Guides

List of All Story Walkthroughs
| All Story Walkthroughs | |
|---|---|
| 1 | Aliahan to the Path of Promise |
| 2 | Romaria to Skyfell Tower |
| 3 | Norvik to the Underground Lake |
| 4 | Asham to the Pyramid |
| 5 | Portoga to the Tower of Transcendence |
| 6 | Theddon to Orochi’s Lair |
| 7 | Manoza to the Phantom Ship |
| 8 | Olivia’s Promontory to Baramos’ Lair |
| 9 | Castle of the Dragon Queen to the Craggy Cave |
| 10 | Damdara to Zoma’s Citadel |
| 11 | Endgame Content |
Comment
Author
Walkthrough Part 6: Theddon to Orochi’s Lair
Rankings
- We could not find the message board you were looking for.
Gaming News
Popular Games

Genshin Impact Walkthrough & Guides Wiki

Umamusume: Pretty Derby Walkthrough & Guides Wiki

Crimson Desert Walkthrough & Guides Wiki

Monster Hunter Stories 3: Twisted Reflection Walkthrough & Guides Wiki

Honkai: Star Rail Walkthrough & Guides Wiki

Pokemon Pokopia Walkthrough & Guides Wiki

The Seven Deadly Sins: Origin Walkthrough & Guides Wiki

Wuthering Waves Walkthrough & Guides Wiki

Zenless Zone Zero Walkthrough & Guides Wiki

Arknights: Endfield Walkthrough & Guides Wiki
Recommended Games

Fire Emblem Heroes (FEH) Walkthrough & Guides Wiki

Diablo 4: Vessel of Hatred Walkthrough & Guides Wiki

Cyberpunk 2077: Ultimate Edition Walkthrough & Guides Wiki

Yu-Gi-Oh! Master Duel Walkthrough & Guides Wiki

Super Smash Bros. Ultimate Walkthrough & Guides Wiki

Pokemon Brilliant Diamond and Shining Pearl (BDSP) Walkthrough & Guides Wiki

Elden Ring Shadow of the Erdtree Walkthrough & Guides Wiki

Monster Hunter World Walkthrough & Guides Wiki

The Legend of Zelda: Tears of the Kingdom Walkthrough & Guides Wiki

Persona 3 Reload Walkthrough & Guides Wiki
All rights reserved
© ARMOR PROJECT/BIRD STUDIO/SPIKE CHUNSOFT/SQUARE ENIX
© SUGIYAMA KOBO ℗ SUGIYAMA KOBO
The copyrights of videos of games used in our content and other intellectual property rights belong to the provider of the game.
The contents we provide on this site were created personally by members of the Game8 editorial department.
We refuse the right to reuse or repost content taken without our permission such as data or images to other sites.


