How to Beat Baramos
★ Best Personality | Best Equipment | Best Party
☆ Class Tier List | Vamp Guide | Monster Wrangler
★ Friendly Monsters | Sparkly Spots | Keys Guide
☆ EXP Farming | Money Farming | Seed Farming
★ Post Game (Spoilers!) | Missables | Trophy Guide
Baramos is a Story Boss in Dragon Quest 3 HD-2D Remake (DQ3). Check out their information and moveset, as well as the best strategies and party to beat them!
| Baramos Boss Guides | |
|---|---|
| Full Party | Solo |
List of Contents
Baramos Basic Information
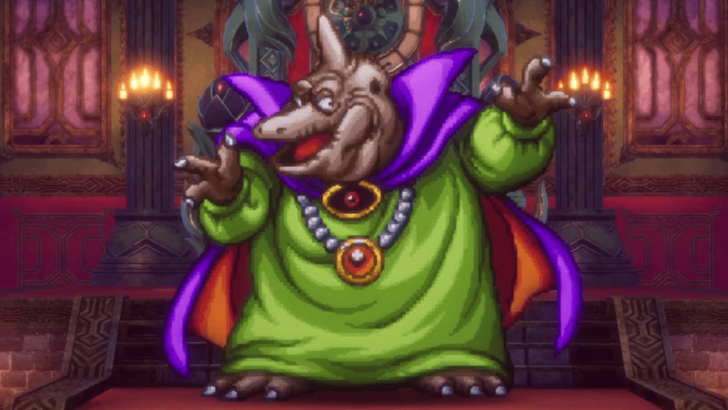
Baramos Stats and Information
| Baramos Information | ||
|---|---|---|
 |
||
| Rec. Level | Drops | |
| 34 | None | |
| Location and Walkthrough | ||
|
Baramos’ Lair
Olivia’s Promontory to Baramos’ Lair |
||
Baramos Weaknesses
| Enemy | Weakness |
|---|---|
| Baramos | Ice, Wind |
Baramos Moveset
Baramos Spells and Abilities
| Number of Actions | |
|---|---|
| 1 ~ 3 Turns | |
| Move | Effect |
| Attack | Regular basic attack |
| Kaboom | Strong explosion damage to party |
| Kafrizz | Strong Fire damage to target |
| Inferno | Strong Fire Breath damage to party |
| Fuddle | Chance to confuse target |
| Dazzle | Chance to Dazzle party |
| Spooky Aura | Lowers target's spell resistance |
| Blasto | Chance to remove target from cobat |
| Recover HP | Restores HP every turn |
Baramos Turn Order
| 100% HP | 75% HP | 50% HP | 25% HP | |
|---|---|---|---|---|
| 1 | Kaboom | Kaboom | Blasto | Kafrizz Uses Once |
| 2 | Attack | Attack | Kafrizz | Attack |
| 3 | Inferno | Kafrizz | Spooky Aura Attack |
Attack |
| 4 | Attack | Inferno | Dazzle Fuddle |
Inferno |
| 5 | Kafrizz | Kafrizz | Inferno | Attack |
| 6 | Fuddle | Dazzle Fuddle |
Spooky Aura Attack |
Attack |
| 7 | Kafrizz | Kaboom | Kaboom | Attack |
| 8 | Dazzle | Dazzle Fuddle |
- | Attack |
These HP thresholds are an estimate, and Baramos may change patterns earlier or later than expected.
Learn Baramos' Attack Patterns
Before entering the fight, it's recommended to learn the order of Baramos' attacks. This way you know approximately when his attack pattern changes, and when you should prioritize healing over attacking.
Replace Spells With Attack if Fizzled
If you apply Fizzle on Baramos, there's a chance that they might use Attack instead of wasting turns casting spells. However, the turn order will still progress and you'll still need to keep track of where Baramos is in their attack cycle.
Attacks if There is No Spooky Aura Target
If all party members have already been affected by Spooky Aura, then Baramos will use that turn to use an Attack instead, similar to if they were affected by Fizzle.
How to Beat Baramos
- Equip Fire and Spell Resistant Gear
- Bring Ways to Counter Confusion
- Seal Spells With Fizzle
- Cast Magic Barrier and Insulatle
- Level Up to Learn AoE Healing
Equip Fire and Spell Resistant Gear
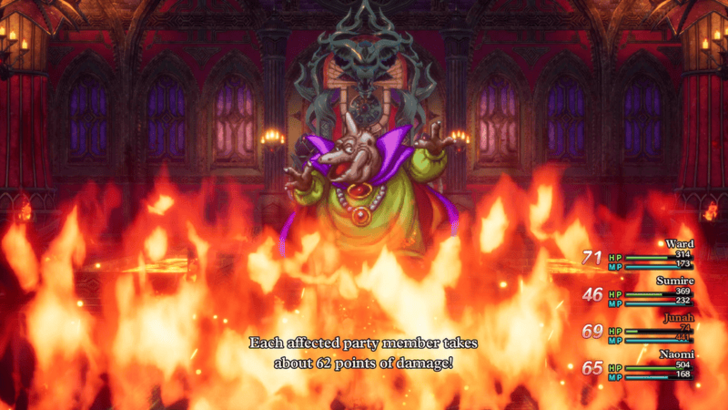
Since most of Baramos' attacks are either Fire or Spell based, you'll want to wear equipment that resists those types of moves. However, defense is still important so make sure you strike a balance when sorting out your equipment.
List of Fire and Spell Resistant Gear
| Equipment | Location | Price |
|---|---|---|
| Ice Shield | Mur | 3,100 G |
| Magical Robes | 5,500 G | |
| Fur Vest | 3,900 G | |
| Asbestos Earrings | 3,300 G | |
| Magic Shield | Lanson | 4,300 G |
| Magic Armour | Theddon | 6,900 G |
| Magical Skirt | 1,400 G | |
| Dragon Shield | Manoza | 6,200 G |
| Dragon Mail | Immigrant Town | 13,800 G |
Note: There are other pieces of equipment that you can use, but these are the readily available ones.
Bring Ways to Counter Confusion
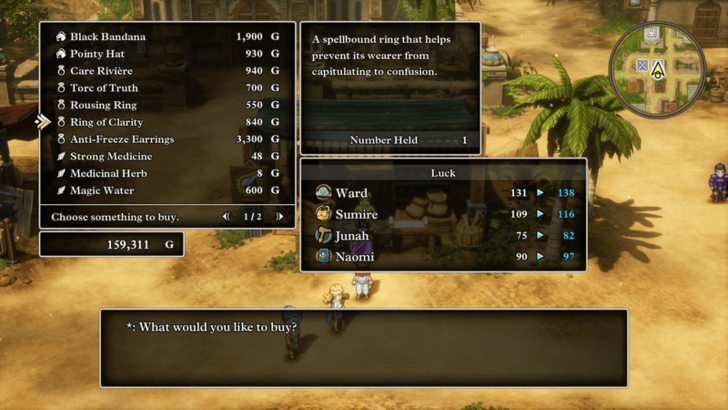
One annoying thing you have to watch out for is Baramos using Fuddle to confuse a party member. Equip all of your characters with anti-confusion equipment, like a Ring of Clarity, so that they don't get confused and waste turns.
How to Get Ring of Clarity and Effects
Seal Spells With Fizzle
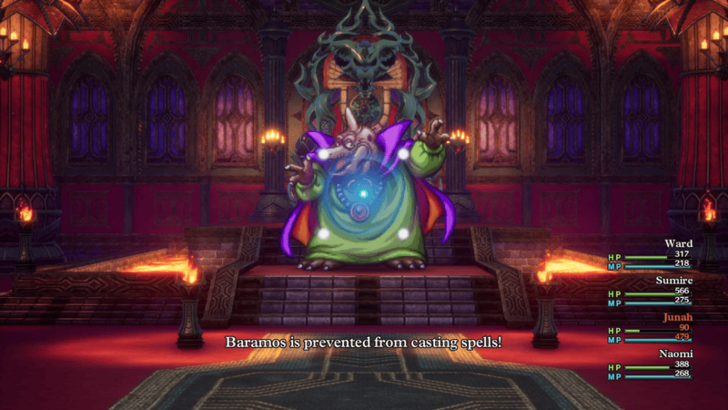
More than half of Baramos' moves consist of spells, making Fizzle amazing for restricting what actions they can take. Make sure to have someone casting Fizzle, or using a Staff of Antimagic, to make this fight more manageable.
Cast Magic Barrier and Insulatle
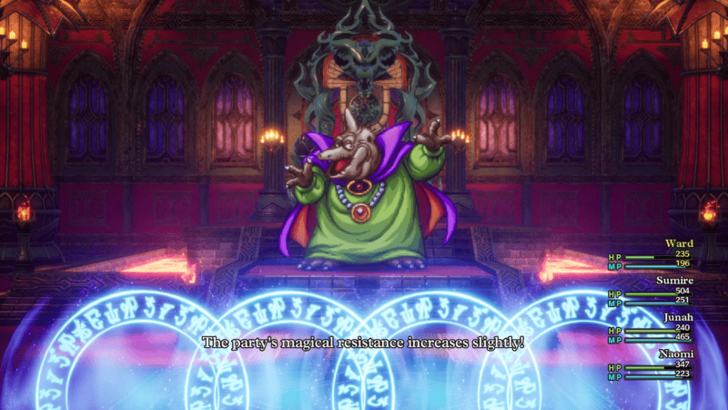
As mentioned previously, most of Baramos attacks are either Spell or Breath-based , so you want to buff your party with Magic Barrier and Insulatle to further reduce the damage that these types of attacks will do.
Level Up to Learn AoE Healing
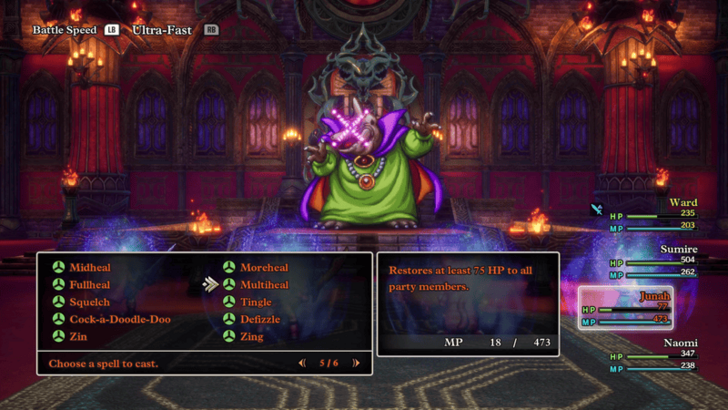
Baramos' most threatening moves, Kaboom and Inferno, both hit your entire party. To help make this fight easier, it's recommended to level up your healers enough to where they learn AoE healing moves, like Multiheal and Hustle Dance.
EXP Farming Guide: How to Level Up Fast
Best Party to Beat Baramos
Recommended Party
| Vocation | Role and |
|---|---|
|
|
・Cast Fizzle to seal spells. ・Use Gust Slash if Fizzle is active. ・Help the Sage heal if needed. |
|
|
Merchant - Monster Wrangler ・Spam Monster Pile-On. |
|
|
Thief - Monster Wrangler ・Spam Monster Pile-On. |
|
|
Mage - Sage ・Cast Insulatle, Magic Barrier, and Multiheal. ・Can also use Ice Spells to help deal damage. |
Dragon Quest 3 HD-2D Remake (DQ3) Related Guides

Story Bosses
Post-Game Bosses
| List of Bosses | |
|---|---|
| Xenlon | Grand Dragon |
Comment
Author
How to Beat Baramos
Rankings
- We could not find the message board you were looking for.
Gaming News
Popular Games

Genshin Impact Walkthrough & Guides Wiki

Umamusume: Pretty Derby Walkthrough & Guides Wiki

Crimson Desert Walkthrough & Guides Wiki

Monster Hunter Stories 3: Twisted Reflection Walkthrough & Guides Wiki

Honkai: Star Rail Walkthrough & Guides Wiki

Pokemon Pokopia Walkthrough & Guides Wiki

The Seven Deadly Sins: Origin Walkthrough & Guides Wiki

Wuthering Waves Walkthrough & Guides Wiki

Zenless Zone Zero Walkthrough & Guides Wiki

Arknights: Endfield Walkthrough & Guides Wiki
Recommended Games

Fire Emblem Heroes (FEH) Walkthrough & Guides Wiki

Diablo 4: Vessel of Hatred Walkthrough & Guides Wiki

Cyberpunk 2077: Ultimate Edition Walkthrough & Guides Wiki

Yu-Gi-Oh! Master Duel Walkthrough & Guides Wiki

Super Smash Bros. Ultimate Walkthrough & Guides Wiki

Pokemon Brilliant Diamond and Shining Pearl (BDSP) Walkthrough & Guides Wiki

Elden Ring Shadow of the Erdtree Walkthrough & Guides Wiki

Monster Hunter World Walkthrough & Guides Wiki

The Legend of Zelda: Tears of the Kingdom Walkthrough & Guides Wiki

Persona 3 Reload Walkthrough & Guides Wiki
All rights reserved
© ARMOR PROJECT/BIRD STUDIO/SPIKE CHUNSOFT/SQUARE ENIX
© SUGIYAMA KOBO ℗ SUGIYAMA KOBO
The copyrights of videos of games used in our content and other intellectual property rights belong to the provider of the game.
The contents we provide on this site were created personally by members of the Game8 editorial department.
We refuse the right to reuse or repost content taken without our permission such as data or images to other sites.


