Speedrun Guide: How to Sequence Break and Fastest Route
Check out our Metroid Prime 4: Beyond Walkthrough!
☆ Dread Rush | Boss Rush | Survival Rush | Practice
★ Speedrun and Sequence Breaks Guide
☆ Locations: Missile Tanks / Energy Tanks / Power Bomb Tanks
This guide will show you how to beat Metroid Dread in under 4 hours in order to earn ending rewards from the gallery. See the best speedrunning route to take, how to quickly take out bosses, as well as sequence break tips to help you get the fastest speedrun!
List of Contents
- Best Speedrun Route
- Hard Mode Speedrun Video Walkthrough
- Speedrun Sequence Break Tips
- Skip the First EMMI
- Early Phantom Cloak
- Early Bomb
- Early Grapple Beam
- Early Speed Booster
- Early Super Missiles
- Skip Drogyga
- Early Cross Bombs
- Early Space Jump
- Early Gravity Suit
- Early Screw Attack
- Boss Strategies
- Speedrun Rewards
- Related Guides
Best Speedrun Route
Best Route
This is the current fastest route and requires two sequence breaks for early Space Jump early Screw Attack and early Gravity Suit.
| Step No. | Objective |
|---|---|
| 1. | 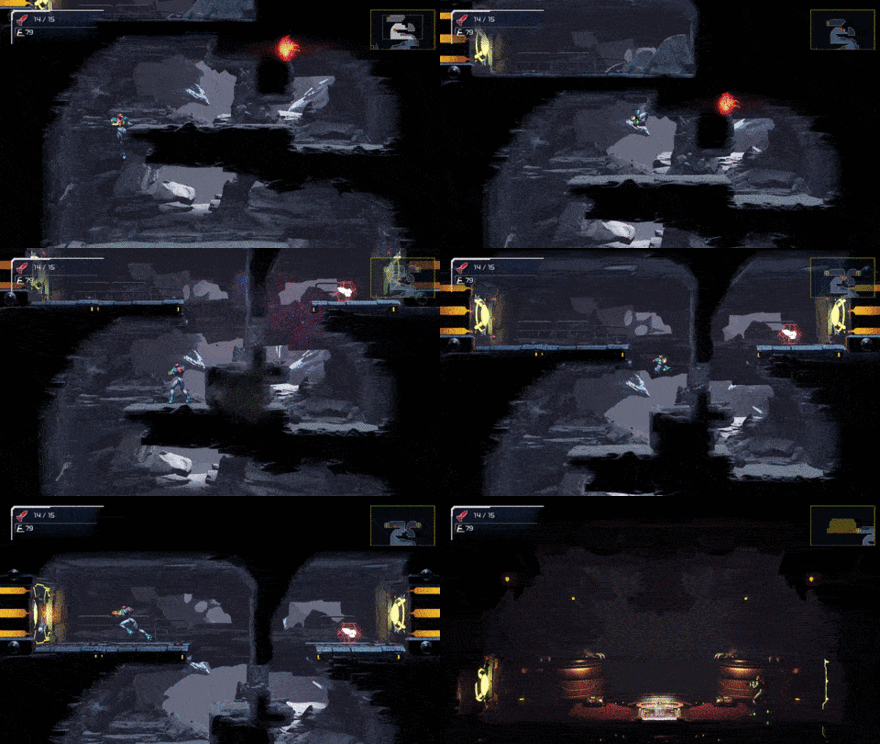 Perform a slide and jump to shoot this block through the wall from the left side to skip the first Broken EMMI Perform a slide and jump to shoot this block through the wall from the left side to skip the first Broken EMMIDo not slide through the gap and avoid the explosion on the last hit as it can kill you |
| 2. | 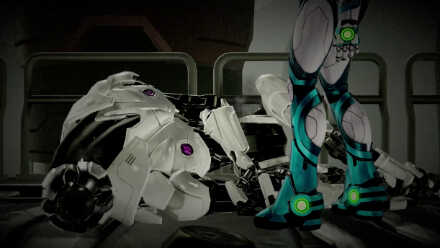 Get the Charge Beam and defeat the White EMMI for the Spider Magnet
 |
| 3. |  Defeat Corpious for the Phantom Cloak and head to Cataris
 |
| 4. | 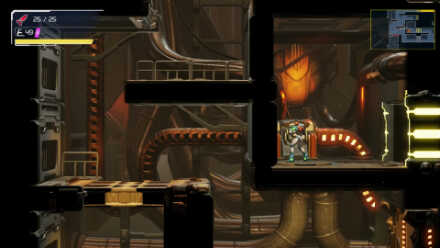 Redirect the thermal fuel flow while avoiding the Green EMMI and make your way to Dairon
 |
| 5. | 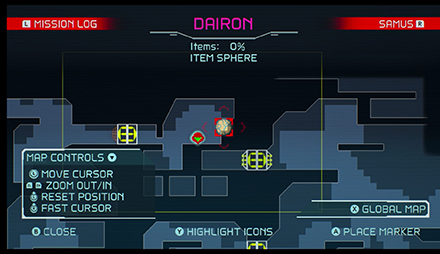 |
| 6. | 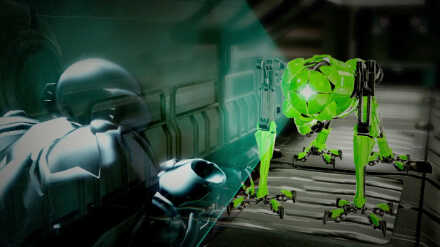 Defeat the Green EMMI to get the Morph Ball
 |
| 7. | 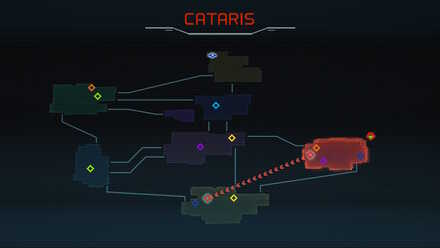 Head back to Artaria via the Red Teleportal
After getting the Morph Ball head left until you drop down before the giant alien skull. Go through its mouth, drop down and shoot the ceiling above the sealed door to reveal a path to the Red Teleportal |
| 8. | 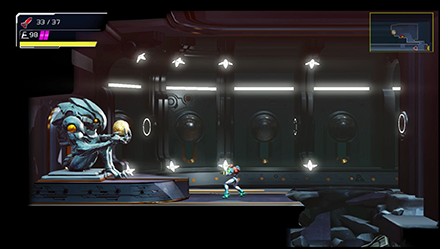 Get the Varia Suit in Artaria and head back to Cataris
 |
| 9. | 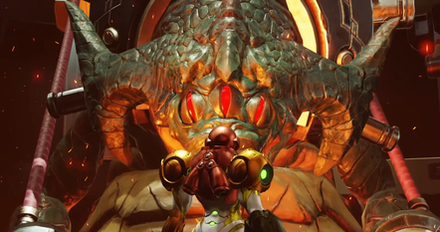 Defeat Kraid and get the Diffusion Beam and head back to Dairon via the Purple Teleportal
 |
| 10. | 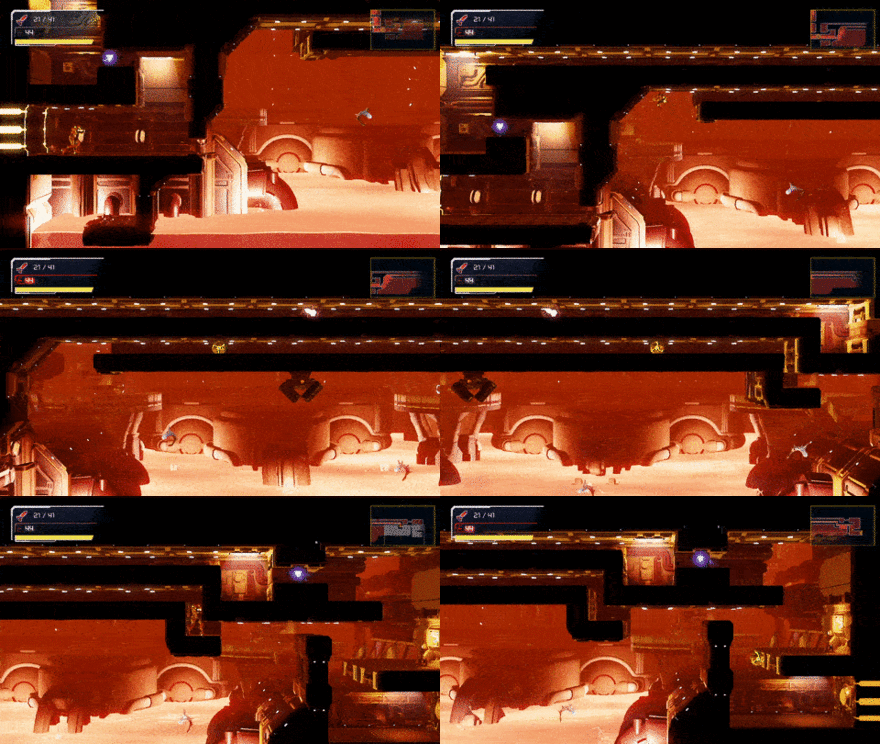 Take the elevator back to Artaria. Perform a slide jump followed by a wall jump in a room full of lava in Dairon to reach the elevator.
 |
| 11. | 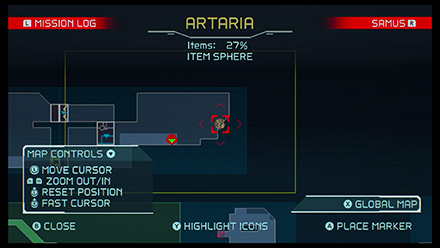 |
| 12. |  Head back to Dairon and get the Bomb upgrade
 |
| 13. | 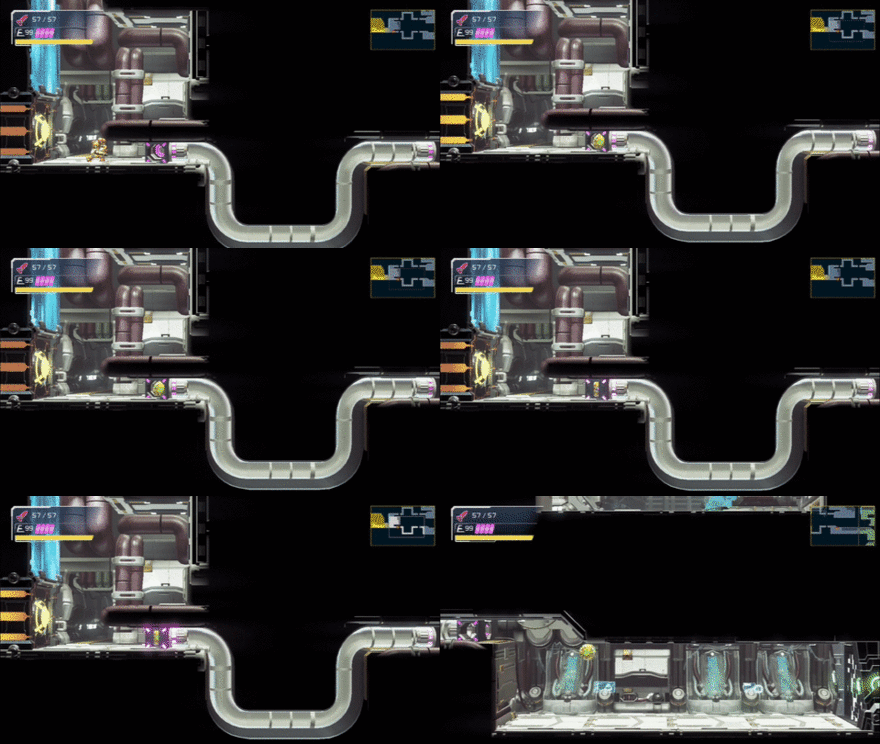 Head to Burenia after a series of Morph Ball Launcher tubes
 |
| 14. |  Get Flash Shift and return to Dairon via the lower elevator
 |
| 15. | 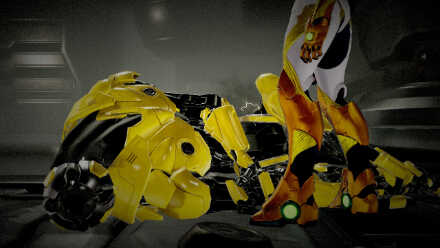 Defeat the Yellow EMMI for the Speed Booster
 |
| 16. | 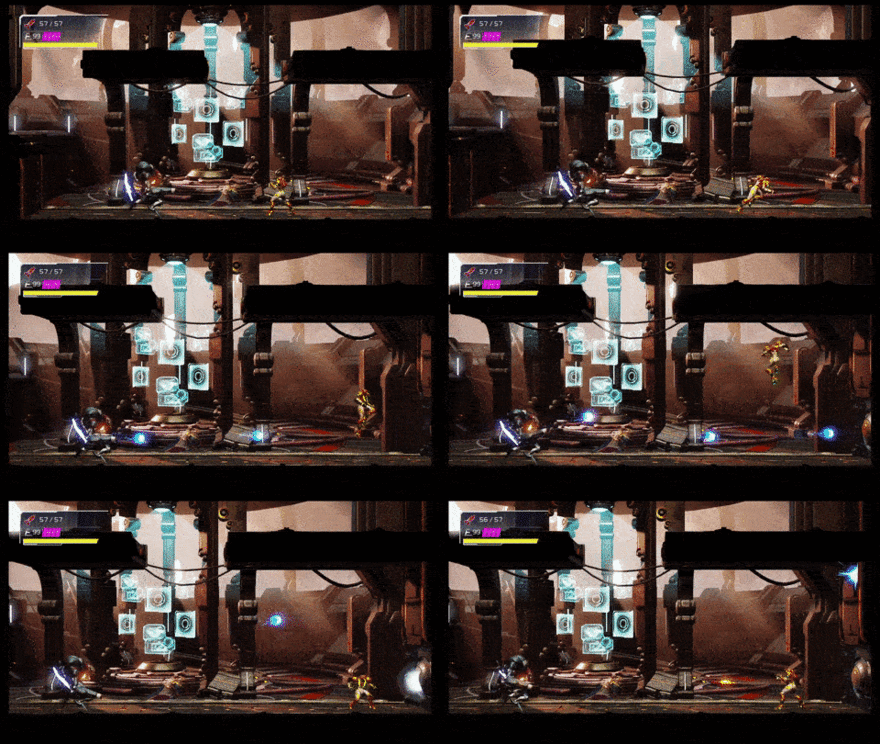 Head to Ferenia via the elevator and defeat the Robot Chozo Soldier
 |
| 17. | 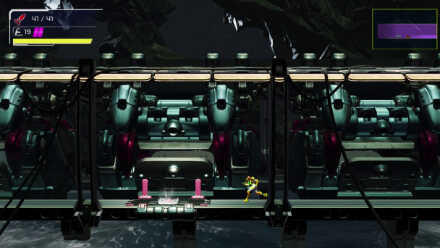 Head back to Dairon via a separate elevator, then take the upper elevator to Burenia
 |
| 18. | 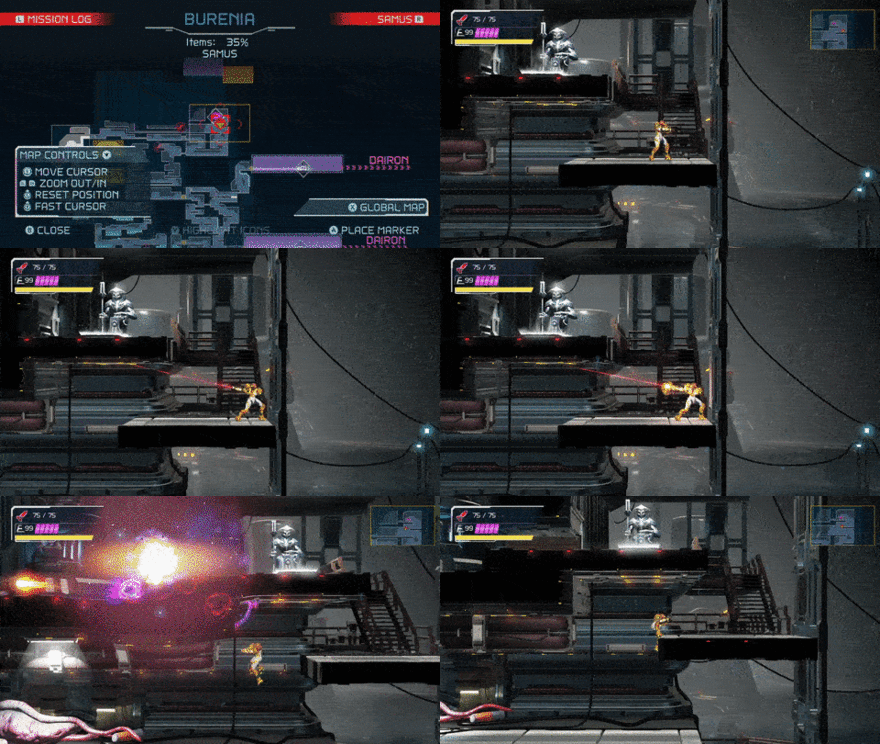 Use the Grapple Beam to reach the elevator and head to Ghavoran.You can skip Drogyga by performing a charged Diffusion Beam shot at a wall near the Energy Recharge Station.
 |
| 19. | 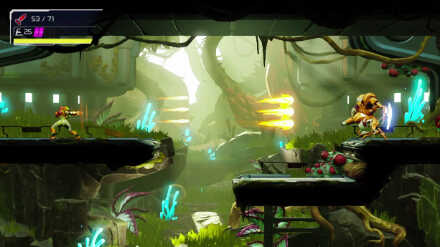 Defeat another Robot Chozo Soldier
 |
| 20. | 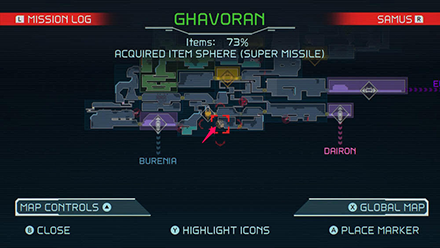 |
| 21. | 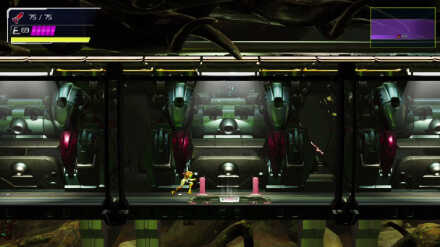 Take the elevator to Elun
 |
| 22. | 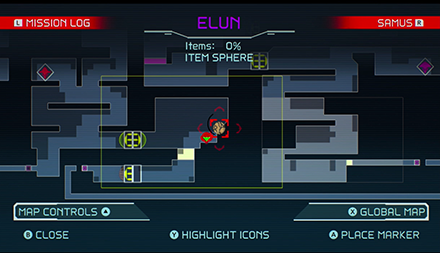 |
| 23. | 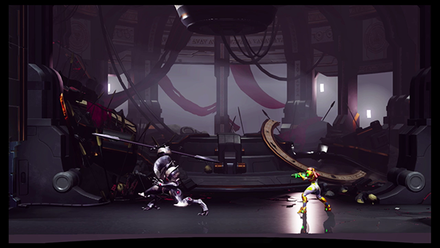 Defeat the Chozo Soldier
 |
| 24. | 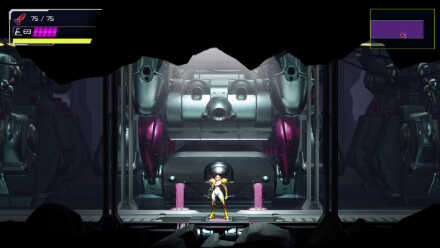 Head back to Ghavoran
 |
| 25. | 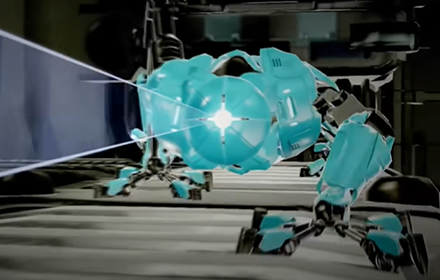 Defeat the Central Unit and Blue EMMI to get the Ice Missile upgrade
 |
| 26. | 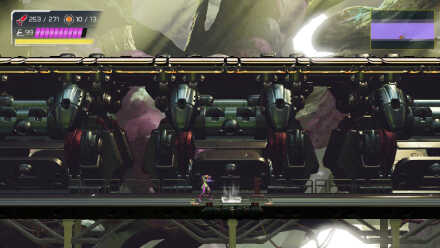 Head to Ferenia via the elevator from Ghavoran
|
| 27. | 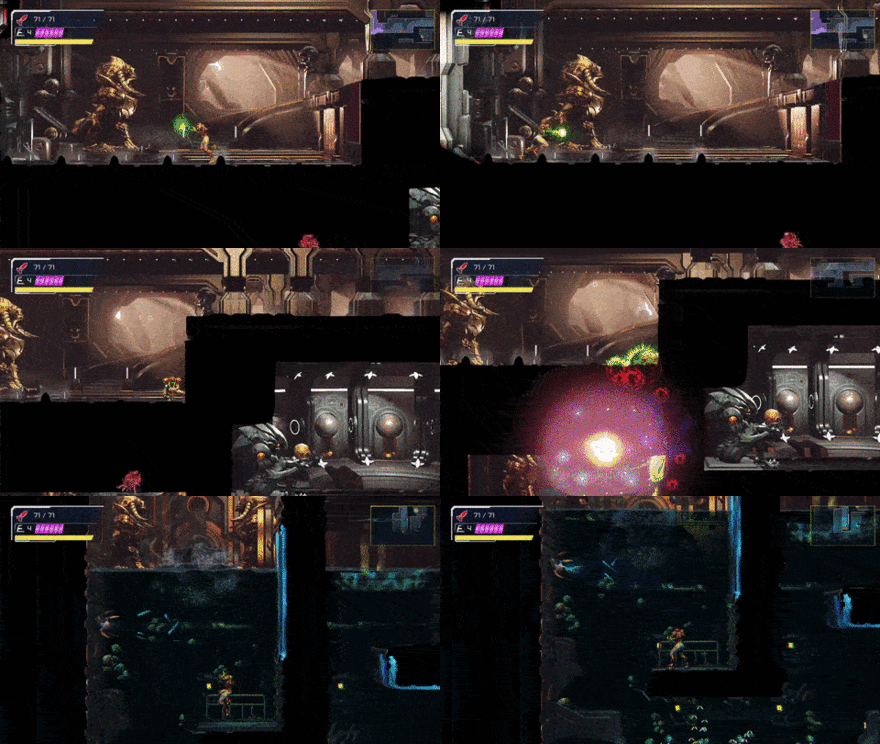 Perform a melee dash just before the wall while charging your beam, then tap ZL and you will automatically shoot when morphing
 |
| 28. |  |
| 29. | 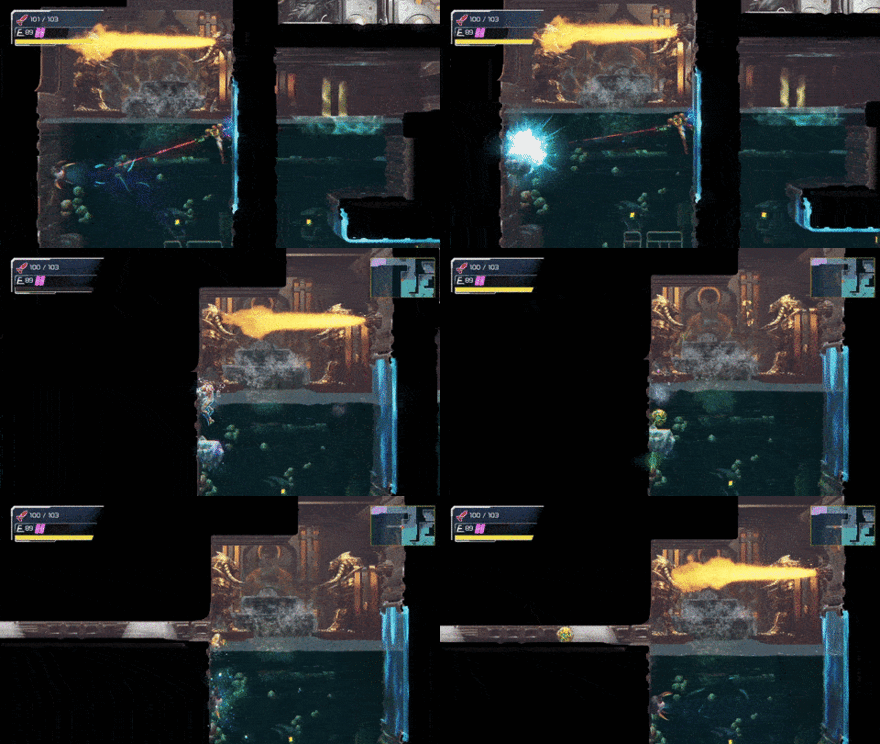 Freeze the enemy on the wall and open it up with a bomb. Shoot the walls and continue down to the elevator to Dairon Freeze the enemy on the wall and open it up with a bomb. Shoot the walls and continue down to the elevator to Dairon |
| 30. | 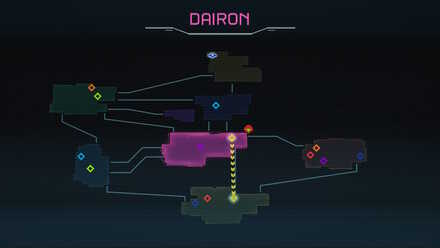 From Dairon, head to the Yellow Teleportal back to Artaria
 |
| 31. | 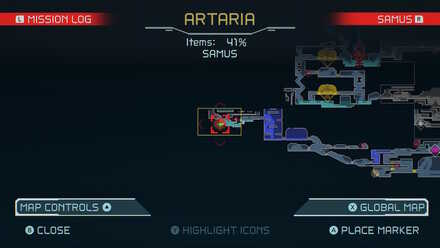 Make sure you have enough health to survive the cold rooms as you won't have the Gravity Suit yet. |
| 32. | 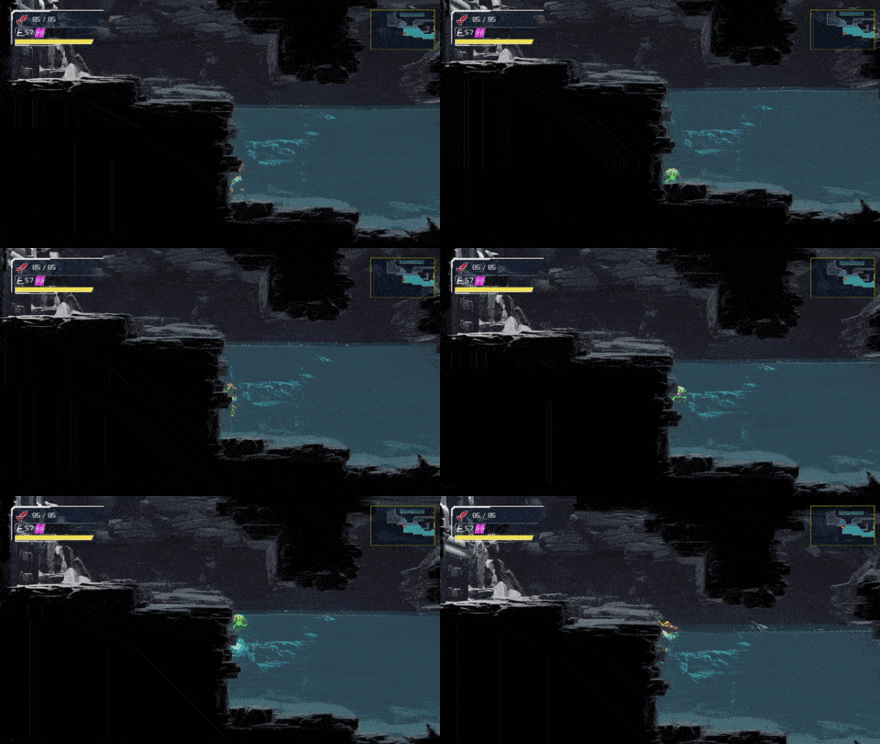 Note: Performing a bomb jump on the ground and then one up above is more consistent. |
| 33. | 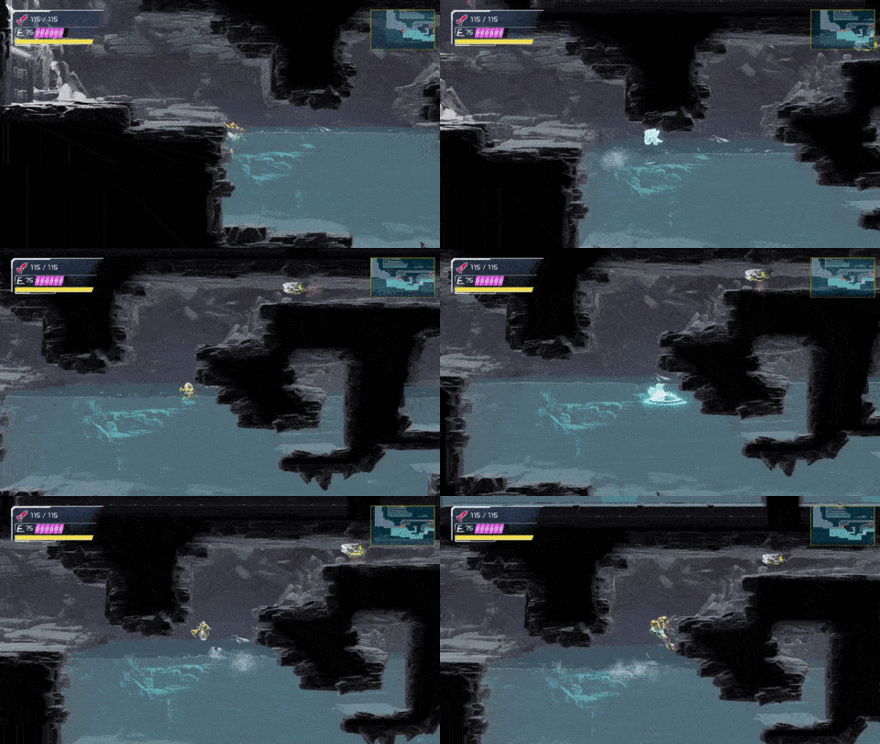 Use Space Jump to get out of the water Use Space Jump to get out of the waterTo perform this trick consistently, hit the right wall and slide down a bit before jumping back to the left. This allows you to repeatedly gain height so that you can grab the ledge. |
| 34. | 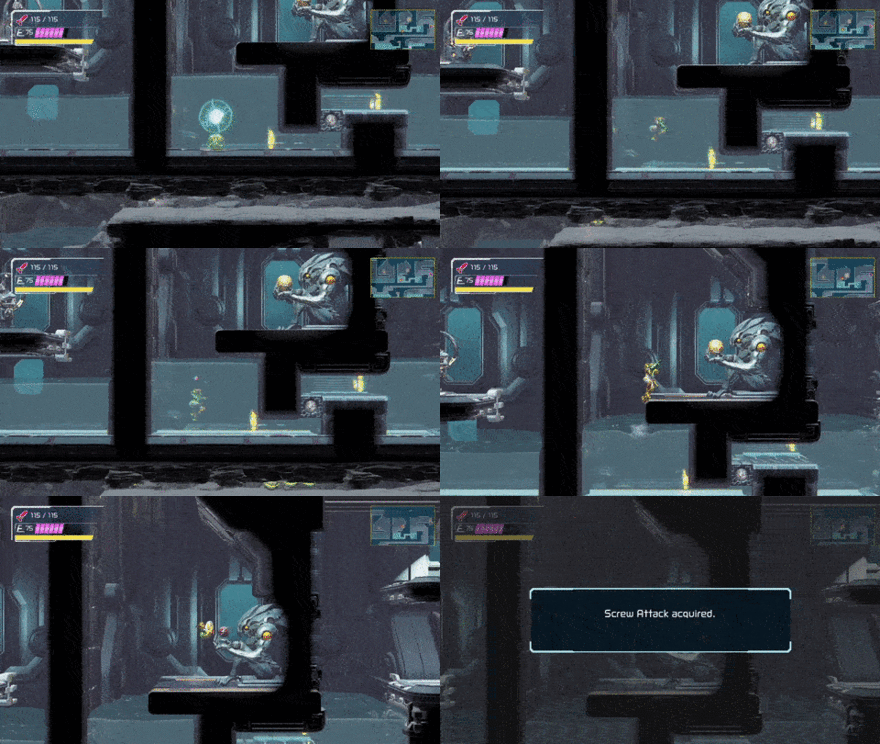 Do another bomb jump up to the ledge and collect the early Screw Attack Do another bomb jump up to the ledge and collect the early Screw Attack |
| 35. | 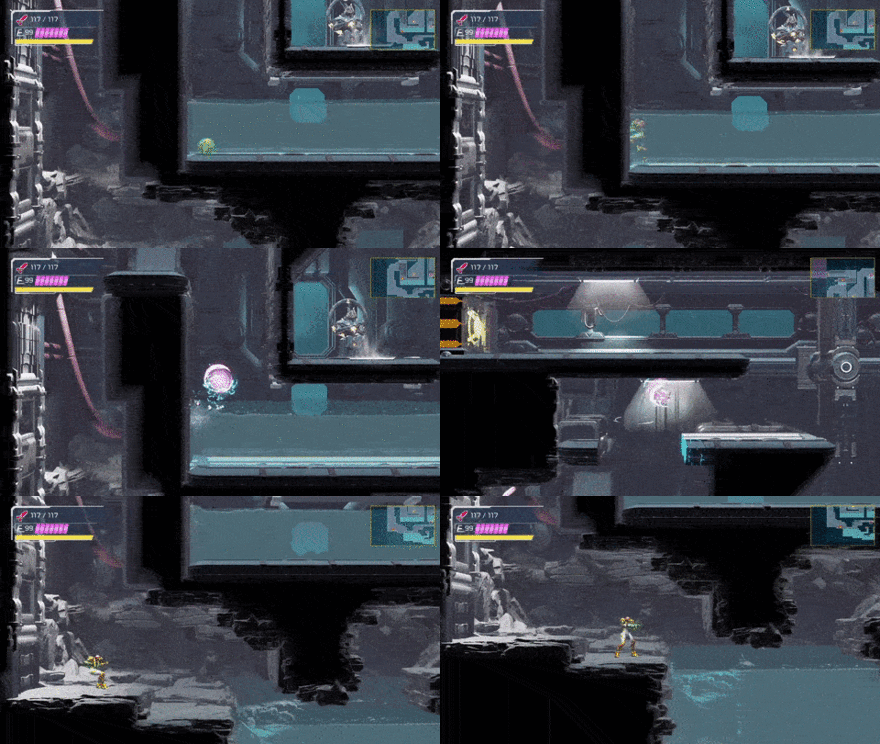 Screw Attack up, and ideally you can charge a Shinespark from the door on the left before the platform flips and you can use the Shinespark to escape the water. If not, you can bomb jump out as well Screw Attack up, and ideally you can charge a Shinespark from the door on the left before the platform flips and you can use the Shinespark to escape the water. If not, you can bomb jump out as well |
| 37. |  Head up the same way you went to get Screw Attack, but this time go right and head for the Red Teleportal to Cataris Head up the same way you went to get Screw Attack, but this time go right and head for the Red Teleportal to Cataris |
| 38. | 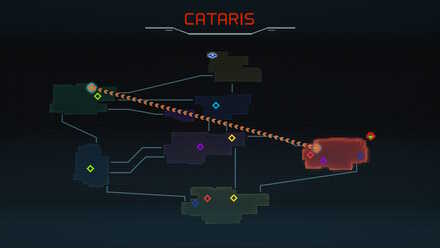 From the Red Teleportal in Cataris, head up and to the right into a hot room and take the Orange Teleportal to Ghavoran
 |
| 39. | 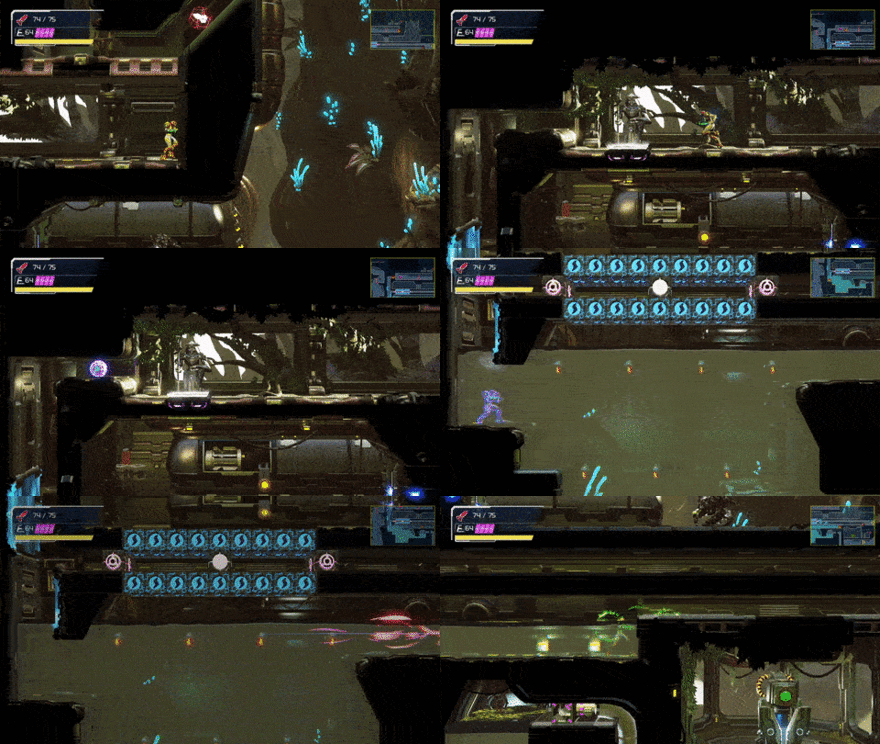 Use a Shinespark trick to reach the Green Teleportal and head to Burenia
 |
| 40 |  Obtain the Gravity Suit
 |
| 41. | 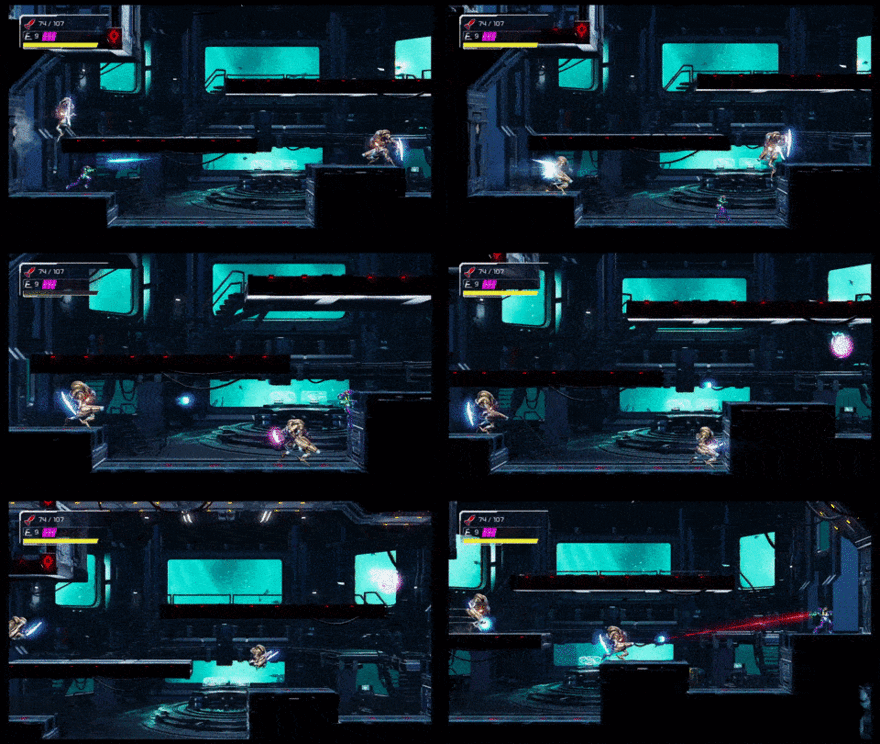 Defeat the Twin Robot Chozo Soldiers in Burenia Defeat the Twin Robot Chozo Soldiers in Burenia |
| 42. | 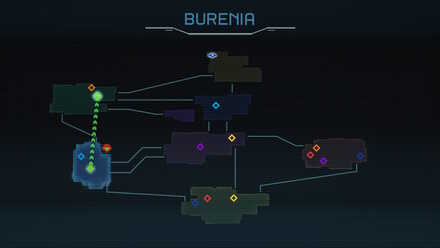 Head to Ghavoran via the Green Teleportal Head to Ghavoran via the Green Teleportal |
| 43. | 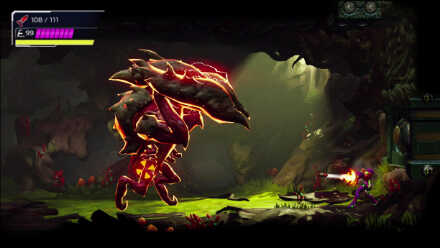 Defeat Golzuna to get the Cross Bomb upgrade
 |
| 44. | 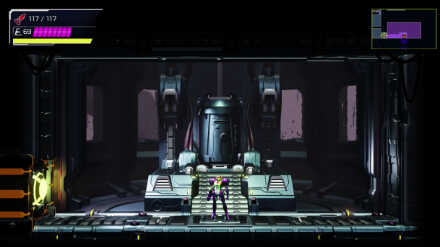 Take the elevator to Hanubia, then take the elevator down to Ferenia
 |
| 45. | 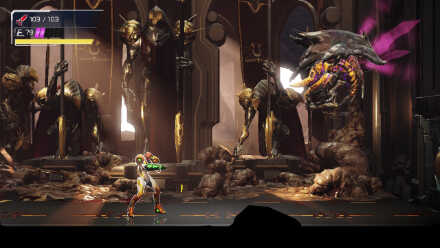 Defeat Escue to get the Storm Missile upgrade
 |
| 46. | 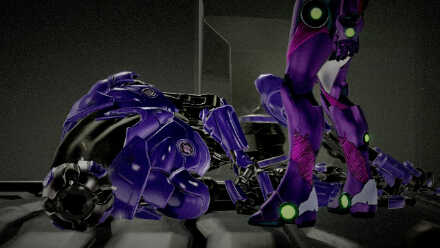 Defeat the Central Unit and the Purple EMMI to get the Wave Beam upgrade.
 |
| 47. | 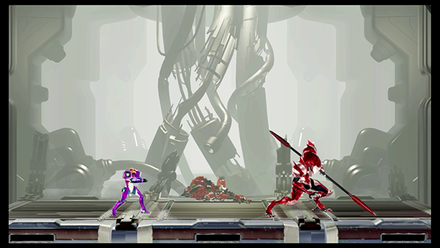 Head back to Hanubia and defeat the Red Chozo Soldier
 |
| 48. | 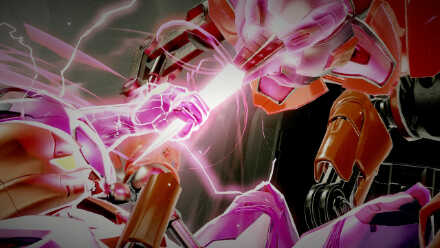 Skip the Red EMMI cutscene and obtain the Power Bomb
 |
| 49. | 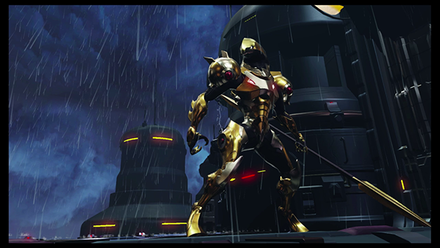 Defeat the Gold Chozo Soldier
 |
| 50. | 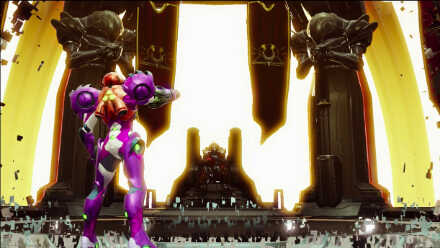 Head to Itorash and defeat Raven Beak
 |
| 51. |  Escape
 |
Speedrunning Tips
Avoid Wasting Time on Enemies
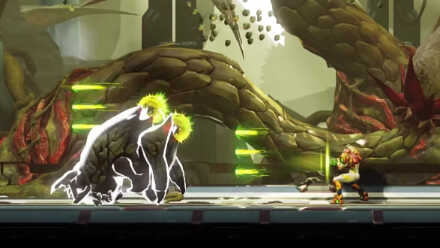
Unless an enemy is directly blocking your path, it's best to avoid wasting time on them. Still, be ready to counter enemies if it prevents you from dying or stops an enemy from knocking you further from your goal.
Use Upgrades and Abilities for Movement
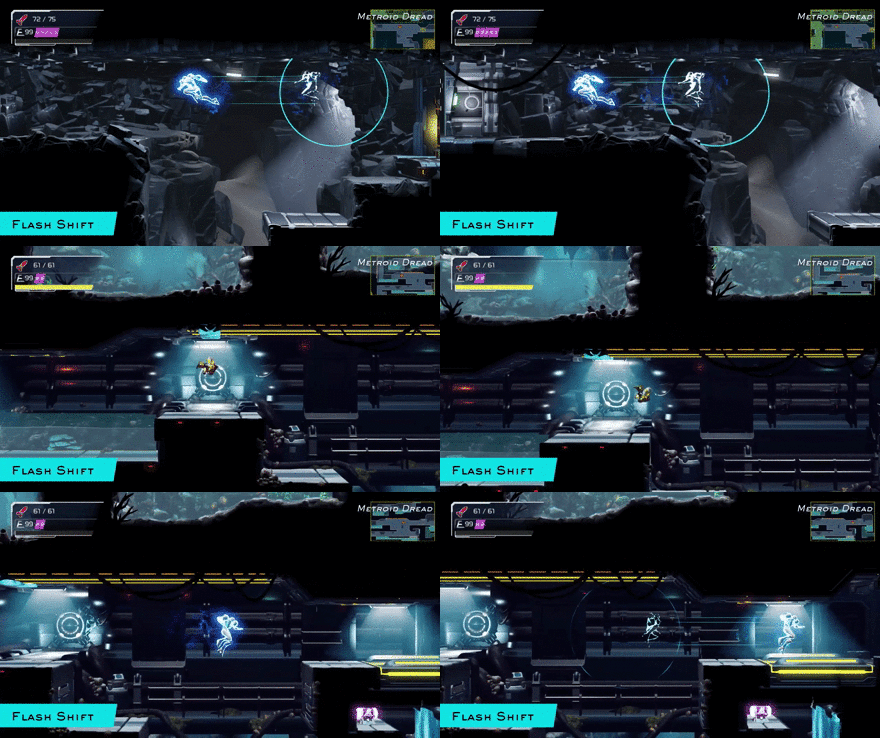
Abilities like Flash Shift and Speed Booster are particularly useful for shaving time off of runs. Any time you find a long clear stretch of land, it's best to use these abilities to your advantage.
Skipping Cutscenes Does Not Affect In-Game Time
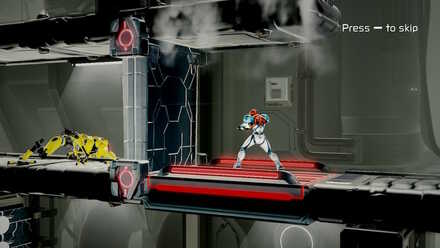
Cutscenes have built-in timers that will add to your in-game time regardless of whether you skip them or not. This means that during a speedrun, the player can breathe easy for a moment and think of the next step when a cutscene is playing.
Note that the first save file on your Nintendo Switch account cannot skip cutscenes unless they have been seen once before. That being said, even if you want to start a speed run attempt on a fresh save file on a new account, you won't have to worry about cutscenes hurting your time.
Feel Free to Use the Map
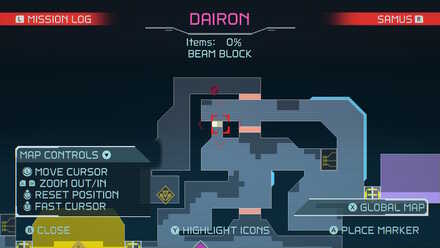
The in-game timer pauses whenever you access the map. Feel free to use the map to check if you're going the right way or if you feel like you need need to find a Missile or Energy Tank to help increase your survivability.
Skip Any Dialogue With Adam
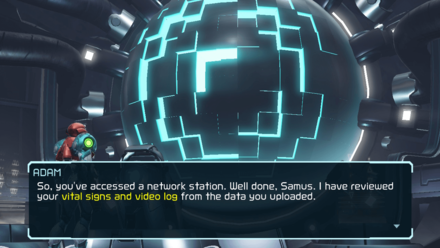
Talking to Adam adds to the in-game time. Make sure you don't leave the game unattended while the dialog box is showing. It is best to skip through all dialogue as quickly as possible.
Hard Mode Speedrun Video Walkthrough
Above is a video that demonstrates one of the possible routes for a sub-four hour run. It does not skip over any bosses or power-ups but showcases a quicker path to getting the Gravity Suit. We've made the video as accessible as possible to follow with timestamps throughout the entire video.
Speedrun Sequence Break Tips
Skip the First Broken EMMI

To skip the first broken EMMI, you must shoot through this wall from the left side using a Pseudo Wave Beam shot. To do this, you will need to slide, then jump and shoot. If timed correctly, your shot will go through the wall and reach the crack. Do this a few times to break the wall and continue to the upper left. If you slide through the gap, you will be forced to continue right and face the broken EMMI normally.
Be careful of your spacing on the last hit when the wall mass starts glowing. The final hit will cause an explosion and a large boulder will drop. This can kill you even at max health.
Early Phantom Cloak
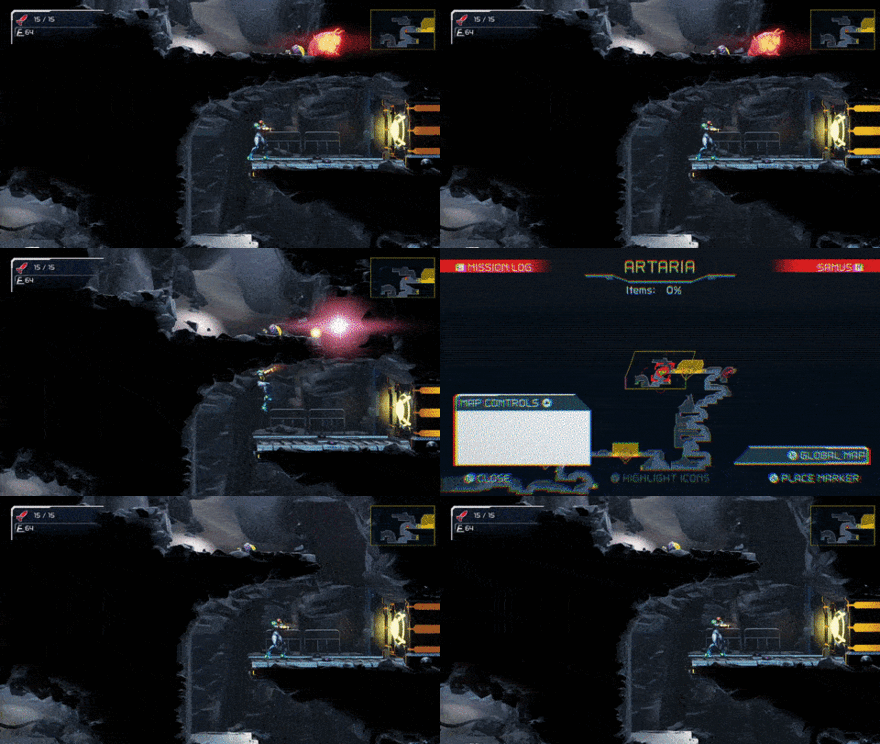
If you perform a Pseudo Wave Beam shot (a slide followed by a jump to shoot the wall mass), there is a chance that your beam will clip through the wall and break it open. This allows you to fight Corpious early.
Note: This strategy is not recommended in the current best route, as it skips Spider Magnet, which makes fighting Corpious easier. Also, you will need to obtain Spider Magnet later anyway from the White EMMI.
Early Bomb Upgrade
Step 1: Do a Slide Jump in the EMMI Zone
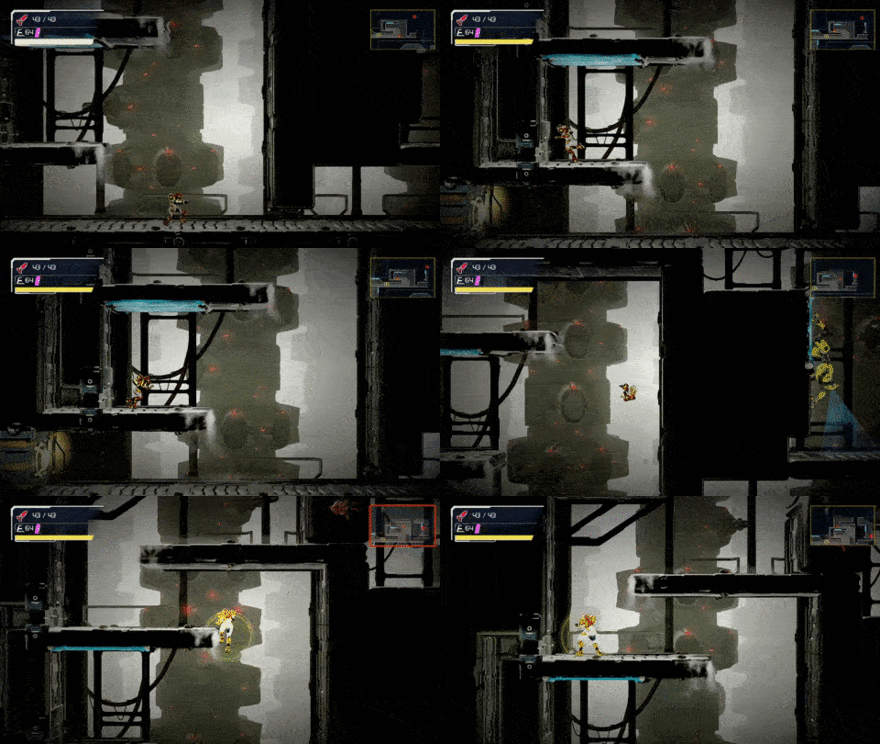
To get the Bomb upgrade before the Diffusion Beam, you can execute a slide jump followed by a wall jump in the EMMI Zone in Dairon. This allows you to continue to the upper left section of the room.
Step 2: Continue and Turn on the Power
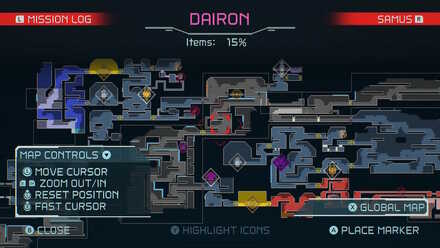
After performing a slide jump at this location on the map, continue left and drop down the Pitfall Blocks in Morph Ball form. Jump up through the room with the water tank and take the door to the upper left. Drop down in the next room and go back up the right side and enter the next room. Turn on the power and shoot through the wall to continue right. Go through the Missile Door in the upper right to get the Bomb upgrade.
Note, although you can do this at this location, it isn't far off from when you normally obtain the Bomb upgrade. In addition, the Yellow EMMI could potentially cause a few game overs, adding to your time.
Early Grapple Beam
Step 1: Take the Purple Teleportal to Dairon
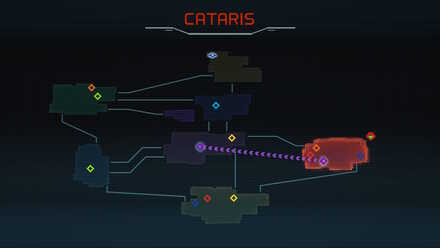
After defeating Kraid and getting the Diffusion Beam, take the Purple Teleportal back to Dairon. In the room with the Energy Part on a platform above the lava, shoot the floor on the right side of the room and break the wall open to reveal a door.
Step 2: Perform Slide Jumps to Reach the Elevator to Artaria

In the next room, to pull off this sequence break, you will need to perform a slide jump followed by a wall jump to safely reach the platform. Next, you will need to perform one more slide jump to grab the ledge. Continue right to reach the elevator to Artaria.
Step 3: Claim Your Grapple Beam
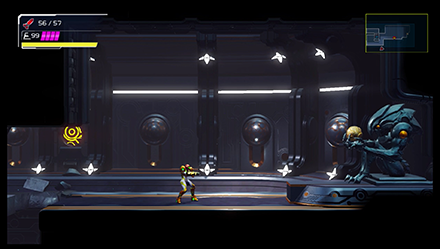
After arriving back in Artaria continue down and to the right until you reach a Missile Door. Enter to find the Grapple Beam.
Early Speed Booster
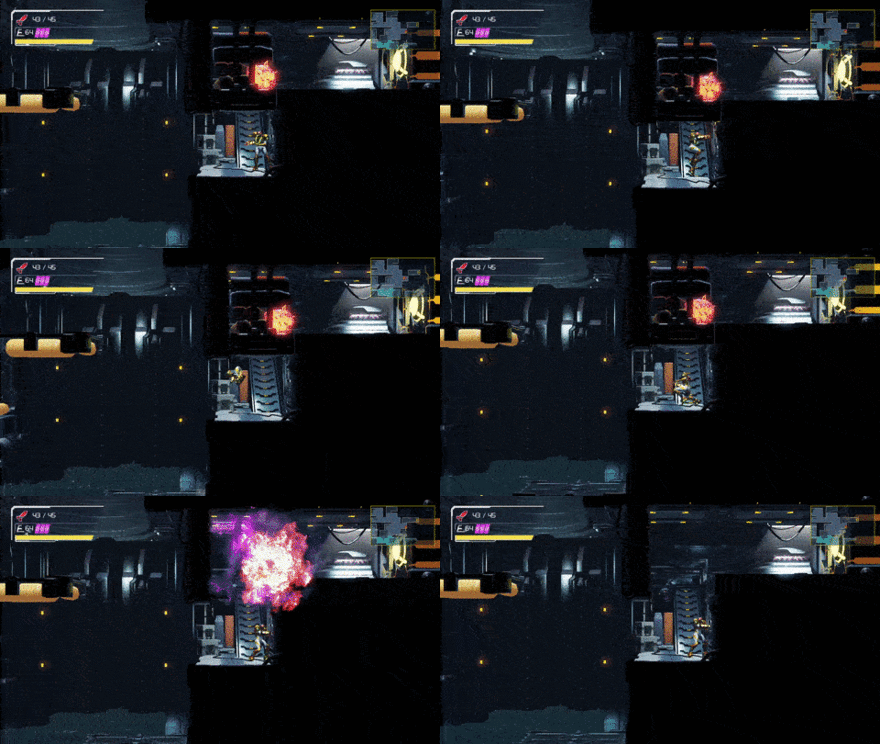
In Burenia near the lower elevator to Dairon, you can perform a Pseudo Wave Beam shot (a shot that clips through walls) to break through this barrier. This one is particularly tricky to aim for, but it is manageable. After you successfully break through the wall, continue to the lower area of Dairon to defeat the Central Unit and the Yellow EMMI to obtain the Speed Booster early.
Note: You can do this before getting the Bomb upgrade if you have the Grapple Beam, but this way will require performing a different Pseudo Wave Beam shot through a wall below to drain the water.
Early Super Missiles
Step 1: Speed Booster Wall Jumps in Dairon
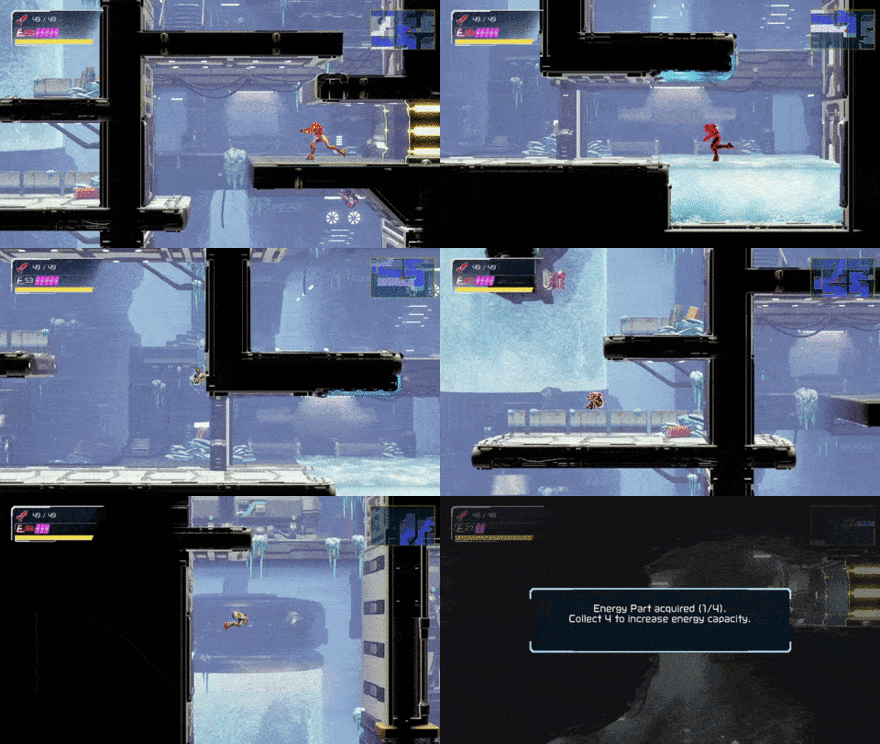
After getting the Speed Booster and having around 4-5 bars of Energy (health), head to the upper left section of Dairon near the cold room. From the bottom right corner of the cold room, activate your Speed Booster and do a series of wall jumps to reach the top and grab an Energy Part. Note that for this section you will not have the Gravity Suit yet, so you will be taking damage continuously throughout the wall jumps.
Step 2: Claim Your Super Missiles in Ghavoran
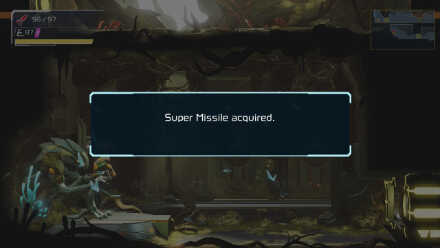
After obtaining the Energy Part, continue to the elevator to Ghavoran. Next, continue two rooms left of the elevator and use a Bomb on the lower right corner of the room. You will come across a room with a Missile Door that has the Super Missile upgrade behind it.
Skip Drogyga

Drogygya can be skipped by slide-jumping and using a charged shot at the right angle just below the crack in the wall outside the boss room near the Energy Recharge Station. This trick is known as Pseudo Wave Beam as it allows you to shoot through walls without the Wave Beam. This is a very low-risk and convenient time save, so it's highly recommended.
Note: This trick may require practice to pull off consistently. It's recommended that you save in the nearby Map Station room and practice until you are comfortable with the timing, then reload when you are ready. Alternatively, if you don't feel like using this trick, defeating Drogyga the normal way won't hurt your time too badly.
Early Cross Bombs
Step 1: Get Ice Missiles From the Blue EMMI
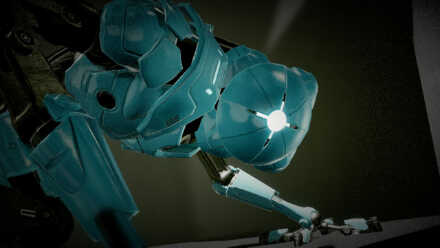
Defeat the Blue EMMI in Ghavoran to get Ice Missiles, then go to the Energy Recharge Station near where you got the Spin Boost upgrade. Use an Ice Missile to destroy the Enky.
Step 2: Perform Two Shinespark Tricks
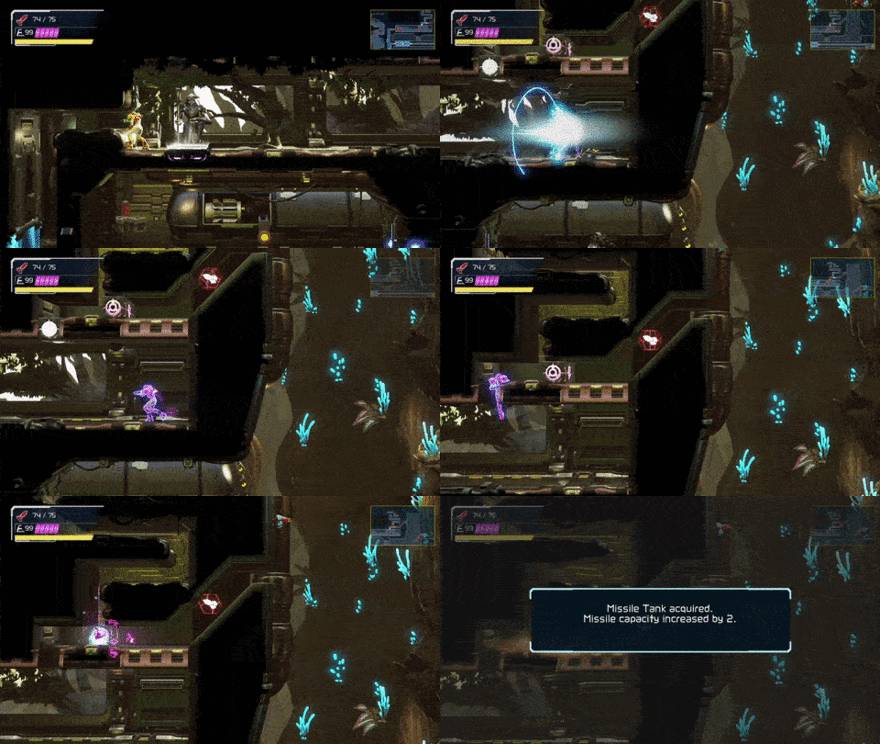
Once the way is clear, charge up a Shinespark starting behind the Energy Recharge Station, as you are crossing over into the next room store your Shinespark. Shoot the Beam Block in the ceiling and lay a bomb down, then activate your Shinespark before the bomb goes off.
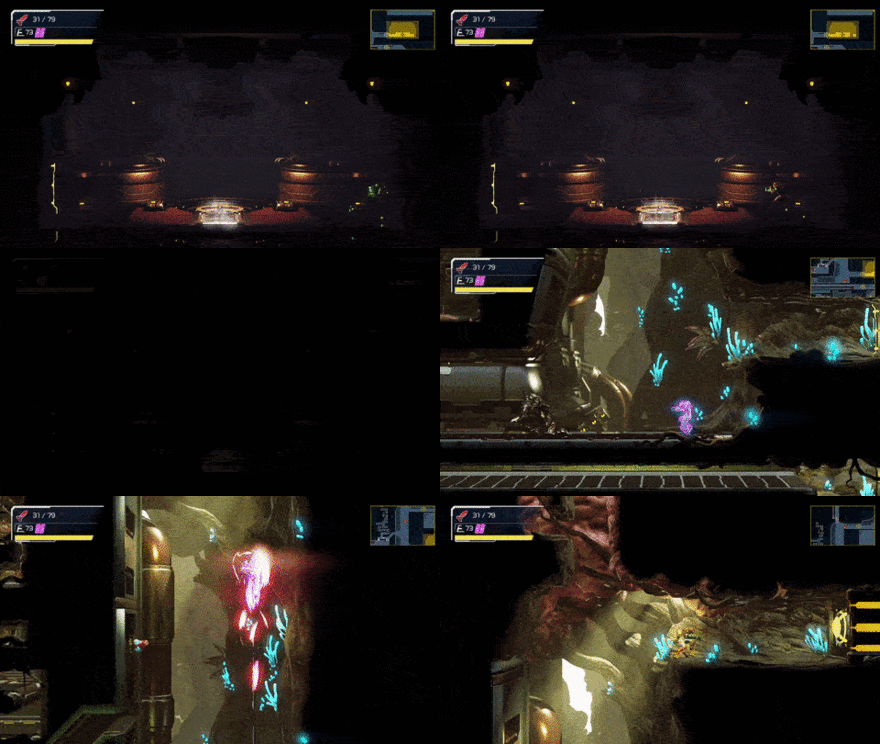
Next, go to the Save Station to the bottom right. From the back wall build up momentum and again, just as you change rooms, store your Shinespark. Activate it to rocket straight up, then drop down on the right side to land before Golzuna's boss door.
Step 3: Defeat Golzuna

Defeat Golzuna to obtain Cross Bombs early. It's highly recommended that you have Flash Shift to dodge Golzuna's attacks.
Early Space Jump
Method 1
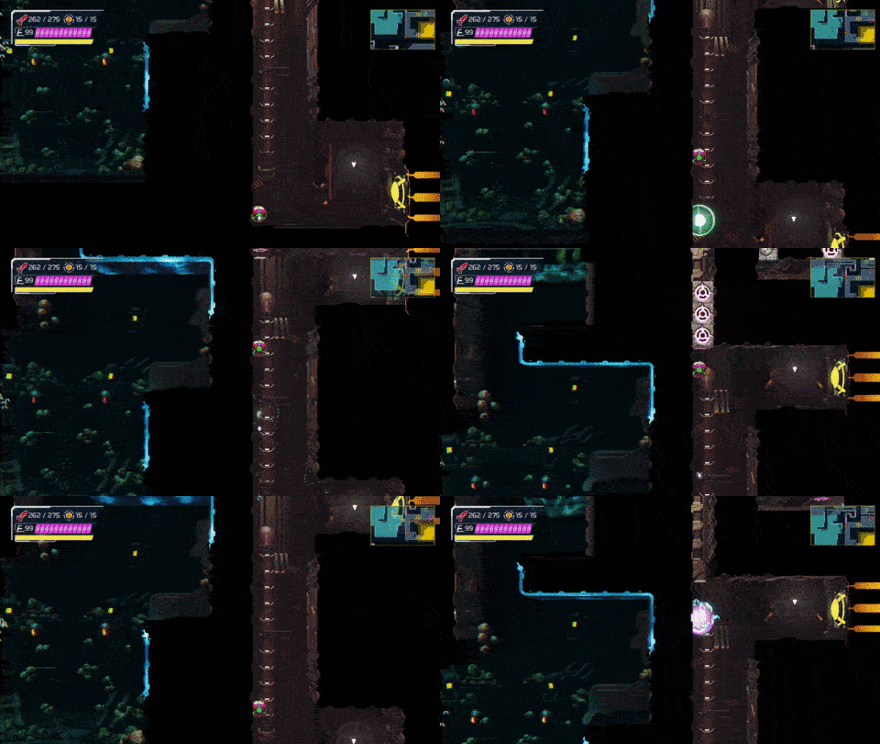
In Ferenia before fighting Escue, go to the room with the Storm Missile Box blocking your way to Space Jump. Shoot the floor to drop down, and take the door on the bottom left. In the next room, perform a series of Cross Bomb jumps and then wall jump up through the opening in the ceiling.
Alternatively, you can also perform a slide-jump, morph in mid-air, drop a bomb, wall jump back to the ledge and repeat several times to get the same effect, but this method is far more difficult to pull off.
Method 2
This is a sequence break to get the Space Jump Early. You will need to have the Diffusion Beam, Ice Missile, Grapple Beam and Morph Ball upgrades.
You will be breaking the Alien Block that would usually be broken after you get the Space Jump by doing a Pseudo Wave Beam attack.
You will be doing this technique just above the room where you can find the Space Jump upgrade.
Step 1: Do a Lunging Melee to the Wall, Charge the Diffusion Beam and Hold the Aim Button
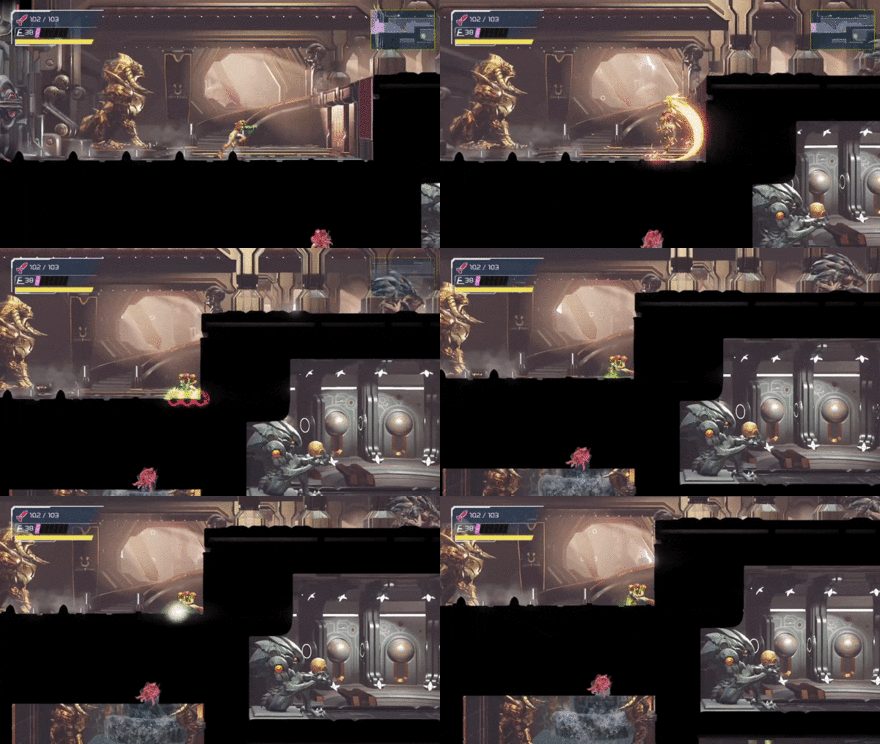
The purpose of doing this is to have Samus' leg slightly clip the wall. This will play a crucial part for the rest of the technique.
Step 2: Aim Down

While charging your diffusion beam and hold the aim button, you will then need to your cannon downwards. You will want to aim specifically at one of the blocky tiles on the ground, indicated by the red marker on the image above.
Step 3: Use the Morph Ball
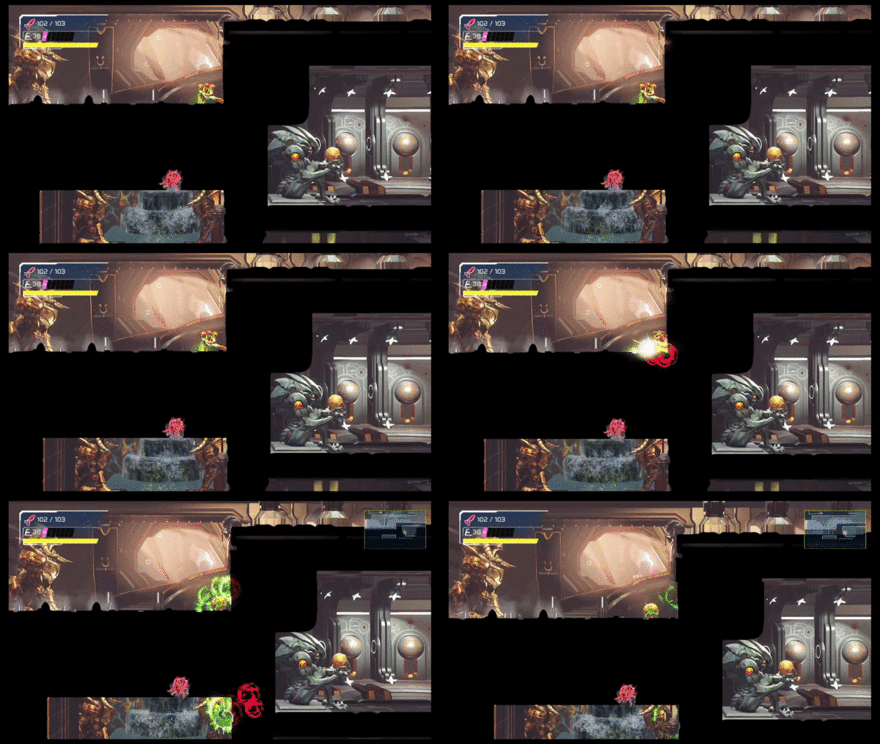
While holding you're charged Diffusion Beam shot and aiming down, turn into a Morph Ball to shoot automatically. The purpose of this is to clip your cannon through the terrain at a certain angle so that your shot phases through the floor and hits the claw of the enemy below. This can extend the hitbox of your shot enough to hit the Alien Block.
| Hit Trajectory |
|---|
 |
| Hit Trajectory in Morph Ball Mode |
 |
Step 4: Hit the Enemy Claw and Detonate the Alien Block
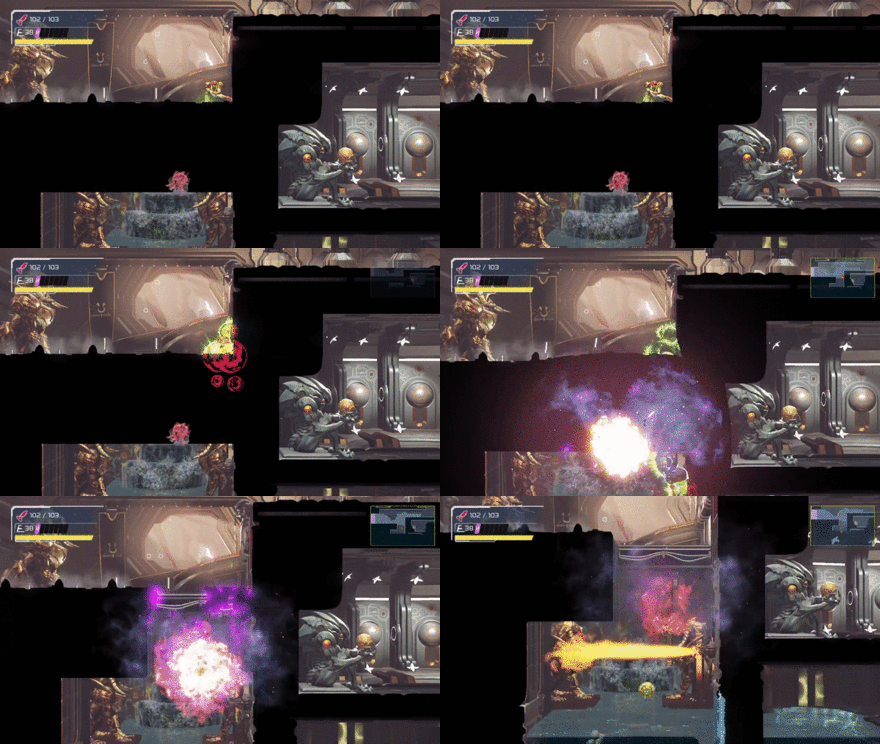
You will now need to hit the enemy's claw when its at a certain angle in order for the Diffusion Beam's explosion to barely hit the Alien Block which will lead to detonating it.
| Angle of the Claw Needed |
|---|
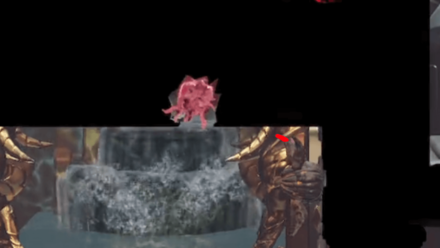 |
The angle of the claw that you are specifically looking for will be when the tip of the claw is barely touching the dark part of the golden statues horn. Hitting it at this angle will give you the perfect opportunity to destroy the Alien Block.
If you kill this enemy while attempting the shortcut, simply exit to the door on the left and then return back to your original spot.
Step 5: Getting out
Depending on your pathing, you will have 3 ways to get out of the room.
From the same path you took going inside the room, use a Bomb to reveal a hidden block inside the Morph Ball crawlspace found on the right.
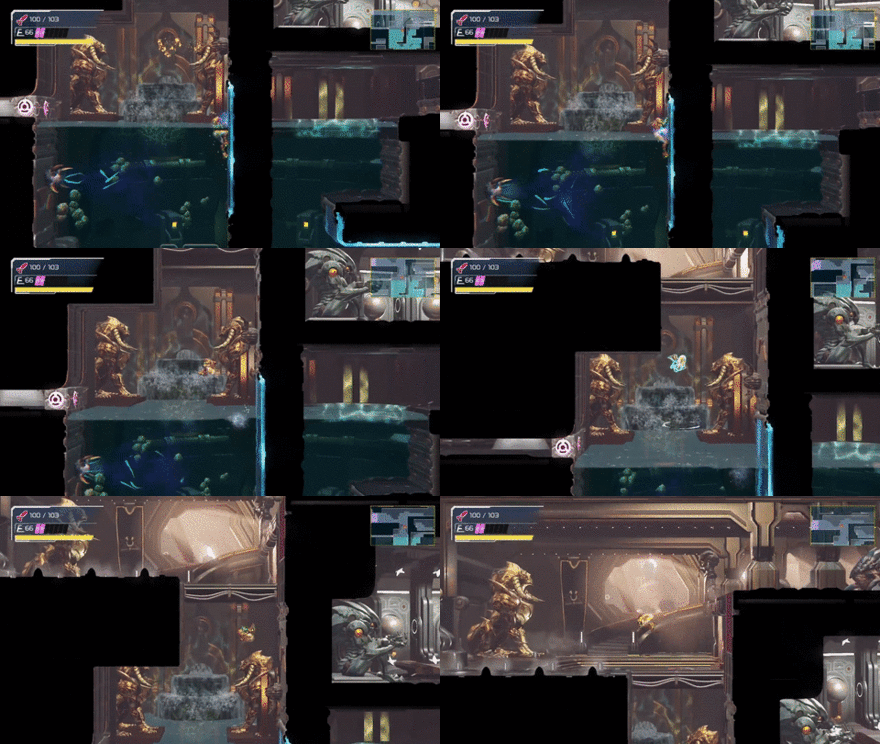
For this method, you will need to use the Grapple Beam to pull yourself to the Magnetic wall. After, just climb all the way up past the water and then use your newly acquired Space Jump to get out.
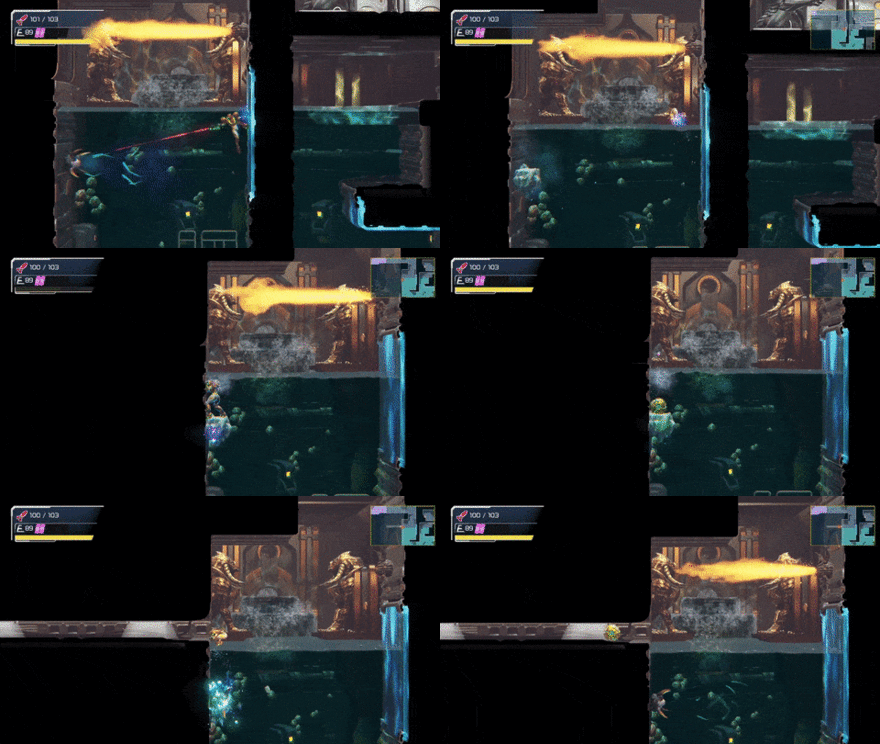
Another method is to freeze the Claw enemy with an Ice Missile so that you can land on of top of them. After using the Flash Shift to get across, destroy the hidden Bomb Block. This path will lead you to the Dairon Elevator. You will also get both a Energy Tank and a Missile Tank by going this route.
Early Gravity Suit

To perform this trick, you must first get the Ice Missile upgrade from defeating the Blue EMMI in Ghavoran.
Step 1: Get to the Green Teleportal

Immediately after getting the Ice Missile upgrade, you can head to Burenia via the Green Teleportal by executing a Shinespark in Ghavoran. Start in the room with the Energy Recharge Station and store a Shinespark before dropping down into the water. Jump forward, and at the height of your jump activate your Shinespark by pressing the Y button and B buttton at the same time (pressing the Y button to shoot will stop you from spinning mid-air). Continue right to the Green Teleportal.
Step 2: Shinespark Puzzle

Once you reach Burenia, use a bomb on the lower right corner of the room that the Green Teleportal is in to open a path. Use Ice Missiles on the three fire trees (Enkys) and proceed forward to find a room with an Energy Part.
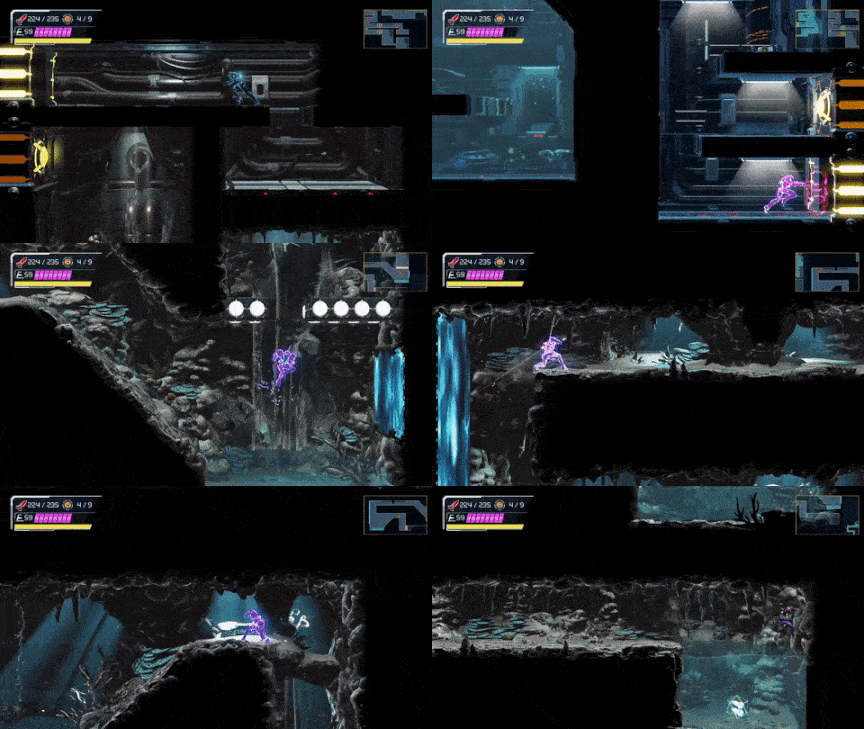
From the ledge above the Energy Part, open the door and use the Speed Booster to break the blocks in the floor of the next room. Go back to the room that had the Energy Part and use the Speed Booster again, but store a Shinespark.
Drop down, slide under the wall in the next room and start shooting down to break the blocks. Activate the Shinespark in mid-air and aim it at the ramp to the left. With the Shinespark active, slide under the wall in the next room and at the edge store your Shinespark again. Drop down and activate the Shinespark mid-air facing right toward the next ramp. Store the Shinespark at the top of the ramp, drop down and break the blocks for a Missile+ Tank.
Step 3: Claim Your Gravity Suit
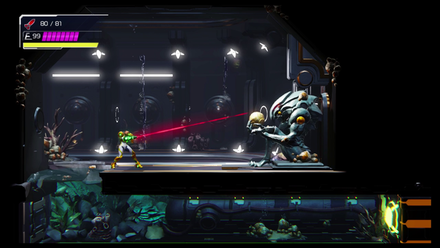
After getting the Missile+ Tank, bomb the wall on the right and continue forward. In the next room when you exit the tunnel, undo your Morph Ball and quickly grab the ledge. Break the walls and clear the Grapple Beam Block so that the object in the background falls, opening up a new path below. Go through the Missile Door and obtain the Gravity Suit.
To escape after obtaining the Gravity Suit, you can use the Speed Booster to perform a Shinespark aiming upwards to reach the upper section of Burenia without using Space Jump.
Early Screw Attack
Method 1
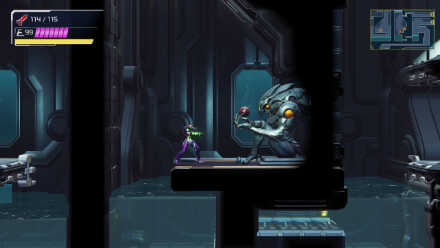
Once you have the Gravity Suit, you can withstand the extreme cold and make your way to the fight with Experiment No. Z-57 in Cataris. To reach Cataris you will have to do a Shinespark up to where a Missile Tank is, and then bomb the wall to proceed. Defeating Z-57 will melt the ice in frozen Artaria, giving you access to the Screw Attack upgrade.
After defeating Z-57 go to the Blue Teleportal in Cataris. You will need the Gravity Suit to do so since it is in a room full of lava. At the bottom of the lava pool, Shinespark up to use the Teleportal.
Method 2
This is a sequence break to get the Screw Attack early. You will need to have the Space Jump, Morph Ball Bomb, and Grapple Beam upgrades.
Step 1: Go This This Room in Artaria

Depending on your pathing, you will need to use the Grapple Beam to open the Grapple Beam Door in the second cold room to the bottom left of Artaria. You won't really need the Gravity Suit yet for this section since you can safely get through the cold room if you have enough HP.
Step 2: Do a Water Bomb Jump to Grab the Ledge
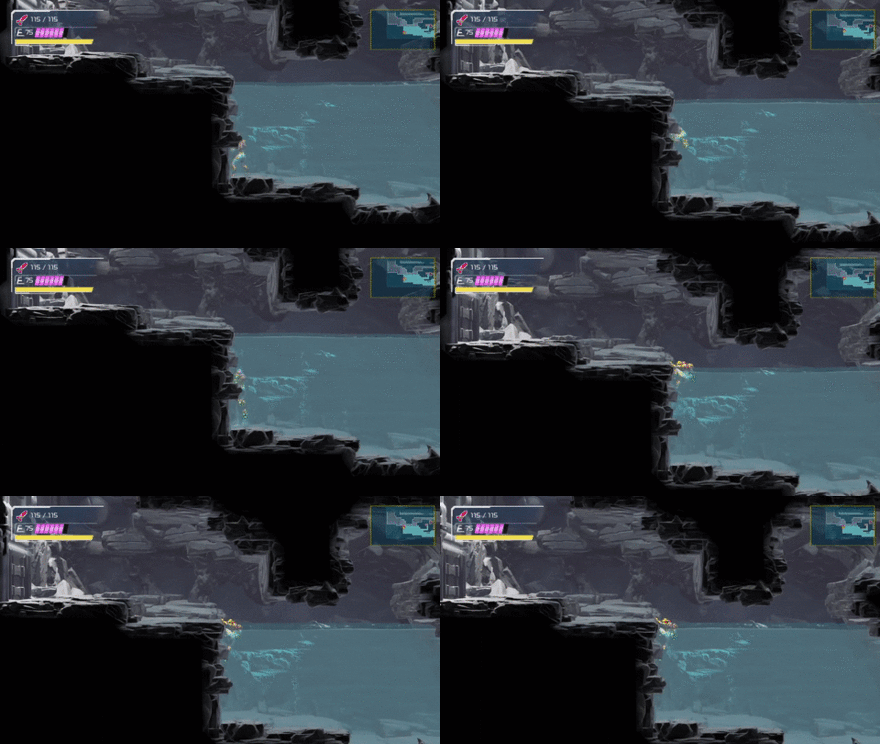
This move looks simple at first glance but it requires a bit of practice to execute consistently.
Before you attempt this, you will need to do a regular bomb jump, un-morph ball midair. and land standing up. Doing this will help you jump higher from a Bomb Jump while underwater. Touching the ground again while in Morph Ball mode will reset your Bomb Jump height.
Next, hug the wall. While hugging the wall, you will need to jump, Morph Ball, drop a Morph Ball Bomb, un-Morph Ball, and then land. After you land, you will need to immediately, Jump, use Morph Ball, get pushed upwards by the bomb, un-Morph ball, and then grab the ledge.
Remember, if at any point you land on the ground while in Morph Ball form, you will need to do the initial preparation again.
Step 3: Space Jump on Top of the Water and Reach the Ledge
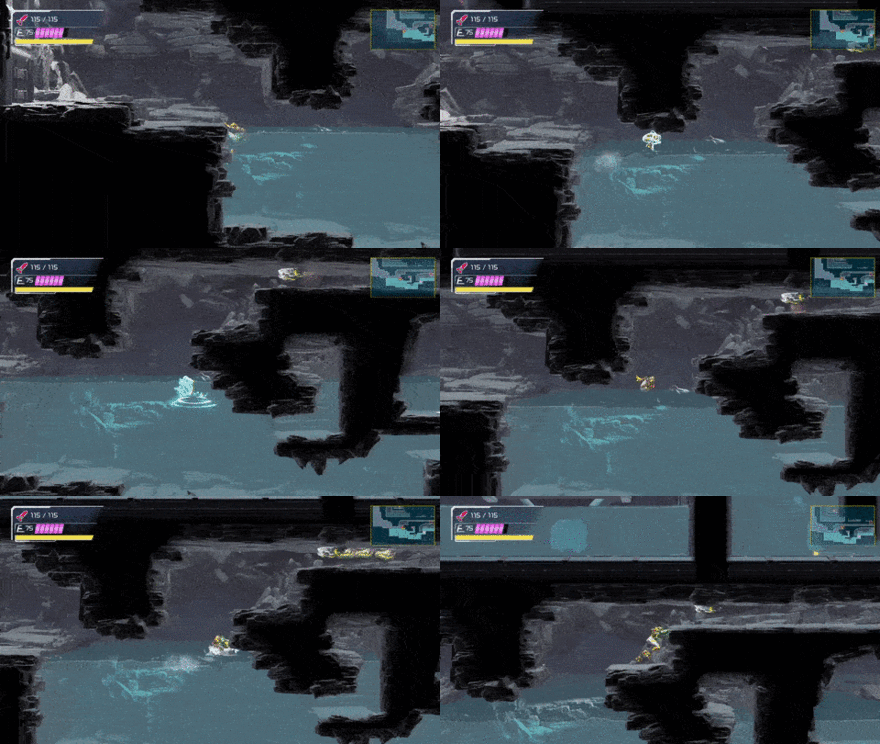
This is another execution heavy technique. Lets break down what's happening.
First, from the ledge, you will want to use Space Jump to move across the surface of the water as you're going across towards the ledge.
When you hit the wall near the ledge, you will need to sink slightly underneath the edge of the corner and then Space Jump to the left and then back right. Do this repeatedly and you will gain a small amount of height each time, allowing you to pop out of the water. Keep doing this until you grab the ledge!
| Visual Guide for the Jump | |
|---|---|
 |
|
| Order of Trajectory | Red First |
| Blue Second | |
| Green Third | |
Step 4: Do a Water Bomb Jump Again and Grab the Upgrade

After proceeding through the hallway and entering the Screw Attack Upgrade room, you will need to do another Water Bomb Jump to get on the platform.
Just like in the instructions from step 2, you will first need to turn into a Morph Ball and then use a Bomb while on the ground. As you get launched upwards, un-Morph Ball yourself and land on your feet.
Next, jump and use a Morph Ball Bomb. Before you land, make sure to un-Morph Ball yourself and land on your feet or else you will need to do step 1 of this processa gain.
After landing on your feet, immediately jump and turn into a Morph Ball. If you did all of the previous steps correctly, you will have enough jump height to grab the ledge and get the Screw Attack upgrade.
Step 5: Getting out
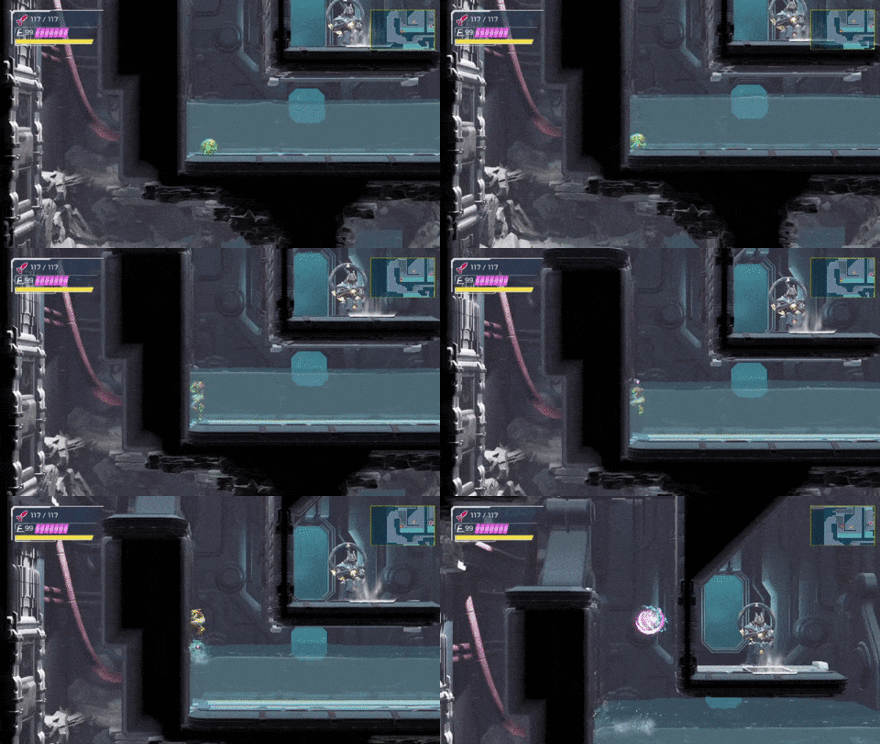
Starting from the door to the upper left, you can charge up a Shinespark before the platform flips and use it to escape the water. However, if you fall down the platform before charging a Shinespark, you will end up in the room shown above.
Don't worry, you aren't softlocked as long as you have Space Jump and Bombs. You will need to do a Water Bomb Jump to get out of the water and then proceed to use the Space Jump to get out.
Speedrun Boss Strategies
Corpious

Aim for its face and tail using Missiles. At this point, you won't have many, so you may run out and will need to switch to Charge Beam Shots. Release each shot as soon as it finishes charging to save time. Counter the boss after sliding under it to deal more damage and restock on Missiles.
Kraid
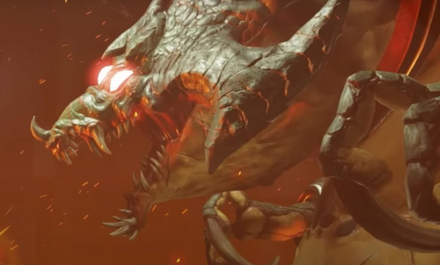
Spam Missiles at Kraid's face, and when he starts spewing projectiles switch to your Wide Beam to break them and restock on Missiles before resuming Missile spam.
In phase 2, jump on the projectiles that stick in the wall and go up to hit Kraid's mouth with more Missiles. Counter him to take him out more quickly, but be aware that his melee attack has one counter-able version and one non-counter-able version, so be prepared to dodge if need be.
Early Bomb Phase 2 Instant Kill
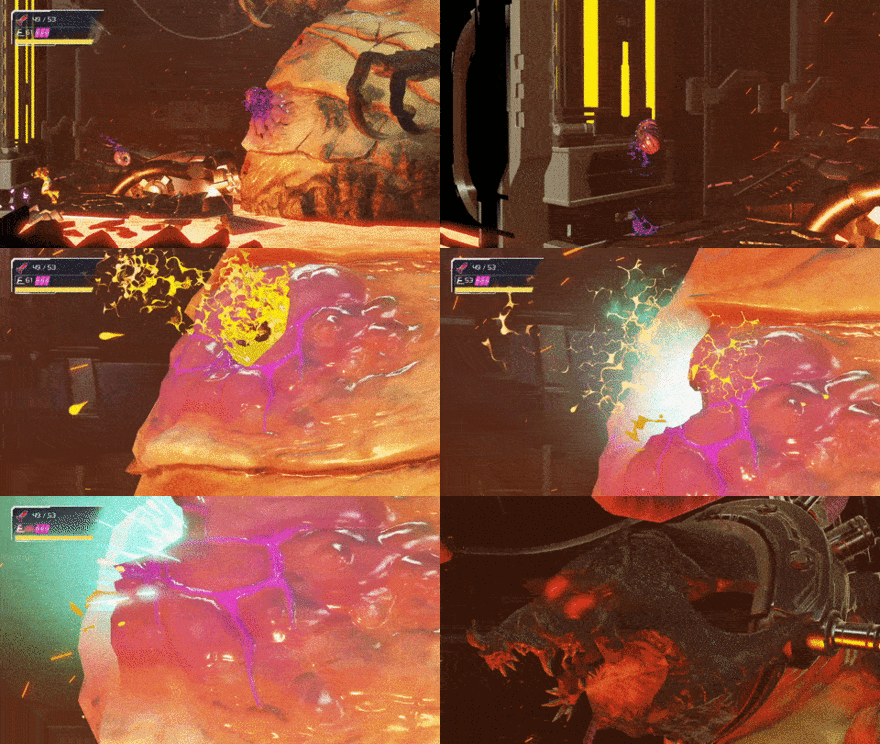
If you went through the steps to get the Early Bomb Upgrade, there is a special way to take down Kraid instantly in phase 2 of the fight. Bomb the lower-left corner of the room to reveal a Morph Ball Launcher. Use it to launch straight into Kraid's stomach for a quicker kill.
Note: This strategy is not recommended for the best route. Although it makes the fight go faster by ending phase 2 early, the time it takes to go and get the Early Bombs takes more time than it does to defeat Kraid normally. It's mostly for players who want to see a unique cutscene.
Central Units
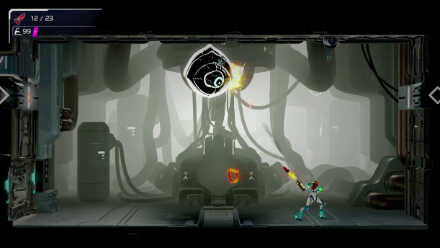
Defeating Central units on a speedrun is mostly the same as a normal playthrough, dodge projectiles while spamming missiles as quickly as possible. However, there are two cases where you can save a good amount of time by using Shinesparks against Central Units.
Note: You will only have the Speed Booster available against the Central Units of the Blue and Purple EMMIs.
Shinespark the Blue EMMI Central Unit
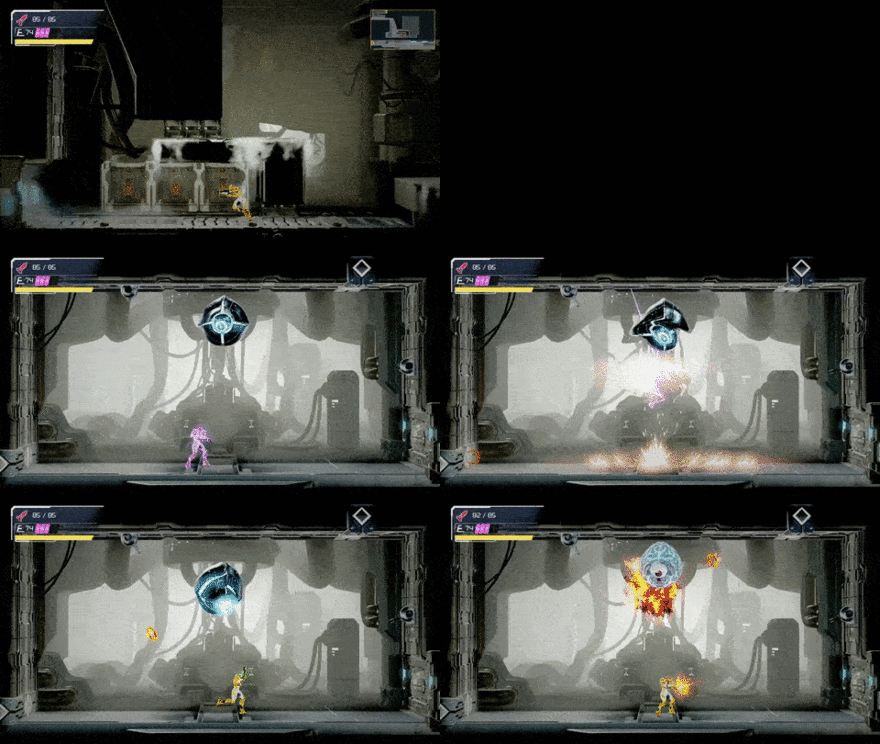
You can Shinespark the Blue EMMI's Central Unit if you can manage to build up enough speed before entering the boss room.
Shinespark the Purple EMMI Central Unit
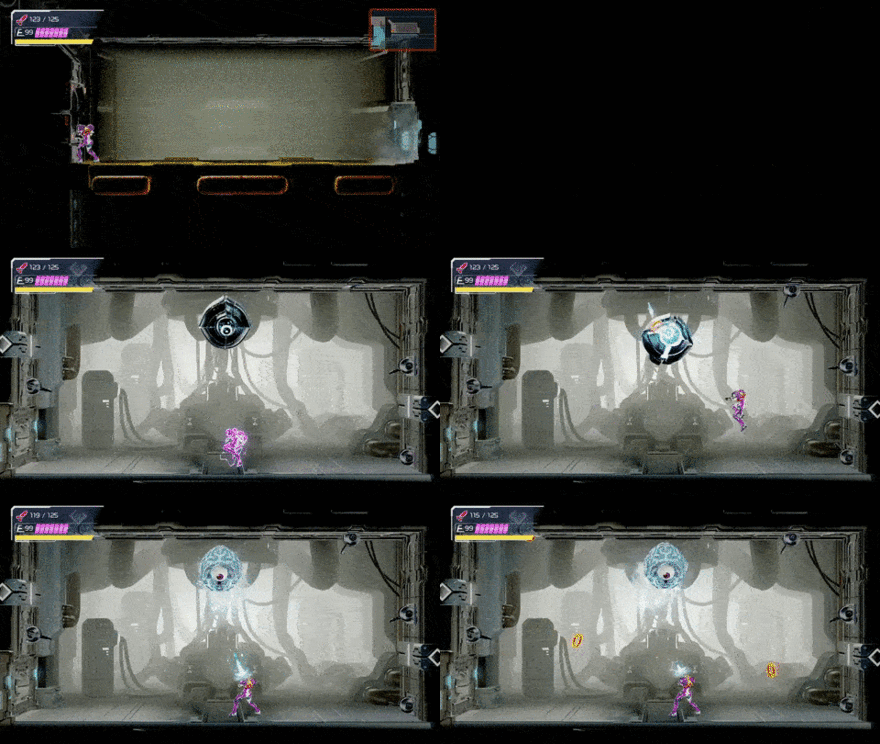
You can also charge a Shinespark before the Purple EMMI's Central unit by using the location above to gain enough speed.
Robot Chozo Soldiers
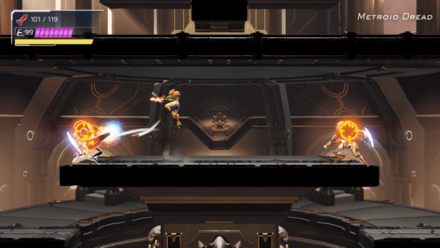
Although these are basically mini-bosses, they are required. For the one-on-one versions of this fight, dodge their attacks and hit them with missiles when you have openings.
When you first face two of these mini-bosses at the same time, you will have just gotten Storm Missile. Use Storm Missile to quickly take them out. After obtaining Screw Attack, take them out fast by jumping into them.
Chozo Soldier
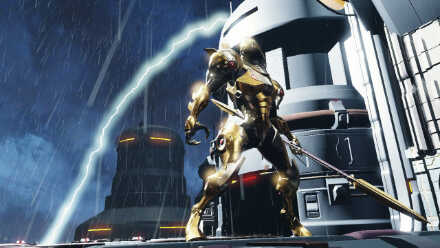
Despite this boss having multiple versions, you can use the same strategy to deal with all of them. Spam Plasma Beam while dodging the boss' attacks and be ready to counter to finish the fight quickly.
Experiment No. Z-57
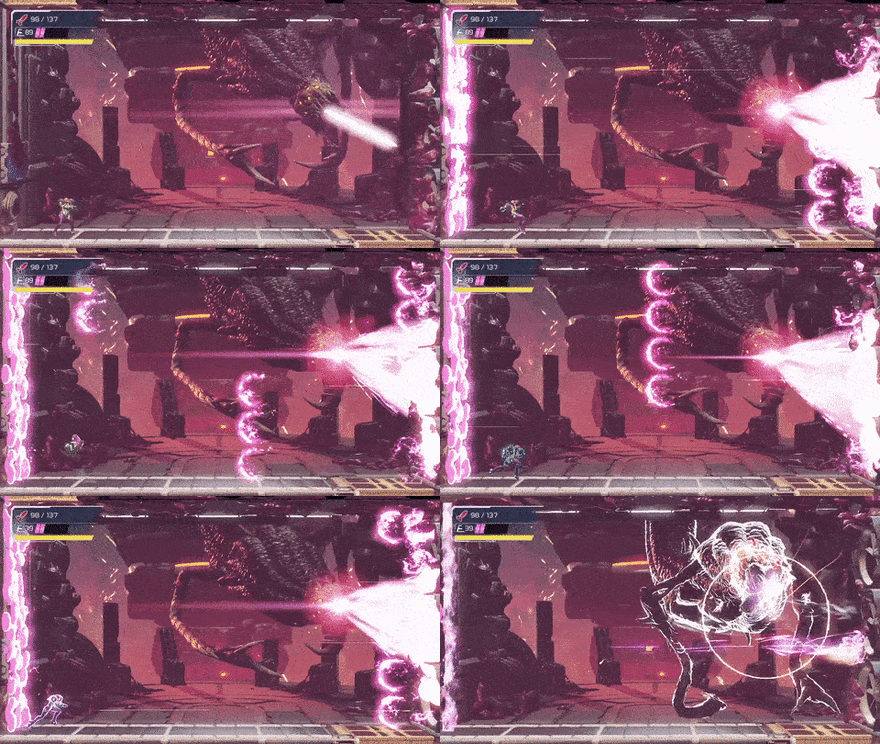
Spam Missiles and when jumping, be sure to also charge a shot for when you land. Counter the boss every chance you get. When Z-57's arms latch onto the sides of the room, if you don't have Storm Missile yet due to sequence breaking, you can manually aim missiles to quickly deal with this attack. When Z-57 is using his wind attack, charge up a Shinespark and hit him in the face with it to end the fight faster.
How to Beat Experiment No. Z-57
Golzuna
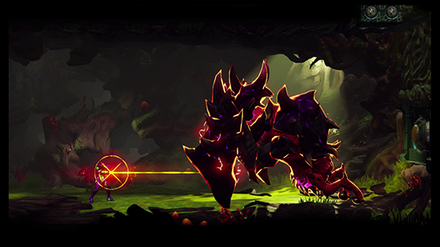
Slide under the boss when it is rearing up for a slam attack and continuously use Ice Missiles to attack the boss from behind while dodging its electrical attacks. Use Screw Attack to take out the X quickly at the end.
Escue
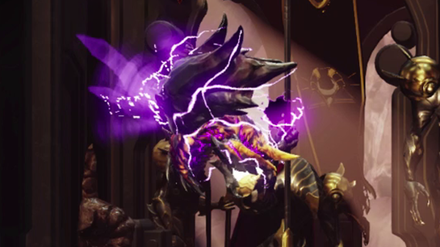
Simply use Screw Attack to tear through this boss while you avoid taking damage. Note that this requires the early Screw Attack sequence break, and thereby the early Gravity Suit sequence break as well.
Shinespark When Enterinng
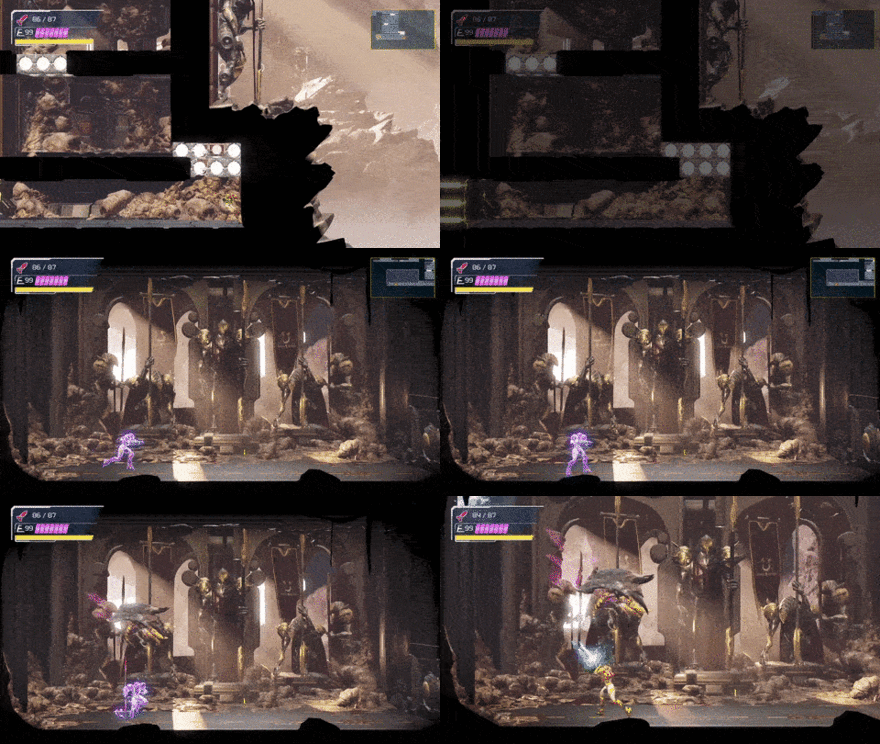
Whether you are sequence breaking or not, when entering the room where you fight Escue, you can charge up a Shinespark using the Speed Booster to deal a massive amount of damage as soon as the fight begins.
Raven Beak
Phase 1

In phase one, spam beam attacks while avoiding Raven Beak's moves. Destroy the dark orbs he sends flying by spamming missiles. Counter him every chance you get to move on to phase two.
Phase 2
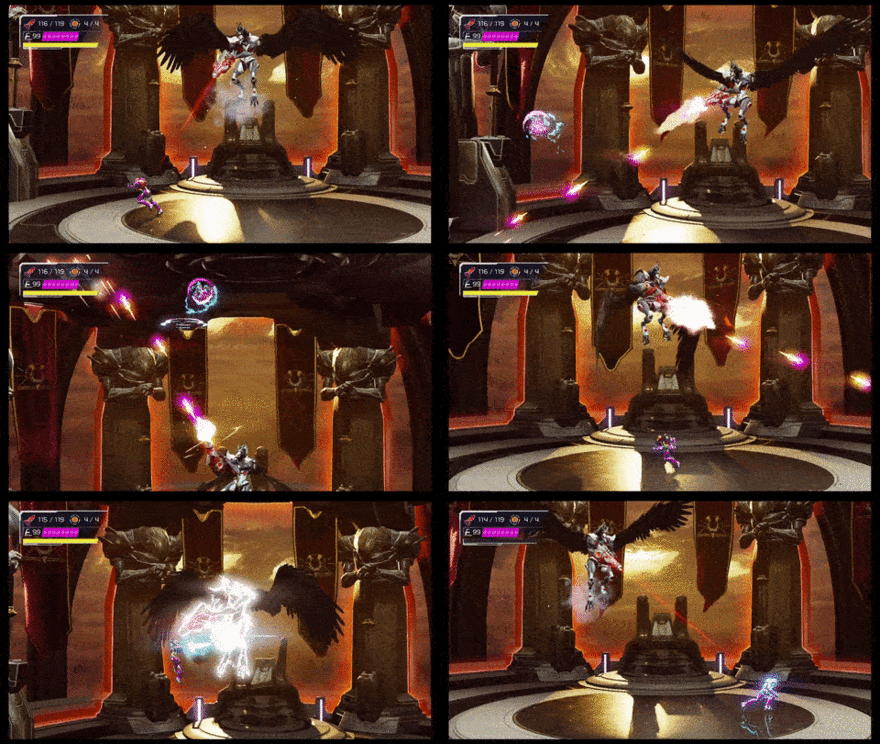
Use primarily your Wave Beam, and when Raven Beak is shooting in a circular motion, charge your shots to hit him as you are falling.
Phase 3
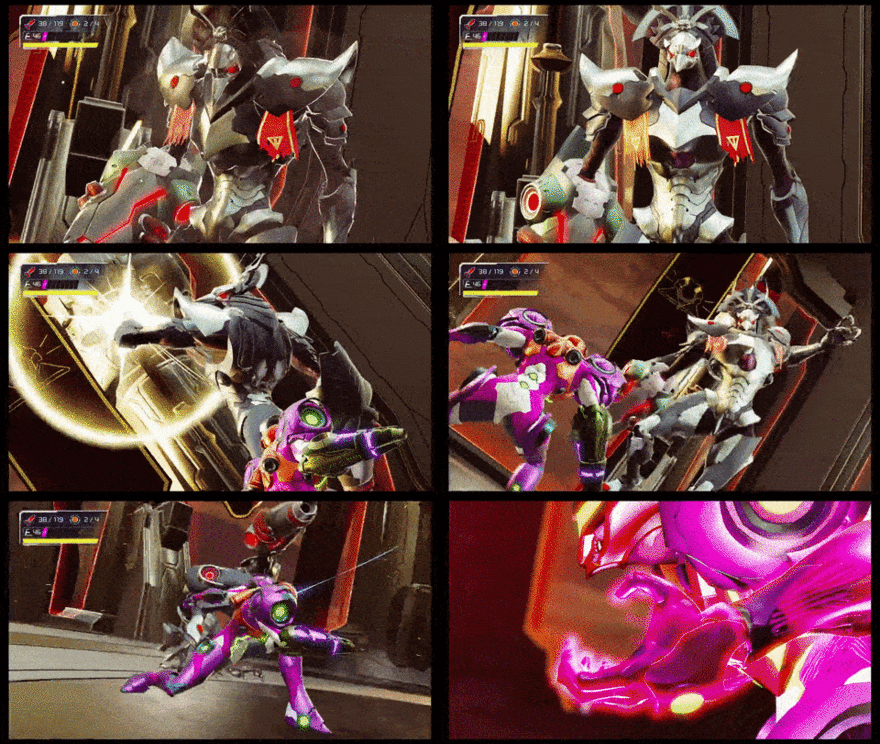
Use Power Bombs to destroy the sun-like spheres Raven Beak sends out. Use Beam Attacks against Raven Beak and counter him whenever you see him charging at you to finish the fight faster.
Speedrun Rewards
| Reward | Clear Condition |
|---|---|
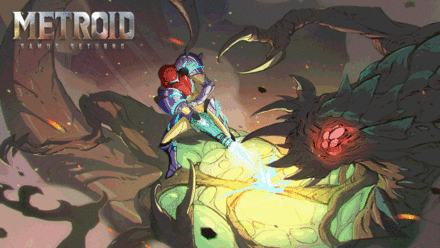 |
Complete the game in under 8 hours while playing on Normal Difficulty |
 |
Complete the game in under 4 hours while playing on Normal Difficulty. |
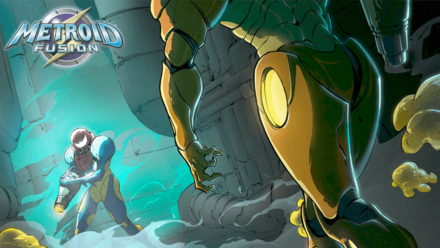 |
Complete the game in under 8 hours while playing on Hard Difficulty. |
 |
Complete the game in under 4 hours while playing on Hard Difficulty. |
There are rewards for both Normal and Hard mode unlocked by clearing the game in under 8 hours, as well as under 4 hours.
How to Unlock All Ending Rewards
Metroid Dread Related Guides

Comment
For the first half you actually want to get the varia suit then do the early grapple/bombs so you can skip phase 2 on kraid. That's the only thing I saw out of order. Also, if you get the gravity suit early you do have to fight experiment 69 or whatever without storm missiles or space jump
Author
Speedrun Guide: How to Sequence Break and Fastest Route
Rankings
- We could not find the message board you were looking for.
Gaming News
Popular Games

Genshin Impact Walkthrough & Guides Wiki

Honkai: Star Rail Walkthrough & Guides Wiki

Umamusume: Pretty Derby Walkthrough & Guides Wiki

Pokemon Pokopia Walkthrough & Guides Wiki

Resident Evil Requiem (RE9) Walkthrough & Guides Wiki

Monster Hunter Wilds Walkthrough & Guides Wiki

Wuthering Waves Walkthrough & Guides Wiki

Arknights: Endfield Walkthrough & Guides Wiki

Pokemon FireRed and LeafGreen (FRLG) Walkthrough & Guides Wiki

Pokemon TCG Pocket (PTCGP) Strategies & Guides Wiki
Recommended Games

Diablo 4: Vessel of Hatred Walkthrough & Guides Wiki

Cyberpunk 2077: Ultimate Edition Walkthrough & Guides Wiki

Fire Emblem Heroes (FEH) Walkthrough & Guides Wiki

Yu-Gi-Oh! Master Duel Walkthrough & Guides Wiki

Super Smash Bros. Ultimate Walkthrough & Guides Wiki

Pokemon Brilliant Diamond and Shining Pearl (BDSP) Walkthrough & Guides Wiki

Elden Ring Shadow of the Erdtree Walkthrough & Guides Wiki

Monster Hunter World Walkthrough & Guides Wiki

The Legend of Zelda: Tears of the Kingdom Walkthrough & Guides Wiki

Persona 3 Reload Walkthrough & Guides Wiki
All rights reserved
© Nintendo. Metroid and Nintendo Switch are trademarks of Nintendo. © 2021 Nintendo.
The copyrights of videos of games used in our content and other intellectual property rights belong to the provider of the game.
The contents we provide on this site were created personally by members of the Game8 editorial department.
We refuse the right to reuse or repost content taken without our permission such as data or images to other sites.


![Monster Hunter Stories 3 Review [First Impressions] | Simply Rejuvenating](https://img.game8.co/4438641/2a31b7702bd70e78ec8efd24661dacda.jpeg/thumb)


Both of those statements other than grapple are incorrect.