Dairon Area Map and 100% Items Guide
Check out our Metroid Prime 4: Beyond Walkthrough!
☆ Dread Rush | Boss Rush | Survival Rush | Practice
★ Speedrun and Sequence Breaks Guide
☆ Locations: Missile Tanks / Energy Tanks / Power Bomb Tanks
This is a 100% items guide to Dairon, one of the areas found in planet ZDR in Metroid Dread for the Nintendo Switch. Read on to learn about all the enemies, bosses, and upgrades found in Dairon and find out how to navigate the Dairon map in order to locate all the stations, teleportals, elevators, missile tanks, and energy tanks!
List of Contents
Dairon Map
| Complete Dairon Map |
|---|
 View Full Map Image |
| Icon | Description |
|---|---|
 | Samus The Samus icon on the map shows Samus' current location. |
 | Save Station Save stations allow you to save the current progress of your game and are found in yellow zones. |
 | Network Station You can use Network Stations found in yellow zones to contact your ship and save your progress. |
 | Network Station You can visit a Map Station to download the map data of certain area and save your progress. |
   | Recharge Station Recharge Stations can replenish Samus' energy and missiles. There are three types of Recharge Stations: Ammo (Red), Energy (Pink) and Total Recharge Stations (Yellow). |
 | Teleportal Teleportals are found in specific sections of the map and can be used to warp to a different area. There are different colors of teleportals that link to each other. |
 | Missile Tank Missile Tanks are found in hidden areas around the map and can increase your missile capacity. |
 | Energy Tank Energy Tanks are found in hidden areas around the map and can increase Samus' maximum health. |
 | Elevator Elevators can bring Samus to another area in planet ZDR. |
 | Interactables Interactables are buttons, switches, or other devices that Samus can interact with to manipulate the environment. |
Dairon Objectives
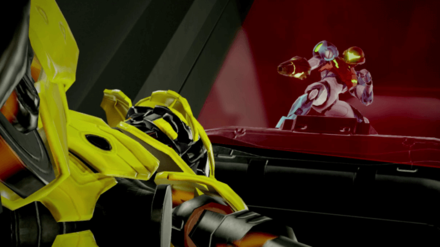
| Dairon Objectives |
|---|
| ✔ Activate the First Generator in Dairon ✔ Obtain the Wide Beam ✔ Encounter the Yellow EMMI in Dairon ✔ Return to Cataris to Defeat the Green EMMI ✔ Return to Dairon after defeating Kraid ✔ Learn about Dairon from Adam ✔ Activate the Second Generator in Dairon ✔ Obtain the Bomb Upgrade ✔ Head to Burenia to Obtain Flash Shift ✔ Defeat the Yellow EMMI and Obtain Speed Booster |
All Items in Dairon
Missile Tanks
| All Dairon Missile Tank Locations |
|---|
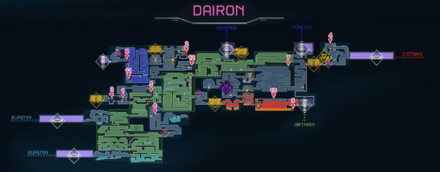 View Full Map Image |
| Item / Details | Map | Screen |
|---|---|---|
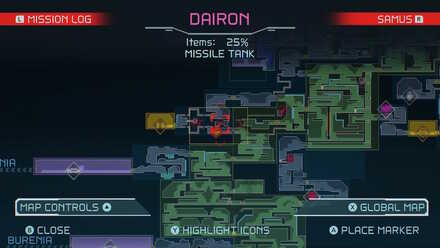
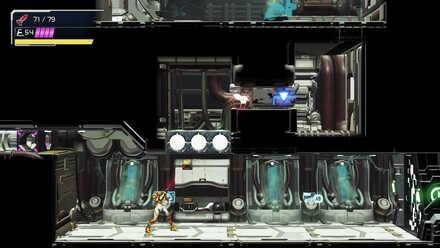
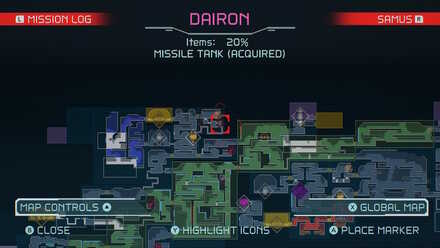
| Missile Tank 01
How to Get: Shoot the ceiling to reveal this Missile Tank. You can also use Bombs on the floor in the room above and use the Grapple Beam, but it is not required. Required Ability: • Morph Ball |
 |
 |
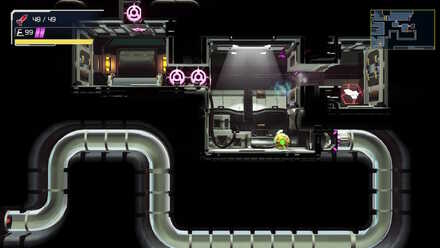
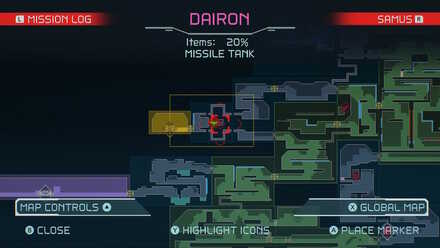
| Missile Tank 02
How to Get: Use Morph Ball and Bombs to break the blocks to get the item. Required Ability: • Morph Ball • Bomb |
 |
 |
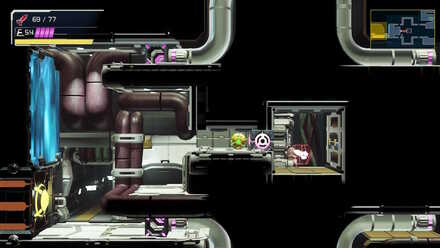
| Missile Tank 03
How to Get: Use Morph Ball Bombs halfway up the wall on the right to find this Missile Tank. Required Ability: • Morph Ball • Bomb |
 |
 |
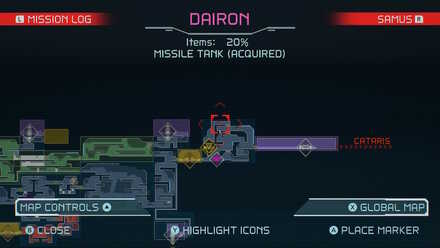
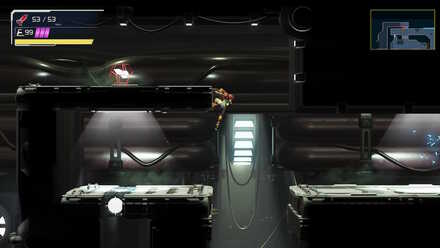
| Missile Tank 04
How to Get: After getting the Speed Booster, perform a Shinespark in this location. Required Ability: • Speed Booster |
 |
 |
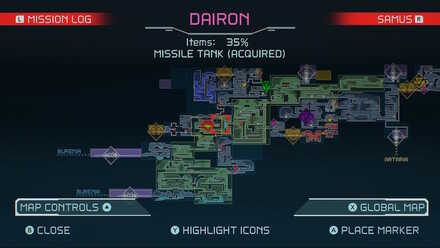
| Missile Tank 05
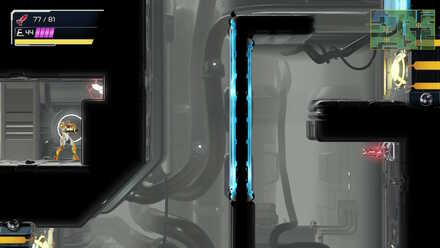
How to Get: Use the Speed Booster to break throught he Speed Booster Block. The Missile Tank is in the next room in a Morph Ball-sized hole. Required Ability: • Morph Ball • Speed Booster |
 |
 |
| Missile Tank 06
(Missile+ Tank)
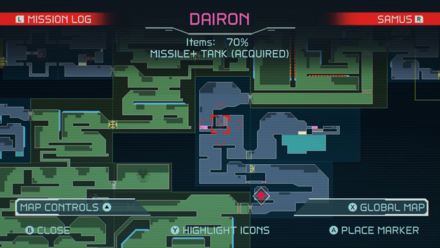
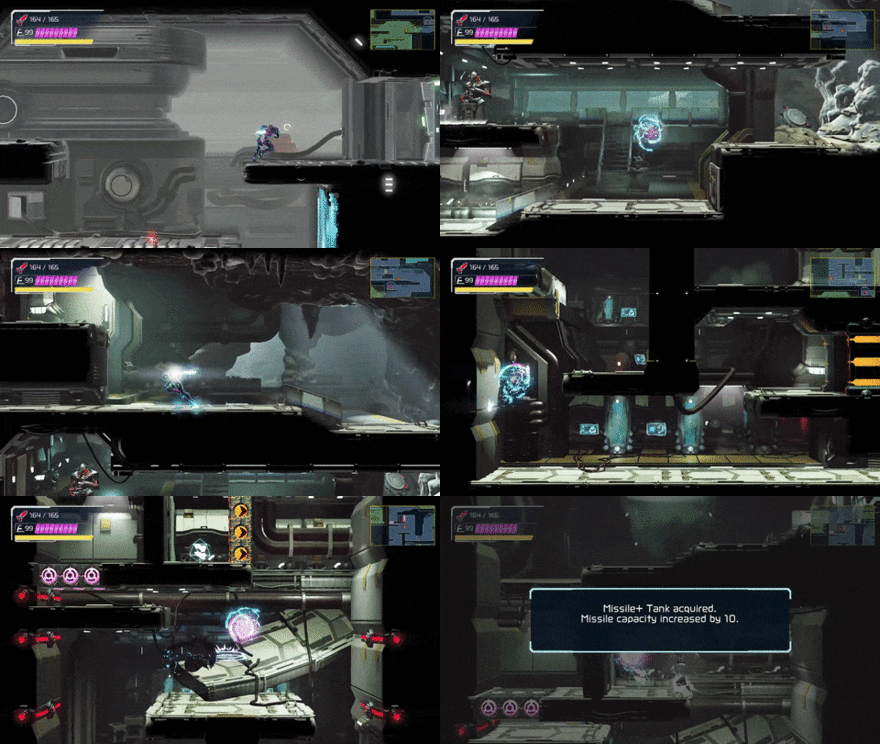
How to Get: Start from behind the EMMI Door just before the Ammo Recharge Station. Use the Speed Booster to perform a series of wall jumps to get this Missile+ Tank. Required Ability: • Speed Booster |
 |
 |
| Missile Tank 07
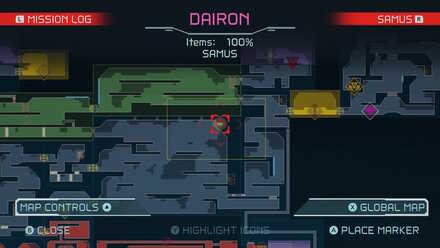
How to Get: From the upper left side of the room, use the Grapple Beam to reach this Missile Tank. Required Ability: • Grapple Beam |
 |
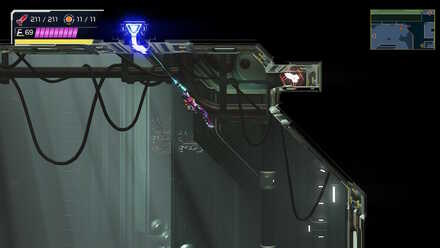 |
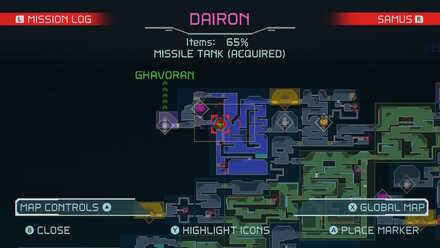
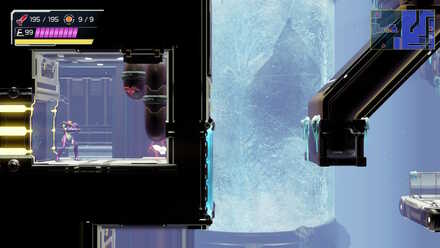
| Missile Tank 08
How to Get: After arriving in Diaron from the Elevator leading to Ghavoran, go staight and there will be a Missile Tank in a room with extreme cold. Required Ability: • Morph Ball • Gravity Suit |
 |
 |
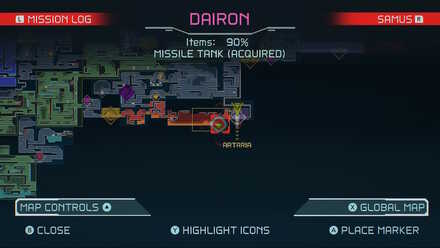
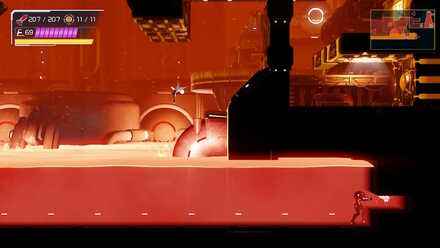
| Missile Tank 09
How to Get: Access this area by destroying the Beem Blocks in the floor of the room with the Energy Part above lava. Continue down to the long room full of lava and use the Speed Booster to break the right wall to find a Missile Tank. Required Ability: • Speed Booster • Gravity Suit |
 |
 |
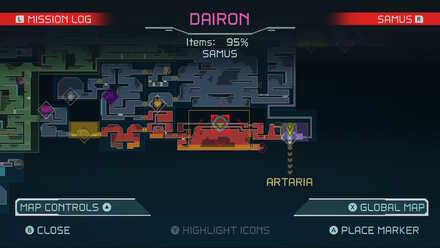
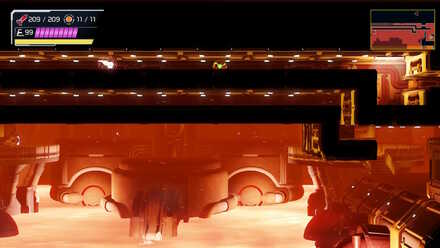
| Missile Tank 10
How to Get: Space Jump to the upper right corner of the room and use the Grapple Beam to clear the way. Turn into a Morph Ball to get this Missile Tank. Required Ability: • Morph Ball • Space Jump • Gravity Suit |
 |
 |
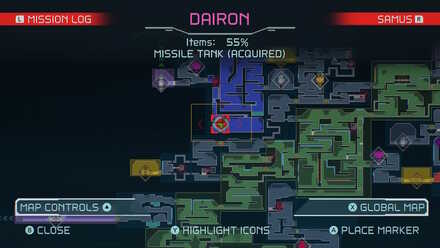
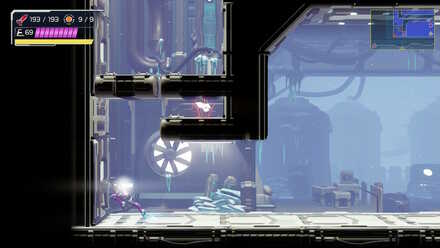
| Missile Tank 11
How to Get: Use the Speed Booster starting from the patch of ice and store a Shinespark. Jump up to the ledge and use the Shinespark to destroy the wall. Next Use the Screw Attack in to break the blocks in the lower left corner of the area you just opend up and drop down. Use the Speed Booster again to break the left wall to find this Missile Tank. Required Ability: • Speed Booster • Gravity Suit • Screw Attack |
 |
 |
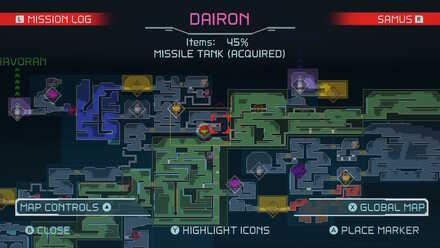
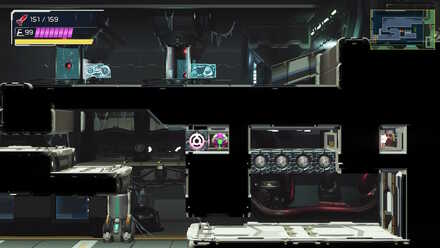
| Missile Tank 12
How to Get: Use Cross Bombs to break the first block, then shoot four missiles to clear the way. Hop over and position youreslf at the right edge before using another Cross Bomb to launch yourself to the other side before the blocks regenerate. Required Ability: • Cross Bomb |
 |
 |
Speed Booster and Shinespark Puzzle Solutions
Missile Tank 06 (Missile+ Tank)
| How to Solve |
|---|
  Shinespark Chaining |
| Map Location |
 |
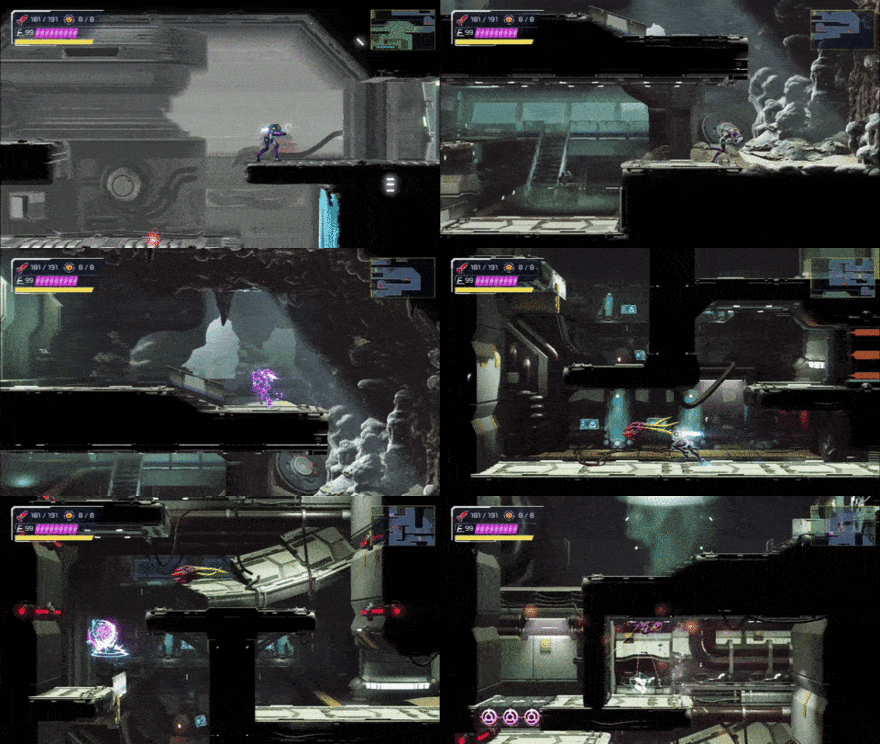
Start inside the EMMI Zone to build up speed into the next room. As you run, you will need to do a wall jump without holding a direction on the left analog stick (this will let you keep your momentum). Before you land on your feet, tilt the Left-Analog stick to the left to keep your momentum forward and then press ZL to slide into the hole. Keep running and then start wall jumping to reach the Missile+ Tank! Remember, you will keep your Speed Booster momentum as long as you don't hold any directional input after a wall jump.
Alternatively, you can also do Shinespark Chaining. Build up your Shinespark and use it against the stairs. As you run and slide through the hole, charge your Shinespark again before you hit the wall. Hitting a Shinespark on a slope will allow you to store another. Next, jump and land on a small piece of the floor right next to the Speed Booster Blocks and activate your Shinespark!
Energy Tanks
| All Dairon Energy Tank Locations |
|---|
 View Full Map Image |
| Item / Details | Map | Screen |
|---|---|---|
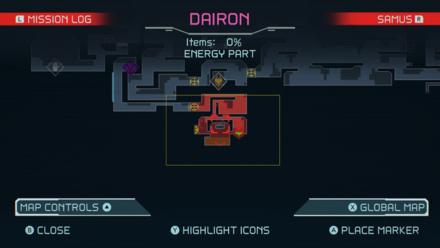
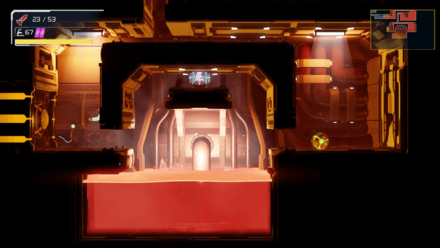
| Energy Tank 01
(Energy Part)
How to Get: Turn into a Morph Ball and carefully grab the ledge. After, just make your way towards the Energy Part. Required Ability: • Morph Ball • Varia Suit |
 |
 |
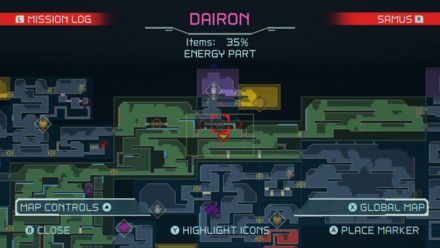
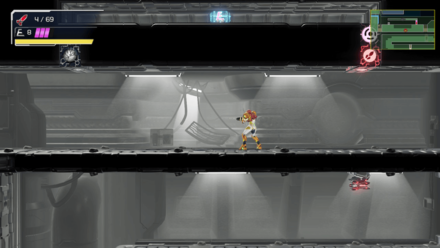
| Energy Tank 02
(Energy Part)
How to Get: Destroy the hidden walls with Missiles and then use Morph Ball Bombs to destroy the bomb block. Once done, jump up and Morph Ball in to grab the Energy Part. Required Ability: • Morph Ball • Bomb |
 |
 |
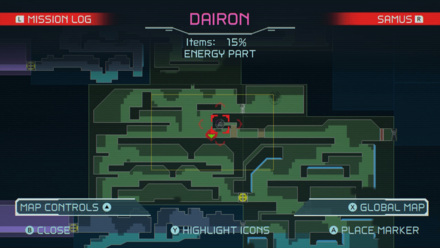
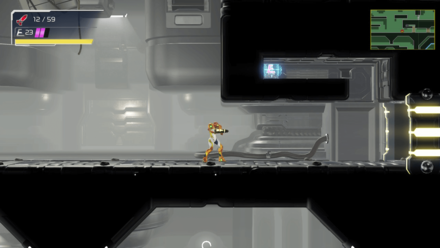
| Energy Tank 03
(Energy Part)
How to Get: Use the Speed Booster to destroy the Speed Booster Blocks. Required Ability: • Morph Ball • Speed Booster |
 |
 |
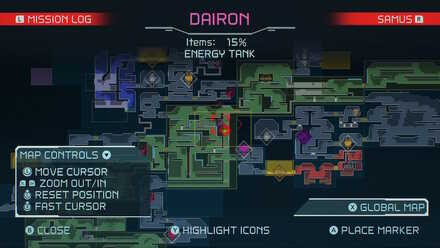
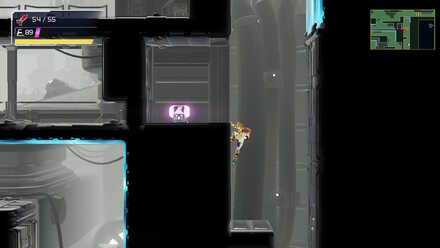
| Energy Tank 04
How to Get: After obtaining the Speed Booster, head back to Dairon. Do a Shinespark to break the Speed Booster Blocks to access this Energy Tank. Required Ability: • Speed Booster |
 |
 |
| Energy Tank 05
(Energy Part)
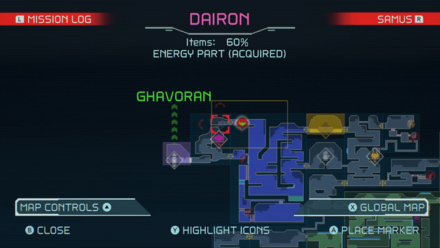
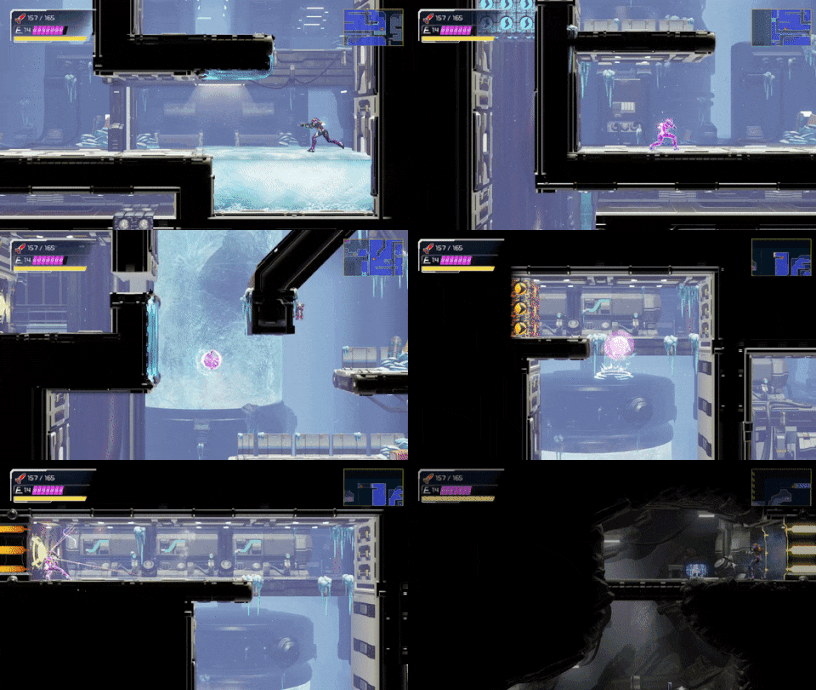
How to Get: Store Shinespark from your Speed Boost and then use Space Jump to climb all the way up. Once on the ledge, use your Shinespark to destroy the Speed Boost Blocks. Required Ability: • Speed Booster • Space Jump • Gravity Suit |
 |
 |
Speed Booster and Shinespark Puzzle Solutions
Energy Tank 05 (Energy Part)
| How to Solve |
|---|
 |
| Map Location |
 |
This Energy Tank can be found at the top left corner of Dairon. The timing for activating your Shinespark is strict for this puzzle. The moment you hear the sound queue for the Speed Booster, activate your Shinespark and start using Space Jump to climb up. Be careful not to hit any of the walls on your way up or you will not have enough time to pull off the Shinespark. Once you reach the top, be careful not to immediately activate your Shinespark. The game requires a slight delay after landing for Shinespark to activate. If you press it too fast, you will end up jumping instead.
Power Bombs
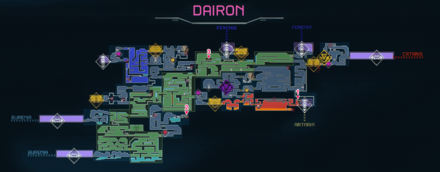
| All Dairon Power Bomb Tank Locations |
|---|
 View Full Map Image |
| Item / Details | Map | Screen |
|---|---|---|
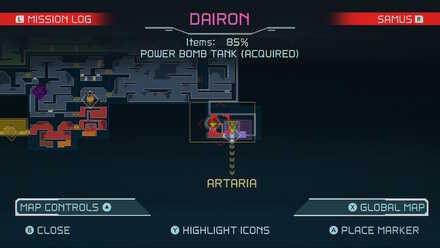
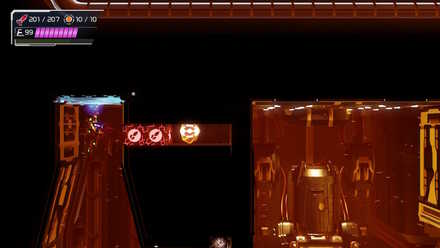
| Power Bomb Tank 01
How to Get: From the Elevator room in that connects to Artaria, shoot the left wall. Use the Grapple Beam to reach the ceiling and use Missiles to clear the way to the Power Bomb Tank. Required Ability: • Morph Ball • Grapple Beam |
 |
 |
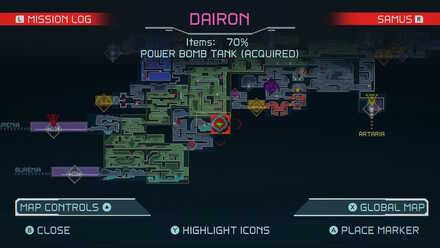
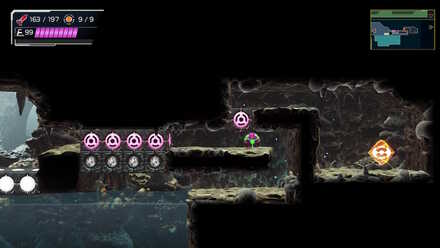
| Power Bomb Tank 02
How to Get: Use Cross Bombs to clear the gap and get this Power Bomb Tank. Required Ability: • Gravity Suit • Cross Bomb |
 |
 |
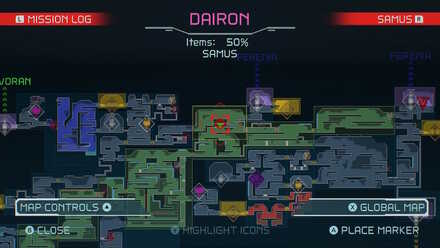
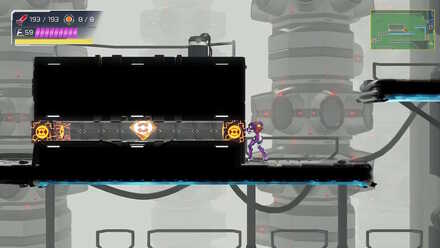
| Power Bomb Tank 03
How to Get: Use a Power Bomb to get this Power Bomb Tank. Required Ability: • Power Bomb |
 |
 |
Dairon Bosses
| There are no bosses located in Dairon. |
Dairon EMMI
Yellow EMMI
| Yellow EMMI | ||
|---|---|---|
 |
||
| Rewards | Speed Booster | |
| Abilities | • Able to climb walls • Can dash at high speeds • Instant kill attack |
|
Yellow EMMI Map Location
| EMMI Zone Map |
|---|
 |
Upgrades and Power-Ups in Dairon
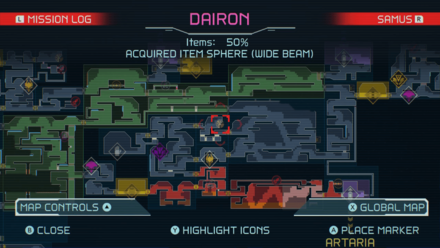
Wide Beam
| Wide Beam Location | |
|---|---|
 |
|
| Description | A beam upgrade that allows Samus to fire three beams simultaneously. |
| Upgrade Type | Beam |
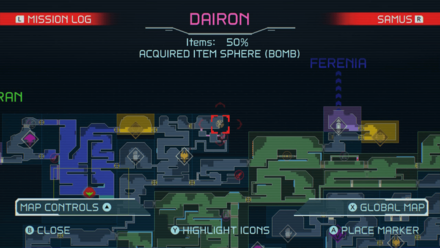
Bomb
| Bomb Location | |
|---|---|
 |
|
| Description | Bombs can break down certain walls and obstacles. |
| Upgrade Type | Morph Ball |
Dairon Stations
Station Locations
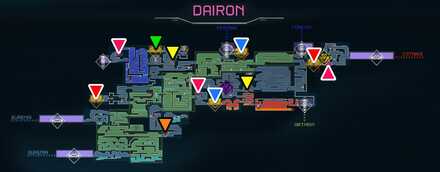
| Map Icon Legends | ||
|---|---|---|
 Save Station Save Station |
 Network Station Network Station |
 Map Station Map Station |
 Ammo Recharge Station Ammo Recharge Station |
 Energy Recharge Station Energy Recharge Station |
 Total Recharge Station Total Recharge Station |
Dairon Transportation
Elevator, Shuttle, and Teleportal Locations
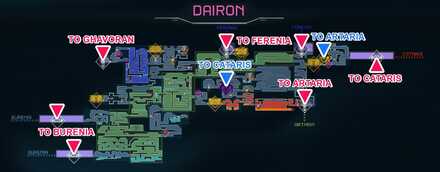
| Map Icon Legends | |
|---|---|
 Elevator or Shuttle Elevator or Shuttle |
 Teleportal Teleportal |
Shuttle to Cataris
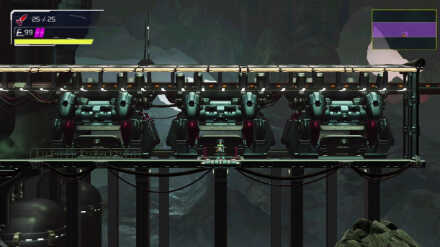
The Shuttle to east of the map leads back to Cataris. Samus will exit this elevator on her first visit to Dairon to obtain the Wide Beam.
Shuttles to Burenia
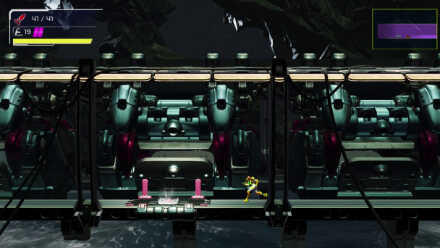
There are two shuttles to Burenia, both found on the west side of the map. When Samus first travels to Burenia, she takes both of these elevators to get to and from Burenia.
Elevator to Artaria
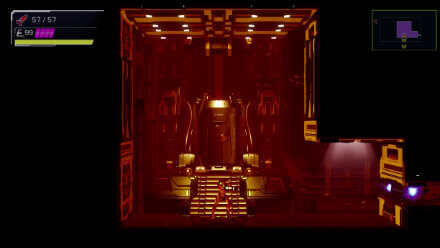
To the southeast side of the map is an elevator that leads back to Artaria. Samus first travel through this elevator after obtaining the Grapple Beam in Artaria.
Elevators to Ferenia
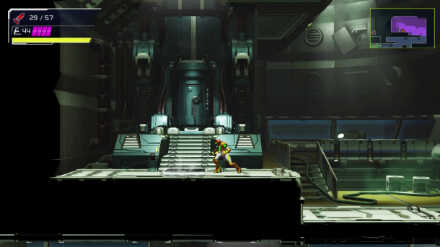
There are two elevateors that lead to Ferenia, both located on the north side of the map. The elevator to the east requires Grapple Beam to access, while the one to the west will require Samus to first take the elevator in Ferenia.
Elevator to Ghavaron
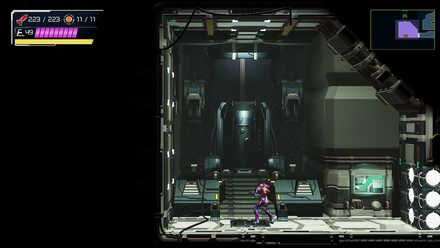
The elevator to Ghavaron is found on the northwest side of the map. This elevator is one of the few elevators not required to complete the game.
Purple Teleportal
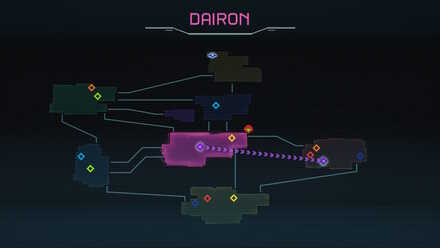
The Purple Teleportal in the middle of the map is connected to a matching Teleportal in Cataris. Samus travels through this Teleportal after her battle against Kraid.
Yellow Teleportal
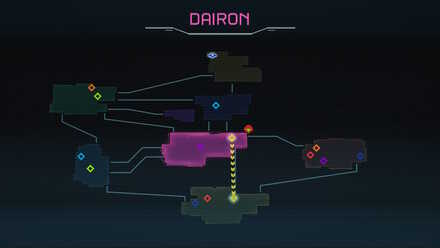
The Yellow Teleportal to the east is connected a matching Teleportal in Artaria. Traveling through this Teleportal is the only way to access its matching Teleportal.
Dairon Interactables
Generator Locations
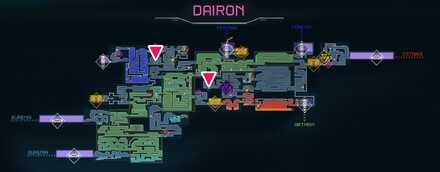
Some areas in Dairon have blackouts, causing some doors and machines to remain inactive. Activating a generator in an area will turn the power back on allowing you to progress further into the map.
Enemies in Dairon
| List of Enemies | ||
|---|---|---|
|
|
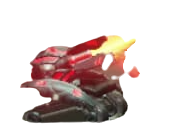 Autsniper Autsniper
|
|
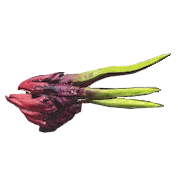 Unknown Unknown
|
 Unknown Unknown
|
 Unknown Unknown
|
 Unknown Unknown
|
 Unknown Unknown
|
|
Metroid Dread Related Guides
 Artaria Artaria |
 Cataris Cataris |
 Dairon Dairon |
 Burenia Burenia |
 Ghavoran Ghavoran |
 Ferenia Ferenia |
 Elun Elun |
 Hanubia Hanubia |
 Itorash Itorash |
- |
Comment
Yeah there’s this one energy tank part missing in this guide. You have to do a series of wall jumps after building up speed in the ice room next to the elevator leading to Ghavoran. I drew up a small guide for reference. I was checking here to see if there was any tips on this speed booster puzzle but alas, I will keep trying.
Author
Dairon Area Map and 100% Items Guide
improvement survey
03/2026
improving Game8's site?

Your answers will help us to improve our website.
Note: Please be sure not to enter any kind of personal information into your response.

We hope you continue to make use of Game8.
Rankings
- We could not find the message board you were looking for.
Gaming News
Popular Games

Genshin Impact Walkthrough & Guides Wiki

Honkai: Star Rail Walkthrough & Guides Wiki

Umamusume: Pretty Derby Walkthrough & Guides Wiki

Pokemon Pokopia Walkthrough & Guides Wiki

Resident Evil Requiem (RE9) Walkthrough & Guides Wiki

Monster Hunter Wilds Walkthrough & Guides Wiki

Wuthering Waves Walkthrough & Guides Wiki

Arknights: Endfield Walkthrough & Guides Wiki

Pokemon FireRed and LeafGreen (FRLG) Walkthrough & Guides Wiki

Pokemon TCG Pocket (PTCGP) Strategies & Guides Wiki
Recommended Games

Diablo 4: Vessel of Hatred Walkthrough & Guides Wiki

Fire Emblem Heroes (FEH) Walkthrough & Guides Wiki

Yu-Gi-Oh! Master Duel Walkthrough & Guides Wiki

Super Smash Bros. Ultimate Walkthrough & Guides Wiki

Pokemon Brilliant Diamond and Shining Pearl (BDSP) Walkthrough & Guides Wiki

Elden Ring Shadow of the Erdtree Walkthrough & Guides Wiki

Monster Hunter World Walkthrough & Guides Wiki

The Legend of Zelda: Tears of the Kingdom Walkthrough & Guides Wiki

Persona 3 Reload Walkthrough & Guides Wiki

Cyberpunk 2077: Ultimate Edition Walkthrough & Guides Wiki
All rights reserved
© Nintendo. Metroid and Nintendo Switch are trademarks of Nintendo. © 2021 Nintendo.
The copyrights of videos of games used in our content and other intellectual property rights belong to the provider of the game.
The contents we provide on this site were created personally by members of the Game8 editorial department.
We refuse the right to reuse or repost content taken without our permission such as data or images to other sites.





![Monster Hunter Stories 3 Review [First Impressions] | Simply Rejuvenating](https://img.game8.co/4438641/2a31b7702bd70e78ec8efd24661dacda.jpeg/thumb)


Nvm I saw in a different part of the site how to do it lol.