Mullonde Cathedral Nave Walkthrough (Battle 47)
★ Tier Lists: Characters | Jobs | Weapons
☆ Farming Guides: Gil | JP | Rare Weapons
★ All Missables and Points of No Return
☆ Optimal Job Progression Guide
★ Recruit All Secret Characters!
☆ All Hidden Treasure Locations
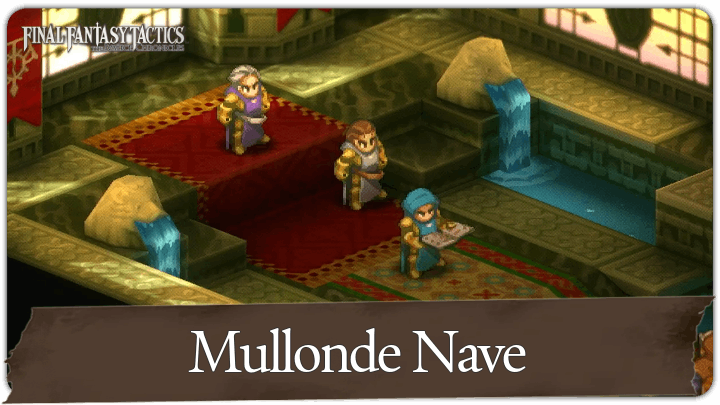
This is a guide for Battle 47: Mullonde Cathedral Nave in Chapter 4 of Final Fantasy Tactics - The Ivalice Chronicles. See a full walkthrough of this battle, as well as its overview, enemies, recruitable characters and rewards for completing Mullonde Cathedral Nave.
| ◄ Previous Battle | Next Battle ► |
|---|---|
| Mullonde Cathedral | Mullonde Cathedral Sanctuary |
List of Contents
Battle 47: Mullonde Cathedral Nave Overview
Battle Location and Information
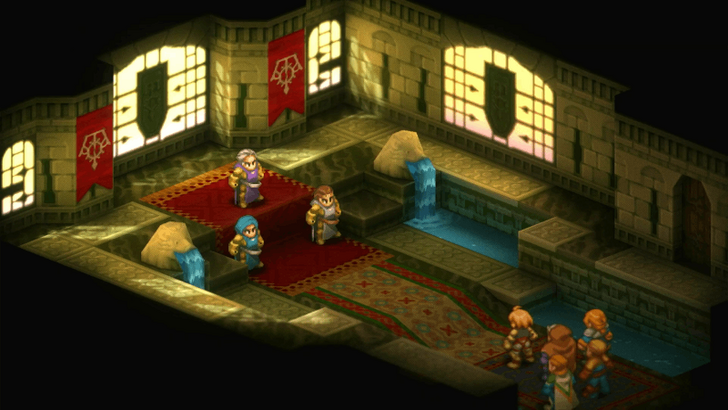
| Field View | |
|---|---|
 |
|
| Chapter | Chapter 4 |
| Rec. Level / Difficulty |
Level 60
✦✦✦✦✧ |
| Objective | Defeat Folmarv! |
| Party Size | You can deploy up to 5 units. |
Battle 47: Mullonde Cathedral Nave Recruitable Characters
All Characters You Can Recruit
| There are no known characters that can be recruited in this stage. |
Battle 47: Mullonde Cathedral Nave Enemies
All Enemies in Mullonde Cathedral Nave
| All Stage Enemies |
|---|
|
・Folmarv
・Loffrey (Temple)
・Cletienne (Mullonde)
|
Battle 47: Mullonde Cathedral Nave Recommended Party Composition
Best Characters to Use For This Battle
| Best Characters to Use | |||
|---|---|---|---|
 Ramza Ramza (Ninja) |
 Agrias Agrias (Knight) |
 Mustadio Mustadio (Chemist) |
 Meliadoul Meliadoul |
 Orlandeau Orlandeau |
|||
Ramza is a Brawler Ninja here for high-speed physical bursts, which is especially useful for chasing Cletienne or Loffrey early. Agrias and Orlandeau both excel here thanks to their Holy Sword skills that ignore elevation and hit hard from range. Meliadoul’s Crush abilities can destroy enemy weapons and armor, neutering their Unyielding Blade attacks.
Bring Mustadio as a Chemist for both healing support and ranged disruption with Aimed Shot, he’s invaluable for keeping the team alive while disabling casters.
Lastly, make sure everyone equips Auto-Potion, and stock your inventory with X-Potions only.
Battle 47: Mullonde Cathedral Nave Walkthrough
Walkthrough Guide
| # | Step by Step Objectives |
|---|---|
| 1 | 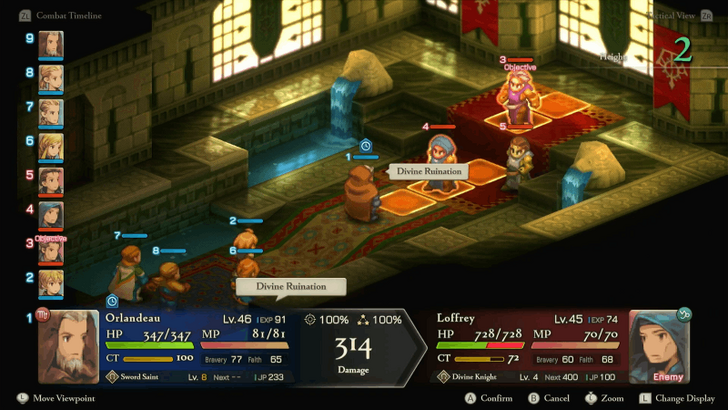 Focus Fire on Cletienne or Loffrey You’ll start the battle against Folmarv, Loffrey, and Cletienne, but you don’t actually need to defeat all three. Cletienne has the lowest HP, making him the easiest target, while Loffrey is the closest to your starting position. Choose whichever fits your team’s reach and damage output. Ramza as a Brawler Ninja can quickly close in for burst damage, Mustadio can use Aimed Shot while healing as a Chemist, and the rest of the team should use ranged Holy Sword or Crush abilities to wear enemies down fast. |
| 2 | 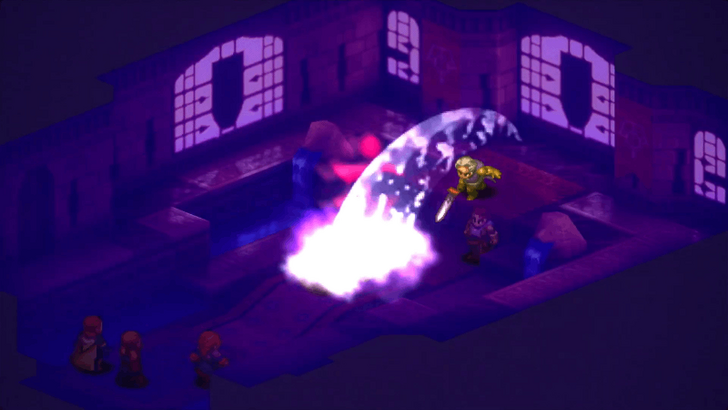 Break the Enemy's Weapons The enemies love using Unyielding Blade skills that can destroy your gear. To counter this. have Agrias use Rend Weapon, or let Orlandeau and Meliadoul use Crush Weapon to disable their swords. This prevents them from using sword skills and weakens their attacks. |
| 3 | 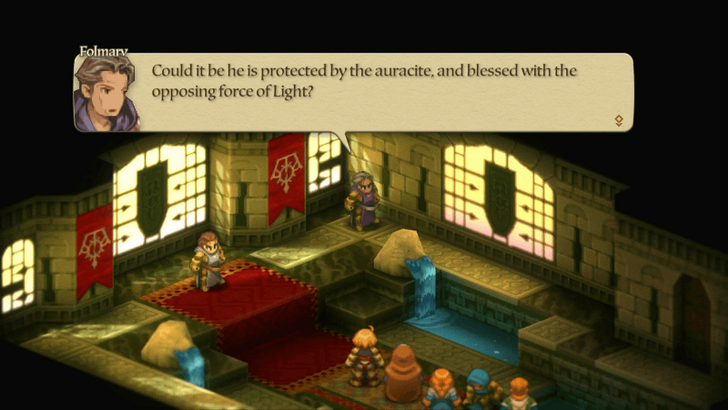 Battle Ends Once One Enemy Falls The fight automatically ends once any of the three enemies drops to critical HP or is defeated. Focus your strongest attacks to bring one down quickly, once they retreat, you’ll face them again later in the story. But first you must do one last battle on Mullonde's Sanctuary. ► Mullonde Sanctuary Walkthrough |
Chapter 4: In the Name of Love Walkthrough
Battle 47: Mullonde Cathedral Nave Buried Treasure Locations
Location and Treasures
| Location | Treasures |
|---|---|
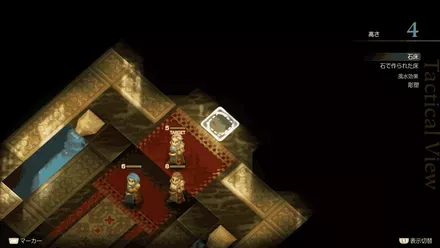 |
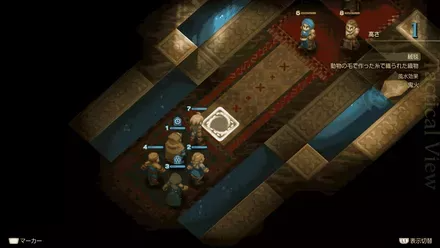
Common: Rare: |
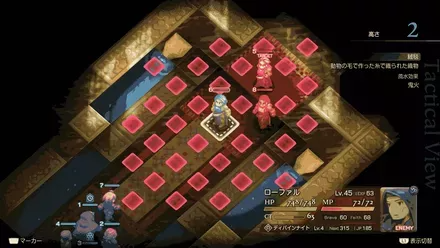 |
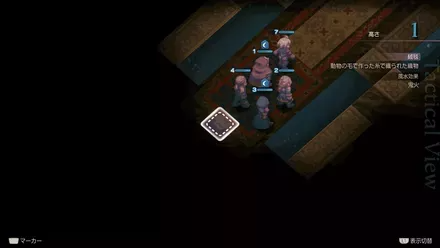
Common: Rare: |
 |
Common: Rare: |
 |
Common: Rare: |
All Hidden Items and Treasure Locations
Battle 47: Mullonde Cathedral Nave Rewards
All Mullonde Cathedral Nave Spoils of War
| All Spoils of War |
|---|
|
・
|
Besides the treasures you can pick up during the fight, you’ll also receive Spoils of War once the battle ends. These are guaranteed rewards that drop after completing the objective, and always include Gil along with the items listed above.
Final Fantasy Tactics - The Ivalice Chronicles Related Guides

All Chapter Walkthroughs
| # | Chapter Title |
|---|---|
| 1 | The Meager |
| 2 | The Manipulative and the Subservient |
| 3 | The Valiant |
| 4 | In the Name of Love |
Chapter 1 Walkthrough
| # | Locations and Battles |
|---|---|
| 1 | Orbonne Monastery |
| 2 | Magick City of Gariland |
| 3 | Mandalia Plain |
| 4 | Siedge Weald |
| 5 | Dorter Slums |
| 6 | The Sand Rat's Sietch |
| 7 | Brigands' Den |
| 8 | Lenalian Plateau |
| 9 | Fovoham Windflats |
| 10 | Ziekden Fortress |
Chapter 2 Walkthrough
| # | Locations and Battles |
|---|---|
| 11 | Merchant City of Dorter |
| 12 | Araguay Woods |
| 13 | Zeirchele Falls |
| 14 | Castled City of Zaland |
| 15 | Balias Tor |
| 16 | Tchigolith Fenlands |
| 17 | Goug Lowtown |
| 18 | Balias Swale |
| 19 | Golgollada Gallows |
| 20 | Lionel Castle Gate |
| 21 | Lionel Castle Keep |
Chapter 3 Walkthrough
| # | Locations and Battles |
|---|---|
| 22 | Mining Town of Gollund |
| 23 | Lesalia Castle Postern |
| 24 | Monastery Vaults: Second Level |
| 25 | Monastery Vaults: Third Level |
| 26 | Monastery Vaults: First Level |
| 27 | Grogh Heights |
| 28 | Walled City of Yardrow |
| 29 | Yuguewood |
| 30 | Riovanes Castle Gate |
| 31 | Riovanes Castle Keep |
| 32 | Riovanes Castle Roof |
Chapter 4 Walkthrough
| # | Locations and Battles |
|---|---|
| 33 | Dugeura Pass |
| 34 | Free City of Bervenia |
| 35 | Finnath Creek |
| 36 | Outlying Church |
| 37 | Beddha Sandwaste |
| 38 A | Fort Besselat: South Wall |
| 38 B | Fort Besselat: North Wall |
| 39 | Fort Besselat Sluice |
| 40 | Mount Germinas |
| 41 | Lake Poescas |
| 42 | Limberry Castle Gate |
| 43 | Limberry Castle Keep |
| 44 | Limberry Castle Undercroft |
| 45 | Eagrose Castle Keep |
| 46 | Mullonde Cathedral |
| 47 | Mullonde Cathedral Nave |
| 48 | Mullonde Cathedral Sanctuary |
| 49 | Monastery Vaults: Fourth Level |
| 50 | Monastery Vaults: Fifth Level |
| 51 | Necrohol of Mullonde |
| 52 | Lost Halidom |
| 53 | Airship Graveyard |
| - | Mount Bervenia |
| - | Dorvauldar Marsh |
All Side Quest Locations
| # | Locations and Battles |
|---|---|
| 1 | Gollund Colliery Floor |
| 2 | Gollund Colliery Slope |
| 3 | Gollund Colliery Ridge |
| 4 | Gollund Coal Shaft |
| 5 | Nelveska Temple |
| 6 | Trade City of Sal Ghidos |
Comment
Author
Final Fantasy Tactics - The Ivalice Chronicles Walkthrough & Guides Wiki
Mullonde Cathedral Nave Walkthrough (Battle 47)
Rankings
- We could not find the message board you were looking for.
Gaming News
Popular Games

Genshin Impact Walkthrough & Guides Wiki

Umamusume: Pretty Derby Walkthrough & Guides Wiki

Crimson Desert Walkthrough & Guides Wiki

Monster Hunter Stories 3: Twisted Reflection Walkthrough & Guides Wiki

Honkai: Star Rail Walkthrough & Guides Wiki

Pokemon Pokopia Walkthrough & Guides Wiki

The Seven Deadly Sins: Origin Walkthrough & Guides Wiki

Wuthering Waves Walkthrough & Guides Wiki

Zenless Zone Zero Walkthrough & Guides Wiki

Arknights: Endfield Walkthrough & Guides Wiki
Recommended Games

Fire Emblem Heroes (FEH) Walkthrough & Guides Wiki

Diablo 4: Vessel of Hatred Walkthrough & Guides Wiki

Cyberpunk 2077: Ultimate Edition Walkthrough & Guides Wiki

Yu-Gi-Oh! Master Duel Walkthrough & Guides Wiki

Super Smash Bros. Ultimate Walkthrough & Guides Wiki

Pokemon Brilliant Diamond and Shining Pearl (BDSP) Walkthrough & Guides Wiki

Elden Ring Shadow of the Erdtree Walkthrough & Guides Wiki

Monster Hunter World Walkthrough & Guides Wiki

The Legend of Zelda: Tears of the Kingdom Walkthrough & Guides Wiki

Persona 3 Reload Walkthrough & Guides Wiki
All rights reserved
© SQUARE ENIX
The copyrights of videos of games used in our content and other intellectual property rights belong to the provider of the game.
The contents we provide on this site were created personally by members of the Game8 editorial department.
We refuse the right to reuse or repost content taken without our permission such as data or images to other sites.


