Riovanes Castle Keep Walkthrough (Battle 31)
★ Tier Lists: Characters | Jobs | Weapons
☆ Farming Guides: Gil | JP | Rare Weapons
★ All Missables and Points of No Return
☆ Optimal Job Progression Guide
★ Recruit All Secret Characters!
☆ All Hidden Treasure Locations
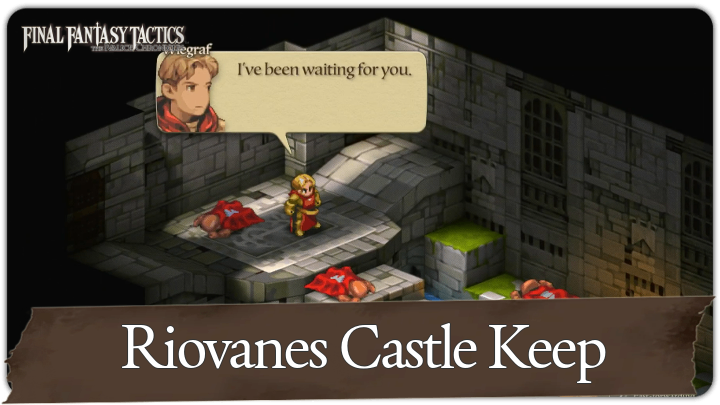
This is a guide for Battle 31: Riovanes Castle Keep in Chapter 3 of Final Fantasy Tactics - The Ivalice Chronicles. See a full walkthrough of this battle, as well as its overview, enemies, recruitable characters, treasure locations, and rewards for completing Riovanes Castle Keep.
| ◄ Previous Battle | Next Battle ► |
|---|---|
| Riovanes Castle Gate | Riovanes Castle Roof |
List of Contents
Battle 31: Riovanes Castle Keep Overview
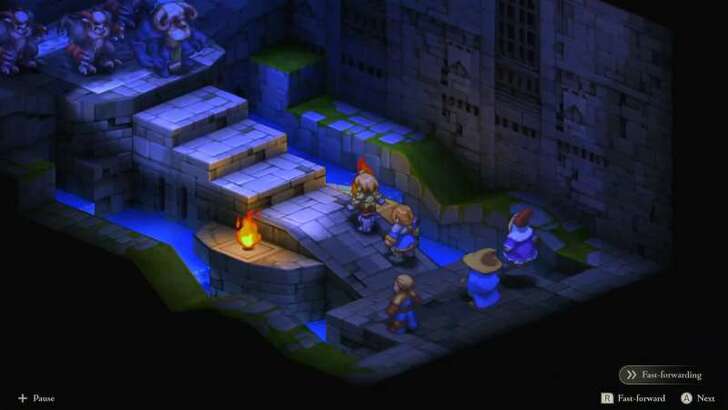
Battle Location and Information
| Field View | |
|---|---|
 |
|
| Chapter | Chapter 3 |
| Rec. Level / Difficulty |
Level 35
✦✦✦✦✦ |
| Objective | Defeat Wiegraf! Then Defeat Belias! |
| Party Size | You can deploy up to 5 units. |
Battle 31: Riovanes Castle Keep Recruitable Characters
All Characters You Can Recruit
| There are no known characters that can be recruited in this stage. |
Battle 31: Riovanes Castle Keep Recommended Party Composition
Best Characters to Use For This Battle
| Best Characters to Use | |||
|---|---|---|---|
 Ramza Ramza (Ninja) |
 Agrias Agrias |
 Mustadio Mustadio |
 Time Mage Time Mage
|
 Black Mage Black Mage
|
|||
Ramza needs to carry the 1v1 against Wiegraf, so Ninja is the safest option with high speed and Martial Arts utility. Agrias provides heavy Holy Knight damage in the second phase, while Mustadio is perfect for locking down the Archaeodaemons with Aimed Shots. Time Mage and Black Mage add damage via Gravity or Graviga to chip down Belias and big -ja spells for AoE nuke.
Battle 31: Riovanes Castle Keep Walkthrough
Walkthrough Guide
| # | Step by Step Objectives |
|---|---|
| 1 | 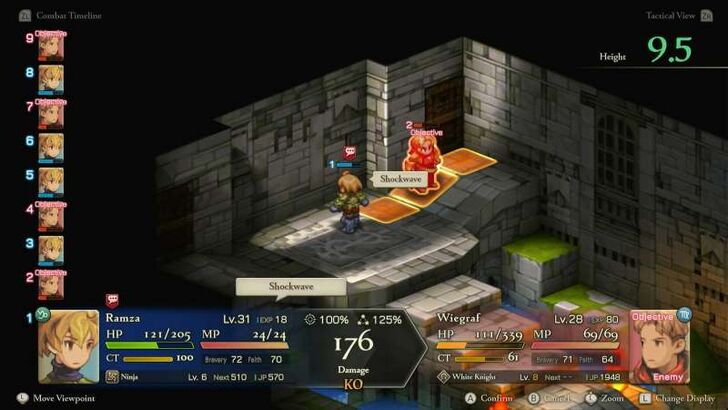 Prepare Ramza for the Duel Phase 1 is a solo fight with Ramza vs. Wiegraf. Gear Ramza as a Ninja with two Morning Stars, Power Garb, Headband, and Bracers (Bracers cost 50,000 gil).Equip Auto-Potion with High Potions and X-Potions in your inventory. Wiegraf’s Holy Knight skills can’t shut down your Martial Arts since it doesn't cost any MP, so stick to ranged Shockwave instead of melee to avoid his brutal Counter. Your HP carries into the next phase, so make sure to heal and end healthy. |
| 2 | 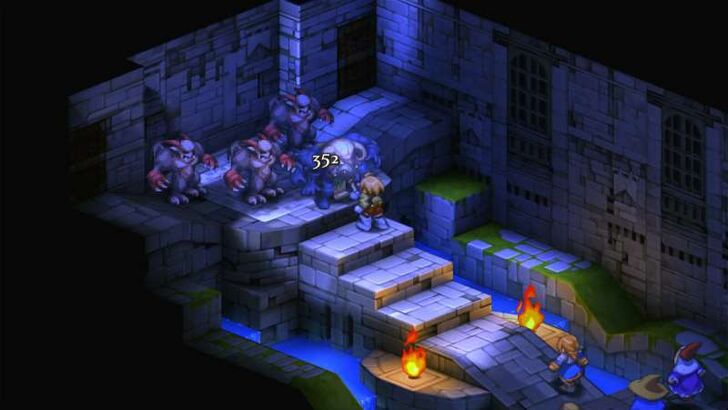 Survive Belias’ Transformation After Wiegraf falls, he transforms into Belias. This phase is rough as he has high stats, powerful AoEs, and spawns four Archaeodaemons. Ramza should immediately pressure Belias in melee as the Dual Wield makes him your best damage source. Agrias joins in with Holy Sword skills for strong bursts. |
| 3 |
Time Mage Provides Tempo Control Gravity or Graviga can chunk Belias for a percentage of HP, bypassing his tankiness. Keep Haste on allies and Slow on enemies whenever possible. Equip Items with Throw Items so your Time Mage can act as a secondary healer in emergencies. |
| 4 | 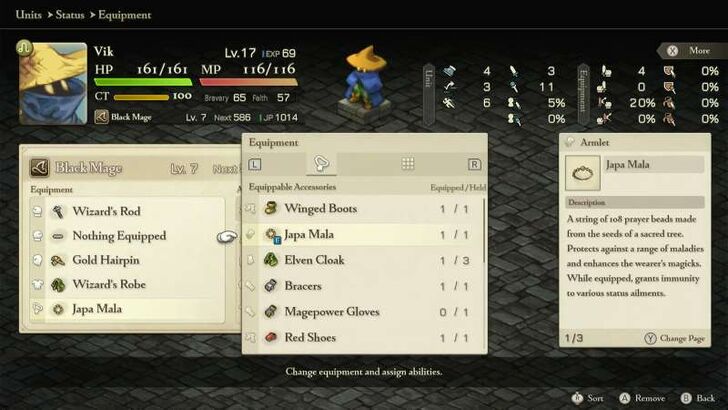 Black Mage Nukes the Field A Black Mage with at least one -ja spell (Firaja, Thundaja, Blizzaja) can devastate both Belias and the clustered demons. Target overlapping areas to maximize damage. Equip a Japa Mala to avoid Silence, keeping your casting reliable. |
| 5 | 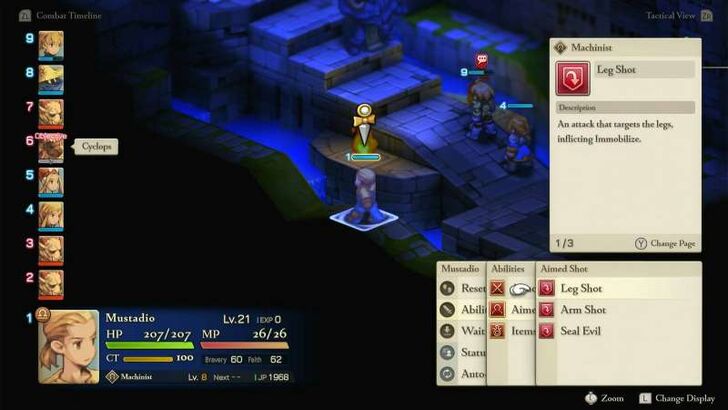 Mustadio Controls the Additional Enemies Use Leg Shot or Arm Shot to stop Archaeodaemons from moving or casting. This prevents them from backing Belias with dangerous spells. With them locked down, your casters can safely charge and your frontline can keep hitting the boss. The battle ends when Belias is defeated so once Mustadio is done crippling the enemies, he should focus his attacks on Belias. After the battle ends, you'll immediately head into the next battle at the Castle's Roof. ► Riovanes Castle Roof Walkthrough |
Chapter 3: The Valiant Walkthrough
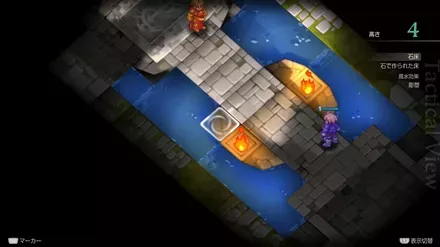
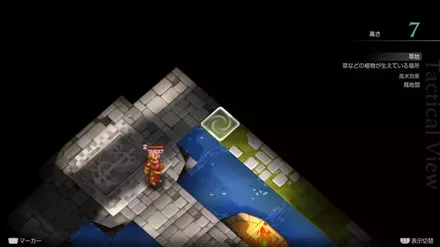
Battle 31: Riovanes Castle Keep Buried Treasure Locations
Location and Treasures
| Location | Treasures |
|---|---|
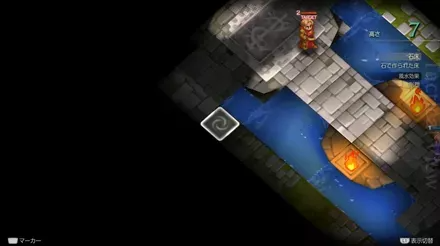 |
Common: Rare: |
 |
Common: Rare: |
 |
Common: Rare: |
 |
Common: Rare: |
All Hidden Items and Treasure Locations
Battle 31: Riovanes Castle Keep Rewards
All Riovanes Castle Keep Spoils of War
| All Spoils of War |
|---|
|
・
|
Besides the treasures you can pick up during the fight, you’ll also receive Spoils of War once the battle ends. These are guaranteed rewards that drop after completing the objective.
Final Fantasy Tactics - The Ivalice Chronicles Related Guides

All Chapter Walkthroughs
| # | Chapter Title |
|---|---|
| 1 | The Meager |
| 2 | The Manipulative and the Subservient |
| 3 | The Valiant |
| 4 | In the Name of Love |
Chapter 1 Walkthrough
| # | Locations and Battles |
|---|---|
| 1 | Orbonne Monastery |
| 2 | Magick City of Gariland |
| 3 | Mandalia Plain |
| 4 | Siedge Weald |
| 5 | Dorter Slums |
| 6 | The Sand Rat's Sietch |
| 7 | Brigands' Den |
| 8 | Lenalian Plateau |
| 9 | Fovoham Windflats |
| 10 | Ziekden Fortress |
Chapter 2 Walkthrough
| # | Locations and Battles |
|---|---|
| 11 | Merchant City of Dorter |
| 12 | Araguay Woods |
| 13 | Zeirchele Falls |
| 14 | Castled City of Zaland |
| 15 | Balias Tor |
| 16 | Tchigolith Fenlands |
| 17 | Goug Lowtown |
| 18 | Balias Swale |
| 19 | Golgollada Gallows |
| 20 | Lionel Castle Gate |
| 21 | Lionel Castle Keep |
Chapter 3 Walkthrough
| # | Locations and Battles |
|---|---|
| 22 | Mining Town of Gollund |
| 23 | Lesalia Castle Postern |
| 24 | Monastery Vaults: Second Level |
| 25 | Monastery Vaults: Third Level |
| 26 | Monastery Vaults: First Level |
| 27 | Grogh Heights |
| 28 | Walled City of Yardrow |
| 29 | Yuguewood |
| 30 | Riovanes Castle Gate |
| 31 | Riovanes Castle Keep |
| 32 | Riovanes Castle Roof |
Chapter 4 Walkthrough
| # | Locations and Battles |
|---|---|
| 33 | Dugeura Pass |
| 34 | Free City of Bervenia |
| 35 | Finnath Creek |
| 36 | Outlying Church |
| 37 | Beddha Sandwaste |
| 38 A | Fort Besselat: South Wall |
| 38 B | Fort Besselat: North Wall |
| 39 | Fort Besselat Sluice |
| 40 | Mount Germinas |
| 41 | Lake Poescas |
| 42 | Limberry Castle Gate |
| 43 | Limberry Castle Keep |
| 44 | Limberry Castle Undercroft |
| 45 | Eagrose Castle Keep |
| 46 | Mullonde Cathedral |
| 47 | Mullonde Cathedral Nave |
| 48 | Mullonde Cathedral Sanctuary |
| 49 | Monastery Vaults: Fourth Level |
| 50 | Monastery Vaults: Fifth Level |
| 51 | Necrohol of Mullonde |
| 52 | Lost Halidom |
| 53 | Airship Graveyard |
| - | Mount Bervenia |
| - | Dorvauldar Marsh |
All Side Quest Locations
| # | Locations and Battles |
|---|---|
| 1 | Gollund Colliery Floor |
| 2 | Gollund Colliery Slope |
| 3 | Gollund Colliery Ridge |
| 4 | Gollund Coal Shaft |
| 5 | Nelveska Temple |
| 6 | Trade City of Sal Ghidos |
Comment
Author
Final Fantasy Tactics - The Ivalice Chronicles Walkthrough & Guides Wiki
Riovanes Castle Keep Walkthrough (Battle 31)
Rankings
- We could not find the message board you were looking for.
Gaming News
Popular Games

Genshin Impact Walkthrough & Guides Wiki

Umamusume: Pretty Derby Walkthrough & Guides Wiki

Crimson Desert Walkthrough & Guides Wiki

Monster Hunter Stories 3: Twisted Reflection Walkthrough & Guides Wiki

Honkai: Star Rail Walkthrough & Guides Wiki

Pokemon Pokopia Walkthrough & Guides Wiki

The Seven Deadly Sins: Origin Walkthrough & Guides Wiki

Wuthering Waves Walkthrough & Guides Wiki

Zenless Zone Zero Walkthrough & Guides Wiki

Arknights: Endfield Walkthrough & Guides Wiki
Recommended Games

Fire Emblem Heroes (FEH) Walkthrough & Guides Wiki

Diablo 4: Vessel of Hatred Walkthrough & Guides Wiki

Cyberpunk 2077: Ultimate Edition Walkthrough & Guides Wiki

Yu-Gi-Oh! Master Duel Walkthrough & Guides Wiki

Super Smash Bros. Ultimate Walkthrough & Guides Wiki

Pokemon Brilliant Diamond and Shining Pearl (BDSP) Walkthrough & Guides Wiki

Elden Ring Shadow of the Erdtree Walkthrough & Guides Wiki

Monster Hunter World Walkthrough & Guides Wiki

The Legend of Zelda: Tears of the Kingdom Walkthrough & Guides Wiki

Persona 3 Reload Walkthrough & Guides Wiki
All rights reserved
© SQUARE ENIX
The copyrights of videos of games used in our content and other intellectual property rights belong to the provider of the game.
The contents we provide on this site were created personally by members of the Game8 editorial department.
We refuse the right to reuse or repost content taken without our permission such as data or images to other sites.


