Chapter 2: The Manipulator and the Subservient Walkthrough
★ Tier Lists: Characters | Jobs | Weapons
☆ Farming Guides: Gil | JP | Rare Weapons
★ All Missables and Points of No Return
☆ Optimal Job Progression Guide
★ Recruit All Secret Characters!
☆ All Hidden Treasure Locations
This is a complete walkthrough for Chapter 2: The Manipulator and the Subservient of Final Fantasy Tactics - The Ivalice Chronicles. Read on for a detailed guide for this chapter, including all battles as well as the bosses in this chapter!
| ◄ Previous Chapter | Next Chapter ► |
|---|---|
| The Meager | The Valiant |
List of Contents
Chapter 2: The Manipulator and the Subservient Overview
| # | Missions | Information |
|---|---|---|
| 1 | Rescuing the Princess | Ramza, Agrath, and Gaffgarion join forces to rescue Princess Ovelia, picking up Boco along the way. Battles 11. Merchant City of Dorter 12. Araguay Woods 13. Zeirchele Falls |
| 2 | The Hunt for Sanctuary | With Ovelia in tow, the group seeks refuge and meets Mustadio, an engineer with baggage. Battles 14. Castled City of Zaland 15. Balias Tor |
| 3 | Journey to Goug Machine City | Ramza and Mustadio head to Goug to confront the Bart Company and its shady dealings. Battles 16. Tchigolith Fenlands 17. Goug Lowtown |
| 4 | Draclau's Treachery | A warning from Delita leads Ramza to Lionel Castle to uncover the Cardinal’s true intentions. Battles 18. Balias Swale 19. Golgollada Gallows 20. Lionel Castle Gate 21. Lionel Castle Oratory |
Chapter 2: The Manipulator and the Subservient Walkthrough
| Jump to A Battle | |||
|---|---|---|---|
| 11 | Merchant City of Dorter | 12 | Araguay Woods |
| 13 | Zeirchele Falls | 14 | Castled City of Zaland |
| 15 | Balias Tor | 16 | Tchigolith Fenlands |
| 17 | Goug Lowtown | 18 | Balias Swale |
| 19 | Golgollada Gallows | 20 | Lionel Castle Gate |
| 21 | Lionel Castle Oratory | - | |
Battle 11: Merchant City of Dorter
| # | Step by Step Objectives |
|---|---|
| 1 |  Target the Black Mages Immediately The two enemy Black Mages are the biggest threat thanks to their AoE spells, which can devastate clustered units. Take them down first using your own Black Mage’s spells or Knights to rush their position. Because the map is fairly compact, enemies will often be grouped together. Use this to your advantage, your spells can hit multiple targets at once, but watch out though cause they can do this too if your party is clustered together. Consider maintaining a distance from each other to avoid joint damage. |
| 2 | 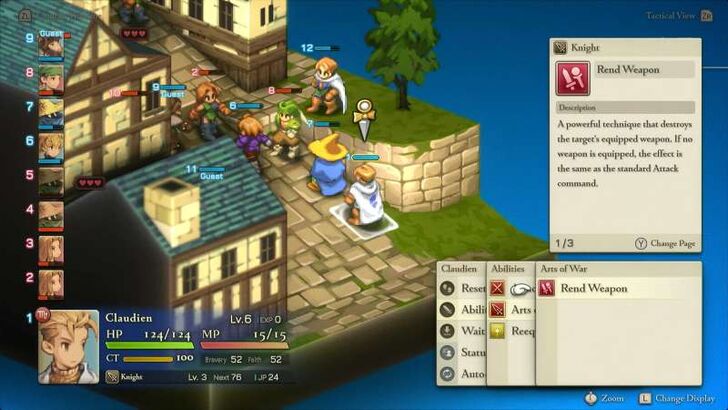 Control the High Ground and Pressure Archers The enemy Archers posted on higher tiles will pepper your team with ranged attacks. Push forward with your Knights to pin them down or disable them with Rend Weapon. Meanwhile, Ramza can use Chant for healing or Tailwind to boost your Black Mage’s speed. Gaffgarion and Agrias will contribute plenty of pressure as they move on their own accord, letting you focus on controlling the ranged enemies. |
| 3 |  Clean Up the Remaining Enemies Once the enemy Black Mages are gone, the stage becomes more breathable. Turn your attention to the Thieves and any Archers still alive. |
| * |  Assemble an All Male Team Be wary of Steal Heart, which only works on female allies, since the enemy Thieves are all males. To counter this, it’s safer to bring an all-male party for this encounter so your units can’t be charmed. ▶ Differences Between Male and Female Units |
Battle 11: Merchant City of Dorter Guide
Battle 12: Araguay Woods
| # | Step by Step Objectives |
|---|---|
| 1 | 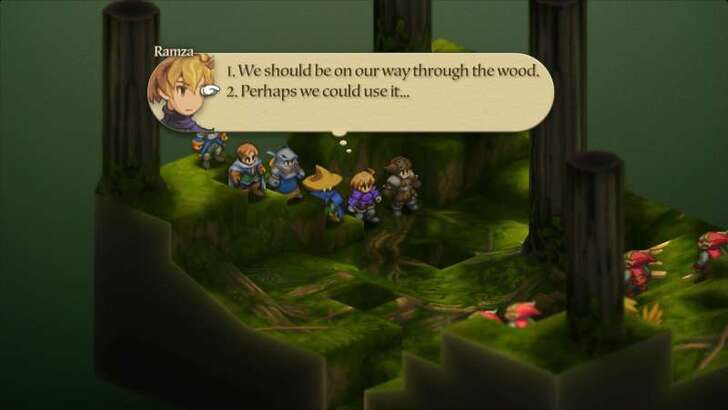 Choose to Rescue the Chocobo At the start of the battle, you’ll be prompted to either leave the Chocobo behind or attempt a rescue. Picking the second option is the better move, since you’ll gain its help during the fight and still recruit it afterward. |
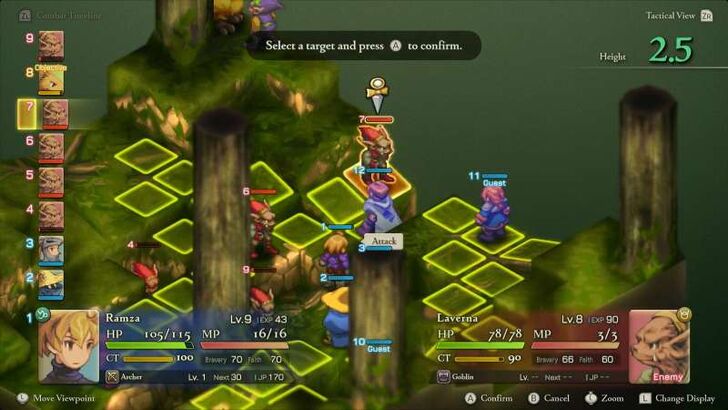
| 2 | 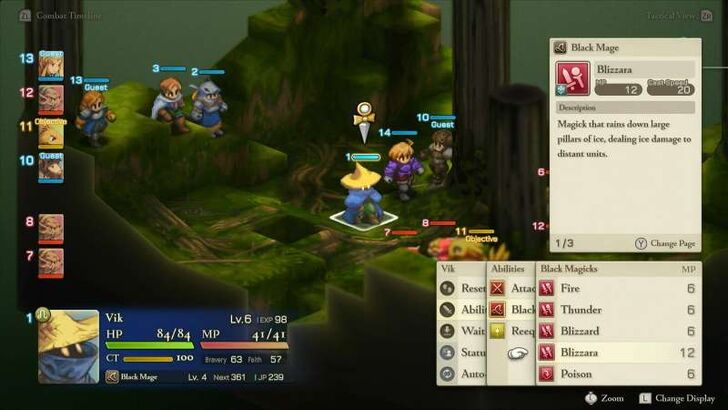 Defeat All Goblins The Goblins here are weak to ice. Have your Black Mage unleash Blizzara to wipe out clusters of them quickly. If you haven’t unlocked it yet, prioritize learning it before entering. Your Knight and Dragoon serve as frontline attackers, with the Dragoon striking from two tiles away to stay safe from counterattacks. |
| * |  Before the battle, buy the Ice Bow at Eagrose Castle and switch Ramza into the Archer job. Goblins are weak to Ice, and with his wide firing range, Ramza can deal devastating damage across the small battlefield while staying out of harm’s way. ►How to Change Jobs |
| 3 | 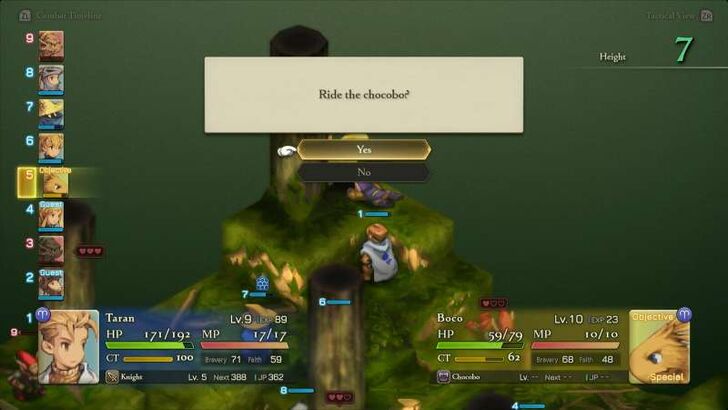 Protect the Chocobo Don’t let the chocobo fall in battle, as its death results in an instant Game Over if you’ve chosen to rescue it. Keep at least one unit nearby to intercept enemies that may target it. |
Battle 12: Araguay Woods Guide
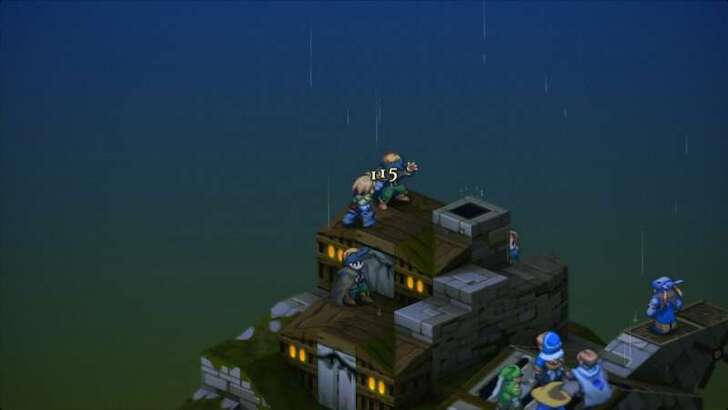
Battle 13: Zeirchele Falls
| # | Step by Step Objectives |
|---|---|
| 1 | 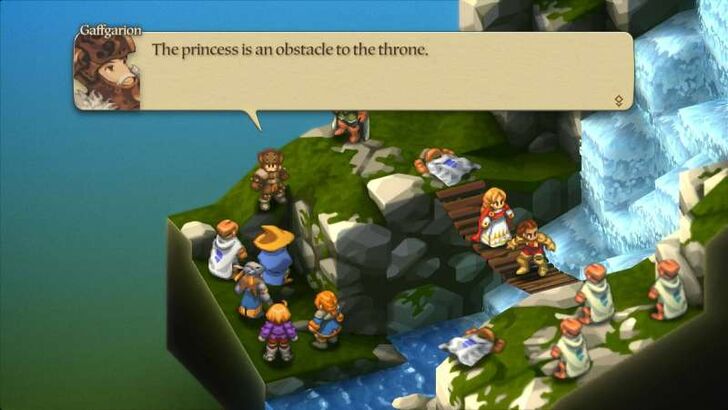 Strip Gaffgarion's Equipment Before Battle Spoiler warning: Gaffgarion betrays you in this fight. Strip him of all of his equipment him before the battle begins so his attacks are far less dangerous. |
| 2 | 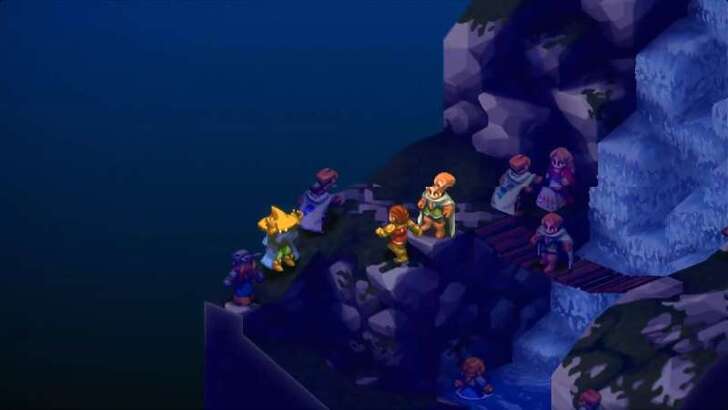 Protect Princess Ovelia Delita will cross the bridge to face Gaffgarion directly, while Ovelia hangs back and casts Aegis for defense. Your main objective is to keep her alive because if she falls, it’s game over. Focus on clearing enemies on your side of the bridge quickly. Use your Knight, Dragoon, and Black Mage to overpower groups clustered on the left while Delita occupies Gaffgarion. Gaffgarion will retreat once he takes enough damage, so don’t worry about finishing him off. |
| 3 | 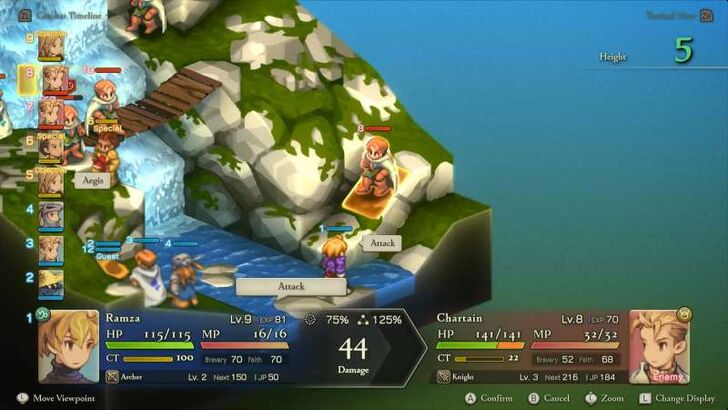 Position Ramza on the East Side
Ramza as an Archer will be useful when positioned on the far side of the river, covering the eastern path. From here, he can safely pick off enemies at range without being overwhelmed. Once the enemy forces thin out, regroup and mop up survivors while ensuring Ovelia stays protected. |
Battle 13: Zeirchele Falls Guide
Battle 14: Castled City of Zaland
| # | Step by Step Objectives |
|---|---|
| 1 |  Have Your Jump at 4 or Above Before heading to this location, your units' Jump stat should be at least 4 or above. The walls here are very high, making them tough to scale with low Jump. If you can’t jump high enough, you’ll need to take the alternate route by walking the long way around to the door. With high Jump, you can leap onto the castle walls and attack enemies from there. |
| * | 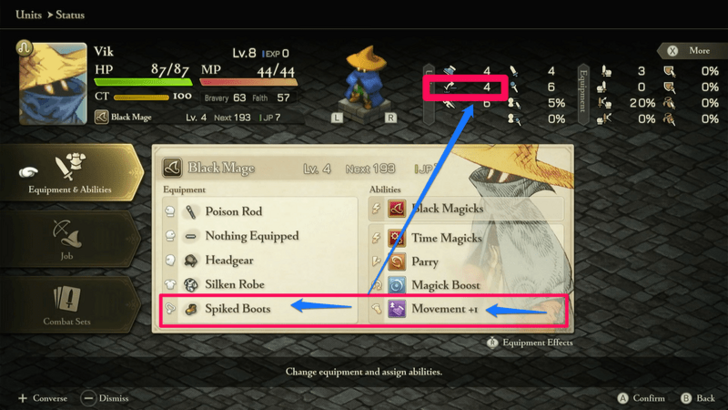 Spiked Boots and Archer's Jump +1 Ability You can manually increase your Jump stat by +2. Equip Spiked Boots, which are purchasable in towns, and learn the Archer’s Jump +1 Movement Ability. Both together grant a total +2 Jump. |
| 1 |  Save Mustadio At the start of the battle, you’ll be given the option to avoid getting involved or to save Mustadio. Regardless of your choice, you’ll still end up saving him. Choose the second option to increase your party’s Bravery by 10 and proceed with the fight. ►How to Increase or Decrease Bravery |
| 2 |  Protect Mustadio Once the battle begins, immediately cast Protect or Shell on Mustadio. He tends to fight aggressively without hesitation, and you can’t directly command him. To do this, have someone in your party learn these spells from the White Mage skillset, then equip the White Magicks command so you can use them even if the unit isn’t currently a White Mage. |
| 3 |  Eliminate the Black Mages and Archers First Once Mustadio is protected, he’ll start targeting the nearby enemies, primarily the Black Mages. Focus on defeating them first before anyone else. Have long-range units, such as Ramza and your Black Mage, assist him in taking them down. |
| 4 |
Defeat the Remaining Enemies After the Black Mages are gone, the fight becomes much easier. Have your units clean up by targeting enemies that Mustadio isn’t already focused on, quickly thinning their numbers. |
Battle 14: Castled City of Zaland Guide
Battle 15: Balias Tor
| # | Step by Step Objectives |
|---|---|
| 1 | 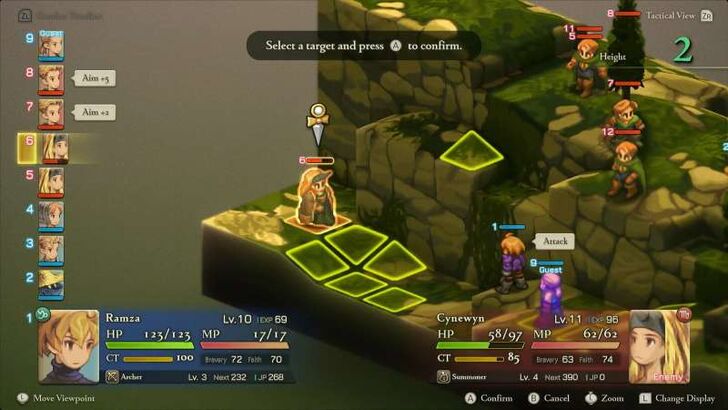 Ramza and Mustadio Focuses on the Left Summoner Mustadio’s gun attacks have excellent range, and with Ramza backing him as an Archer, the two can quickly eliminate the left-side Summoner. Take them out fast before they drop Ifrit or another summon on your party. |
| 2 |  Black Mage Clears the Center The middle of the map is packed with Archers and Knights. Drop Blizzara or Thundara on these clustered enemies to thin their numbers. Keep an eye out for enemy Knights as they love using Rend attacks. Equipping Safeguard on your frontline units prevents costly gear losses. |
| 3 |  Knight Pushes Toward the Right Summoner Send your Knight toward the Summoner hiding on the far right. Their bulk lets them take hits while closing the distance. If your Knight has Black Magick as a secondary, you can chip away from range until the Summoner wanders close enough for melee. |
| 4 |  Chemist Maintains the Party Your Chemist should trail just behind the frontline, dishing out High Potions, Ethers, and Phoenix Downs when needed. They’re your safety net and without them, a bad summon or lucky crit could most likely turn into a defeat. |
Battle 16: Tchigolith Fenlands
| # | Step by Step Objectives |
|---|---|
| 1 |  Bring an All-Ranged Team Avoid intentionally heading into the swamp unless absolutely necessary. Enemies can teleport across the field, so let them come to you while you maintain high ground and safe tiles. Units like Archers, Chemists, and White Mages can attack from afar without risking Poison tiles. |
| 2 | 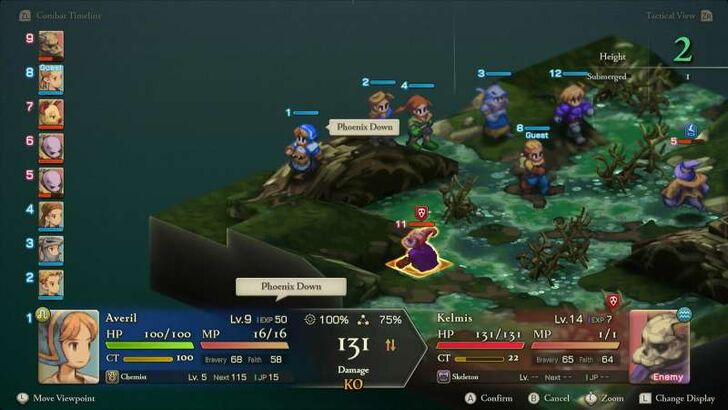 Exploit White Magick and Items Enemies here are undead or dark-aligned, making Cure spells from White Mages deal massive damage. If you lack a White Mage, equip another job with the White Magick command. Chemists can also weaponize items like Phoenix Downs, which grants Instakill to enemies, and High Potions, which damage undead instead of healing them. |
| 3 | 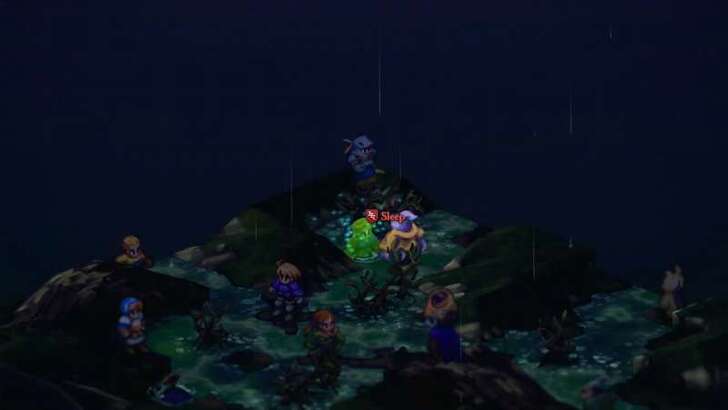 Avoid Swamp Tiles Standing in swamp tiles inflicts Poison, and enemies may follow up with Sleep, leaving your unit helpless. Always keep Antidote and Remedy stocked, or simply attack your own sleeping ally to wake them. |
| 4 | 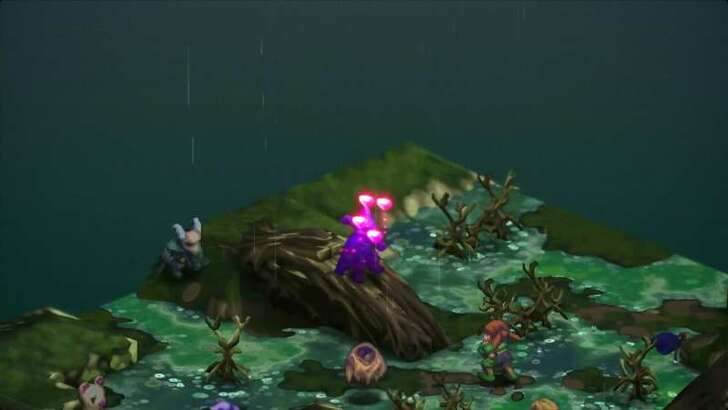 Charm the Enemy Thieves may not hit hard here, but Steal Heart is a game changer for this battle. Charmed enemies will turn against their own allies, helping you thin the horde without wasting resources. This can help buy time for your ranged units to clean up safely. |
Battle 16: Tchigolith Fenlands Guide
Battle 17: Goug Lowtown
| # | Step by Step Objectives |
|---|---|
| 1 | 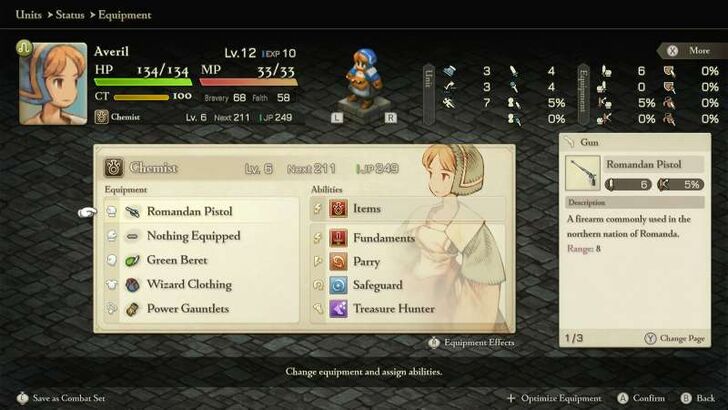 Equip Your Chemist With Mustadio’s Romandan Pistol Before this fight, Mustadio leaves the party temporarily. Strip him of all gear, especially the Romandan Pistol, and pass it to your Chemist. With it, your Chemist isn’t just a healer, but also a ranged attacker who can safely pick off enemies while still tossing Potions, Ethers, and Phoenix Downs as needed. |
| 2 |
 Neutralize the Summoners First The Summoners positioned above are the biggest threat, with devastating AoE spells and support magicks. Have Ramza (Monk) push forward, using Focus until he can reach them, while the Chemist peppers them with gunfire. Your Dragoon can leap or attack from two tiles away, making them ideal for keeping Summoners under pressure. Take them out quickly before they overwhelm you. |
| 3 | 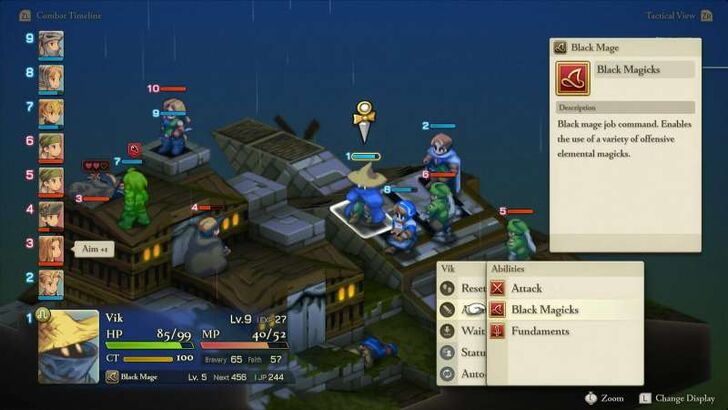 Control the Lower Enemies Assign your Knight and Black Mage to handle the group below. Now, thanks to the rain, Thunder spells are amplified, letting your Black Mage spam Thundara while the Knight holds the frontline. Keep your Chemist close enough to feed Ethers for MP recovery. |
| 4 | 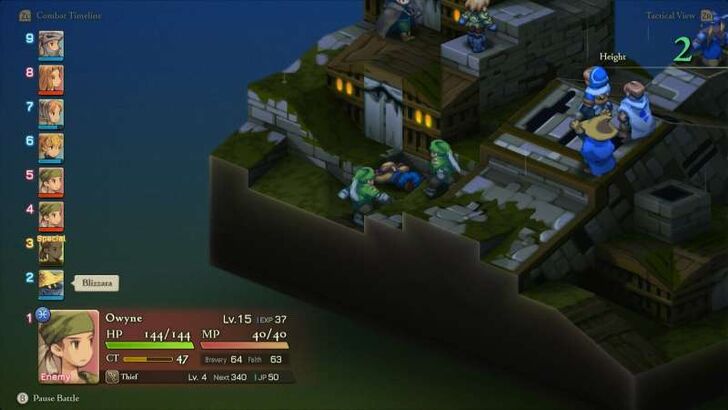 Don’t Stress About Mustadio Mustadio appears as a Guest and usually gets KO’d early. His death will not cause a Game Over, so focus on eliminating enemies rather than protecting him. |
| * | 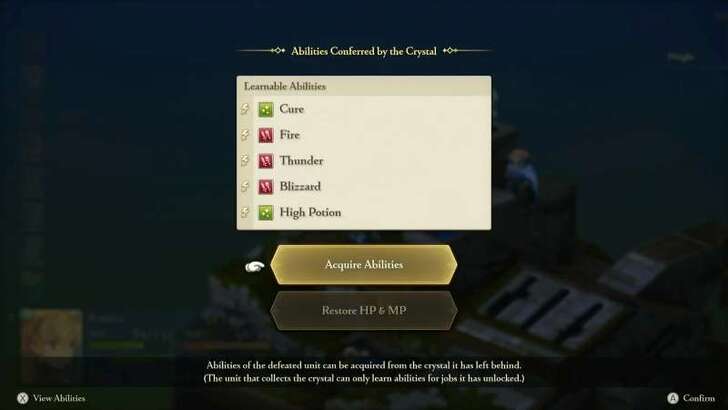 Ability Farm With Crystals Since this stage doesn’t force you to protect any Guests, it’s also a solid place to farm abilities. Let enemies crystallize when their death timers reach 0 to absorb HP, MP, or even steal abilities they had equipped. ► List of All Abilities |
Battle 18: Balias Swale
| # | Step by Step Objectives |
|---|---|
| 1 |
All Team A Members Must Have 4 Movement Stat Team A will be your main attacker team, however the enemies are on the far end of where you stand, so it's better to have it comprised of Ramza, with Aurablast, a Chemist with the Romandan Pistol, a Knight with the Black Magick job command equipped, all tied with a Movement Stat of 4. This way they can reach the enemies at the back quickly, and if ever they don't they can depend on their ranged attacks. |
| * | 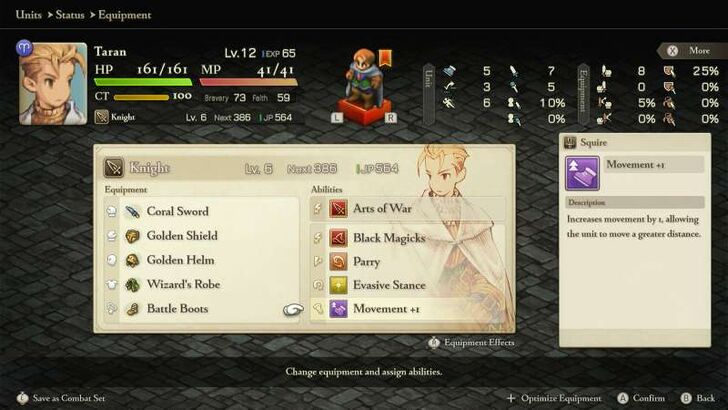 Battle Boots and Squire's Movement +1 Ability You can manually increase your Movement stat by +2. Equip Battle Boots (purchasable in towns) and learn the Squire’s Movement +1 Ability. Both together grant a total +2 Movement. |
| 2 | 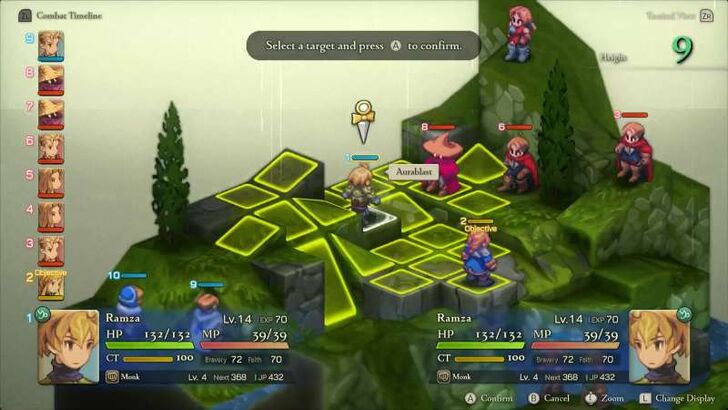 Deal With the Black Mages First Since it is raining, Thunder attacks are boosted, and this will most definitely be used against you by the Black Mages, should they be left unchecked. You can also use this to your advantage if your Knight has the Black Magick job command equipped and Thundara learned from the Black Mage job. |
| * | 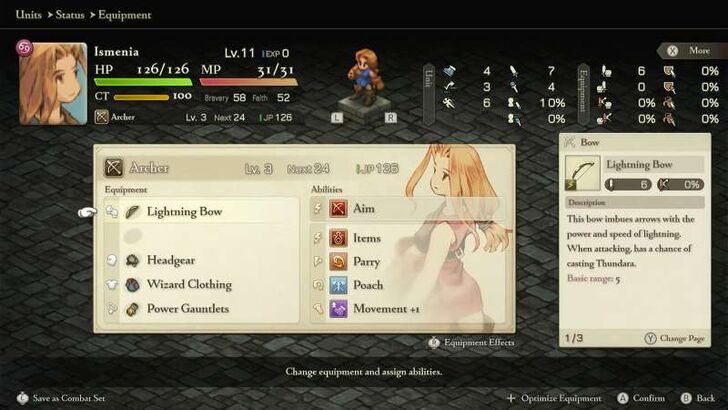 Coral Sword and Lightning Bow Since Thunder damage is boosted, it is best to have your Knight be equipped with a Coral Sword, this sword is imbued with the Thunder affinity and will inflict thunder damage. The Lightning Bow on the other hand, once equipped by your Archers, will have a chance to cast an additional Thundara, after their bow attacks. |
| 3 |  Attack the Remaining Enemies Agrias can actually stand on her own but she's still outnumbered, so have your first team close in to help her defeat the remaining enemies. Meanwhile your second team, the two Archers can actually hold the fort on their own, especially if they have the Lightning Bow equipped. Just make sure to prioritize killing the Black Mage on their side of the field first before the others. |
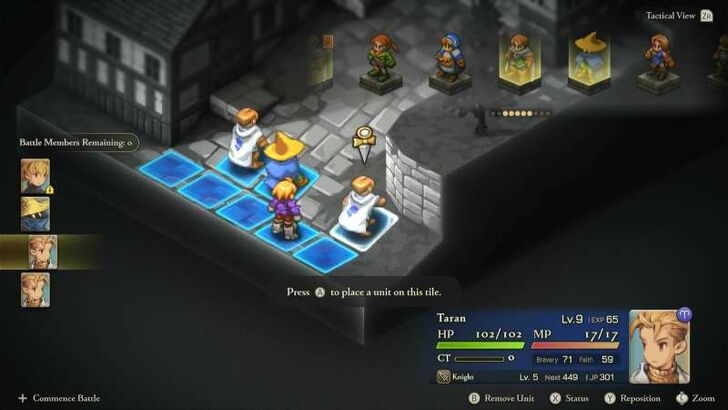
Battle 19: Golgollada Gallows
| # | Step by Step Objectives |
|---|---|
| 1 | 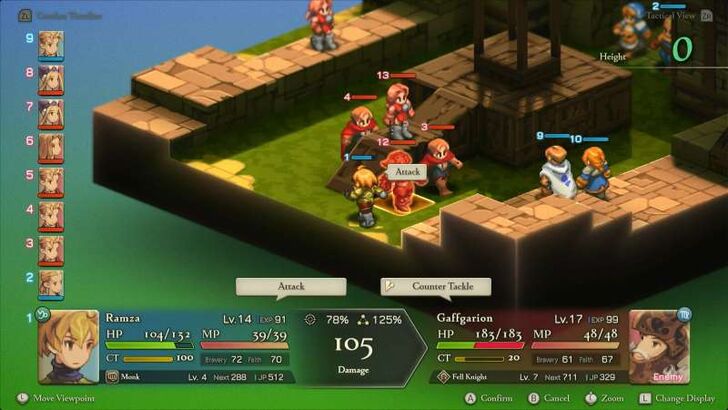 Deploy Your Strongest Units You can bring up to 5 characters into this fight. Agrias and Mustadio are ideal choices thanks to their powerful skillsets. Ramza as a Monk brings heavy melee damage and utility, while your Chemist provides consistent healing and ranged chip damage. A Knight rounds out the team with tankiness and the ability to Rend Gaffgarion’s weapon to weaken his Dark Knight arsenal. |
| 2 | 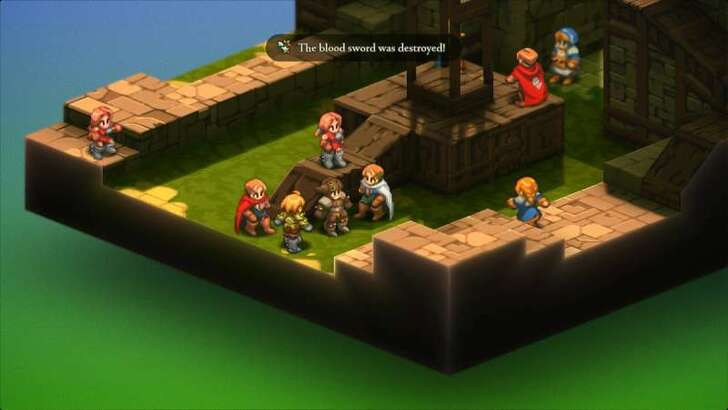 Focus Gaffgarion Early As soon as the cutscene ends, Gaffgarion will advance and try to pressure your frontline. He should always be your first target. Mustadio’s Arm Shot or Leg Shot can disable him, while a Knight’s Rend Weapon can completely neutralize his strongest Dark Knight skills. ► Is the Dark Knight in FFT Ivalice Chronicles? |
| 3 | 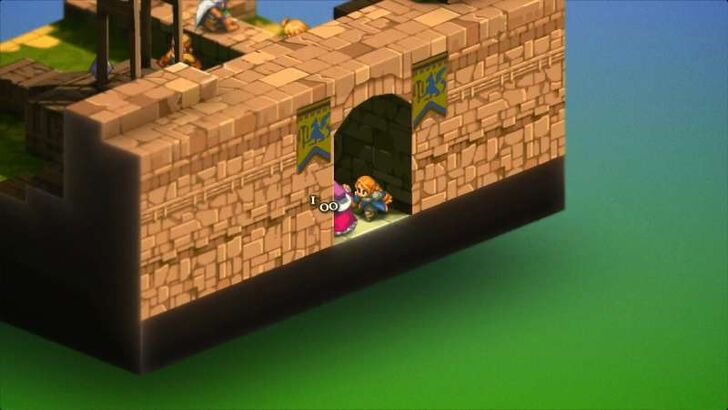 Take Out Gaffgarion, Then Clean Up Gang up on Gaffgarion until he retreats because he’s the biggest threat on the map. Once he’s gone, the rest of the enemies won’t pose much danger and can be cleaned up at your own pace. You can also consider Ability farming and wait for the enemies to crystallize so you can snatch their abilities! ►List of All Abilities |
Battle 19: Golgollada Gallows Guide
Battle 20: Lionel Castle Gate
| # | Step by Step Objectives |
|---|---|
| 1 |
Prepare for a Two-Part Battle This stage is immediately followed by another fight inside Lionel Castle Keep, so you won’t have the chance to resupply or change gear in between. Make sure everyone is stocked with items, Phoenix Downs, and correct equipment before you begin. |
| 2 | 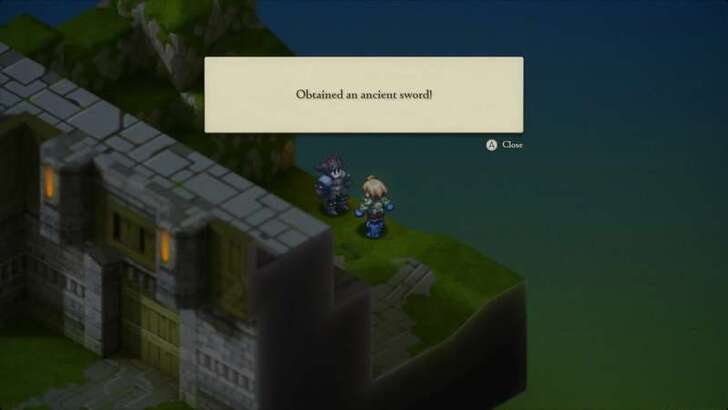 Disarm Gaffgarion by Stealing His Sword In this battle, Gaffgarion returns and Ramza starts alone, separated from the rest of the party. A top priority is stealing Gaffgarion's Ancient Sword so he can’t use Shadowblade. Ramza works best as a Monk here, since he can keep himself alive with Chakra while trying to swipe Gaffgarion’s weapon with the Thief’s Steal Weapon skill. Just make sure Ramza has the Steal command equipped beforehand. ►How to Steal Equipment |
| 3 | 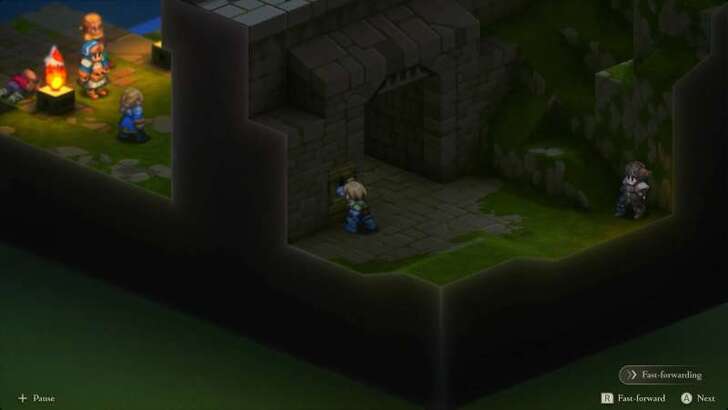 Pull the Lever to Open the Gate Once Gaffgarion is disarmed, he becomes far less threatening. You can finish him off or head straight to the nearby lever to open the gate and let the rest of the party inside. |
| 4 | 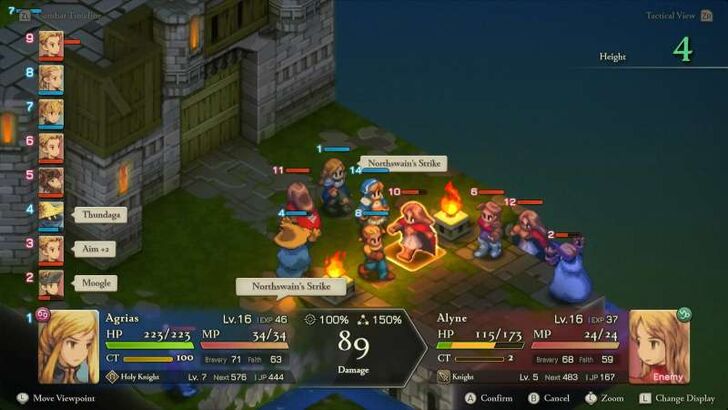 Hold the Line With Team B While Ramza works on the gate, the rest of your squad has to fend off the enemies outside. Mustadio’s ranged pressure and Agrias’s Holy Sword skills pair perfectly with a Chemist’s support and a Black Mage nuking from the backline. |
| 5 | 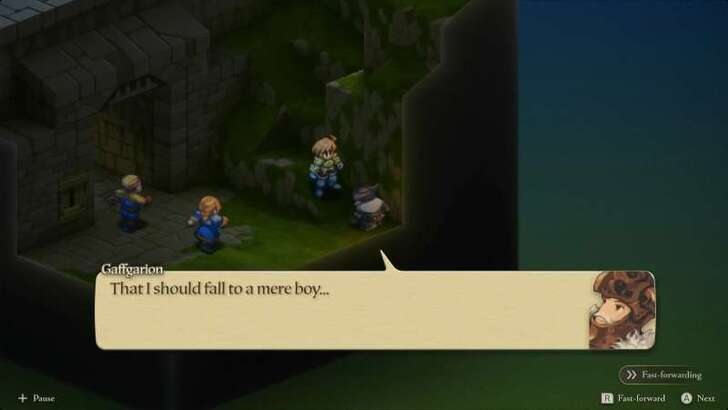 Reunite and Clean Up the Remaining Enemies Once the gate is open, regroup Ramza with the rest of your team. If Gaffgarion is still standing, you can now overwhelm him with your full party. If not, shift focus to mopping up the remaining enemies inside and outside the castle gate. |
Battle 20: Lionel Castle Gate Guide
Battle 21: Lionel Castle Oratory
| # | Step by Step Objectives |
|---|---|
| 1 |  Prepare for Status Heavy Attacks The Chapter 2 finale pits you against Cúchulainn, a Zodiac Demon whose skills inflict nasty status effects. Ramza’s Purification and Revive as a Monk help greatly, and your Chemist’s items ensure quick cures. ► All Status Effects Explained |
| 2 |  Spread Out Your Units Cúchulainn’s AoE skills can cripple your entire team if clumped. Spread out to reduce overlap while still staying within range to pressure him. Even with spacing, the arena is small enough that your ranged units can keep attacking safely. |
| 3 |  Immobilize the Boss Early Have Mustadio use Leg Shot right away to Immobilize Cúchulainn. Cutting his movement keeps him in place and buys your team breathing room. Though he can still cast, he can't move and attack you in close combat. |
| 4 |  Exploit Holy Weakness Cúchulainn is weak to Holy, making Agrias’ Holy Sword skills invaluable. Focus on spamming Hallowed Bolt while Ramza and your Chemist handle healing and remedies. Your Black Mage should have at least one -ga level spell (Firaga, Thundaga, or Blizzaga) for solid damage, but keep the Items job command ready as backup if your support is overwhelmed. |
Battle 21: Lionel Castle Oratory Guide
Chapter 2: The Manipulator and the Subservient Bosses
Gaffgarion
| Location | Lionel Castle Gate |
|---|---|
| Tips to Defeat Gaffgarion | |
| ・Disarm Gaffgarion's Weapon with Rend skills, Arm Shot, or Steal Weapon. ・Run to the gate lever if Ramza can't solo the boss. ・Use large AoE attacks to deal with other enemies. |
|
Gaffgarion starts out as an ally but eventually betrays your party. You’ll face him twice in this chapter as a regular enemy, and a boss during the Lionel Castle Gate battle.
He relies on the skill Shadowblade that damages a unit and makes him recover HP at the same time, making him dangerous in prolonged fights.
To beat him effectively, you'll have to strip him off his main weapon. Either by using a Knight's Rend Weapon, Mustadio's Arm Shot, or a Thief's Steal Weapon. Once the weapon is gone, he won't be able to use his skill anymore and the battle will be a breeze.
Cúchulainn
| Location | Lionel Castle Keep |
|---|---|
| Tips to Defeat Cuchulainn | |
| ・Have at least one character with the Remedy ability. ・Spread out to avoid large AoE attacks. ・Exploit the boss' Holy weakness. |
|
Cúchulainn, revealed to be Cardinal Delacroix’s true form, is one of the Lucavi demons and a formidable boss.
He specializes in inflicting status effects, so make sure your party is equipped to cure or resist ailments. He’s weak to Holy, making White Mages and Holy-element attacks your best bet to bring him down quickly.
Final Fantasy Tactics - The Ivalice Chronicles Related Guides

All Chapter Walkthroughs
| # | Chapter Title |
|---|---|
| 1 | The Meager |
| 2 | The Manipulative and the Subservient |
| 3 | The Valiant |
| 4 | In the Name of Love |
Comment
Author
Final Fantasy Tactics - The Ivalice Chronicles Walkthrough & Guides Wiki
Chapter 2: The Manipulator and the Subservient Walkthrough
Rankings
- We could not find the message board you were looking for.
Gaming News


Popular Games

Genshin Impact Walkthrough & Guides Wiki
Umamusume: Pretty Derby Walkthrough & Guides Wiki
Crimson Desert Walkthrough & Guides Wiki
Monster Hunter Stories 3: Twisted Reflection Walkthrough & Guides Wiki
Honkai: Star Rail Walkthrough & Guides Wiki
Pokemon Pokopia Walkthrough & Guides Wiki
The Seven Deadly Sins: Origin Walkthrough & Guides Wiki
Wuthering Waves Walkthrough & Guides Wiki
Zenless Zone Zero Walkthrough & Guides Wiki
Arknights: Endfield Walkthrough & Guides Wiki


Recommended Games
Fire Emblem Heroes (FEH) Walkthrough & Guides Wiki
Diablo 4: Vessel of Hatred Walkthrough & Guides Wiki
Cyberpunk 2077: Ultimate Edition Walkthrough & Guides Wiki
Yu-Gi-Oh! Master Duel Walkthrough & Guides Wiki
Super Smash Bros. Ultimate Walkthrough & Guides Wiki
Pokemon Brilliant Diamond and Shining Pearl (BDSP) Walkthrough & Guides Wiki
Elden Ring Shadow of the Erdtree Walkthrough & Guides Wiki
Monster Hunter World Walkthrough & Guides Wiki
The Legend of Zelda: Tears of the Kingdom Walkthrough & Guides Wiki
Persona 3 Reload Walkthrough & Guides Wiki


All rights reserved
© SQUARE ENIX
The copyrights of videos of games used in our content and other intellectual property rights belong to the provider of the game.
The contents we provide on this site were created personally by members of the Game8 editorial department.
We refuse the right to reuse or repost content taken without our permission such as data or images to other sites.