Chapter 1: The Meager Walkthrough
★ Tier Lists: Characters | Jobs | Weapons
☆ Farming Guides: Gil | JP | Rare Weapons
★ All Missables and Points of No Return
☆ Optimal Job Progression Guide
★ Recruit All Secret Characters!
☆ All Hidden Treasure Locations
This is a complete walkthrough for Chapter 1: The Meager of Final Fantasy Tactics - The Ivalice Chronicles. Read on for a detailed guide for this chapter, including all battles, side quests, as well as the bosses in this chapter!
| ◄ Previous Chapter | Next Chapter ► |
|---|---|
| - | Chapter 2 |
List of Contents
Chapter 1: The Meager Overview
| # | Missions | Information |
|---|---|---|
| 1 | Prologue: Orbonne Monastery | Princess Ovelia is kidnapped by a soldier resembling Delita Heiral. Battles 1. Orbonne Monastery |
| 2 | Mission 1: Defending Eagrose Castle | Ramza and Delita defend Eagrose Castle from the Corpse Brigade and save Argath. Battles 2. The Magick City of Gariland 3. Mandalia Plain |
| 3 | Mission 2: Saving Marquis Elmdore | Ramza joins Argath to rescue Marquis Elmdore. Battles 4. The Siedge Weald 5. Dorter Slums 6. Sand Rat's Sietch |
| 3 | Mission 3 | Ramza and his company are dispatched to take care of the thieves. Battles 7. Brigand's Den 8. Lenalian Plateau 9. Fovoham Windflats 10. Ziekden Fortress |
Chapter 1: The Meager Walkthrough
| Jump to A Battle | |||
|---|---|---|---|
| 1 | Orbonne Monastery | 2 | The Magick City of Gariland |
| 3 | Mandalia Plain | 4 | The Siedge Weald |
| 5 | Dorter Slums | 6 | Sand Rat's Sietch |
| 7 | Brigand's Den | 8 | Lenalian Plateau |
| 9 | Fovoham Windflats | 10 | Ziekden Fortress |
Battle 1: Orbonne Monastery
| # | Step by Step Objectives |
|---|---|
| 1 | 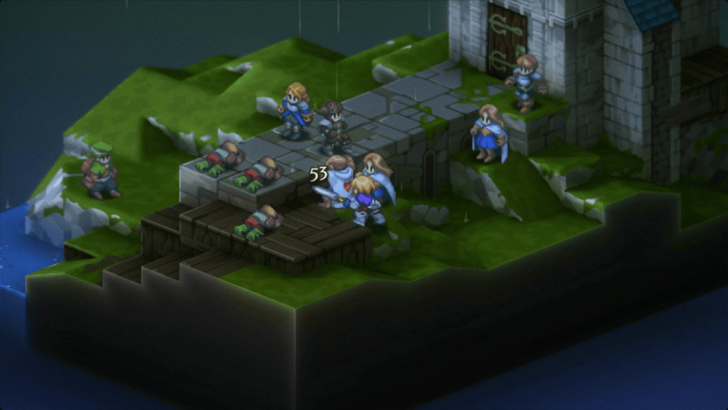 Complete the Tutorial For This Stage This level serves as a tutorial for the player to be acquainted with the combat mechanics of the game, so simply follow the tutorial to complete this level. You will be joined by guest characters who moves and attacks freely on their own. You can have them deal with the enemies, or lead the charge against your foes! ▶ List of All Characters |
Battle 1: Orbonne Monastery Guide
Battle 2: The Magick City of Gariland
| # | Step by Step Objectives |
|---|---|
| 1 | 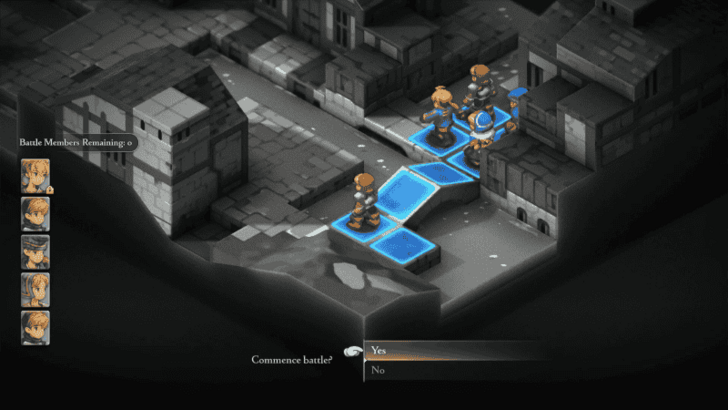 Deploy 2 Squires and 2 Chemists You can only deploy up to 5 units in this battle, and that includes Ramza. Alongside him, you'll want to deploy 2 Squires and 2 Chemists. Position the Chemists side by side in the back so they can easily target each other for the JP Trick later on. ▶How to Farm JP (Job Points) |
| 2 | 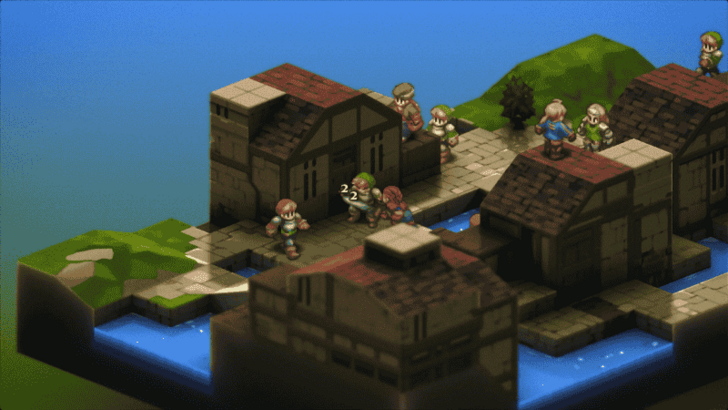 Let the Squires and Delita Handle the Fight Ramza, your 2 Squires, and Delita will form the offensive line. Have them focus on defeating the enemy units while protecting your Chemists. Don’t worry too much about rushing the fight since the enemies here aren’t too dangerous. |
| 3 | 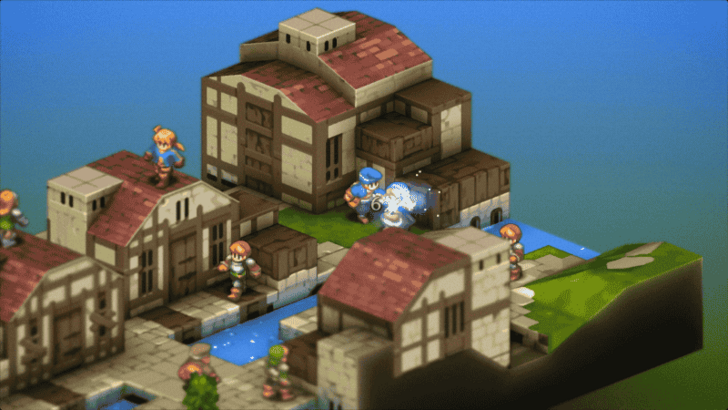 Get Your Chemists To Turn On Each Other (Optional) While your Squires and Delita keep the enemies occupied, have your two Chemists attack each other with basic attacks. Both the attacker and the target gain EXP and JP this way. For maximum efficiency, have one Chemist heal the other with Potions after trading blows, this doubles your JP farming and prevents accidental knockouts. By the end of the battle, your Chemists will have enough JP to unlock core abilities, and you’ll be ready to branch into White and Black Mages much sooner than usual. |
| 4 |
End the Battle When You’re Satisfied Once your Chemists have farmed enough JP, finish off the last enemies to clear the fight. Keep an eye on Delita though, as he can sometimes KO enemies faster than you’d like, so make sure you’re done grinding before he wraps things up. |
Battle 2: Magick City of Gariland Guide
Battle 3: Mandalia Plain
| # | Step by Step Objectives |
|---|---|
| 1 | 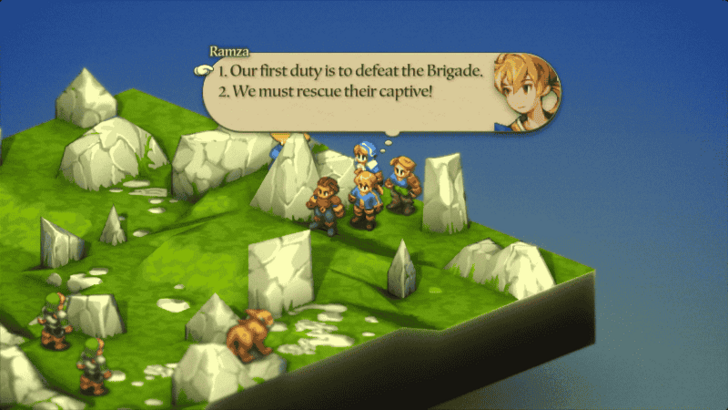 Choose the First Option Before the battle starts, you’ll be asked to pick between two dialogue choices. Both eventually lead to saving Argath, but the first option, "Our first duty is to defeat the Brigade", is the smarter pick. It grants all your units +2 Bravery, and Argath’s death during battle will not cause a game over. If you choose the second option, "We must rescue their captive!", you won’t get the Bravery boost, and Argath’s death will instantly end the battle in failure. ▶ How to Increase or Decrease Bravery |
| 2 | 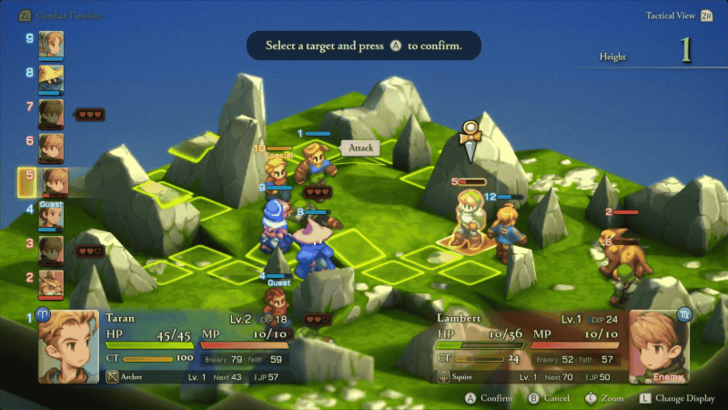 Have Long Range Units Ready Since the stage is fairly wide and enemies may spawn scattered across the field, it’s best to bring at least one unit who can attack from afar. Archers with bows can chip away at enemies safely, while Black Mages can target clustered foes with spells. Long-range damage also helps you reach and protect Argath faster, preventing him from being overwhelmed before your melee units close the distance. |
| 3 |  Prioritize Argath’s Safety Argath starts the battle surrounded and will aggressively charge forward, making him vulnerable. Focus on taking out the nearest enemies threatening him first. Use your ranged units to thin the enemy line while your melee units close in for support. If you picked the first option earlier, Argath’s death won’t cause a game over, but keeping him alive still makes the fight easier, since his extra damage can help you clear enemies faster. |
Battle 3: Mandalia Plain Guide
Battle 4: The Siedge Weald
| # | Step by Step Objectives |
|---|---|
| 1 | 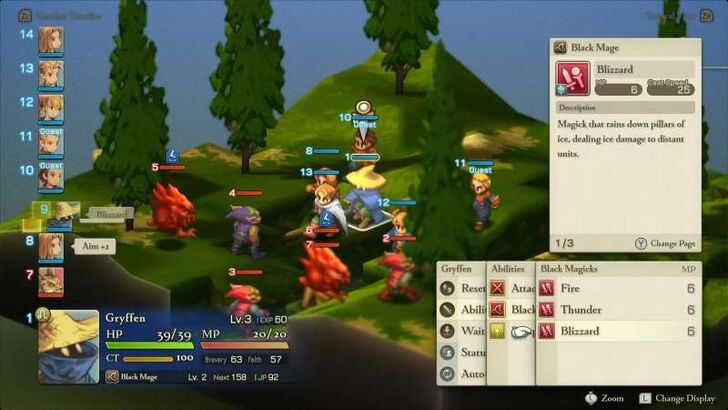 Deploy Knights, Black Mages, and a Chemist This battle introduces tougher enemies than before, so it’s best if your starting Squires and Chemists have already been promoted to stronger Jobs. Bring a Black Mage who knows Blizzard and Thunder, since Goblins are weak to Ice and Bombs are weak to Thunder. Pair this with a Knight for frontline damage and a Chemist for healing support. |
| * |
Avoid Overleveling a Single Character Don’t focus all your EXP into one unit as enemy levels scale to your strongest character, so relying on a single powerhouse can make battles harder than necessary. Keep your party evenly trained to avoid being outmatched. |
| 2 | 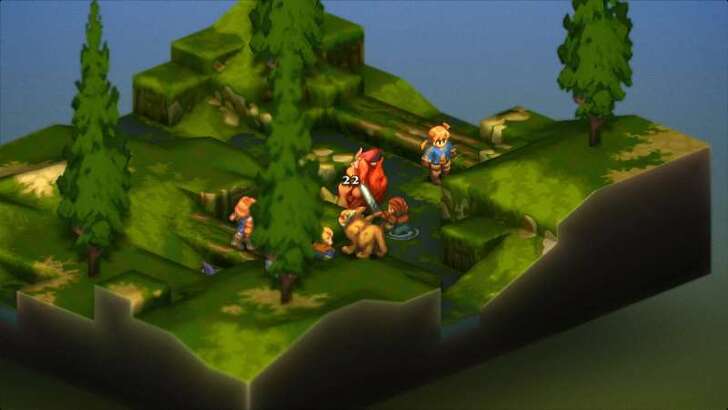 Prioritize Defeating the Bombs Bombs can be extremely dangerous, as they may use Self-Destruct when their HP gets low. Eliminate them quickly before they have the chance. Since they’re weak to Thunder, have your Black Mage target them with lightning spells for an efficient takedown. |
| 3 |
Limit Argath and Delita’s Contributions While they can still help in battle, it’s better not to let Argath and Delita handle most of the kills since they are just guest characters. Try to minimize their contributions so your core party members gain more EXP and JP instead. This way, your main team will stay stronger and more reliable for tougher battles ahead. |
Battle 5: Dorter Slums
| # | Step by Step Objectives |
|---|---|
| 1 | 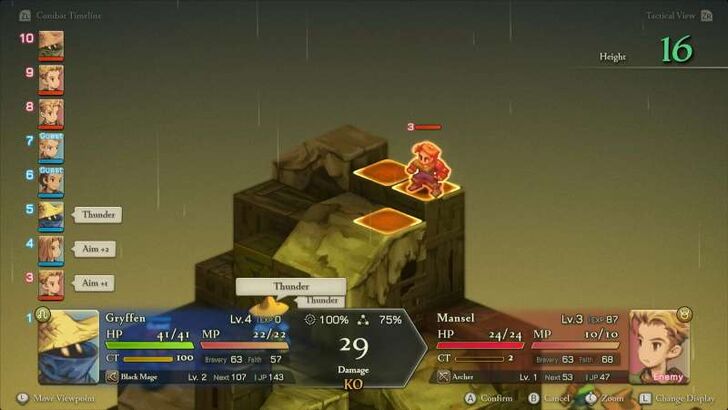 Deploy a Black Mage to Target the Rooftop Archer The Archer placed at the topmost building has an offensive reach encompassing most of the map, so it is recommended to have a Black Mage to deal heavy damage to it from a distance. |
| * |  Position Your Black Mage Close to the Enemy Archer On the deployment screen, place your Black Mage on the elevated tile closest to the rooftop Archer. This ensures that when the battle starts, you’ll be able to cast a spell immediately after moving, putting the Archer in range right away. |
| 2 | 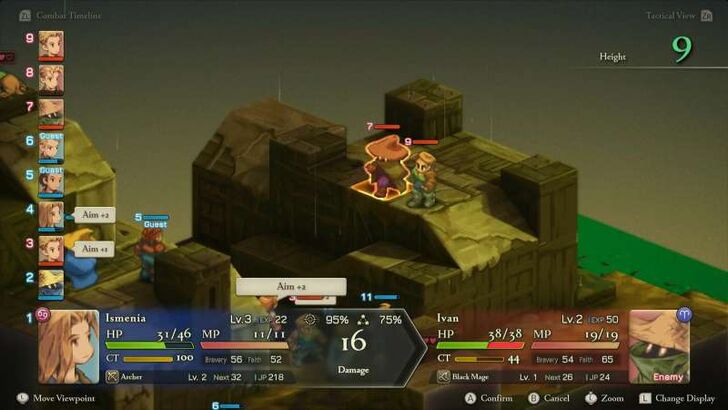 Focus on Elevated Enemies After the rooftop Archer is dealt with, shift your attention to the remaining elevated enemies. Use your own Archer or Black Mage to chip away at them safely from a distance while avoiding unnecessary exposure. |
| 3 | 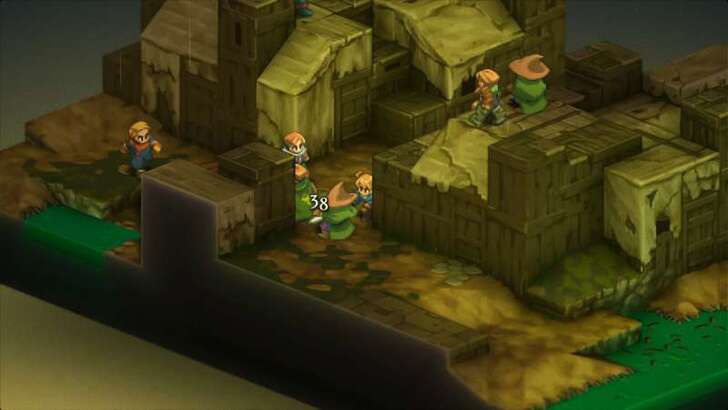 Let Ramza and Your Knight Handle the Ground Units While your ranged units handle threats above, deploy Ramza and your Knight to finish off the enemies on the ground. |
Battle 6: Sand Rat Sietch
| # | Step by Step Objectives |
|---|---|
| 1 | 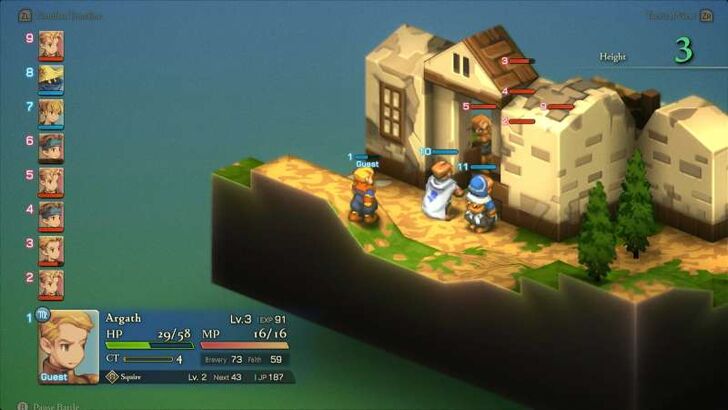 Hold the Left Side With Your Knight and Chemist Deploy your Knight and Chemist with Argath on the left entrance of the building. Most of the enemy units will funnel out from this doorway, so use your Knight to block the chokepoint. Keep your Chemist just behind him for healing support, while Argath can provide extra chip damage with his Throw Stone ability. |
| 2 | 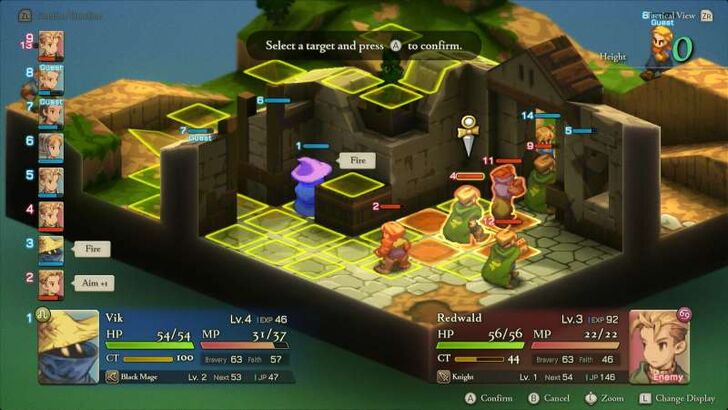 Push the Right Side With Ramza and Your Black Mage Meanwhile, send Ramza and your Black Mage to circle around the right side, Delita will also go here. Have your Black Mage hang back and cast from a safe spot, this is especially effective once you’re inside the building, since enemies tend to cluster near the doorway on the other side and can be hit with area spells. Keep Ramza close to shield your mage and use Chant for quick heals, while Delita holds the line and draws enemy attention. |
| 3 | 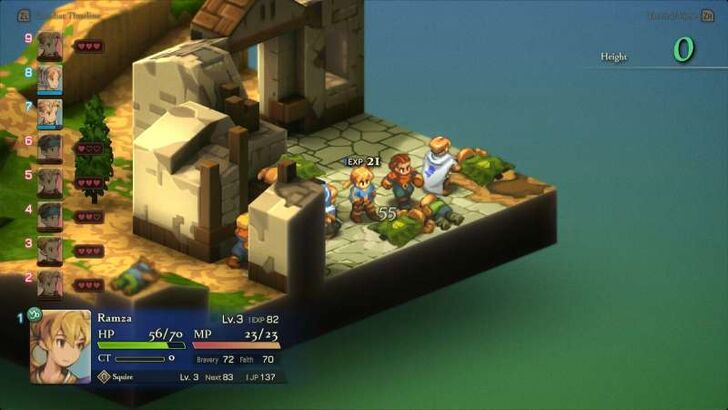 Converge on the Center Once both sides have gained ground, close in on the center and finish off the remaining enemies. |
Battle 6: The Sand Rat's Sietch Walkthrough
Battle 7: Brigands' Den
| # | Step by Step Objectives |
|---|---|
| 1 | 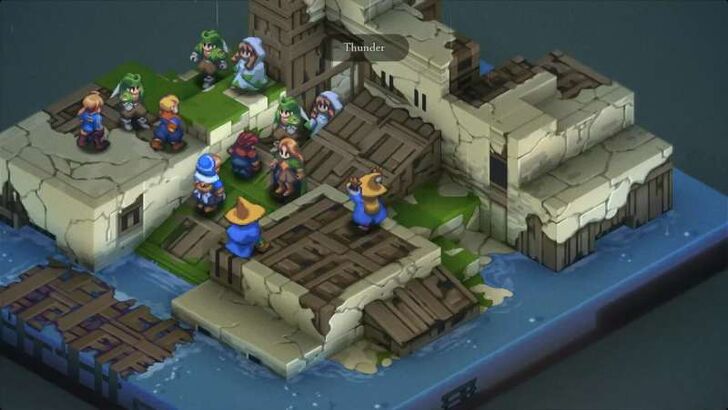 Get the Black Mages on the Platform to the Right At the start, move your Black Mages onto the raised platform on the right. From this vantage point, they can safely rain down spells on Milleuda. Stick to Thunder here, as the rainy weather increases its damage, making it the best option in this fight. |
| 2 | 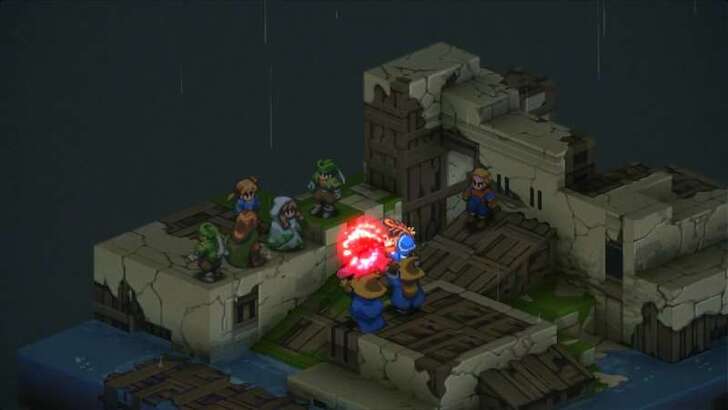 Have the Chemist Handle Healing and Revives While your Black Mages unleash damage, your Chemist should focus on support. Make sure they’ve learned Potion and Phoenix Down, as Ramza, Argath, and Delita will be absorbing most of the frontline pressure while your casters charge spells. |
| 3 |
Beware of Enemy White Mages Enemy White Mages can drag the fight out by healing allies and also have access to offensive Black Magick. Taking them out early can prevent drawn-out battles and keep Milleuda exposed. |
| 4 |  Battle Ends Once Milleuda Falls Once Milleuda’s HP drops to about half, consider focusing all attacks directly on her. Defeating her ends the battle immediately, saving you from having to wipe out the entire enemy team. |
Battle 8: Lenalian Plateau
| # | Step by Step Objectives |
|---|---|
| 1 | 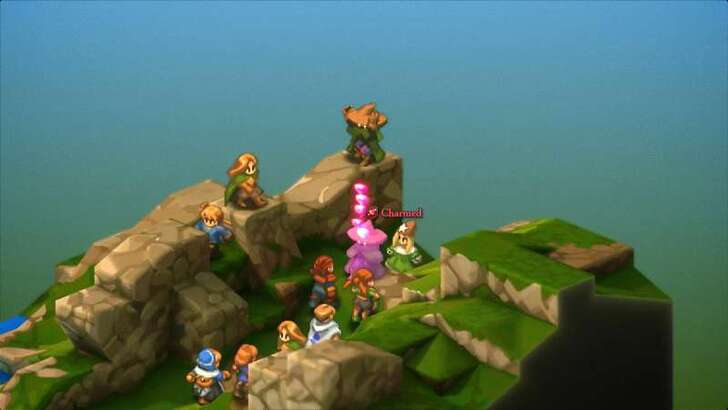 Charm the Black Mages With Your Thief Don’t rush Milleuda right away, deal with the two Black Mages in the back first, as they’ll spam Level 2 spells and shred your team if left ignored. A strong option is to use a Thief with Steal Heart to charm them. This turns their devastating magick against their allies and buys you time to thin out the herd. |
| 2 | 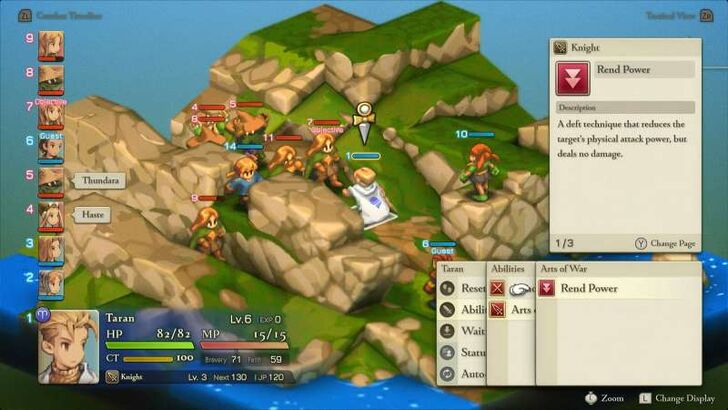 Use Rend Power on Milleuda Milleuda hits hard and can easily wipe your weak allies if left unchecked. Assign your Knight to repeatedly use Rend Power, lowering her physical attack and making the fight far safer. Ramza and Delita can focus on direct damage while the Knight weakens her. |
| 3 | 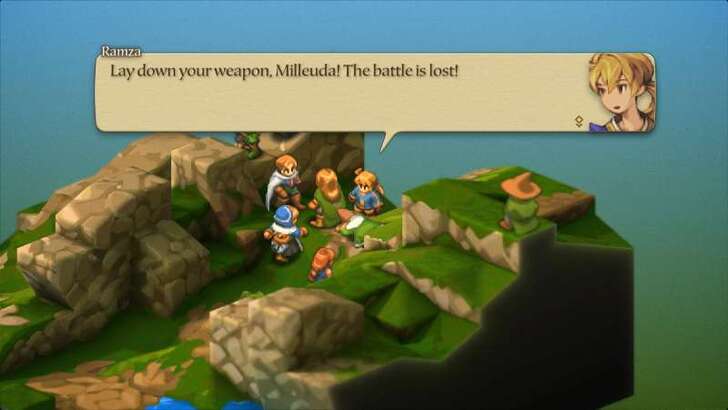 Chemist for Healing, Archer for Support Have your Chemist stick close to your melee attackers to heal them up as needed. Position your Archer on a separate area to rain down damage from afar. Keeping the Archer spread out prevents him from getting wiped by enemy AoE spells, especially since Archers have low HP. |
| * |
Battle Ends Once Milleuda is Defeated Just like in the previous fight, the battle will automatically end once Milleuda is taken down. |
Battle 8: Lenalian Plateau Guide
Battle 9: Fovoham Windflats
| # | Step by Step Objectives |
|---|---|
| 1 |
Buy Mythril Swords and Chainmail For Your Knights Before starting this battle, head to Eagrose Castle and stock up on equipment that will strengthen your Knight units. Purchasing Mythril Swords and Chainmail will give them the durability and damage output needed to withstand stronger enemy forces. |
| 2 |  Have Your Black Mage Learn a Level 2 Spell It’s highly recommended to enter this fight with your Black Mage having at least one Level 2 spell (Fira, Blizzara, or Thundara). Pair this with Ramza’s Tailwind ability to shorten casting time, letting your Black Mage fire off spells more often. Position your Chemist beside the Black Mage to provide healing support, and make sure they know Ether so they can restore MP once your mage runs dry. |
| 3 | 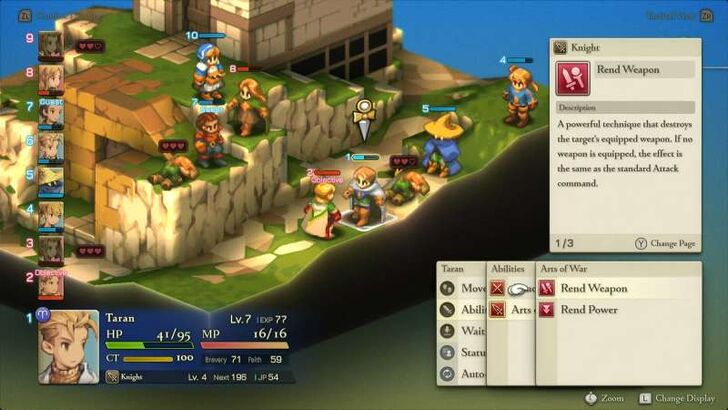 Rend Wiegraf's Sword Wiegraf’s Judgement Blade is a devastating ability that can cripple your units. To shut this down, you’ll first need to eliminate the Monks accompanying him. Once they’re out of the way, Wiegraf will descend from the cliff to engage. Have your Knight use Rend Weapon on Wiegraf as soon as possible. This prevents him from using Judgement Blade for the rest of the battle, making the fight much more manageable. |
| 4 |  Battle Ends Once Wiegraf Retreats You don’t need to defeat every enemy here. Once Wiegraf’s HP drops low enough, he will automatically retreat, signaling the end of the battle. Focus your attacks on him after disabling his weapon to finish the fight quickly, rather than spending too much time clearing the rest of the enemy forces. |
Battle 9: Fovoham Windflats Guide
Battle 10: Ziekden Fortress
| # | Step by Step Objectives |
|---|---|
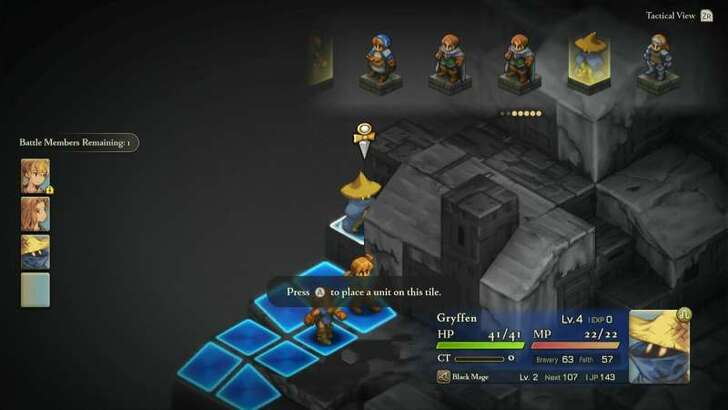
| 1 |
Have Everyone Learn Safeguard Before Battle The enemy Knights in this stage can use Rend abilities to break your weapons and armor. Equip the Support Ability Safeguard on all your units to prevent this. You can unlock it by temporarily switching your units to the Chemist job, earning JP, and then keeping it equipped when switching back to their main jobs. ▶How to Farm JP (Job Points) |
| 2 | 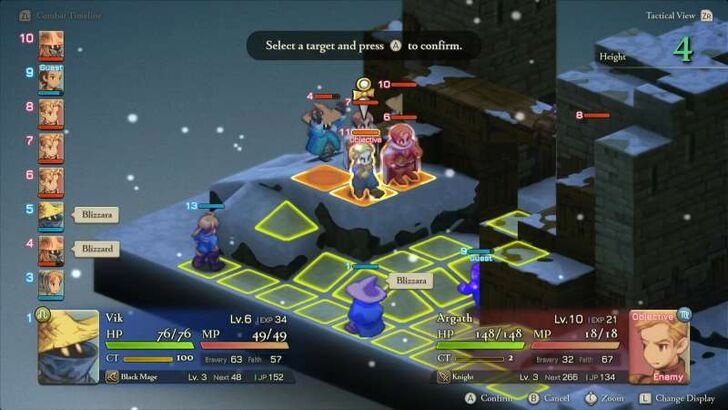 Deploy a Black Mage on Ramza's Side Enemies near Ramza start clustered together, making them vulnerable to Black Magick. Have your Black Mage cast Fira, Blizzara, or Thundara to damage multiple targets at once. This also allows you to safely chip at Argath’s HP from a distance without risking counterattacks. |
| 3 |  Deploy a Knight and Chemist on the Other Side Since the battlefield is split, your second group needs to be self-sufficient. A Knight provides frontline strength while the Chemist ensures steady healing and item support. Together, they can hold their ground against incoming enemies while Ramza’s group handles the heavier threats. |
| 4 | 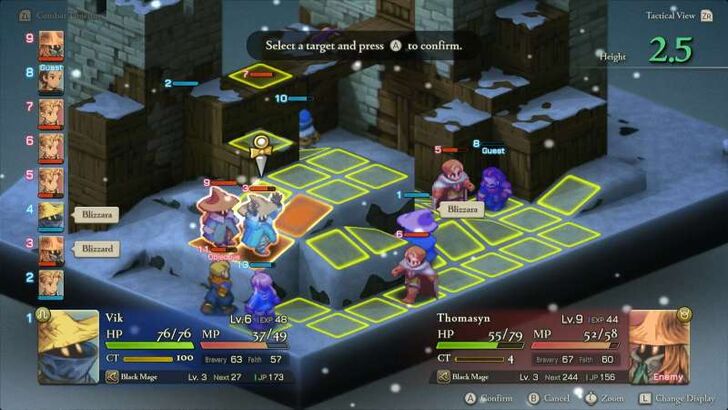 Focus Attacks on the Black Mages First The two enemy Black Mages are the biggest threat if left unchecked. Eliminate them early with your own Black Magick, and as a bonus, if Argath is within range, he’ll take splash damage too. |
| * |  Stay Beside Argath When Targeted by Magick If an enemy Black Mage locks onto your unit, move next to Argath. Their spells will damage him as well, and since he’s especially weak to magick, this turns their attacks into an advantage for you. |
| 5 |
Battle Ends Once Argath is Defeated The fight concludes as soon as Argath’s HP reaches zero, even if other enemies remain. Don’t waste resources clearing the field, prioritize taking him down once the Black Mages are offed to end the battle quickly. |
Battle 10: Ziekden Fortress Guide
Chapter 1: The Meager Bosses
Milleuda
The battle with Milleuda can be managed better if you have Black Mages to dish out spells against her. Have Knights accompany the Black Mages so that they could tank the damage that they'll eventually incur.
For the second battle with Milleuda, it is recommended that you dispose of the Time Mages first to prevent them from casting spells like Haste to increase the speed of their Black Mages. Have a Thief ready to cast Steal Heart to the enemy Black Mages so their spells will be cast upon their allies.
Wiegraf
| Location | Fovoham Windflats |
|---|---|
| Tips to Defeat Wiegraf | |
| ・Focus on killing the Monks and Chocobo first. ・Use Rend Weapon so that Wiegraf loses his sword and prevent him from using Judgement Blade ・Fight is hard, so level up first if necessary. |
|
His Judgement Blade ability is very powerful, so it is recommended that you stop him from performing this attack.
First attack the Monks that accompany him in battle. Once they're beaten, use Rend Weapon so that Wiegraf loses his sword and prevent him from using Judgement Blade.
Argath
| Location | Ziekden Fortress |
|---|---|
| Tips to Defeat Argath | |
| ・Prepare beforehand since this is the final battle of the chapter. ・Kill the Black Mages first to prevent ranged attacks. ・The fight concludes as soon as Argath’s HP reaches zero, even if other enemies remain. |
|
Black Mages should be the primary offensive units for this battle, as they can cast from a safe distance without worrying about incurring damage from Argath's counterattacks.
The fight concludes as soon as Argath’s HP reaches zero, even if other enemies remain.
Final Fantasy Tactics - The Ivalice Chronicles Related Guides

All Chapter Walkthroughs
| # | Chapter Title |
|---|---|
| 1 | The Meager |
| 2 | The Manipulative and the Subservient |
| 3 | The Valiant |
| 4 | In the Name of Love |
Comment
Author

Final Fantasy Tactics - The Ivalice Chronicles Walkthrough & Guides Wiki
Chapter 1: The Meager Walkthrough
Rankings
- We could not find the message board you were looking for.
Gaming News

![Death Stranding 2: On The Beach [PC] Review | A Port That Delivers](https://img.game8.co/4447392/15310a0c9aa1b6843bb713b2ea216930.jpeg/show)


Popular Games

Genshin Impact Walkthrough & Guides Wiki
Umamusume: Pretty Derby Walkthrough & Guides Wiki
Crimson Desert Walkthrough & Guides Wiki
Monster Hunter Stories 3: Twisted Reflection Walkthrough & Guides Wiki
Honkai: Star Rail Walkthrough & Guides Wiki
Pokemon Pokopia Walkthrough & Guides Wiki
The Seven Deadly Sins: Origin Walkthrough & Guides Wiki
Wuthering Waves Walkthrough & Guides Wiki
Zenless Zone Zero Walkthrough & Guides Wiki
Arknights: Endfield Walkthrough & Guides Wiki


Recommended Games
Fire Emblem Heroes (FEH) Walkthrough & Guides Wiki
Diablo 4: Vessel of Hatred Walkthrough & Guides Wiki
Cyberpunk 2077: Ultimate Edition Walkthrough & Guides Wiki
Yu-Gi-Oh! Master Duel Walkthrough & Guides Wiki
Super Smash Bros. Ultimate Walkthrough & Guides Wiki
Pokemon Brilliant Diamond and Shining Pearl (BDSP) Walkthrough & Guides Wiki
Elden Ring Shadow of the Erdtree Walkthrough & Guides Wiki
Monster Hunter World Walkthrough & Guides Wiki
The Legend of Zelda: Tears of the Kingdom Walkthrough & Guides Wiki
Persona 3 Reload Walkthrough & Guides Wiki


All rights reserved
© SQUARE ENIX
The copyrights of videos of games used in our content and other intellectual property rights belong to the provider of the game.
The contents we provide on this site were created personally by members of the Game8 editorial department.
We refuse the right to reuse or repost content taken without our permission such as data or images to other sites.