Ziekden Fortress Walkthrough (Battle 10)
★ Tier Lists: Characters | Jobs | Weapons
☆ Farming Guides: Gil | JP | Rare Weapons
★ All Missables and Points of No Return
☆ Optimal Job Progression Guide
★ Recruit All Secret Characters!
☆ All Hidden Treasure Locations
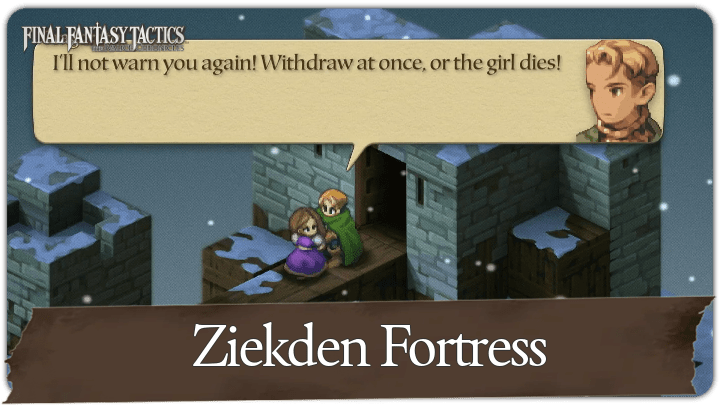
This is a guide for Battle 10: Ziekden Fortress in Chapter 1 of Final Fantasy Tactics - The Ivalice Chronicles. See a full walkthrough of this battle, as well as its overview, enemies, recruitable characters, treasure locations, and rewards for completing Ziekden Fortress.
| ◄ Previous Battle | Next Battle ► |
|---|---|
| Fovoham Windflats | Merchant City of Dorter |
List of Contents
Battle 10: Ziekden Fortress Overview
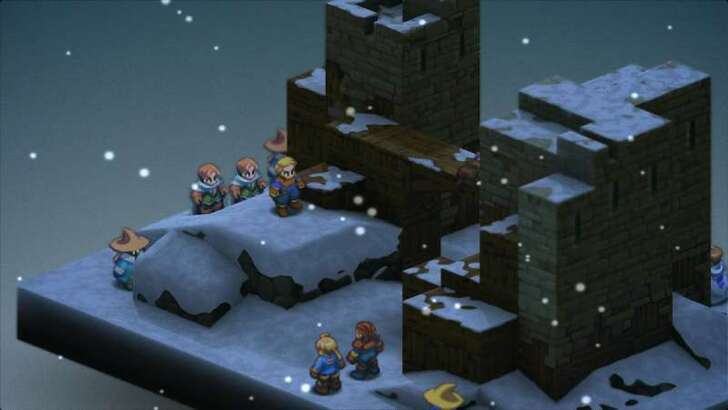
Battle Location and Information
| Field View | |
|---|---|
 |
|
| Chapter | Chapter 1 |
| Rec. Level / Difficulty |
Level 9
✦✦✧✧✧ |
| Objective | Defeat Argath! |
| Party Size | You can deploy up to 4 units. |
Battle 10: Ziekden Fortress Recruitable Characters
All Characters You Can Recruit
| Ladd | Alicia | Lavian |
At the end of Chapter 1 after this battle, three new characters will automatically join your party: Ladd, a Squire, along with Alicia and Lavian, who both start as Knights.
Battle 10: Ziekden Fortress Enemies
All Enemies in Zeikden Fortress
| All Stage Enemies |
|---|
|
・
・
・Wiegraf (Windmill)
|
Battle 10: Ziekden Fortress Recommended Party Composition
Best Characters to Use For This Battle
| Best Characters to Use (Team A) | |||
|---|---|---|---|
 Ramza Ramza |
 Black Mage Black Mage
|
||
| Best Characters to Use (Team B) | |||
 Knight Knight
|
 Chemist Chemist
|
||
This battle splits your squad into two groups. Ramza and a Black Mage work best on one side, taking advantage of clustered enemies with the use of Black Magic.
On the opposite end, a Knight and Chemist provide durability and sustain, ensuring they can hold out without direct support.
Battle 10: Ziekden Fortress Walkthrough
Walkthrough Guide
| # | Step by Step Objectives |
|---|---|
| 1 |
Have Everyone Learn Safeguard Before Battle The enemy Knights in this stage can use Rend abilities to break your weapons and armor. Equip the Support Ability Safeguard on all your units to prevent this. You can unlock it by temporarily switching your units to the Chemist job, earning JP, and then keeping it equipped when switching back to their main jobs. ▶How to Farm JP (Job Points) |
| 2 | 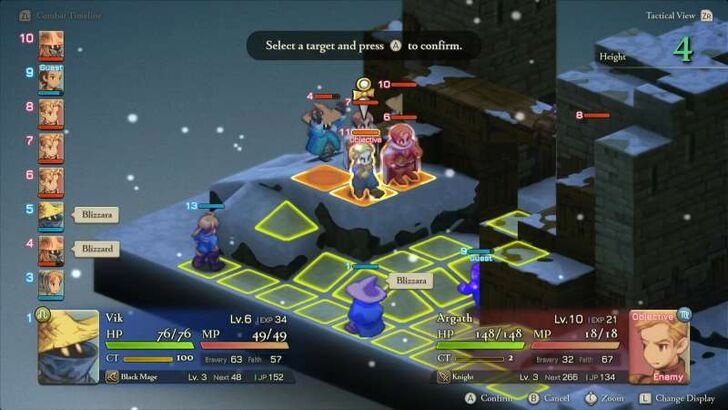 Deploy a Black Mage on Ramza's Side Enemies near Ramza start clustered together, making them vulnerable to Black Magick. Have your Black Mage cast Fira, Blizzara, or Thundara to damage multiple targets at once. This also allows you to safely chip at Argath’s HP from a distance without risking counterattacks. |
| 3 | 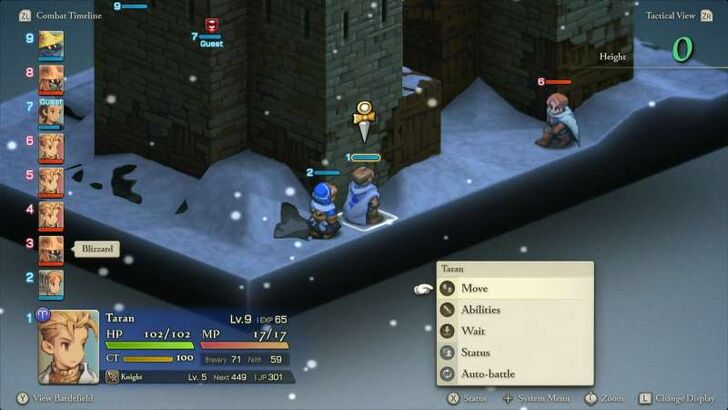 Deploy a Knight and Chemist on the Other Side Since the battlefield is split, your second group needs to be self-sufficient. A Knight provides frontline strength while the Chemist ensures steady healing and item support. Together, they can hold their ground against incoming enemies while Ramza’s group handles the heavier threats. |
| 4 | 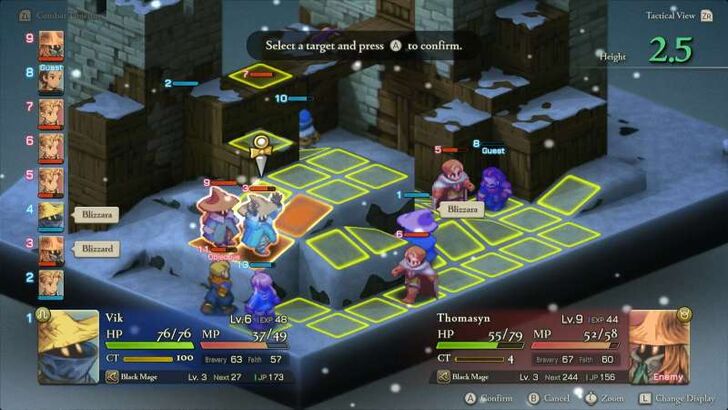 Focus Attacks on the Black Mages First The two enemy Black Mages are the biggest threat if left unchecked. Eliminate them early with your own Black Magick, and as a bonus, if Argath is within range, he’ll take splash damage too. |
| * | 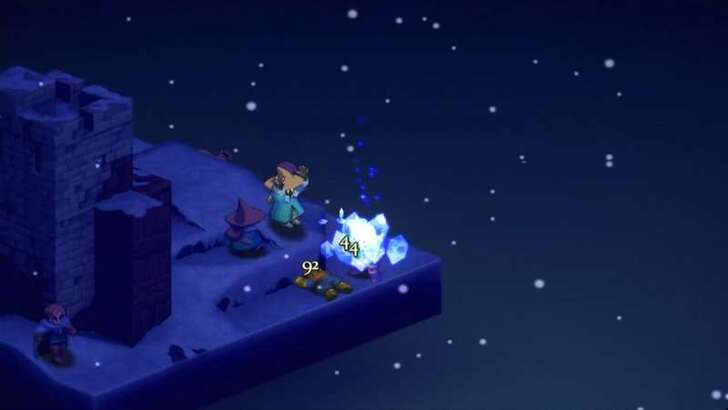 Stay Beside Argath When Targeted by Magick If an enemy Black Mage locks onto your unit, move next to Argath. Their spells will damage him as well, and since he’s especially weak to magick, this turns their attacks into an advantage for you. |
| 5 |
Battle Ends Once Argath is Defeated The fight concludes as soon as Argath’s HP reaches zero, even if other enemies remain. Don’t waste resources clearing the field, prioritize taking him down once the Black Mages are offed to end the battle quickly. |
Chapter 1: The Meager Walkthrough
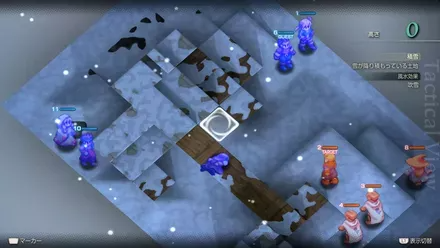
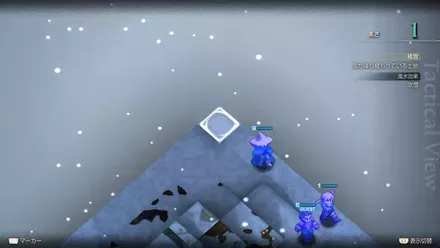
Battle 10: Ziekden Fortress Buried Treasure Locations
Location and Treasures
| Location | Treasures |
|---|---|
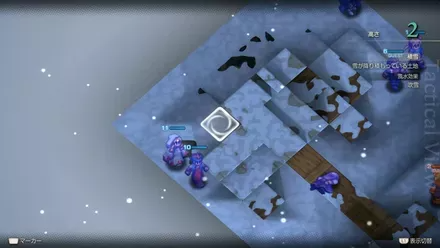 |
Common: Rare: |
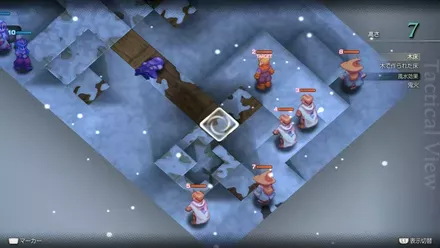 |
Common: Rare: |
 |
Common: Rare: |
 |
Common: Rare: |
All Hidden Items and Treasure Locations
Battle 10: Ziekden Fortress Rewards
All Ziekden Fortress Spoils of War
| All Spoils of War |
|---|
|
・
|
Besides the treasures you can pick up during the fight, you’ll also receive Spoils of War once the battle ends. These are guaranteed rewards that drop after completing the objective.
Final Fantasy Tactics - The Ivalice Chronicles Related Guides

All Chapter Walkthroughs
| # | Chapter Title |
|---|---|
| 1 | The Meager |
| 2 | The Manipulative and the Subservient |
| 3 | The Valiant |
| 4 | In the Name of Love |
Chapter 1 Walkthrough
| # | Locations and Battles |
|---|---|
| 1 | Orbonne Monastery |
| 2 | Magick City of Gariland |
| 3 | Mandalia Plain |
| 4 | Siedge Weald |
| 5 | Dorter Slums |
| 6 | The Sand Rat's Sietch |
| 7 | Brigands' Den |
| 8 | Lenalian Plateau |
| 9 | Fovoham Windflats |
| 10 | Ziekden Fortress |
Chapter 2 Walkthrough
| # | Locations and Battles |
|---|---|
| 11 | Merchant City of Dorter |
| 12 | Araguay Woods |
| 13 | Zeirchele Falls |
| 14 | Castled City of Zaland |
| 15 | Balias Tor |
| 16 | Tchigolith Fenlands |
| 17 | Goug Lowtown |
| 18 | Balias Swale |
| 19 | Golgollada Gallows |
| 20 | Lionel Castle Gate |
| 21 | Lionel Castle Keep |
Chapter 3 Walkthrough
| # | Locations and Battles |
|---|---|
| 22 | Mining Town of Gollund |
| 23 | Lesalia Castle Postern |
| 24 | Monastery Vaults: Second Level |
| 25 | Monastery Vaults: Third Level |
| 26 | Monastery Vaults: First Level |
| 27 | Grogh Heights |
| 28 | Walled City of Yardrow |
| 29 | Yuguewood |
| 30 | Riovanes Castle Gate |
| 31 | Riovanes Castle Keep |
| 32 | Riovanes Castle Roof |
Chapter 4 Walkthrough
| # | Locations and Battles |
|---|---|
| 33 | Dugeura Pass |
| 34 | Free City of Bervenia |
| 35 | Finnath Creek |
| 36 | Outlying Church |
| 37 | Beddha Sandwaste |
| 38 A | Fort Besselat: South Wall |
| 38 B | Fort Besselat: North Wall |
| 39 | Fort Besselat Sluice |
| 40 | Mount Germinas |
| 41 | Lake Poescas |
| 42 | Limberry Castle Gate |
| 43 | Limberry Castle Keep |
| 44 | Limberry Castle Undercroft |
| 45 | Eagrose Castle Keep |
| 46 | Mullonde Cathedral |
| 47 | Mullonde Cathedral Nave |
| 48 | Mullonde Cathedral Sanctuary |
| 49 | Monastery Vaults: Fourth Level |
| 50 | Monastery Vaults: Fifth Level |
| 51 | Necrohol of Mullonde |
| 52 | Lost Halidom |
| 53 | Airship Graveyard |
| - | Mount Bervenia |
| - | Dorvauldar Marsh |
All Side Quest Locations
| # | Locations and Battles |
|---|---|
| 1 | Gollund Colliery Floor |
| 2 | Gollund Colliery Slope |
| 3 | Gollund Colliery Ridge |
| 4 | Gollund Coal Shaft |
| 5 | Nelveska Temple |
| 6 | Trade City of Sal Ghidos |
Author
Final Fantasy Tactics - The Ivalice Chronicles Walkthrough & Guides Wiki
Ziekden Fortress Walkthrough (Battle 10)
Rankings
- We could not find the message board you were looking for.
Gaming News
Popular Games

Genshin Impact Walkthrough & Guides Wiki

Umamusume: Pretty Derby Walkthrough & Guides Wiki

Crimson Desert Walkthrough & Guides Wiki

Monster Hunter Stories 3: Twisted Reflection Walkthrough & Guides Wiki

Honkai: Star Rail Walkthrough & Guides Wiki

Pokemon Pokopia Walkthrough & Guides Wiki

The Seven Deadly Sins: Origin Walkthrough & Guides Wiki

Wuthering Waves Walkthrough & Guides Wiki

Zenless Zone Zero Walkthrough & Guides Wiki

Arknights: Endfield Walkthrough & Guides Wiki
Recommended Games

Fire Emblem Heroes (FEH) Walkthrough & Guides Wiki

Diablo 4: Vessel of Hatred Walkthrough & Guides Wiki

Cyberpunk 2077: Ultimate Edition Walkthrough & Guides Wiki

Yu-Gi-Oh! Master Duel Walkthrough & Guides Wiki

Super Smash Bros. Ultimate Walkthrough & Guides Wiki

Pokemon Brilliant Diamond and Shining Pearl (BDSP) Walkthrough & Guides Wiki

Elden Ring Shadow of the Erdtree Walkthrough & Guides Wiki

Monster Hunter World Walkthrough & Guides Wiki

The Legend of Zelda: Tears of the Kingdom Walkthrough & Guides Wiki

Persona 3 Reload Walkthrough & Guides Wiki
All rights reserved
© SQUARE ENIX
The copyrights of videos of games used in our content and other intellectual property rights belong to the provider of the game.
The contents we provide on this site were created personally by members of the Game8 editorial department.
We refuse the right to reuse or repost content taken without our permission such as data or images to other sites.




I think the buried treasure locations for Bronze Shield and Chainmail are swapped?