Monastery Vaults: Second Level Walkthrough (Battle 24)
★ Tier Lists: Characters | Jobs | Weapons
☆ Farming Guides: Gil | JP | Rare Weapons
★ All Missables and Points of No Return
☆ Optimal Job Progression Guide
★ Recruit All Secret Characters!
☆ All Hidden Treasure Locations
This is a guide for Battle 24: Monastery Vaults: Second Level in Chapter 3 of Final Fantasy Tactics - The Ivalice Chronicles. See a full walkthrough of this battle, as well as its overview, enemies, recruitable characters, treasure locations, and rewards for completing Monastery Vaults: Second Level.
| ◄ Previous Battle | Next Battle ► |
|---|---|
| Lesalia Castle | Monastery Vaults: Third Level |
List of Contents
Battle 24: Monastery Vaults: Second Level Overview
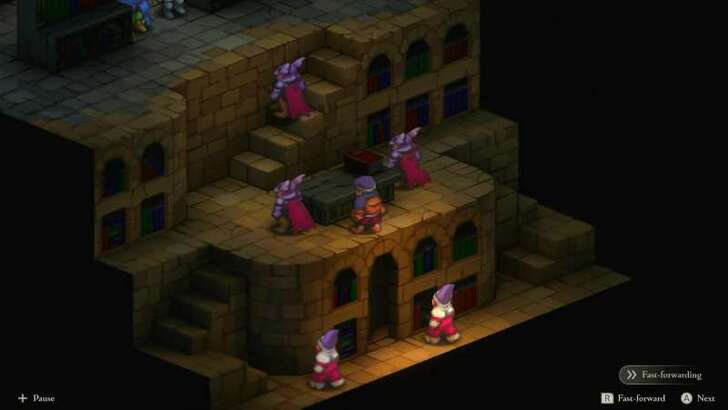
Battle Location and Information
| Field View | |
|---|---|
 |
|
| Chapter | Chapter 3 |
| Rec. Level / Difficulty |
Level 28
✦✦✦✧✧ |
| Objective | Defeat all enemies! |
| Party Size | You can deploy up to 5 units. |
Battle 24: Monastery Vaults: Second Level Recruitable Characters
All Characters You Can Recruit
| There are no known characters that can be recruited in this stage. |
Battle 24: Monastery Vaults: Second Level Enemies
All Enemies in Monastery Vaults: Second Level
| All Stage Enemies |
|---|
|
・
・
・
|
Battle 24: Monastery Vaults: Second Level Recommended Party Composition
Best Characters to Use For This Battle
| Best Characters to Use | |||
|---|---|---|---|
 Ramza Ramza (Ninja) |
 Agrias Agrias |
 Mustadio Mustadio |
 Mystic Mystic
|
 Black Mage Black Mage
|
|||
Ramza as a Ninja can double-hit enemies and clean up enemies quickly, while Agrias provides steady frontline damage with her Holy Sword. Mustadio’s ranged utility is invaluable for disabling key enemies, and a Mystic can shut down enemy spellcasters with Silence or Sleep.
The Chemist role is going to be covered by giving your Mystic the Items job command for flexible healing and ranged support, while the Black Mage delivers AoE pressure to punish clustered foes.
Battle 24: Monastery Vaults: Second Level Walkthrough
Walkthrough Guide
| # | Step by Step Objectives |
|---|---|
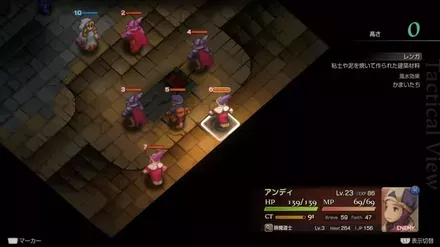
| 1 | 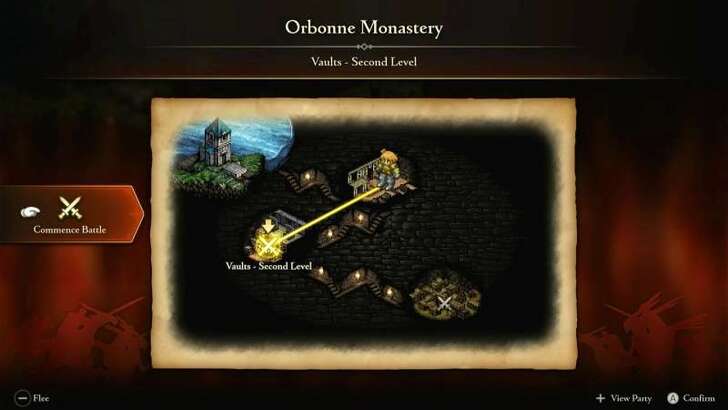 Prepare for Consecutive Battles This fight is directly followed by the Monastery Vaults: Third Level battle. You won’t be able to resupply or change gear, so stock up on items, especially Phoenix Downs, before entering. Make sure you’ve unlocked stronger jobs like Ninja for fast dual-wield attacks and Mystic for status disruption as they’re both excellent for this series of battles. |
| * |
Set Up Flexible Job Commands Give Ramza the Martial Arts command for Chakra, Revive, and ranged attacks. Meanwhile, equip your Mystic with the Items command to provide healing while crippling enemies. Pairing this with Throw Items lets them act as a long-range support hybrid. |
| 2 | 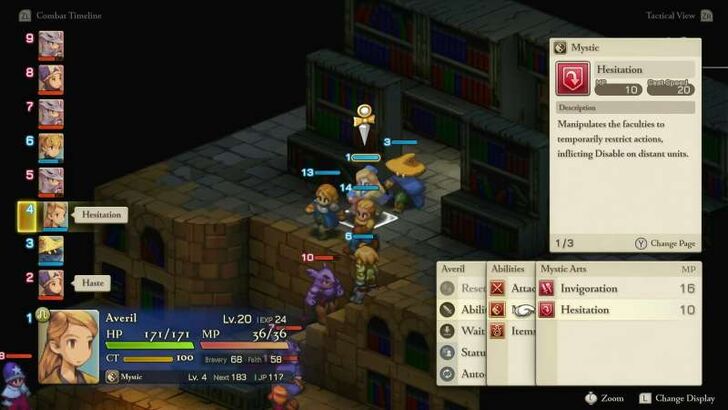 Take Down the Chemist First The enemy Chemist is the top priority as he can undo your progress instantly by reviving fallen units. Use your Black Mage or Agrias to deal burst damage from range. If you can’t drop them in one or two hits, have your Mystic cast Hesitation to disable him. |
| 3 | 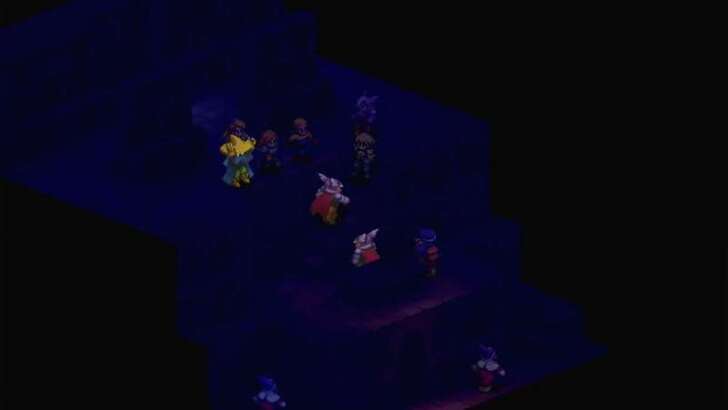 Shut Down the Dragoons Dragoons become dangerous if they start spamming Jump, since they disappear from the map until landing. Use Mustadio’s Arm Shot to disable them before they leave the ground. Once immobilized, they’re much easier to control. The battle ends when all enemies are defeated, immediately leading into the third floor showdown. ►Monastery Vaults: 3rd Level Walkthrough |
Chapter 4: In the Name of Love Walkthrough
Battle 24: Monastery Vaults: Second Level Buried Treasure Locations
Location and Treasures
| Location | Treasures |
|---|---|
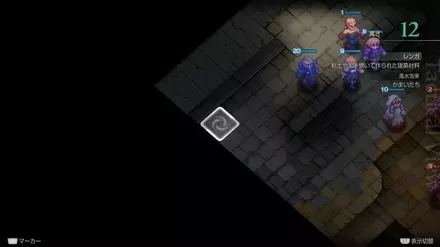 |
Common: Rare: |
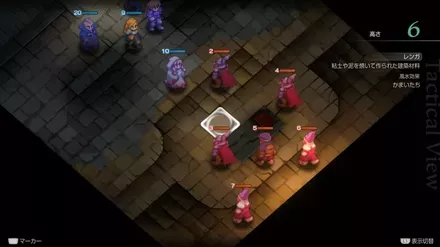 |
Common: Rare: |
 |
Common: Rare: |
 |
Common: Rare: |
All Hidden Items and Treasure Locations
Battle 24: Monastery Vaults: Second Level Rewards
All Monastery Vaults: Second Level Spoils of War
| All Spoils of War |
|---|
|
・
|
Besides the treasures you can pick up during the fight, you’ll also receive Spoils of War once the battle ends. These are guaranteed rewards that drop after completing the objective, and always include Gil along with the items listed above.
Final Fantasy Tactics - The Ivalice Chronicles Related Guides

All Chapter Walkthroughs
| # | Chapter Title |
|---|---|
| 1 | The Meager |
| 2 | The Manipulative and the Subservient |
| 3 | The Valiant |
| 4 | In the Name of Love |
Chapter 1 Walkthrough
| # | Locations and Battles |
|---|---|
| 1 | Orbonne Monastery |
| 2 | Magick City of Gariland |
| 3 | Mandalia Plain |
| 4 | Siedge Weald |
| 5 | Dorter Slums |
| 6 | The Sand Rat's Sietch |
| 7 | Brigands' Den |
| 8 | Lenalian Plateau |
| 9 | Fovoham Windflats |
| 10 | Ziekden Fortress |
Chapter 2 Walkthrough
| # | Locations and Battles |
|---|---|
| 11 | Merchant City of Dorter |
| 12 | Araguay Woods |
| 13 | Zeirchele Falls |
| 14 | Castled City of Zaland |
| 15 | Balias Tor |
| 16 | Tchigolith Fenlands |
| 17 | Goug Lowtown |
| 18 | Balias Swale |
| 19 | Golgollada Gallows |
| 20 | Lionel Castle Gate |
| 21 | Lionel Castle Keep |
Chapter 3 Walkthrough
| # | Locations and Battles |
|---|---|
| 22 | Mining Town of Gollund |
| 23 | Lesalia Castle Postern |
| 24 | Monastery Vaults: Second Level |
| 25 | Monastery Vaults: Third Level |
| 26 | Monastery Vaults: First Level |
| 27 | Grogh Heights |
| 28 | Walled City of Yardrow |
| 29 | Yuguewood |
| 30 | Riovanes Castle Gate |
| 31 | Riovanes Castle Keep |
| 32 | Riovanes Castle Roof |
Chapter 4 Walkthrough
| # | Locations and Battles |
|---|---|
| 33 | Dugeura Pass |
| 34 | Free City of Bervenia |
| 35 | Finnath Creek |
| 36 | Outlying Church |
| 37 | Beddha Sandwaste |
| 38 A | Fort Besselat: South Wall |
| 38 B | Fort Besselat: North Wall |
| 39 | Fort Besselat Sluice |
| 40 | Mount Germinas |
| 41 | Lake Poescas |
| 42 | Limberry Castle Gate |
| 43 | Limberry Castle Keep |
| 44 | Limberry Castle Undercroft |
| 45 | Eagrose Castle Keep |
| 46 | Mullonde Cathedral |
| 47 | Mullonde Cathedral Nave |
| 48 | Mullonde Cathedral Sanctuary |
| 49 | Monastery Vaults: Fourth Level |
| 50 | Monastery Vaults: Fifth Level |
| 51 | Necrohol of Mullonde |
| 52 | Lost Halidom |
| 53 | Airship Graveyard |
| - | Mount Bervenia |
| - | Dorvauldar Marsh |
All Side Quest Locations
| # | Locations and Battles |
|---|---|
| 1 | Gollund Colliery Floor |
| 2 | Gollund Colliery Slope |
| 3 | Gollund Colliery Ridge |
| 4 | Gollund Coal Shaft |
| 5 | Nelveska Temple |
| 6 | Trade City of Sal Ghidos |
All Side Quest Locations
| # | Locations and Battles |
|---|---|
| 1 | Gollund Colliery Floor |
| 2 | Gollund Colliery Slope |
| 3 | Gollund Colliery Ridge |
| 4 | Gollund Coal Shaft |
| 5 | Nelveska Temple |
| 6 | Trade City of Sal Ghidos |
Comment
Author
Final Fantasy Tactics - The Ivalice Chronicles Walkthrough & Guides Wiki
Monastery Vaults: Second Level Walkthrough (Battle 24)
Rankings
- We could not find the message board you were looking for.
Gaming News
Popular Games

Genshin Impact Walkthrough & Guides Wiki

Umamusume: Pretty Derby Walkthrough & Guides Wiki

Crimson Desert Walkthrough & Guides Wiki

Monster Hunter Stories 3: Twisted Reflection Walkthrough & Guides Wiki

Honkai: Star Rail Walkthrough & Guides Wiki

Pokemon Pokopia Walkthrough & Guides Wiki

The Seven Deadly Sins: Origin Walkthrough & Guides Wiki

Wuthering Waves Walkthrough & Guides Wiki

Zenless Zone Zero Walkthrough & Guides Wiki

Arknights: Endfield Walkthrough & Guides Wiki
Recommended Games

Fire Emblem Heroes (FEH) Walkthrough & Guides Wiki

Diablo 4: Vessel of Hatred Walkthrough & Guides Wiki

Cyberpunk 2077: Ultimate Edition Walkthrough & Guides Wiki

Yu-Gi-Oh! Master Duel Walkthrough & Guides Wiki

Super Smash Bros. Ultimate Walkthrough & Guides Wiki

Pokemon Brilliant Diamond and Shining Pearl (BDSP) Walkthrough & Guides Wiki

Elden Ring Shadow of the Erdtree Walkthrough & Guides Wiki

Monster Hunter World Walkthrough & Guides Wiki

The Legend of Zelda: Tears of the Kingdom Walkthrough & Guides Wiki

Persona 3 Reload Walkthrough & Guides Wiki
All rights reserved
© SQUARE ENIX
The copyrights of videos of games used in our content and other intellectual property rights belong to the provider of the game.
The contents we provide on this site were created personally by members of the Game8 editorial department.
We refuse the right to reuse or repost content taken without our permission such as data or images to other sites.


