Balias Swale Walkthrough (Battle 18)
★ Tier Lists: Characters | Jobs | Weapons
☆ Farming Guides: Gil | JP | Rare Weapons
★ All Missables and Points of No Return
☆ Optimal Job Progression Guide
★ Recruit All Secret Characters!
☆ All Hidden Treasure Locations
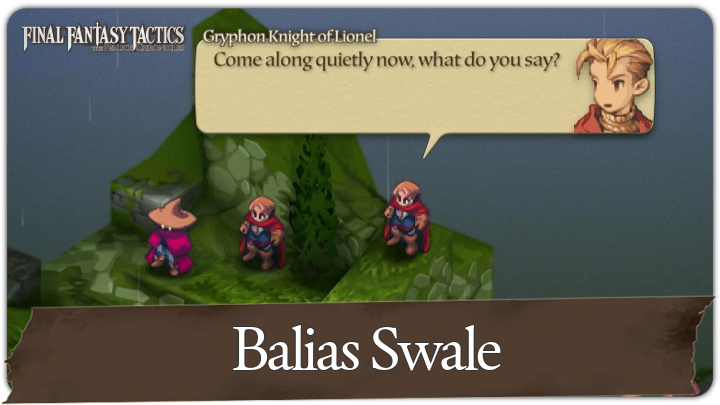
This is a guide for Battle 18: Balias Swale in Chapter 2 of Final Fantasy Tactics - The Ivalice Chronicles. See a full walkthrough of this battle, as well as its overview, enemies, recruitable characters, treasure locations, and rewards for completing Balias Swale.
| ◄ Previous Battle | Next Battle ► |
|---|---|
| Goug Lowtown | Golgollada Gallows |
List of Contents
Battle 18: Balias Swale Overview
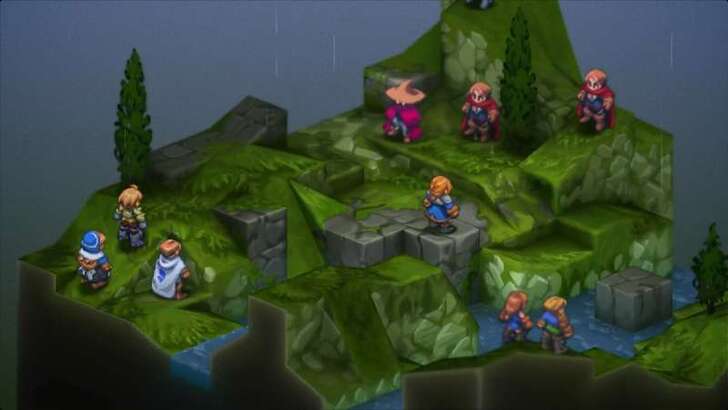
Battle Location and Information
| Field View | |
|---|---|
 |
|
| Chapter | Chapter 2 |
| Rec. Level / Difficulty |
Level 20
✦✦✧✧✧ |
| Objective | Save Agrias! |
| Party Size | You can deploy up to 5 units. |
Battle 18: Balias Swale Recruitable Characters
All Characters You Can Recruit
| Recruitable Characters | ||
|---|---|---|
 Agrias Oaks Agrias Oaks
|
||
Agrias becomes a permanent party member after this battle.
List of All Characters
Battle 18: Balias Swale Enemies
All Enemies in Balias Swale
| All Stage Enemies |
|---|
|
・
・
・
|
Battle 18: Balias Swale Recommended Party Composition
Best Characters to Use For This Battle
| Best Characters to Use (Team A) | |||
|---|---|---|---|
 Ramza Ramza (Monk) |
 Chemist Chemist
|
 Knight Knight
|
|
| Best Characters to Use (Team B) | |||
 Archer Archer
|
 Archer Archer
|
||
Ramza as a Monk will lead Team A, using Focus to stack attack power and Aurablast for range. A Chemist with the Romandan Pistol works as both long-range support and a healer, while a Knight adds durability and can equip Black Magick for extra ranged options.
Put Archers on your Team B and equip Lightning Bows since the rainy weather boosts Thunder damage.
Battle 18: Balias Swale Walkthrough
Walkthrough Guide
| # | Step by Step Objectives |
|---|---|
| 1 |
All Team A Members Must Have 4 Movement Stat Team A will be your main attacker team, however the enemies are on the far end of where you stand, so it's better to have it comprised of Ramza, with Aurablast, a Chemist with the Romandan Pistol, a Knight with the Black Magick job command equipped, all tied with a Movement Stat of 4. This way they can reach the enemies at the back quickly, and if ever they don't they can depend on their ranged attacks. |
| * | 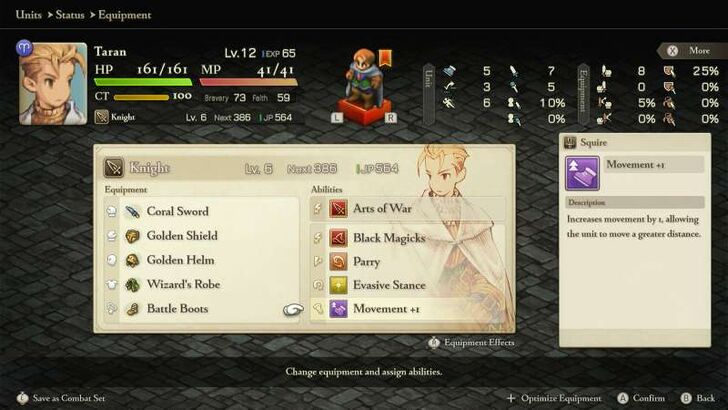 Battle Boots and Squire's Movement +1 Ability You can manually increase your Movement stat by +2. Equip Battle Boots (purchasable in towns) and learn the Squire’s Movement +1 Ability. Both together grant a total +2 Movement. |
| 2 | 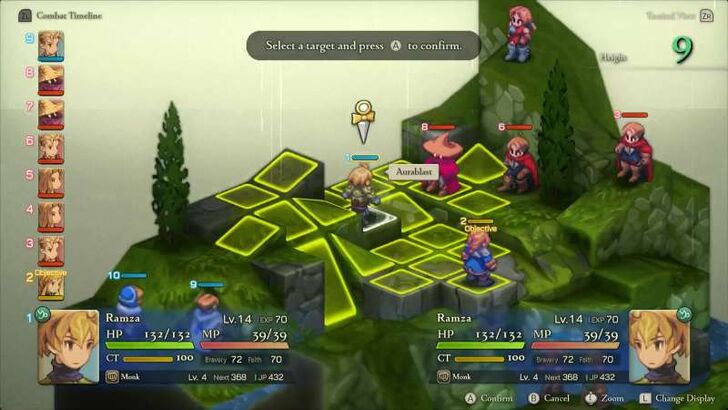 Deal With the Black Mages First Since it is raining, Thunder attacks are boosted, and this will most definitely be used against you by the Black Mages, should they be left unchecked. You can also use this to your advantage if your Knight has the Black Magick job command equipped and Thundara learned from the Black Mage job. |
| * | 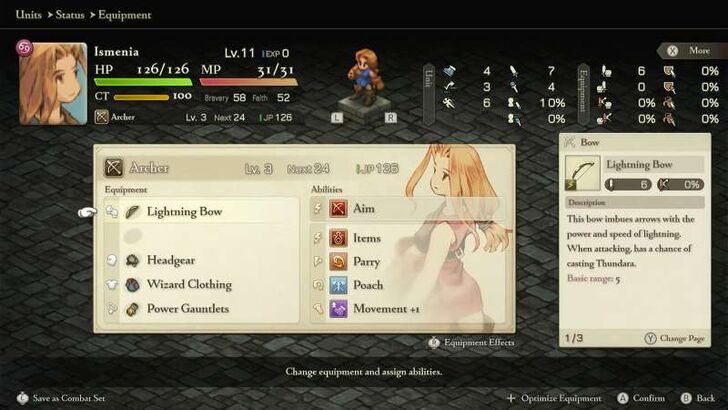 Coral Sword and Lightning Bow Since Thunder damage is boosted, it is best to have your Knight be equipped with a Coral Sword, this sword is imbued with the Thunder affinity and will inflict thunder damage. The Lightning Bow on the other hand, once equipped by your Archers, will have a chance to cast an additional Thundara, after their bow attacks. |
| 3 | 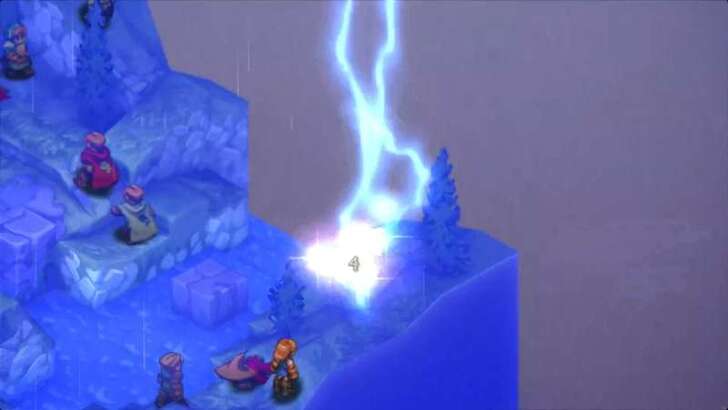 Attack the Remaining Enemies Agrias can actually stand on her own but she's still outnumbered, so have your first team close in to help her defeat the remaining enemies. Meanwhile your second team, the two Archers can actually hold the fort on their own, especially if they have the Lightning Bow equipped. Just make sure to prioritize killing the Black Mage on their side of the field first before the others. |
Chapter 2: The Manipulator and the Subservient Walkthrough
Battle 18: Balias Swale Buried Treasure Locations
Location and Treasures
| Location | Treasures |
|---|---|
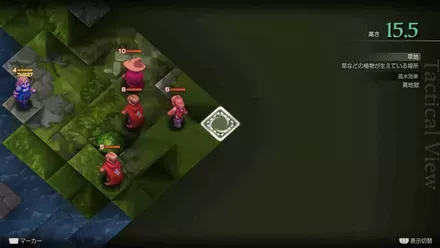 |
Common: Rare: |
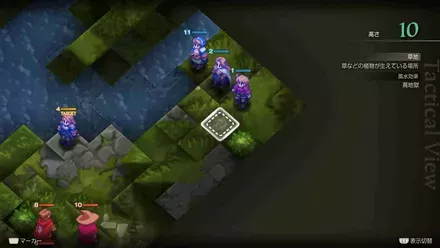 |
Common: Rare: |
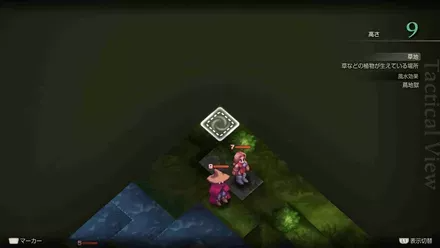 |
Common: Rare: |
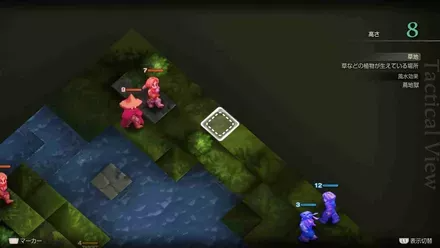 |
Common: Rare: |
All Hidden Items and Treasure Locations
Battle 18: Balias Swale Rewards
All Magick City of Gariland Spoils of War
| All Spoils of War |
|---|
|
・
|
Besides the treasures you can pick up during the fight, you’ll also receive Spoils of War once the battle ends. These are guaranteed rewards that drop after completing the objective, and always include Gil along with the items listed above.
Final Fantasy Tactics - The Ivalice Chronicles Related Guides

All Chapter Walkthroughs
| # | Chapter Title |
|---|---|
| 1 | The Meager |
| 2 | The Manipulative and the Subservient |
| 3 | The Valiant |
| 4 | In the Name of Love |
Chapter 1 Walkthrough
| # | Locations and Battles |
|---|---|
| 1 | Orbonne Monastery |
| 2 | Magick City of Gariland |
| 3 | Mandalia Plain |
| 4 | Siedge Weald |
| 5 | Dorter Slums |
| 6 | The Sand Rat's Sietch |
| 7 | Brigands' Den |
| 8 | Lenalian Plateau |
| 9 | Fovoham Windflats |
| 10 | Ziekden Fortress |
Chapter 2 Walkthrough
| # | Locations and Battles |
|---|---|
| 11 | Merchant City of Dorter |
| 12 | Araguay Woods |
| 13 | Zeirchele Falls |
| 14 | Castled City of Zaland |
| 15 | Balias Tor |
| 16 | Tchigolith Fenlands |
| 17 | Goug Lowtown |
| 18 | Balias Swale |
| 19 | Golgollada Gallows |
| 20 | Lionel Castle Gate |
| 21 | Lionel Castle Keep |
Chapter 3 Walkthrough
| # | Locations and Battles |
|---|---|
| 22 | Mining Town of Gollund |
| 23 | Lesalia Castle Postern |
| 24 | Monastery Vaults: Second Level |
| 25 | Monastery Vaults: Third Level |
| 26 | Monastery Vaults: First Level |
| 27 | Grogh Heights |
| 28 | Walled City of Yardrow |
| 29 | Yuguewood |
| 30 | Riovanes Castle Gate |
| 31 | Riovanes Castle Keep |
| 32 | Riovanes Castle Roof |
Chapter 4 Walkthrough
| # | Locations and Battles |
|---|---|
| 33 | Dugeura Pass |
| 34 | Free City of Bervenia |
| 35 | Finnath Creek |
| 36 | Outlying Church |
| 37 | Beddha Sandwaste |
| 38 A | Fort Besselat: South Wall |
| 38 B | Fort Besselat: North Wall |
| 39 | Fort Besselat Sluice |
| 40 | Mount Germinas |
| 41 | Lake Poescas |
| 42 | Limberry Castle Gate |
| 43 | Limberry Castle Keep |
| 44 | Limberry Castle Undercroft |
| 45 | Eagrose Castle Keep |
| 46 | Mullonde Cathedral |
| 47 | Mullonde Cathedral Nave |
| 48 | Mullonde Cathedral Sanctuary |
| 49 | Monastery Vaults: Fourth Level |
| 50 | Monastery Vaults: Fifth Level |
| 51 | Necrohol of Mullonde |
| 52 | Lost Halidom |
| 53 | Airship Graveyard |
| - | Mount Bervenia |
| - | Dorvauldar Marsh |
All Side Quest Locations
| # | Locations and Battles |
|---|---|
| 1 | Gollund Colliery Floor |
| 2 | Gollund Colliery Slope |
| 3 | Gollund Colliery Ridge |
| 4 | Gollund Coal Shaft |
| 5 | Nelveska Temple |
| 6 | Trade City of Sal Ghidos |
Comment
Author
Final Fantasy Tactics - The Ivalice Chronicles Walkthrough & Guides Wiki
Balias Swale Walkthrough (Battle 18)
Rankings
- We could not find the message board you were looking for.
Gaming News
Popular Games

Genshin Impact Walkthrough & Guides Wiki

Umamusume: Pretty Derby Walkthrough & Guides Wiki

Crimson Desert Walkthrough & Guides Wiki

Monster Hunter Stories 3: Twisted Reflection Walkthrough & Guides Wiki

Honkai: Star Rail Walkthrough & Guides Wiki

Pokemon Pokopia Walkthrough & Guides Wiki

The Seven Deadly Sins: Origin Walkthrough & Guides Wiki

Wuthering Waves Walkthrough & Guides Wiki

Zenless Zone Zero Walkthrough & Guides Wiki

Arknights: Endfield Walkthrough & Guides Wiki
Recommended Games

Fire Emblem Heroes (FEH) Walkthrough & Guides Wiki

Diablo 4: Vessel of Hatred Walkthrough & Guides Wiki

Cyberpunk 2077: Ultimate Edition Walkthrough & Guides Wiki

Yu-Gi-Oh! Master Duel Walkthrough & Guides Wiki

Super Smash Bros. Ultimate Walkthrough & Guides Wiki

Pokemon Brilliant Diamond and Shining Pearl (BDSP) Walkthrough & Guides Wiki

Elden Ring Shadow of the Erdtree Walkthrough & Guides Wiki

Monster Hunter World Walkthrough & Guides Wiki

The Legend of Zelda: Tears of the Kingdom Walkthrough & Guides Wiki

Persona 3 Reload Walkthrough & Guides Wiki
All rights reserved
© SQUARE ENIX
The copyrights of videos of games used in our content and other intellectual property rights belong to the provider of the game.
The contents we provide on this site were created personally by members of the Game8 editorial department.
We refuse the right to reuse or repost content taken without our permission such as data or images to other sites.



![Star Savior Review [First Impressions] | Engaging, Entertaining, and Expensive](https://img.game8.co/4447603/8f500e9bf666bdb8adb1af478e9dfdbd.png/show)


