Chapter 7: Into the Void Walkthrough, Interactive Map, and Collectibles
★ Update 1.04 is out on all platforms as of Feb. 3, 2023!
★ Check our Beginner's Guide for the best tips and tricks!
★ See all Bugs and Exploits for Dead Space!
★ Perform a ritual for a secret text log and more!
★ How to Unlock Master Override: All RIG Locations
┗Marker Locations | Master Override Doors
Into the Void is the seventh chapter of Dead Space Remake (2023)'s main story. Read on for a detailed walkthrough, list of rewards, tips for completion, an interactive map of Into the Void upgrades, schematics, and other collectibles, as well as other strategies!
| Previous Chapter | Next Chapter |
|---|---|
| Environmental Hazard | Search and Rescue |
List of Contents
Chapter 7: Into the Void Collectible Locations
Interactive Collectibles Map
Weapon and Upgrade Locations
| Weapon/Upgrade | Location |
|---|---|
 Level 4 Suit Level 4 Suit
|
The Intermediate Miner RIG schematic can be found on top of a desk located inside the Equipment Workshop of the Mining Deck. |
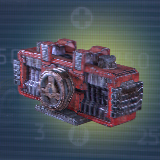 Contact Energy Contact Energy
|
Schematics found inside the locked room in Deck B: Processing in Chapter 7, across the Save Station. Look through the broken window to the right of the entrance and shoot the fuse box to unlock the door. |
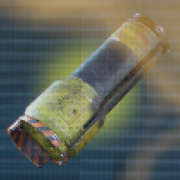 Macroliter Fuel Tank Macroliter Fuel Tank
|
Found on the floor of the Utility Room beneath the Equipment Maintenance Bay in Chapter 7. Requires turning on zero-gravity at the Circuit Breaker and Level 3 Security Clearance to access. |
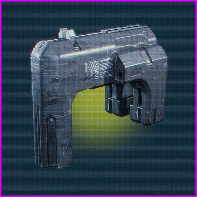 Diffraction Module Diffraction Module
|
Found inside the Tools Storage room of the Mining Deck, across the doorway to the RIG Room. Requires Master Override Security Clearance. |
 Marker Fragment 8 Marker Fragment 8
|
| Related Guides | ||
|---|---|---|
| All Schematic Locations | All Weapon Upgrade Locations | All Suit Upgrade Locations |
Log Locations
| Log | Event Trigger |
|---|---|
|
|
Found by interacting with a hidden mail terminal inside the Ore Storage room. |
|
|
Found on a table inside the Extraction Area. |
|
|
Found on a table inside the Mining Control room. |
|
|
Found inside Storage 02 of the Secure Storage area. |
|
|
Found inside Storage 02 of the Secure Storage area. |
|
|
Found by interacting with the mail terminal in Processing Deck B. |
|
|
Found inside the Mineral Processing Control room. |
|
|
Other Collectible Locations
| Collectible | Location |
|---|---|
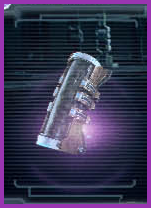 Dallas' RIG Dallas' RIG
|
The Mining Supervisor's RIG will be inside the Mineral Processing Control Room accessible after clearing the hazardous material in the disentrigator. |
 Marker Fragment 8 Marker Fragment 8
|
You Are Not Authorized Side Mission Guide: All RIG Locations
Chapter 7: Into the Void Walkthrough
Into the Void Summary
| 1 | Go to the Mining Deck. |
|---|---|
| 2 | Find the S.O.S Beacon. |
| 3 | Plant the Beacon. |
| 4 | Destroy the Gravity Tethers. |
| 5 | Launch the Asteroid |
| 6 | Go to the Bridge. |
Into the Void Detailed Walkthrough
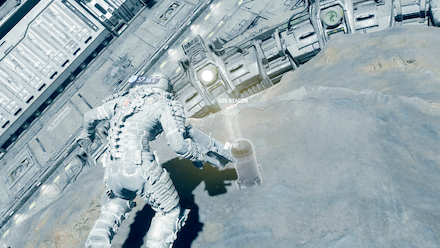
 After descending, use Kinesis to move blocks in the way of the lasers, clearing a path for you to pass through. Go outside and kill the monsters, then place the battery into the socket. Go back inside and go up the elevator, then attempt to activate the launch tubes. |
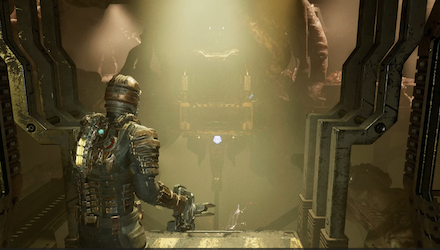
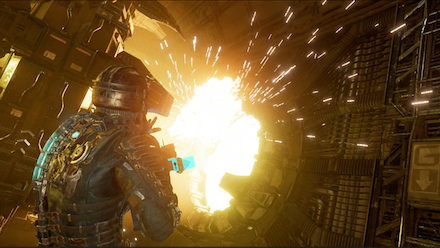 Activate to the panel to restore gravity, but be warned as this will summon hordes of enemies, including Exploders coming from both sides of a narrow walkway – a recipe for disaster. Prepare your weapon, stay in position, and snipe the Exploders' sacs and other enemies' legs from a distance. Then, carefully continue around the walkway, as enemies will continue to jump out of the walls and ambush you, until you make it to the next room where you'll find the Admin RIG, and the coveted Level 3 Security Clearance. |
 |
 |
In the hallway ahead, you'll need to survive from Exploders which suddenly appear from around corners, so keep your distance! Make it through and you'll be done with chapter 7. |
Chapter 7: Into the Void Tips and Strategies
Be Wary of Corpses in Elevators and Hallways
If you see a bunch of dead bodies lying around, they will probably turn into Necromorphs when you least expect them to. You can save ammo by stomping on them to dismember their limbs.
Save up for the Level 4 RIG
The Level 4 Suit Schematics can be found in the same area where you find the S.O.S Beacon. Upgrading to the Level 4 Suit is a whopping 35000 credits, be sure to save up on those semiconductors you'll find along the way.
Chapter 7: Into the Void Enemies Encountered
| List of Necromorphs | |
|---|---|
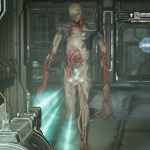 Divider Divider
|
Weak Spots: None Specific
Weaknesses: Stasis, Explosives |
 Exploder Exploder
|
Weak Spots: Left Arm Sac
Weaknesses: None |
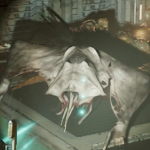 Infector Infector
|
Weak Spots: None Specific
Weaknesses: Stasis |
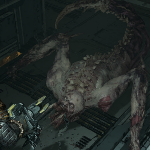 Leaper Leaper
|
Weak Spots: Limbs
Weaknesses: Stasis |
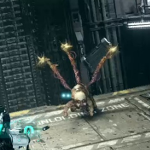 Lurker Lurker
|
Weak Spots: Tentacles
Weaknesses: None |
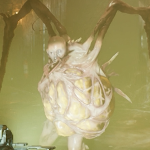 Pregnants Pregnants
|
Weak Spots: Limbs
Weaknesses: Stasis |
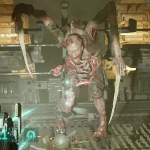 Slasher Slasher
|
Weak Spots: Limbs
Weaknesses: None |
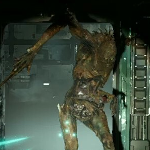 Super-Slasher Super-Slasher
|
Weak Spots: Limbs
Weaknesses: None |
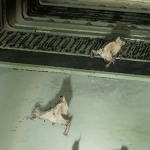 Swarmers Swarmers
|
Weak Spots: None Specific
Weaknesses: Stasis, Explosives, Fire |
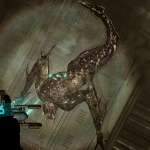 Super-Leaper Super-Leaper
|
Weak Spots: Limbs
Weaknesses: Stasis |
Dead Space Remake Related Guides

Full Story Walkthrough: All Chapters
Main Missions
| All Story Chapters |
 New Arrivals New Arrivals (Chapter 1) |
 Intensive Care Intensive Care (Chapter 2) |
|---|---|
 Course Correction Course Correction (Chapter 3) |
 Obliteration Imminent Obliteration Imminent (Chapter 4) |
 Lethal Devotion Lethal Devotion (Chapter 5) |
 Environmental Hazard Environmental Hazard (Chapter 6) |
 Into the Void Into the Void (Chapter 7) |
 Search and Rescue Search and Rescue (Chapter 8) |
 Dead on Arrival Dead on Arrival (Chapter 9) |
 End of Days End of Days (Chapter 10) |
 Alternate Solutions Alternate Solutions (Chapter 11) |
 Dead Space Dead Space (Chapter 12) |
Author
Chapter 7: Into the Void Walkthrough, Interactive Map, and Collectibles
improvement survey
03/2026
improving Game8's site?

Your answers will help us to improve our website.
Note: Please be sure not to enter any kind of personal information into your response.

We hope you continue to make use of Game8.
Rankings
- We could not find the message board you were looking for.
Gaming News
Popular Games

Genshin Impact Walkthrough & Guides Wiki

Honkai: Star Rail Walkthrough & Guides Wiki

Umamusume: Pretty Derby Walkthrough & Guides Wiki

Pokemon Pokopia Walkthrough & Guides Wiki

Resident Evil Requiem (RE9) Walkthrough & Guides Wiki

Monster Hunter Wilds Walkthrough & Guides Wiki

Wuthering Waves Walkthrough & Guides Wiki

Arknights: Endfield Walkthrough & Guides Wiki

Pokemon FireRed and LeafGreen (FRLG) Walkthrough & Guides Wiki

Pokemon TCG Pocket (PTCGP) Strategies & Guides Wiki
Recommended Games

Diablo 4: Vessel of Hatred Walkthrough & Guides Wiki

Fire Emblem Heroes (FEH) Walkthrough & Guides Wiki

Yu-Gi-Oh! Master Duel Walkthrough & Guides Wiki

Super Smash Bros. Ultimate Walkthrough & Guides Wiki

Pokemon Brilliant Diamond and Shining Pearl (BDSP) Walkthrough & Guides Wiki

Elden Ring Shadow of the Erdtree Walkthrough & Guides Wiki

Monster Hunter World Walkthrough & Guides Wiki

The Legend of Zelda: Tears of the Kingdom Walkthrough & Guides Wiki

Persona 3 Reload Walkthrough & Guides Wiki

Cyberpunk 2077: Ultimate Edition Walkthrough & Guides Wiki
All rights reserved
© 2023 Electronic Arts Inc.
The copyrights of videos of games used in our content and other intellectual property rights belong to the provider of the game.
The contents we provide on this site were created personally by members of the Game8 editorial department.
We refuse the right to reuse or repost content taken without our permission such as data or images to other sites.


![Monster Hunter Stories 3 Review [First Impressions] | Simply Rejuvenating](https://img.game8.co/4438641/2a31b7702bd70e78ec8efd24661dacda.jpeg/thumb)


