Chapter 2: Intensive Care Walkthrough, Interactive Map, and Collectibles
★ Update 1.04 is out on all platforms as of Feb. 3, 2023!
★ Check our Beginner's Guide for the best tips and tricks!
★ See all Bugs and Exploits for Dead Space!
★ Perform a ritual for a secret text log and more!
★ How to Unlock Master Override: All RIG Locations
┗Marker Locations | Master Override Doors
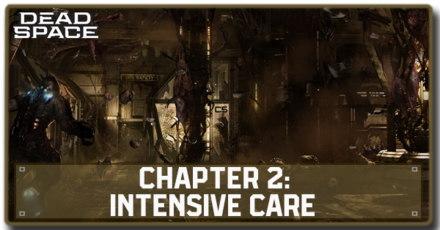
Intensive Care is the second chapter of Dead Space Remake (2023)'s main story. Read on for a detailed walkthrough, list of rewards, tips for completion, an interactive map of Intensive Care weapons, upgrades, and logs, as well as other strategies!
| Previous Chapter | Next Chapter |
|---|---|
| New Arrivals | Course Correction |
List of Contents
Chapter 2: Intensive Care Collectible Locations
Interactive Collectibles Map
Weapon and Upgrade Locations
| Weapon/Upgrade | Location |
|---|---|
 Line Gun Line Gun
|
Found inside the Emergency Equipment Storage at the Medical Deck. |
 Pulse Rifle Pulse Rifle
|
Dropped by a dying security officer once you reach the Tram Station in the Medical Deck. |
 Kinesis Module Kinesis Module
|
Found on top of a crate as you enter the Medical Cargo Depot at the start of Chapter 2. |
 Stasis Pack Stasis Pack
|
Schematic found in the Main Lab Changing Room in Chapter 2, after clearing the quarantine. |
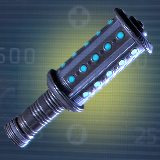 Pulse Rounds Pulse Rounds
|
Schematic found inside the Coolant Pipelines room in Chapter 2, to your immediate left after leaving the oxygenless area. |
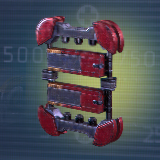 Line Racks Line Racks
|
Schematic found inside the Dr. B. Warwick - CPO room in the hallway leading to Zero-G Therapy in Chapter 5. Requires Security Clearance Level 2. |
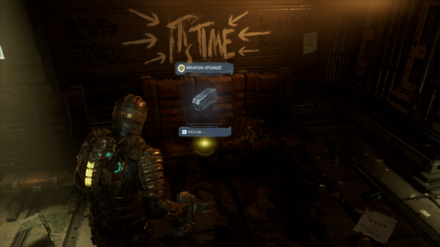 Cartridge Rack Cartridge Rack
|
Found inside the Ishimura Clinic in Chapter 2, on top of the seats on the left side of the room. |
 Portable Heliotron Portable Heliotron
|
Found inside the Bioprosthetics Locker Room past the Main Lab Changing Room in Medical. Requires Security Clearance Level 3. |
 Photon Energizer Photon Energizer
|
Found inside the Lab Storage room near Cryogenics in Medical. Requires Security Clearance Level 3. |
 Marker Fragment 2 Marker Fragment 2
|
|
 Marker Fragment 5 Marker Fragment 5
|
|
 Marker Fragment 6 Marker Fragment 6
|
| Related Guides | |
|---|---|
| All Weapon Locations | All Weapon Upgrade Locations |
Log Locations
| Log | Event Trigger |
|---|---|
|
|
Found on top of a surgical bed inside the Medical Deck Observation Room. |
|
|
Found in a bathroom cubicle at the lower level of the Medical Deck’s Main Lab. |
|
|
Found on top of a table inside Dr. T. Kyne’s Office. |
|
|
Found on the desk inside Dr. Nicole Brennan’s Office in the Main Lab of the Medical Deck. |
|
|
Found on a shelf inside Dr. Nicole Brennan’s Office in the Main Lab of the Medical Deck. |
|
|
Found on a desk inside the Biological Prosthetics Center of the Medical Deck. |
|
|
Found on one of the medical beds inside the Emergency Room. |
|
|
Found on an operating table hidden behind the shower in the Emergency Room. |
|
|
Found by interacting with the mail terminal just beside the door to the Intensive Care Unit in ER Hallway B. |
|
|
Found at the end of ER Hallway B, just beside the O2 station. |
|
|
Found on a desk inside the Morgue. |
|
|
Found on a desk inside the Consultation Room of the Imaging Diagnostics Room. |
|
|
Found on a desk inside the Medical Deck Observation Room. |
|
|
Found in the ER Hallway A, just in front of the room that needs a Leve 2 Security Clearance. |
|
|
Found at the end of ER Hallway B, on a gurney near the O2 Station. |
|
|
Found on a desk in the Intensive Care Unit. |
|
|
Found inside Dr. Challus Mercer’s Office. |
|
|
Triggers after you pick up the Hunter’s tissue sample in Cryogenics. |
|
|
|
|
|
|
|
|
Chapter 2: Intensive Care Walkthrough
Intensive Care Summary
| 1 | Get to the Medical Deck. |
|---|---|
| 2 | Find a Hydrazine Tank and Shock Pad. |
| 3 | Destroy the Barricade. |
| 4 | Find the Captain's Body. |
| 5 | Kill the Captain and Acquire the RIG. |
| 6 | Go to Engineering. |
Intensive Care Detailed Walkthrough
| Objectives | |
|---|---|
| 1 | 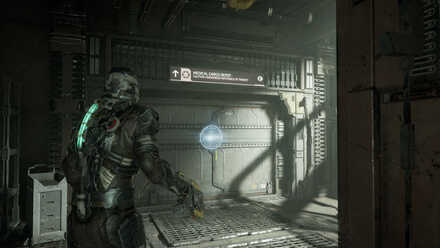 |
| 2 | 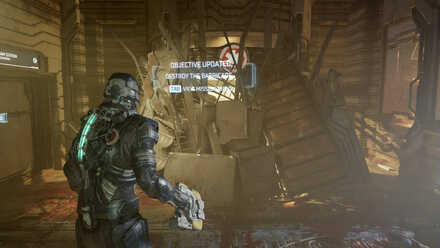 Hydrazine Tank Location: Zero-G Therapy Shock Pad Location: Limb Stimulation Therapy |
| 3 | 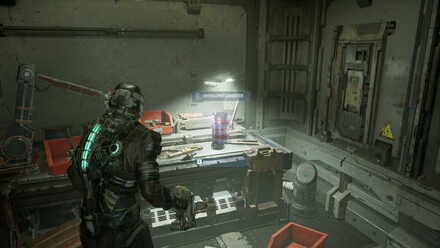 Once you enter a vacuum, run straight to the other side as your oxygen runs out. When you enter the Zero-G area, fly straight to the door on the other side and grab the Hydrazine Tank in the adjacent room. Get back to the Security Station. |
| 4 | 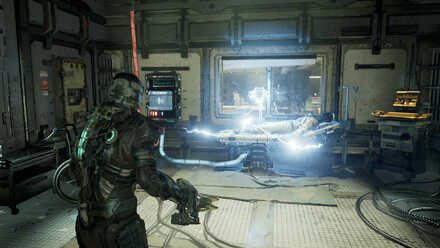 Head to Biological Prostethics Center and deal with the Lurkers inside. Get the text log from the table and proceed to the elevator then head to Limb Stimulation Therapy just past Sanitary Showers. Interact with the Circuit Breaker to reroute power away from the Shock Pad and remove it from the patient. Get back to the Security Station ►Scientific Methods Side Mission Guide |
| 5 | 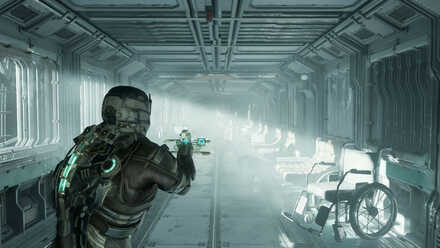 The Morgue is just past the ICU. Run towards the other side of the hall and grab the Power Cell to open the elevator to the Morgue. Head inside the Autopsy Room to get the RIG from the Captain's body. |
| 6 | 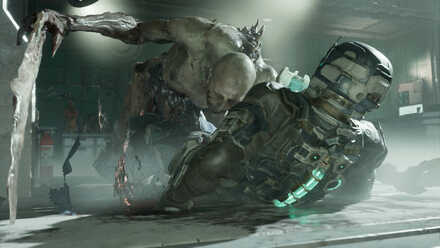 |
| 7 | 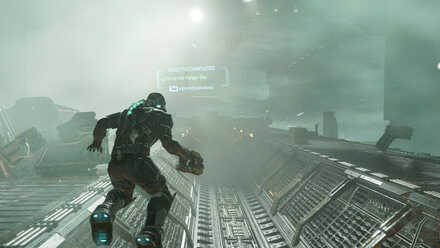 |
Chapter 2: Intensive Care Tips and Strategies
Upgrade to Level 2 RIG as soon as possible
It is recommended that you do not buy any other type of weapon until you secure your Level 2 RIG. There will always be ammo or med packs lying around the Ishimura, upgrading your RIG should be a top priority as it offers more resistance the further your upgrade it. You should also start upgrading the Air and HP capacity of your RIG whenever you can.
Invest in Your Plasma Cutter
Your Plasma Cutter alone is a pretty decent enough weapon against Necromorphs. We highly recommend using most of the power nodes you find or buy on this weapon.
Focus on Infectors First
The Infector turns nearby corpses into Slasher Necromorph. While it makes sense to focus on the current Necromorph in front of you, it is better to deal with the Infector before it has the chance to turn the other corspes into Necromorphs.
Use Your Kinesis Module to Save Ammo
The Kinesis Module has unlimited “ammo”, so to speak, in the sense that if you are running low on weapon ammo, you can use Kinesis on a number of things lying around the Ishimura. These can range from explosive crates, stasis crates, fire extinguishers, even torn Necromorph limbs!
Approach Shock Pad with Caution
When you see the Shock Pad in the Limb Simulation Therapy Room, approach with caution. Reroute power away from it before attempting to get the Shock Pad. Failure to do so will result in Isaac getting electrocuted and possibly dying.
Chapter 2: Intensive Care Enemies Encountered
| List of Necromorphs | |
|---|---|
 Infector Infector
|
Weak Spots: None Specific
Weaknesses: Stasis |
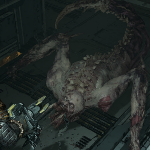 Leaper Leaper
|
Weak Spots: Limbs
Weaknesses: Stasis |
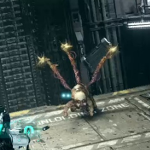 Lurker Lurker
|
Weak Spots: Tentacles
Weaknesses: None |
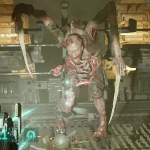 Slasher Slasher
|
Weak Spots: Limbs
Weaknesses: None |
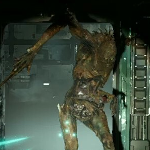 Super-Slasher Super-Slasher
|
Weak Spots: Limbs
Weaknesses: None |
 Swarmers Swarmers
|
Weak Spots: None Specific
Weaknesses: Stasis, Explosives, Fire |
Dead Space Remake Related Guides

Full Story Walkthrough: All Chapters
Main Missions
| All Story Chapters |
 New Arrivals New Arrivals (Chapter 1) |
 Intensive Care Intensive Care (Chapter 2) |
|---|---|
 Course Correction Course Correction (Chapter 3) |
 Obliteration Imminent Obliteration Imminent (Chapter 4) |
 Lethal Devotion Lethal Devotion (Chapter 5) |
 Environmental Hazard Environmental Hazard (Chapter 6) |
 Into the Void Into the Void (Chapter 7) |
 Search and Rescue Search and Rescue (Chapter 8) |
 Dead on Arrival Dead on Arrival (Chapter 9) |
 End of Days End of Days (Chapter 10) |
 Alternate Solutions Alternate Solutions (Chapter 11) |
 Dead Space Dead Space (Chapter 12) |
Author
Chapter 2: Intensive Care Walkthrough, Interactive Map, and Collectibles
improvement survey
03/2026
improving Game8's site?

Your answers will help us to improve our website.
Note: Please be sure not to enter any kind of personal information into your response.

We hope you continue to make use of Game8.
Rankings
- We could not find the message board you were looking for.
Gaming News
Popular Games

Genshin Impact Walkthrough & Guides Wiki

Honkai: Star Rail Walkthrough & Guides Wiki

Umamusume: Pretty Derby Walkthrough & Guides Wiki

Pokemon Pokopia Walkthrough & Guides Wiki

Resident Evil Requiem (RE9) Walkthrough & Guides Wiki

Monster Hunter Wilds Walkthrough & Guides Wiki

Wuthering Waves Walkthrough & Guides Wiki

Arknights: Endfield Walkthrough & Guides Wiki

Pokemon FireRed and LeafGreen (FRLG) Walkthrough & Guides Wiki

Pokemon TCG Pocket (PTCGP) Strategies & Guides Wiki
Recommended Games

Diablo 4: Vessel of Hatred Walkthrough & Guides Wiki

Fire Emblem Heroes (FEH) Walkthrough & Guides Wiki

Yu-Gi-Oh! Master Duel Walkthrough & Guides Wiki

Super Smash Bros. Ultimate Walkthrough & Guides Wiki

Pokemon Brilliant Diamond and Shining Pearl (BDSP) Walkthrough & Guides Wiki

Elden Ring Shadow of the Erdtree Walkthrough & Guides Wiki

Monster Hunter World Walkthrough & Guides Wiki

The Legend of Zelda: Tears of the Kingdom Walkthrough & Guides Wiki

Persona 3 Reload Walkthrough & Guides Wiki

Cyberpunk 2077: Ultimate Edition Walkthrough & Guides Wiki
All rights reserved
© 2023 Electronic Arts Inc.
The copyrights of videos of games used in our content and other intellectual property rights belong to the provider of the game.
The contents we provide on this site were created personally by members of the Game8 editorial department.
We refuse the right to reuse or repost content taken without our permission such as data or images to other sites.


![Monster Hunter Stories 3 Review [First Impressions] | Simply Rejuvenating](https://img.game8.co/4438641/2a31b7702bd70e78ec8efd24661dacda.jpeg/thumb)


