Chapter 12: Dead Space Walkthrough, Interactive Map, and Collectibles
★ Update 1.04 is out on all platforms as of Feb. 3, 2023!
★ Check our Beginner's Guide for the best tips and tricks!
★ See all Bugs and Exploits for Dead Space!
★ Perform a ritual for a secret text log and more!
★ How to Unlock Master Override: All RIG Locations
┗Marker Locations | Master Override Doors
Dead Space is the final chapter of Dead Space Remake (2023)'s main story. Read on for a detailed walkthrough, list of rewards, tips for completion, an interactive map of Dead Space Log Locations, as well as other strategies!
| Previous Chapter | Next Chapter |
|---|---|
| Alternate Solutions | - |
List of Contents
Chapter 12: Dead Space Collectible Locations
Interactive Collectibles Map
Log Locations
| Log | Event Trigger |
|---|---|
|
|
Found inside the Living Quarters on the surface of Aegis VII. |
|
|
Found inside the Landing Pad Atrium, under a hanging corpse. |
|
|
Found in the Excavation Site, underneath the last corrupted mass you destroy to clear the area. |
Chapter 12: Dead Space Walkthrough
Dead Space Summary
| 1 | Transfer the Marker Through Junction. |
|---|---|
| 2 | Restore Power to Junction. |
| 3 | Transfer the Marker through Storage Chamber. |
| 4 | Return the Marker to the Pedestal. |
| 5 | Kill the Hive Mind. |
Dead Space Detailed Walkthrough
| Objectives | |
|---|---|
| 1 | 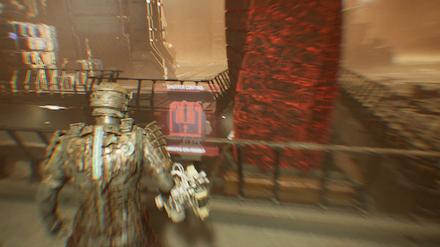 |
| 2 | 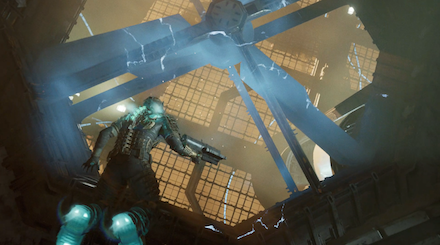 |
| 3 | 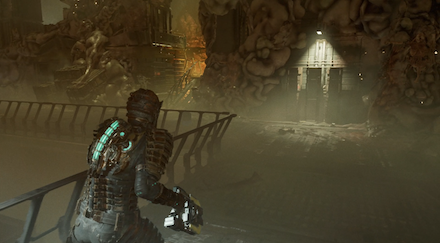 |
| 4 | 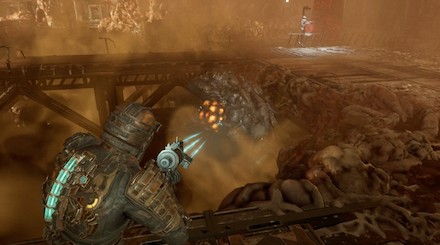 |
| 5 | 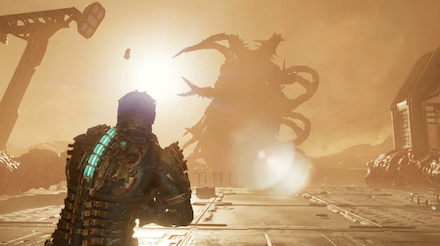 After the cutscene, go through the door behind you and advance. Gather up on ammo here, and spend everything you've got at the Store and Bench, because this next fight is the end of the game. |
Hive Mind Walkthrough
| Objectives | |
|---|---|
| 1 | 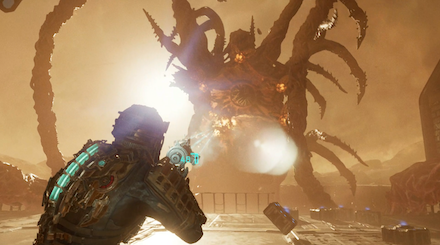 |
| 2 | 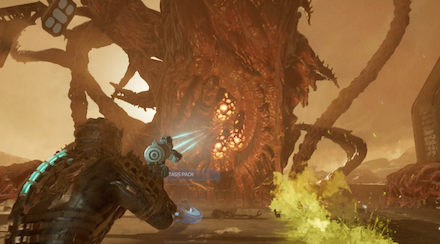 |
| 3 | 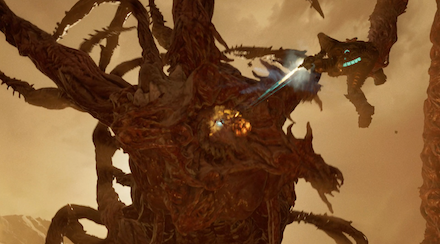 |
Chapter 12: Dead Space Tips and Strategies
Use the Pulse Rifle on the Hive Mind
The Hive Mind's weak spots are vulnerable to the high rate of fire and concentrated area of the Pulse Rifle, and as there's no limbs to sever, you can simply fill it with Pulse Rifle lead whenever it shows a weak spot. Use your other ammo whenever enemies spawn during the battle, and save your Pulse Rifle ammo for the Hive Mind itself.
Kill Infectors Immediately
When you first arrive at the colony, you will find dead bodies inside the Living Space area. When you open the door to the Gravity Tether Computer Room, there will be 2 Infectors inside. If you don't kill them immediately, they will have a chance to turn the corpses into Super-Slashers.
Always be on the Move
With a larger space to run around in, it is highly recommended that you are constantly moving so that you are not a sitting duck waiting to be targeted by ranged Necromorphs such as the Guardian's Pod babies and Lurkers.
Use Stasis on the Brute
Don't worry about using up all your Stasis charges in the Gravity Control Room where you face the 2 Guardians. There are multiple Stasis Recharge points so you can still charge up while you fire at the Brute from a safe distance.
Chapter 12: Dead Space Enemies Encountered
| List of Necromorphs | |
|---|---|
 Divider Divider
|
Weak Spots: None Specific
Weaknesses: Stasis, Explosives |
 Exploder Exploder
|
Weak Spots: Left Arm Sac
Weaknesses: None |
 Guardian Guardian
|
Weak Spots: Tentacles
Weaknesses: Explosives |
 Hive Mind Hive Mind
|
Weak Spots: Yellow Sacs
Weaknesses: None |
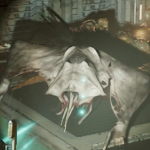 Infector Infector
|
Weak Spots: None Specific
Weaknesses: Stasis |
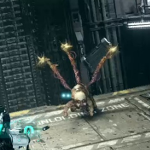 Lurker Lurker
|
Weak Spots: Tentacles
Weaknesses: None |
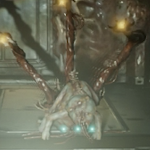 Super-Lurker Super-Lurker
|
Weak Spots: Tentacles
Weaknesses: Stasis |
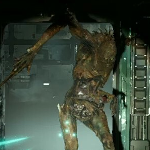 Super-Slasher Super-Slasher
|
Weak Spots: Limbs
Weaknesses: None |
 Tentacle Tentacle
|
Weak Spots: Yellow Sacs
Weaknesses: None |
 Twitcher Twitcher
|
Weak Spots: Limbs, Chest (Stasis Module)
Weaknesses: None |
 Super-Leaper Super-Leaper
|
Weak Spots: Limbs
Weaknesses: Stasis |
 Super-Brute Super-Brute
|
Weak Spots: Yellow Sac, Back
Weaknesses: Stasis, Explosives |
Dead Space Remake Related Guides

Full Story Walkthrough: All Chapters
Main Missions
| All Story Chapters |
 New Arrivals New Arrivals (Chapter 1) |
 Intensive Care Intensive Care (Chapter 2) |
|---|---|
 Course Correction Course Correction (Chapter 3) |
 Obliteration Imminent Obliteration Imminent (Chapter 4) |
 Lethal Devotion Lethal Devotion (Chapter 5) |
 Environmental Hazard Environmental Hazard (Chapter 6) |
 Into the Void Into the Void (Chapter 7) |
 Search and Rescue Search and Rescue (Chapter 8) |
 Dead on Arrival Dead on Arrival (Chapter 9) |
 End of Days End of Days (Chapter 10) |
 Alternate Solutions Alternate Solutions (Chapter 11) |
 Dead Space Dead Space (Chapter 12) |
Author
Chapter 12: Dead Space Walkthrough, Interactive Map, and Collectibles
improvement survey
03/2026
improving Game8's site?

Your answers will help us to improve our website.
Note: Please be sure not to enter any kind of personal information into your response.

We hope you continue to make use of Game8.
Rankings
- We could not find the message board you were looking for.
Gaming News
Popular Games

Genshin Impact Walkthrough & Guides Wiki

Honkai: Star Rail Walkthrough & Guides Wiki

Umamusume: Pretty Derby Walkthrough & Guides Wiki

Pokemon Pokopia Walkthrough & Guides Wiki

Resident Evil Requiem (RE9) Walkthrough & Guides Wiki

Monster Hunter Wilds Walkthrough & Guides Wiki

Wuthering Waves Walkthrough & Guides Wiki

Arknights: Endfield Walkthrough & Guides Wiki

Pokemon FireRed and LeafGreen (FRLG) Walkthrough & Guides Wiki

Pokemon TCG Pocket (PTCGP) Strategies & Guides Wiki
Recommended Games

Diablo 4: Vessel of Hatred Walkthrough & Guides Wiki

Fire Emblem Heroes (FEH) Walkthrough & Guides Wiki

Yu-Gi-Oh! Master Duel Walkthrough & Guides Wiki

Super Smash Bros. Ultimate Walkthrough & Guides Wiki

Pokemon Brilliant Diamond and Shining Pearl (BDSP) Walkthrough & Guides Wiki

Elden Ring Shadow of the Erdtree Walkthrough & Guides Wiki

Monster Hunter World Walkthrough & Guides Wiki

The Legend of Zelda: Tears of the Kingdom Walkthrough & Guides Wiki

Persona 3 Reload Walkthrough & Guides Wiki

Cyberpunk 2077: Ultimate Edition Walkthrough & Guides Wiki
All rights reserved
© 2023 Electronic Arts Inc.
The copyrights of videos of games used in our content and other intellectual property rights belong to the provider of the game.
The contents we provide on this site were created personally by members of the Game8 editorial department.
We refuse the right to reuse or repost content taken without our permission such as data or images to other sites.





![Monster Hunter Stories 3 Review [First Impressions] | Simply Rejuvenating](https://img.game8.co/4438641/2a31b7702bd70e78ec8efd24661dacda.jpeg/thumb)


