Chapter 6: Environmental Hazard Walkthrough, Wheezer Locations, and Interactive Map
★ Update 1.04 is out on all platforms as of Feb. 3, 2023!
★ Check our Beginner's Guide for the best tips and tricks!
★ See all Bugs and Exploits for Dead Space!
★ Perform a ritual for a secret text log and more!
★ How to Unlock Master Override: All RIG Locations
┗Marker Locations | Master Override Doors
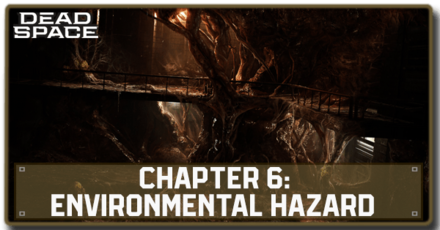
Environmental Hazard is the sixth chapter of Dead Space Remake (2023)'s main story. Read on for a detailed walkthrough, list of rewards, tips for completion, where to find all the Wheezers, an interactive map for all Environmental Hazard weapon and upgrades, logs, and side mission collectibles, as well as other strategies!
| Previous Chapter | Next Chapter |
|---|---|
| Lethal Devotion | Into the Void |
List of Contents
Chapter 6: Environmental Hazard Collectible Locations
Interactive Collectibles Map
Weapon and Upgrade Locations
| Weapon/Upgrade | Location |
|---|---|
 Force Gun Force Gun
|
Found inside the West Seedling Room A by unlocking it with a Level 2 Clearance. |
 Force Energy Force Energy
|
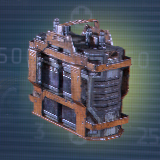
Schematics found inside the Air Filtration Tower in Chapter 6, in a small room between the first and second electricity turbines. |
 Angled Launcher Angled Launcher
|
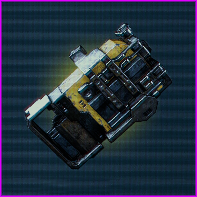
Found inside the B. Andonov - Flow Supervisor room inside of Flow Control in Chapter 6. |
 Prototype Stasis Module Prototype Stasis Module
|
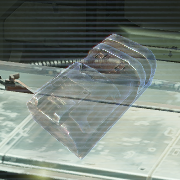
Found on top of a workbench, inside the Diagnostic Lab of the Hydroponics Deck. Room can only be accessed if you progressed the Premeditated Malpractice Side Mission. |
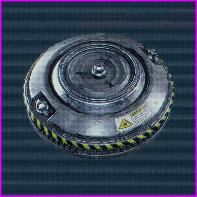 Precision Lasers Precision Lasers
|
Found inside a locked chest in the room between the Hydroponics Central Hub and Mining Tram Station. Requires Master Override Security Clearance. |
 Marker Fragment 7 Marker Fragment 7
|
| Related Guides | |
|---|---|
| All Weapon Locations | All Weapon Upgrade Locations |
Log Locations
| Log | Event Trigger |
|---|---|
|
|
Found on a seat in the Hydroponics Tram Station. |
|
|
Found by interacting with the mail terminal at the ground floor of the West Grow Chamber. |
|
|
Found inside the Annex Control Room. |
|
|
Found at the highest level of the East Grow Chamber (accessible via zero-g only). |
|
|
Found inside Elizabeth Cross’s Office where Wheezer 02 is. |
|
|
Found inside the Diagnostic Lab in Hydroponics. |
|
|
Other Collectible Locations
| Collectible | Location |
|---|---|
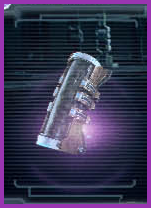 Holt's RIG Holt's RIG
|
Use the Circuit Breaker to open a door on the 2nd floor of Hydroponics. Get to the East Grow Chamber. Shoot the Yellow Sacs that are generating the large masses of Necromorph tissue. The RIG will be underneath those. |
 Marker Fragment 7 Marker Fragment 7
|
You Are Not Authorized Side Mission Guide: All RIG Locations
Chapter 6: Environmental Hazard Walkthrough and Wheezer Locations
Environmental Hazard Summary
| 1 | Go to Tram Maintenance. |
|---|---|
| 2 | Go to Hydroponics. |
| 3 | Create the Enzyme. |
| 4 | Inject Wheezers. |
| 5 | Kill the Leviathan. |
Entering Hydroponics Walkthrough
| Objectives | |
|---|---|
| 1 |
|
| 2 |
|
| 3 |
|
| 4 |
Continue ahead until you reach the West Grow Chamber, where the first four Wheezers are, but be careful as there are plenty of monsters in this large room, and each time you enter and exit a door here, more will appear. |
Finding the Wheezers Walkthrough
| Objectives | |
|---|---|
| 1 |
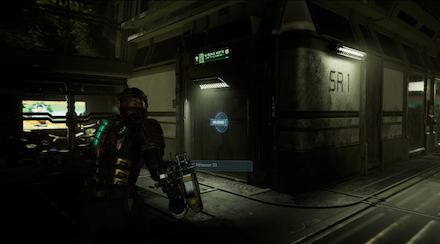 |
| 2 |
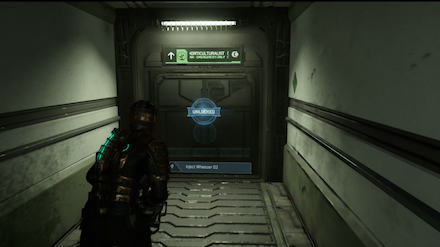 |
| 3 |
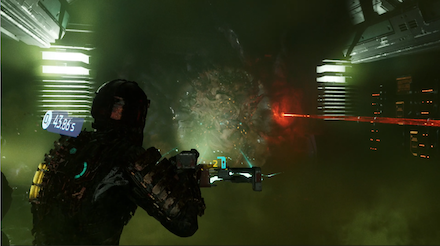 |
| 4 |
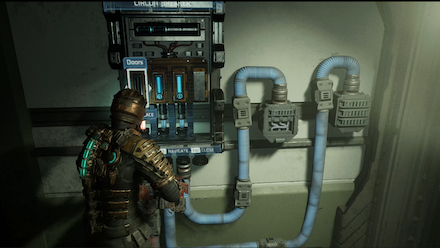 After entering the East Grow Chamber, you can get Holt's Rig as explained below. |
| 5 |
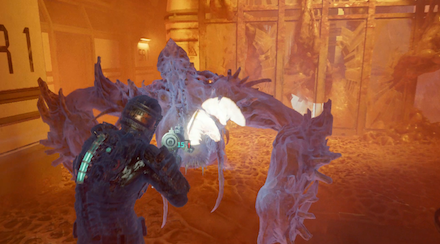 |
| 6 |
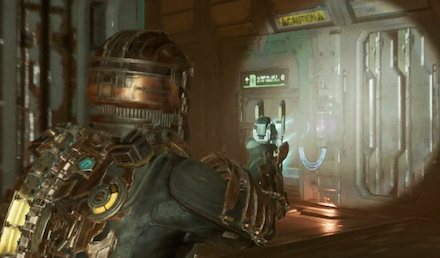
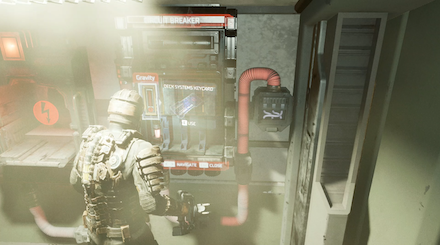 If using a keyboard, the button onscreen to use the Deck Systems Keyword will read E, but really you must press Enter! |
| 7 |
 |
| 8 |
 |
Fighting the Leviathan Walkthrough
| Objectives | |
|---|---|
| 1 | Now that the Wheezers are finally done for, we're almost out of Chapter 6, but there's one big obstacle in our way. Back in the Hydroponics Central Hub, continue toward Food Storage and activate the Airlock Control. The next room is the boss room; grab all the goodies floating around you can before you enter the room, because once you disembark, the battle begins. |
| 2 |
|
| 3 |
 |
| 4 |
|
Chapter 6: Environmental Hazard Tips and Strategies
Get Holt's Rig
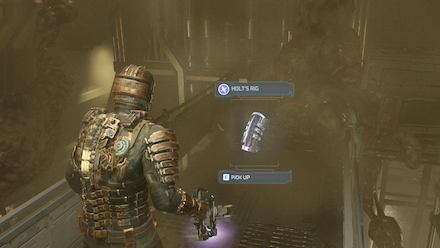
On first entering the East Grow Chamber via the West Grow Chamber (after Wheezer #4 in the steps above), turn left to find a yellow bulge you can shoot. After it deflates, another will appear more nearby, so shoot it as well. This will open up a path to the Holt's Rig collectible.
Holt's Rig is one of the collectibles needed to unlock Master Override, making new doors around the map accessible, as part of the You Are Not Authorized side mission.
List of Side Missions and How to Unlock
Use Explosives on the Guardian's Stomach
When you fight the Guardian, maintain your distance and use the explosive canister carefully, as hitting its vulnerable stomach can kill a Guardian in one hit. It won't be effective unless the Guardian has its stomach clearly exposed, so take your time to get in a clear strike.
Aim For the Leviathan's Tentacles
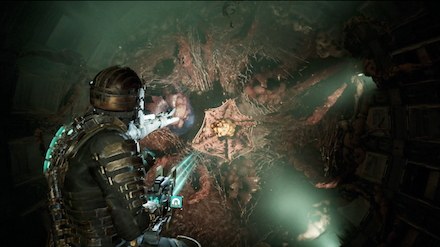
Much like the Tentacle which appeared in earlier chapters, the Leviathan's tentacles has the same weakness, a bulging yellow tissue that connects it to the main body.
Use Explosives and the Pulse Rifle on the Leviathan
There will be some explosive cannisters in the Zero Gravity area. Use them to conserve ammo. It is highly recommended that you have the Pulse Rifle equipped due to its singular concentrated rounds and high magazine capacity.
Chapter 6: Environmental Hazard Enemies Encountered
| List of Necromorphs | |
|---|---|
 Brute Brute
|
Weak Spots: Yellow Sac, Back
Weaknesses: Stasis, Explosives |
 Exploder Exploder
|
Weak Spots: Left Arm Sac
Weaknesses: None |
 Guardian Guardian
|
Weak Spots: Tentacles
Weaknesses: Explosives |
 Leviathan Leviathan
|
Weak Spots: Tentacles, Mouth
Weaknesses: Explosives, Kinesis |
 Lurker Lurker
|
Weak Spots: Tentacles
Weaknesses: None |
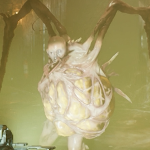 Pregnants Pregnants
|
Weak Spots: Limbs
Weaknesses: Stasis |
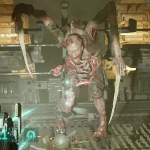 Slasher Slasher
|
Weak Spots: Limbs
Weaknesses: None |
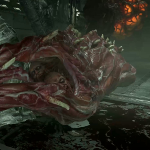 Tentacle Tentacle
|
Weak Spots: Yellow Sacs
Weaknesses: None |
Dead Space Remake Related Guides

Full Story Walkthrough: All Chapters
Main Missions
| All Story Chapters |
 New Arrivals New Arrivals (Chapter 1) |
 Intensive Care Intensive Care (Chapter 2) |
|---|---|
 Course Correction Course Correction (Chapter 3) |
 Obliteration Imminent Obliteration Imminent (Chapter 4) |
 Lethal Devotion Lethal Devotion (Chapter 5) |
 Environmental Hazard Environmental Hazard (Chapter 6) |
 Into the Void Into the Void (Chapter 7) |
 Search and Rescue Search and Rescue (Chapter 8) |
 Dead on Arrival Dead on Arrival (Chapter 9) |
 End of Days End of Days (Chapter 10) |
 Alternate Solutions Alternate Solutions (Chapter 11) |
 Dead Space Dead Space (Chapter 12) |
Author
Chapter 6: Environmental Hazard Walkthrough, Wheezer Locations, and Interactive Map
improvement survey
03/2026
improving Game8's site?

Your answers will help us to improve our website.
Note: Please be sure not to enter any kind of personal information into your response.

We hope you continue to make use of Game8.
Rankings
- We could not find the message board you were looking for.
Gaming News
Popular Games

Genshin Impact Walkthrough & Guides Wiki

Honkai: Star Rail Walkthrough & Guides Wiki

Umamusume: Pretty Derby Walkthrough & Guides Wiki

Pokemon Pokopia Walkthrough & Guides Wiki

Resident Evil Requiem (RE9) Walkthrough & Guides Wiki

Monster Hunter Wilds Walkthrough & Guides Wiki

Wuthering Waves Walkthrough & Guides Wiki

Arknights: Endfield Walkthrough & Guides Wiki

Pokemon FireRed and LeafGreen (FRLG) Walkthrough & Guides Wiki

Pokemon TCG Pocket (PTCGP) Strategies & Guides Wiki
Recommended Games

Diablo 4: Vessel of Hatred Walkthrough & Guides Wiki

Fire Emblem Heroes (FEH) Walkthrough & Guides Wiki

Yu-Gi-Oh! Master Duel Walkthrough & Guides Wiki

Super Smash Bros. Ultimate Walkthrough & Guides Wiki

Pokemon Brilliant Diamond and Shining Pearl (BDSP) Walkthrough & Guides Wiki

Elden Ring Shadow of the Erdtree Walkthrough & Guides Wiki

Monster Hunter World Walkthrough & Guides Wiki

The Legend of Zelda: Tears of the Kingdom Walkthrough & Guides Wiki

Persona 3 Reload Walkthrough & Guides Wiki

Cyberpunk 2077: Ultimate Edition Walkthrough & Guides Wiki
All rights reserved
© 2023 Electronic Arts Inc.
The copyrights of videos of games used in our content and other intellectual property rights belong to the provider of the game.
The contents we provide on this site were created personally by members of the Game8 editorial department.
We refuse the right to reuse or repost content taken without our permission such as data or images to other sites.


![Monster Hunter Stories 3 Review [First Impressions] | Simply Rejuvenating](https://img.game8.co/4438641/2a31b7702bd70e78ec8efd24661dacda.jpeg/thumb)


