Story and Plot Summary
★ Update 1.04 is out on all platforms as of Feb. 3, 2023!
★ Check our Beginner's Guide for the best tips and tricks!
★ See all Bugs and Exploits for Dead Space!
★ Perform a ritual for a secret text log and more!
★ How to Unlock Master Override: All RIG Locations
┗Marker Locations | Master Override Doors
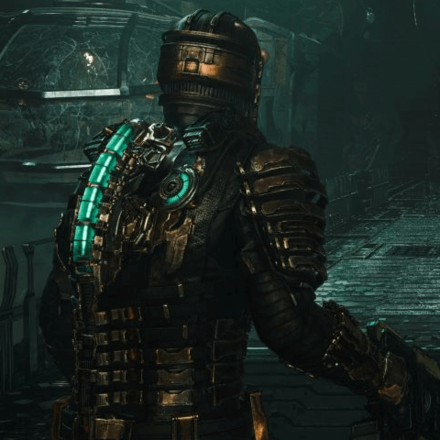
Here you'll find an outline of the story and plot summary of the Dead Space Remake (2023). Read on to learn about the horrors that transpired within the USG Ishimura, as well as Isaac Clarke's journey as he tries to escape from the infested ship!
| All Story Walkthroughs | |
|---|---|
| Main Missions | Side Missions |
| Story Plot and Summary | |
List of Contents
Dead Space Remake Story Setting
All Aboard the USG Ishimura
The story takes place aboard the derelict USG Ishimura - a planetcracking mining ship that went dark during a remote mining operation above the planet Aegis VII. The USG Kellion, crewed by an emergency maintenance team, is dispatched to the Ishimura in hopes of repairing it and finding out what caused the communication blackout.
Dead Space Remake Story and Plot Summary
Standard Repair Mission Gone Wrong
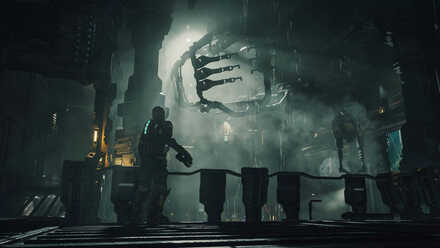
After receiving a distress call from the USG Ishimura, an emergency maintenance crew, comprised of Engineer Isaac Clarke, Computer Specialist Kendra Daniels, Chief Security Officer Zach Hammond, with Corporal Chen and Corporal Johnston as their security detail, is dispatched to aid the failing ship above the atmosphere of Aegis VII.
Outside of the mission, Isaac also had another reason for wanting to visit the USG Ishimura. His girlfriend, Nicole Brennan, had sent him a concerning message prior and he wanted to check on her and see if she was alright.
However, upon arriving near the Ishimura, the USG Kellion's automated docking sequence fails. The shuttle crashes aboard the Ishimura, stranding Isaac and his crewmates aboard the seemingly abandoned ship.
New Arrivals
Unknown Infestation
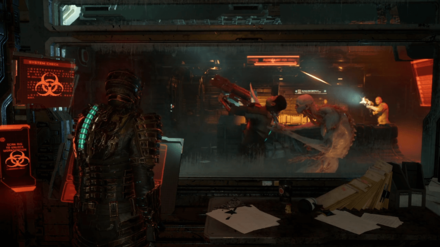
With the crashed Kellion far from being spaceworthy, the small crew make their way into the Ishimura's Flight Lounge to get some help and a better look at the state of the planetcracking ship.
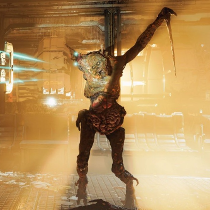
However, as soon as they check the ship's damage report, the quarantine systems fire off and the crew faces their first encounter with the Necromorph infestation plaguing the ship.
In the ensuing chaos, Chen dies to a Slasher and Isaac becomes separated from the rest of the crew, marking the start of the nightmare about to unfold on the Ishimura.
Repairing the Tram
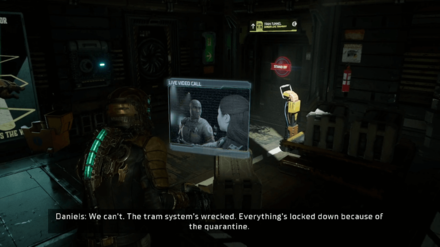
After picking up a Plasma Cutter and making his way to safety, Isaac eventually meets back up with Kendra and Hammond, who survived the initial attack. They plan to head to the Bridge to see if anyone else is alive, but the ship's tram system is down.
Being on the only side of the quarantine that can access the tram systems, Isaac ventures through the ship to replace the broken tram car and damaged databoard preventing them from moving forward. He ends up encountering several more Necromorphs and obtains a Stasis Module along the way.
Losing the USG Kellion
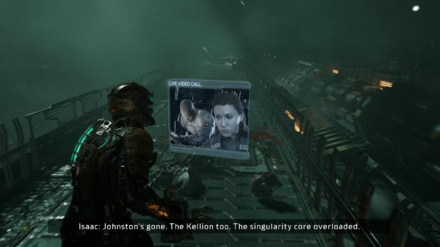
After repairing the tram systems, Hammond tasks Isaac to meet with Johnston, who remained at the ship due to her foot injury, and fix the Kellion. However, after reaching the shuttle and looking at the damage report, two Leapers damage the Kellion's singularity core and cause it to overload.
The resulting explosion kills Johnston and destroys the Kellion, leaving the rest of the crew without their only way off the Ishimura. Despite this setback, the surviving trio is determined to find another way out. Hammond tasks Isaac to look for the RIG of the deceased captain, Benjamin Mathius, so they can obtain his codes and unlock the ship's primary systems.
Chapter 1: New Arrivals Walkthrough
Intensive Care
Opening Up the Morgue
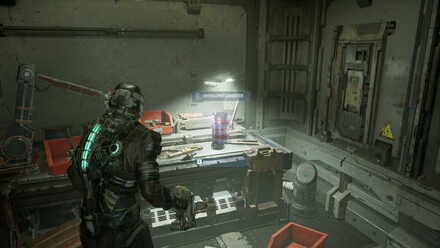
After Isaac reaches Medical's Security Station, picking up a Kinesis Module and a Pulse Rifle along the way, Hammond chimes in. They update each other about their current situations, learning that Kendra got split up from Hammond and that a barricade blocks Isaac's access to the Morgue.
Isaac quickly comes up with the idea of using a hydrazine tank and a shock pad to blow up the barricades, venturing through the sector to obtain each part and learning a bit more about what happened on the Ishimura through the logs left behind by its former inhabitants.
Getting the Captain's RIG
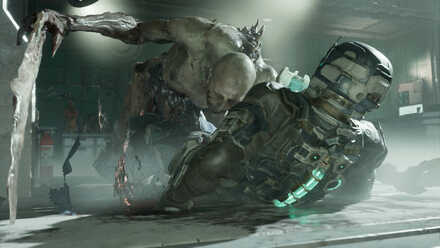
Making his way back to the Security Station, Isaac creates a makeshift explosive with the two components and successfully breaks through the barricade. Making his way to the Morgue, he eventually reaches the deceased captain but has to fend off an Infector and its reanimated corpses before he can obtain his RIG.
After picking up the captain's RIG and returning to the Security Station, Hammond informs Isaac that the Ishimura's engines are offline, meaning he has to get to Engineering to fix the problem. With the help of Hammond, Isaac takes a shortcut through the Flight Hangar to reach the Engineering sector.
Chapter 2: Intensive Care Walkthrough
Course Correction
Dealing with Engine Problems
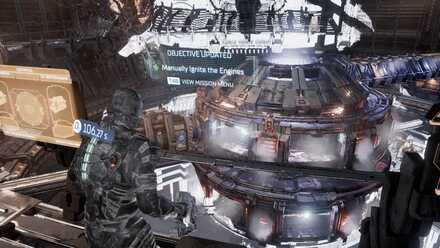
Reaching Engineering, Isaac takes a call from Hammond while he loads up the engines' diagnostic report. They find out that the ship has run out of fuel and that the centrifuge is offline. Venturing through the sector to deal with each problem, Isaac picks up a Ripper to help him deal with the Necromorphs along the way.
Firing the Engines
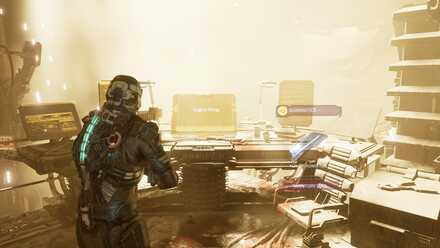
As Isaac makes his way toward the Engine Room to manually fire up the engines, Kendra learns about and brings up the existence of the Marker on the ship, leaving the trio silent and concerned. Despite this, Isaac pushes forward, picking up a Flamethrower before successfully igniting the Ishimura's engines.
While they manage to stop the Ishimura from crashing into Aegis VII, the trio learns that its Asteroid Defense System is offline, preventing them from moving past the planetcrack debris. With this in mind, Isaac and Hammond head for the Bridge to fix the problem together.
On his way to the Bridge, Isaac receives a random audio call from Nicole, but it quickly fizzles out before he can respond.
Chapter 3: Course Correction Walkthrough
Obliteration Imminent
Tensions Rising
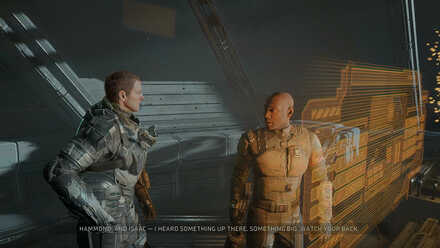
Arriving at the Bridge, Isaac receives a call from Hammond, giving him another brief rundown of their objectives. However, Kendra interrupts Hammond, accusing him of knowing about the Marker and that it was the mission's true goal. Before their argument becomes even more heated, Isaac manages to stop Hammond and Kendra, but it becomes clear that tension has begun to rise between the crew.
Reaching the Captain's Nest, Isaac meets Hammond and discovers that he kept the now-infected Chen in an escape pod. After convincing him to let his former coworker go, the two discuss their plan to fix the ADS cannons, with Hammond asserting that he doesn't know anything about the Marker.
Powering the ADS
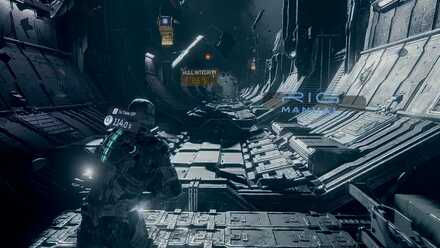
After upgrading his Security Clearance, Isaac heads to three locations from the Bridge to reroute the power toward the ADS cannons. Along the way, he encounters and dispatches a few Brutes.
As Isaac gets the ADS cannons online, Hammond updates him that its auto-targeting functions aren't working, making them functionally useless. Not one to give up, Isaac heads outside to manually aim the ADS cannons and successfully recalibrates them.
While heading back to the Captain's Nest to meet up with Hammond, Kendra suddenly chimes in with a video call that shows Nicole calling from Medical. Determined to see his loved one again and check up on her, Isaac decides to head straight for Medical to investigate.
Chapter 4: Obliteration Imminent Walkthrough
Lethal Devotion
The Mysterious Doctor
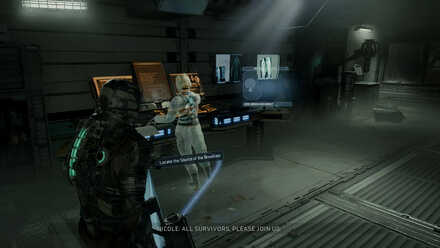
As Isaac makes his way to Medical, Kendra informs him that Nicole's broadcast came from the Chemical Lab but loses connection. Upon arriving at the Security Station, he hears a doctor through the intercom and asks if they're with Nicole, who replies that she's busy.
Unsatisfied with their response, Isaac ventures through the sector to look for Nicole. Upon reaching the Chemical Lab, Isaac finds that the broadcast was an edited hologram and meets Dr. Challus Mercer for the first time, who freezes him in Stasis.
Mercer talks about how Convergence is about to begin and that Isaac's death could tip the balance. Just as Mercer releases the Hunter on Isaac, he breaks free from Stasis and escapes the monster's grasp with the help of Kendra.
Lifting the Lockdown
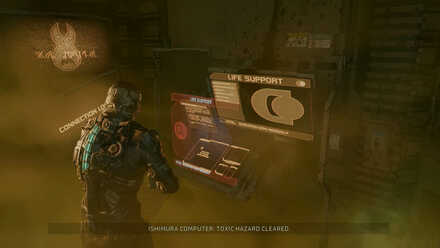
After running away from the Hunter, Kendra informs Isaac that he has to manually lift the lockdown in Mercer's office before he can escape Medical. Upon reaching the room and rebooting the security protocols, one of Mercer's patients informs Isaac that something is poisoning the air in Hydroponics and that he needs to find liquid nitrogen to solve the problem.
Before Isaac could reach Cryogenics to pick up the chemical, Mercer starts flowing poison gas from Hydroponics, forcing him to return to the Security Station to shut it off. Eventually reaching Cryogenics, Isaac meets Mercer once again after picking up the liquid nitrogen. The crazed doctor spouts more of his insane Unitologist beliefs before the Hunter makes another appearance.
After a short fight, Isaac manages to deal with the Hunter by trapping and freezing it in the Cryo Chamber. However, Kendra informs him that the air quality is rapidly falling, so Isaac quickly makes his way to Hydroponics.
Chapter 5: Lethal Devotion Walkthrough
Environmental Hazard
Creating the Enzyme
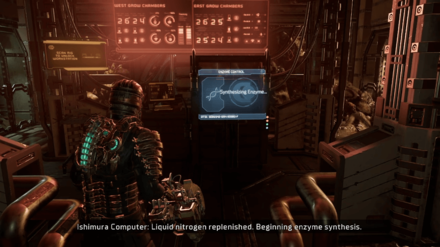
As Isaac takes a path through the Tram Repair Station to reach Hydroponics, Kendra informs him that a large mass in Food Storage seems to be causing the toxic air and that he needs to find a workstation to finish the enzyme. After learning more about what happened in the sector through a hologram by Dr. Elizabeth Cross, Isaac reaches the Central Hub and synthesizes the enzyme with liquid nitrogen.
While Isaac makes his way to Food Storage, a sudden video call from Dr. Cross stops him, who mentions that there's no way into the room and that the Leviathan inside would kill him. However, after learning that Isaac completed the enzyme, Cross gives him the alternative plan of finding the Wheezers connected to the Leviathan around Hydroponics and injecting them with the enzyme to weaken the Leviathan.
Dealing with the Leviathan
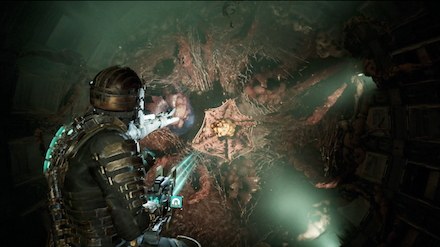
Isaac ventures around the Hydroponics sector to find and kill each Wheezer using the synthesized enzyme. During his mission, he learns that Dr. Cross is looking for engineer Jacob Temple and that Kendra has begun to slowly lose her mind after seeing her dead brother on the ship cameras.
After eliminating each Wheezer, Isaac and Cross learn that the Leviathan didn't die to the enzyme. Determined to take it down, Isaac heads to Food Storage to deal with the massive monster. After a lengthy fight, the Leviathan gets sent into space, and Dr. Cross closes the airlock just in time to save Isaac from being ejected.
As he returns to the airlock, Cross informs Isaac that Jacob has been building an SOS Beacon that they can use to call for rescue on the Mining Deck. With Kendra opening a shortcut toward the sector, Isaac makes his way toward the Mining Deck.
Chapter 6: Environmental Hazard Walkthrough
Into the Void
Hearing Back from Hammond
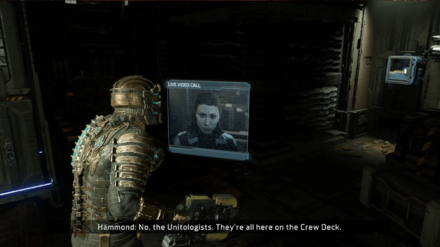
Upon reaching the Mining Deck, Isaac plans to visit the Mining Control Room first to check if the launch tubes could send out the beacon. Before he could start moving, Hammond finally calls in again after a long radio silence, informing Isaac and Kendra that the Unitologists are gathering and doing something on the Crew Deck.
With things escalating in the Crew Deck and with Hammond possibly in danger, Isaac quickly ventures through the sector to find the beacon.
Looking for the Beacon
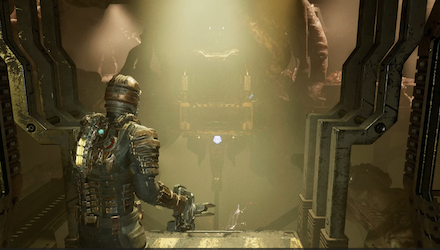
After arriving at the Control Room, Isaac fails to find the SOS Beacon and learns that he needs an administrator's RIG to use the launch tubes. With Kendra's help, he visits the Processing sub deck to get the RIG and heads toward Maintenance to look for the SOS Beacon. As Isaac takes the elevator to Maintenance, Hammond calls in again to show a video of the Unitologists bringing the Marker deeper into the ship, motivating Kendra and Isaac's desire to leave as soon as possible.
After reaching Equipment Maintenance and taking the gondola, Isaac is surprised to find Nicole on the other side. She helps him get into the Equipment Workshop and find the SOS Beacon before setting off, mentioning that she'll catch up. With the Beacon secured, Isaac heads back toward Mining Control.
Planting the Beacon
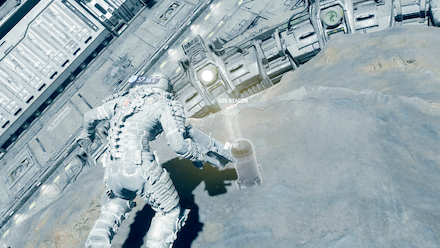
Returning to Mining Control, Isaac attempts to use the launch tubes but learns that the engineers have trapped them, making them useless. Realizing that he could use the nearby asteroid as an alternative way to launch the beacon, Isaac heads to the Mining Bay to conduct his plan.
After manually disabling the gravity tethers inside the Mining Bay, Isaac plants the beacon on the asteroid. Returning to Mining Control, Isaac successfully launches the beacon but has to run away immediately as the Hunter makes another appearance.
As Isaac reaches safety in the Mining Deck elevator, Kendra informs him that the array receiver isn't responding, which means that the Comms Array isn't working. Knowing where to go next, Isaac heads toward the Bridge to reach Communications and fix the array.
Chapter 7: Into the Void Walkthrough
Search and Rescue
Fixing the Comms Array
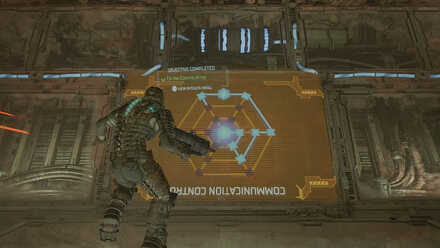
As Isaac reaches the Bridge, Kendra informs him that a nearby ship, the USM Valor, has heard their SOS signal. With this in mind, he heads straight toward Communications to fix the Comms Array but keeps his radio chatter low as Kendra mentions that someone else is listening in.
Reaching the Comms Array, Isaac successfully rearranges a few dishes to form a new circuit that could receive broadcast to the Valor. However, as Kendra and Isaac receive a message that the Valor retrieved an escape pod containing the infected Chen, they fail to respond due to their signal not being strong enough.
As Kendra attempts to deploy the long-range antenna, she finds out that something seems to be blocking the blast doors. Isaac heads toward Comms Array Maintenance to investigate and manually release the antenna.
Taking Down the Leviathan Remnant
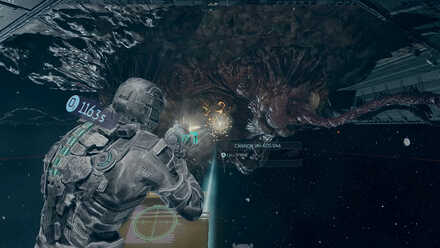
After reaching Comms Array Maintenance, Isaac finds that a remnant of the Leviathan hung onto the long-range antenna. He heads out of the Exterior Access airlock to take down the Leviathan Remnant, using the nearby ADS cannons to break through its armor-like flesh.
With the Remnant defeated, Isaac returns to the ship and successfully deploys the long-range antenna. However, their efforts are too late, as he and Kendra find out that the USM Valor has been taken over by Necromorphs right before it crashes into the Ishimura.
Hammond manages to call in once again after the Valor crashes. After being briefed about the situation, he mentions that there's an escape shuttle in the Crew Quarters. Isaac chimes in that they could use the Valor's singularity core to power it up. With their plan laid out, Isaac and Hammond head into the Valor to retrieve its singularity core.
Chapter 8: Search and Rescue Walkthrough
Dead on Arrival
Ejecting the Warhead
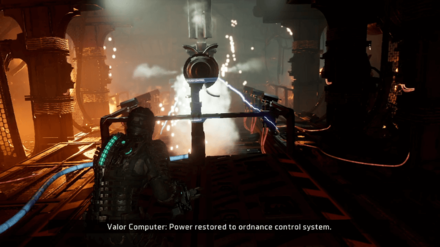
Isaac arrives on the Valor just as Hammond reaches its Bridge. The latter learns that the Valor is carrying a nuclear warhead, which Isaac needs to eject from the ship before they can safely look for the singularity core. While Isaac ventures through the Valor to dispose of the warhead, Dr. Terrence Kyne contacts him, but he brushes off the doctor's video call.
Reaching the Torpedo Bay, Isaac manages to safely eject the warhead from the Valor. He becomes concerned about why a patrolling ship would need a nuke but focuses on reaching the Engine Room to salvage the singularity core first.
Retrieving the Core
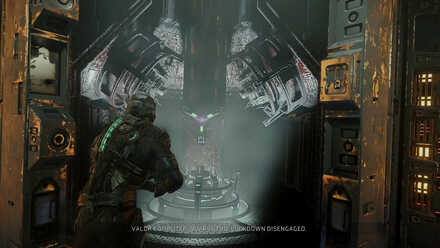
As Isaac approaches the Engine Room, Hammond informs him that the Valor knew about the state of the Ishimura and that the munitions it was carrying were for its destruction. Despite the unsettling news, Isaac moves forward. Upon reaching the singularity core, Isaac and Hammond become separated when the ship's biohazard lockdown suddenly activates.
While they try to get the door open, the infected Chen appears behind Hammond, being the cause of the lockdown. The Necromorph manages to impale Hammond, as the latter couldn't see that they've become infected. However, Hammond performs one final sacrifice by shoving him and Chen into the singularity core, killing them instantly and clearing the lockdown.
With the lockdown now cleared, Isaac retrieves the singularity core and begins making his way out of the failing ship. With only him and Kendra left from the original crew, Isaac makes his way to the Crew Deck to get to the shuttle.
Chapter 9: Dead on Arrival Walkthrough
End of Days
Another Meeting with Mercer
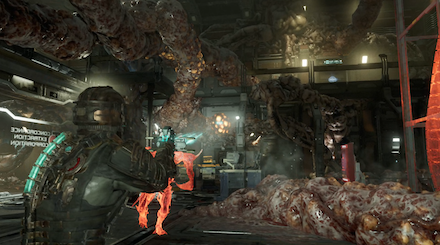
As Isaac reaches the Crew Deck, Kendra informs him that he needs to get the deck supervisor's override key before he can get to the shuttle. After getting the Crew Deck Key, Isaac reaches the Central Nexus and finds Dr. Mercer and Jacob Temple fighting.
Isaac asks Mercer if he can tell him what Convergence is. While the doctor's explanation of reuniting him with his lost loved ones seemingly convinces Isaac, he eventually denies joining them, leading to Mercer killing Temple and unleashing the Hunter onto Isaac once more.
After escaping the Hunter, Isaac experiences a few auditory hallucinations of his former crewmates. He eventually pulls himself together and starts clearing a path toward the Shuttle Bay by destroying the tendrils in the Central Nexus.
Reaching the Shuttle
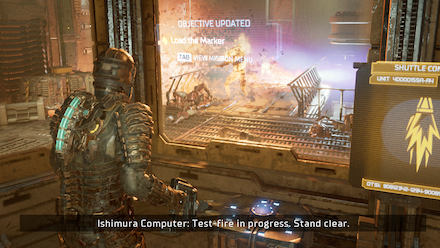
Isaac ventures throughout the Crew Quarters to destroy each tendril blocking his path to the executive shuttle. His mission eventually leads him to the Chief's Steward's Office, where he meets Dr. Terrence Kyne in person for the first time. The doctor says that Isaac can't leave the ship yet, as the only way to stop the Necromorphs and their Hive Mind is by returning the Marker to Aegis VII.
Despite Kyne being insane, Isaac hesitantly agrees to the doctor's plan to use the shuttle to return the Marker before they leave the Ishimura. After taking down the last tendril, Isaac returns to the Central Nexus to retrieve the Marker and repair the shuttle. However, the Hunter returns for one last fight, with Isaac using the shuttle's engine test-fire to destroy the monster for good.
As Isaac prepares to load the Marker into the shuttle, numerous Tentacles appear in the Shuttle Bay to stop him. The Necromorph tendrils take the Marker, kill Dr. Mercer, and drag Isaac into the Bridge. Isaac manages to free himself from the Tentacle, but he now needs to reach the Cargo Bay to take back the Marker.
Chapter 10: End of Days Walkthrough
Alternate Solutions
Retrieving the Marker
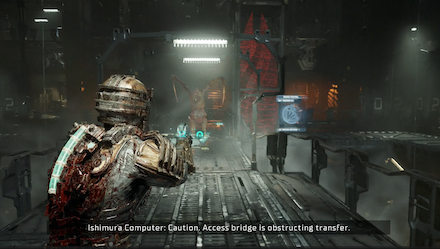
With Kyne flying the shuttle toward the Hangar Bay and Kendra not far behind, Isaac has to enter the Cargo Bay to retrieve the Marker. After fighting off a horde of Necromorphs, Isaac successfully lifts the Marker into the Hangar Bay using the Ishimura's cargo cranes.
Reaching the Hangar Bay, Isaac discovers that the ship's automated loading controls are offline. To fix the problem, he turns off the area's gravity and manually loads the Marker in the shuttle.
Kendra's Betrayal
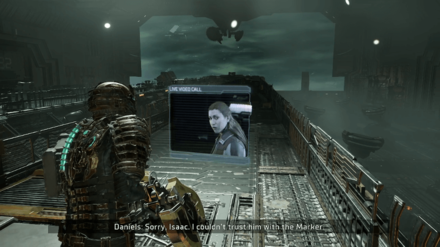
After loading the Marker into the executive shuttle, as Isaac meets up with Kyne on the runway, Kendra shows her true colors by killing Kyne and taking the shuttle for herself.
She explains to Isaac that she was an EarthGov agent the entire time, intending to retrieve the Marker. She also explains that the Marker found on Aegis VII was artificial, planted by EarthGov as an experiment. As she departs the Ishimura, Kendra compliments Isaac's skills as an engineer during their time together before flying off.
Nicole's Return
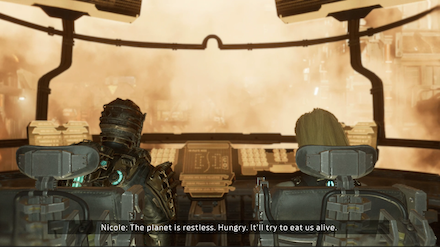
While the situation seems hopeless for Isaac, he suddenly receives a video call from Nicole, who asks him to meet her in the Flight Control room. There, she explains her plan of taking back the shuttle by using the Ishimura's recall function and flying it to Aegis VII to return the Marker.
Following her plan, Isaac successfully retrieves the shuttle and the Marker, but Kendra manages to escape the ship using the shuttle's escape pod. With Nicole reprogramming the shuttle flight path to Aegis VII, Isaac boards the ship and heads straight for the former mining colony.
Chapter 11: Alternate Solutions Walkthrough
Dead Space
Returning the Marker
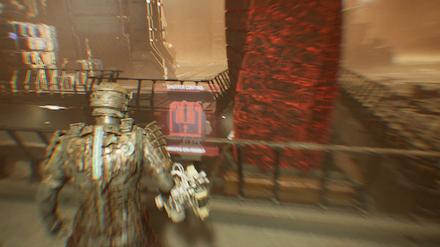
Upon reaching Aegis VII, Isaac quickly begins working toward returning the Marker to its pedestal, with Nicole assisting from the control room. As he pushes the Marker through the Supply Depot, Nicole explains more details about the pedestal.
As Isaac arrives at the Transfer Junction, he finds that the tether generators have a failing power line. He takes a quick detour to fix the problem before continuing to advance the Marker toward its pedestal.
The Truth Behind Nicole
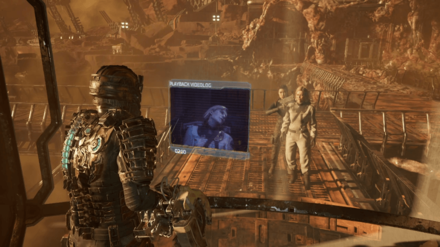
After fighting one last horde of Necromorphs, Isaac successfully returns the Marker to its pedestal. Nicole thanks Isaac, affirming that they are now "whole" before the Marker shoots a beam of energy into the sky, causing the planet's tectonic load to release.
As Isaac tries to prevent the mass from crashing into Aegis VII, Kendra shows up to stop him by holding Nicole hostage. She then shows Isaac how delusional he is by pulling up the full version of Nicole's last video message, which reveals that Nicole had already died by the time he reached the Ishimura.
On top of this revelation, Kendra also reveals that the "Nicole" in front of Isaac was Dr. Elizabeth Cross the entire time, with the Marker using its powers to distort what the two saw. Afterward, Kendra lifts the Marker back onto the cargo loader to bring it back toward the shuttle.
Escaping Aegis VII
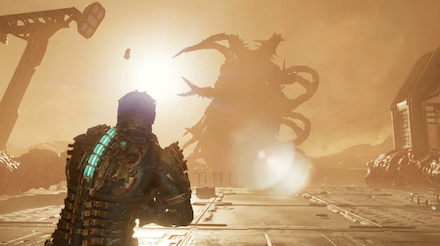
Despite the groundbreaking revelations, Isaac knew he still had to escape Aegis VII, heading back toward the shuttle to hopefully reach it before Kendra. As Kendra and Isaac approach the shuttle, the Hive Mind appears, killing Kendra and preventing Isaac from escaping.
After a long battle against the Hive Mind and its numerous Necromorph minions, Isaac triumphs and boards the shuttle. Battered and beaten, he quickly makes his way off Aegis VII, leaving the Marker behind to become destroyed by the incoming tectonic load.
Chapter 12: Dead Space Walkthrough
Epilogue
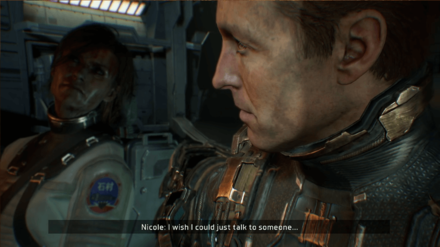
After reaching a quiet region out in space, Isaac pulls up Nicole's message one last time. However, he shuts the video log early, not wanting to see it in its entirety.
As Isaac spends a short moment in silence, a hallucination of Nicole suddenly appears beside him, saying that she "just wanted to talk to someone" before attacking Isaac and cutting the screen to black, marking the end of the Dead Space Remake.
Dead Space Remake Related News

Dead Space Remake News and Game Info
-
![]()
How to Fix Building Shaders Error
Updated 2/9/2023
Check out what the Building Shaders error does and the steps you can take to fix the error.
-
![]()
Dead Space Remake Review
Updated 2/8/2023
Find out whether the brand new Dead Space Remake is worth buying!
-
![]()
Update 1.04 Patch Notes
Updated 2/3/2023
Read on and check out the changes made in the 1.04 update for Xbox, PS5, and PC.
-
![]()
All Story Changes
Updated 1/31/2023
Read on to learn what has changed in the story of Dead Space Remake.
-
![]()
Intensity Director Explained
Updated 1/31/2023
How the unique spawning system adds to the tension.
-
![]()
January 30 2023 Patch Notes
Updated 1/30/2023
Check out the changes made for January 30, 2023's update.
-
![]()
Day One Patch Notes and Filesize
Updated 11/12/2025
Everything we know about the Day One Patch!
-
![]()
All Available Platforms
Updated 1/20/2023
Find out all the supported platforms of this next-gen remake, here!
-
![]()
All Changes and Features
Updated 2/9/2023
The Dead Space Remake (2023) has new features that were not included in the original.
-
![]()
All Bugs and Known Issues
Updated 2/8/2023
This is our list of all the bugs and issues and possible solutions on how to fix them!
-
![]()
Dead Space Remake All Editions Guide
Updated 1/10/2023
Check out all the exclusive content from all three editions you can purchase!
-
![]()
How Long is Dead Space Remake?
Updated 2/7/2023
Find out how long it takes to beat the Dead Space Remake!
Other Dead Space Remake News
Author
Story and Plot Summary
Rankings
- We could not find the message board you were looking for.
Gaming News
Popular Games

Genshin Impact Walkthrough & Guides Wiki

Honkai: Star Rail Walkthrough & Guides Wiki

Umamusume: Pretty Derby Walkthrough & Guides Wiki

Pokemon Pokopia Walkthrough & Guides Wiki

Resident Evil Requiem (RE9) Walkthrough & Guides Wiki

Monster Hunter Wilds Walkthrough & Guides Wiki

Wuthering Waves Walkthrough & Guides Wiki

Arknights: Endfield Walkthrough & Guides Wiki

Pokemon FireRed and LeafGreen (FRLG) Walkthrough & Guides Wiki

Pokemon TCG Pocket (PTCGP) Strategies & Guides Wiki
Recommended Games

Diablo 4: Vessel of Hatred Walkthrough & Guides Wiki

Cyberpunk 2077: Ultimate Edition Walkthrough & Guides Wiki

Fire Emblem Heroes (FEH) Walkthrough & Guides Wiki

Yu-Gi-Oh! Master Duel Walkthrough & Guides Wiki

Super Smash Bros. Ultimate Walkthrough & Guides Wiki

Pokemon Brilliant Diamond and Shining Pearl (BDSP) Walkthrough & Guides Wiki

Elden Ring Shadow of the Erdtree Walkthrough & Guides Wiki

Monster Hunter World Walkthrough & Guides Wiki

The Legend of Zelda: Tears of the Kingdom Walkthrough & Guides Wiki

Persona 3 Reload Walkthrough & Guides Wiki
All rights reserved
© 2023 Electronic Arts Inc.
The copyrights of videos of games used in our content and other intellectual property rights belong to the provider of the game.
The contents we provide on this site were created personally by members of the Game8 editorial department.
We refuse the right to reuse or repost content taken without our permission such as data or images to other sites.






![Monster Hunter Stories 3 Review [First Impressions] | Simply Rejuvenating](https://img.game8.co/4438641/2a31b7702bd70e78ec8efd24661dacda.jpeg/thumb)


