Chapter 3: Course Correction Walkthrough, Interactive Map, and Collectibles
★ Update 1.04 is out on all platforms as of Feb. 3, 2023!
★ Check our Beginner's Guide for the best tips and tricks!
★ See all Bugs and Exploits for Dead Space!
★ Perform a ritual for a secret text log and more!
★ How to Unlock Master Override: All RIG Locations
┗Marker Locations | Master Override Doors
Course Correction is the third chapter of Dead Space Remake (2023)'s main story. Read on for a detailed walkthrough, list of rewards, tips for completion, an interactive map of Course Correction weapons, upgrades, schematics, logs, and side mission collectibles, as well as other strategies!
| Previous Chapter | Next Chapter |
|---|---|
| Intensive Care | Obliteration Imminent |
List of Contents
Chapter 3: Course Correction Collectible Locations
Interactive Collectibles Map
Weapon and Upgrade Locations
| Weapon/Upgrade | Location |
|---|---|
 Ripper Ripper
|
Found on the floor of the Machine Shop after entering and going down the ramp. |
 Flamethrower Flamethrower
|
Found in the hallway leading to the Engine Room after you get past the Zero-G Fuel Storage area. |
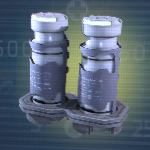 Medium Med Pack Medium Med Pack
|
Schematic found inside an open locker past the Decontamination Room in Chapter 3, right before the hallway leading to the Centrifuge. |
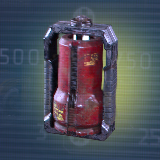 Flamethrower Fuel Flamethrower Fuel
|
Schematic found in Chapter 3, beside the Primary Engine computer in the Engine Room that ignites the engines. |
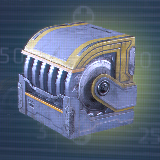 Ripper Blades Ripper Blades
|
Schematic found inside an open room beside the second elevator leading down in Fuel Storage in Chapter 3. |
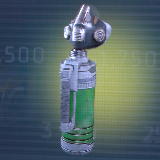 Oxygen Tank Oxygen Tank
|
Schematic found inside the Platform Storage room of the Refueling Control Stations area in Engineering. Backtrack through Engineering at the start of Chapter 8 with Level 2 Security Clearance to reach this room. |
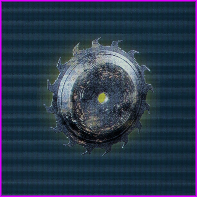 Carbon-Fiber Blades Carbon-Fiber Blades
|
Found inside a locked chest beside the Bench at the Machine Shop in Engineering. Requires Master Override Security Clearance. |
 Marker Fragment 3 Marker Fragment 3
|
| Related Guides | ||
|---|---|---|
| All Weapon Locations | All Weapon Upgrade Locations | All Schematic Locations |
Log Locations
| Log | Event Trigger |
|---|---|
|
|
Found beside the elevator that takes you up to the Engineering Deck. |
|
|
Found on a chair beside the Store, inside the lobby of the Engineering Deck. |
|
|
Found by interacting with the mail terminal inside the Machine Shop Bathroom. |
|
|
Found on top of an overturned locker next to Fuel Management. |
|
|
Found inside a locker in the U-Hallway outside the Decontamination Room. |
|
|
Found while going through the hallway leading to Centrifuge Control South. |
|
|
Found inside the a side room in the upper levels of Engineering Storage. |
|
|
Found inside a Level 3 Clearance room in the Fuel Storage area of Engineering. |
|
|
Other Collectible Locations
| Collectible | Location |
|---|---|
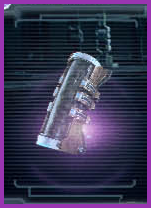 Rosseau's RIG Rosseau's RIG
|
On the top floor of the Fuel Storage in Engineering, the room containing Rosseau's RIG requires a Level 3 Clearance. Return when you have Dallas' RIG from Chapter 7. |
 Marker Fragment 3 Marker Fragment 3
|
You Are Not Authorized Side Mission Guide: All RIG Locations
Chapter 3: Course Correction Walkthrough
Course Correction Summary
| 1 | Reach the Engineering Deck. |
|---|---|
| 2 | Activate the Control Console. |
| 3 | Refuel the Engines. |
| 4 | Activate the Centrifuge. |
| 5 | Manually Ignite the Engine. |
| 6 | Return to the Tram Station. |
Course Correction Detailed Walkthrough
| Objectives | |
|---|---|
| 1 | 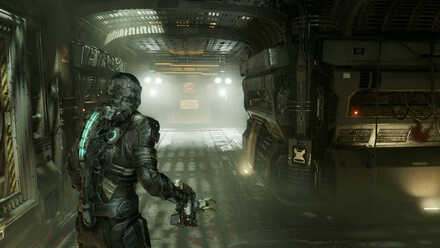 |
| 2 | 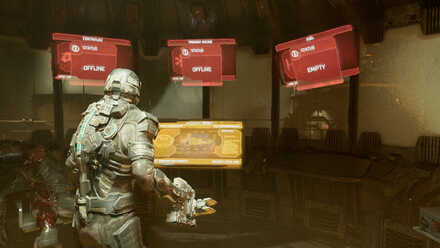 ・Refuel the Engines (South) ・Refuel the Engines (North) ・Restart the Centrifuge |
| 3 | 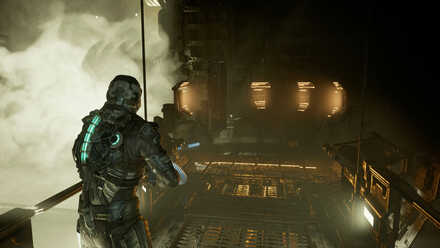 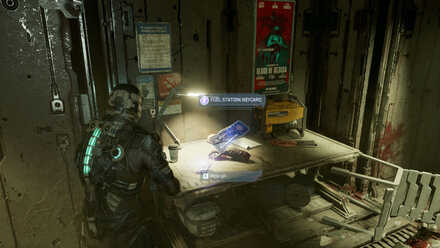 |
| 4 | 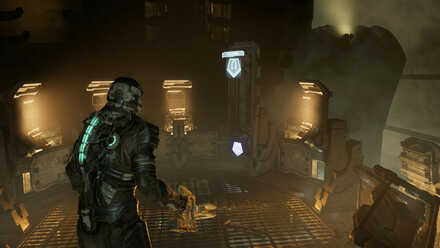 |
| 5 | 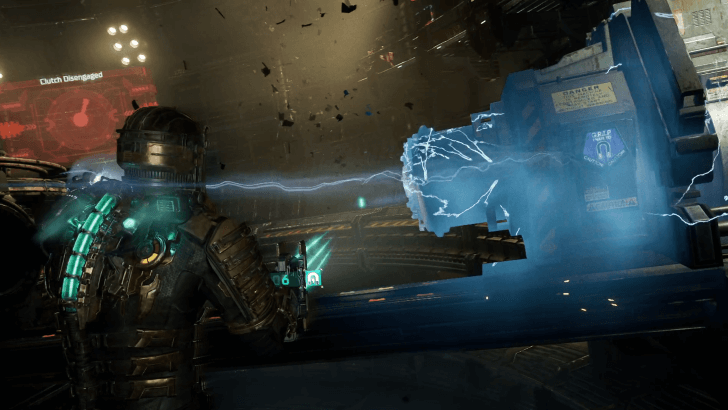 From the Save Point in the Control Room, head to the elevator to the Centrifuge. Head to the Decontamination Chamber and kill the Necromorphs that will appear as the protocol sequence plays out. Once the doors unlock, you can go to the Centrifuge. You will reach a fork in the path. Go to Centrifuge Control North to get some supplies and a power node. Then head to the South section to activate the Centrifuge. Use your stasis to slow the rotor for generator modules on both sides to ensure the Centrifuge is activated. |
| 6 | 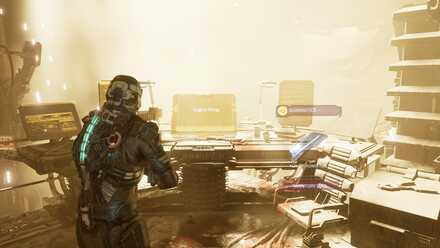 Use Stasis on the giant fan to get to the Circuit Breaker behind them, then choose reroute power to Airlock 2 to open the Engine Room door. Once you're through the door, shoot the yellow mass to reveal the door to the Engine Room. Grab the Flamethrower from the body attached to the wall and continue shimmying yourself through the wall. When you reach the other side, go left towards the elevator that will take you down to the engine. Continue on the walkway until you reach another elevator; shoot large yellow sacs when your way appears to be blocked. Once you're at the base level, use Stasis on the door to the Engine Room and head straight for the room on the end of the hallway. After dealing with the Necromorphs inside the Engine Room, grab the Power Cell to ignite the engines. More Necromorphs will start to appear. Once they are dealt with, go up to the main console to activate the engine ignition. Then return to the Tram Station. |
| 7 | 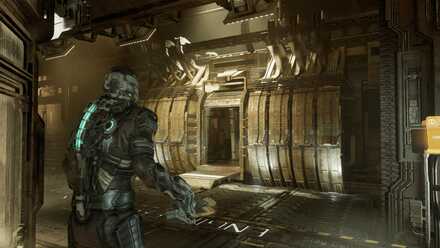 |
Chapter 3: Course Correction Tips and Strategies
How to Activate the Centrifuge
Once you enter the Zero-G zone, hover close enough to use Stasis and Kinesis on the Generator Modules and attach them to the Centrifuge. Afterwards, hover up to the higher platforms to the Centrifuge terminal. Once you active the Centrifuge, the gravity will be restored and you will enter a vacuum. Use the elevator to get back down to the base levels.
How to Get Past the Centrifuge
Time it just right and run in the opposite direction of the Centrifuge. This will allow you to see the Centrifuge as it comes towards you, giving you warning to get in the spaces to refill your oxygen tank and or escape the Centrifuge. Once you reach the end, get on the elevator before your oxygen runs out and exit the Centrifuge.
How to Activate and Get Past the Centrifuge
Be Wary of Corpses
If you have ammo to spare, always give a warning shot to a seemingly suspicious corpse in the hallway. Chances are, these could be Necromorphs posing as corspses to catch you off-guard.
Do Not Shoot Pregnant's Stomach
Pregnants are a type of Necromorph with enlarged stomachs that hold Swarmers, hence the name. If you shoot its body, the stomach will burst releasing a bunch of Swarmers that will add to your list of current Necromorphs to deal with. Instead, shoot at its limbs to kill it.
Use Crowd Control in the Engine Room
While in the Engine Room, there will be Stasis and explosive cannisters that can help you on multiple enemies. Use Kinesis to grab cannisters and chuck them at groups of Necromorphs for maximum effect. Likewise, getting the Flamethrower and using its alternative fire creates a good wall of flames for crowd control.
Chapter 3: Course Correction Enemies Encountered
| List of Necromorphs | |
|---|---|
 Infector Infector
|
Weak Spots: None Specific
Weaknesses: Stasis |
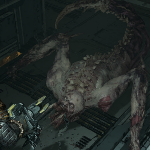 Leaper Leaper
|
Weak Spots: Limbs
Weaknesses: Stasis |
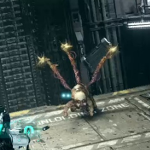 Lurker Lurker
|
Weak Spots: Tentacles
Weaknesses: None |
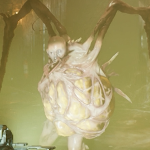 Pregnants Pregnants
|
Weak Spots: Limbs
Weaknesses: Stasis |
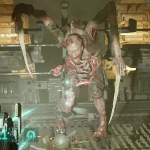 Slasher Slasher
|
Weak Spots: Limbs
Weaknesses: None |
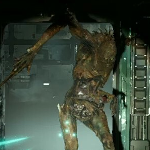 Super-Slasher Super-Slasher
|
Weak Spots: Limbs
Weaknesses: None |
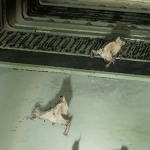 Swarmers Swarmers
|
Weak Spots: None Specific
Weaknesses: Stasis, Explosives, Fire |
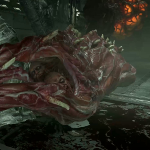 Tentacle Tentacle
|
Weak Spots: Yellow Sacs
Weaknesses: None |
Dead Space Remake Related Guides

Full Story Walkthrough: All Chapters
Main Missions
| All Story Chapters |
 New Arrivals New Arrivals (Chapter 1) |
 Intensive Care Intensive Care (Chapter 2) |
|---|---|
 Course Correction Course Correction (Chapter 3) |
 Obliteration Imminent Obliteration Imminent (Chapter 4) |
 Lethal Devotion Lethal Devotion (Chapter 5) |
 Environmental Hazard Environmental Hazard (Chapter 6) |
 Into the Void Into the Void (Chapter 7) |
 Search and Rescue Search and Rescue (Chapter 8) |
 Dead on Arrival Dead on Arrival (Chapter 9) |
 End of Days End of Days (Chapter 10) |
 Alternate Solutions Alternate Solutions (Chapter 11) |
 Dead Space Dead Space (Chapter 12) |
Author
Chapter 3: Course Correction Walkthrough, Interactive Map, and Collectibles
Rankings
- We could not find the message board you were looking for.
Gaming News
Popular Games

Genshin Impact Walkthrough & Guides Wiki

Honkai: Star Rail Walkthrough & Guides Wiki

Umamusume: Pretty Derby Walkthrough & Guides Wiki

Pokemon Pokopia Walkthrough & Guides Wiki

Resident Evil Requiem (RE9) Walkthrough & Guides Wiki

Monster Hunter Wilds Walkthrough & Guides Wiki

Wuthering Waves Walkthrough & Guides Wiki

Arknights: Endfield Walkthrough & Guides Wiki

Pokemon FireRed and LeafGreen (FRLG) Walkthrough & Guides Wiki

Pokemon TCG Pocket (PTCGP) Strategies & Guides Wiki
Recommended Games

Diablo 4: Vessel of Hatred Walkthrough & Guides Wiki

Cyberpunk 2077: Ultimate Edition Walkthrough & Guides Wiki

Fire Emblem Heroes (FEH) Walkthrough & Guides Wiki

Yu-Gi-Oh! Master Duel Walkthrough & Guides Wiki

Super Smash Bros. Ultimate Walkthrough & Guides Wiki

Pokemon Brilliant Diamond and Shining Pearl (BDSP) Walkthrough & Guides Wiki

Elden Ring Shadow of the Erdtree Walkthrough & Guides Wiki

Monster Hunter World Walkthrough & Guides Wiki

The Legend of Zelda: Tears of the Kingdom Walkthrough & Guides Wiki

Persona 3 Reload Walkthrough & Guides Wiki
All rights reserved
© 2023 Electronic Arts Inc.
The copyrights of videos of games used in our content and other intellectual property rights belong to the provider of the game.
The contents we provide on this site were created personally by members of the Game8 editorial department.
We refuse the right to reuse or repost content taken without our permission such as data or images to other sites.


![Monster Hunter Stories 3 Review [First Impressions] | Simply Rejuvenating](https://img.game8.co/4438641/2a31b7702bd70e78ec8efd24661dacda.jpeg/show)


![Monster Hunter Stories 3 Review [First Impressions] | Simply Rejuvenating](https://img.game8.co/4438641/2a31b7702bd70e78ec8efd24661dacda.jpeg/thumb)


