Chapter 9: Dead on Arrival Walkthrough, Interactive Map, and Collectibles
★ Update 1.04 is out on all platforms as of Feb. 3, 2023!
★ Check our Beginner's Guide for the best tips and tricks!
★ See all Bugs and Exploits for Dead Space!
★ Perform a ritual for a secret text log and more!
★ How to Unlock Master Override: All RIG Locations
┗Marker Locations | Master Override Doors
Dead on Arrival is the ninth chapter of Dead Space Remake (2023)'s main story. Read on for a detailed walkthrough, list of rewards, tips for completion, how to disarm the nuclear warhead, an interactive map of Dead on Arrival Schematic and Log Locations, as well as other strategies!
| Previous Chapter | Next Chapter |
|---|---|
| Search and Rescue | End of Days |
List of Contents
Chapter 9: Dead on Arrival Collectible Locations
Interactive Collectibles Map
| The interactive map does not include USM Valor Flr 2, since no collectibles can be found there. |
Schematic Locations
| Weapon/Upgrade | Location |
|---|---|
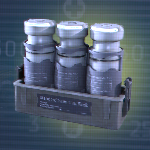 Large Med Pack Large Med Pack
|
Schematic found on a desk to your left after entering the Infirmary in Chapter 9, right before the malfunctioning lasers. |
List of All Schematic Locations and Interactive Map
Log Locations
| Log | Event Trigger |
|---|---|
|
|
Found on top of the large desk inside the Briefing Room of the USM Valor. |
|
|
Found inside the Briefing Room of the USM Valor, right next to a dead soldier. |
Chapter 9: Dead on Arrival Walkthrough
Dead on Arrival Summary
| 1 | Dispose of the Warhead |
|---|---|
| 2 | Salvage the Singularity Core. |
| 3 | Escape the USM Valor. |
Dead on Arrival Detailed Walkthrough
| Objectives | |
|---|---|
| 1 | 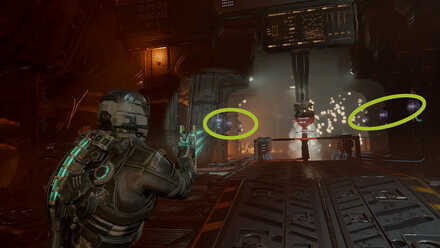 Aim at the six plasma cells by the nuclear warhead. Kill the Exploders while being careful not to hit their exploding sacs, or hit their shoulder to knock the sac off. Then grab the Power Cell using Kinesis and take it to the slot at the wall to power the Warhead Control terminal. |
| 2 | 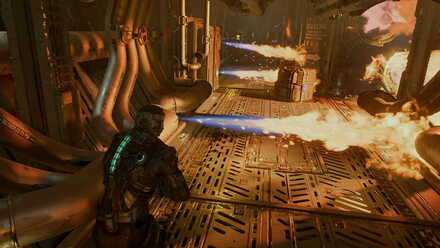 Push forward inside the Cargo Bay dealing with Necromorphs left and right. You can lure them into the electrical surges to temporarily stun them as you take out their limbs. Head to the Engine Room. Time your walk when the fires aren't spewing out. Use Kinesis on crates and use them as a shield for fires that continuously spew out. Reach the Circuit Breaker at the end of the other corridor to put out the fires completely and turn on the elevator to the Power Room. |
| 3 | 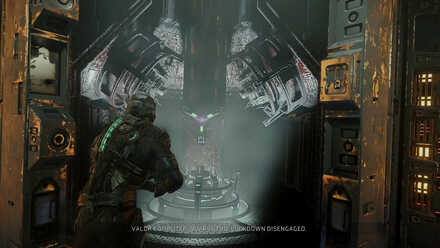 |
| 4 | 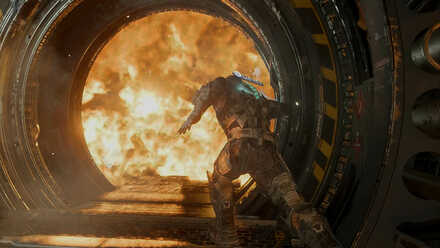 Run straight towards the door, down the hall and to an elevator to your right (not the elevator you rode from the Engine Room Lower Deck). When you get off the elevator, run to the Mess Hall and through the Barracks. Break the plasma cell to open the Barracks door. Don't run down the hall, instead take the first door to your right. This will lead to the locker room. The way to the Airlock is just past the locker room. |
Chapter 9: Dead on Arrival Tips and Strategies
Don't Shoot the Exploders' Sacs
In the room with the unstable nuclear warhead, if any of the Exploders go off, it will set off the bomb and you'll die instantly. Aim carefully at the Exploder's shoulder to dismember the explosive sac instead of targetting the sac directly.
It's also possible to simply kill the Exploders by shooting their other limbs. Just be careful as even if you leave them immobile, they'll still use their explosive sac unless they are completely dead.
Use Stasis to Slow Down Twitchers
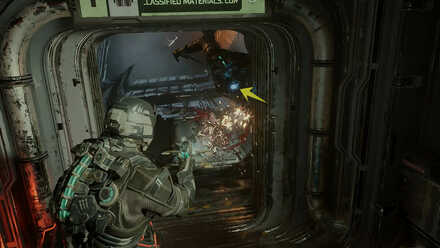
Twitchers move erratically making them slightly harder targets than the regular Necromorphs. If you have enough juice, you can use Stasis to slow them down enough to land solid hits to their limbs. Alternatively you can also shoot the blue spot on their chest to trigger a Stasis explosion.
Complete the Shooting Range for Rewards
While the initial rewards will be random, the last rewards will be worth your time: a Ruby Semiconductor and a Power Node. The challenge can be completed only if you manage to hit every target.
Use Kinesis on the Crates in the Engine Room
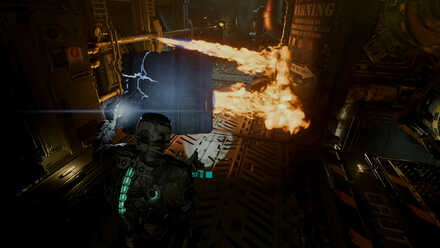
When you reach the Engine Room of the USM Valor, use Kinesis on the crates and use them as covering as your make your way to the Circuit Breaker.
Chapter 9: Dead on Arrival Enemies Encountered
| List of Necromorphs | |
|---|---|
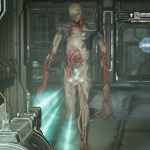 Divider Divider
|
Weak Spots: None Specific
Weaknesses: Stasis, Explosives |
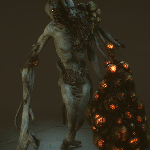 Exploder Exploder
|
Weak Spots: Left Arm Sac
Weaknesses: None |
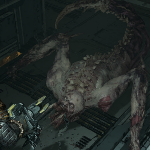 Leaper Leaper
|
Weak Spots: Limbs
Weaknesses: Stasis |
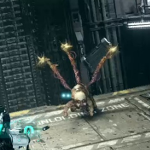 Lurker Lurker
|
Weak Spots: Tentacles
Weaknesses: None |
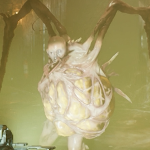 Pregnants Pregnants
|
Weak Spots: Limbs
Weaknesses: Stasis |
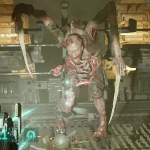 Slasher Slasher
|
Weak Spots: Limbs
Weaknesses: None |
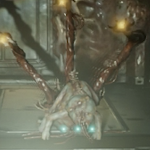 Super-Lurker Super-Lurker
|
Weak Spots: Tentacles
Weaknesses: Stasis |
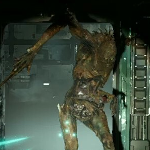 Super-Slasher Super-Slasher
|
Weak Spots: Limbs
Weaknesses: None |
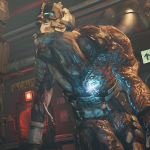 Twitcher Twitcher
|
Weak Spots: Limbs, Chest (Stasis Module)
Weaknesses: None |
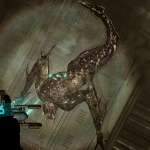 Super-Leaper Super-Leaper
|
Weak Spots: Limbs
Weaknesses: Stasis |
 Super-Brute Super-Brute
|
Weak Spots: Yellow Sac, Back
Weaknesses: Stasis, Explosives |
Dead Space Remake Related Guides

Full Story Walkthrough: All Chapters
Main Missions
| All Story Chapters |
 New Arrivals New Arrivals (Chapter 1) |
 Intensive Care Intensive Care (Chapter 2) |
|---|---|
 Course Correction Course Correction (Chapter 3) |
 Obliteration Imminent Obliteration Imminent (Chapter 4) |
 Lethal Devotion Lethal Devotion (Chapter 5) |
 Environmental Hazard Environmental Hazard (Chapter 6) |
 Into the Void Into the Void (Chapter 7) |
 Search and Rescue Search and Rescue (Chapter 8) |
 Dead on Arrival Dead on Arrival (Chapter 9) |
 End of Days End of Days (Chapter 10) |
 Alternate Solutions Alternate Solutions (Chapter 11) |
 Dead Space Dead Space (Chapter 12) |
Author
Chapter 9: Dead on Arrival Walkthrough, Interactive Map, and Collectibles
improvement survey
03/2026
improving Game8's site?

Your answers will help us to improve our website.
Note: Please be sure not to enter any kind of personal information into your response.

We hope you continue to make use of Game8.
Rankings
- We could not find the message board you were looking for.
Gaming News
Popular Games

Genshin Impact Walkthrough & Guides Wiki

Honkai: Star Rail Walkthrough & Guides Wiki

Umamusume: Pretty Derby Walkthrough & Guides Wiki

Pokemon Pokopia Walkthrough & Guides Wiki

Resident Evil Requiem (RE9) Walkthrough & Guides Wiki

Monster Hunter Wilds Walkthrough & Guides Wiki

Wuthering Waves Walkthrough & Guides Wiki

Arknights: Endfield Walkthrough & Guides Wiki

Pokemon FireRed and LeafGreen (FRLG) Walkthrough & Guides Wiki

Pokemon TCG Pocket (PTCGP) Strategies & Guides Wiki
Recommended Games

Diablo 4: Vessel of Hatred Walkthrough & Guides Wiki

Fire Emblem Heroes (FEH) Walkthrough & Guides Wiki

Yu-Gi-Oh! Master Duel Walkthrough & Guides Wiki

Super Smash Bros. Ultimate Walkthrough & Guides Wiki

Pokemon Brilliant Diamond and Shining Pearl (BDSP) Walkthrough & Guides Wiki

Elden Ring Shadow of the Erdtree Walkthrough & Guides Wiki

Monster Hunter World Walkthrough & Guides Wiki

The Legend of Zelda: Tears of the Kingdom Walkthrough & Guides Wiki

Persona 3 Reload Walkthrough & Guides Wiki

Cyberpunk 2077: Ultimate Edition Walkthrough & Guides Wiki
All rights reserved
© 2023 Electronic Arts Inc.
The copyrights of videos of games used in our content and other intellectual property rights belong to the provider of the game.
The contents we provide on this site were created personally by members of the Game8 editorial department.
We refuse the right to reuse or repost content taken without our permission such as data or images to other sites.





![Monster Hunter Stories 3 Review [First Impressions] | Simply Rejuvenating](https://img.game8.co/4438641/2a31b7702bd70e78ec8efd24661dacda.jpeg/thumb)


