Timeline Shift Decision: Upheaval Quest Walkthrough and Rewards
☆ Get 100,000 Haze with our Haze Farming Guide!
★ Story Walkthrough | Requests
☆ Gear up with our best Weapons | Partners | Blood Codes | Jails | Formae!
★ Obtain the best outcomes with our Choices Guide!
This is a walkthrough for the Timeline Shift Decision: Upheaval quest in Code Vein 2. See this detailed guide to check out quest objectives and what rewards you receive upon completion.
List of Contents
How to Unlock Timeline Shift Decision: Upheaval
Complete Slaying the Hero Valentin
| Location | MagMell Island |
|---|---|
| Unlock Requirements | ・Complete Slaying the Hero Valentin |
Timeline Shift Decision: Upheaval quest starts when you press continue after the first ending of the game, A Hero's End. Pressing continue will allow you to meet up with Zenon and gain the opportunity to travel back to the Upheaval era to fight for a different outcome.
Slaying the Hero Valentin Quest Walkthrough
Timeline Shift Decision: Upheaval Walkthrough
| Timeline Shift Decision: Upheaval Objectives | |
|---|---|
| 1 | Reaching the Sealing Spire |
| 2 | Climbing the Spire Boss Battle: ┣ Retainer of Idris ┗ Soul Savior Valentin |
Reaching the Sealing Spire
| Step | Objectives |
|---|---|
| 1 | 
Zenon's icon will appear in the main menu, urging you to click Continue. Click Continue to meet with Zenon and wake up back in MagMell with Lou. Afterwards, follow Zenon's Bond to travel to the Upheaval era. |
| 2 | 
After interacting with the bond, you'll be transported to Insula Carcere. Make your way through the prison until you reach the elevator. The prison now has a more linear structure, so you should have an easier time navigating. |
| 3 | 
Once you reach the Upper Prison Area, turn right and follow the linear path until you reach the area where you encountered Zenon's cocoon. |
| 4 | 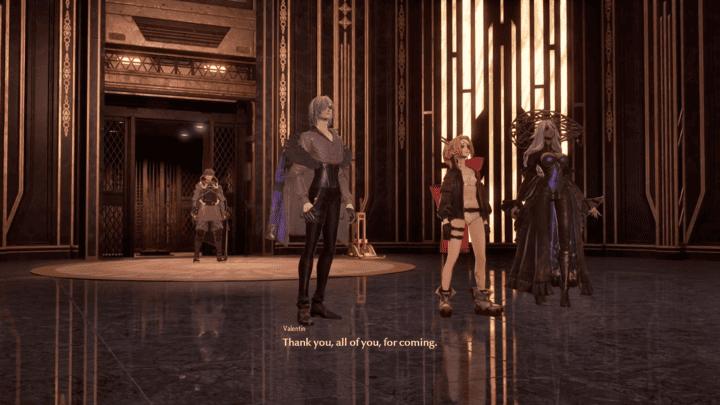
After the cutscene with Zenon and Lavinia, head to MagMell to meet with Josee, Holly, Lyle and Valentin to receive a briefing on the plan to take the Sealing Spire. Afterwards, speak to your allies in the dining room to progress, then speak to Noah twice and choose the Rest option and proceed with the memory. |
Climbing the Spire
| Step | Objectives |
|---|---|
| 1 | 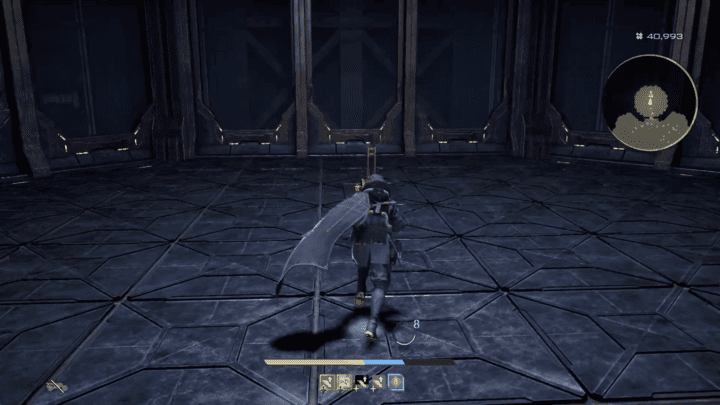
Once you wake up, meet with your allies at the lobby to teleport into the Sealing Spire. Afterwards, proceed through the linear path until you reach the big gate that houses four enemies and a map jammer, then take the stairs from either side until you reach the switch for the elevator. |
| 2 | 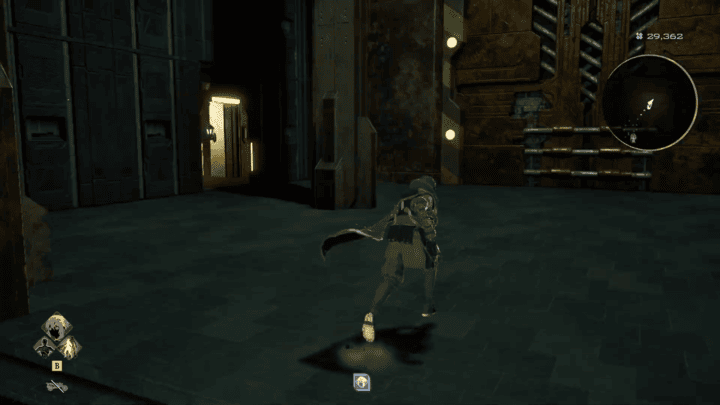
Survive the ambush in the elevator until you reach your allies. Then take the stairs and use the side entrance beside the big gate, and work your way down. |
| 3 | 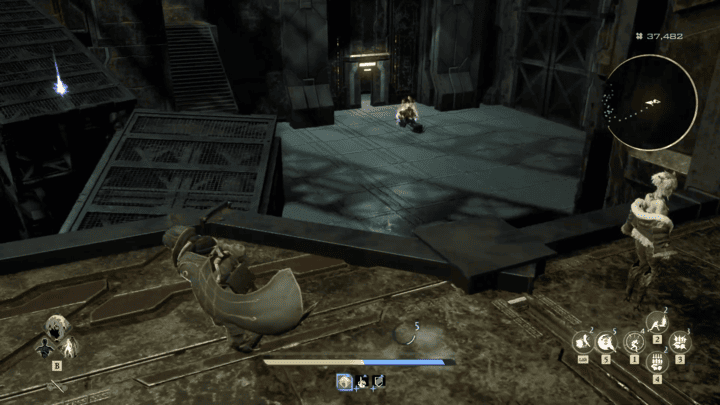
After reaching the steel platforms, make your way down and use the broken platforms on the left path to reach the elevator that leads up. The right path from the entrance circles back to the entrance but contains valuable items. Tender Crimson 8: Found on the left as soon as you drop down from the entrance to the platform areas.
Pure Platinum 9: Found below the broken set of stairs in front of the entrance.
Primordial Heart: Found on top of the ladder on the path on the right.
Uncanny Stone x3: Found at the end of the path on the right.
Pure Platinum 8: Found on the left path, just before reaching the platforms leading to the elevator.
Uncanny Stone: Found on a platform leading to the elevator. |
| 4 | 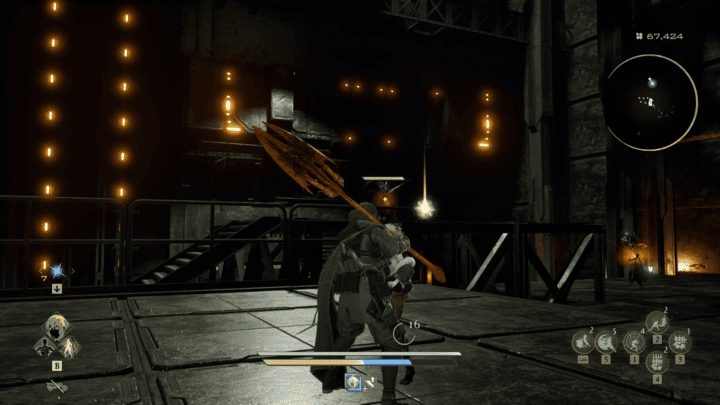
From the elevator, take the ladder heading down, then open the big gate. Afterwards, take the side entrance from the big gate in front. |
| 5 | 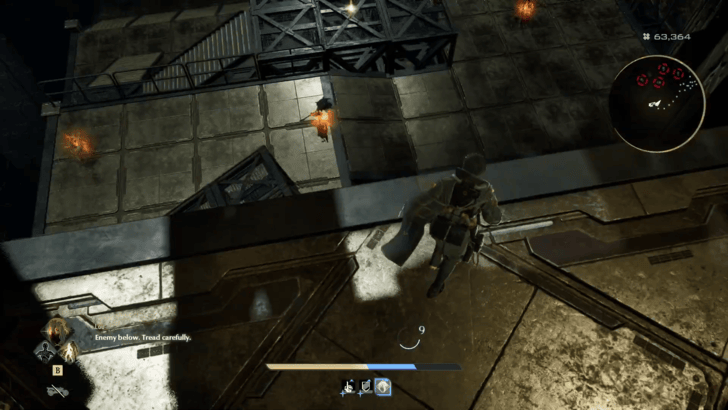
Use the path on the left until you reach a dead end. From there, carefully make your way down to the area with a staircase and continue until you reach another elevator that leads to a revival stone. Pure Platinum 8: Found on the left as soon as you drop down from the entrance to the platform areas.
Tender Crimson Stone 8: Found just before reaching the staircase.
Grand Crimson Stone: Found on top of the staircase. |
| 6 | 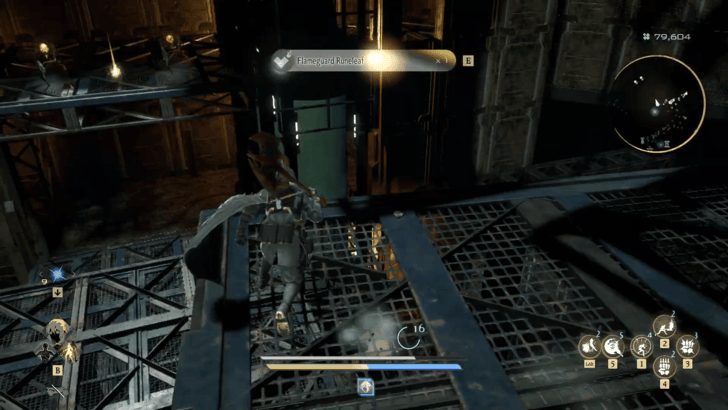
Turn right and carefully drop down the steel platforms until you reach a Breath of Thunder loot. Flameguard Runeleaf: Found on the steel platform just before the platform where Breath of Thunder is located.
Breath of Thunder: Found on the last platform before you turn right to continue through the path.
Uncanny Stone x3: Found on the pipe walkway from where you obtain Flameguard Runeleaf. |
| 7 | 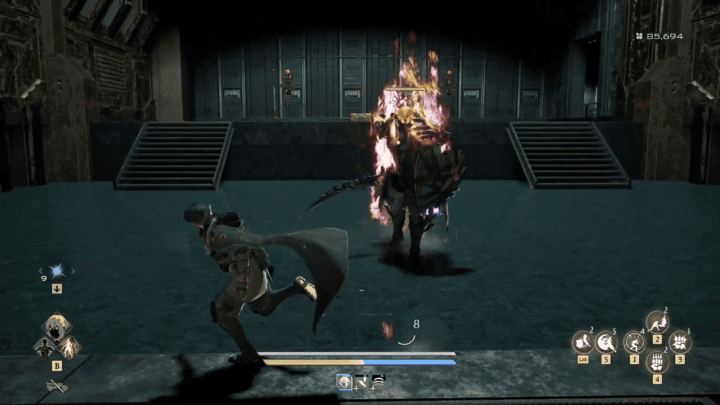
From the Breath of Thunder loot, turn right and make your way up the stairs until you reach a map jammer and an elite enemy guarding a chest. You can also turn left and use the ladder to reach the platform above. Immaculate Platinum Block x3: Found under the first set of stairs as soon as you turn right.
Immaculate Platinum Block: Found between two enemies on the platform above.
Tender Crimson Stone 9: Found on the platform above.
Grand Staircase Key 2: Obtained after defeating the Lost Knight.
Draconic Stake: Obtained from the chest. |
| 8 | 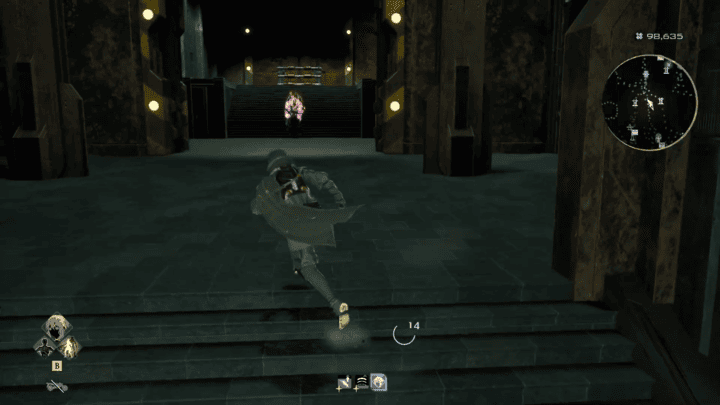
From the chest room, use the path on the right to use a ladder back to your allies and the big gate. Proceed through the gate then activate the elevator and survive another ambush. |
| 9 | 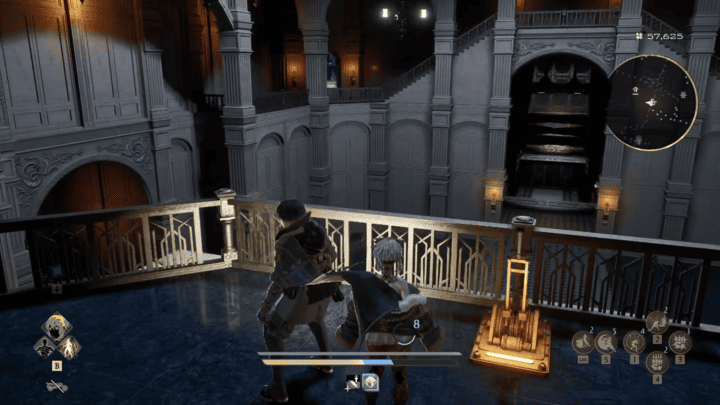
Once you reach the Sealing Spire, turn left and head up the stairs until you reach a three-way junction. Use the left path reach a balcony path that leads to the second floor. Tender Crimson Stone 9 x3: Found on the balcony before reaching the mistle.
Uncanny Stone x3: Found on the balcony before reaching the mistle.
Immaculate Platinum Block x3: Obtained from the path in the middle. |
| 10 | 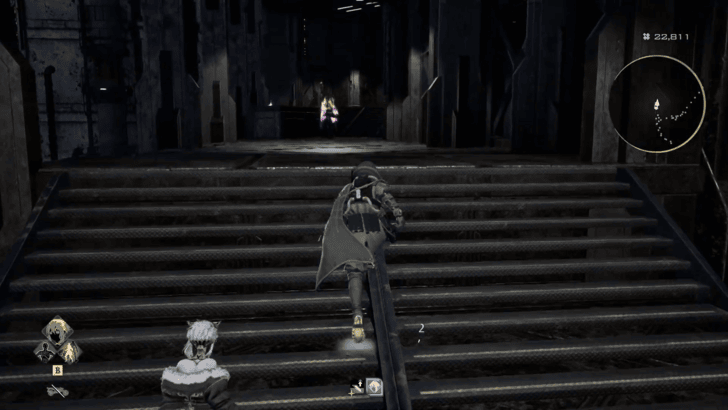
Press through the balcony path until you reach the interior. From there, follow the interior path until you reach a switch that creates a path for the middle hallway. A ladder shortcut can be found on the left side of the switch. The room beside the ladder also contains a chest and a map jammer. Pure Platinum 9 x3: Found on the left-most side of the balcony path.
Grand Staircase Key 2: Found behind a Lost Knight on the balcony path.
Grand Light Stone: Found immediately on the right of the doorway that leads back to the interior.
Cathedral Key: Dropped by the Lost Knight in the room near the shortcut ladder.
Ichor Regeneration: Found in the room near the shortcut ladder.
Golden Blood Bead: Obtained in the locked room on the right path from the junction (Requires the Cathedral Key). |
| 11 | 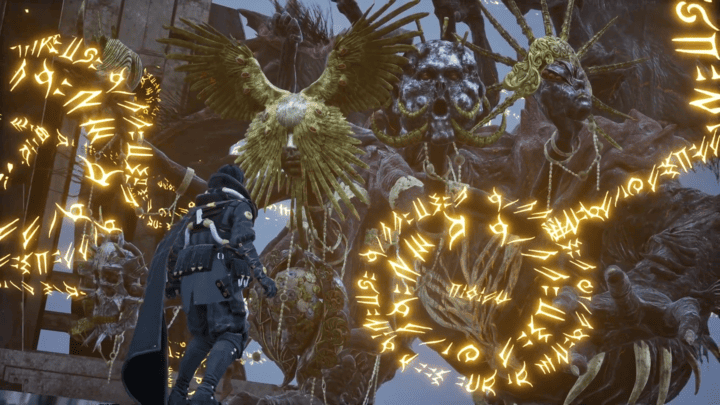
Proceed through the middle path, then activate the elevator and survive another ambush from mobs and Retainer of Idris. Upon reaching the top floor, proceed to the open area to fight and defeat Soul Savior Valentin. Defeating the Soul Savior Valentin completes the quest and rewards the Luna Fraterna ending. ┗ How to Get the True Ending |
Timeline Shift Decision: Upheaval Bosses
Retainer of Idris
 |
|||||||||||
| Boss Type | Location | ||||||||||
|---|---|---|---|---|---|---|---|---|---|---|---|
| Mini Boss | None | ||||||||||
The Retainer of Idris is a boss encounter in Timeline Shift Decision: Upheaval. This boss has the same mechanics as the ones you fight in Timeline Shift Decision: Holly and Valentin's Request. You can go all out in this fight as you'll be able to reach a mistle just before the fight with Soul Savior Valentin.
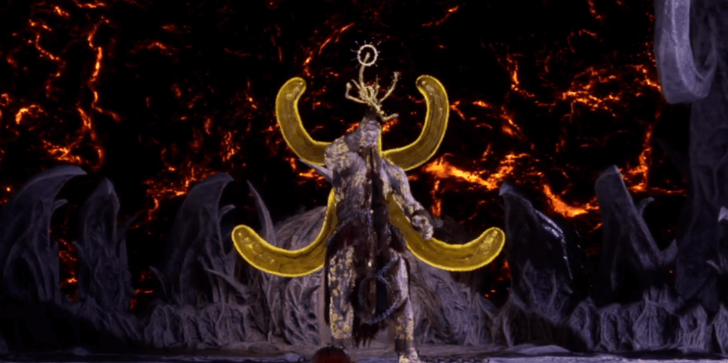
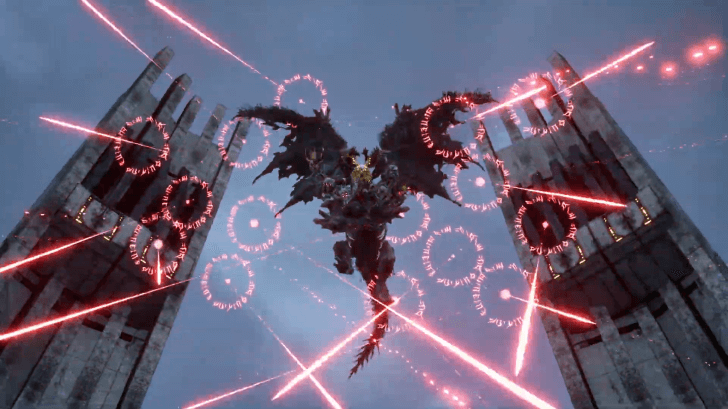
Soul Savior Valentin
 |
|||||||||||
| Boss Type | Location | ||||||||||
|---|---|---|---|---|---|---|---|---|---|---|---|
| Main Boss | Sealed Grounds | ||||||||||
Soul Savior Valentin is the final boss of Timeline Shift Decision: Upheaval. You'll want to focus on its head since it yields the most damage when attacked. You should also be careful of its Lifesteal AoE attacks since it can make the fight harder.
Soul Savior Valentin Boss Guide
Timeline Shift Decision: Upheaval Rewards
Blood Code
 Soul Savior Valentin Soul Savior Valentin
|
Bloodline | Superbia | |||
|---|---|---|---|---|---|
| Rank |
|
||||
| Bleed Factor | 60 | ||||
| Max Ichor | 17 | ||||
| Balance | 49 |
These are all the rewards you can get by doing Timeline Shift Decision: Upheaval. The rewards listed above are the total earned as you progress through the quest and upon completing it.
Code Vein 2 Related Guides
| All Story Walkthroughs | |
|---|---|
| 1 | Follow Lou's Instructions |
| 2 | Mastering Control of Time |
| 3 | Timeline Shift Decision: Noah |
| 4 | Vanquishing the Heroes |
| 5 | Slaying the Hero Josee |
| 6 | Slaying the Hero Lyle |
| 7 | Slaying the Hero Holly |
| 8 | Timeline Shift Decision: Lyle |
| 9 | Timeline Shift Decision: Holly |
| 10 | Timeline Shift Decision: Josee |
| 11 | Slaying the Hero Zenon |
| 12 | Slaying the Hero Valentin |
| 13 | Timeline Shift Decision: Upheaval |
| 14 | Rescue Lou |
Comment
Author

Timeline Shift Decision: Upheaval Quest Walkthrough and Rewards
Rankings
- We could not find the message board you were looking for.
Gaming News


![Marathon Cryo Archive Map Teased as [REDACTED] on Selection Screen](https://img.game8.co/4442236/6357203e58172f6de57f1991e7c39b22.png/thumb)


Popular Games

Genshin Impact Walkthrough & Guides Wiki
Umamusume: Pretty Derby Walkthrough & Guides Wiki
Pokemon Pokopia Walkthrough & Guides Wiki
Honkai: Star Rail Walkthrough & Guides Wiki
Monster Hunter Stories 3: Twisted Reflection Walkthrough & Guides Wiki
Arknights: Endfield Walkthrough & Guides Wiki
Wuthering Waves Walkthrough & Guides Wiki
Zenless Zone Zero Walkthrough & Guides Wiki
Pokemon TCG Pocket (PTCGP) Strategies & Guides Wiki
Monster Hunter Wilds Walkthrough & Guides Wiki


Recommended Games
Diablo 4: Vessel of Hatred Walkthrough & Guides Wiki
Cyberpunk 2077: Ultimate Edition Walkthrough & Guides Wiki
Fire Emblem Heroes (FEH) Walkthrough & Guides Wiki
Yu-Gi-Oh! Master Duel Walkthrough & Guides Wiki
Super Smash Bros. Ultimate Walkthrough & Guides Wiki
Pokemon Brilliant Diamond and Shining Pearl (BDSP) Walkthrough & Guides Wiki
Elden Ring Shadow of the Erdtree Walkthrough & Guides Wiki
Monster Hunter World Walkthrough & Guides Wiki
The Legend of Zelda: Tears of the Kingdom Walkthrough & Guides Wiki
Persona 3 Reload Walkthrough & Guides Wiki


All rights reserved
© Bandai Namco Entertainment America Inc. All third party content, brands, names, and logos are used under license and remain property of their respective owners. All rights reserved.
The copyrights of videos of games used in our content and other intellectual property rights belong to the provider of the game.
The contents we provide on this site were created personally by members of the Game8 editorial department.
We refuse the right to reuse or repost content taken without our permission such as data or images to other sites.