Interactive Map and Locations
☆ Get 100,000 Haze with our Haze Farming Guide!
★ Story Walkthrough | Requests
☆ Gear up with our best Weapons | Partners | Blood Codes | Jails | Formae!
★ Obtain the best outcomes with our Choices Guide!
This is an interactive map of Code Vein 2’s playable area, The Frontier. It includes the full map, a guide on how to unlock the map, as well as map guides for each region and collectible.
Code Vein 2 Interactive Map
Map of The Frontier
 | ||
| # | Feature | Description |
|---|---|---|
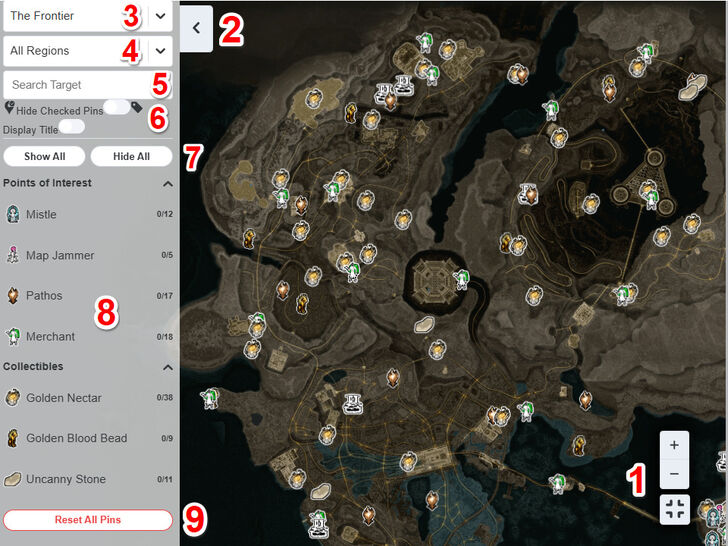
| 1 | Fullscreen, Zoom In, and Zoom Out | Toggles fullscreen mode. The plus and minus buttons zooms the map in or out. |
| 2 | Show/Hide Sidebar | Show or hides the Sidebar on the left side of the map |
| 3 | Map Name | Select between a selection of maps. |
| 4 | Select Region | Choose a specific region to only show the map pins in that area. |
| 5 | Search Bar | Returns any map pins whose titles or descriptions contains the searched term. |
| 6 | Hide/Show Collected Pins and Display Pin Titles | The first option is a toggle that hides any map pins you’ve marked as collected. The second option shows the titles of all present map pins. |
| 7 | Show/Hide All Pins | Buttons that show or hide all the possible map pins. |
| 8 | Map Pin Categories | Select a certain category of pins to show or hide. |
| 9 | Reset All Pins | Resets all you're marked pins to the default unmarked option. Cannot be undone after confirming. |
Map Legend
| - |
How to Unlock the Map
Destroy Map Jammers Scattered Throughout The Frontier
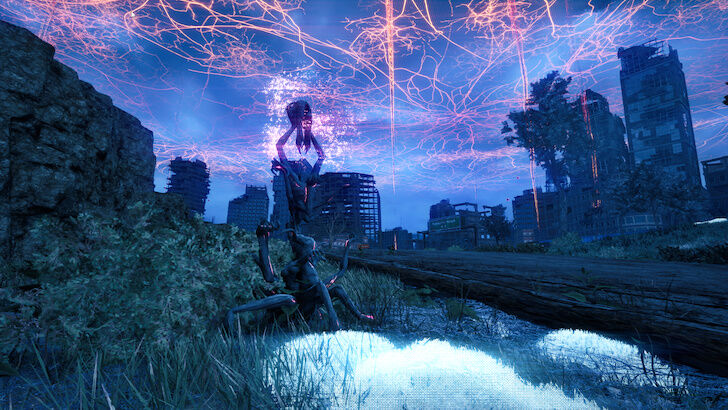
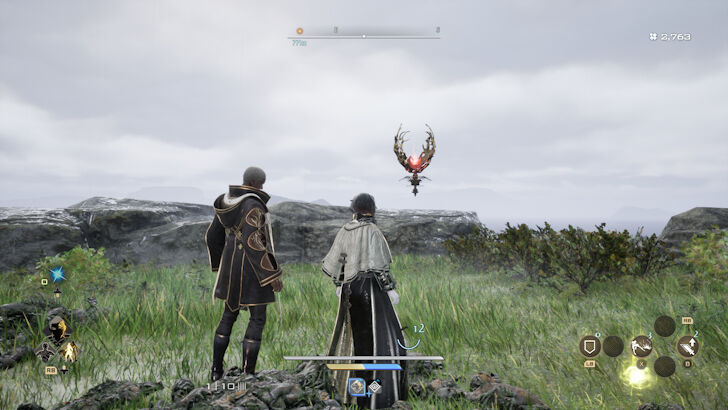
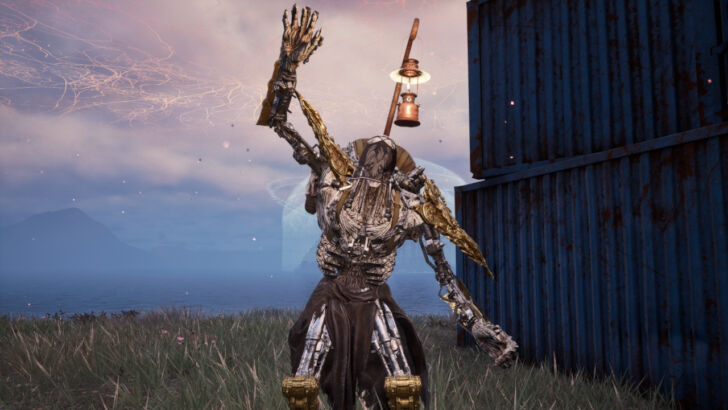
Map Jammers are static enemies and points of interest in Code Vein 2’s map, canonically called The Frontier, that block visibility of the map. Defeating them reveals the section they are jamming, unlocking more of the map. There are 16 Map Jammers in total, not counting the one found in dungeons, that must be defeated to uncover the entire map.
Appears as Red Pulsing Circles on the Map
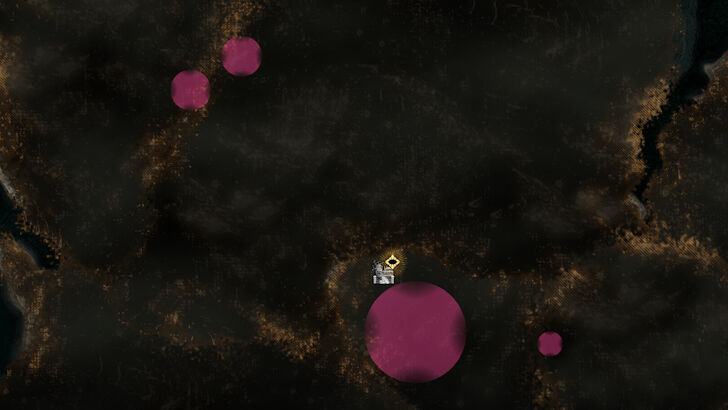
As you start exploring the main land after progressing through the main quest in MagMell Island, Map Jammers will be marked on your map as pulsing red circles indicating their estimated location.
Follow Our Map Region Exploration Guides
| Visual Guides for Each Region Map | |
|---|---|
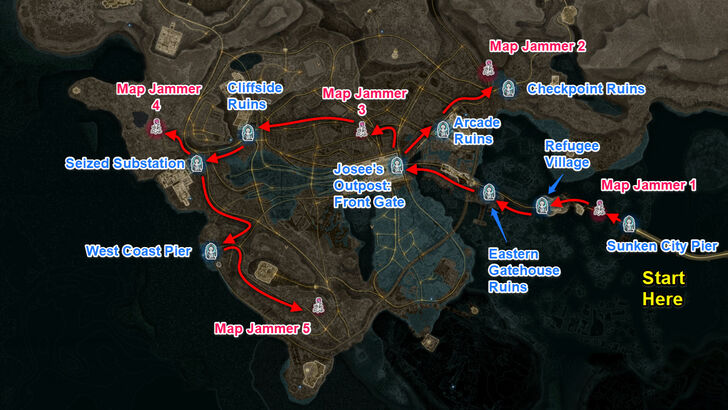 |
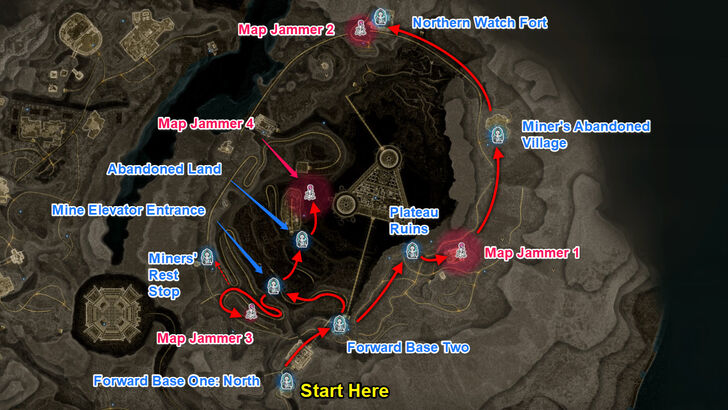 |
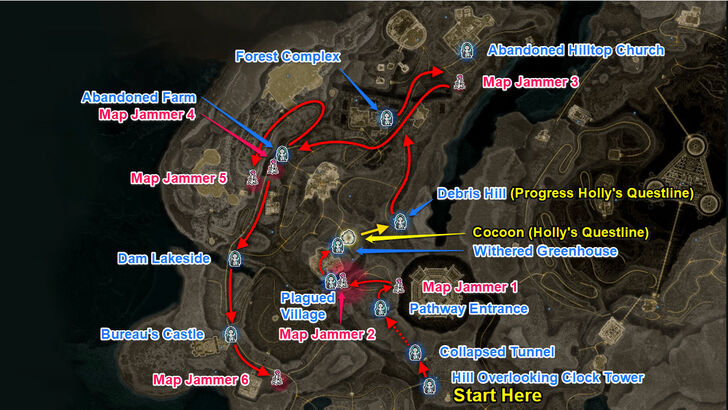 |
- |
Since it can be tricky to traverse each region without a map, consider using our visual guides above to unlock each region's map. More details can be seen by using our guides dedicated for each region.
Map Region Guides and Checklist
| Map Regions | ||
|---|---|---|
| MagMell Island | The Sunken City | The Corroded Scar |
| The Undead Forest | Insula Carcere | - |
MagMell Island
This is where the main base of operations, MagMell, and is the starting location of the game. While it is accessible early on, certain parts of the island remain locked until you complete Noah's Questline.
MagMell Island 100% Exploration Guide
The Sunken City
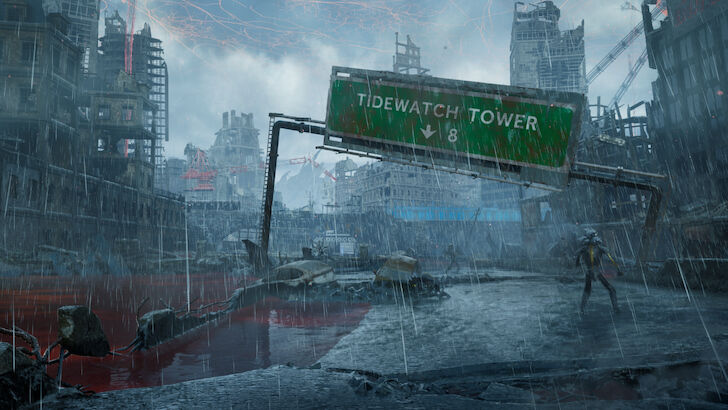
A city devastated by repeated large-scale Resurgence, now flooded with polluted waters. You can encounter and progress Josee's questline here.
You can reach this area by advancing through the Vanquishing the Heroes Main Quest in MagMell Island. At this point, follow the pulsing red circles on the map to locate the Map Jammers and gradually uncover more of the region.
The Corroded Scar

Once a dangerous area where potent acid erupted from the earth’s surface, the Corroded Scars were carved out by pioneers seeking precious energy resources.
After getting to the Sunken City, you can immediately get to the Undead Forest by passing through the Checkpoint Ruins northeast of the Sunken City. The rest of the region can be explored by progressing through Lyle's questline.
Corroded Scar Exploration Guide
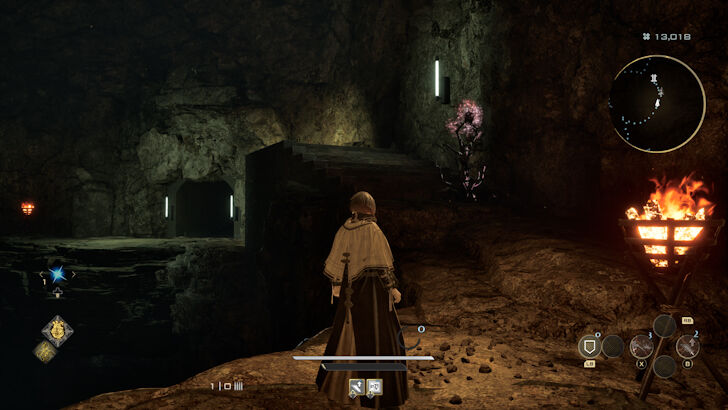
The Undead Forest
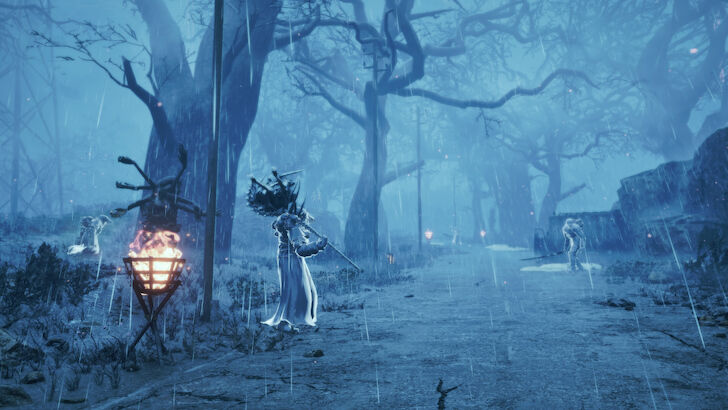
A region where the Asturias family’s sanatorium once stood. Now the area is a withered, haunted forest where Specters of Horror and Revenants roam.
You can access this area right after accessing the Sunken City by entering the Collapsed Tunnel near the Hill Overlooking Clock Tower Mistle. The rest of the region can be explored by progressing through Holly's Questline.
Undead Forest Exploration Guide
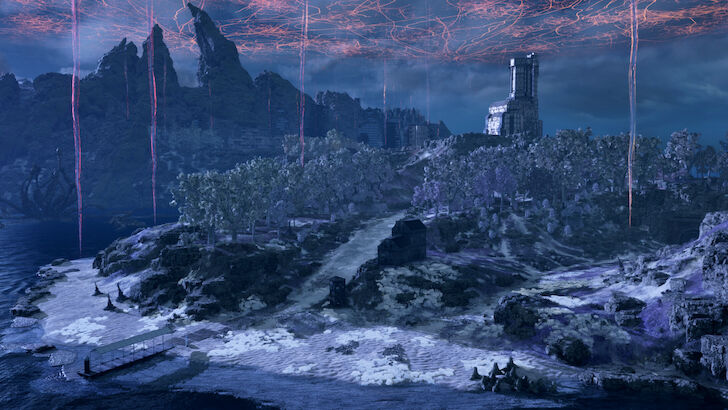
Insula Carcere
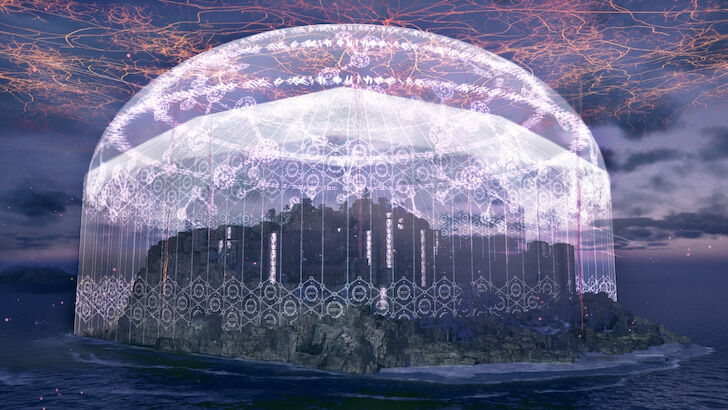
A massive, fortress-like prison drifting upon the open sea. Found on the southwest corner of The Frontier, Insula Carcere is an endgame location accessible by progressing through the Vanquishing the Heroes main quest.
Insula Carcere Map Exploration Guide
Collectibles Map and Checklist
| Other Important Locations | ||
|---|---|---|
| Mistles | Map Jammers | Golden Nectars |
| Golden Blood Beads | Hot Springs | Pathos |
| Jadwiga's Minions | - | - |
Mistles
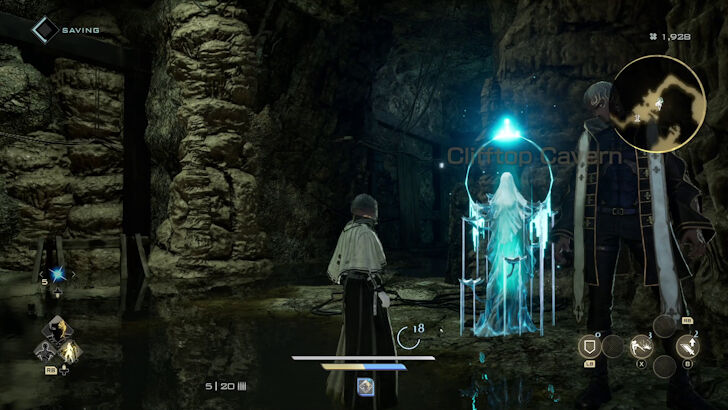
Mistles serve as fast travel points and resting spots. Be sure to locate them in each dungeon or point of interest you explore.
Map Jammers
Map Jammers are enemies that block sections of the map. Defeat them to reveal sections of the map or dungeon layouts.
Later in the story, the Map Jammers locations appear as red pulsing circles on the map.
Golden Nectars
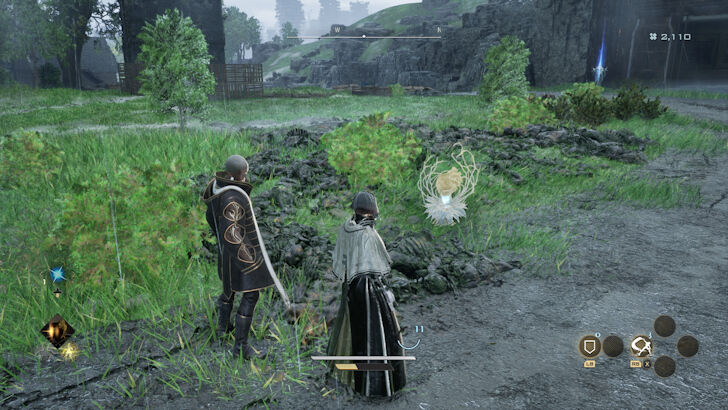
Golden Nectars are collectible upgrade materials that expand Regeneration’s carry limit. They are marked as blue dots on the map and can be found both above ground and in underground dungeons.
Golden Blood Beads
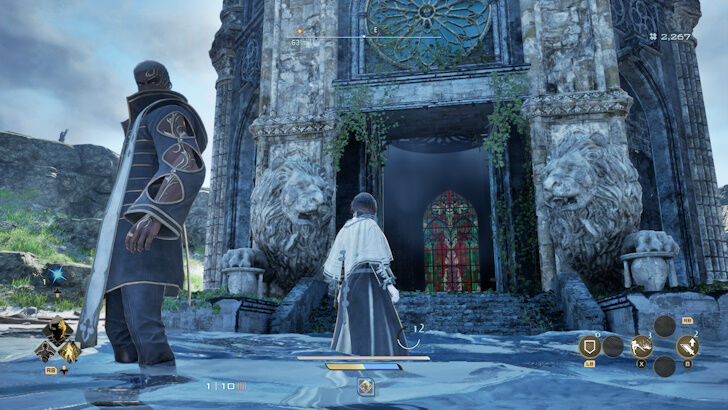
Golden Blood Beads are collectible upgrade materials that enhance Regeneration recovery. They are scattered across the map and can be identified by the octagonal cathedral spire structures that house them.
Hot Springs
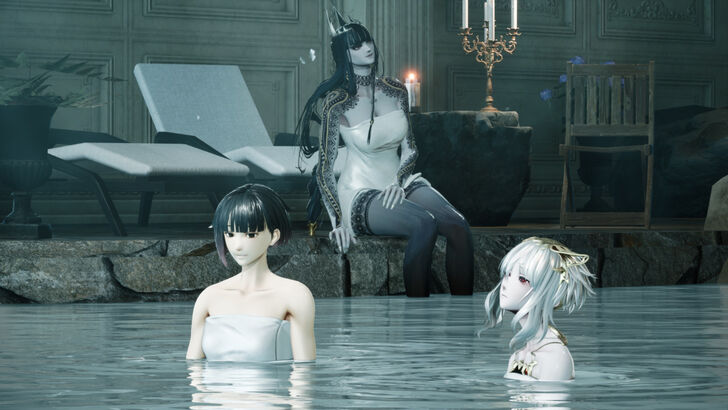
Bathing in Hot Springs allow you to unlock Item Synthesis Recipes. They are usually located near safe zones such as MagMell Base or the Sanatorium.
Hot Spring Locations and Recipes
Regional Pathoses
Regional Pathoses are altars that provide blessings to enhance your character’s stats while you remain in the appropriate region. They are marked on the map by icons with horn-looking spires, such as the one on the southeastern edge of MagMell Island.
Regional Pathos Locations and Effects
Jadwiga's Minions
Jadwiga's Minions are found across The Frontier each having a stock of unique items to sell. Most notably, these merchants sell Customer Tokens which unlock upgrade materials for purchase at MagMell Base.
Jadwiga's Minion Locations and Inventory
Code Vein 2 Related Guides

| Code Vein 2 Contents | |
|---|---|
 Story Walkthrough Story Walkthrough |
 Weapons Weapons |
 Partners Partners |
 Bosses Bosses |
 Blood Codes Blood Codes |
 Jails Jails |
 Formae Formae |
 Boosters Boosters |
 Maps Maps |
 Items Items |
 NPCs NPCs |
 Tips and Tricks Tips and Tricks |
 Cosmetics Cosmetics |
 Builds Builds |
 Shops Shops |
 News and Game Info News and Game Info |
Comment
Author

Interactive Map and Locations
Rankings
- We could not find the message board you were looking for.
Gaming News


![Marathon Cryo Archive Map Teased as [REDACTED] on Selection Screen](https://img.game8.co/4442236/6357203e58172f6de57f1991e7c39b22.png/thumb)


Popular Games

Genshin Impact Walkthrough & Guides Wiki
Umamusume: Pretty Derby Walkthrough & Guides Wiki
Pokemon Pokopia Walkthrough & Guides Wiki
Honkai: Star Rail Walkthrough & Guides Wiki
Monster Hunter Stories 3: Twisted Reflection Walkthrough & Guides Wiki
Arknights: Endfield Walkthrough & Guides Wiki
Wuthering Waves Walkthrough & Guides Wiki
Zenless Zone Zero Walkthrough & Guides Wiki
Pokemon TCG Pocket (PTCGP) Strategies & Guides Wiki
Monster Hunter Wilds Walkthrough & Guides Wiki


Recommended Games
Diablo 4: Vessel of Hatred Walkthrough & Guides Wiki
Cyberpunk 2077: Ultimate Edition Walkthrough & Guides Wiki
Fire Emblem Heroes (FEH) Walkthrough & Guides Wiki
Yu-Gi-Oh! Master Duel Walkthrough & Guides Wiki
Super Smash Bros. Ultimate Walkthrough & Guides Wiki
Pokemon Brilliant Diamond and Shining Pearl (BDSP) Walkthrough & Guides Wiki
Elden Ring Shadow of the Erdtree Walkthrough & Guides Wiki
Monster Hunter World Walkthrough & Guides Wiki
The Legend of Zelda: Tears of the Kingdom Walkthrough & Guides Wiki
Persona 3 Reload Walkthrough & Guides Wiki


All rights reserved
© Bandai Namco Entertainment America Inc. All third party content, brands, names, and logos are used under license and remain property of their respective owners. All rights reserved.
The copyrights of videos of games used in our content and other intellectual property rights belong to the provider of the game.
The contents we provide on this site were created personally by members of the Game8 editorial department.
We refuse the right to reuse or repost content taken without our permission such as data or images to other sites.