Timeline Shift Decision: Lyle Quest Walkthrough and Rewards
☆ Get 100,000 Haze with our Haze Farming Guide!
★ Story Walkthrough | Requests
☆ Gear up with our best Weapons | Partners | Blood Codes | Jails | Formae!
★ Obtain the best outcomes with our Choices Guide!
This is a walkthrough for the Timeline Shift Decision: Lyle quest in Code Vein 2. See this detailed guide to check out quest objectives and what rewards you receive upon completion.
List of Contents
How to Unlock Timeline Shift Decision: Lyle
Complete Slaying the Hero Lyle
| Location | Sunken City |
|---|---|
| Unlock Requirements | ・Complete Slaying the Hero Lyle |
The Timeline Shift Decision: Lyle's quest starts after you obtain Lyle's Rusted Sword to activate Lyle's Faded Bond, which appears after talking to Lyle in the Free Exploration Era after Slaying the Hero Lyle. After you obtain Lyle's Rusted Sword, you can interact with the Faded Bond to start the quest.
Slaying the Hero Lyle Quest Walkthrough
Related Quests
| Requests | ・Requests from a Friend: Lyle
・Requests from a Friend: Craig |
|---|
Completing this quest grants you access to Lyle and Craig's request. To access Craig's requests, you need to finish Slaying the Hero Holly and bring Craig to her so Craig can walk again.
Timeline Shift Decision: Lyle Walkthrough
| Timeline Shift Decision: Lyle Objectives | |
|---|---|
| 1 | Obtaining Lyle's Rusted Sword |
| 2 | Sealed Great Mine ┗ Boss Battle: Pioneer Queen Imogen |
| 3 | Slay the Hero Lyle ┗ Boss Battle: Hero Lyle |
Lyle's Fading Bond
| Step | Objectives |
|---|---|
| 1 | 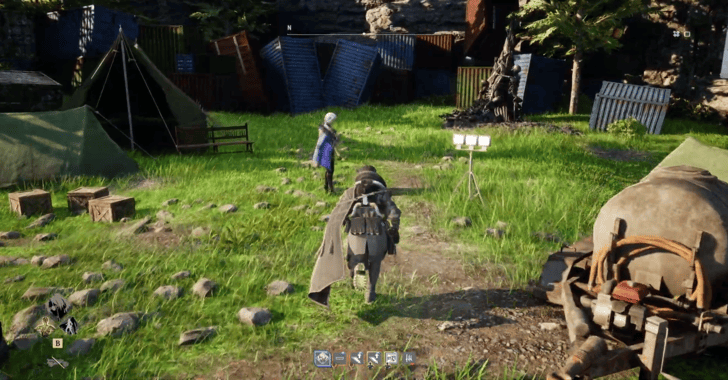 Return to the Free Explodation Era and speak to Lyle in Forward Base One for his sword to appear in the present era. |
| 2 | 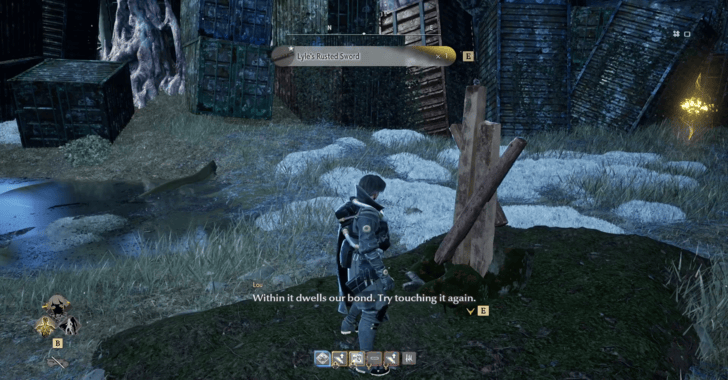 Return to the present and travel back to Forward Base One to obtain Lyle's Rusted Sword, then interact with Lyle's fading bond to return to Lyle's era. |
How to Repair Lyle's Fading Bond
Sealed Great Mine
| Step | Objectives |
|---|---|
| 1 | 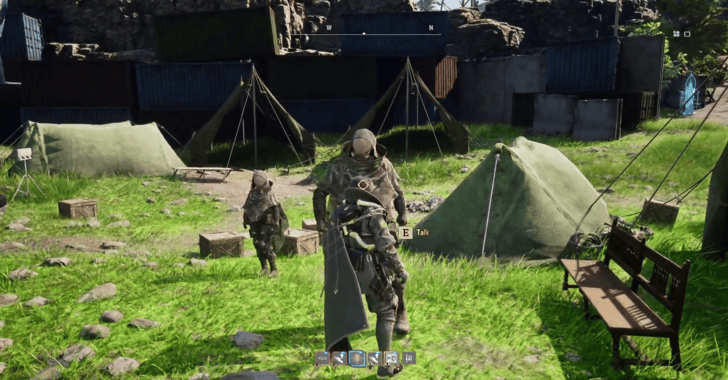 After returning to Lyle's era, speak to the Chorus Members in Forward Base One, and they'll inform you of Craig's location in the Pioneer Castle. |
| 2 |  Fast travel to the Command Room mistle and speak to Craig. After the cutscene, you'll be transported to another location. Craig 1 Blood Code: Obtained after the cutscene with Craig. |
| 3 | 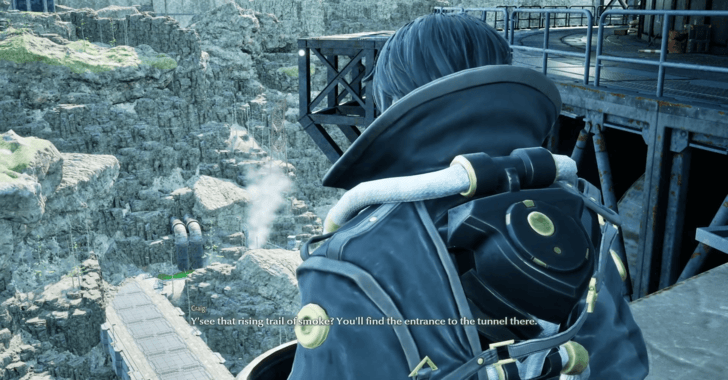 Take the path on your right and follow it until you reach an elevator and use it to head down. Afterwards, cross the bridge, turn right until you reach the Sealed Great Mine, then interact with the gate. Tender Crimson Stone 4: Found in the watch post near the mine entrance. |
| 4 | 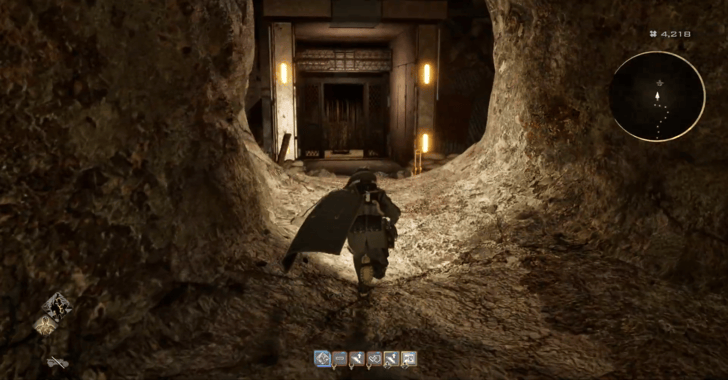 Speak to Lyle once you're inside the mine. Afterwards, use the ladder to head down and follow the path until you reach an elevator and use it to reach the lower levels. |
| 5 | 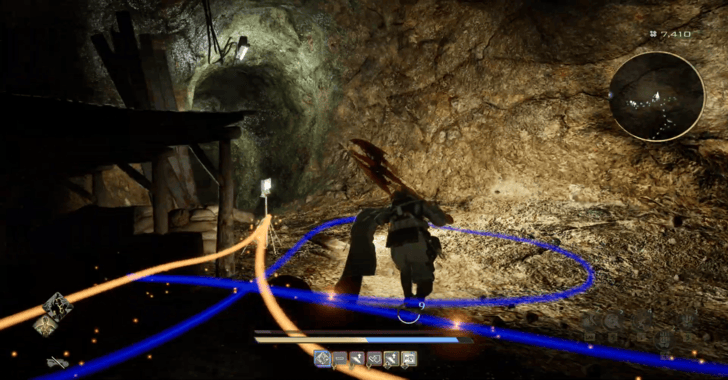 Follow the path from the elevator until you reach a junction. Choose the path in front of you, as the one on the left leads to a dead end. Pure Platinum 3: Found as soon as you turn right from the elevator path.
Breath of Flame: Found in a corner on your right just before you reach the junction. |
| 6 | 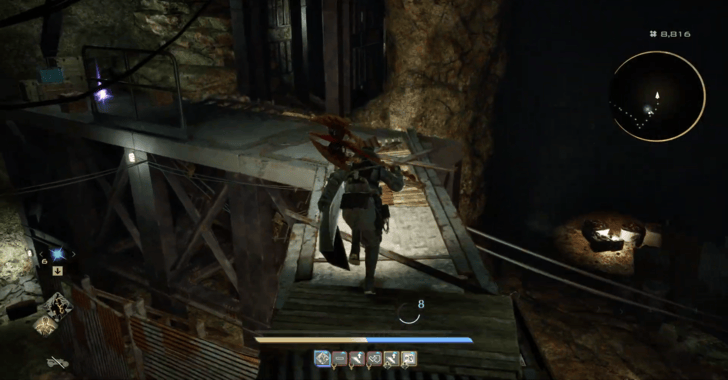 Once you reach a large area, take the stairs on your right to reach the platforms above and turn right to reach the upper cave. Pure Platinum 4: Found on the platform just before reaching the entrance to the upper cave.
Pure Platinum 4: Found on the left behind a wooden fence near the upper cave entrance. |
| 7 | 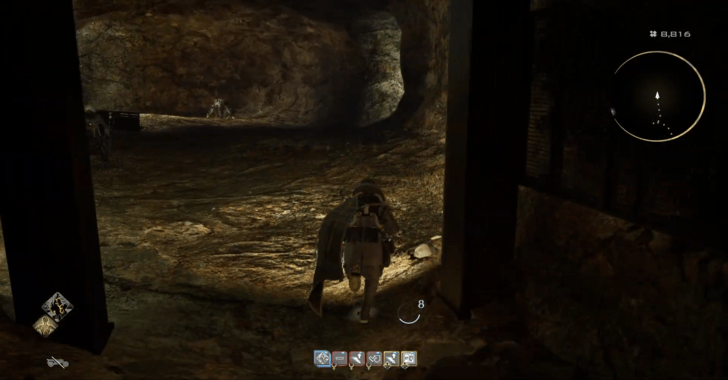 From the upper cave, turn right to explore more of the cave. The left path is a dead end, but it contains an upgrade item. Tender Crimson Stone 3: Found near the steel fence at the end of the left path from the upper cave.
Tender Crimson Stone 4: Found under the stairs on the left path from the upper cave. |
| 8 | 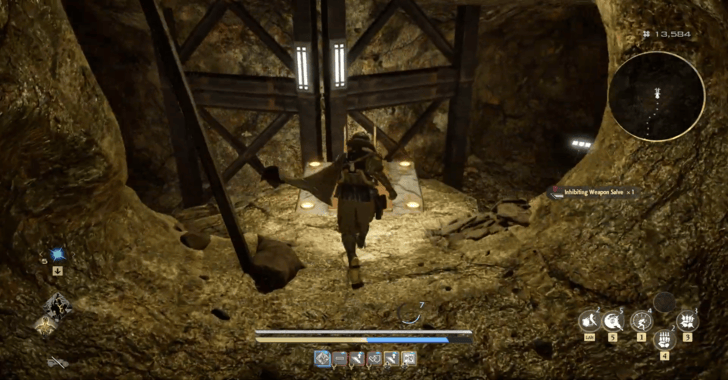 Follow the path until you reach a ladder with a junction. The left path leads to a Worn Coin in a dead end; the right path has a map jammer and a Revival Point, as well as a ladder leading to the next area. Flash Javelin: Found in a chest guarded by a bishop enemy in the right section of the upper cave. |
| 9 | 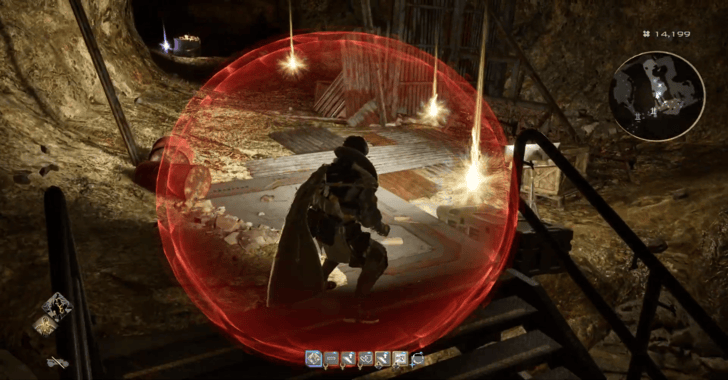 Climb the ladder and use the stairs on your left to reach the required items for the quest. Follow the path and collect the investigation reports until you reach another ladder. Pure Platinum 6: Found just before the ladder past the investigation reports. |
| 10 | 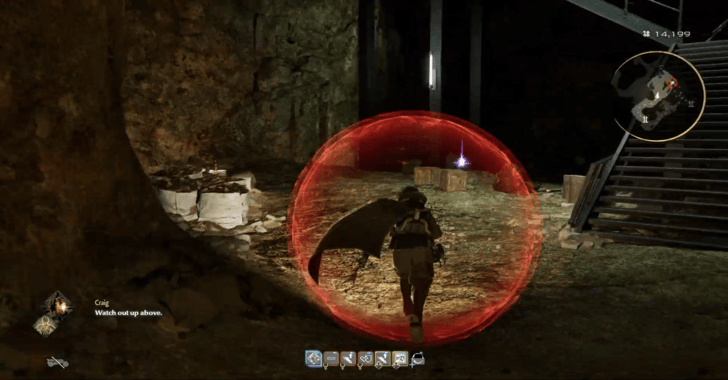 Climb the ladder and the following stairs to reach the next area. The path in front of the stairs leads to a chest, while the path above the stairs contains the ladder that leads to the next area. Tender Crimson Stone 5: Found in the area in front of the stairs.
Argen Wolf Poleaxe: Found in the chest in the same area as the Tender Crimson Stone. |
| 11 | 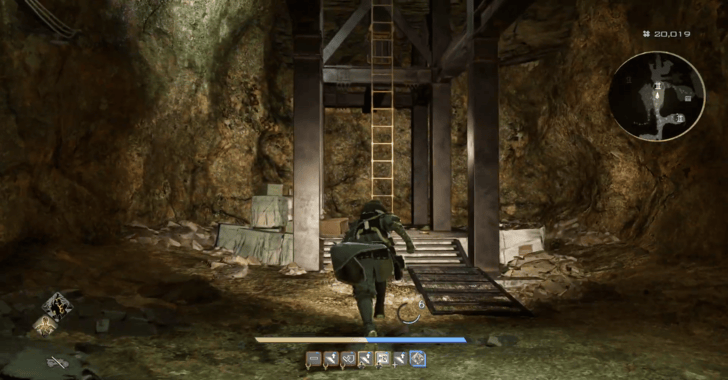 Use the ladder to reach the next area, which will have another junction. The left path leads to a dead end and a valuable item, while the right leads to another ladder. Tender Crimson Stone 5: Found at the end of the left area.
Uncanny Stone: Found below the ladder that leads to the next area. |
| 12 | 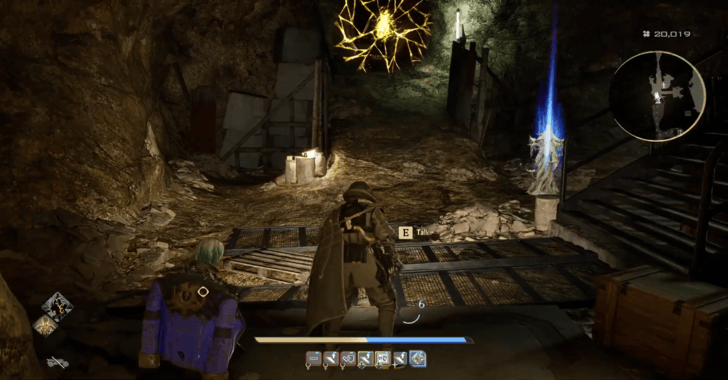 Use the ladder to reach Lyle, then interact with the pathos ahead to reveal the memories of Imogen. |
| 13 | 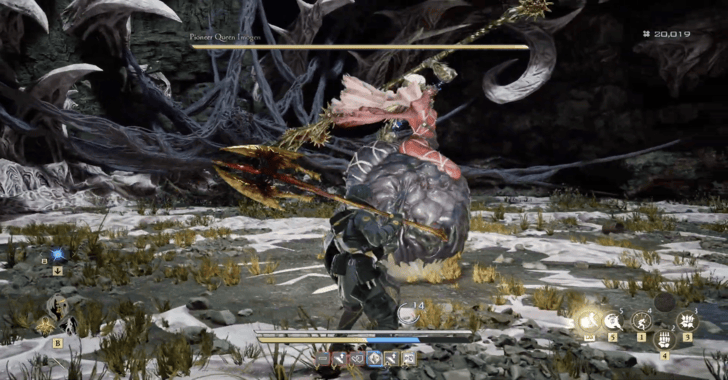 After walking through Imogen's memories and the cutscene with Craig, follow the path until you reach the boss area, where you'll fight Pioneer Queen Imogen. Pioneer Queen Imogen Blood Code: Obtained after defeating Pioneer Queen Imogen. |
Slay the Hero Lyle
| Step | Objectives |
|---|---|
| 1 | 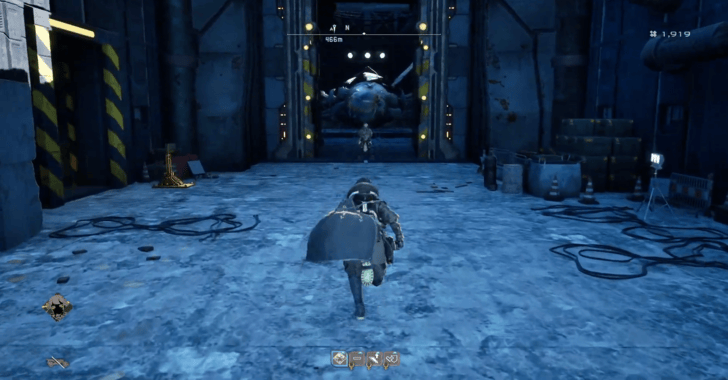 Return to the present and head back to Pioneer Castle. Afterwards, use the elevator on the left just before reaching the cocoon to meet with Craig. Absolute Executioner: Obtained after speaking with Craig. |
| 2 |  Use the elevator again to reach the Cocoon and unseal and fight Hero Lyle. Hero Lyle Blood Code: Obtained after defeating Hero Lyle. |
Timeline Shift Decision: Lyle Bosses
Pioneer Queen Imogen
 |
|||||||||||
| Boss Type | Location | ||||||||||
|---|---|---|---|---|---|---|---|---|---|---|---|
| Mini Boss | Corroded Scar | ||||||||||
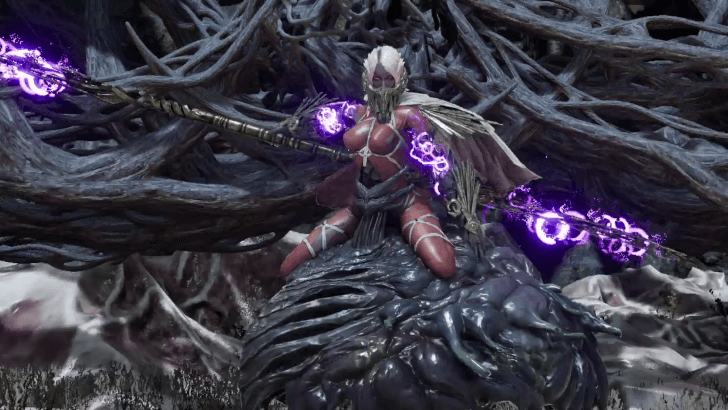
Pioneer Queen Imogen is a boss you'll encounter in this quest. This boss can be found deep in the Sealed Great Mines. Defeating this boss is needed for Hero Lyle.
Pioneer Queen Imogen Fight Tips
- Get a feel for the timing of each throwing disc attack she makes. Dodge these as much as possible and be ready to dodge continuously in case she throws more than you expect.
- She enters a staggered state within a few successful parries. Aim to do this for a big window to land attacks on her.
Pioneer Queen Imogen Boss Guide
Hero Lyle
 |
|||||||||||
| Boss Type | Location | ||||||||||
|---|---|---|---|---|---|---|---|---|---|---|---|
| Main Boss | Corroded Scar | ||||||||||
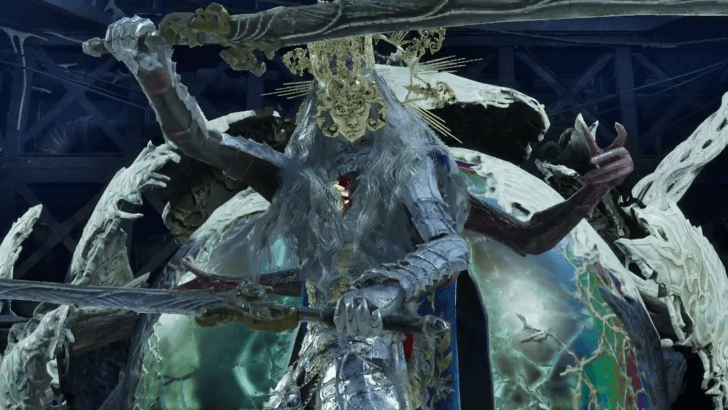
Hero Lyle is the final boss of this questline. After returning to the present and speaking with Craig in the Pioneer Castle's office, interact with the cocoon to release Lyle.
Hero Lyle Fight Tips
- Focus on parrying his melee attacks to cancel his attack combos.
- Use Craig to get Hero Lyle's attention, giving you a decent window to cast buffs.
Timeline Shift Decision: Lyle Rewards
Blood Codes
 Hero Lyle Hero Lyle
|
Bloodline | Patientia | |||
|---|---|---|---|---|---|
| Rank |
|
||||
| Bleed Factor | 31 | ||||
| Max Ichor | 16 | ||||
| Balance | 22 | ||||
 Patientia Bloodline: Craig 1 Patientia Bloodline: Craig 1
|
Bloodline | Patientia | |||
| Rank |
|
||||
| Bleed Factor | 24 | ||||
| Max Ichor | 14 | ||||
| Balance | 76 | ||||
 Pioneer Queen Imogen Pioneer Queen Imogen
|
Bloodline | Patientia | |||
| Rank |
|
||||
| Bleed Factor | 60 | ||||
| Max Ichor | 16 | ||||
| Balance | 36 |
Lyle (Artifical Arm) Blood Code
 Patientia Bloodline: Lyle (Artificial Arm) Patientia Bloodline: Lyle (Artificial Arm)
|
Bloodline | Patientia | |||
|---|---|---|---|---|---|
| Rank |
|
||||
| Bleed Factor | 32 | ||||
| Max Ichor | 16 | ||||
| Balance | 38 |
The Lyle (Artificial Arm) is a hidden Blood Code that can only be obtained if you do not start this quest.
Formae
 Absolute Executioner Absolute Executioner
|
||
| Category | Bequeathed Formae | |
|---|---|---|
| Ichor Consumption | 6 | |
These are all the rewards you can get by doing Timeline Shift Decision: Lyle. The rewards listed above are the total earned as you progress through the quest and upon completing it.
Code Vein 2 Related Guides
| All Story Walkthroughs | |
|---|---|
| 1 | Follow Lou's Instructions |
| 2 | Mastering Control of Time |
| 3 | Timeline Shift Decision: Noah |
| 4 | Vanquishing the Heroes |
| 5 | Slaying the Hero Josee |
| 6 | Slaying the Hero Lyle |
| 7 | Slaying the Hero Holly |
| 8 | Timeline Shift Decision: Lyle |
| 9 | Timeline Shift Decision: Holly |
| 10 | Timeline Shift Decision: Josee |
| 11 | Slaying the Hero Zenon |
| 12 | Slaying the Hero Valentin |
| 13 | Timeline Shift Decision: Upheaval |
| 14 | Rescue Lou |
Comment
Author

Timeline Shift Decision: Lyle Quest Walkthrough and Rewards
Rankings
- We could not find the message board you were looking for.
Gaming News


![Monster Hunter Stories 3 Review [First Impressions] | Simply Rejuvenating](https://img.game8.co/4438641/2a31b7702bd70e78ec8efd24661dacda.jpeg/thumb)
Popular Games

Genshin Impact Walkthrough & Guides Wiki
Umamusume: Pretty Derby Walkthrough & Guides Wiki
Pokemon Pokopia Walkthrough & Guides Wiki
Honkai: Star Rail Walkthrough & Guides Wiki
Monster Hunter Stories 3: Twisted Reflection Walkthrough & Guides Wiki
Arknights: Endfield Walkthrough & Guides Wiki
Wuthering Waves Walkthrough & Guides Wiki
Zenless Zone Zero Walkthrough & Guides Wiki
Pokemon TCG Pocket (PTCGP) Strategies & Guides Wiki
Monster Hunter Wilds Walkthrough & Guides Wiki


Recommended Games
Diablo 4: Vessel of Hatred Walkthrough & Guides Wiki
Cyberpunk 2077: Ultimate Edition Walkthrough & Guides Wiki
Fire Emblem Heroes (FEH) Walkthrough & Guides Wiki
Yu-Gi-Oh! Master Duel Walkthrough & Guides Wiki
Super Smash Bros. Ultimate Walkthrough & Guides Wiki
Pokemon Brilliant Diamond and Shining Pearl (BDSP) Walkthrough & Guides Wiki
Elden Ring Shadow of the Erdtree Walkthrough & Guides Wiki
Monster Hunter World Walkthrough & Guides Wiki
The Legend of Zelda: Tears of the Kingdom Walkthrough & Guides Wiki
Persona 3 Reload Walkthrough & Guides Wiki


All rights reserved
© Bandai Namco Entertainment America Inc. All third party content, brands, names, and logos are used under license and remain property of their respective owners. All rights reserved.
The copyrights of videos of games used in our content and other intellectual property rights belong to the provider of the game.
The contents we provide on this site were created personally by members of the Game8 editorial department.
We refuse the right to reuse or repost content taken without our permission such as data or images to other sites.