Best Weapon Formae
☆ Get 100,000 Haze with our Haze Farming Guide!
★ Story Walkthrough | Requests
☆ Gear up with our best Weapons | Partners | Blood Codes | Jails | Formae!
★ Obtain the best outcomes with our Choices Guide!
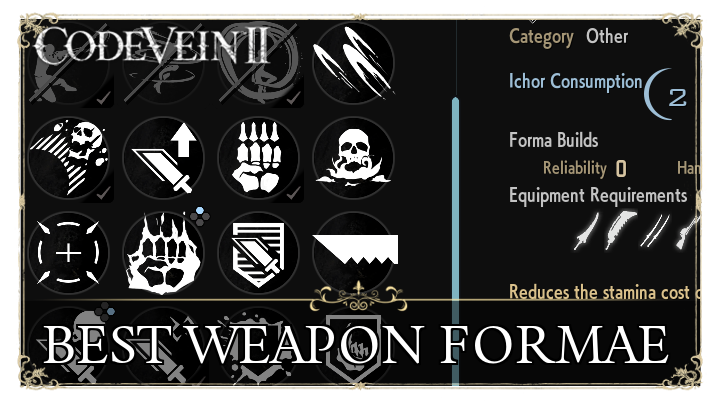
This is a list of the best Formae to use in Code Vein 2. Learn the best combat Formae, best support Formae, best utility Formae and and the best formae to customize into your weapons.
| Related Guides | |
|---|---|
| List of All Weapon Formae | Best Weapon Formae |
Best Weapon Forma
| Best Formae | Best Combat Formae | Best Support Formae | Best Utility Formae |
|---|
Combat Formae
| Best Combat Formae |
|---|
Phantom Assault
| Phantom Assault Overview | ||||
|---|---|---|---|---|
 Phantom Assault Phantom Assault
|
||||
| Category | Combat Formae | |||
| Ichor Consumption | 3 | |||
| Applicable Weapons | ||||
|
|
||||
| Description | ||||
| Lunge forward to deliver a two-hit combo. Nullifies enemy attacks while lunging. | ||||
Phantom Assault is a weapon forma that you'll be able to use to evade enemy attacks while closing the gap and dealing damage. Its Ichor cost is only 3 which is very cheap for the damage and utility it can provide mid-fight.
Loonming Slash
| Looming Slash Overview | ||||
|---|---|---|---|---|
 Looming Slash Looming Slash
|
||||
| Category | Combat Formae | |||
| Ichor Consumption | 5 | |||
| Applicable Weapons | ||||
|
|
||||
| Description | ||||
| Perform a slash while jumping into the air. Nullifies enemy attacks which land right before jumping. | ||||
Looming Slash is another evasing Weapon Formae that takes the top list. It has a swift invinsibility period that is quickly followed up by a strong upward slash that can easily dish out thousands of damage. It does cost 5 Ichor so only use it against to counter a slow attack to land a decisive counter.
Fusilade Rondo
Fusilade Rondo is a swift Weapon Formae that lets a Bayonet launch three hits against its target. All these attacks are also counted as a Bayonet attack but does not consume bullets so you can use support formae such as Ranged Impact to amplify its damage further.
Orbital Blade
| Orbital Blade Overview | ||||
|---|---|---|---|---|
 Orbital Blade Orbital Blade
|
||||
| Category | Combat Formae | |||
| Ichor Consumption | 4 | |||
| Applicable Weapons | ||||
|
|
||||
| Description | ||||
| Sends equipped blades spinning around the user, gradually increasing in range and mowing down anything in the area. User is left unarmed while blades remain spinning. | ||||
Orbital Blade is a handy Rune Blade formae that dettaches your Rune Blade and makes it spin rapidly on the area you cast it. It's a great DPS move against immobile and/or large enemies due to its rapid hit procs.
Boosted Blade
| Boosted Blade Overview | ||||
|---|---|---|---|---|
 Boosted Blade Boosted Blade
|
||||
| Category | Combat Formae | |||
| Ichor Consumption | 6 | |||
| Applicable Weapons | ||||
|
|
||||
| Description | ||||
| Channel strength into an energy blade and strike downward. Hold the input to increase reach and power. | ||||
Boosted Blade has an extremely long wind up so it should only be used on the most opportune moment. However, it still makes it to the list due to the enormous damage it can dish out.
Scorpion
| Scorpion Overview | ||||
|---|---|---|---|---|
| Scorpion | ||||
| Category | Combat Formae | |||
| Ichor Consumption | 3 | |||
| Applicable Weapons | ||||
|
|
||||
| Description | ||||
| Quickly jump back before rushing forward to stab with both blades. Nullifies enemy attacks while jumping back. | ||||
Scorpion is a handy evasive counter tool that Twinblades can use to navigate around fights. It teleports you a huge distance behind then launches a swift counter attack forward. You are intangible during the backside teleport so use it to avoid enemy attacks.
Support Formae
| Best Support Formae |
|---|
Adrenaline
| Adrenaline Overview | ||||
|---|---|---|---|---|
 Adrenaline Adrenaline
|
||||
| Category | Combat Formae | |||
| Ichor Consumption | 2 | |||
| Applicable Weapons | ||||
|
|
||||
| Description | ||||
| Temporarily boosts your attack power. | ||||
Adrenaline is one of the early Formae you can get but is one that has an insane value even until the later stages. Its a direct damage buff with a lengthy duration so using it before any major encounter or just re-applying it everytime will help you a lot down the road.
Blow of Madness
| Blow of Madness Overview | ||||
|---|---|---|---|---|
 Blow of Madness Blow of Madness
|
||||
| Category | Offensive Support | |||
| Ichor Consumption | 2 | |||
| Applicable Weapons | ||||
|
|
||||
| Description | ||||
| Increases the power of the next attack by a fixed amount. | ||||
Blow of Madness lets you deal a huge amount of bonus damage on the next hit. The tooltip also states it does a fixed amount of damage but this fixed damage scales with the damage of your next hit. This means its best used on attacks that deal a big amount of damage in one go.
Steady Bulwark
| Iron Will Overview | ||||
|---|---|---|---|---|
| Iron Will | ||||
| Category | Defensive Support | |||
| Ichor Consumption | 2 | |||
| Applicable Weapons | ||||
|
|
||||
| Description | ||||
| Temporarily reduces all incoming damage. | ||||
Steady Bulwark provides a huge amount of damage resistance bonus. Its perfect to use against mob groups so you can fend off a lot of stray attack hits or against bosses, specially when learning their attack patterns.
Ranged Impact
| Ranged Impact Overview | ||||
|---|---|---|---|---|
 Ranged Impact Ranged Impact
|
||||
| Category | Offensive Support | |||
| Ichor Consumption | 2 | |||
| Applicable Weapons | ||||
|
|
||||
| Description | ||||
| Temporarily increases attack power for bayonets and certain bequeathed forma shots. | ||||
Ranged Impact is a Bayonet exclusive buff that amplifies a Bayonet's ranged attacks. It can easily stack with other damage amplifying effects such as Adrenaline which helps a Bayonet unleash its full power.
Utility Formae
| Best Utility Formae |
|---|
Binding Mark
| Binding Mark Overview | ||||
|---|---|---|---|---|
 Binding Mark Binding Mark
|
||||
| Category | Offensive Support | |||
| Ichor Consumption | 2 | |||
| Applicable Weapons | ||||
|
|
||||
| Description | ||||
| Temporarily applies the status ailment stall to your current weapon. | ||||
Binding Mark adds the stall ailment to your weapon which is handy in stopping elites from moving and help you land a few more hits. It also last a long time once applies which makes it oen of the best ailments to add to your weapon.
Valiant Heart
| Valiant Heart Overview | ||||
|---|---|---|---|---|
 Valiant Heart Valiant Heart
|
||||
| Category | Other | |||
| Ichor Consumption | 2 | |||
| Applicable Weapons | ||||
|
|
||||
| Description | ||||
| Reduces the stamina cost of dodging. | ||||
Stamina cost reduction for dodges. It reduces the cost of dodging by half which helps a lot specially in a light-build setup.
Healing Counter
| Healing Counter Overview | ||||
|---|---|---|---|---|
| Healing Counter | ||||
| Category | Defensive Support | |||
| Ichor Consumption | 3 | |||
| Applicable Weapons | ||||
|
|
||||
| Description | ||||
| Temporarily adds the following effect to dodges and defensive formae for shields: Slightly regenerates LP when an enemy attack is successfully dodged or guarded against. | ||||
Healing Counter will restore LP after a perfect dodge or perfect block. It won't work against regular blockbut it has a long duration which can provide a huge benefit against boss fights.
Soul Stimulant
| Soul Stimulant Overview | ||||
|---|---|---|---|---|
 Soul Stimulant Soul Stimulant
|
||||
| Category | Offensive Support | |||
| Ichor Consumption | 5 | |||
| Applicable Weapons | ||||
|
|
||||
| Description | ||||
| Temporarily boosts attack power of current partner. | ||||
Soul Stimulant is a strong Weapon Forma to use for your partner. It lets them dish out more damage and since partners do not lose HP, its a perfect damage/utility forma to use for free damage if you play with a partner summoned in fights.
Code Vein 2 Related Guides

| Code Vein 2 Contents | |
|---|---|
 Story Walkthrough Story Walkthrough |
 Weapons Weapons |
 Partners Partners |
 Bosses Bosses |
 Blood Codes Blood Codes |
 Jails Jails |
 Formae Formae |
 Boosters Boosters |
 Maps Maps |
 Items Items |
 NPCs NPCs |
 Tips and Tricks Tips and Tricks |
 Cosmetics Cosmetics |
 Builds Builds |
 Shops Shops |
 News and Game Info News and Game Info |
Recommended Guides
 Haze Farming Guide: How to Level Up Fast
 Best Early Game Build
 Best Weapons
 Best Blood Codes
 Best Jails
 Best Partners
 Best Boosters
 How to Get the True Ending
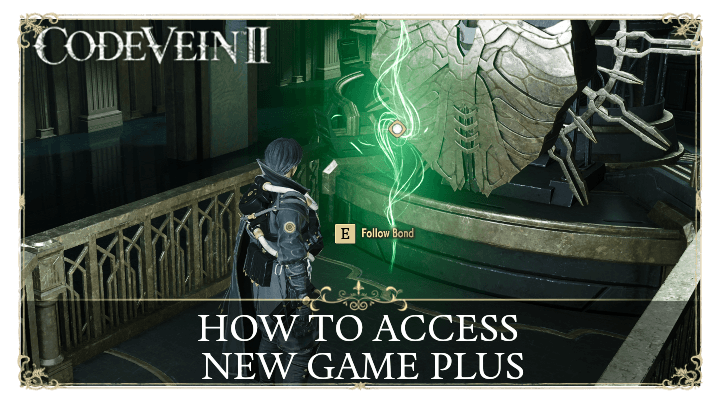 How to Access New Game Plus (NG+)
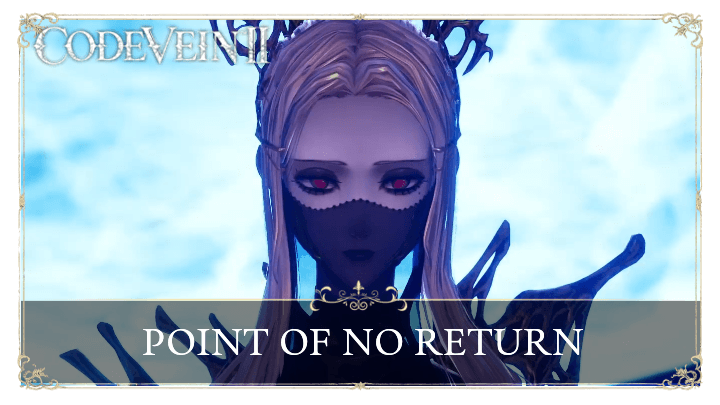 Point of No Return
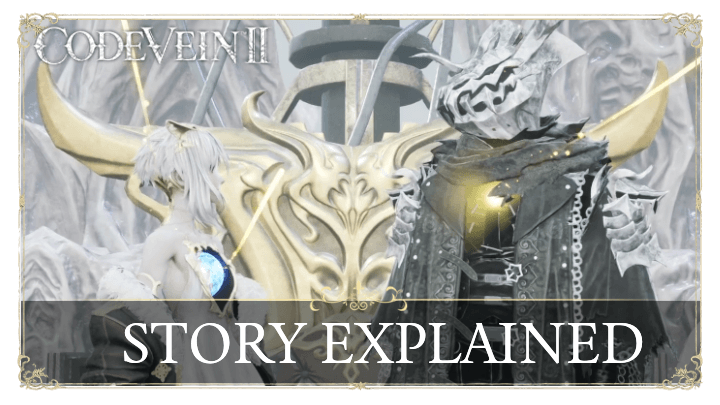 Story and Timeline Explained
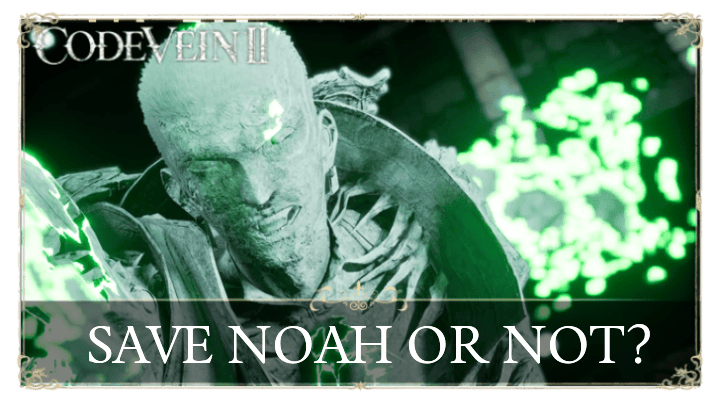 Should You Save Noah?
 Repair Josee's Fading Bond
 Repair Lyle's Fading Bond
 Repair Holly's Fading Bond
 How to Increase Partner Affinity
 How to Unlock Partner Weapons
 How to Increase Booster Slots
 How to Increase Blood Code Proficiency
 Character Creation Guide
 Character Sharing Board
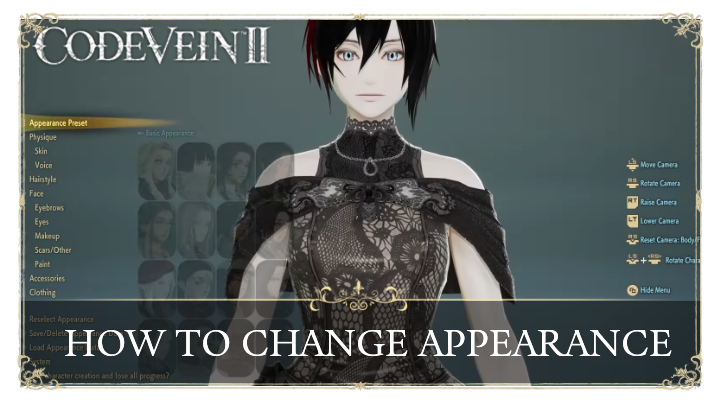 How To Change Appearance
 How to Get All Achievements
 Revival and Return Monument Explained
 How To Check Buffs
Comment
Author

Best Weapon Formae
Rankings
- We could not find the message board you were looking for.
Gaming News


![Monster Hunter Stories 3 Review [First Impressions] | Simply Rejuvenating](https://img.game8.co/4438641/2a31b7702bd70e78ec8efd24661dacda.jpeg/thumb)
Popular Games

Genshin Impact Walkthrough & Guides Wiki
Umamusume: Pretty Derby Walkthrough & Guides Wiki
Pokemon Pokopia Walkthrough & Guides Wiki
Honkai: Star Rail Walkthrough & Guides Wiki
Monster Hunter Stories 3: Twisted Reflection Walkthrough & Guides Wiki
Arknights: Endfield Walkthrough & Guides Wiki
Wuthering Waves Walkthrough & Guides Wiki
Zenless Zone Zero Walkthrough & Guides Wiki
Pokemon TCG Pocket (PTCGP) Strategies & Guides Wiki
Monster Hunter Wilds Walkthrough & Guides Wiki


Recommended Games
Diablo 4: Vessel of Hatred Walkthrough & Guides Wiki
Cyberpunk 2077: Ultimate Edition Walkthrough & Guides Wiki
Fire Emblem Heroes (FEH) Walkthrough & Guides Wiki
Yu-Gi-Oh! Master Duel Walkthrough & Guides Wiki
Super Smash Bros. Ultimate Walkthrough & Guides Wiki
Pokemon Brilliant Diamond and Shining Pearl (BDSP) Walkthrough & Guides Wiki
Elden Ring Shadow of the Erdtree Walkthrough & Guides Wiki
Monster Hunter World Walkthrough & Guides Wiki
The Legend of Zelda: Tears of the Kingdom Walkthrough & Guides Wiki
Persona 3 Reload Walkthrough & Guides Wiki


All rights reserved
© Bandai Namco Entertainment America Inc. All third party content, brands, names, and logos are used under license and remain property of their respective owners. All rights reserved.
The copyrights of videos of games used in our content and other intellectual property rights belong to the provider of the game.
The contents we provide on this site were created personally by members of the Game8 editorial department.
We refuse the right to reuse or repost content taken without our permission such as data or images to other sites.