Slaying the Hero Zenon Quest Walkthrough and Rewards
☆ Get 100,000 Haze with our Haze Farming Guide!
★ Story Walkthrough | Requests
☆ Gear up with our best Weapons | Partners | Blood Codes | Jails | Formae!
★ Obtain the best outcomes with our Choices Guide!
This is a walkthrough for the Slaying the Hero Zenon quest in Code Vein 2. See this detailed guide to check out quest objectives and what rewards you receive upon completion.
List of Contents
How to Unlock Slaying the Hero Zenon
Complete All Slaying the Hero Quests in the Mainland
| Location | Insula Carcere |
|---|---|
| Unlock Requirements | ・Complete Slaying the Hero Josee ・Complete Slaying the Hero Lyle ・Complete Slaying the Hero Holly |
You can start Slaying the Hero Zenon by completing all Slaying the Hero quests in the mainland. To gain knowledge about Zenon, you must speak to Lavinia, and she will tell you about the Ferryman at the West Coast Pier of Sunken City that can take you to Zenon's location.
Keep in mind that the quest will not trigger if you have an active quest. This includes any of the Timeline Shift Decisions or Fading Bonds you have started.
Slaying the Hero Zenon Walkthrough
| Slaying the Hero Zenon Objectives | |
|---|---|
| 1 | Reaching Insula Carcere |
| 2 | Finding Zenon's Cocoon ┗ Boss Battle: Zenon's Minion |
| 3 | Hidden Lab: Sunken City ┗ Boss Battle: Zenon's Duplicate Unit One |
| 4 | Hidden Lab: Corroded Scar ┗ Boss Battle: Zenon's Duplicate Unit Two |
| 5 | Hidden Lab: Undead Forest ┗ Boss Battle: Zenon's Duplicate Unit Three |
| 6 | Slayin Zenon ┗ Boss Battle: Hero Zenon |
Reaching Insula Carcere
| Step | Objectives |
|---|---|
| 1 | 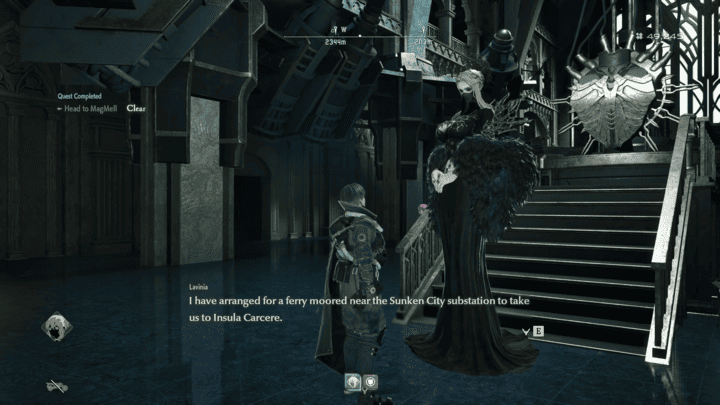 Speak to Lavinia after defeating all heroes in the mainland. She will inform you about Zenon and Insula Carcere, unlocking the final Slay the Hero quest. |
| 2 | 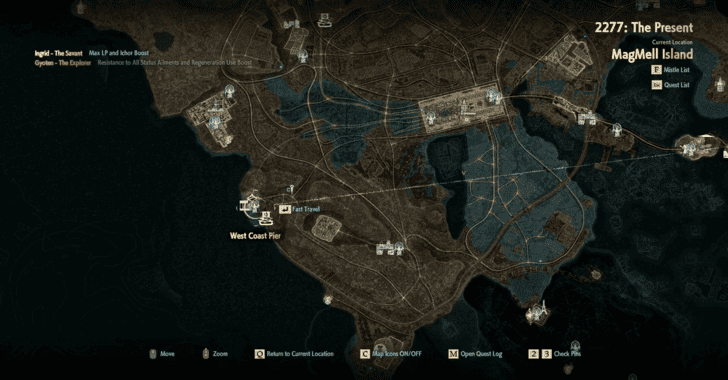 Head to the West Coast Pier in the Sunken City. |
| 3 | 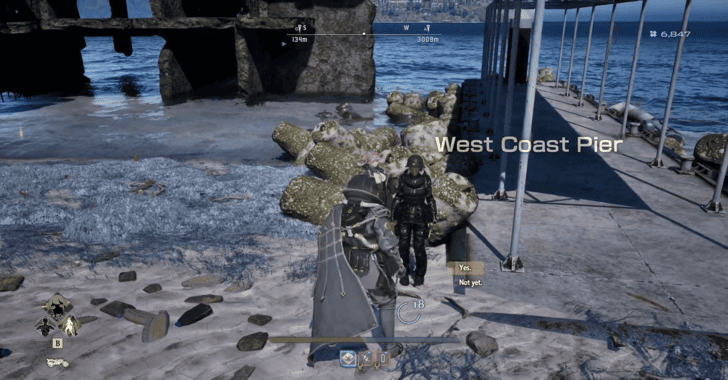 Speak with the Ferryman to reach Insula Carcere. |
Finding Zenon's Cocoon
| Step | Objectives |
|---|---|
| 1 | 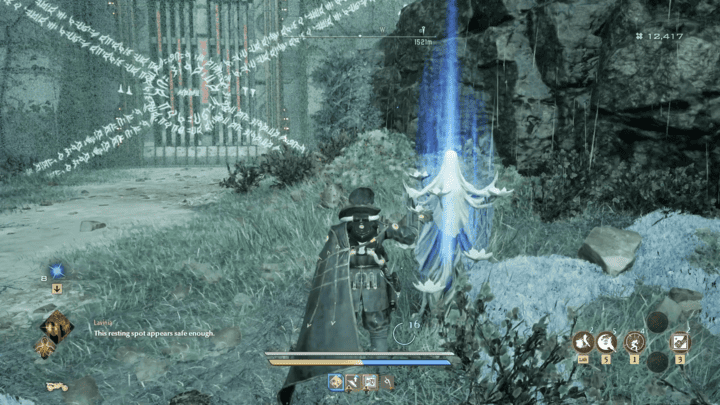 Once you reach the island, head to the prison building to have Lavinia unseal it and enter the big gate. |
| 2 |  Make your way up the set of stairs and use the side entrance to the guard tower on the left. Bugarally Figure: Found on the right side of the stairs in front of the prison building.
Uncanny Stone x2: Found on a platform on the right side of the stairs in front of the prison building. |
| 3 | 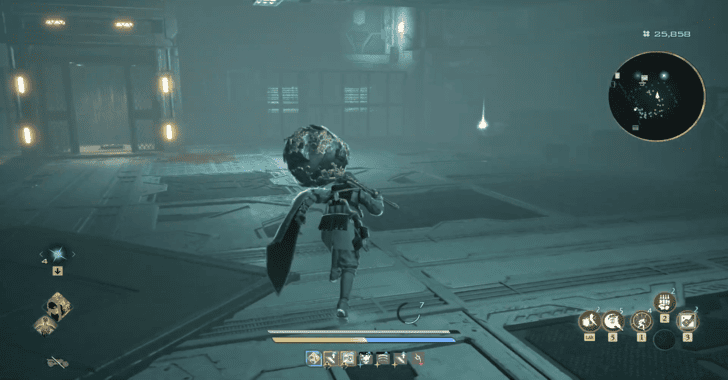 Proceed to the bottom of the guard tower and use the elevator to reach the roof. You can open a shortcut outside the tower by opening the door to the left of the elevator. Argent Wolf Blade: Found in a small room to the right after entering the guard tower.
Grand Light Stone: Found on the stairs while descending the guard tower.
Pure Platinum 9: Found on the stairs while descending the guard tower.
Tender crimson Stone 8: Found on the right side of the elevator in the guard tower.
Tender crimson Stone 5: Found before reaching the shortcut door at the bottom of the guard tower. |
| 4 | 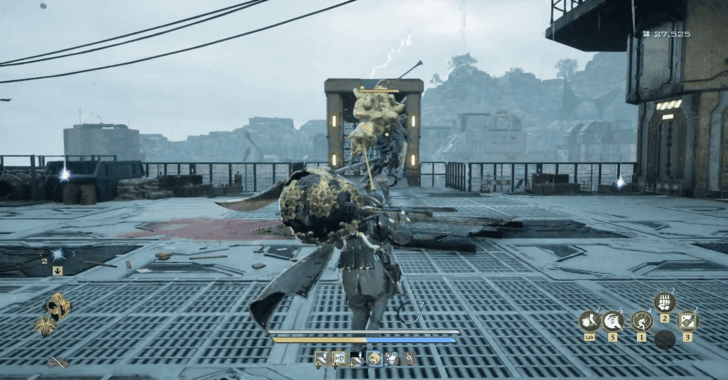 After reaching the roof, defeat the sole enemy there to obtain the Surveillance Room Key. Then use the elevator on the other side to access more areas in the prison. Pure Platinum 8: Found on the right side of the opposite elevator.
Tender Crimson Stone 8: Found on the left side of the opposite elevator. |
| 5 | 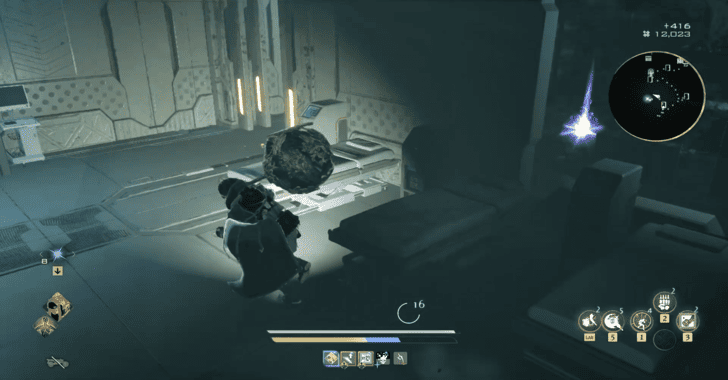 Once you reach a mistle after using the elevator, take the left path to reachthe infirmary and a courtyard with a locked door. Pure Platinum 9: Found near the mistle.
Uncanny Stone: Found inside the infirmary. |
| 6 | 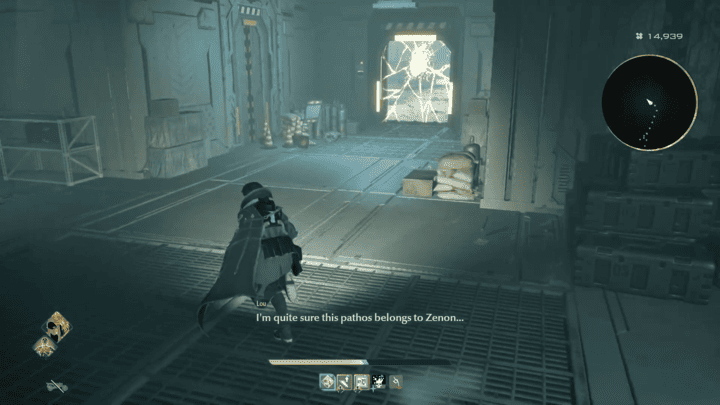 Backtrack to the right path and unlock the big gate from the stairs outside the prison. From the big gate, take the path to the right to reach Zenon's pathos and proceed through his memories. |
| 7 | 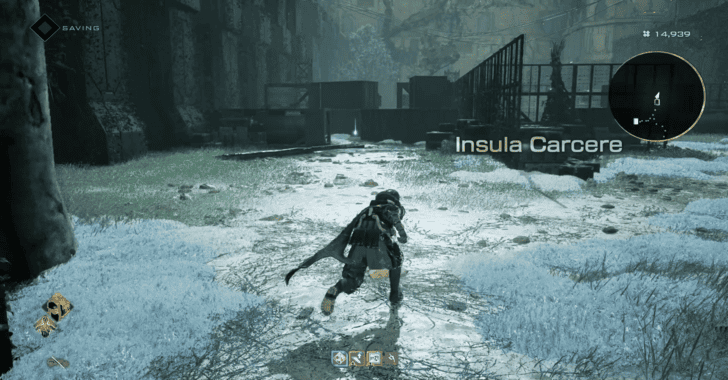 Make your way through the yard with crates until you reach a junction. Heading left explores more of the prison, while the right path leads to an item and a dead end. Pure Platinum 8: Found on your right after you reach the crate yard.
Graviton Core: Found in a corner on the right side of the yard just before reaching a junction.
Golden Nectar: Found in the middle of the junction.
Tender Crimson Stone 8: Found at the dead end on the right path from the junction. |
| 8 | 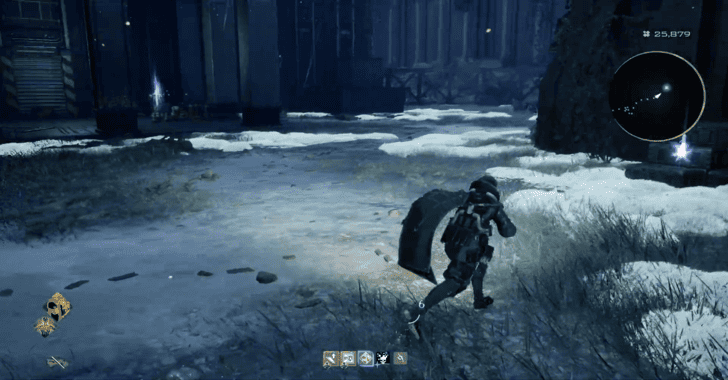 Take the left path until you reach the Lower Cell Block mistle on the left side of the path. Uncanny Stone x3: Found on the left path just before you reach the Lower Cell Block. |
| 9 | 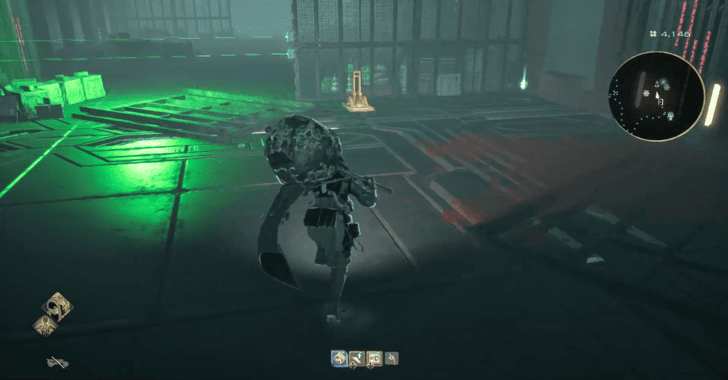 Once you enter the Lower Cell Block, use the lever to disable the first laser and create a path moving forward. |
| 10 | 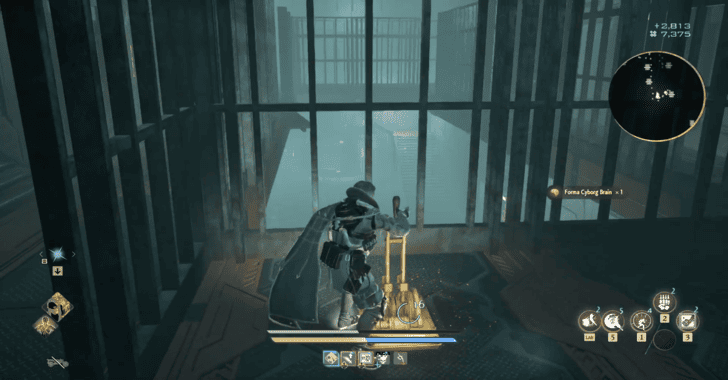 Head to the opposite side of the room and use the set of stairs to reach the second level. Afterwards, turn left to reach the lever that disables the second laser below. Unfinished Epic: Found on first room on the right after you climb the stairs.
Tender Crimson Stone 6: Found on the third floor, which can be accessed through the stairs near the second lever.
Heart Remnant 4: Found inside the control room near the Tender Crimson Stone 6.
Pure Platinum 8: Found inside the control room near the Tender Crimson Stone 6.
Tender Crimson Stone 6: Found inside the same room as the Heart Remnant. |
| 11 | Head back down to the lowest level of the Cell Block and proceed through the path previously blocked by the laser. |
| 12 | 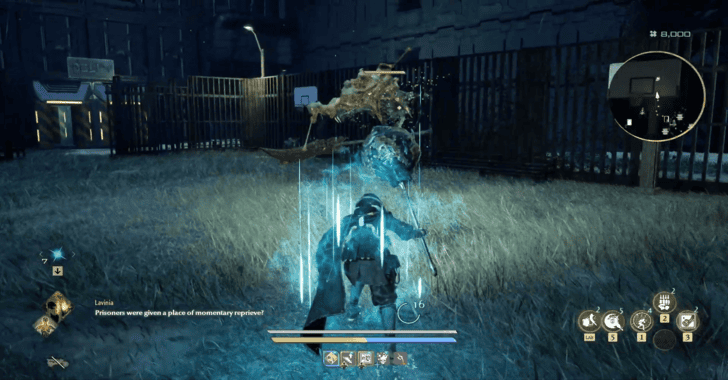 Once you reach the courtyard, head straight to the opposite door to progress to the next cell block. Do note that a map jammer will be on the left side of the area. Tender Crimson Stone 8: Found the middle area where the large enemy is located.
Pure Platinum 5: Found on the right corner of the room, just past the map jammer. |
| 13 | 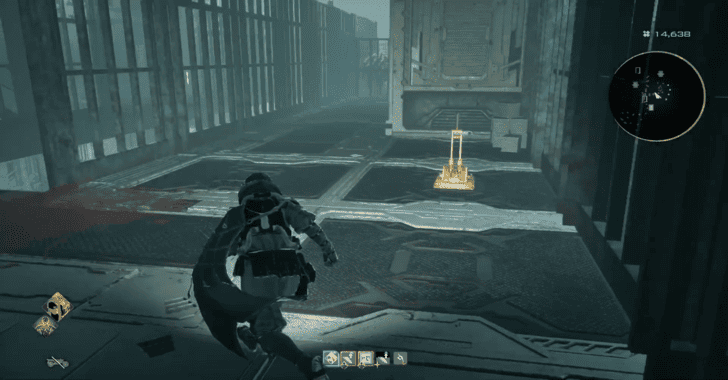 Take the stairs on your left to reach the lever that disables the first laser below. |
| 14 | 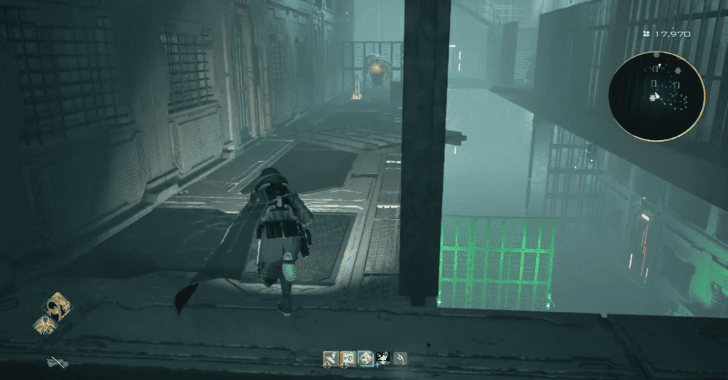 Make your way through the remaining lasers by waiting for them to turn off; once you reach the end of the room, take the stairs on your right and use the lever to disable the lasers in the cell block. |
| 15 | 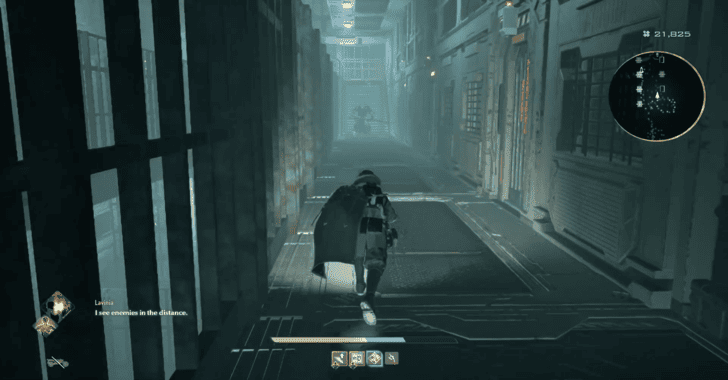 Head to the hallway opposite the lever you just used and take the stairs to reach the third level. |
| 16 | 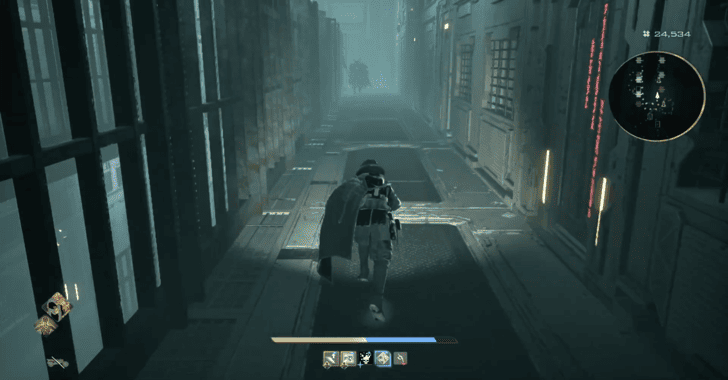 Head to the opposite side of the platform to reach the upper deck. Keep in mind that the path is guarded by a Lost Knight, which can be tough to deal with. Tender Crimson Stone 7: Found in the crossing between the platforms.
|
| 17 | 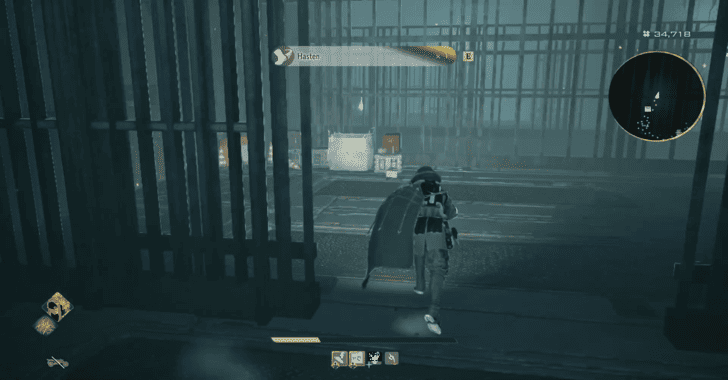 From the upper deck head to the next cell block and circle to the opposite side of the platforms to reach the stairs that lead to the lower levels. Hasten: Obtained from the chest on the upper deck.
Stormguard Runeleaf: Found among the pile of boxes as soon as you turn right from the upper deck.
Stormguard Runeleaf: Found among the pile of boxes as soon as you turn right from the upper deck.
Tender Crimson Stone 8: Found on top of a barrel in the right-most section.
Tender Crimson Stone 4: Found near the stairs leading to the lower levels.
|
| 18 | 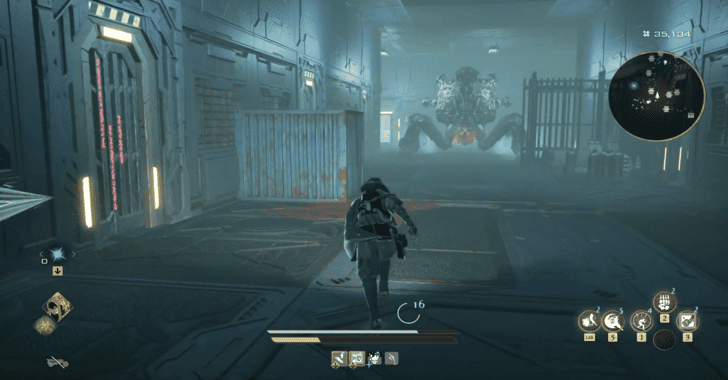 After you make your way down the stairs, run past the large enemy in the main hallway and exit through the door that leads outside. Pure Platinum 7: Found under the stairs.
Pure Platinum 6: Found near the exit door.
Breath of Flame: Found on the shelves near the exit door.
|
| 19 | 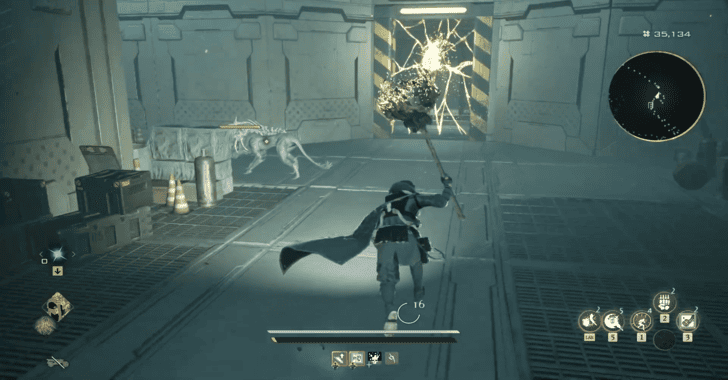 Once outside, head down the cliff path to reach another pathos; interact with it and proceed with the memory. Note that you can unlock the door on the right to create a shortcut to the Lower Cell Block courtyard. Pure Platinum 7: Found near the pathos.
|
| 20 | 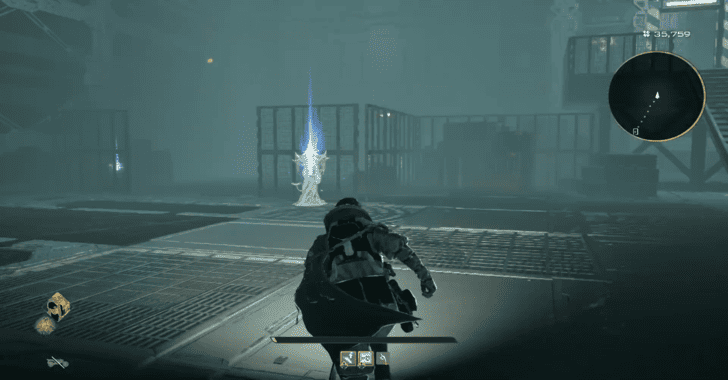 Use the elevator and follow the linear path to reach the Upper Prison Area mistle. Destroy the map jammer above the set of stairs on your right to reveal the area. Tender Crimson Stone 6: Found on the left side of the mistle.
|
| 21 | 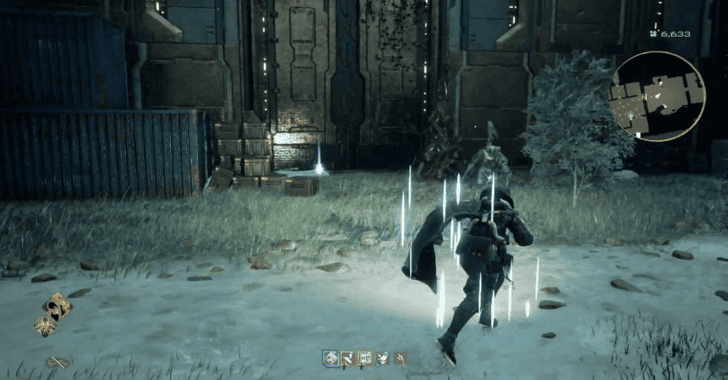 Exit the cell block through the left door on the mistle to reach an open area, then head inside the scanning area. Uncanny Stone: Located near a rotten tree and some crates on your left as soon as you reach the open area.
Tender Crimson Stone 7: Found inside the control room in the scanning area.
|
| 22 | 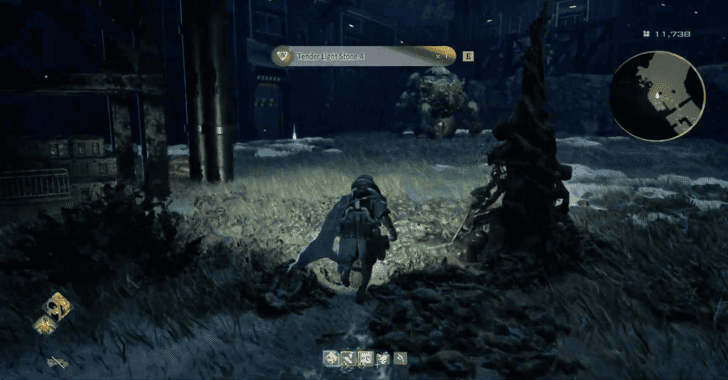 Exit the scanning area to another open field with a machine enemy to loot more valuable items. Tender Light Stone 4: Found behind the blocks of stone on your left after exiting the scanning area.
Pure Platinum 8: Located near the machine enemy.
Tender Crimson Stone 9: Found above the set of stairs next to the machine enemy.
Golden Nectar: Found at the end of the right-most path above the set of stairs.
|
| 23 | 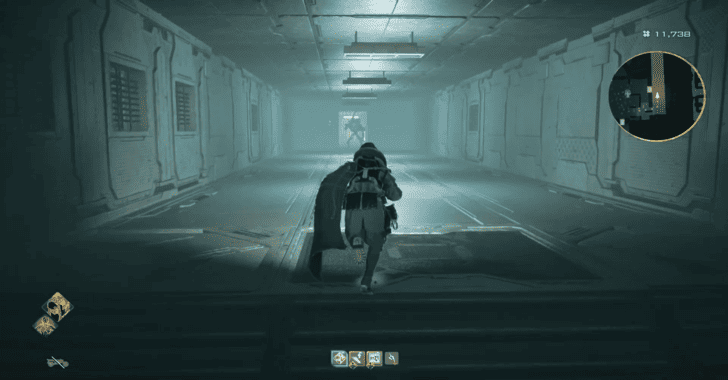 Return to the Upper Prison Area mistle and climb the stairs to the Pacification Cells on the right of the mistle until you reach a room with ladders on both sides. Pure Platinum 5: Found on the right side of the room after the hallway.
Pure Platinum 6: Found under the left ladder of the room.
|
| 24 | 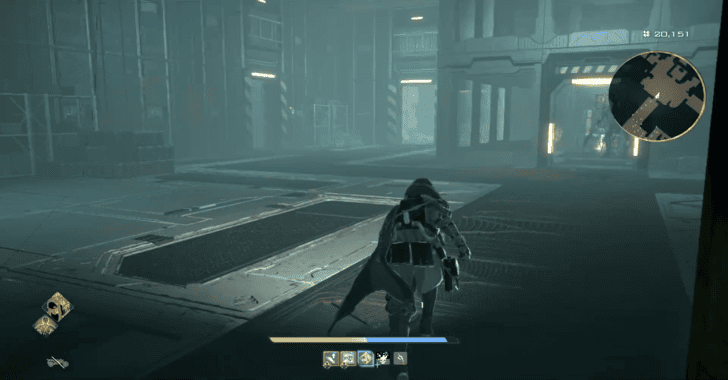 Once you reach a junction with three paths, head to the right to activate the Upper Cell Block mistle. Afterwards, you can take a detour from the other paths to obtain valuable items. Dazzling Prismatic Laser: Found inside a small room in the junction.
Tender Crimson Stone 9: Found in a dead end from the left path of the junction.
Dazzling Prismatic Laser: Found inside a small room in the junction.
|
| 25 | 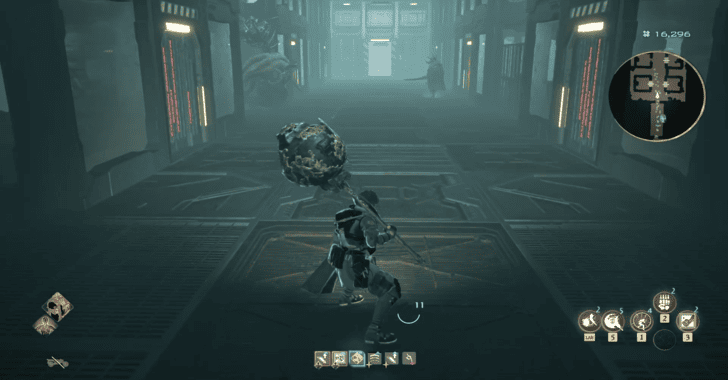 Continue through the path on the right until you reach a room with four cell blocks, then make your way through the other end and exit to a hallway. Uncanny Stone x2: Found behind a cell block on the upper left side of the room.
|
| 26 | 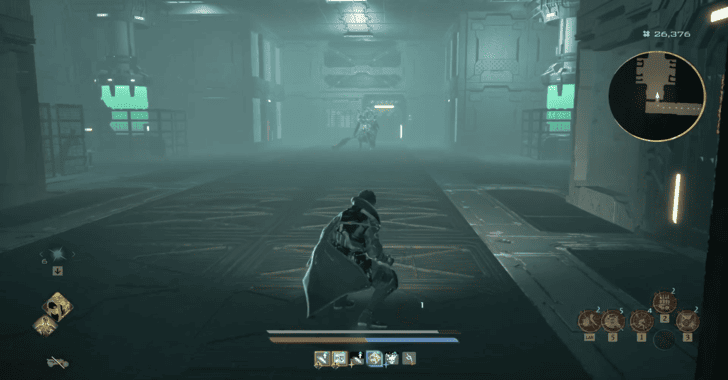 From the hallway, take a left to a room with incubators and a large enemy. |
| 27 | 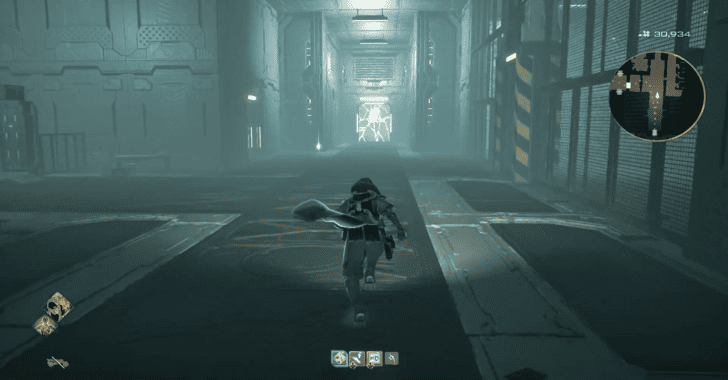 After defeating the enemy, open the door to reveal a two-way junction. The right path leads to a shortcut to the Upper Prison Area mistle, while the one on the left leads to another Pathos and Zenon's cocoon. Pure Platinum 8: Found in the hallway facing the pathos.
Yellowed Book: Found in the bookshelves inside the room to the left of the hallway, facing the pathos.
|
| 28 | 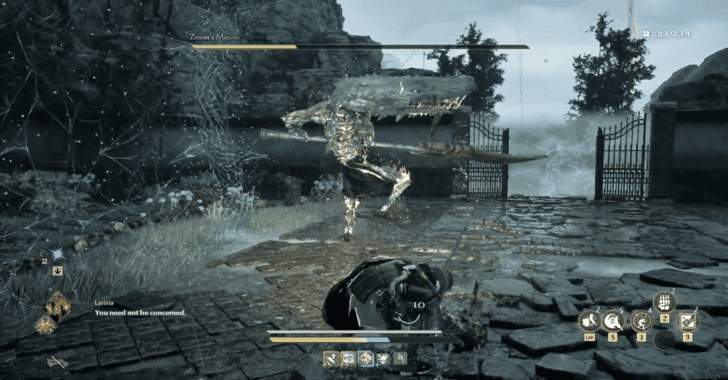 Proceed through the pathos and follow the set of stairs until you reach a boss fight with Zenon's Minion. Pure Platinum 7: Located at the right side of the staircase before reaching the boss room.
|
| 29 | 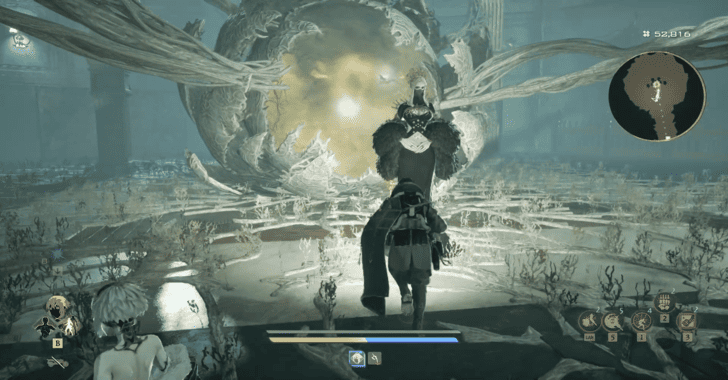 After the boss fight, open the huge gate that houses Zenon's Cocoon. Approach the bond to trigger a cutscene with Lavinia and use the bond to travel back to the past. |
| 30 |  After you travel to the past, head back to the place where Zenon's Cocoon is located, and you'll learn of Zenon's request to search for hidden labs in the mainland. |
Hidden Lab: Sunken City
| Step | Objectives |
|---|---|
| 1 | 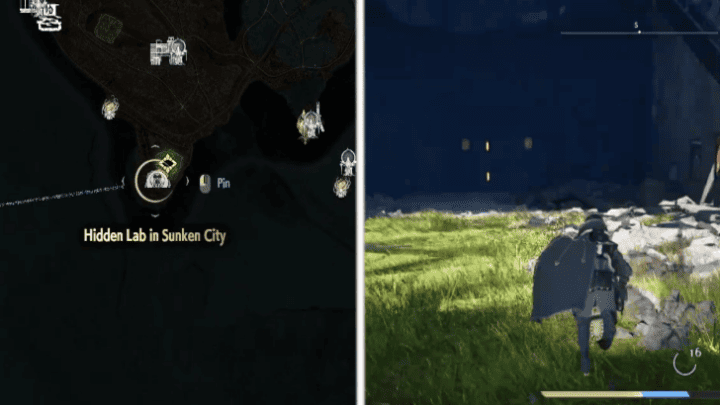 Travel to the Hidden Lab in the Sunken City at the very south of the region. The elevator leading to the hidden lab is found in a dilapidated building with a field of grass in the interior. |
| 2 | 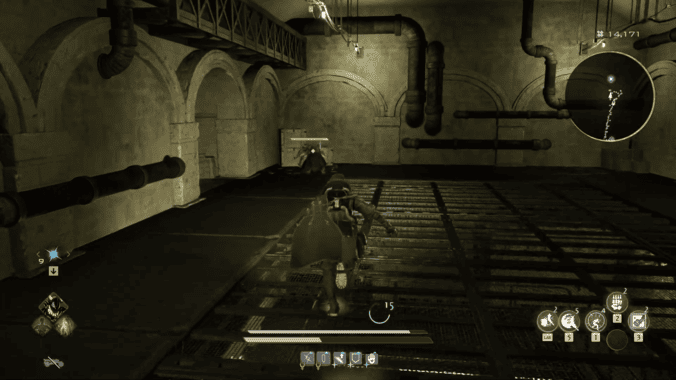 After descending the elevator, head straight and continuously follow the linear path until you reach a junction. The path to the left leads to a dead end, while the one on the right leads deeper into the lab. Zenon 1 Blood Code: Obtained after descending the elevator.
Tender Crimson Stone 5: Found on a shelf on the left side of the elevator. |
| 3 |  Follow the path to the right until you reach a canal. Pure Platinum 7: Found on the left side of the path just before reaching the canal area.
Uncanny Stone: Found on the opposite side of the platform where you reached the area. |
| 4 | 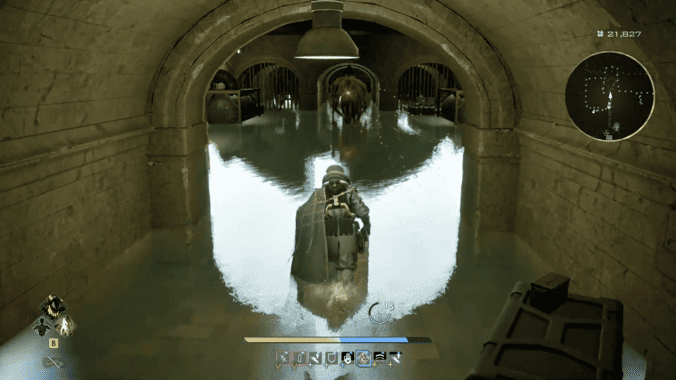 From the canal head to the path on the opposite side from where you entered, then turn left and follow its path until you reach the area below the platforms. Pure Platinum 8: Found on a shelf below the platforms on the left side from where you reached the area. |
| 5 | 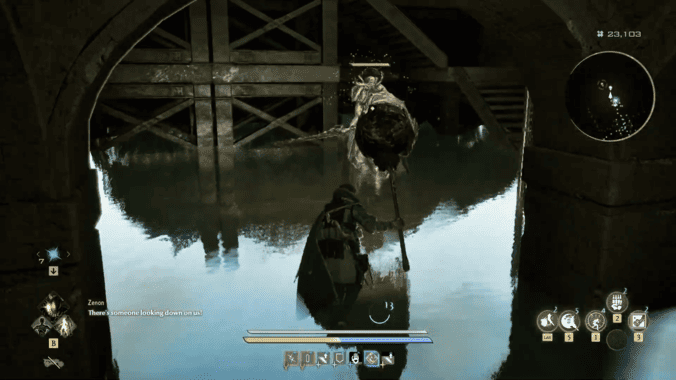 Head straight until you see a staircase on your right and use it to reach the map jammer above. |
| 6 | 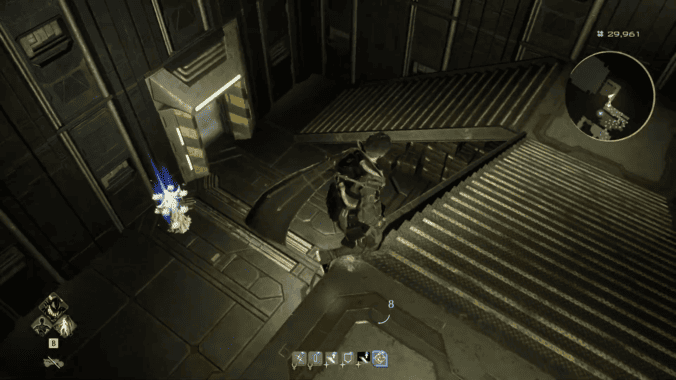 From the map jammer, use the door on your right to find another set of stairs that lead to the boss room where you'll fight Zenon's Duplicate Unit One. Tender Light Stone 3: Found directly below the staircase. |
Hidden Lab: Corroded Scar
| Step | Objectives |
|---|---|
| 1 |  The Corroded Scar lab is located in the north-west section of the region. The elevator to the lab is found inside a broken-down warehouse with yellow trucks. |
| 2 | 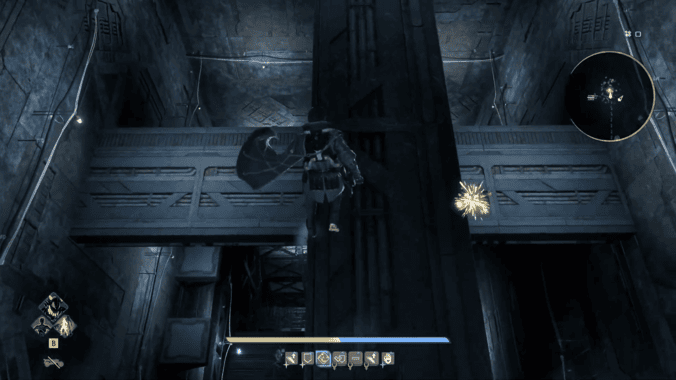 After descending the elevator, head straight until you reach a pit. Carefully jump using the platforms to reach the bottom. |
| 3 |  Once you reach the end of the platforms, you can use the nearby staircase to reach the boss room of Zenon Duplicate Unit Two. Pure Platinum 7: Found near the staircase. |
Hidden Lab: Undead Forest
| Step | Objectives |
|---|---|
| 1 | 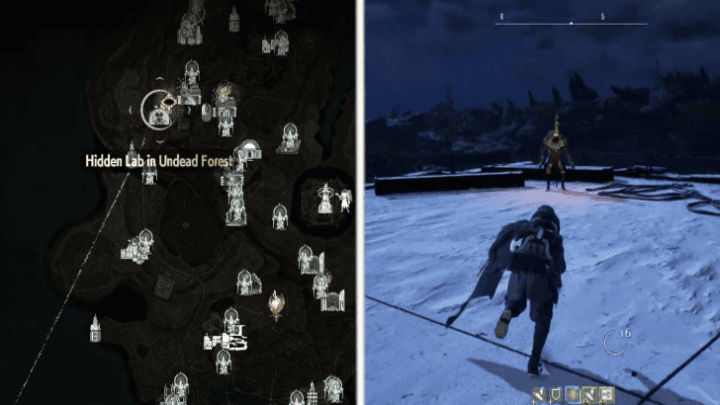 The Undead Forest lab is located in the western section of the region. The elevator leading to the lab is in an open area with a Jadwiga Minion nearby. |
| 2 | 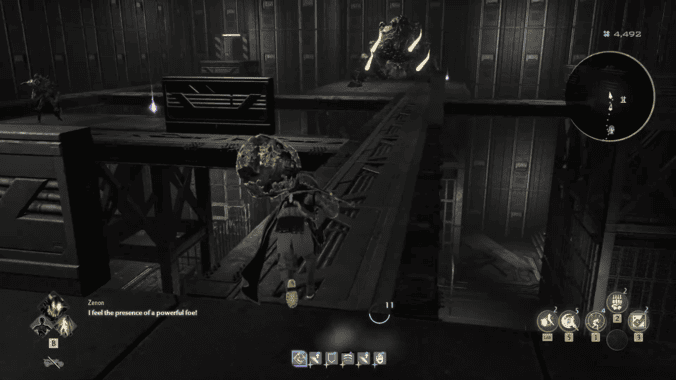 After descending the elevator, press forward until you reach a walkway with a storage area below. You can use the ladder on the right to descend and obtain valuable items, but the storage area is a dead end. Breath of Thunder: Found near Machine Enemy on the walkways.
Pure Platinum 8: Found on the walkway platform on the left.
Uncanny Stone: Found below the ladder.
Runeleaf of Durability: Obtained from a chest in the storage area below. |
| 3 | 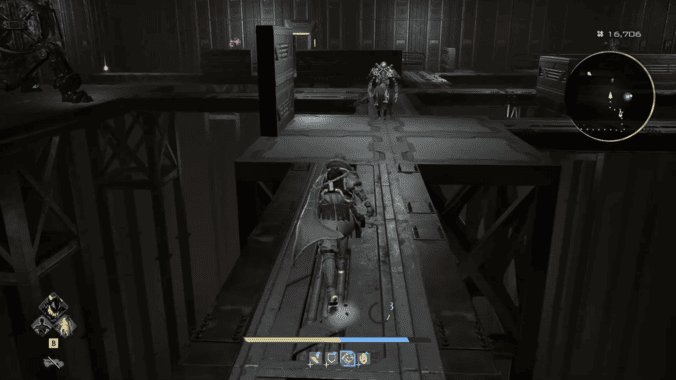 From the walkways, head to the hazard door on the left and follow its path until you reach another set of walkways to your left. Afterwards, head to another hazard door to reach the next area. |
| 4 | 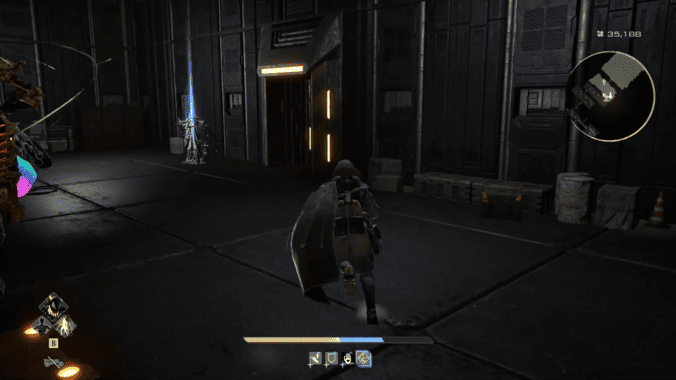 Use the ladder on your left to reach a mistle and the boss room containing Zenon Duplicate Unit Three. Tender Crimson Stone 8: Found on a shelf in front of the mistle.
Zenon Pass: Top-Level Clearance: Given by Zenon after defeating the boss. |
Slaying Zenon
| Step | Objectives |
|---|---|
| 1 | 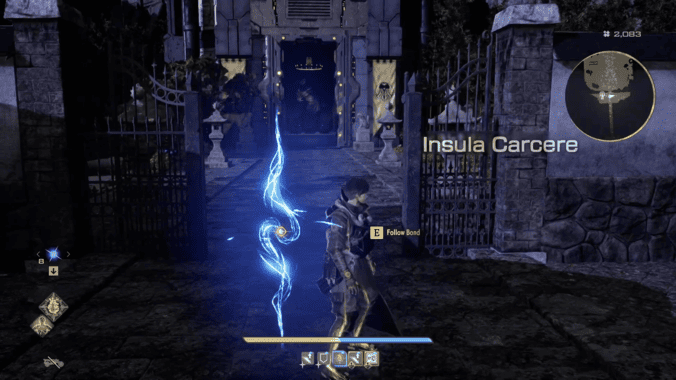 Interact with the blue bond in Insula Carcere to return to the present. |
| 2 | Once you're back, head to the Cocoon and unseal it to fight and defeat Hero Zenon to complete the questline.
Hero Zenon Blood Code: Obtained after defeating Hero Zenon. |
Slaying the Hero Zenon Bosses
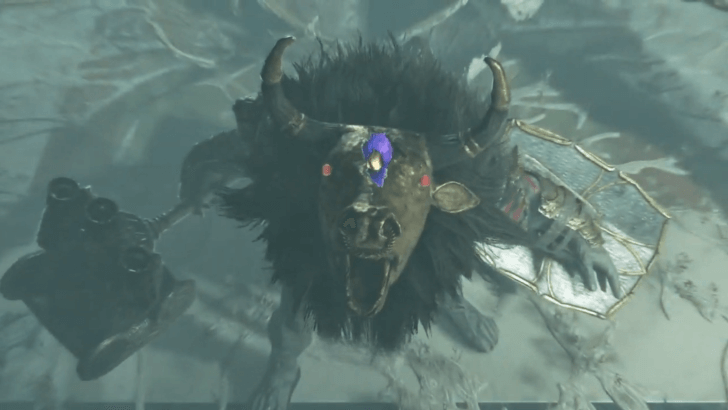
Zenon's Minion
 |
|||||||||||
| Boss Type | Location | ||||||||||
|---|---|---|---|---|---|---|---|---|---|---|---|
| Mini Boss | Insula Carcere | ||||||||||
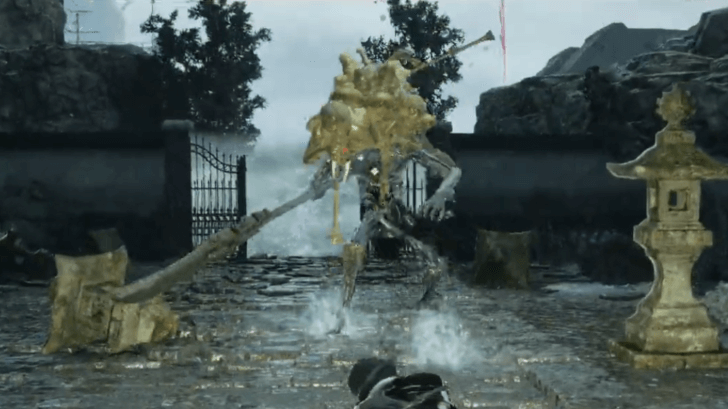
Zenon's Minion Fight Tips
Zenon's Minion is the first boss you will encounter in this quest. Defeat him to obtain the Zenon Pass.
- Dodge horizontally to avoid thrusting attacks and vertically to avoid wide, sweeping attacks.
- When he flashes red, get close to avoid his frontal scream attack.
- Keep your distance when he uses his gravity orb attack.
Zenon Duplicate Unit
 |
|||||||||||
| Boss Type | Location | ||||||||||
|---|---|---|---|---|---|---|---|---|---|---|---|
| Mini Boss | Sunken City, Corroded Scar, Undead Forest | ||||||||||
Defeating all three Zenon Duplicate Units will satisfy Zenon's request, in which he will upgrade the Zenon Pass that is needed to start the final encounter.
Zenon Duplicate Unit Fight Tips
- All three variants will possess the same base moveset with minor variances.
- Stay within range, as their varied elemental attacks will be the trickiest to avoid.
- Position behind them when they channel their frontal AOE elemental attack.
Hero Zenon
 |
|||||||||||
| Boss Type | Location | ||||||||||
|---|---|---|---|---|---|---|---|---|---|---|---|
| Main Boss | Insula Carcere | ||||||||||
Hero Zenon will be the final boss of this quest. You can fight him once you have obtained Hero Zenon's pass with improved access credentials.
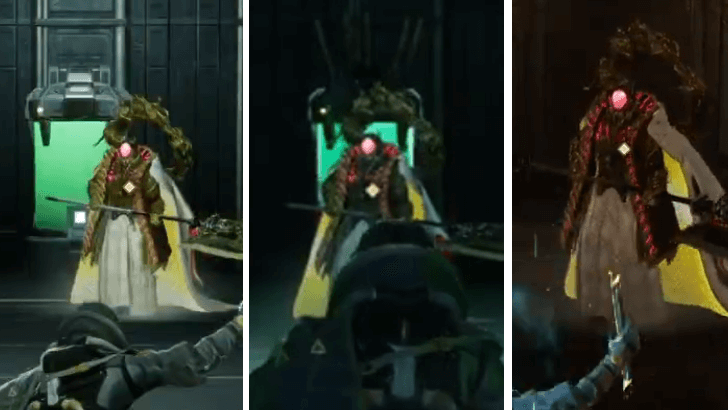
Hero Zenon Fight Tips
- Hero Zenon has plenty of fast attacks with a very telegraphed windup. Dodge or parry them as they come, but be careful of the follow-up attacks.
- In his second phase, Hero Zenon can summon persistent orbs that limit the areas where you can safely engage him. Avoid them until they disappear.
- When Hero Zenon summons multiple rotating orbs of varying sizes, refrain from attacking him until this attack concludes.
Slaying the Hero Zenon Rewards
Blood Code
 Hero Zenon Hero Zenon
|
Bloodline | Acedia | |||
|---|---|---|---|---|---|
| Rank |
|
||||
| Bleed Factor | 56 | ||||
| Max Ichor | 17 | ||||
| Balance | 43 |
These are all the rewards you can get by doing Timeline Shift Decision: Josee. The rewards listed above are the total earned as you progress through the quest and upon completing it.
Code Vein 2 Related Guides
| All Story Walkthroughs | |
|---|---|
| 1 | Follow Lou's Instructions |
| 2 | Mastering Control of Time |
| 3 | Timeline Shift Decision: Noah |
| 4 | Vanquishing the Heroes |
| 5 | Slaying the Hero Josee |
| 6 | Slaying the Hero Lyle |
| 7 | Slaying the Hero Holly |
| 8 | Timeline Shift Decision: Lyle |
| 9 | Timeline Shift Decision: Holly |
| 10 | Timeline Shift Decision: Josee |
| 11 | Slaying the Hero Zenon |
| 12 | Slaying the Hero Valentin |
| 13 | Timeline Shift Decision: Upheaval |
| 14 | Rescue Lou |
Comment
Author

Slaying the Hero Zenon Quest Walkthrough and Rewards
Rankings
- We could not find the message board you were looking for.
Gaming News


![Marathon Cryo Archive Map Teased as [REDACTED] on Selection Screen](https://img.game8.co/4442236/6357203e58172f6de57f1991e7c39b22.png/thumb)


Popular Games

Genshin Impact Walkthrough & Guides Wiki
Umamusume: Pretty Derby Walkthrough & Guides Wiki
Pokemon Pokopia Walkthrough & Guides Wiki
Honkai: Star Rail Walkthrough & Guides Wiki
Monster Hunter Stories 3: Twisted Reflection Walkthrough & Guides Wiki
Arknights: Endfield Walkthrough & Guides Wiki
Wuthering Waves Walkthrough & Guides Wiki
Zenless Zone Zero Walkthrough & Guides Wiki
Pokemon TCG Pocket (PTCGP) Strategies & Guides Wiki
Monster Hunter Wilds Walkthrough & Guides Wiki


Recommended Games
Diablo 4: Vessel of Hatred Walkthrough & Guides Wiki
Cyberpunk 2077: Ultimate Edition Walkthrough & Guides Wiki
Fire Emblem Heroes (FEH) Walkthrough & Guides Wiki
Yu-Gi-Oh! Master Duel Walkthrough & Guides Wiki
Super Smash Bros. Ultimate Walkthrough & Guides Wiki
Pokemon Brilliant Diamond and Shining Pearl (BDSP) Walkthrough & Guides Wiki
Elden Ring Shadow of the Erdtree Walkthrough & Guides Wiki
Monster Hunter World Walkthrough & Guides Wiki
The Legend of Zelda: Tears of the Kingdom Walkthrough & Guides Wiki
Persona 3 Reload Walkthrough & Guides Wiki


All rights reserved
© Bandai Namco Entertainment America Inc. All third party content, brands, names, and logos are used under license and remain property of their respective owners. All rights reserved.
The copyrights of videos of games used in our content and other intellectual property rights belong to the provider of the game.
The contents we provide on this site were created personally by members of the Game8 editorial department.
We refuse the right to reuse or repost content taken without our permission such as data or images to other sites.