Immortal Axe Build
☆ NEW: 1.7 Patch Notes
★ New to Shu? Check our Beginner's Guide
┗ Combat Guide | Full Skill Tree | Difficulty
☆ Meta: Builds | Best Weapons | Best Armor
★ Walkthrough | Bosses | NPCs
☆ Missables | Game Length | Trophies
This Immortal Axe build excels at sustaining life while going toe to toe with bosses in Wuchang: Fallen Feathers. See the Immortal Axe build, its skills, spells, Benediction setup, and playstyle in this guide!
List of Contents
Immortal Axe Build Guide
Weapon and Discipline
| Weapon | Weapon Skill | Discipline |
|---|---|---|
 Empyrean Greataxe Empyrean Greataxe
|
Empyrean Crash Empyrean Crash When timed perfectly, you leap into the air to evade the enemy's attack, seizing the chance to strike from above. Use with Skyborn Might for greater potency.
|
Rampage Rampage Relies on the axe's natural heft to deliver powerful cleaves.
Use with Skyborn Might for greater potency. |
The Empyrean Greataxe and its Empyrean Crash skill is the best weapon for the build as it staggers enemies easily, and it has high Tenacity, allowing you to remain uninterrupted during your attack.
Rampage is the Discipline Skill used, as its upgrade variant that allows you to heal and leech life after using the skill. This skill is also great against humanoid enemies and bosses as it can lift them to the air, granting you some free hits.
Weapon Benedictions
| Halberd Benedictions | ||
|---|---|---|
 Wei - Tri-Disciplinary Force Wei - Tri-Disciplinary Force
|
Wei - Six-Disciplinary Force
|
Wei - Nine-Disciplinary Force
|
Equip the Benedictions listed above for your Serpent Fang. These Disciplinary Force benedictions provide a huge raw damage increase, including their set bonus.
| Weapon | Weapon Skill | Discipline |
|---|---|---|
 Halberd Halberd | Mighty Blow Mighty Blow An attack that relies on brute force to crush the enemy's defences, dealing high damage in the process. Use with Skyborn Might for greater potency. | Rampage Rampage Relies on the axe's natural heft to deliver powerful cleaves. Use with Skyborn Might for greater potency. |
| Halberd Benedictions | ||
| Wei - Vitality Force |  Sheng - Obliteration Might Sheng - Obliteration Might | Wei - Combo Force |
The Halberd and its Mighty Blow skill is the best weapon for the build as it staggers enemies easily, and it has high Tenacity, allowing you to remain uninterrupted during your attack.
Impetus Tree Progression
| Impetus | |||
|---|---|---|---|
| 1. | 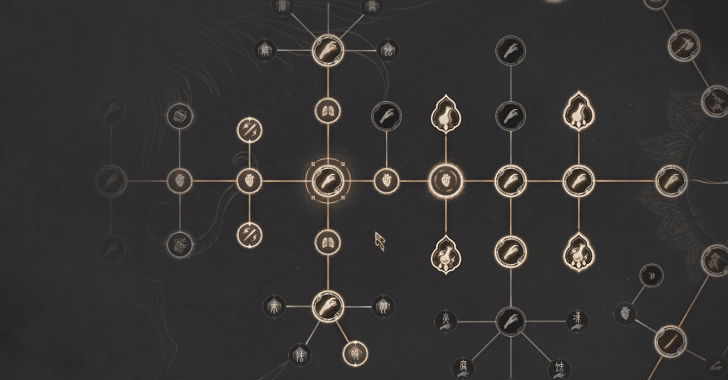 Energetic and Rapid Temperance |
2. |  Strike & Cleave and Axe Disciplines |
| 3. |  Skyborn Call III |
4. |  Rampage and Colossal Smash |
| 5. |  Solar Leap and Upward Force |
6. |  Sword Counter |
| 7. |  Strength Nodes |
- | - |
Start on the utility path and obtain Energetic and Rapid Temperance for faster imbuement. Take Skyborn Call II for stacks, healing potency, and number of Manna Flasks; afterwards, you can focus on the Axe tree.
Obtain Strike and Cleave along with other Axe Disciplines before getting the Skyborn Call III, then get Rampage with its variants as well as Colossal Smash to activate the damage boost from your Benedictions.
After completing the Axe tree, take Solar Leap and Upward Force from the spear tree while taking the strength nodes. This will allow you to reach the go past the Nine-Disciplinary Force requirement, providing another damage increase.
Afterwards, take the left path on the Longsword tree, and obtain all strength nodes as well as Sword Counter. This is the last Discipline you need to obtain the bonus damage from the Disciplinary Force set bonus.
If you still have more points, you can invest them in stamina nodes from the Dual Blades tree. That way, you can swap the Dragon-Fish Pendant with the Bravery Pendant for more damage.
Armor Set
| Head | Chest |
|---|---|
 Ming Helmet Ming Helmet
|
 Ming Armor Ming Armor
|
| Gloves | Pants |
 Consort's Bracers Consort's Bracers
|
 Consort's Skirt Consort's Skirt
|
For your armor, it's best to obtain the ones that grant the highest Tenacity, preventing enemies from interrupting your attacks, which allows you to keep on attacking.
The Consort armor pieces are optional if you want a balanced mitigation between all damage types. But if the enemies you're fighting do not have elemental status attacks, it's best to use the complete Ming set for maximum Tenacity.
| Head | Chest |
|---|---|
 North General's Helmet North General's Helmet |  Centipede Carapace Centipede Carapace |
| Gloves | Pants |
 North General's Vambraces North General's Vambraces |  Ming Greaves Ming Greaves |
For your armor, it's best to obtain the ones that grant the highest Tenacity, preventing enemies from interrupting your attacks, which allows you to keep on attacking.
For top Tenacity, you'll want to equip the North General's Helmet and Vambrace, as it has a higher Tenacity compared to the Ming and Centipede variants. You are going to need to adjust your armor as this setup has low resistances to non-physical damage and is weak to blunt attacks.
Jade Pendants
| Pendants | ||
|---|---|---|
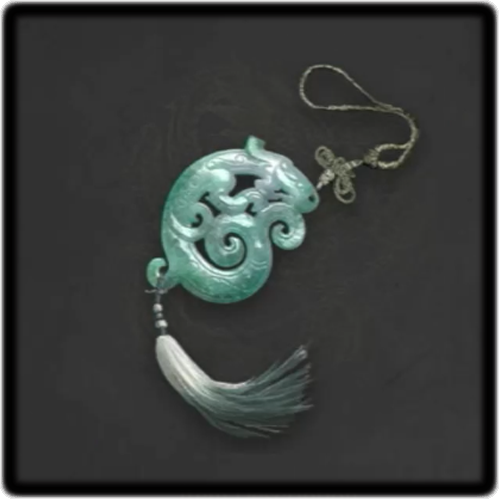 Dragon-Fish Pendant Dragon-Fish Pendant
|
 Peace Pendant Peace Pendant
|
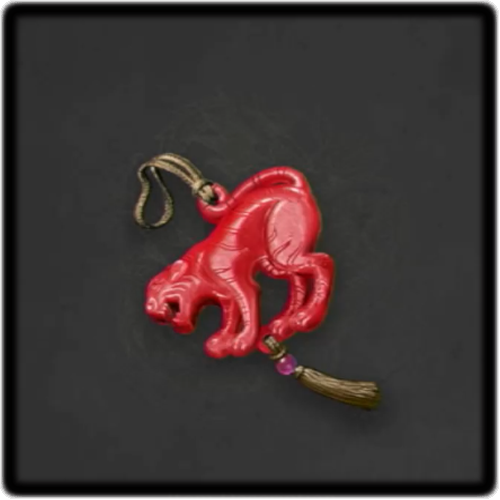 Tiger Pendant Tiger Pendant
|
For your pendant setup, you'll want a flat increase to damage which you'll obtain from the Peace and Tiger Pendants. The Dragon-Fish pendant grants an increase to your maximum stamina, but you can swap this out with the Bravery Pendant for more damage.
| Pendants | ||
|---|---|---|
| Dragon-Fish Pendant |  Coiled Dragon Pendant Coiled Dragon Pendant | 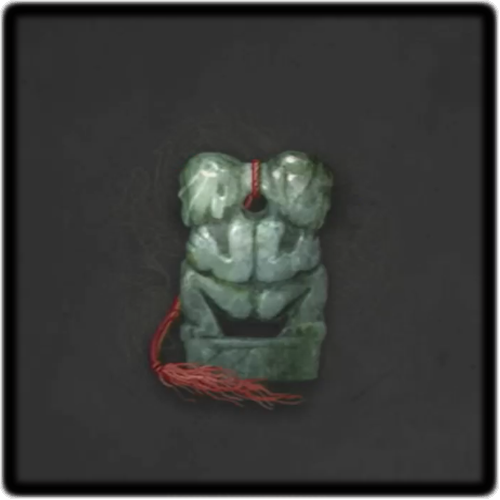 Twin Infant Pendant Twin Infant Pendant |
| Alternatives | ||
 Lifesteal Pendant Lifesteal Pendant |  Fiend-Felling Pendant Fiend-Felling Pendant |  Dracolich Pendant Dracolich Pendant |
For your pendant setup, you'll want a flat increase to stamina and stamina recovery, allowing you to keep on attacking without pause.
The alternatives allow the build to do different things. The Lifesteal pendant is best for mobbing and exploring (saving Manna Flask), while the Fiend-Felling and Dracolich pendants are great against specific enemy types.
Temperance and Acupoints
| Acupoints | Effect |
|---|---|
 Bone Needle - Leech Bone Needle - Leech
|
Used via tempering to endow your weapon with the ability to leech health from enemies. |
 Shadow Stone Needle - Strength Shadow Stone Needle - Strength
|
Taps into your acupoint to slightly increase the Strength Control of the weapon you're wielding. |
The Leech temperance is the best for the build as it stacks with the effects of Rampage, allowing you to heal a ton of HP per hit. What's more is that the setup allows you to clash with armed enemies three out of four times, making the build extremely tanky.
You'll want the Shadow Stone Needle - Strength acupoint to further increase the damage scaling of your Axe.
Spells
| Spell | Uses |
|---|---|
 Echo of Dhutanga Echo of Dhutanga
|
Primarily used for applying burn and chaining to the light attack combo, allowing for an endless chain due to the Skyborn Might gain on the 4th attack of the axe. |
 Divine Might Divine Might
|
Used before using major moves like Empyrean Crash or Rampage to increase their damage. |
 Divine Ward Divine Ward
|
Mainly used for damage reduction. |
Recommended Items
 Manna Vase Manna Vase
|
 Temperance Temperance
|
 Fixed Origin Pill Fixed Origin Pill
|
 Soft Rush Flowers Soft Rush Flowers
|
For your items, we recommend equipping Soft Rush Flowers and Fixed Origin Pills in your loadout. The Soft Rush Flowers help your stamina regeneration further, allowing you to attack more often.
The Fixed Origin Pills grant resistance to non-physical damage, as the armor used in the build focuses on Slash and Stab mitigation as well as Tenacity increase.
Playstyle and Tips
|
|
Recommended Rotation
- Use Temperance and ramp up your combo from distance to hit the 4th strike of the combo.
- Use Rampage to activate Life Leech.
- Weave in light combos to hit the 4th attack to get 3 Skyborn Might stacks. Attack with pacing to activate Strike and Cleave.
- Activate Empyrean Crash to deal high damage and stagger enemies. This attack also has high Tenacity, allowing you to tank through numerous enemy attacks.
- Activate Rampage again if you lose your Life Leech buff. You can identify this through the green buff icon below your health bar.
- Reapply Temperance as needed. Continue rotation until the enemy is down.
Keep an Eye on the Rampage Leech Indicator
Only use Rampage whenever the Leech indicator is gone. Rampage costs 3 Skyborn Might, so it's best to time it right in order to have a consistent life leech uptime.
Use Charged Attack to Clash with Weapon Attacks
Your charged heavy attack with the Axe has multiple hits. Take advantage of this to trigger multiple clashes and deal high damage with low drawback.
Stay Aggressive
Stay aggressive against all your encounters as that is how the build shines. You'll be able to kill an enemy or fill their stagger meter before you're even required to use your Manna Vases. Your heals will be even more potent when you have 90% madness filled.
Wuchang: Fallen Feathers Related Guides

| List of All Builds | |
|---|---|
| Stagger Longsword Build UP | Immortal Axe Build UP |
| Magic Shortsword Build UP | Flame Spear Build UP |
| Clash Dual Blades Build UP | Artillery Spear Build NEW |
| Spellblade Shortsword Build NEW | Burning Axe Build NEW |
| Flame Whip Build NEW | Poise Break Dual Blades NEW |
Comment
Author

Immortal Axe Build
Rankings
- We could not find the message board you were looking for.
Gaming News


Popular Games

Genshin Impact Walkthrough & Guides Wiki
Umamusume: Pretty Derby Walkthrough & Guides Wiki
Pokemon Pokopia Walkthrough & Guides Wiki
Honkai: Star Rail Walkthrough & Guides Wiki
Monster Hunter Stories 3: Twisted Reflection Walkthrough & Guides Wiki
Arknights: Endfield Walkthrough & Guides Wiki
Wuthering Waves Walkthrough & Guides Wiki
Zenless Zone Zero Walkthrough & Guides Wiki
Pokemon TCG Pocket (PTCGP) Strategies & Guides Wiki
Monster Hunter Wilds Walkthrough & Guides Wiki


Recommended Games
Fire Emblem Heroes (FEH) Walkthrough & Guides Wiki
Diablo 4: Vessel of Hatred Walkthrough & Guides Wiki
Cyberpunk 2077: Ultimate Edition Walkthrough & Guides Wiki
Yu-Gi-Oh! Master Duel Walkthrough & Guides Wiki
Super Smash Bros. Ultimate Walkthrough & Guides Wiki
Pokemon Brilliant Diamond and Shining Pearl (BDSP) Walkthrough & Guides Wiki
Elden Ring Shadow of the Erdtree Walkthrough & Guides Wiki
Monster Hunter World Walkthrough & Guides Wiki
The Legend of Zelda: Tears of the Kingdom Walkthrough & Guides Wiki
Persona 3 Reload Walkthrough & Guides Wiki


All rights reserved
© 2025 505 Games. Developed by Leenzee. Published by 505 Games.
The copyrights of videos of games used in our content and other intellectual property rights belong to the provider of the game.
The contents we provide on this site were created personally by members of the Game8 editorial department.
We refuse the right to reuse or repost content taken without our permission such as data or images to other sites.