This survey will take about 1 minute.
Your answers will help us to improve our website.
Wuchang: Fallen Feathers
Shu Sanctum 100% Completion Guide
☆ NEW: 1.7 Patch Notes
★ New to Shu? Check our Beginner's Guide
┗ Combat Guide | Full Skill Tree | Difficulty
☆ Meta: Builds | Best Weapons | Best Armor
★ Walkthrough | Bosses | NPCs
☆ Missables | Game Length | Trophies
This is a complete Shu Sanctum walkthrough for Wuchang: Fallen Feathers. Read on for a detailed guide, including boss strategies, important loot locations, and available quests!
| ◄ Previous Area | Next Area ▶ |
|---|---|
| Lightzen Temple | Mercury Workshop |
Shu Sanctum Walkthrough
1. Enter Shu Sanctum and Unlock the Shrine
| 1.1 | 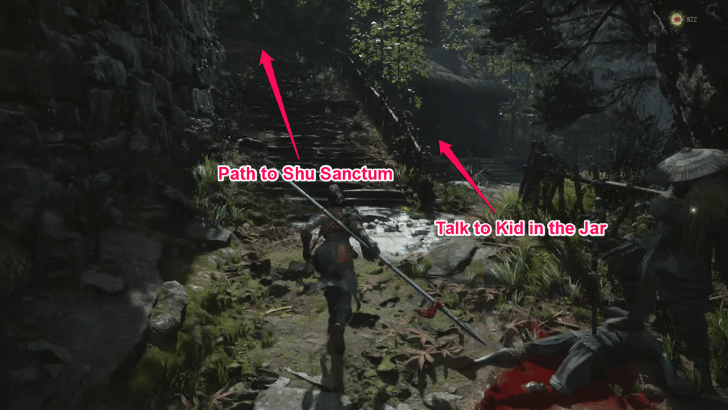 Past the staircase near Nian Suichang, enter the nearby house and talk to the Child in the Jar. Give the Dough Figurine of Mu Guiying to the child to get the Draw Circle emote. |
|---|---|
| 1.2 |  At the top, there are two possible paths towards Shu Sanctum. We recommend going to the right to avoid any challenging fights before unlocking the area's Shrine. |
| 1.3 | 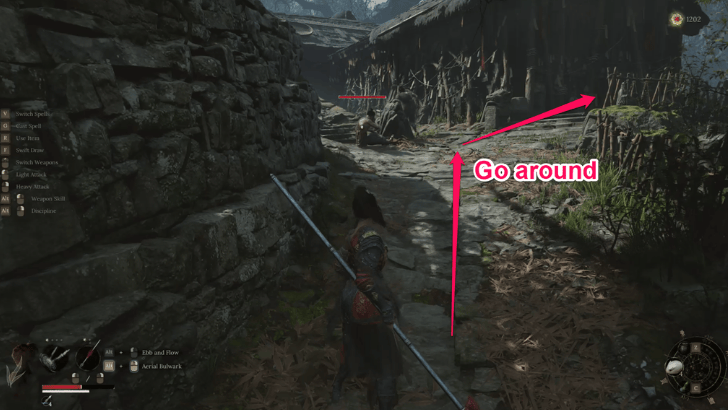 The path to the right does not require any fight, but is a longer way around. Follow the path and go around the house on the edge. |
| 1.4 | 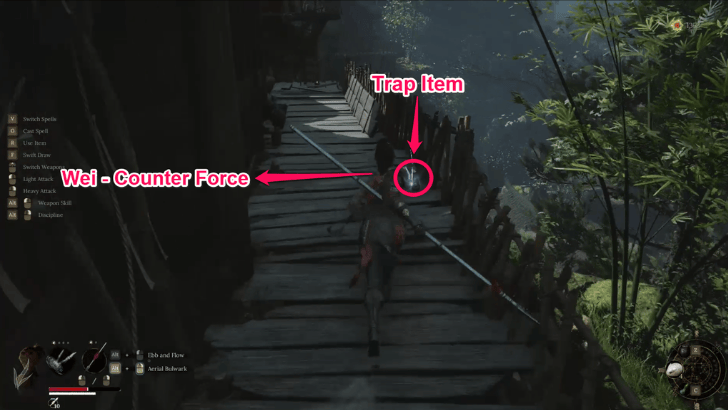 At the back of the house, you will find a blue item on the floor. However, do not pick it up right away because an enemy will burst through the wall on your left. Once you defeat that enemy, there is a small chest inside containing the Wei - Counter Force Benediction. |
| 1.5 | 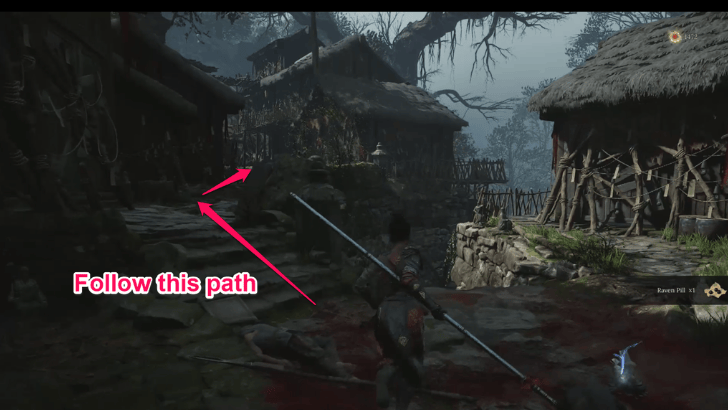 Climb up the nearby ladder and continue following that path. Watch out for a few enemies within the area. From there, keep going through the village until you find the Shu Sanctum on your left. |
| 1.6 | 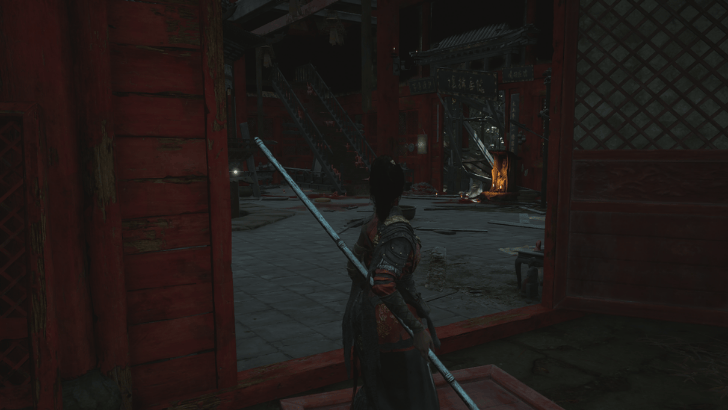 Turn left at the end and you will find an entrance to the Shu Sanctum. The area's Shrine can be found further inside. |
2. Clear the Settlement Near Shu Sanctum
| 2.1 | 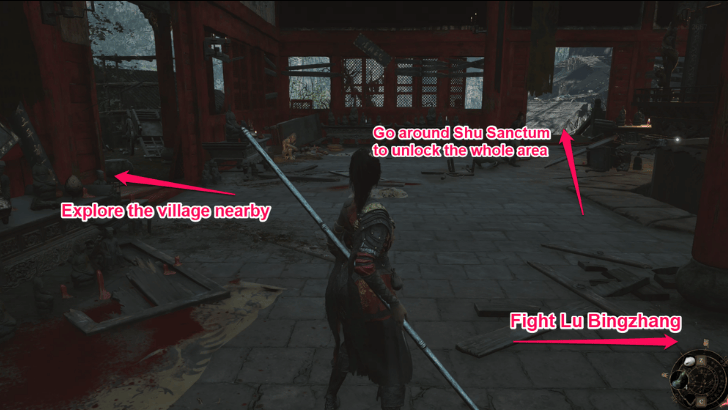 You have 2 main choices when deciding what to do next. You can either go around and unlock areas in Shu Sanctum first for additional content or you can go up Shu Sanctum to immediately fight Lu Bingzhang. It is recommended to explore the area first before fighting the main boss so you have ample time to level up. |
|---|---|
| 2.3 | 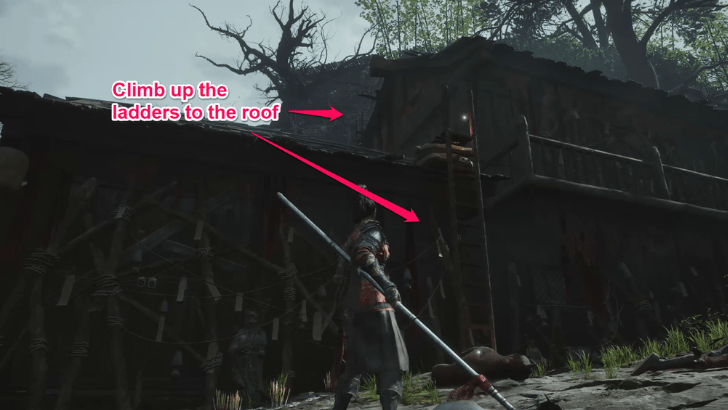 Towards the front of Shu Sanctum, fight the Ming Soldier to clear the area and obtain the Ming Armor Set. You can also do the Worship emote by the statue near the Sanctum entrance to obtain a Divine Gift. By the area where you fought the Ming Soldier, climb up the ladders and cross over to the settlement on the other side. |
| 2.4 | 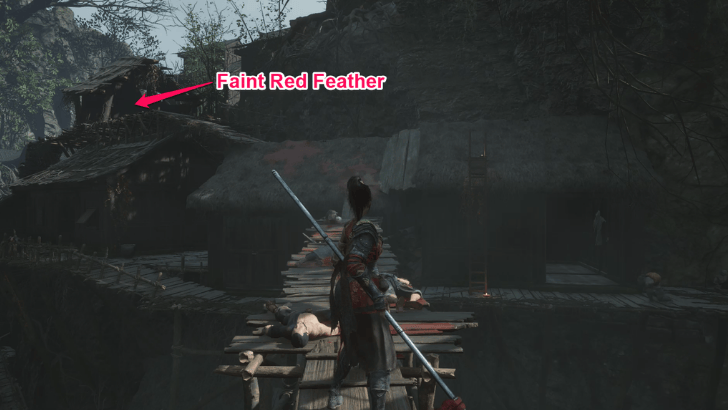 Clear the vicinity of any enemies for extra Red Mercury. On the house on your upper left, there is an enemy disguised as a vase that drops a Faint Red Feather upon defeat, so make sure to pick that up! |
| 2.5 | 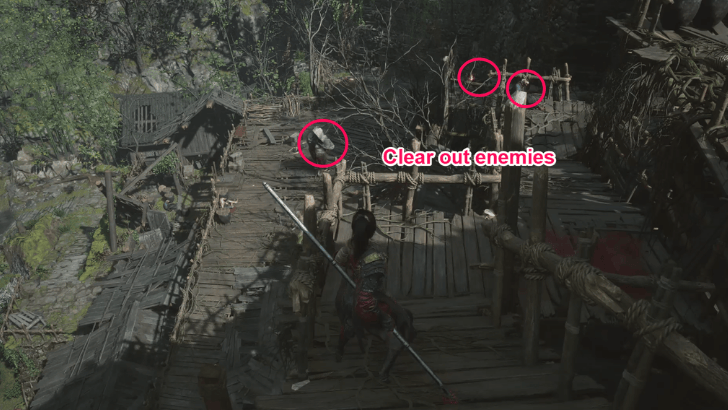 Continue towards the end of the rooftops then start going down. Make sure to clear enemies within the area! |
| 2.6 | 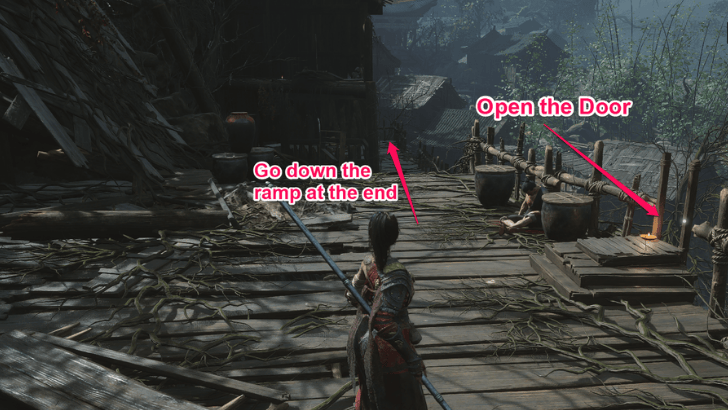 As you defeat the enemy with a door, go down the ladder on your right and open the gate nearby. Keep going across the area until you see a ramp at the end. |
| 2.7 | 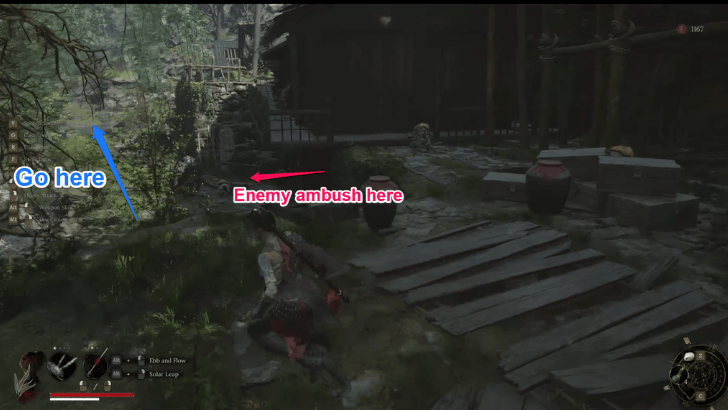 Once you are on the other side, watch out for the enemies near explosives, since they have guns. Go down the path on the left, and be prepared for a strong enemy ready to ambush you from the door on your right. You can pick up the gold item near the carriage, which will give you the Un-Equilibrium Blades. |
| 2.8 | 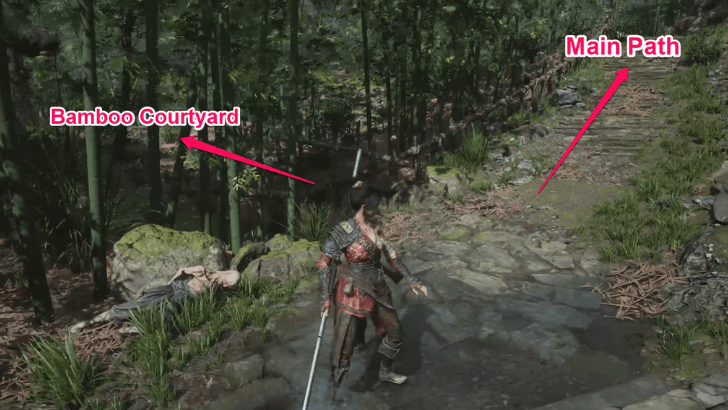 When you are past the area with the enemies, there is a path across the nearby staircase. This leads to the Bamboo Courtyard. In the house on the left, you can talk to an Actress who knows Tao Qing, and will ask you to beat him up. In the other house, you can talk to a woman looking for her family, and will give you a Courtyard Key to go to the Courtyard in Worship's Rise. |
3. Go Through the Worship's Rise Area
| 3.1 | 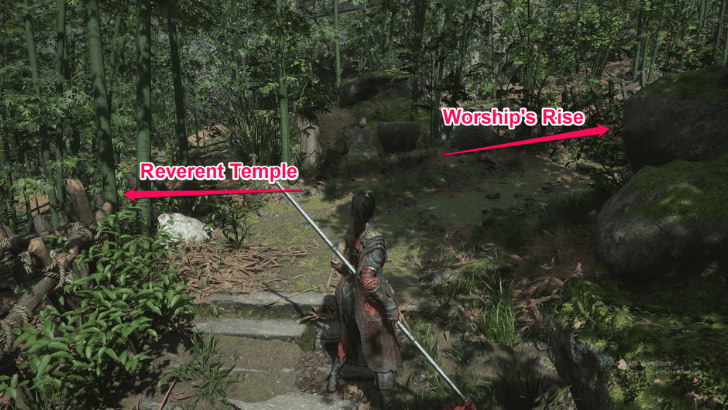 Go back to the main path and make your way to the end. You can either go left and return to Reverent Temple, where you can unlock the other gate, or go right, which leads to Worship's Rise. When unlocking the door the Reverent Temple, there is a house nearby where you can obtain the Bu - Blocking Clash Benediction. |
|---|---|
| 3.2 | 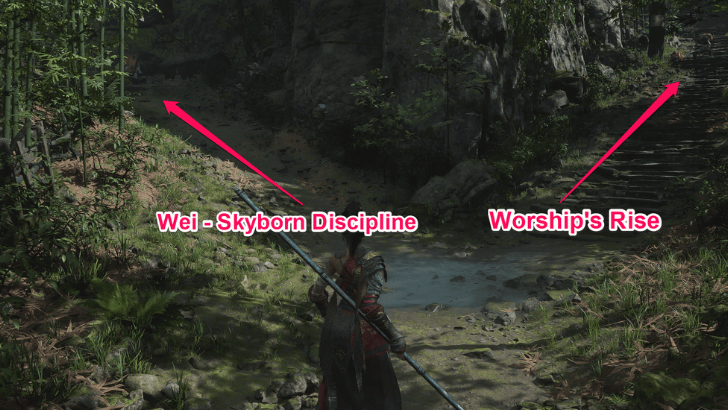 When going towards Worship's Rise, you can pass by the path on the left and fight an enemy guarding a small chest containing the Wei - Skyborn Discipline Benediction. On your way to Worship's Rise, watch out for the ranged enemy and two dogs who can persistently attack you. |
| 3.3 |  When entering Worship's Rise, there is a hidden enemy on your right ready to strike when you enter. There is also a ranged enemy located to your upper right, in the second floor of the building. The Courtyard you are looking for can be found through the door on your left. |
| 3.4 |  On the second floor of the Courtyard, you will immediately see the Militia Armor Set on the ground. Proceed to the room at the end, turn left, and read the letter on the desk to obtain a Damaged Letter you can give to the woman in the Bamboo Courtyard. |
| 3.5 |  Go back out onto the Worship's Rise entrance and go through the left side of the building. You can avoid directly dealing with the cannon enemy in the main alley by going up to the roof through the house on your left. |
| 3.6 | 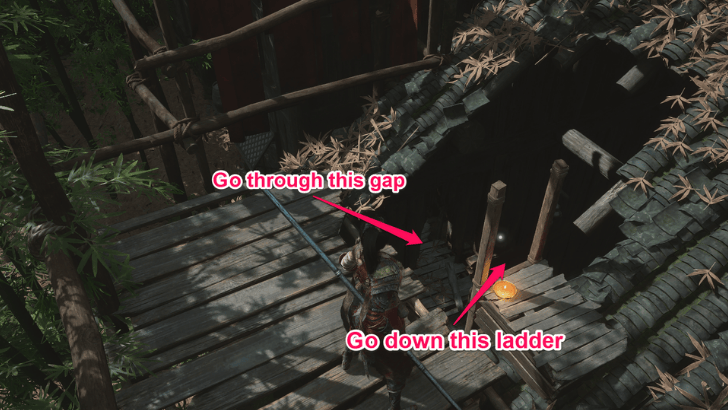 Follow the ramp on the roof until you find the ladder leading to a house with laughing enemies. Exit through the gap beside the ladder and exit through the door. This will bring you behind the cannon enemy, giving you an advantage. |
| 3.7 | 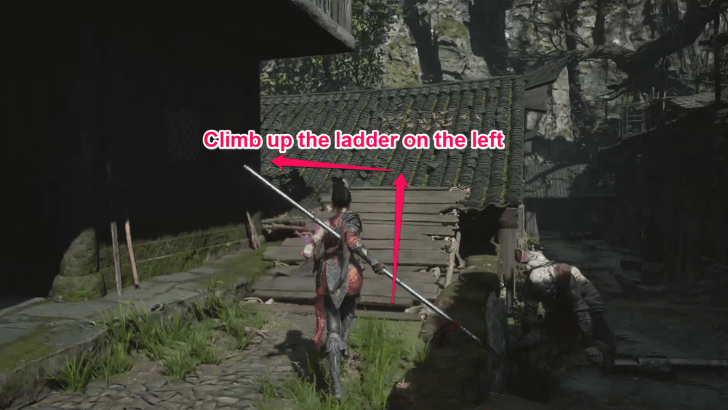 Go up the ramp on your right and turn left. There are two enemies on the other side of the roof, where you can also fall through and explore the building below. However, you only need to climb up the nearby ladder. |
| 3.8 | 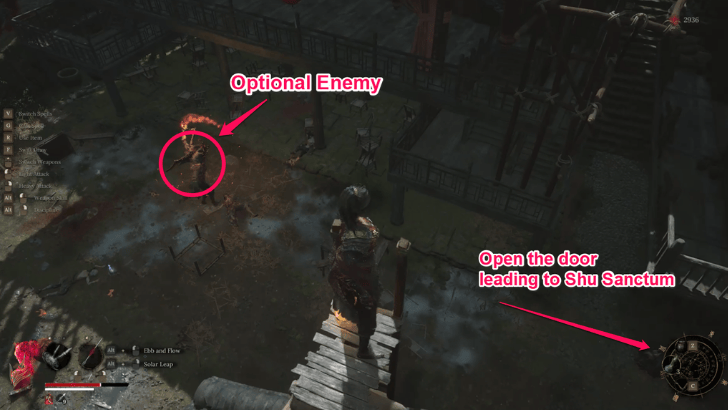 Once you are on the roof, you can go down the path on your left and go through the walkway nearby to pick up the Wei - Plunging Force. Back at the ladder, go down the and open the door leading to Shu Sanctum on the right. You can also defeat the optional enemy at the center of the area by throwing a fire pot near the adjacent explosives. This one-shots the enemy, and will drop the Infernal Flames Spell and Dough Figurine of Yang Zongbao upon defeat. |
| 3.9 | 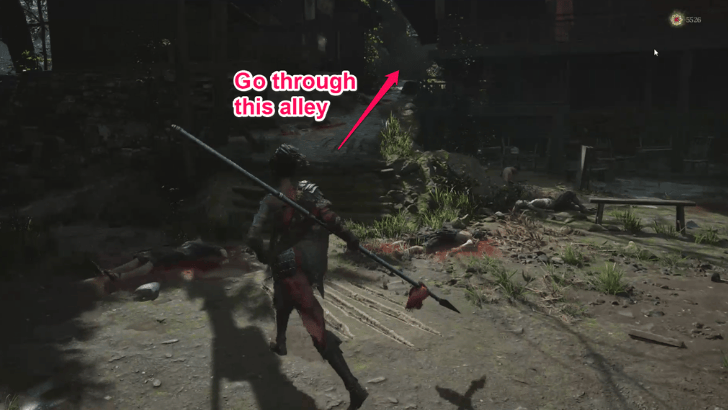 Go through the alley on the left and go straight ahead. |
| 3.10 | 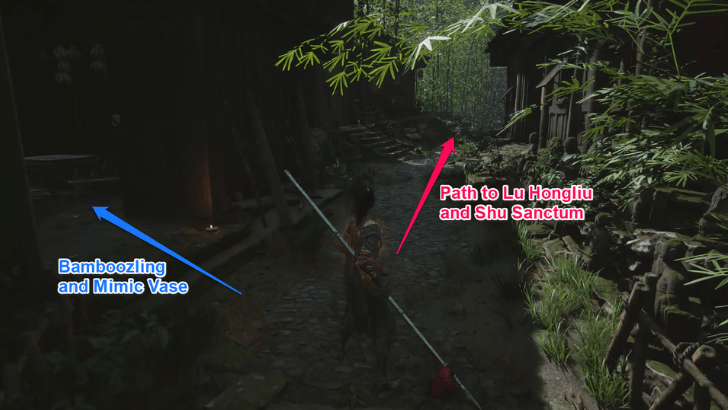 Go through the house on the left just past the bowing enemies to obtain a Bamboo Shoot at the end. Get a Faint Red Feather upon defeating the mimic vase nearby. After that, continue down that alley. |
| 3.11 | Just before the path to Lu Hongliu on the left, go down the path on your right and enter the first house up ahead. Go up to the second floor and climb the ladder onto the roof. |
| 3.12 | 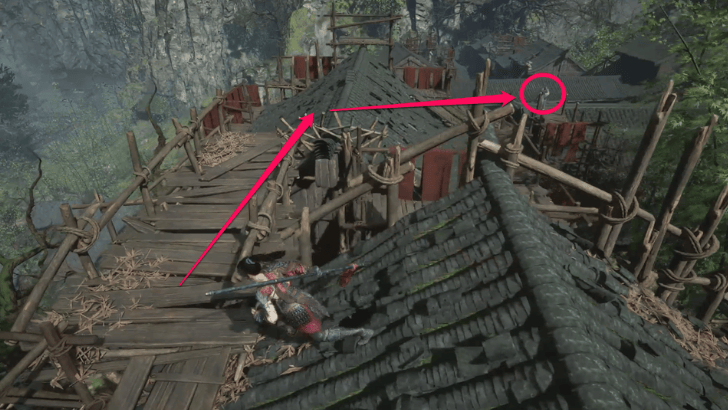 Once you are on top of the ladder, turn right and follow the roof path to the enemy with glowing red eyes. Upon its defeat, you will receive a Red Mercury Essence and Faint Red Feather. Make sure you pick up the Empyrean Greataxe at the edge of the roof you are on. After that, go back to the alley you came from. |
| 3.13 | 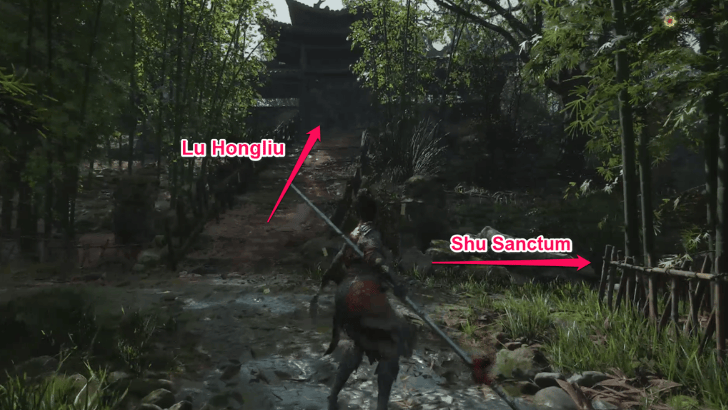 At the end of the alley, you can go left to enter the Lu Hongliu boss fight or turn right to return to Shu Sanctum. It is recommended to defeat the boss, as it progresses the story for Qiao Ying. ▶︎ Lu Hongliu Boss Tips |
| 3.14 | 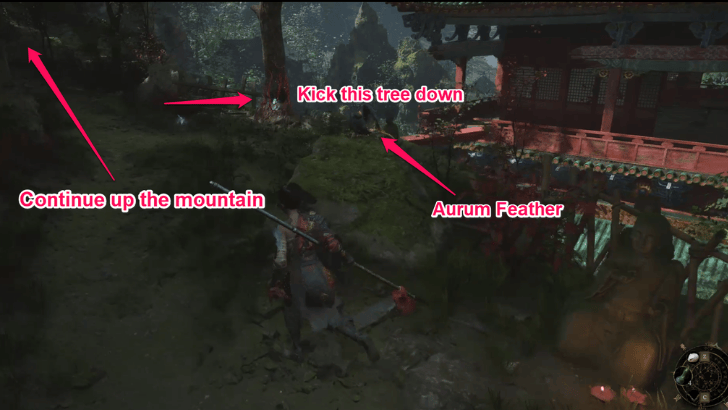 When going back to Shu Sanctum, continue up the mountain and kick the tree down on your right. This will open a direct path from the sanctum. Hit the bird on the nearby rock for an Aurum Feather as well. Take the time to level up through the Shrine and replenish your health. |
4. Pass by Annalum
| 4.1 | 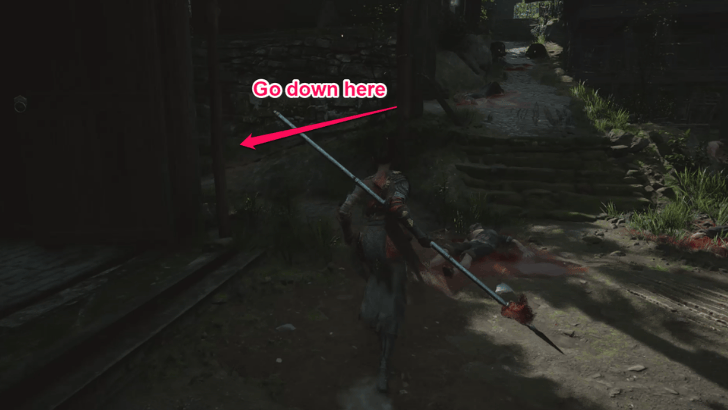 Back in the alley where you can fight the optional enemy in Worship's Rise, go down the mountain path on the leftmost side. Follow that path until you see a bridge to the mountain across. |
|---|---|
| 4.2 | 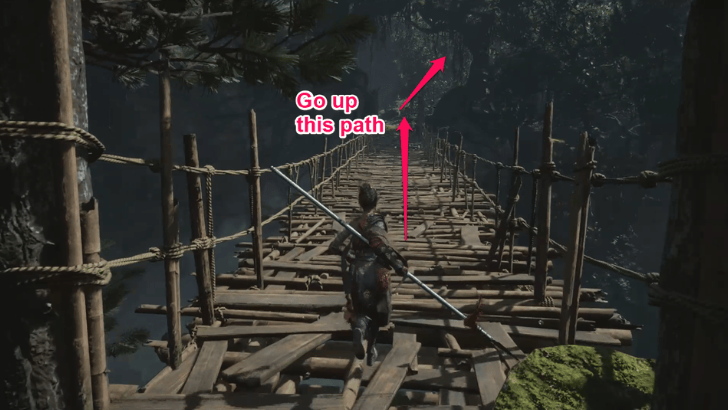 Cross the bridge and follow the path up the mountain. The shrine and entrance to Annalum can be found at the top. |
| 4.3 | 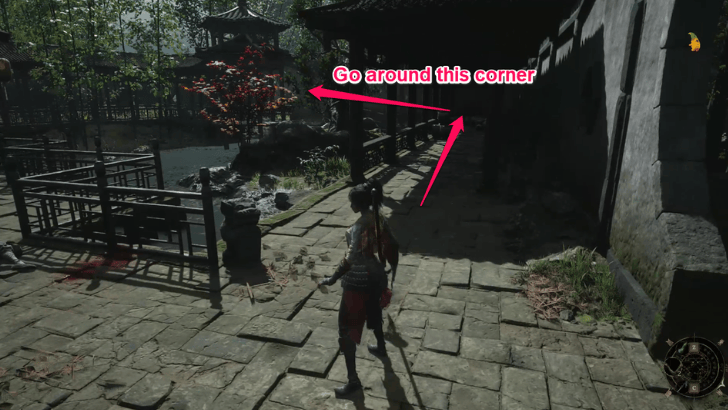 An enemy with a spear and shield will attack you once you enter Annalum. From there, go through the path on your right and then turn the corner at the end. |
| 4.4 | 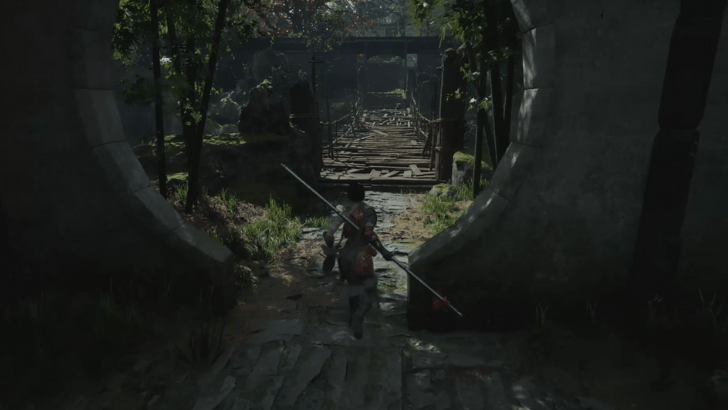 To your right, cross the bridge going to another area. Defeat the enemy wielding a door to obtain a Red Mercury Essence, a Faint Red Feather, and the Scenic Painting. |
| 4.5 | 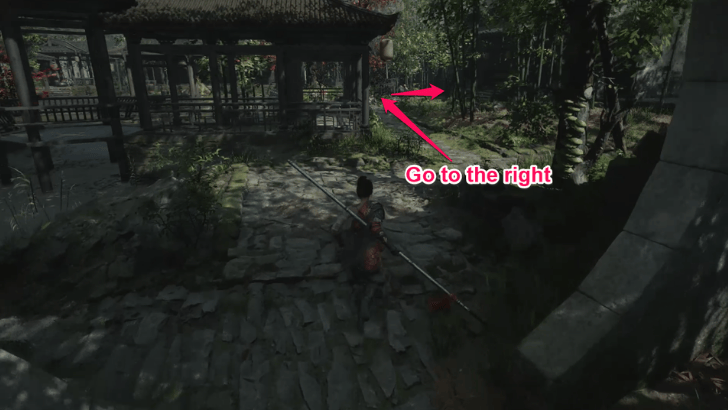 Return to the main Annalum area and go to the right. You will come across two enemies along the way. |
| 4.6 | 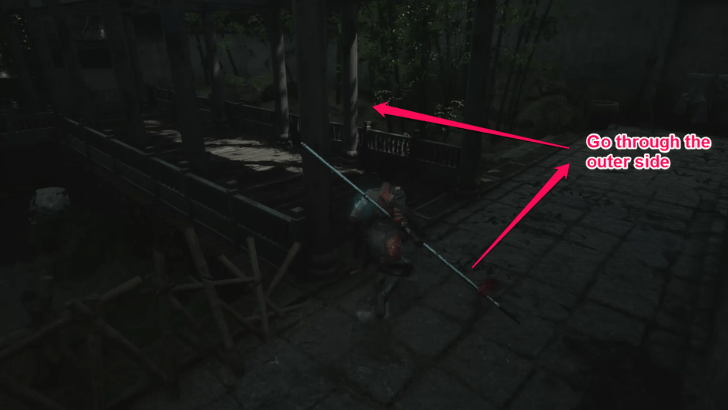 At the corner, go through the grassy area instead of following the tiled path. Continue down the mountain into the back area. |
| 4.7 |  Near the gazebo at the bottom, you will experience Demon Manifested, where you must fight your inner demon. Upon its defeat, you will obtain a Bo Blood, the Shadow Stone Needle - Agility. Pick up the Pixiu Pendant next to the gazebo as well. From here, teleport back to Shu Sanctum to replenish your health and flask charges if needed. |
5. Go to the Mountain Peak
| 5.1 | 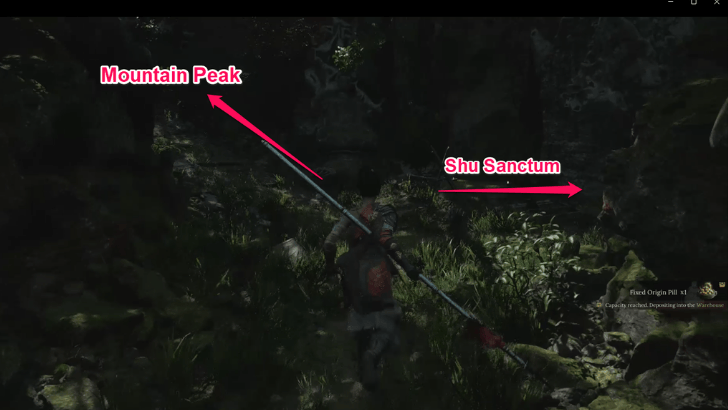 Go through the new bridge you unlocked on the second floor of the Sanctum and turn right, following the mountain path. As you go up the mountain, you can go left to go up to the peak and defeat the guard to obtain a Brilliant Red Feather and the Wei - Vitality Power. |
|---|---|
| 5.2 | 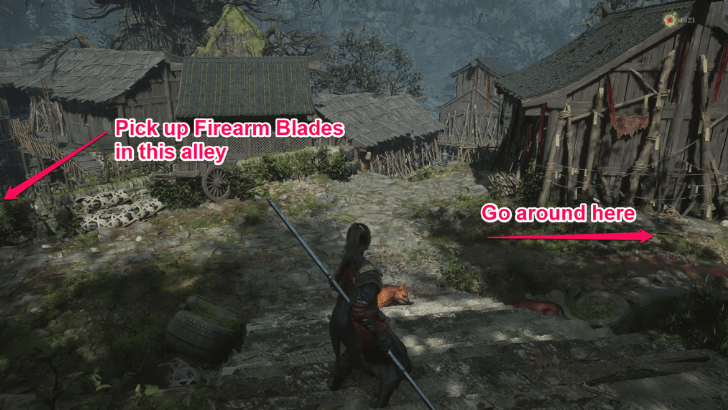 If you turn right and go back to Shu Sanctum, follow the ramp down the mountain and enter the village nearby. Turn right and go around near the back of Shu Sanctum. You can also go down to the alley on the left to get a Faint Red Feather from a Mimic Vase inside one of the house and to defeat several enemies and pick up a gold item that gives you the Firearm Blades. |
| 5.3 | 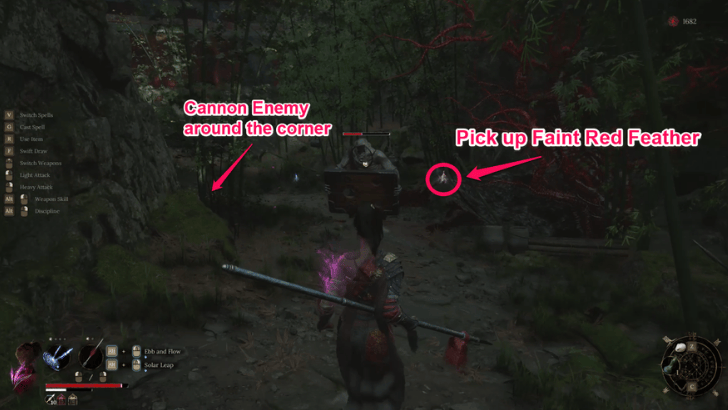 You will encounter two enemies: one wielding a door and one wielding a cannon. Pick up the pink item nearby that gives you a Faint Red Feather as well. |
| 5.4 |  At the end of the path, you can open a door on the right, which leads back to the side entrance of Shu Sanctum, and the door straight ahead, which leads to the edge of the area near Narrow Stretch. |
6. Explore Shu Sanctum's Edge
| 6.1 | 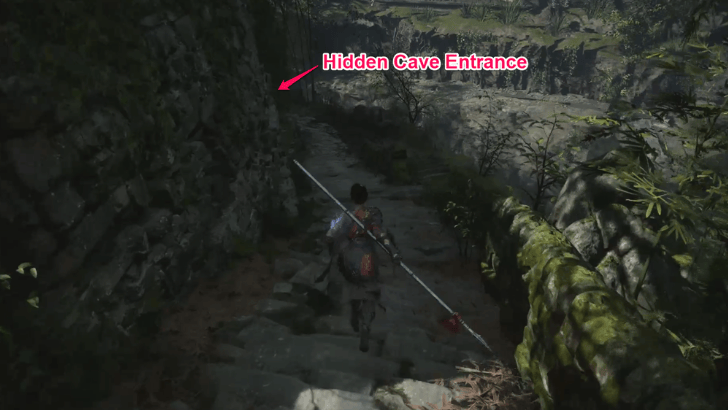 Once you open the door leading to the edge of Shu Sanctum, go down the path on the left and enter the cave at the end. There is also a bamboo shoot you can obtain near the cave entrance. |
|---|---|
| 6.2 | 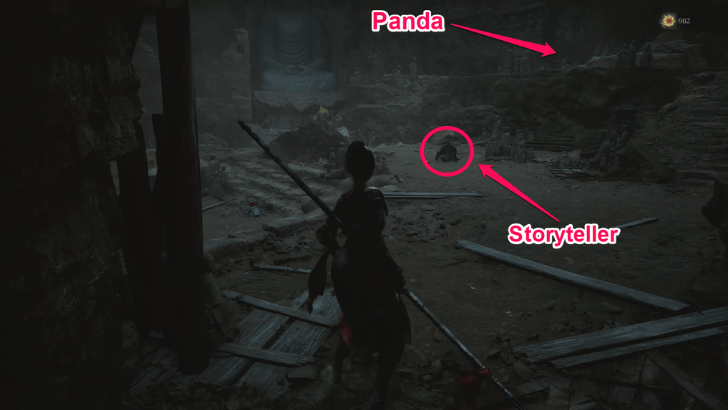 Once you enter the cave, you will see the Storyteller near the center of the area. After talking to him, he will give you a Bamboo Shoot. As he tells you a story, he will fall asleep. The Panda can be found further inside the area. You can exchange the Bamboo Shoots you have colleced so far to buy the Steampowered Spear or the Divine Ward Spell. |
| 6.3 |  Keep going down the mountain and cross the bridge to your left. Once you are on the other side of the bridge, turn left and hit the bird for an Aurum Feather. |
| 6.4 | 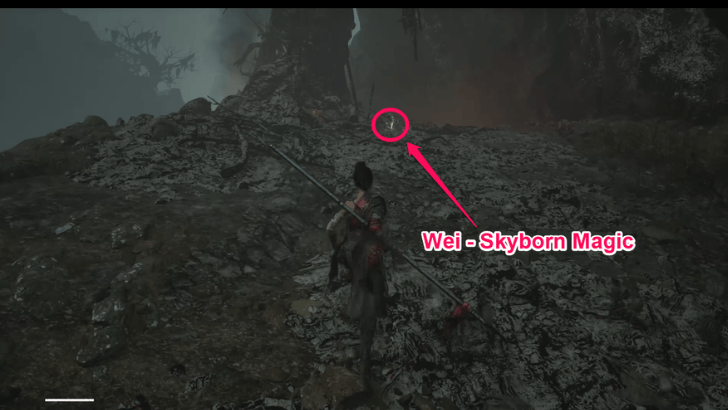 Keep going through that path until you reach a gloomy area with dead trees. At the end, you will find a gold item that gives you Wei - Skyborn Magic near a burning path. Based on our testing, it is possible to cross the burning path if you have around 250 Burn resistance. You would need to take several Fire Lotus Seeds while equipping the Entwined Legend Pendant and high Burn resistance armor. However, this is not recommended as you miss out on a lot of loot and equipment in the areas you skip. |
7. Defeat Lu Bingzhang
| 7.1 | 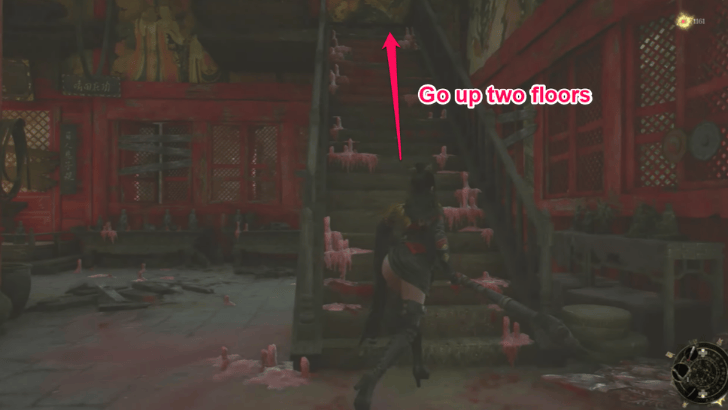 To progress the main story, go back to Shu Sanctum and go up the stairs next to the Shrine. Proceed to the top-most floor. Make sure to pass by Qiao Ying in the second floor and give her the Peachwood Amulet to obtain a Divine Gift. |
|---|---|
| 7.2 | 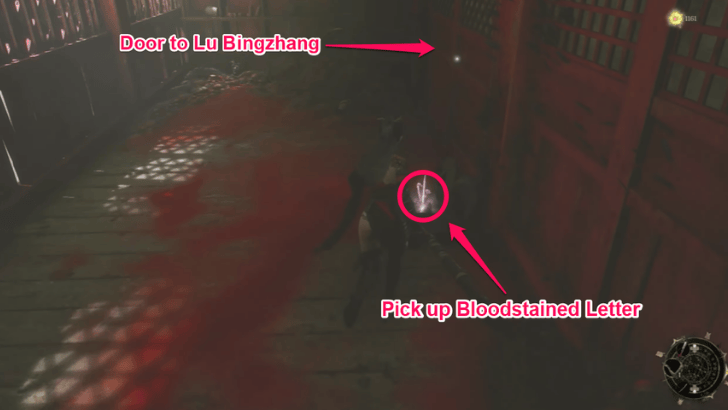 Pick up the pink item on the floor, which is a Bloodstained Letter you can give to Yu Xia. Enter through the door at the end to fight Lu Bingzhang. ▶︎ Lu Bingzhang Boss Tips. |
| 7.4 |  Once you defeat Lu Bingzhang, use the Shu Sanctum Key to rotate the central pillar at the bottom floor of the Sanctum. |
| 7.5 | 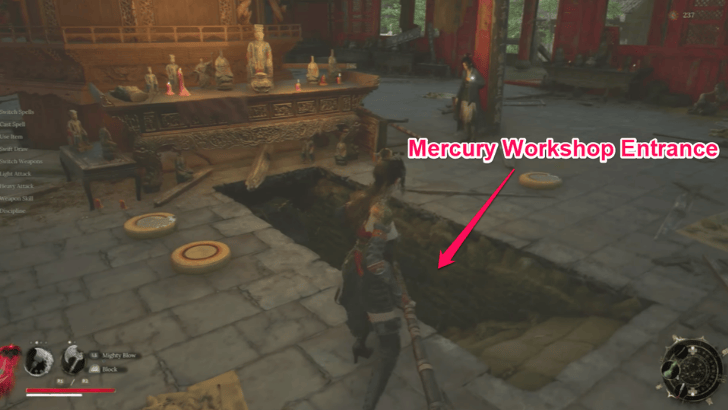 Towards the front of Shu Sanctum, the entrance to Mercury Workshop will open. ▶︎ Proceed to the Mercury Workshop Walkthrough |
Shu Sanctum Bosses
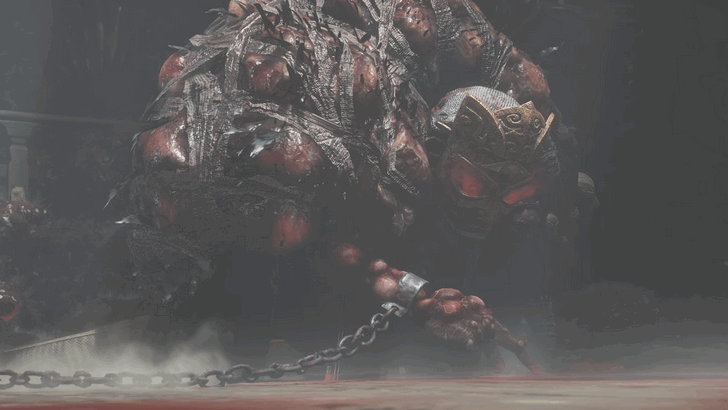
How to Beat Lu Bingzhang
 |
||||||||||||||
| ★★★ | ★★★ | - | ★ | |||||||||||
| - | ★ | ★ | ||||||||||||
| Lu Bingzhang Fight Tips | ||||||||||||||
|
|
||||||||||||||
Lu Bingzhang Weakness and How to Beat
How to Beat Lu Hongliu
 |
||||||||||||||
| ★★★ | ★ | - | ★ | |||||||||||
| - | ★★★ | ★ | ||||||||||||
| Lu Hongliu Fight Tips | ||||||||||||||
|
|
||||||||||||||
Lu Hongliu Weakness and How to Beat
Shu Sanctum Important Loot and Drops
List of Items and How to Get
| ✔️ | Items | How to Get |
|---|---|---|
 Wei - Counter Force Wei - Counter Force
|
This is found in a house by the edge of Shu Sanctum, right by where an enemy bursts out of a wall. | |
 Divine Gift Divine Gift
|
Give Qiao Ying the Peachwood Amulet in Shu Sanctum. | |
 Ming Set Ming Set
|
Defeat the Ming Soldier in front of Shu Sanctum. | |
|
Divine Gift
|
Do the Worship pose in front of the statue near the Shu Sanctum entrance. | |
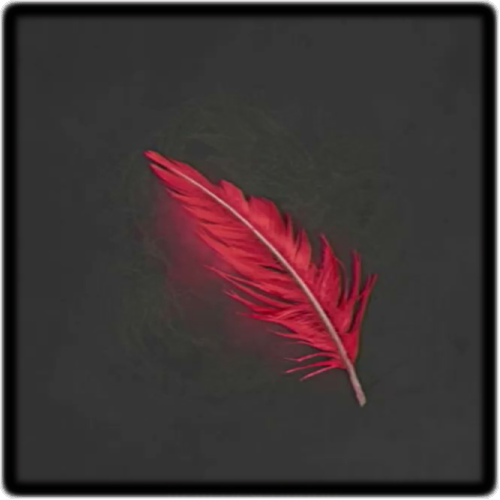
 Faint Red Feather 1 Faint Red Feather 1 |
Obtained after defeating a vase mimic in the enemy settlement along the mountainside. | |
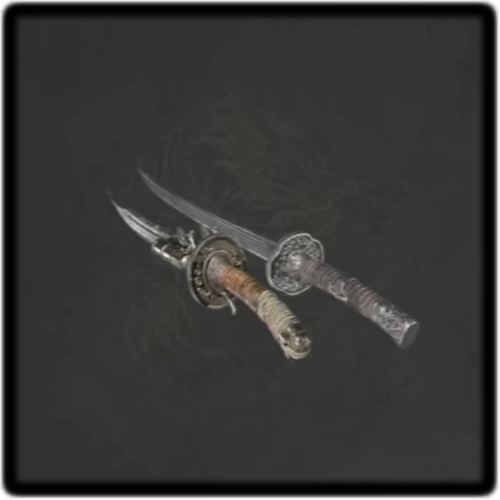
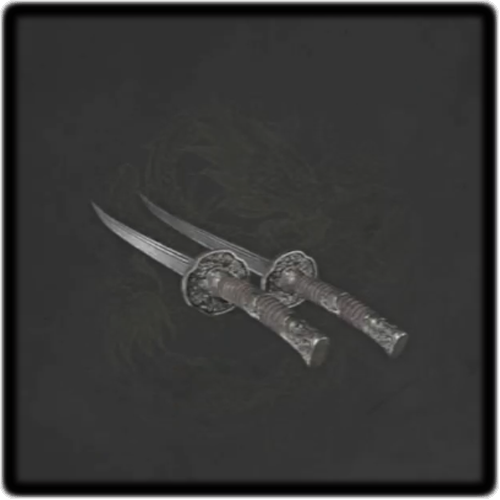 Un-Equilibrium Blades Un-Equilibrium Blades
|
When you cross the bridge over to the enemy settlement in Shu Sanctum, this can be found near a carriage in the middle of the path. | |
 Courtyard Key Courtyard Key
|
Talk to one of the NPCs found in the Bamboo Courtyard houses. | |
 Bu - Blocking Clash Bu - Blocking Clash
|
Found in an abandoned house near the door connected Shu Sanctum and Reverent Temple. | |
|
Wei - Skyborn Discipline
|
Can be picked up along the way to the Worship's Rise area. | |
 Militia Set Militia Set
|
Found in the second floor of the Courtyard at the Worship's Rise area. | |
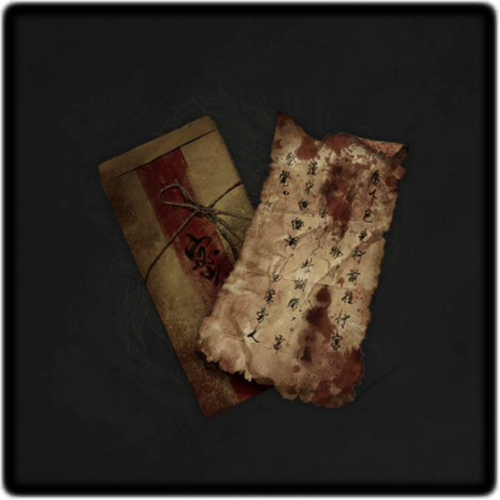
 Damaged Letter Damaged Letter
|
Can be picked up in the second floor room at the Worship's Rise area. | |
|
Wei - Plunging Force
|
Found in the middle of an overpass in the left side of the Worship's Rise area. | |
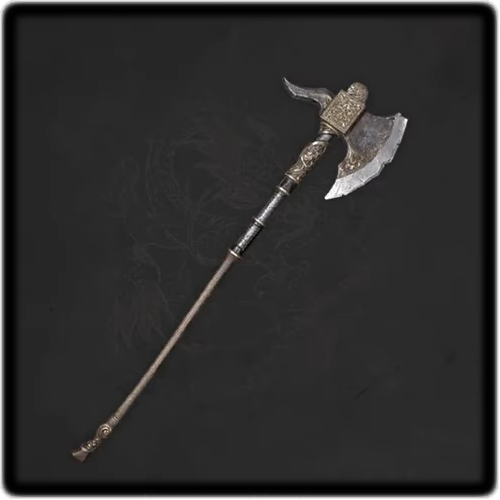 Empyrean Greataxe Empyrean Greataxe
|
Found on the edge of a roof near the optional enemy in the Worship's Rise area. | |
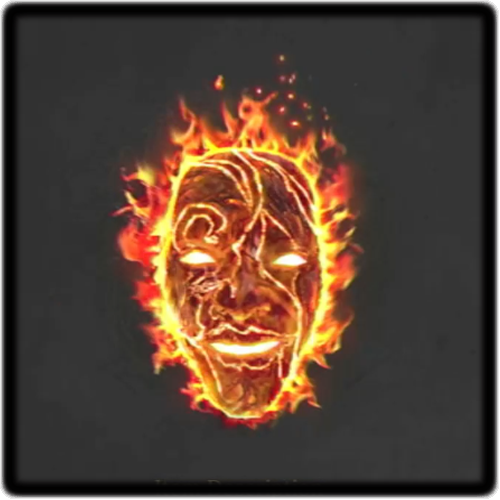 Infernal Flames Infernal Flames
|
Obtained upon defeating the fire bird enemy in the Worship's Rise area. | |
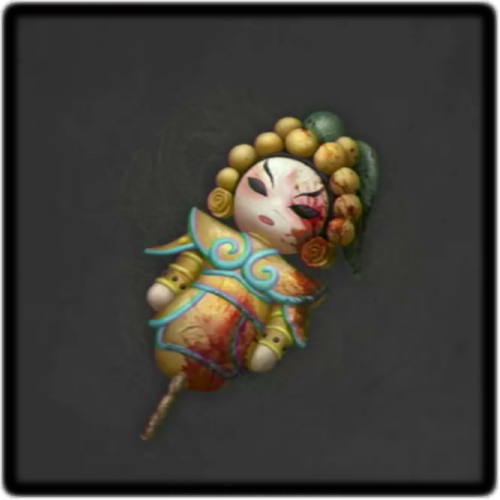 Dough Figurine of Yang Zongbao Dough Figurine of Yang Zongbao
|
Obtained upon defeating the fire bird enemy in the Worship's Rise area. | |
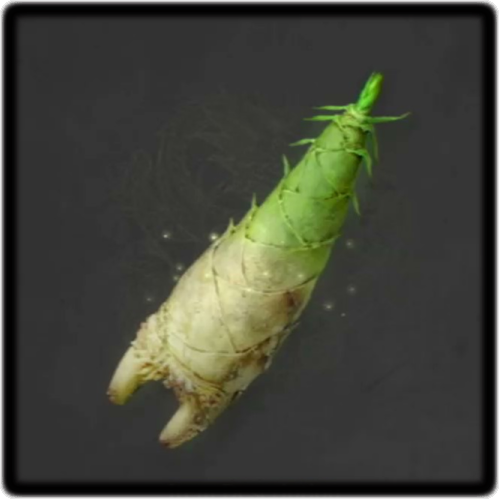 Bamboo Shoot 1 Bamboo Shoot 1 |
In the alley on the left side of the Worship's Rise area, go through the door on your left and go to the end. | |
| Faint Red Feather 2 |
In the alley on the left side of the Worship's Rise area, go through the door on your left and defeat the mimic vase. | |
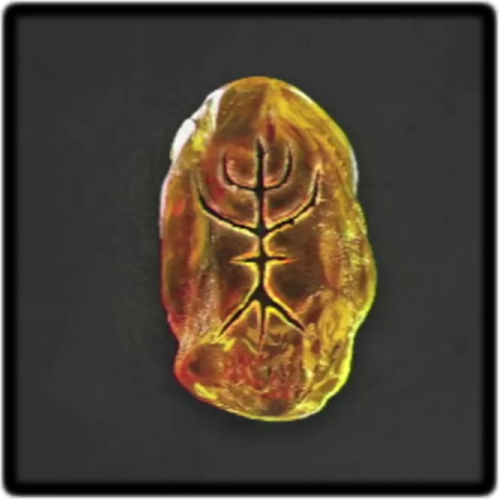
 Jade Cicada Jade Cicada
|
Obtained upon defeating Lu Hongliu. | |
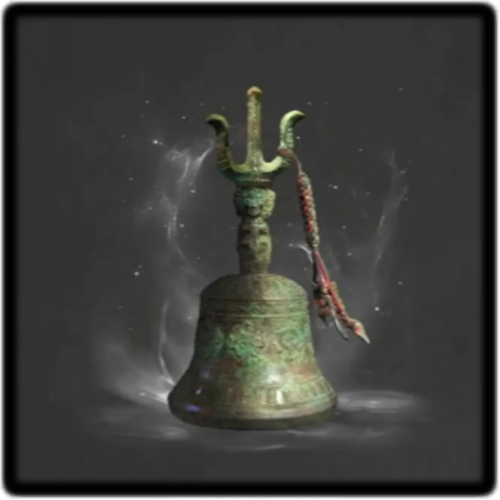 Trinity Bell Trinity Bell
|
Obtained upon defeating Lu Hongliu. | |
 White Jade Dumpling White Jade Dumpling
|
Obtained upon defeating Lu Hongliu. | |
| Faint Red Feather 3 |
Defeating the red-eyed enemy in the Annalum. | |
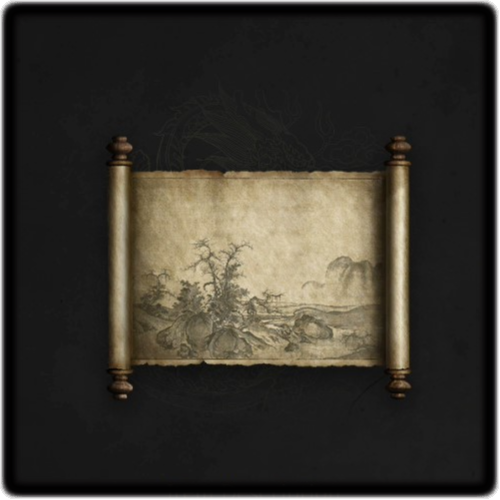 Scenic Painting Scenic Painting
|
Defeating the red-eyed enemy in the Annalum. | |
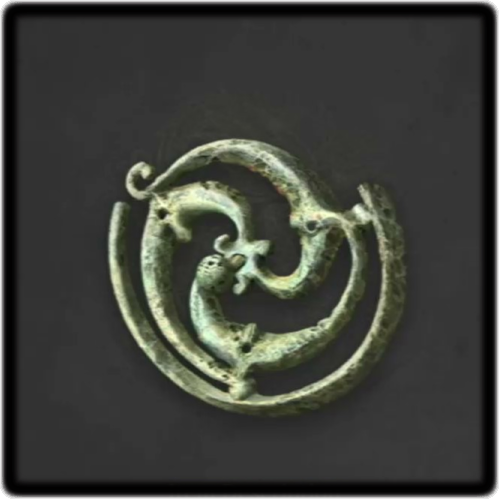
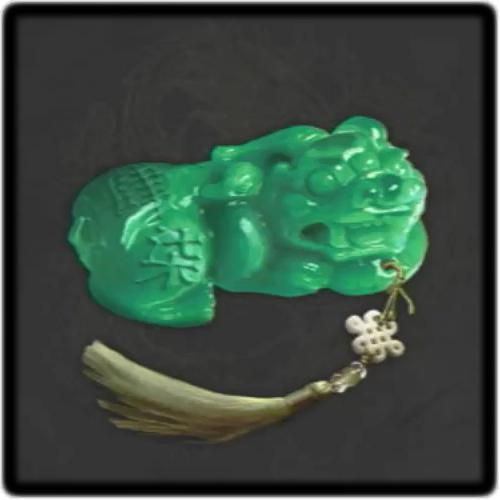 Pixiu Pendant Pixiu Pendant
|
Found in a small chest in the back area of the Annalum. | |
 Bo Blood Bo Blood |
Defeat the inner demon in the back area of the Annalum. | |
 Shadow Stone Needle - Agility Shadow Stone Needle - Agility
|
Defeat the inner demon in the back area of the Annalum. | |
 Brilliant Red Feather Brilliant Red Feather |
Defeat the guard in the mountain peak next to Shu Sanctum. | |
|
Wei - Vitality Power
|
Found in a small chest next to the guard in the mountain peak next to Shu Sanctum. | |
 Firearm Blades Firearm Blades
|
Found in an alley in the village next to Shu Sanctum. | |
| Bamboo Shoot 2 |
Hit the Bamboozling found outside the cave entrance where you can find the Storyteller and Panda NPC in Shu Sanctum. | |
| Bamboo Shoot 3 |
Talk to the Storyteller in the cave at Shu Sanctum's edge. | |
| Faint Red Feather 4 |
Found next to a cannon ogre and door ogre behind Shu Sanctum. | |
|
Wei - Skyborn Magic
|
Found near a dead tree by the burning path leading to Doomwillow Beach. | |
 Bloodstained Letter Bloodstained Letter
|
Picked up near a dead body in the top floor of Shu Sanctum. | |
 Shu Sanctum Key Shu Sanctum Key
|
Obtained after defeating Lu Bingzhang. | |
|
Wei - Vitality Ferocity
|
Obtained after defeating Lu Bingzhang. | |
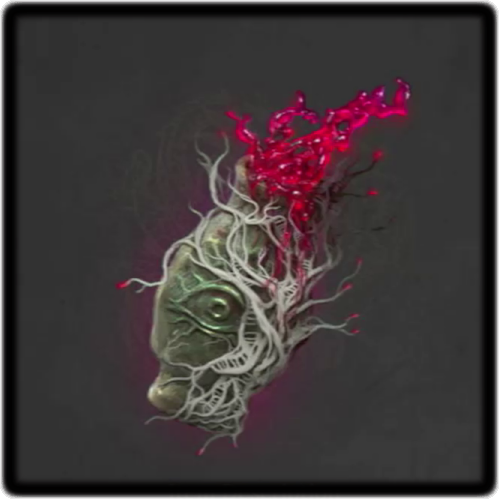
 Mercurial Blood Mercurial Blood
|
Obtained after defeating Lu Bingzhang. | |
 Echo of Lu Bingzhang Echo of Lu Bingzhang
|
Obtained after defeating Lu Bingzhang. | |
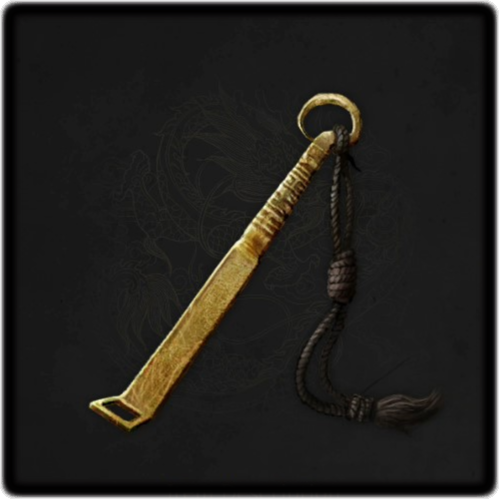
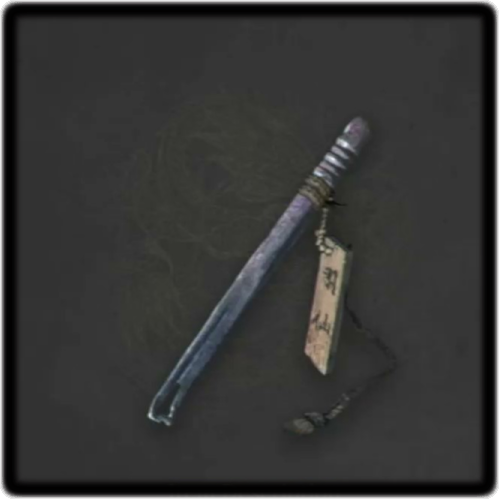
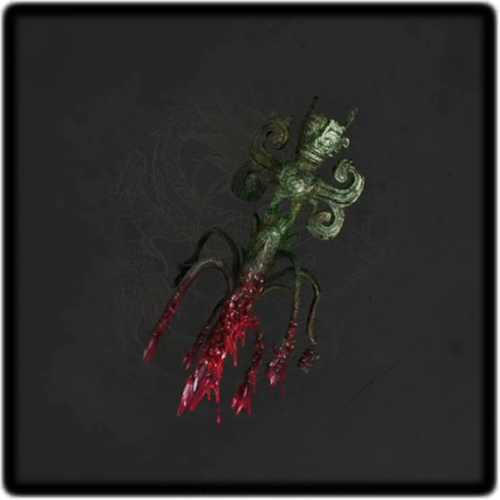 Priest's Broken Cane Priest's Broken Cane
|
Obtained after defeating Lu Bingzhang. |
| All Faint Red Feathers | All Bamboo Shoots |
Shu Sanctum Location
First Major Area
From Lightzen Temple, pass through Narrow Stretch, leading directly to Shu Sanctum.
Shu Sanctum Summary
Area Summary and Points of Interest
| Recommended Level | 15+ |
|---|---|
| Bosses | ・Feathered Priest - Lu Bingzhang ・Gluttonous Monstrosity - Lu Hongliu |
| NPCs | ・Tao Qing ・Huang Jian'e ・Nian Suichang ・White-Robed Elder ・Child in the Jar ・Storyteller ・Wu Gang ・Panda |
Shu Sanctum is the first major hotspot for side quests and exploration. It is where many of the early NPC quests converge and is also made up of several sections you are free to explore.
Wuchang: Fallen Feathers Related Guides
Comment
Author
Shu Sanctum 100% Completion Guide
Please participate in our site
improvement survey
04/2026
improvement survey
04/2026
Would you assist in
improving Game8's site?
improving Game8's site?

×
We are listening to our users' valuable opinions and discussing how to act on them.
The information collected through this survey will be used for the purpose of improving our services. In addition, the information will only be disclosed a part of a statistic in a format that will not allow identification of personal information.
Begin Survey
Not Now
×
Please rate each item regarding Game8.co's Advertisements.
Amount of Ads
Very Dissatisfied
Somewhat Dissatisfied
Fine
Somewhat Satisfied
Highly Satisfied
Placement of Ads
Timing of Ad Display
Ad Loading Speed
Safeness of Ads
Content of Ads
×
Please rate each item regarding Game8.co's Quality of Articles.
Amount of information
Very Dissatisfied
Somewhat Dissatisfied
Fine
Somewhat Satisfied
Highly Satisfied
Frequency of updates
Speed of new information
Accuracy of articles
Understandibility of articles
Readability of sentences
×
Please rate each item regarding Game8.co's Usability of the Site.
Ease of finding information
Very Dissatisfied
Somewhat Dissatisfied
Fine
Somewhat Satisfied
Highly Satisfied
Loading Speed
Use of Color
Font Size
Visibility of Images
Easy to Understand Layout
×
Please rate each item regarding Game8.co's Message Boards, Comments.
Ease of Writing
Very Dissatisfied
Somewhat Dissatisfied
Fine
Somewhat Satisfied
Highly Satisfied
Readability
Ease in Finding Information
Comment Quality
Comment Quantity
Admin Response
×
Please rate each item regarding Game8.co's Site's new design.
Please rate our site's new design
Very Dissatisfied
Somewhat Dissatisfied
Fine
Somewhat Satisfied
Highly Satisfied
Do you think that the website's design change makes the site easier to use?
Has the new design made it easier for you to find information on the site?
Has the new design improved the overall visual appeal of the site?
How would you rate your overall satisfaction with the new design of the site?
×
How likely are you to recommend Game8 to someone you know?
Very Unlikely
0
1
2
3
4
5
6
7
8
9
10
Very Likely
If you have other opinions regarding potential improvement to the website, please share them with us. We would appreciate your honest opinion.
Note: This is a free response section, so you can proceed without entering anything.
Note: Please be sure not to enter any kind of personal information into your response.
Note: Please be sure not to enter any kind of personal information into your response.
×
Thank You
×
Thank you for participating in our survey! Your answers will help us to improve the quality of our website and services.
We hope you continue to make use of Game8.
We hope you continue to make use of Game8.
Close
Rankings
- We could not find the message board you were looking for.
Gaming News


![Forza Horizon 6 Review [Preview] | Beautiful Roads With a Whole Lot of Oversteer](https://img.game8.co/4460981/a7254c24945c43fbdf6ad9bea52b5ce9.png/thumb)
![Borderlands Mobile Review [Playtest] | The Same Borderlands Made Easy](https://img.game8.co/4465500/aac0c880a39ec5cd46073e49d18f3ed5.png/thumb)
Popular Games

Genshin Impact Walkthrough & Guides Wiki
Crimson Desert Walkthrough & Guides Wiki
Umamusume: Pretty Derby Walkthrough & Guides Wiki
Honkai: Star Rail Walkthrough & Guides Wiki
Monster Hunter Stories 3: Twisted Reflection Walkthrough & Guides Wiki
Wuthering Waves Walkthrough & Guides Wiki
The Seven Deadly Sins: Origin Walkthrough & Guides Wiki
Pokemon TCG Pocket (PTCGP) Strategies & Guides Wiki
Pokemon Pokopia Walkthrough & Guides Wiki
Zenless Zone Zero Walkthrough & Guides Wiki


Recommended Games
Monster Hunter World Walkthrough & Guides Wiki
Fire Emblem Heroes (FEH) Walkthrough & Guides Wiki
Pokemon Brilliant Diamond and Shining Pearl (BDSP) Walkthrough & Guides Wiki
Super Smash Bros. Ultimate Walkthrough & Guides Wiki
Diablo 4: Vessel of Hatred Walkthrough & Guides Wiki
Cyberpunk 2077: Ultimate Edition Walkthrough & Guides Wiki
Yu-Gi-Oh! Master Duel Walkthrough & Guides Wiki
Elden Ring Shadow of the Erdtree Walkthrough & Guides Wiki
The Legend of Zelda: Tears of the Kingdom Walkthrough & Guides Wiki
Persona 3 Reload Walkthrough & Guides Wiki


All rights reserved
© 2025 505 Games. Developed by Leenzee. Published by 505 Games.
The copyrights of videos of games used in our content and other intellectual property rights belong to the provider of the game.
The contents we provide on this site were created personally by members of the Game8 editorial department.
We refuse the right to reuse or repost content taken without our permission such as data or images to other sites.