Avian Marsh 100% Completion Guide
☆ NEW: 1.7 Patch Notes
★ New to Shu? Check our Beginner's Guide
┗ Combat Guide | Full Skill Tree | Difficulty
☆ Meta: Builds | Best Weapons | Best Armor
★ Walkthrough | Bosses | NPCs
☆ Missables | Game Length | Trophies
This is a complete Avian Marsh walkthrough for Wuchang: Fallen Feathers. Read on for a detailed guide, including boss strategies, important loot locations, and available quests!
| ◄ Previous Area | Next Area ▶ |
|---|---|
| Refugee Camp | Zhenwu Temple |
Avian Marsh Walkthrough
1 Unlock the Avian Dwelling Shrine
| 1.1 | 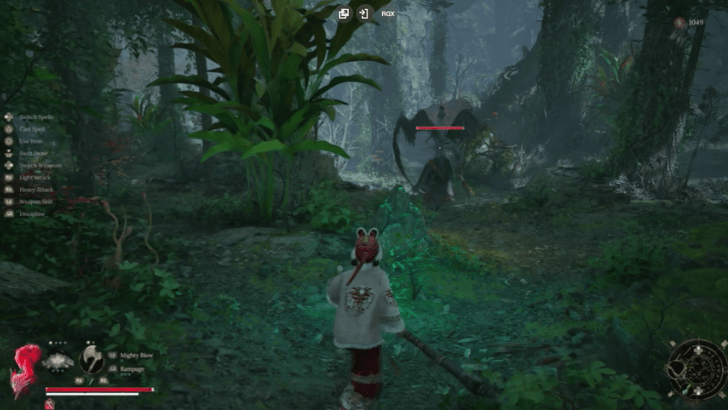 Go down the ladder in Refugee Camp and enter the cave on your left. There is a large avian enemy near the entrance that drops a Radiant Red Feather and Blood of Wangdi. |
|---|---|
| 1.2 | From the large avian enemy, turn slightly to the left and follow the path uphill on your right. At the top, you will see the Avian Dwelling Shrine and the Red-Clad Lady. Agreeing to help the Red-Clad Lady will get you the Divine Blessing spell and will allow you to progress her storyline. |
2. Unlock the Avian Marsh Shrine
| 2.1 |  Go back down the hill and turn right. Keep following that path and go down the ladder at the end. Watch out for the Lotus Sorcerer shooting you from across the gap! |
|---|---|
| 2.2 | 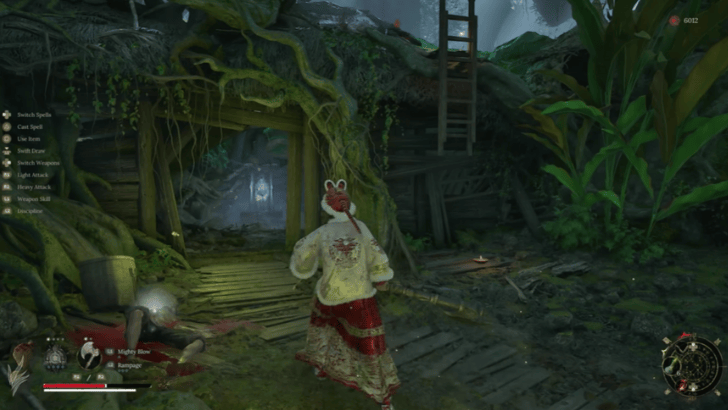 Once you reach the ground, go to the right and unlock the Avian Marsh Shrine. |
3. Loot Avian Marsh
| 3.1 | 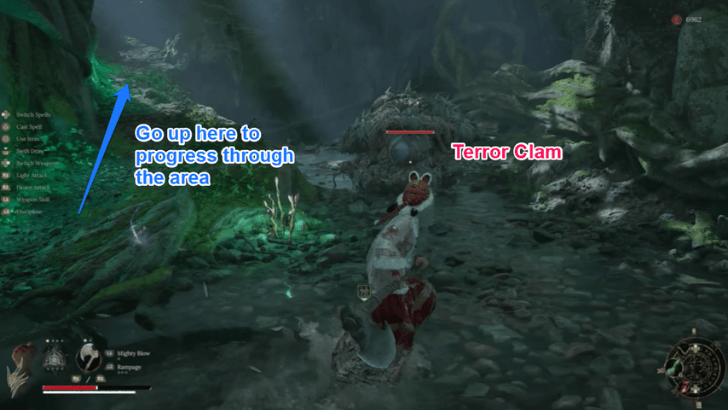 From there, go ahead and go up the tree on your left. You will encounter a Terror Clam along the way. |
|---|---|
| 3.2 |  Keep following that path, defeat the Lotus Sorcerers, and obtain the Radiant Red Feather along the way. At the end of that path, go straight ahead and pick up the Wei - Blightful Wounds Benediction. |
| 3.3 | 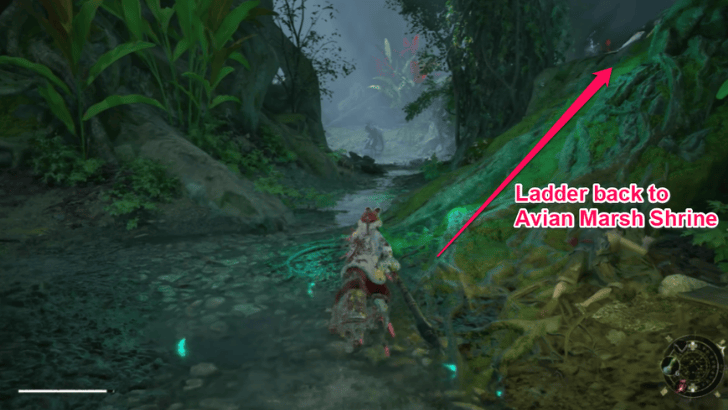 Go back up the slope you were on and go up the path you see on your right. Release the ladder ahead, which leads back to the Avian Marsh Shrine. |
| 3.4 | 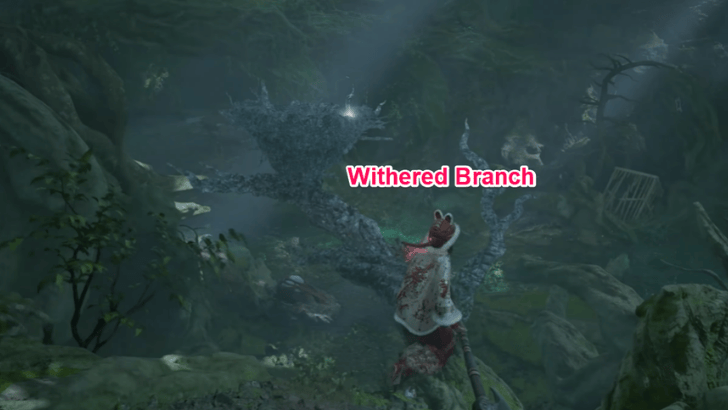 Go down the ladder and go back up the tree up ahead on your left. Continue through that path until you see a withered branch on your right. Picking up the item on the withered branch will cause it to fall, leading you to a Demon Manifest Location and a Brilliant Red Feather. You will get a Root Stone Needle - Status and Bo Blood upon defeating the inner demon. |
| 3.5 | 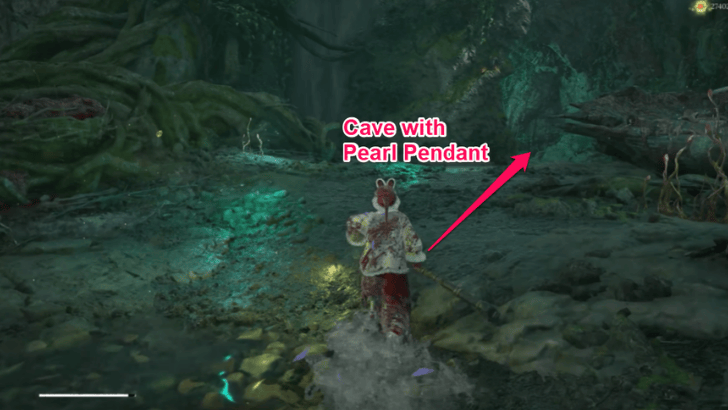 Exit that area and go through the narrow path on your left. As enter the cave ahead, you can pick up the Pearl Pendant on the ground. However, stay cautious as this is a trap by a Terror Clam! Go back to the Avian Marsh Shrine and go up the ladder on your right. Take the time to replenish your health if needed. |
| 3.6 |  Go through the path on your right and align yourself to Plunging Attack the enemy below. Continue through the path on your right and keep going up the winding path on the right to pick up a Secret Letter, which you can give to Li Dingo later to secure his questline. |
| 3.7 | 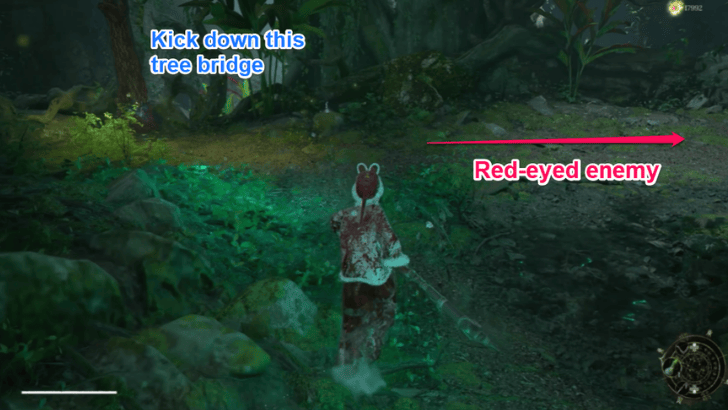 Proceed through that area and kick down the tree bridge on your left. On your right, there is an enemy with glowing red eyes that drops a Brilliant Red Feather and Red Mercury Essence upon its defeat. |
| 3.8 | 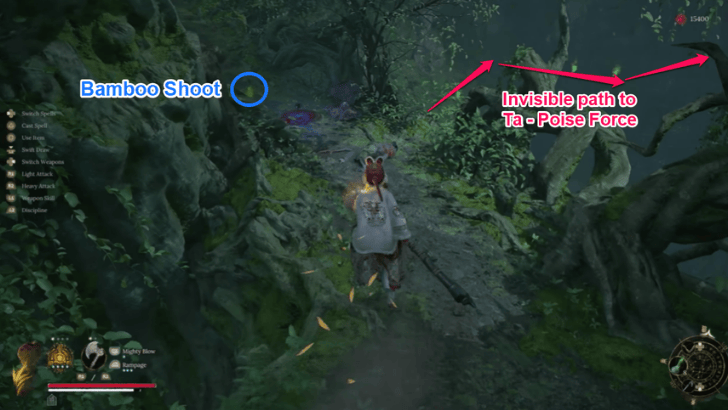 Cross the Tree Bridge and pick up the item on top of the withered branch up ahead. Once you fall down, follow that path and pick up the Bamboo Shoot along the way. On your right, you can go through the invisible path to open a small chest at the end containing the Ta - Poise Force Benediction. |
4. Go Through the Underground Area
| 4.1 |  Go back to the Tree Bridge and go through the other path this time. You will see a Lotus Sorcerer on the opposite side who will summon enemies as you follow the path to the left. Enter the tunnel at the end and watch out for the rotting fruit that falls along the way. |
|---|---|
| 4.2 | 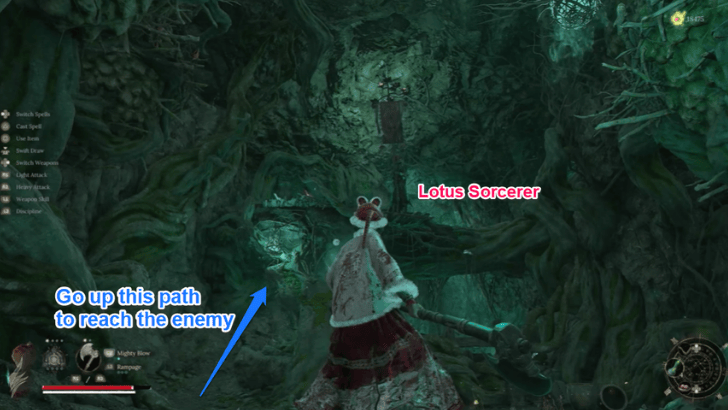 Keep going until you see another Lotus Sorcerer. Go up the winding path on your left until you can reach the enemy and pick up the Brilliant Red Feather beside it. |
| 4.3 | 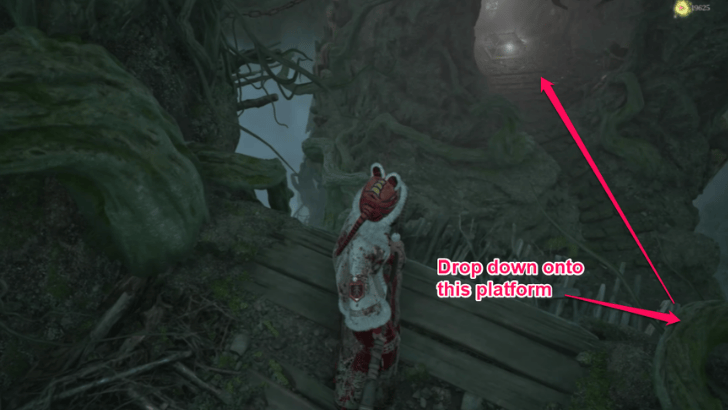 Drop down and go through the opening in the wall on your left, which leads to a platform below you. Drop down the right edge of the platform and open the large chest up ahead containing a Forgotten Remembrance. |
| 4.4 | 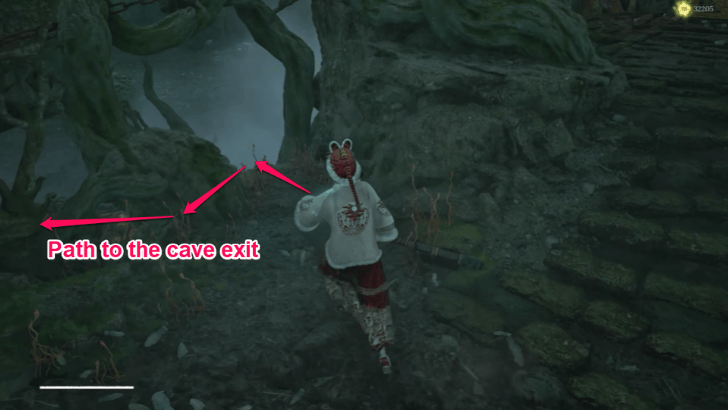 As you exit, go through the hidden path on your right leading to a gold bridge. Follow this path and go through the entrance on your left. |
| 4.5 | 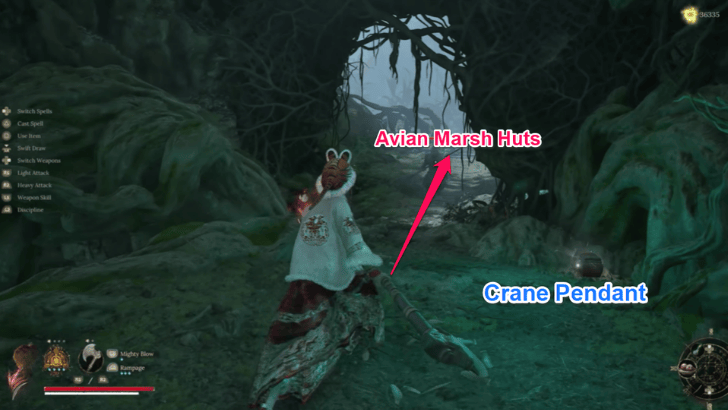 Follow the ramp upwards until you reach a ladder to your left at the top. Climb up the ladder and turn right. Open the small chest nearby containing the Crane Pendant. |
| 4.6 |  Cross the bridge in front of you and if you agreed to help him, you will see the White-Robed Elder on the other side. He will tell you to fight his inner demon with him. |
| 4.7 | 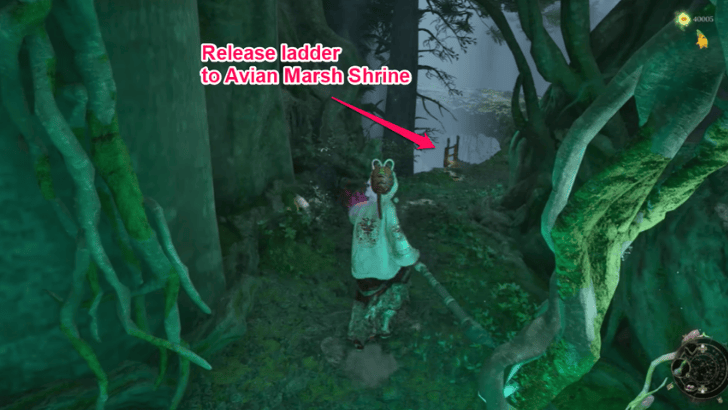 Go through the huts up ahead and release the ladder on the left side. Face the other side and pick up the Radiant Red Feather next to the Lotus Sorcerer. Go down the ladder you released, which leads down to the Avian Marsh Shrine. Take the time to replenish your health if needed. |
5. Continue Looting Avian Marsh
| 5.1 | 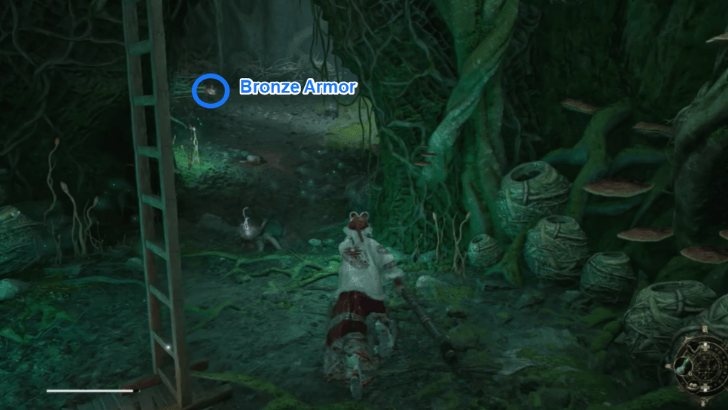 Go back up the ladders next to the Avian Marsh Shrine and turn left. Follow this path to another ladder going upwards at the top. Past that, you can pick up the Bronze Armor valuable near the three avian enemies fighting. |
|---|---|
| 5.2 | 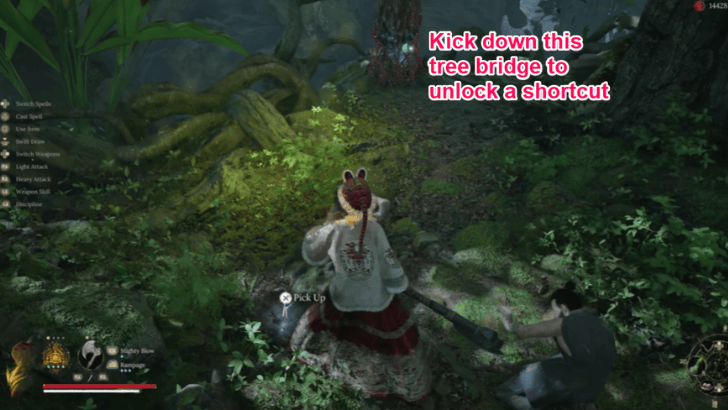 Climb the ladder you passed and turn right at the top. Keep following that path until you reach an open area. Make a right u-turn to kick down a tree bridge then continue through the path on your right. |
| 5.3 | 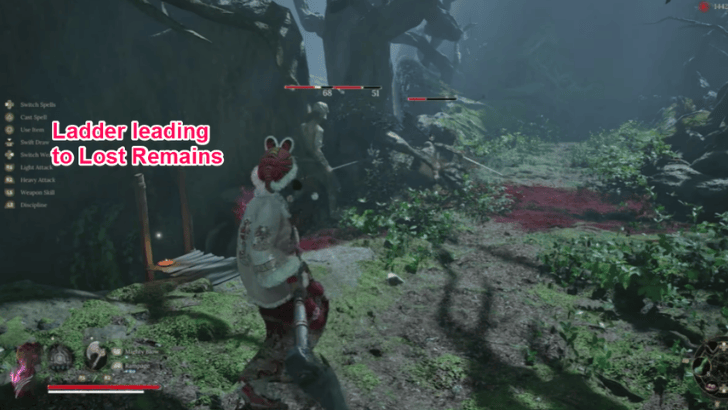 Go down the ladder next to the several enemies fighting. This will lead you to a large chest containing a Lost Remains and an avian enemy that drops a Brilliant Red Feather and a Red Mercury Essence upon its defeat. |
| 5.4 | 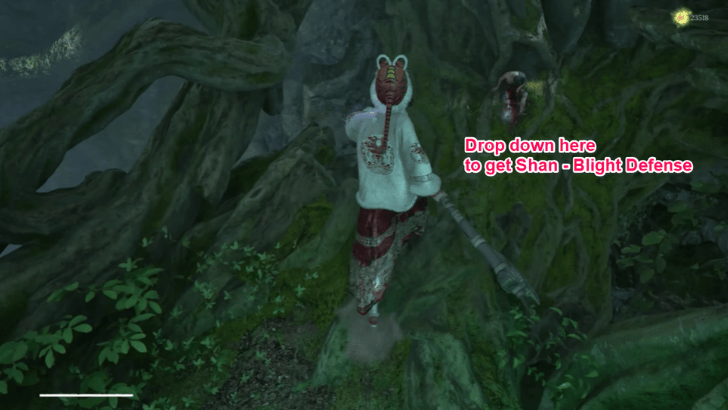 Climb back up the ladder and turn left. You will see a platform you can jump down to. As you drop down, pick up the Shan - Blight Defense benediction from a small chest on your right. Go back up the ladder on the opposite end of the area. |
| 5.5 | 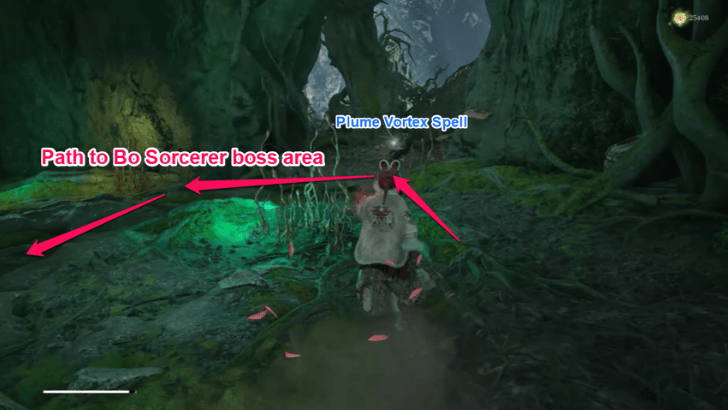 At the top of the ladder, turn left and go up another ladder at the end of that path. Follow that path and pick up the Plume Vortex from a body along the way. |
| 5.6 | 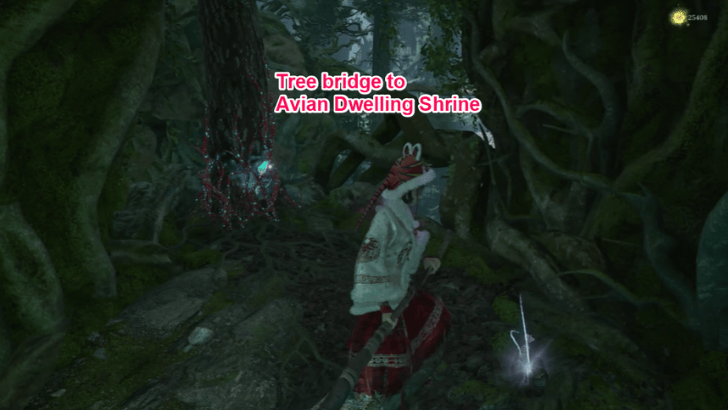 At the bottom of the path, turn left and kick down the tree bridge leading you back to the Avian Dwelling Shrine. |
6. Defeat Bo Sorcerer
| 6.1 |  After securing the shortcut back to the Avian Dwelling Shrine, defeat the Bo Sorcerer with the White-Robed Elder. After taking her down, the White-Robed Elder will move to another area called the Tomb nearby. |
|---|---|
| 6.2 | 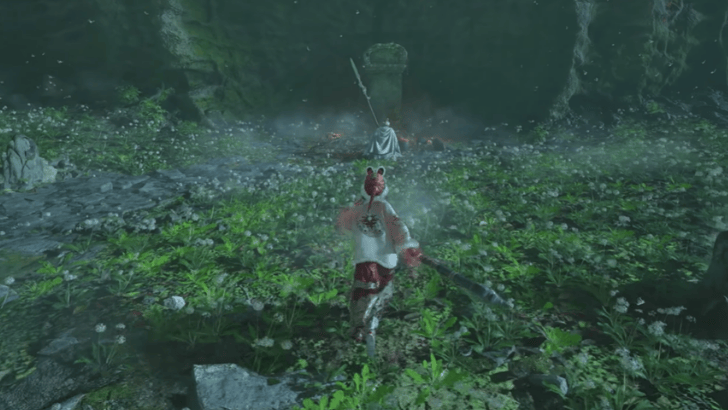 Return to the pathway to the Avian Dwelling, near the enemies cowering with fear, then turn right. This will take you to a Bamboozling in the area and the Tomb, where you will find the White-Robed Elder sitting. Speak with him, and he will give you the Tigraliz Pendant. Later, after getting to Chapter 5, you can return her to fight him as the Eternal Glory - Zhao Yun. ▶︎ Proceed to Zhenwu Temple |
Avian Marsh Bosses
How to Beat Bo Sorcerer
 |
||||||||||||||
| ★★ | ★★ | - | ★★ | |||||||||||
| - | ★★ | ★★★ | ||||||||||||
| Bo Sorcerer Fight Tips | ||||||||||||||
|
|
||||||||||||||
Bo Sorcerer Weakness and How to Beat
Avian Marsh Important Loot and Drops
List of Items and How to Get
| ✔️ | Items | How to Get |
|---|---|---|
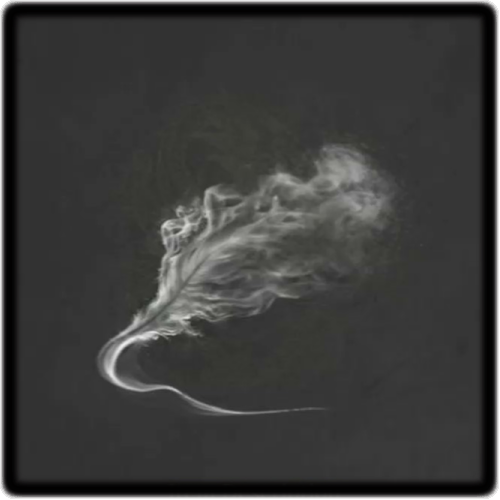
 Radiant Red Feather 1 Radiant Red Feather 1 |
Defeat the avian enemy by the Avian Dwelling cave entrance. | |
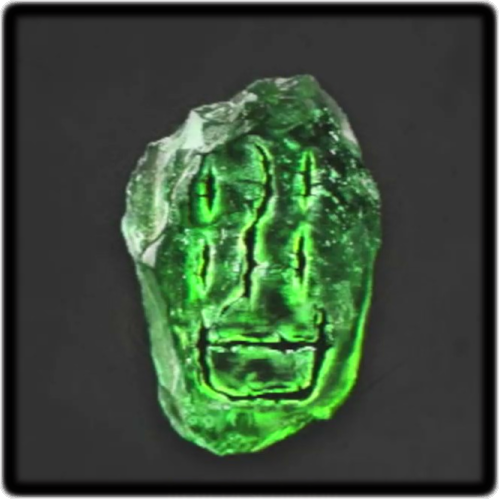
 Divine Blessing Divine Blessing
|
Talk to the Red-Clad Lady near the Avian Dwelling Shrine. | |
| Radiant Red Feather 2 |
From the Avian Marsh Shrine, go up the tree on your left and pick up this item along that path. | |
 Wei - Blightful Wounds Wei - Blightful Wounds
|
From the Avian Marsh Shrine, go up the tree on your left and pick up this item along that path. | |
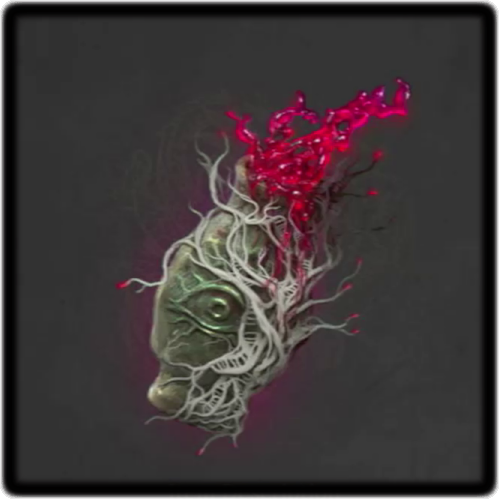
 Brilliant Red Feather 1 Brilliant Red Feather 1 |
Defeat the Inner Demon in the Demon Manifest location in Avian Marsh. | |
 Root Stone Needle - Status Root Stone Needle - Status
|
Defeat the Inner Demon in the Demon Manifest location in Avian Marsh. | |
 Bo Blood Bo Blood
|
Defeat the Inner Demon in the Demon Manifest location in Avian Marsh. | |
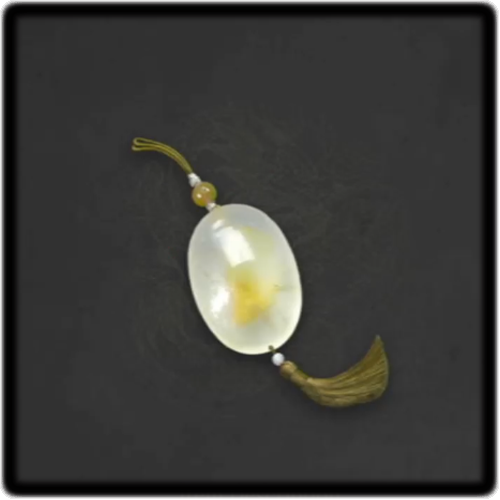 Pearl Pendant Pearl Pendant
|
Found in a cave nearby the Demon Manifest location in Avian Marsh. | |
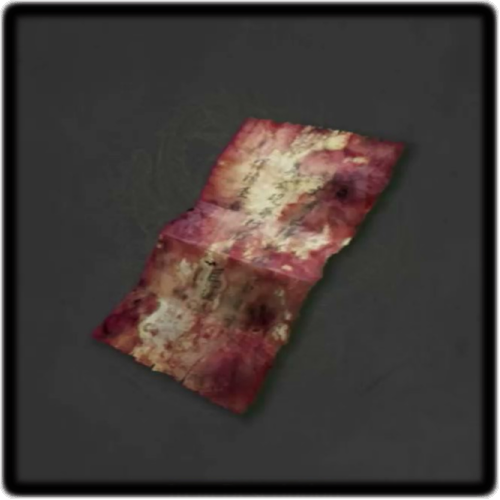 Secret Letter (Avian Marsh) Secret Letter (Avian Marsh)
|
Found in a nest guarded by avian enemies in Avian Dwelling. | |
| Brilliant Red Feather 2 |
Obtained by defeating the red-eyed enemy near a tree bridge in Avian Marsh. | |
| Brilliant Red Feather 3 |
Across the first tree branch in Avian Marsh, go down the withered branch and you will find this along the path. | |
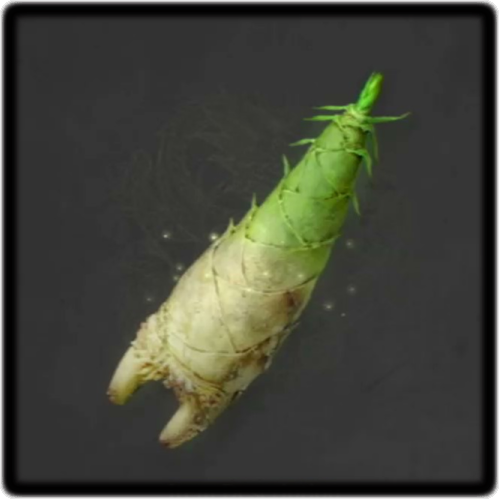 Bamboo Shoot 1 Bamboo Shoot 1 |
Found near the invisible path in Avian Marsh. | |
 Ta - Poise Force Ta - Poise Force
|
Across the first tree branch in Avian Marsh, go down the withered branch and go across the invisible path on your right. | |
| Brilliant Red Feather 4 |
This item is guarded by a Lotus Sorcerer in the underground area of Avian Marsh. | |
 Forgotten Remembrance Forgotten Remembrance |
Found in a big chest in the middle of the underground area of Avian Marsh. | |
 Crane Pendant Crane Pendant
|
Found in a small chest near the ladder leading to the Avian Marsh underground area. | |
| Radiant Red Feather 3 |
Found guarded by a Lotus Sorcerer neaar the second ladder leading to the Avian Marsh Shrine. | |
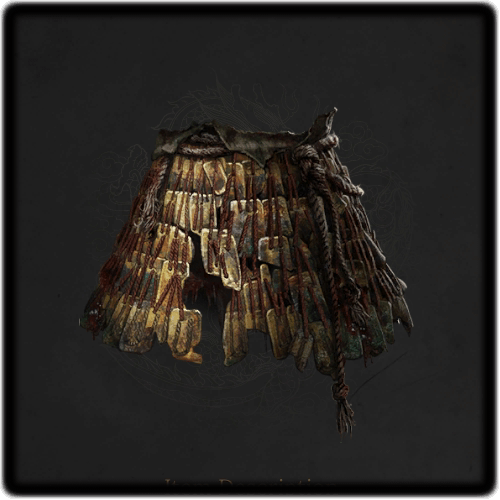 Bronze Armor Bronze Armor
|
Found near three avian enemies fighting in Avian Marsh. | |
 Lost Remains Lost Remains |
From the second tree bridge you encounter in Avian Marsh, drop down to a platform on your left. | |
| Brilliant Red Feather 5 |
From the second tree bridge you encounter in Avian Marsh, drop down to a platform on your left. | |
 Shan - Blight Defense Shan - Blight Defense
|
From the second tree bridge you encounter in Avian Marsh, drop down to a platform on your left past the fighting enemies. | |
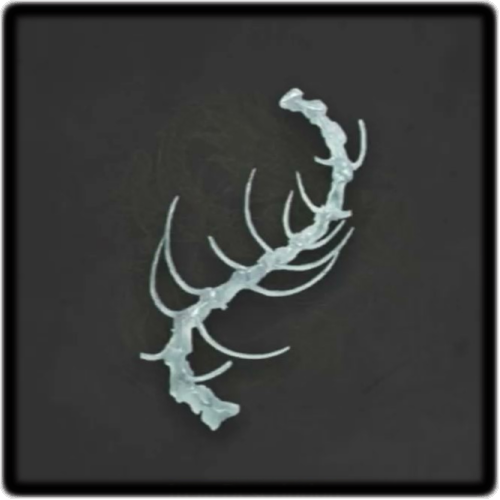
 Plume Vortex Plume Vortex
|
Pick up this spell from a body on your way to the Bo Sorcerer boss area in Avian Marsh. | |
| Bamboo Shoot 2 |
Found near the Tomb in Avian Marsh. | |
 Tigraliz Pendant Tigraliz Pendant
|
Talk to the White-Robed Elder in the Tomb after defeating Bo Sorcerer in Avian Marsh. |
| All Brilliant Red Feathers | All Radiant Red Feathers |
Avian Marsh Location
Wetlands Below Refugee Camp
Go down the ladder from Refugee Camp and enter the cave nearby.
Avian Marsh Summary
Area Summary and Points of Interest
| Recommended Level | 70+ |
|---|---|
| Bosses | ・Bo Sorcerer ・Eternal Glory - Zhao Yun |
| NPCs | ・Red-Clad Lady ・White-Robed Elder |
Upon entering the cave near Refugee Camp, you discover nests of avian beasts and the bodies of their victims.
Wuchang: Fallen Feathers Related Guides
Comment
Hi! The section going to Avian Dwelling Shrine has been updated to better describe how to get there. Thank you and we hope this helps!
Author

Avian Marsh 100% Completion Guide
Rankings
- We could not find the message board you were looking for.
Gaming News


Popular Games

Genshin Impact Walkthrough & Guides Wiki
Umamusume: Pretty Derby Walkthrough & Guides Wiki
Pokemon Pokopia Walkthrough & Guides Wiki
Honkai: Star Rail Walkthrough & Guides Wiki
Monster Hunter Stories 3: Twisted Reflection Walkthrough & Guides Wiki
Arknights: Endfield Walkthrough & Guides Wiki
Wuthering Waves Walkthrough & Guides Wiki
Zenless Zone Zero Walkthrough & Guides Wiki
Pokemon TCG Pocket (PTCGP) Strategies & Guides Wiki
Monster Hunter Wilds Walkthrough & Guides Wiki


Recommended Games
Fire Emblem Heroes (FEH) Walkthrough & Guides Wiki
Diablo 4: Vessel of Hatred Walkthrough & Guides Wiki
Cyberpunk 2077: Ultimate Edition Walkthrough & Guides Wiki
Yu-Gi-Oh! Master Duel Walkthrough & Guides Wiki
Super Smash Bros. Ultimate Walkthrough & Guides Wiki
Pokemon Brilliant Diamond and Shining Pearl (BDSP) Walkthrough & Guides Wiki
Elden Ring Shadow of the Erdtree Walkthrough & Guides Wiki
Monster Hunter World Walkthrough & Guides Wiki
The Legend of Zelda: Tears of the Kingdom Walkthrough & Guides Wiki
Persona 3 Reload Walkthrough & Guides Wiki


All rights reserved
© 2025 505 Games. Developed by Leenzee. Published by 505 Games.
The copyrights of videos of games used in our content and other intellectual property rights belong to the provider of the game.
The contents we provide on this site were created personally by members of the Game8 editorial department.
We refuse the right to reuse or repost content taken without our permission such as data or images to other sites.
same I wasted quite a lot of time finding tomb due to mistake in guide