Mercury Workshop 100% Completion Guide
☆ NEW: 1.7 Patch Notes
★ New to Shu? Check our Beginner's Guide
┗ Combat Guide | Full Skill Tree | Difficulty
☆ Meta: Builds | Best Weapons | Best Armor
★ Walkthrough | Bosses | NPCs
☆ Missables | Game Length | Trophies
This is a complete Mercury Workshop walkthrough for Wuchang: Fallen Feathers. Read on for a detailed guide, including how to open the locked door, boss strategies, important loot locations, and available quests!
| ◄ Previous Area | Next Area ▶ |
|---|---|
| Shu Sanctum | Bandit Cave |
List of Contents
Mercury Workshop Locked Door
Go Down the Withered Branch Near the Elevator
| 1 | Once you go down the ladder in Step 3.5 of the walkthrough below, follow the platform in front of the elevator beside you. Watch out for the hidden enemy in the elevator and the two enemies on the platform! |
|---|---|
| 2 | Go onto the central structure and turn right. Look for the withered branch, a black portion of the floor, and fall there. This will lead you to another area. |
| 3 | 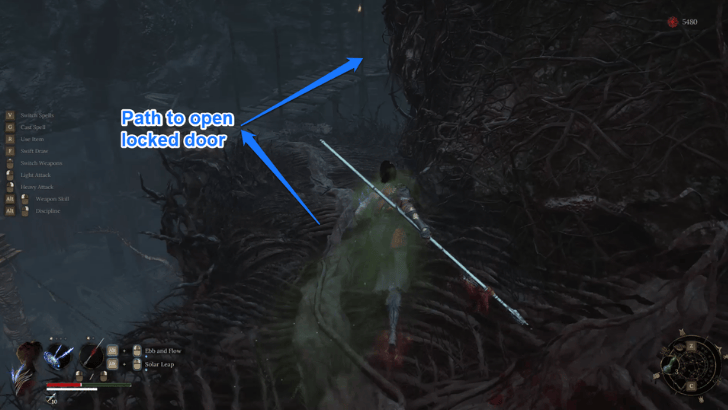 Follow the path to your left and watch out for several enemies and purple mist that inflicts Corruption. |
| 4 | 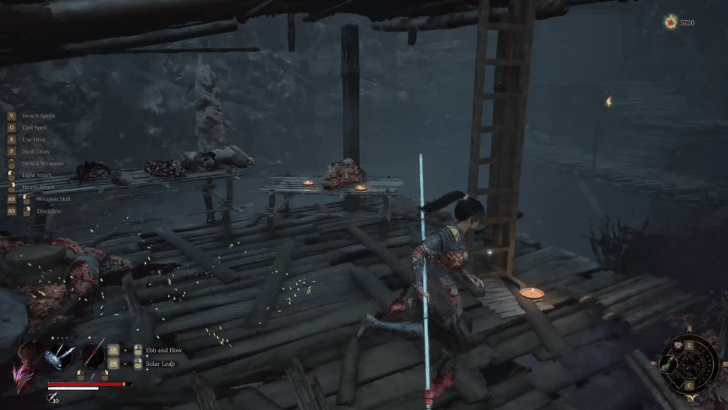 Climb up the ladder at the end of that path and go into the tunnel entrance on your left. |
| 5 | Go to the end of that tunnel and watch out for spiked plates on the ground and a screaming enemy on the right side. |
| 6 | 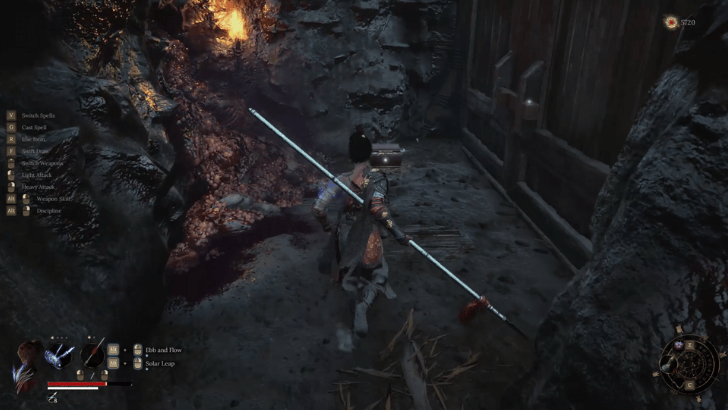 At the end of the tunnel, pick up the Pheonix Pendant found in a small chest and open the big door on your right. |
Mercury Workshop Walkthrough
| Mercury Workshop Objectives |
|---|
|
1. Unlock the Area's Shrine 2. Release the Nearby Ladder 3. Unlock the Elevators 4. Go to Bandit Cave |
1. Unlock the Area's Shrine
| 1.1 | 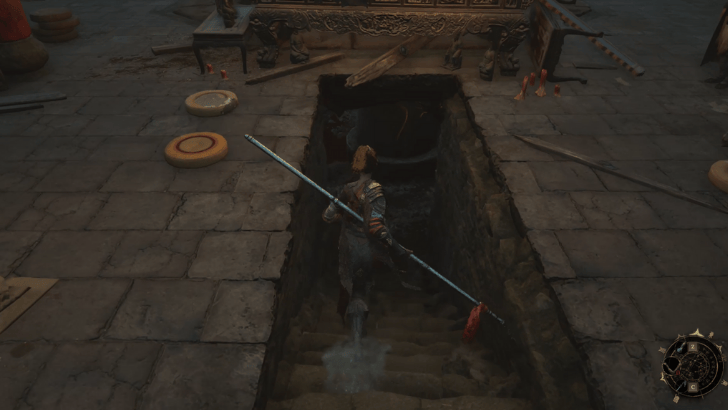 From Shu Sanctum, go down the newly opened entrance and proceed further into the tunnels. |
|---|---|
| 1.2 | 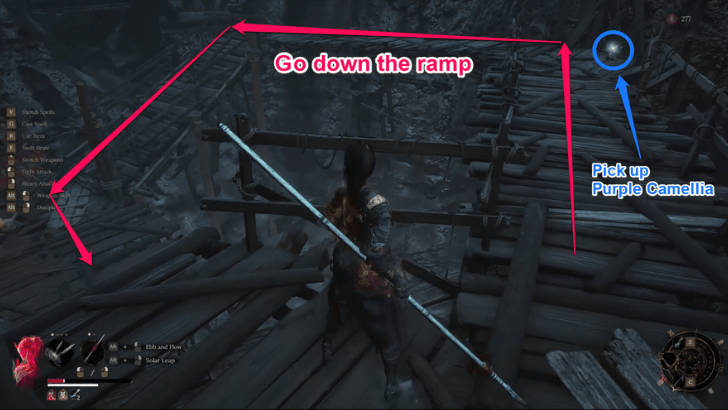 You will get Corrupted along the way, so check the item on the floor to obtain Purple Camellia and cure Corruption. The ramp will keep winding downwards, so go all the way to the bottom and defeat enemies in your way. |
| 1.3 | 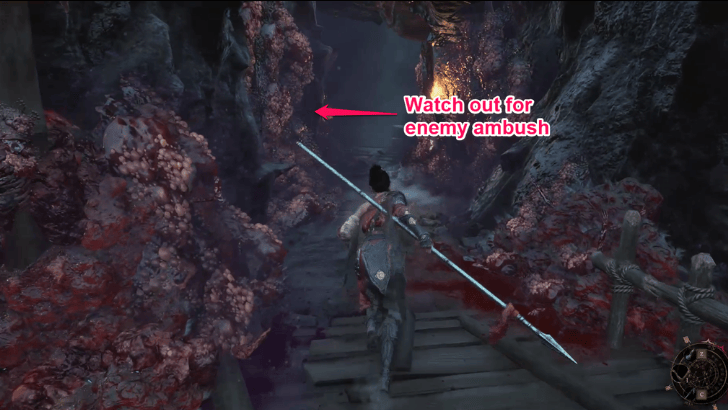 At the bottom of the ramp, go into the nearby tunnel and turn right, where you can see the area's Shrine right ahead. Watch out for an enemy ambush on your left! Make sure to pick up the Faint Red Feather where the enemy came from. |
2. Release the Nearby Ladder
| 2.1 |  Before you go further down, go up first and release a nearby ladder to obtain valuable items. First, go down the central structure to the right of the Shrine and turn left. Pick up the blue item on top of a withered branch, a black portion of the floor. Upon picking up the item, the floor will crumble beneath you, leading you towards another area. |
|---|---|
| 2.2 | 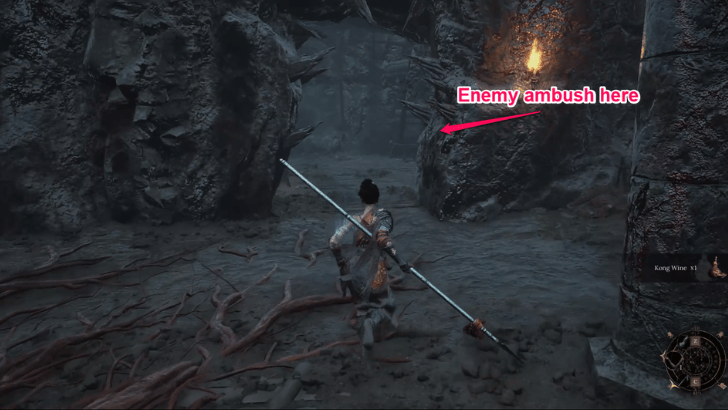 Aside from the few enemies found outside the tunnel entrance, there is also an enemy ready to pounce once you enter. Continue through the tunnel and go up the ladder at the end. |
| 2.3 | 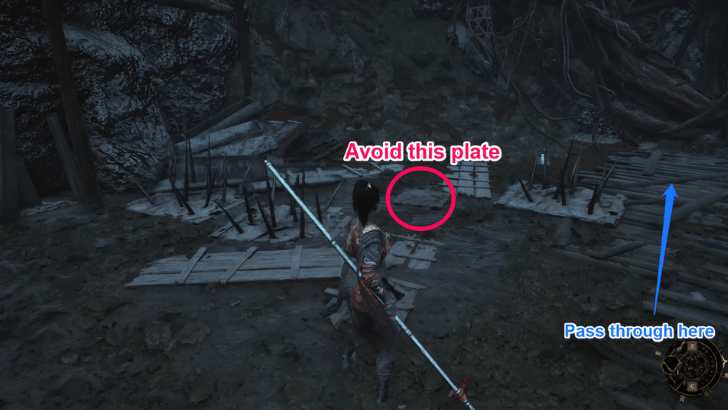 At the top, you will see several spiked tiles as well as a white plate in the middle. Stepping on this plate will trigger a trap and shoot several darts at you. Instead, walk through the wooden section of the floor and go up the central structure again. |
| 2.4 | 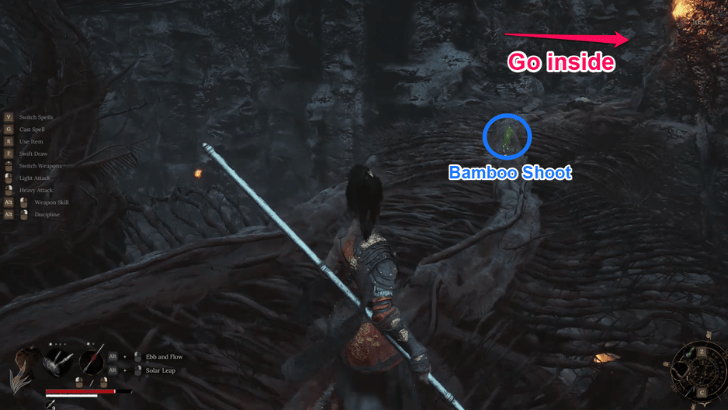 Go right and around to the opposite side of the central structure and enter the nearby tunnel to pick up a pink item that gives you a Faint Red Feather. Avoid the big trap plate in the middle of the floor! Make sure to pick up the Bamboo Shoot along the way as well. |
| 2.5 |  Go around to the opposite side of the central structure again and keep going until you see three coffin enemies. |
| 2.6 | 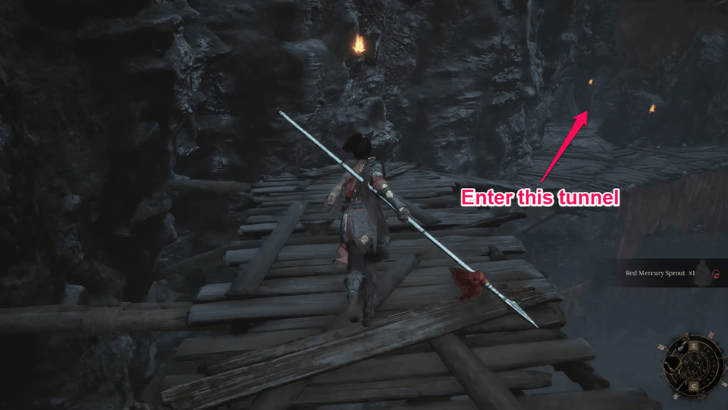 Once you defeat the enemies, go down the ramp and enter the nearby tunnel. Dodge through the spiked tiles, then obtain the Dracolich Pendant in a small chest on the left and release the ladder on your right. |
| 2.7 | 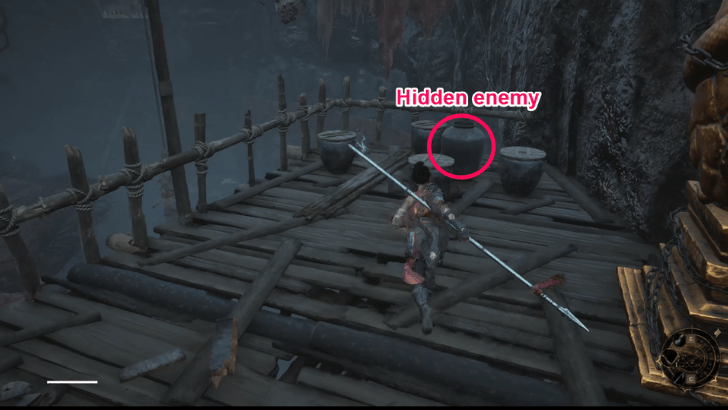 Go down the ladder and go to your left. Defeat the enemy disguised as a vase to obtain a Faint Red Feather. |
| 2.8 | 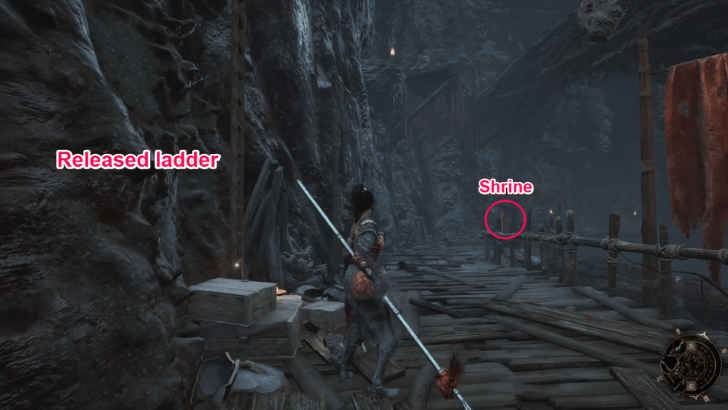 From there, you can go back to the Shrine and replenish your flask charges and health if needed. |
3. Unlock the Elevators
| 3.1 | 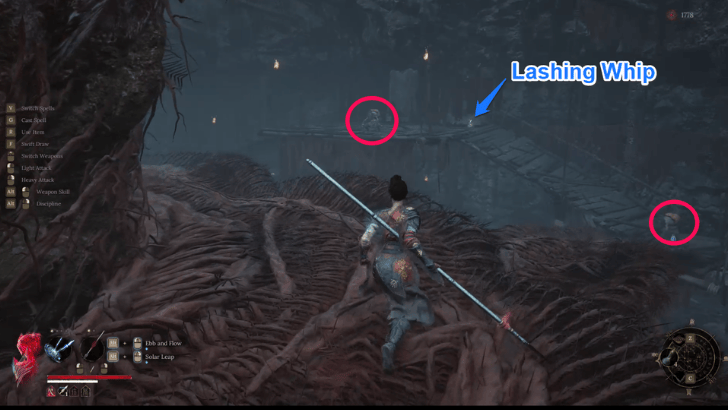 Go down the central structure to the right of the Shrine and go right. Keep going until you see a platform with two enemies with guns. Pick up the gold item on the floor to obtain Lashing Whip |
|---|---|
| 3.2 | 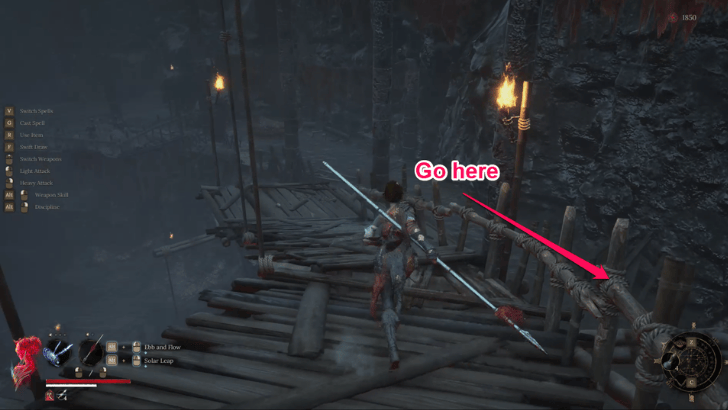 Continue across the platform and go follow the path on the right until you find an entrance on the left side. Watch out for the few enemies you encounter along the way. |
| 3.3 | 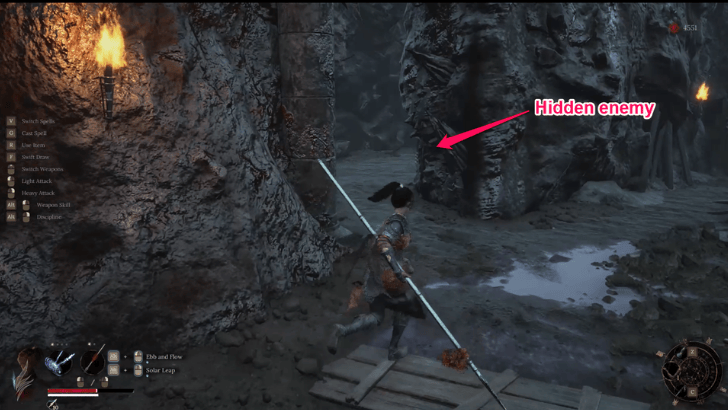 Once you see the tunnel entrance on your left, take caution when going through because there is an enemy waiting nearby. Climb the ladder up ahead. |
| 3.4 |  Proceed onward and watch out for an enemy on your left ready to charge at you with a knife. At the end, there is an area with a Dancing Enemy that drops a Faint Red Feather upon defeat. |
| 3.5 | 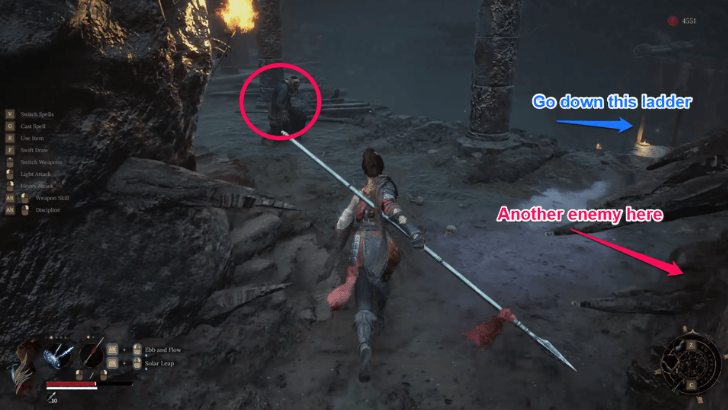 As you exit that area, there are enemies coming from both sides. You can quickly go down the ladder in front of the exit. |
| 3.6 | 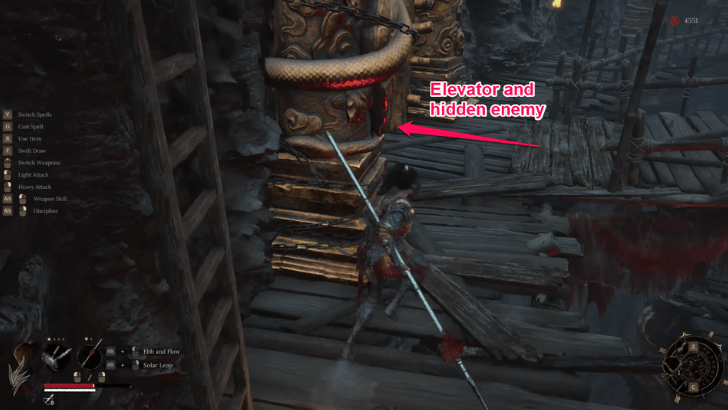 To your left, you can unlock an elevator leading near the Shrine. Make sure to dodge the spear attack by a hidden enemy inside! Take the time to replenish health if needed. |
| 3.7 | 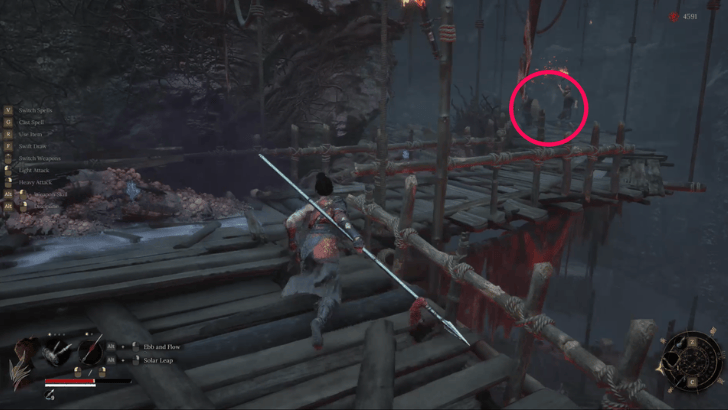 Continue through the platform and go onto the central structure. Go to the right and continue upwards. |
| 3.8 | 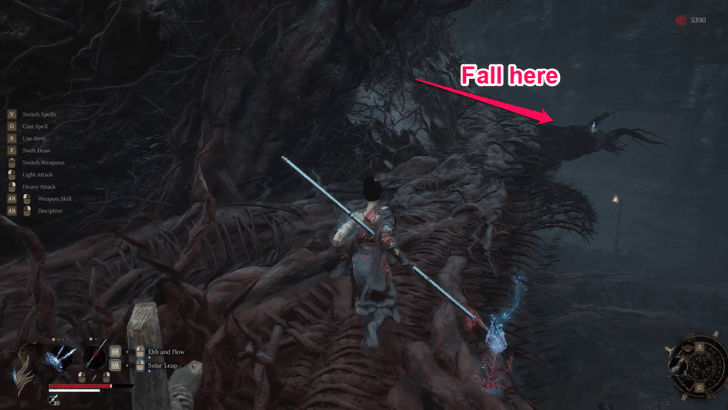 Go to the withered branch, the black portion of the floor to your right. Once you pick up the item, you will fall into the area below, which leads to another path. |
| 3.9 | 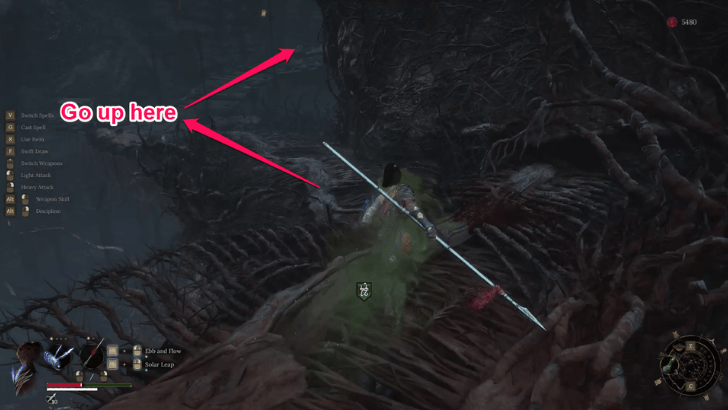 Upon falling, turn around and follow the path to your left. Keep following this path to the other end. |
| 3.10 |  At the end, see a small ladder leading to another ramp. This leads to another tunnel you must enter. Make sure to equip the Dracolich Pendant since you will encounter a screaming enemy within the tunnel. |
| 3.11 | 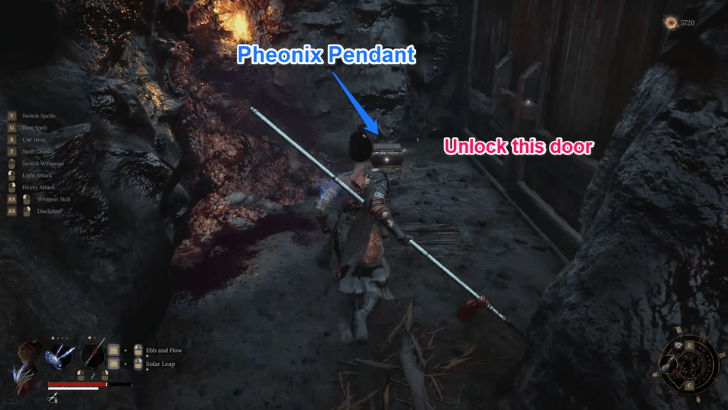 Go to the other side of the tunnel, where you will find the Pheonix Pendant and open the door on the right. |
| 3.12 | 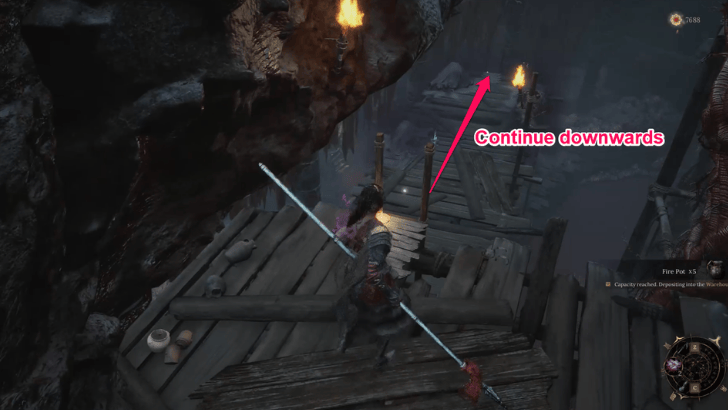 Go back to the central structure and go downwards. Keep following that path until you see ladders leading further down. At the bottom of the ladders, you can unlock the elevator nearby which leads to the upper floor, right next to the elevator near the Shrine. Take the time to replenish health if needed! |
4. Go to Bandit Cave
| 4.1 |  Go back down to the lowermost floor and go through the path behind the ladder from the previous step. Keep going until you see a bridge to the left. |
|---|---|
| 4.2 | 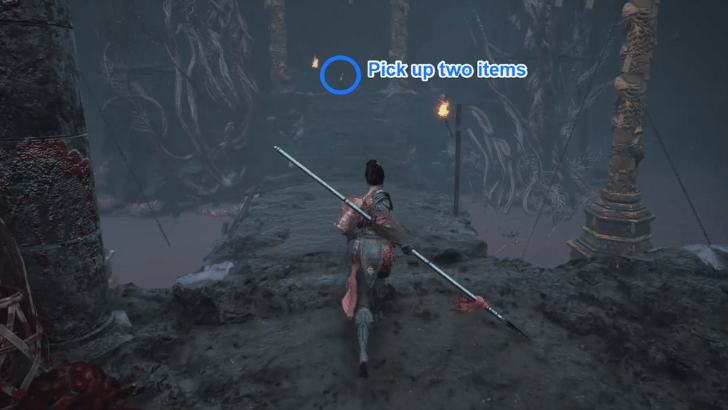 On the other side of the bridge, you will find the Twin Infant Pendant and a Lost Remains. These items offer significant advantages, and are recommended to pick up. After that, go around to the other side. |
| 4.3 | 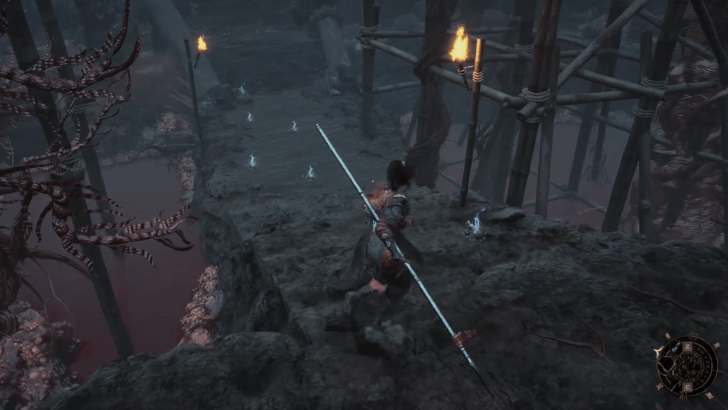 You will see several blue items scattered on the ground. Though the items themselves are safe, centipede enemies will spawn from both sides of the bridge and can trap you. If you plan on picking these up, prepare for a fight! After that, turn right and follow the path until you see another entrance on your left. |
| 4.4 | 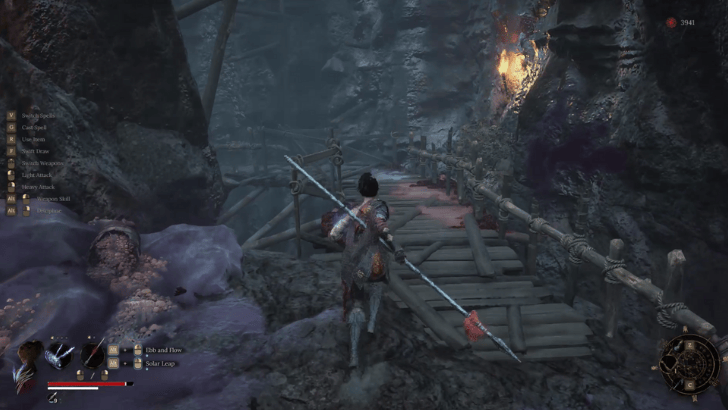 Continue following this path down to Bandit Cave. ▶︎ Proceed to the Bandit Cave Walkthrough |
Mercury Workshop Important Loot and Drops
List of Items and How to Get
| ✔️ | Items | How to Get |
|---|---|---|
 Faint Red Feather 1 Faint Red Feather 1 |
Found in the cave where an imp ambushes you in the area before getting to the Mercury Workshop shrine. | |
| Faint Red Feather 2 |
Found in a tunnel at the top portion of the Mercury Workshop central structure. | |
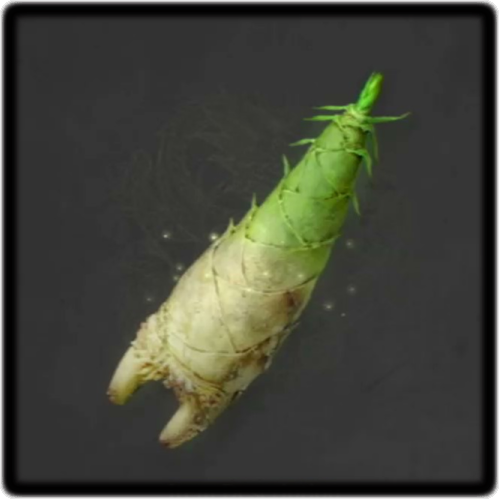 Bamboo Shoot Bamboo Shoot |
Found on your way to a tunnel at the top portion of the Mercurt Workshop central structure. | |
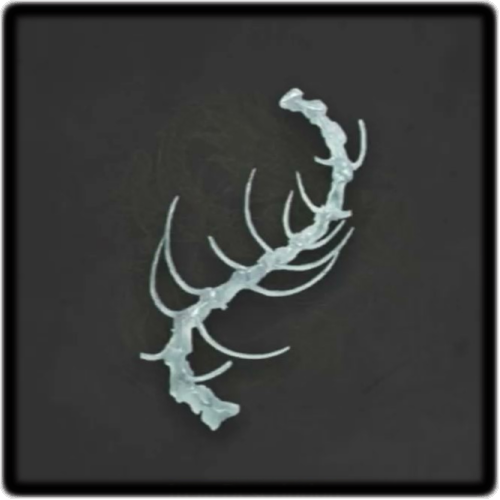
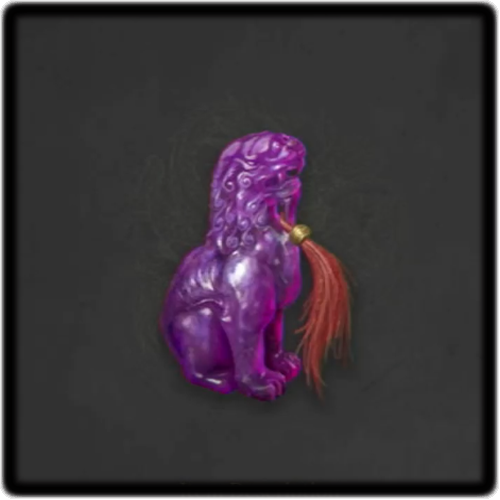 Dracolich Pendant Dracolich Pendant
|
Found in a small chest by the ladder you release nearby the Mercury Workshop shrine. | |
| Faint Red Feather 3 |
Defeat the vase mimic next to the elevator nearby the Mercury Workshop shrine. | |
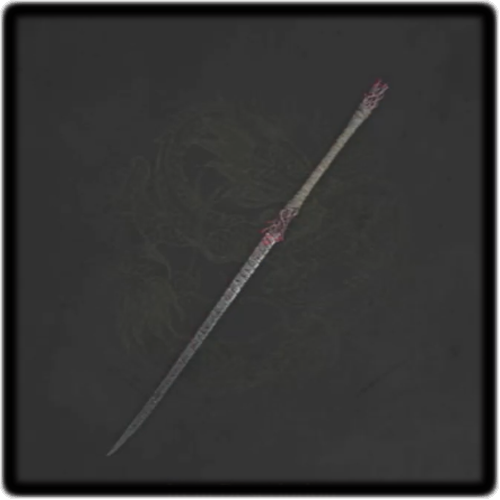 Lashing Whip Lashing Whip
|
From the Mercury Workshop shrine, go across the central structure and pick up this weapon on a platform with two enemies with guns. | |
| Faint Red Feather 4 |
Defeat the dancing enemy within a cave inside Mercury Workshop. | |
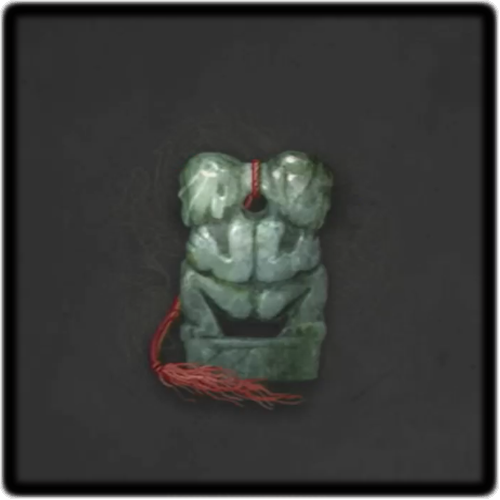
 Phoenix Pendant Phoenix Pendant
|
Found behind the big door in the lower section of Mercury Workshop. | |
 Twin Infant Pendant Twin Infant Pendant
|
Found in the central island at the bottom level of Mercury Workshop. | |
 Lost Remains Lost Remains |
Found in the central island at the bottom level of Mercury Workshop. |
Faint Red Feather Locations and How to Use
Mercury Workshop Location
Beneath Shu Sanctum
Rotate the central pillar in Shu Sanctum by using the Shu Sanctum Key, dropped by Lu Bingzhang upon defeat.
Mercury Workshop Summary
Area Summary and Points of Interest
| Recommended Level | 15+ |
|---|---|
| Bosses | ・None |
| NPCs | ・None |
You find a hidden area beneath Shu Sanctum. Find your way further down and look for an alternative route to Doomwillow Beach.
Wuchang: Fallen Feathers Related Guides

Comment
Author

Mercury Workshop 100% Completion Guide
Rankings
- We could not find the message board you were looking for.
Gaming News


Popular Games

Genshin Impact Walkthrough & Guides Wiki
Umamusume: Pretty Derby Walkthrough & Guides Wiki
Pokemon Pokopia Walkthrough & Guides Wiki
Honkai: Star Rail Walkthrough & Guides Wiki
Monster Hunter Stories 3: Twisted Reflection Walkthrough & Guides Wiki
Arknights: Endfield Walkthrough & Guides Wiki
Wuthering Waves Walkthrough & Guides Wiki
Zenless Zone Zero Walkthrough & Guides Wiki
Pokemon TCG Pocket (PTCGP) Strategies & Guides Wiki
Monster Hunter Wilds Walkthrough & Guides Wiki


Recommended Games
Fire Emblem Heroes (FEH) Walkthrough & Guides Wiki
Diablo 4: Vessel of Hatred Walkthrough & Guides Wiki
Cyberpunk 2077: Ultimate Edition Walkthrough & Guides Wiki
Yu-Gi-Oh! Master Duel Walkthrough & Guides Wiki
Super Smash Bros. Ultimate Walkthrough & Guides Wiki
Pokemon Brilliant Diamond and Shining Pearl (BDSP) Walkthrough & Guides Wiki
Elden Ring Shadow of the Erdtree Walkthrough & Guides Wiki
Monster Hunter World Walkthrough & Guides Wiki
The Legend of Zelda: Tears of the Kingdom Walkthrough & Guides Wiki
Persona 3 Reload Walkthrough & Guides Wiki


All rights reserved
© 2025 505 Games. Developed by Leenzee. Published by 505 Games.
The copyrights of videos of games used in our content and other intellectual property rights belong to the provider of the game.
The contents we provide on this site were created personally by members of the Game8 editorial department.
We refuse the right to reuse or repost content taken without our permission such as data or images to other sites.