This survey will take about 1 minute.
Your answers will help us to improve our website.
Wuchang: Fallen Feathers
Stagger Longsword Build
☆ NEW: 1.7 Patch Notes
★ New to Shu? Check our Beginner's Guide
┗ Combat Guide | Full Skill Tree | Difficulty
☆ Meta: Builds | Best Weapons | Best Armor
★ Walkthrough | Bosses | NPCs
☆ Missables | Game Length | Trophies
This Stagger Longsword build excels at staggering enemies for Obliterate attacks in Wuchang: Fallen Feathers. See the Stagger Longsword build, its skills, spells, Benediction setup, and playstyle in this guide!
List of Contents
Stagger Longsword Build Guide
Weapon and Discipline
| Weapon | Weapon Skill | Discipline |
|---|---|---|
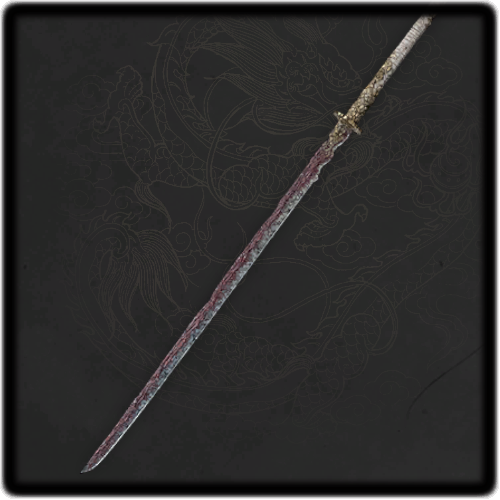 Serpent Fang Serpent Fang
|
Feathering Windstrike Feathering Windstrike Wield your blade back and forth at enemies before you. Use with Skyborn Might to send forth blade force imbued with Feathering, allowing you to strike distant foes with ease.
|
Sword Counter Sword Counter Raise your blade to block the enemy's attack. Block at the perfect moment to Deflect the attack instead.
Deflect - Blocking the enemy's weapon at the perfect time deflects the enemy's move fully. |
The Serpent Fang and its Feathering Windstrike is the best weapon for the endgame variant of this build due to its high damage, range, and combo speed. Feathering Windstrike deals high damage, but it also comes in handy in filling up the stagger meter.
You can obtain the Sword Counter discipline skill under the Longsword Impetus, second node to the left of the Longsword Mastery node. Its follow-up attack is what allows you to stagger enemies faster, as it deals a huge chunk of damage to health and stagger meter.
Weapon Benedictions
| Serpent Fang Benedictions | ||
|---|---|---|
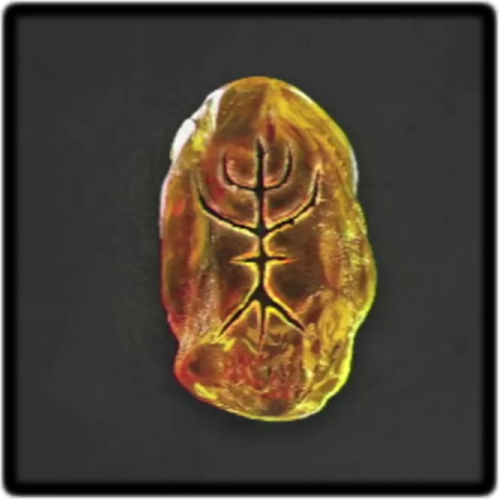 Wei - Tri-Disciplinary Force Wei - Tri-Disciplinary Force
|
Wei - Six-Disciplinary Force
|
Wei - Nine-Disciplinary Force
|
Equip the Benedictions listed above for your Lashing Whip. These benedictions will help with your overall damage as well as Sword Counter timing, making it easier to deflect enemy attacks and allowing you to heal once enemies are staggered.
Tri-Disciplinary Force, Six-Disciplinary, and Nine-Disciplinary Forces provide a huge raw damage increase, including their set bonus. A great alternative would be Counter Force as it makes parrying attacks easier.
| Weapon | Weapon Skill | Discipline |
|---|---|---|
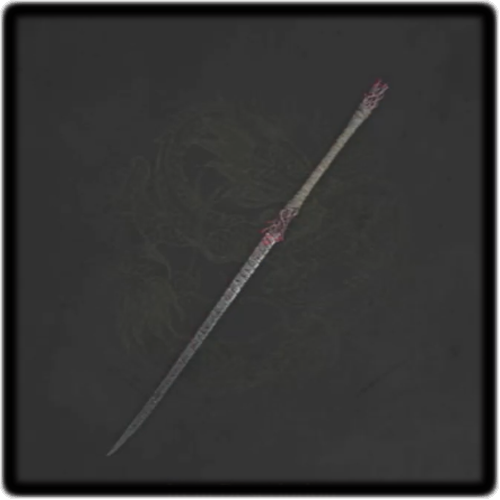 Lashing Whip Lashing Whip | Whip Dance Whip Dance Charge up to burst forth. striking all around you. Use with Skyborn Might to transform the blade into a whip of steel. Some of the Lashing Whip's attacks even lengthen the blade itself. | Sword Counter Sword Counter Raise your blade to block the enemy's attack. Block at the perfect moment to Deflect the attack instead. Deflect - Blocking the enemy's weapon at the perfect time deflects the enemy's move fully. |
| Lashing Whip Benedictions | ||
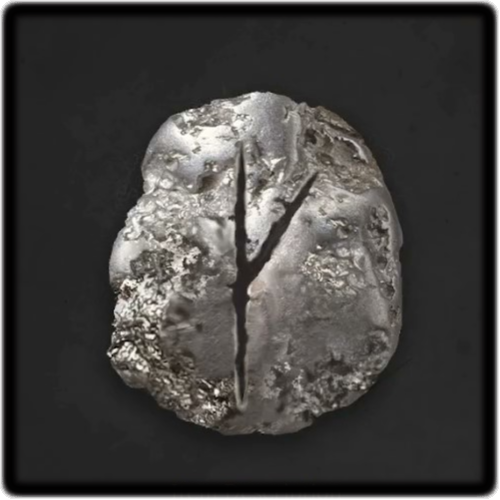 Bu - Skyborn Ward Bu - Skyborn Ward |  Sheng - Obliterate Rejuvenation Sheng - Obliterate Rejuvenation | Wei - Counter Force |
You'll want Lashing Whip for the early game variant as it has the highest damage output and best range.
Impetus Tree Progression
| Impetus | |||
|---|---|---|---|
| 1. | 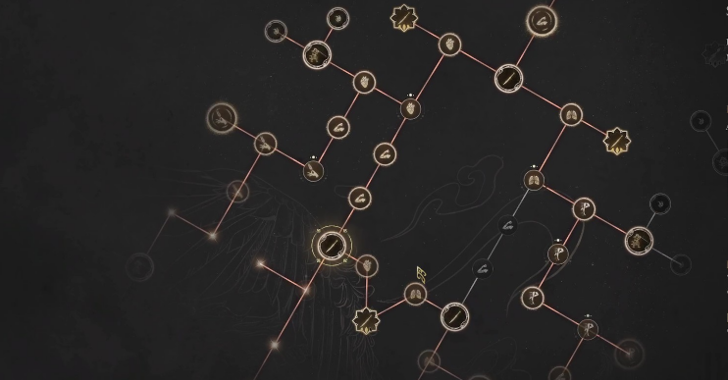 Sword Counter |
2. | 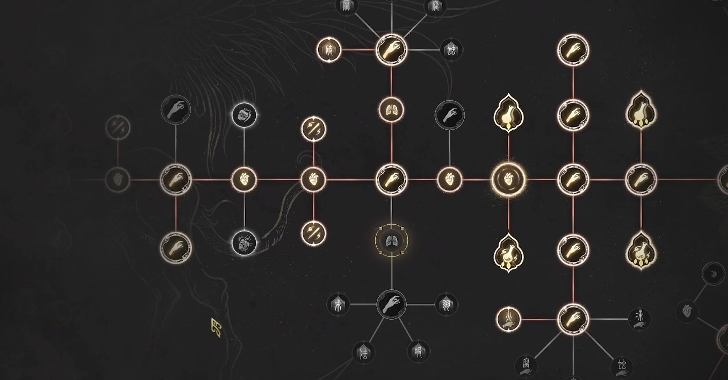 Steel Resolve and Energetic |
| 3. | 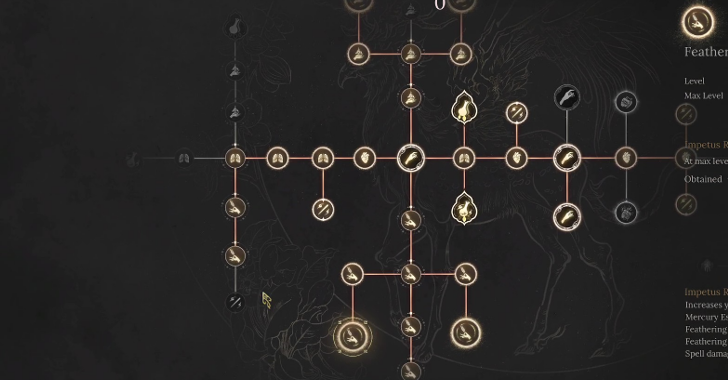 Skyborn Call III and Feathering Nodes |
4. | 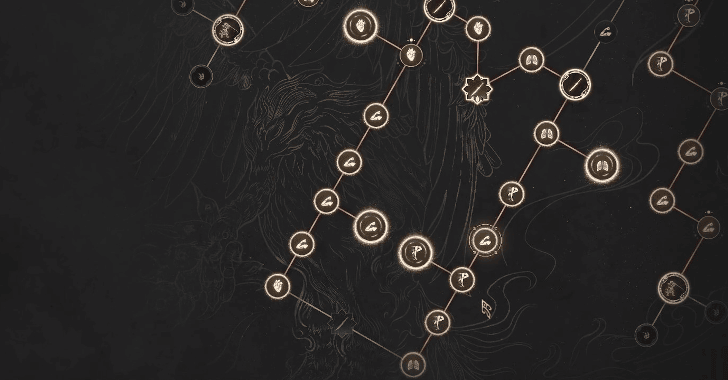 Sword Mastery and Other Discipline Nodes |
You'll want to take Sword Counter and Steel Resolve early, as the build heavily relies on them. Afterwards, you'll want to prioritize Skyborn Might stacks as well as Manna Flask charges.
Your secondary priority should be your damage, obtaining Discipline Nodes to activate Tri-Disciplinary and Six-Disciplinary force. You'll also want to get Strength, Agility, and Feathering Nodes to increase your weapon scaling.
You can obtain feathering nodes and discipline skills in the One-handed sword tree to further increase your damage and weapon scaling.
Armor Set
| Head | Chest |
|---|---|
 Palace Maid's Hairpin Palace Maid's Hairpin
|
 Avian Hunter's Coat Avian Hunter's Coat
|
| Gloves | Pants |
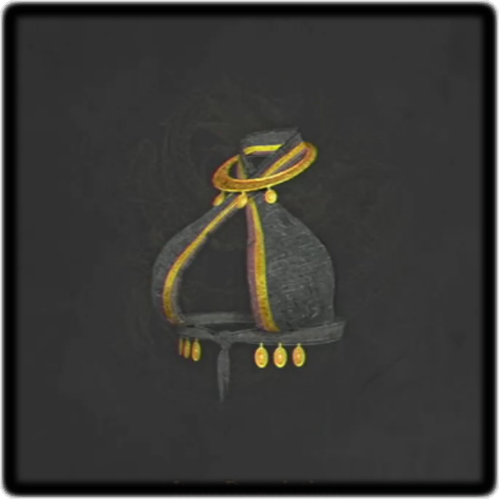
 Palace Maid's Bracelet Palace Maid's Bracelet
|
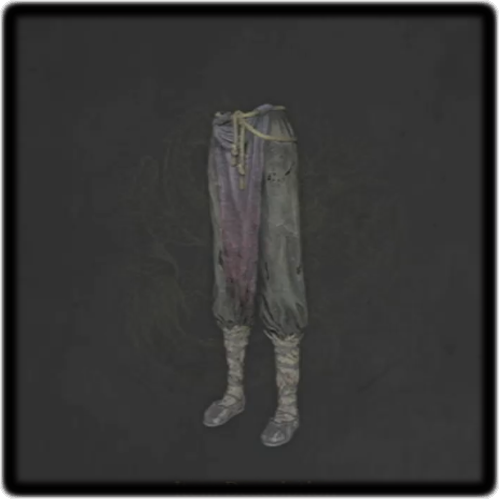 Lotus Gaiters Lotus Gaiters
|
The armor used for the build is centered around Feathering damage resistance, as the endgame area has a lot of enemies that deal Feathering damage. As the armor does not affect the build's damage, you can swap this set to match your resistance needs.
| Head | Chest |
|---|---|
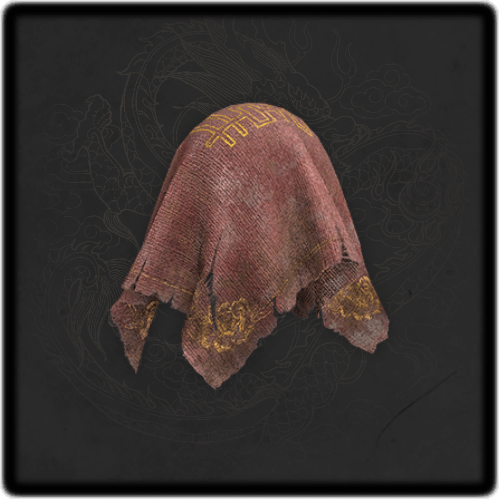 Bridal Veil Bridal Veil | 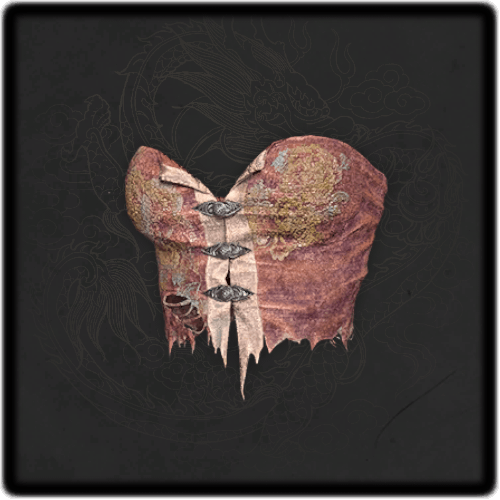 Bridal Corset Bridal Corset |
| Gloves | Pants |
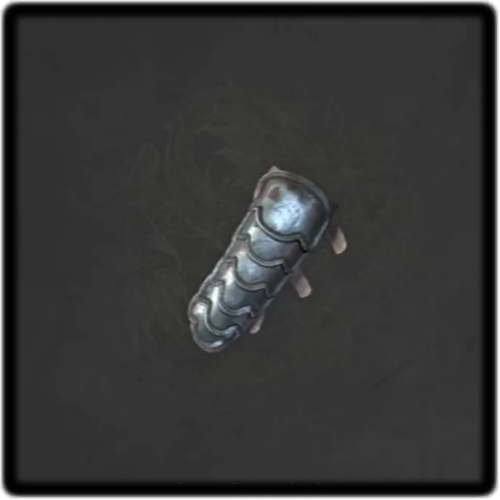 Ming Armguards Ming Armguards | 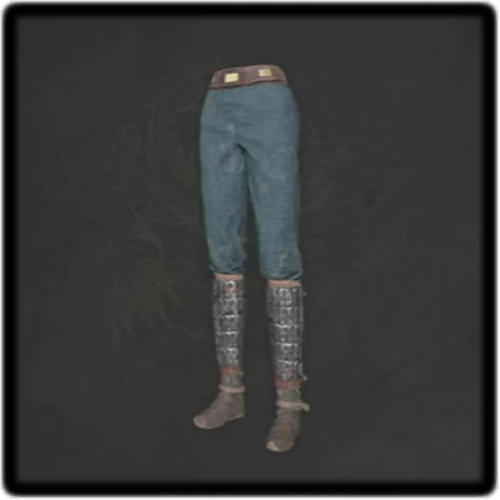 Ming Greaves Ming Greaves |
The early armor equipment should give ample defenses against most attacks. However, you should be mindful of Paralysis attacks as it is the weakest resistance this build has.
Jade Pendants
| Pendants | ||
|---|---|---|
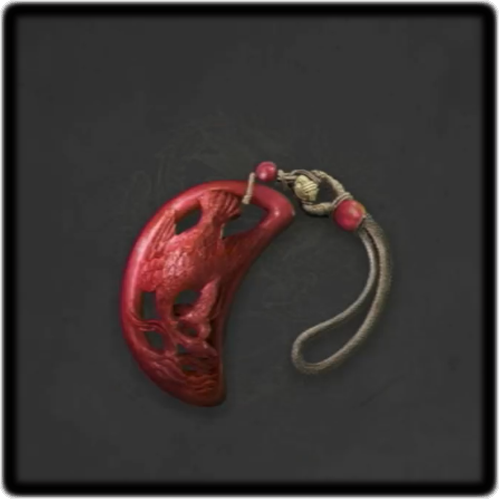
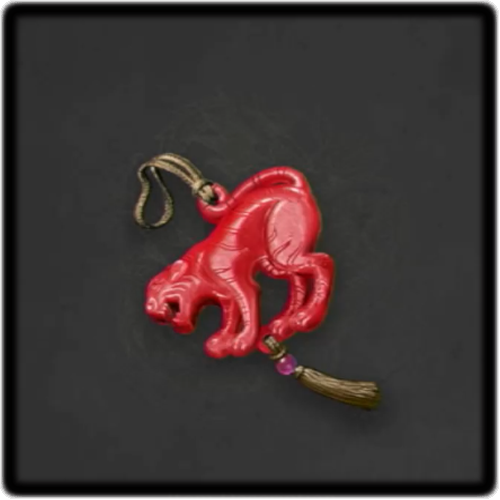 Tiger Pendant Tiger Pendant
|
 Eagle Pendant Eagle Pendant
|
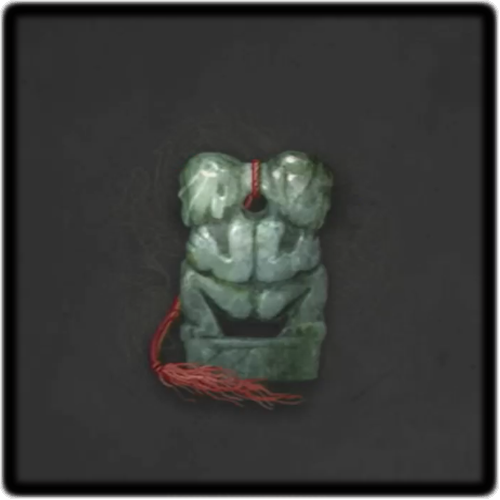 Twin Infant Pendant Twin Infant Pendant
|
The Eagle Pendant is the most important to use as it increases the damage of your follow-up when you successfully trigger Sword Counter. While the Tiger Pendant provides a raw increase of physical damage.
The Twin Infrant Pendant is used for faster stamina recovery, allowing you to deal combos more often or chain more dodges.
| Pendants | ||
|---|---|---|
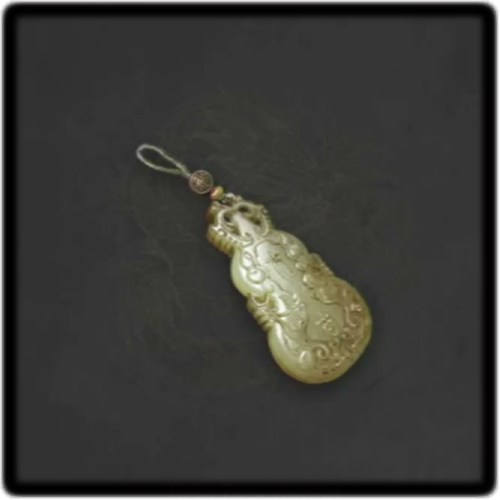 Gourd Pendant Gourd Pendant | Eagle Pendant | Twin Infant Pendant |
The Eagle Pendant is the most important to use as it increases the damage of your follow-up when you successfully trigger Sword Counter.
Temperance and Acupoints
| Acupoints | Effect |
|---|---|
 Shadow Stone Needle - Strength Shadow Stone Needle - Strength
|
Taps into your acupoint to slightly increase the Strength Control of the weapon you're wielding. |
 Bone Needle - Poise Break Bone Needle - Poise Break
|
Used via tempering to boost your weapon's Poise Break buildup. |
 Shadow Stone Needle - Agility Shadow Stone Needle - Agility
|
Taps into your acupoint to slightly increase the Agility Control of the weapon you're wielding. |
 Shadow Stone Needle - Feathering Shadow Stone Needle - Feathering
|
Taps into your acupoint to slightly increase the Feathering Control of the weapon you're wielding. |
The Poise Break bone needle is best for the build for increased damage output. You can change this into the Fire bone needle to provide DoT, or the Leech bone needle for survivability. While the Strength, Agility, and Feathering needles increase your weapon damage.
Spells
| Spell | Uses |
|---|---|
 Burning Flames Burning Flames
|
Primarily used for evading attacks while also dealing significant damage. |
Recommend Items
 Manna Vase Manna Vase
|
 Temperance Temperance
|
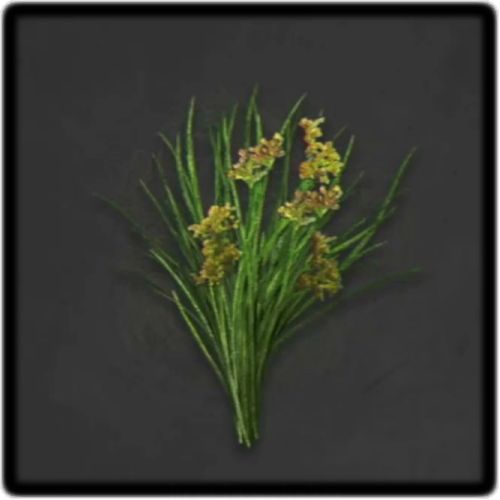 Soft Rush Flowers Soft Rush Flowers
|
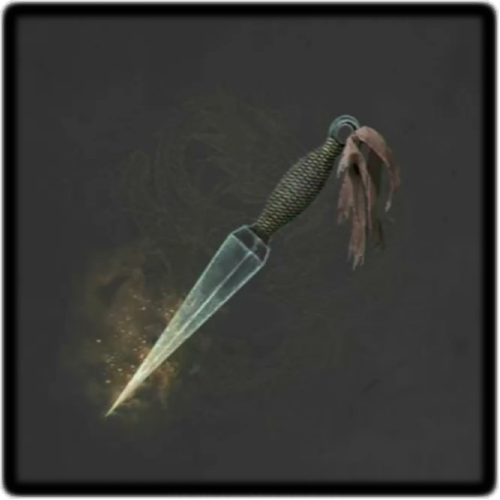 Breaking Flying Dagger Breaking Flying Dagger
|
We highly recommend using Break Knives along with this setup to synergize with the Poise Break playstyle of the build. Other items in your loadout should be your Manna Flasks for healing, your Temperance to activate Poise Break buff, and the Soft Rush Flowers for increased Stamina recovery.
Playstyle Tips
|
|
Recommended Rotation
- Use Sword Counter on Attacks that use weapons for free hits
- Use two of the follow-up attacks of Sword Counter to deal high damage
- Cast Feathering Wind Strike.
- Repeat steps one to three until the boss is staggered
- Use Obliterate for free hits.
- Attack twice to gain Skyborn Might
Dodge Against Beasts
The build may struggle a bit against beasts, but the Stamina recovery should allow you to chain dodges for flanking. Always towards enemies in a diagonal direction to be able to flank them. At times, we even recommend turning off camera lock.
Wuchang: Fallen Feathers Related Guides

| List of All Builds | |
|---|---|
| Stagger Longsword Build UP | Immortal Axe Build UP |
| Magic Shortsword Build UP | Flame Spear Build UP |
| Clash Dual Blades Build UP | Artillery Spear Build NEW |
| Spellblade Shortsword Build NEW | Burning Axe Build NEW |
| Flame Whip Build NEW | Poise Break Dual Blades NEW |
Comment
Author
Stagger Longsword Build
Please participate in our site
improvement survey
04/2026
improvement survey
04/2026
Would you assist in
improving Game8's site?
improving Game8's site?

×
We are listening to our users' valuable opinions and discussing how to act on them.
The information collected through this survey will be used for the purpose of improving our services. In addition, the information will only be disclosed a part of a statistic in a format that will not allow identification of personal information.
Begin Survey
Not Now
×
Please rate each item regarding Game8.co's Advertisements.
Amount of Ads
Very Dissatisfied
Somewhat Dissatisfied
Fine
Somewhat Satisfied
Highly Satisfied
Placement of Ads
Timing of Ad Display
Ad Loading Speed
Safeness of Ads
Content of Ads
×
Please rate each item regarding Game8.co's Quality of Articles.
Amount of information
Very Dissatisfied
Somewhat Dissatisfied
Fine
Somewhat Satisfied
Highly Satisfied
Frequency of updates
Speed of new information
Accuracy of articles
Understandibility of articles
Readability of sentences
×
Please rate each item regarding Game8.co's Usability of the Site.
Ease of finding information
Very Dissatisfied
Somewhat Dissatisfied
Fine
Somewhat Satisfied
Highly Satisfied
Loading Speed
Use of Color
Font Size
Visibility of Images
Easy to Understand Layout
×
Please rate each item regarding Game8.co's Message Boards, Comments.
Ease of Writing
Very Dissatisfied
Somewhat Dissatisfied
Fine
Somewhat Satisfied
Highly Satisfied
Readability
Ease in Finding Information
Comment Quality
Comment Quantity
Admin Response
×
Please rate each item regarding Game8.co's Site's new design.
Please rate our site's new design
Very Dissatisfied
Somewhat Dissatisfied
Fine
Somewhat Satisfied
Highly Satisfied
Do you think that the website's design change makes the site easier to use?
Has the new design made it easier for you to find information on the site?
Has the new design improved the overall visual appeal of the site?
How would you rate your overall satisfaction with the new design of the site?
×
How likely are you to recommend Game8 to someone you know?
Very Unlikely
0
1
2
3
4
5
6
7
8
9
10
Very Likely
If you have other opinions regarding potential improvement to the website, please share them with us. We would appreciate your honest opinion.
Note: This is a free response section, so you can proceed without entering anything.
Note: Please be sure not to enter any kind of personal information into your response.
Note: Please be sure not to enter any kind of personal information into your response.
×
Thank You
×
Thank you for participating in our survey! Your answers will help us to improve the quality of our website and services.
We hope you continue to make use of Game8.
We hope you continue to make use of Game8.
Close
Rankings
- We could not find the message board you were looking for.
Gaming News


![Forza Horizon 6 Review [Preview] | Beautiful Roads With a Whole Lot of Oversteer](https://img.game8.co/4460981/a7254c24945c43fbdf6ad9bea52b5ce9.png/thumb)
![Borderlands Mobile Review [Playtest] | The Same Borderlands Made Easy](https://img.game8.co/4465500/aac0c880a39ec5cd46073e49d18f3ed5.png/thumb)
Popular Games

Genshin Impact Walkthrough & Guides Wiki
Crimson Desert Walkthrough & Guides Wiki
Umamusume: Pretty Derby Walkthrough & Guides Wiki
Honkai: Star Rail Walkthrough & Guides Wiki
Monster Hunter Stories 3: Twisted Reflection Walkthrough & Guides Wiki
Wuthering Waves Walkthrough & Guides Wiki
The Seven Deadly Sins: Origin Walkthrough & Guides Wiki
Pokemon TCG Pocket (PTCGP) Strategies & Guides Wiki
Pokemon Pokopia Walkthrough & Guides Wiki
Zenless Zone Zero Walkthrough & Guides Wiki


Recommended Games
Fire Emblem Heroes (FEH) Walkthrough & Guides Wiki
Pokemon Brilliant Diamond and Shining Pearl (BDSP) Walkthrough & Guides Wiki
Super Smash Bros. Ultimate Walkthrough & Guides Wiki
Diablo 4: Vessel of Hatred Walkthrough & Guides Wiki
Cyberpunk 2077: Ultimate Edition Walkthrough & Guides Wiki
Yu-Gi-Oh! Master Duel Walkthrough & Guides Wiki
Elden Ring Shadow of the Erdtree Walkthrough & Guides Wiki
Monster Hunter World Walkthrough & Guides Wiki
The Legend of Zelda: Tears of the Kingdom Walkthrough & Guides Wiki
Persona 3 Reload Walkthrough & Guides Wiki


All rights reserved
© 2025 505 Games. Developed by Leenzee. Published by 505 Games.
The copyrights of videos of games used in our content and other intellectual property rights belong to the provider of the game.
The contents we provide on this site were created personally by members of the Game8 editorial department.
We refuse the right to reuse or repost content taken without our permission such as data or images to other sites.