Conjoined Heart Walkthrough Guide
★ Sea of Sorrow Free DLC Announced!
☆ Walkthrough
★ Best Crest Builds | Best Tools
☆ Full Interactive Map of Pharloom!
★ Mask Shards | Spool Fragments | Abilities
☆ Boss Guides: The Unravelled | First Sinner
This is a walkthrough for getting the Conjoined Heart in Hollow Knight: Silksong. Check out a complete step-by-step guide on how to unlock Verdania, all challenge locations, how to get the Conjoined Heart, and progress the story.
List of Contents
Conjoined Heart Walkthrough
| Jump to A Section | |||
|---|---|---|---|
| 1 | How to Unlock Verdania | 2 | Verdania |
How to Unlock Verdania
| Green Prince Guide | |
|---|---|
| 1 | 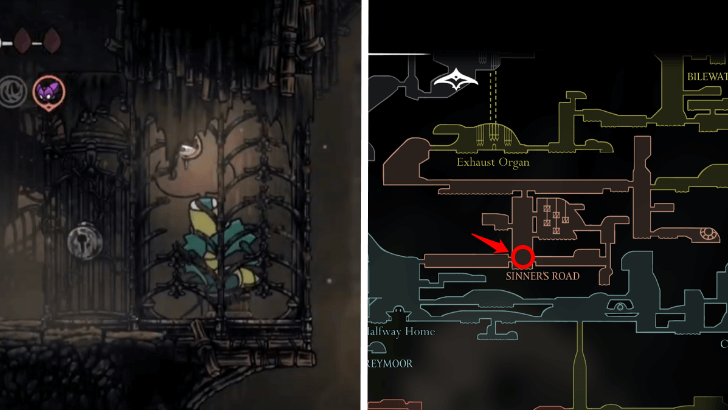 To unlock Verdana, you must free the Green Prince from his cage located in Sinner's Road. You can unlock the cage using a Simple Key. ▶ All 4 Simple Key Locations |
| * |  The easiest way to obtain a Simple Key is by buying it from the shopkeepers in Bonebottom and Songclave. Alternatively, there is a Simple Key deeper into Sinner's Road that can be reached through platforming. |
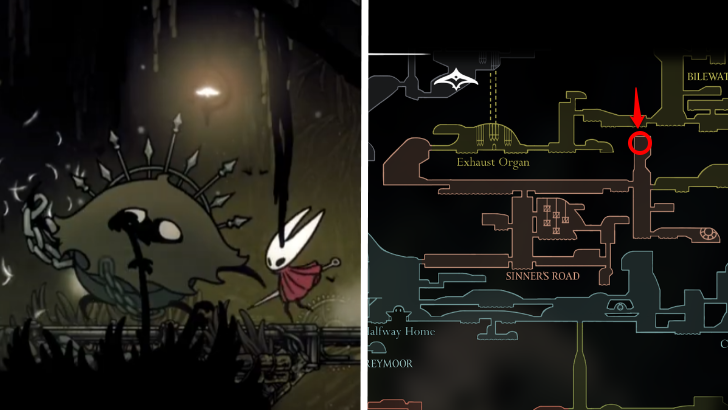
| 2 |  Once the Green Prince is freed, you will be able to encounter him around Pharloom. You will need to find him in all his locations to be placed on his questline. ▶ Green Prince NPC Questline |
| 3 | 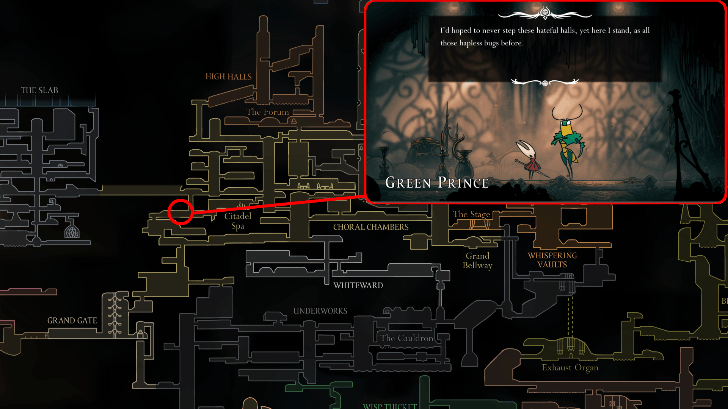 The first time you will encounter him is in Choral Chambers, in the area to the left of the Citadel Spa. |
| 4 |
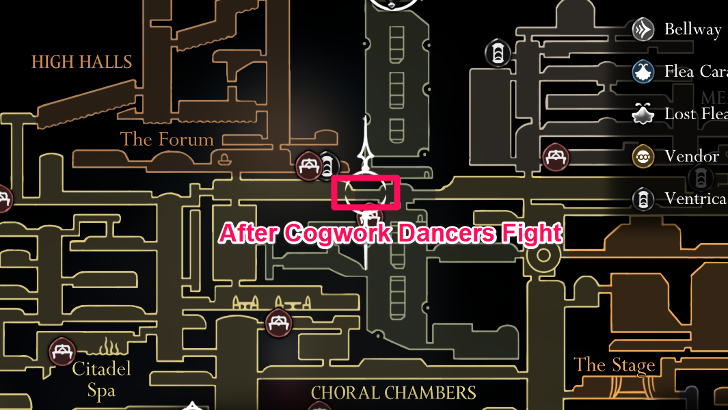 His second encounter will be after the Cogwork Dancers fight. You will find him near the entrance of where you fought the Dancers. |
| 5 |
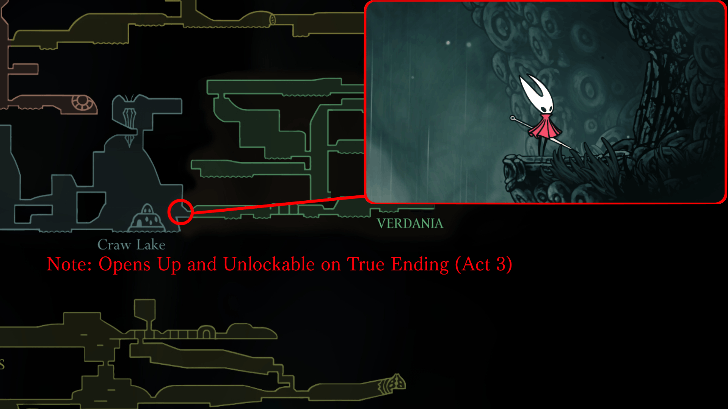 Upon doing these steps, the Green Prince will show up at the edge of Greymoor by Craw Lake in Act 3. If you already have the Elegy of the Deep, use the Needolin on him to access Verdania in his memories. |
Verdania
| First Challenge Guide | |
|---|---|
| 1 |  Upon waking, head right and talk to the Prince. In order to fight the Green Prince, you will need to complete his challenges. |
| * |  To find the location of the Green Prince's challenges, play your Needolin. Glowing lights will appear on your screen, and all you have to do is follow the direction where they're coming from. |
| 2 |  Head to the next room. Hit the glowing seed on the platform then use the berries to pogo to the right. |
| 3 | 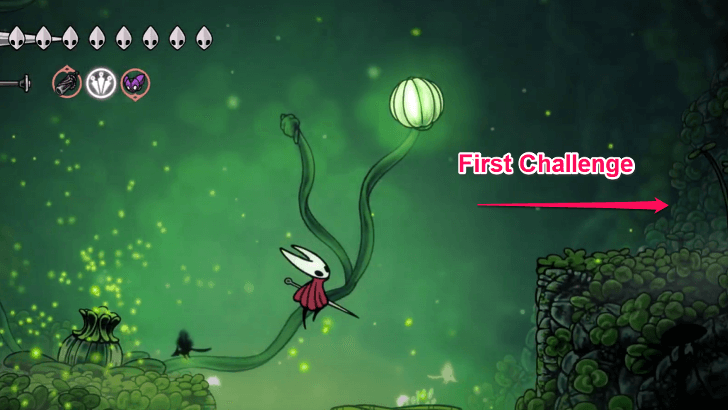 Instead of destroying the next glowing seed, keep going right. |
| 4 | 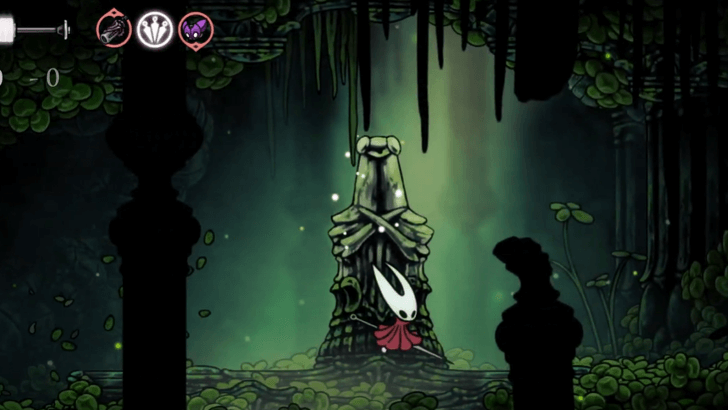 Destroy the statue of the Prince. Collect all the lights in the rightside area before they disappear to complete the challenge. |
| Second Challenge Guide | |
| 1 | 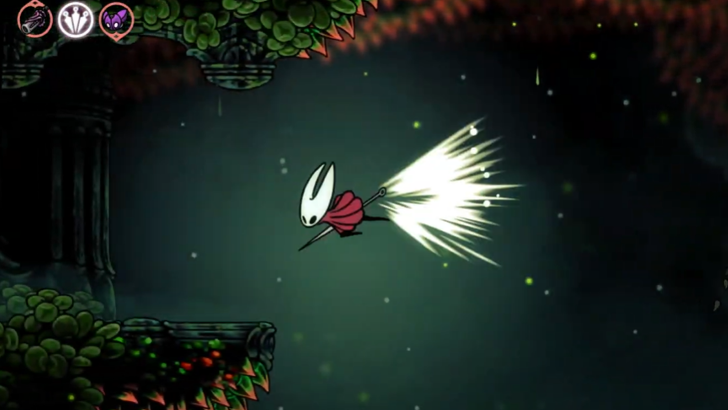 Hit the glowing seed in the middle of the pond, then use the berries to reach the platform to the left. |
| 2 | 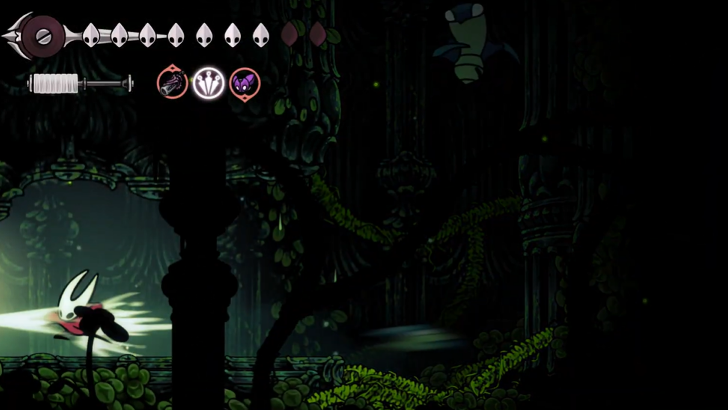 Keep going until you drop down and enter the next area. |
| 3 | 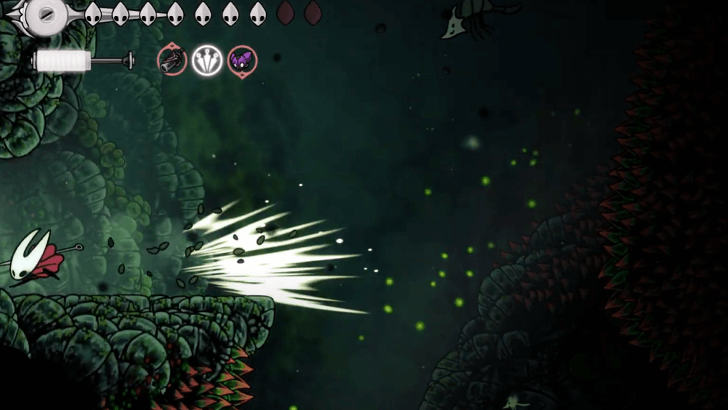 Climb up then enter the path to the left. |
| 4 | Get to the end of the area. Use the platforms to reach the Prince Statue. |
| 5 | Destroy the statue then collect all the lights to complete the challenge. |
| Third Challenge Guide | |
| 1 | 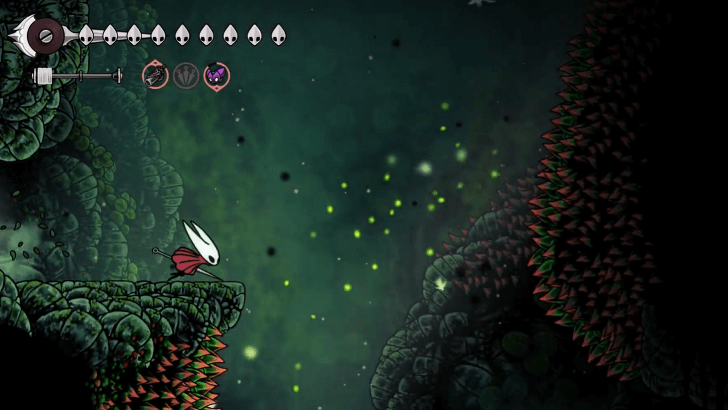 Go back the way you came and exit the area. |
| 2 |  This time, go up by using the Clawline on the flying enemy, then enter the path to the left. |
| 3 | After you enter, climb the wall above, then land on the platform to the left. You can also hit the berry in the upper right to refill your Silk. |
| 4 | 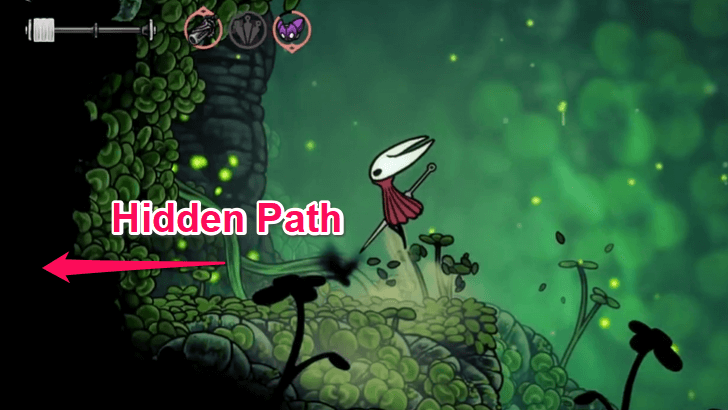 Make it all the way across to the left end of the area. Go through the hidden path behind the clover wall. |
| 5 | In the hidden area, hit the glowing seed then pogo off the berries to reach the statue. Break it, then collect all the lights to complete the challenge. |
| Fourth Challenge Guide | |
| 4 | 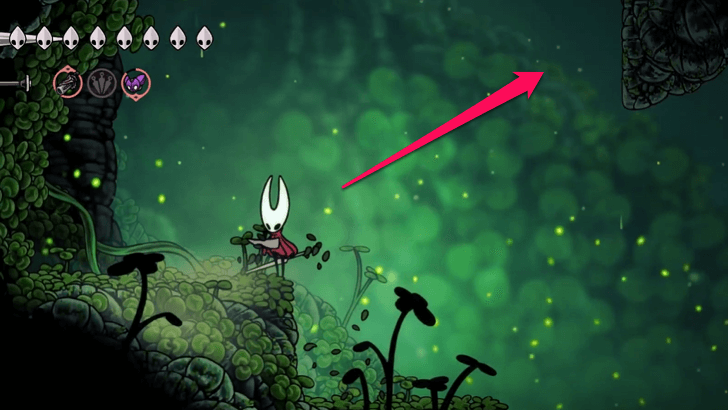 Return to the entrance of the clover wall. This time, platform up to the right. |
| 5 | 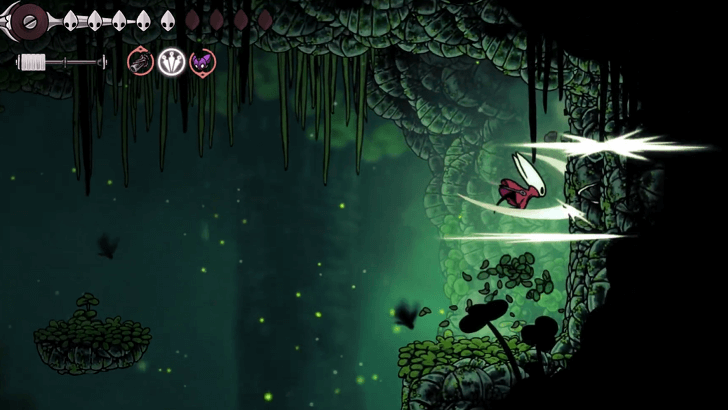 When you reach the ledge, break the wall to the right to reveal a hidden area. |
| 6 | 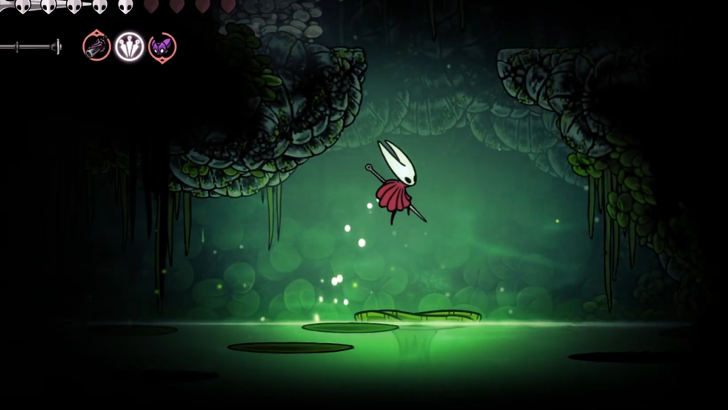 Push the lily pad underneath the gap, then jump on top of it. |
| 7 | Destroy the white flower then collect all the lights to complete the challenge. |
| Fifth Challenge Guide | |
| 1 |  From the ledge, platform to the left until you reach the other side. |
| 2 | Use the platforms to reach the path at the top. |
| 3 | 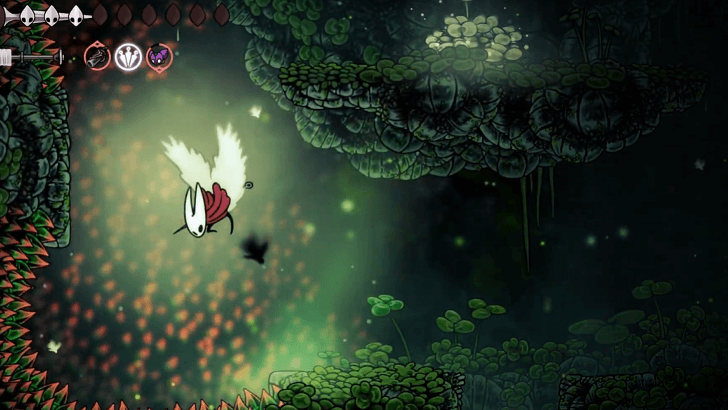 Jump on the wall to the left and use it to get to the platform above. |
| 4 | Destroy the flowers then collect the lights to complete the challenge. |
| Sixth Challenge Guide | |
| 1 | 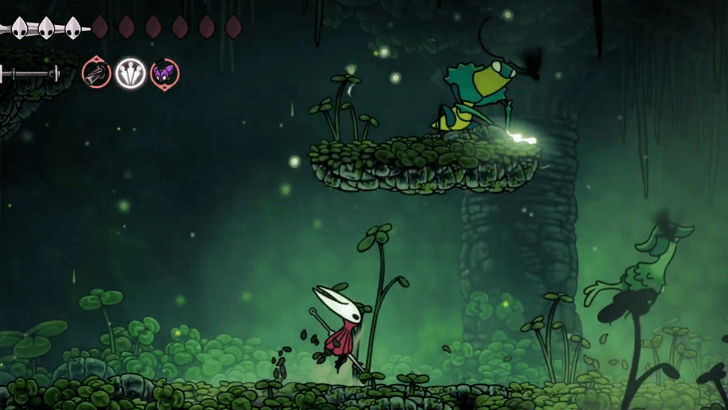 Continue towards the right. |
| 2 |  Follow the trail of pale leaves. Following them to the end will lead to a boss area where you will fight the Pale Stag. |
| 3 | 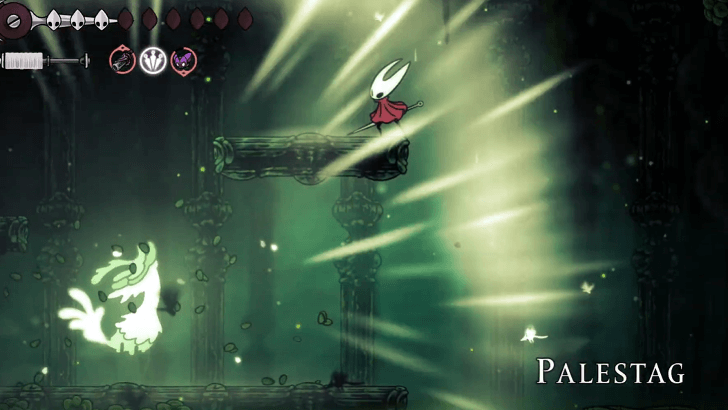 Defeat the Pale Stag, then absorb the light that comes out of it to complete the challenge. ▶ Palestag Boss Guide |
| Seventh Challenge Guide | |
| 1 |  Return to the area where you did the first challenge. Going through the left after defeating the Pale Stag and floating all the way down will lead you back there. |
| 2 | Hit the glowing seed in the middle of the pond, then use the berries to platform to the right. |
| 3 | 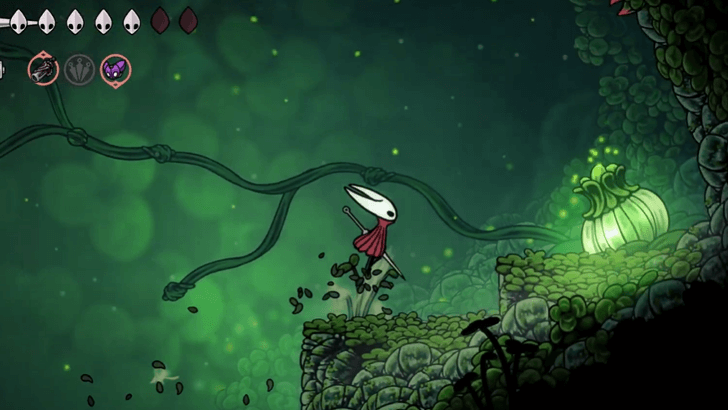 Keep going right until you reach the corner of the area. Hit the glowing seed located there to activate the next set of berries. |
| 4 |  Use the two glowing berries to reach the platform on the left. |
| 5 | 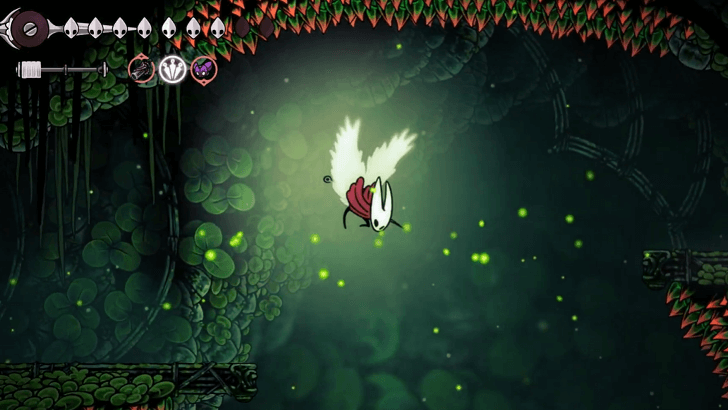 Go right and proceed to the next room. |
| 6 | Get all the way to the top. You will need to do a mix of climbing and pogo-ing off berries to reach the statue. |
| 7 | Destroy the statue then collect all the lights while going down to complete the challenge. |
| Eighth Challenge Guide | |
| 1 | 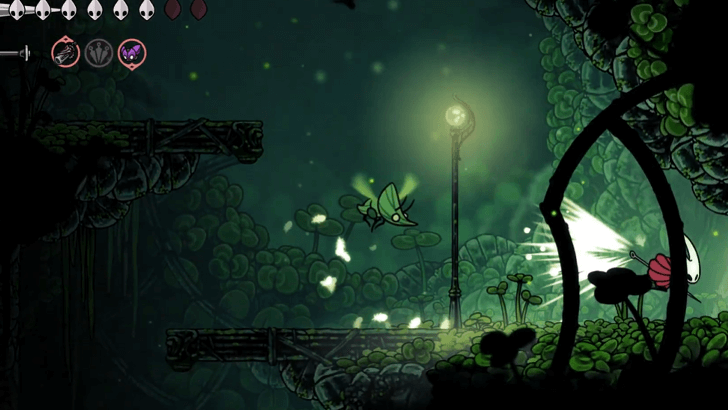 Drop down and head into the room to the bottom right next to the lamp post. |
| 2 | Swim across the water then use the platforms to clawline over the thorns. |
| 3 | 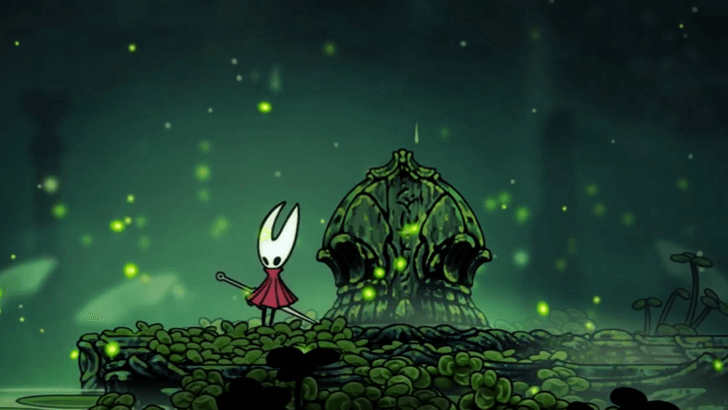 According to the sign in the middle, you need to unlock 3 fountains in the area to activate it. |
| 4 | 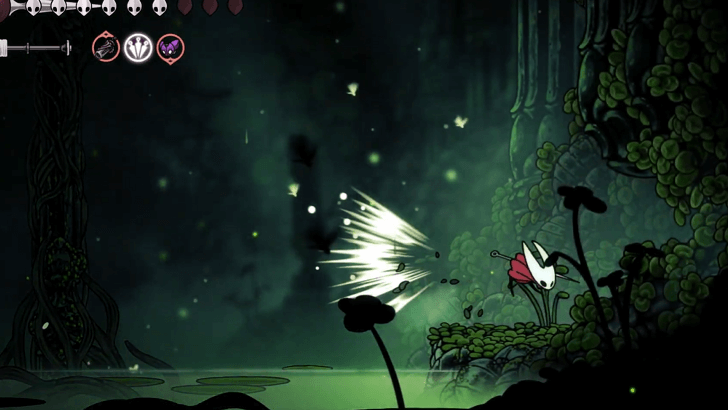 The first fountain can be found further to the right across the water. Go through the hidden entrance then step on the button to activate the fountain. |
| 5 | Return to the front of the hidden entrance then climb up the wall and double jump to reach the platform with the glowing seed. |
| 6 | Hit the seed then clawline off the berries to the left. Pogo off the last berry then pogo on the seed by the ledge. |
| 7 | 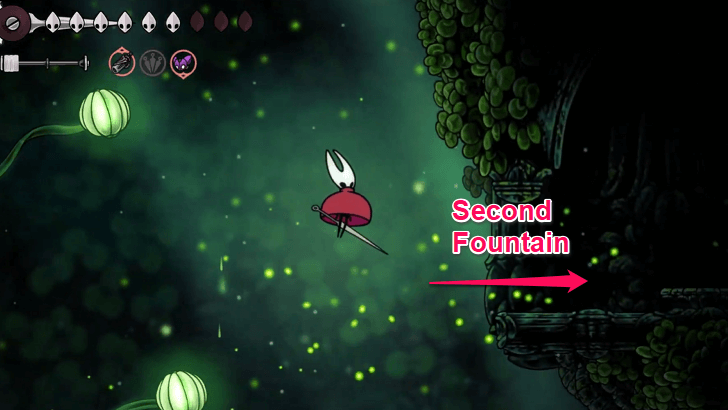 Pogo and clawline on the berries all the way to the right then float into the mouth of the second fountain location. Step on the button to activate it. |
| 8 | 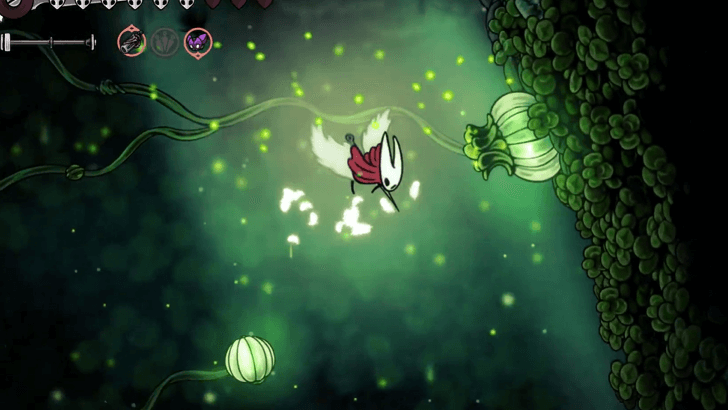 To get the third fountain, you will need to start again from the first seed since the buds restart after a short amount of time. Do the same steps to get to the second platforming set, but this time pogo off the topmost berry at the end, and clawline into the seed on the wall. |
| 9 | 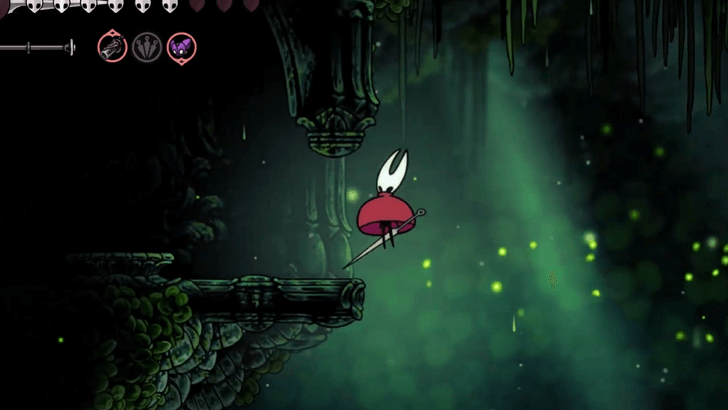 Pogo and clawline off the berries and get to the leftmost side where the final fountain is located. Just like before, activate it by stepping on the button. |
| 10 | 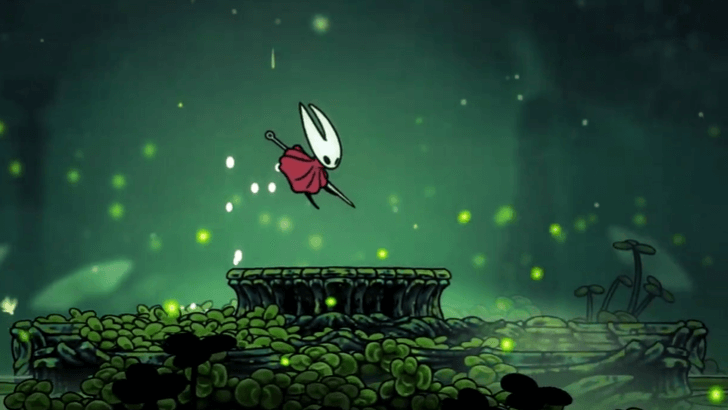 Drop down back down to the bottom. You will find that the sign from before has now transformed into a button. Step on it to raise a chapel-like structure. |
| 11 | 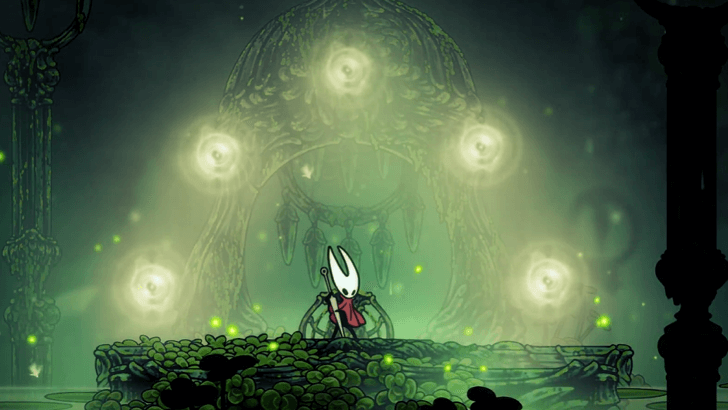 Play the Needolin in front of the altar then collect the lights to complete the challenge. |
| Ninth Challenge Guide | |
| 5 | 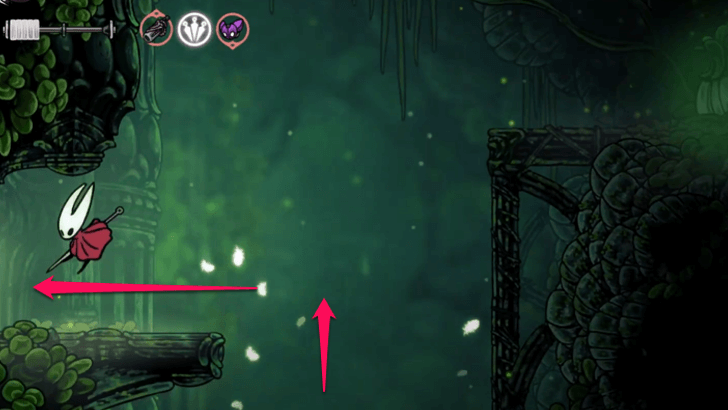 Go back the way you came and exit the room. Afterwards, climb up then enter the area to the left. |
| 6 | 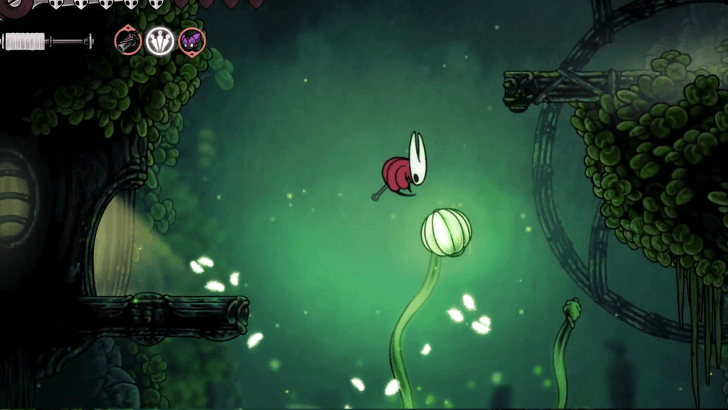 Swim to the left then use the glowing berries to go into the lit up house. |
| 7 | Defeat the enemies inside the house, then destroy the white bud at the end of the room. Collect all the sparks before they disappear to complete the challenge. |
| Tenth Challenge Guide | |
| 1 | 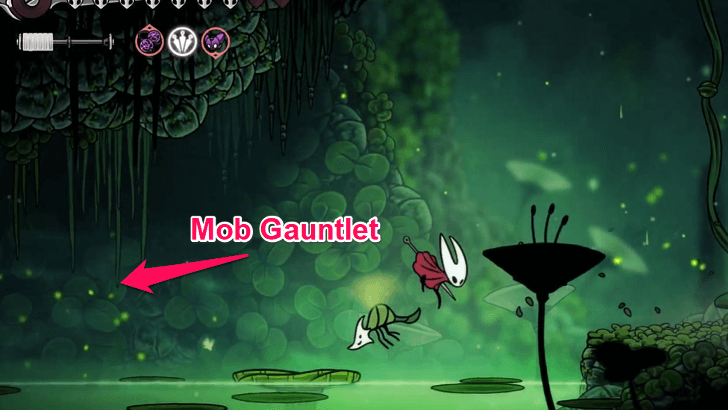 Go below the house then swim across the water to the left. This will lead you to a mob gauntlet. |
| 2 |  Defeat the waves of enemies, then collect the lights at the end to complete the challenge. |
| 4 | 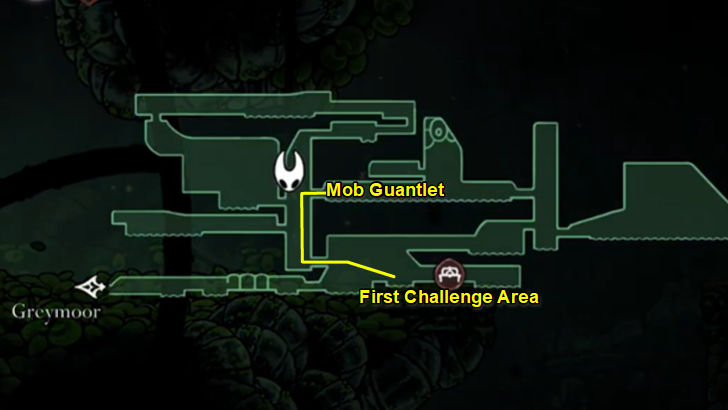 Opening the path to the left of the gauntlet will unlock a shortcut that leads back to the area where the first challenge was located. |
| Clover Dancers Guide | |
| 1 |  Regardless of what order you complete them in, when you see your screen explode in light, that signals that you have fulfilled enough challenges to unlock the boss area. |
| 2 |  Go back to the area where the house is located. You will notice that the area above is now filled in. Get on the platform with the lamp post then Silk Soar to the top. |
| 3 |  Enter the house then go to the room in the top left. You will find the Green Prince standing in front of two empty thrones. Talking to him will trigger the boss fight. |
| 4 | 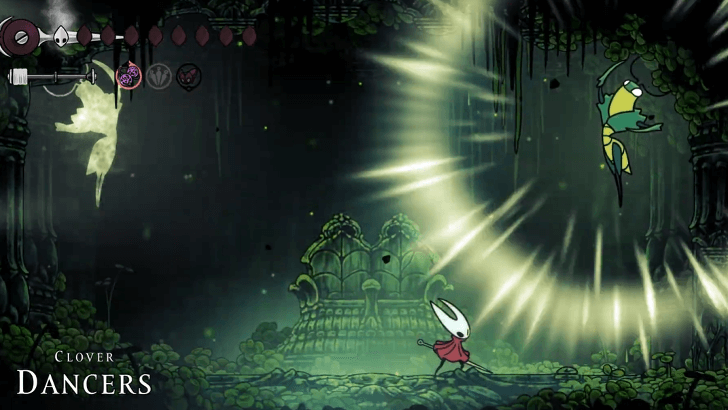 Defeat the Clover Dancers to get the Conjoined Heart. You can use the Conjoined Heart to either fulfill the The Old Hearts quest, or keep it as a memento in your Bellhome. ▶ Clover Dancers Boss Guide |
Verdania Boss Guides
How to Beat Palestag
| Palestag Boss Fight Tips |
|---|
Use Cogfly and Stay on Top of the Boss
Using Cogfly will be the best strategy against the Palestag due to the tool's target-tracking mechanic. All you need to do is chase the boss around and try to attack it whenever you can. The Cogfly will do most of the work for you.
How to Beat Clover Dancers
| Clover Dancers Boss Fight Tips |
|---|
|
|
Only Hit the Green Prince

The only enemy you can hit in this fight is the Green Prince. The shade cannot be damaged, so focus your attacks solely on the Prince.
Use the Cog Flies with the Pollip Pouch

The Cogflies can be used to continuously attack the enemy until they get destroyed. Combined with the Pollip Pouch, the Cogflies can inflict poison, which will deal additional damage.
Use the Threads to Avoid the Dancer's Path
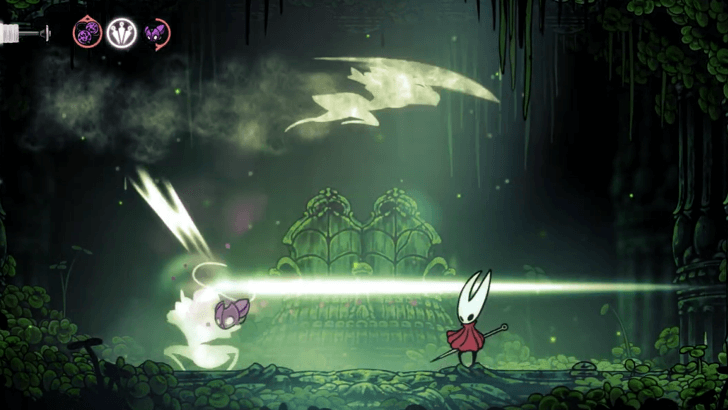
The Clover Dancers will signal where they will go next using thin lines. However, their actions are not in sync, so unlike the Cogwork Dancers, they will not move at the same time.
Clawline to Avoid Getting Sucked In
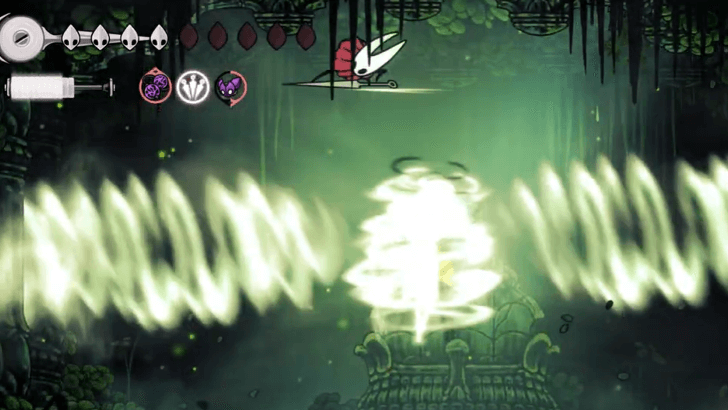
When the Clover Dancers meet in the middle, they will unleash a rotating whirlwind that can pull in Hornet if she gets too close. To prevent being sucked in, Clawline over the Dancers.
Clover Dancers Boss Guide
Hollow Knight: Silksong Related Guides

Walkthrough and Progression Guide
All Walkthrough Guides
| List of Walkthrough Guides | |
|---|---|
| How to Unlock Act 3 | Heart of the Wild |
| Heart of the Woods | Heart of Might |
| Conjoined Heart | - |
Comment
Author

Conjoined Heart Walkthrough Guide
Rankings
- We could not find the message board you were looking for.
Gaming News


![Marathon Cryo Archive Map Teased as [REDACTED] on Selection Screen](https://img.game8.co/4442236/6357203e58172f6de57f1991e7c39b22.png/thumb)


Popular Games

Genshin Impact Walkthrough & Guides Wiki
Umamusume: Pretty Derby Walkthrough & Guides Wiki
Pokemon Pokopia Walkthrough & Guides Wiki
Honkai: Star Rail Walkthrough & Guides Wiki
Monster Hunter Stories 3: Twisted Reflection Walkthrough & Guides Wiki
Arknights: Endfield Walkthrough & Guides Wiki
Wuthering Waves Walkthrough & Guides Wiki
Zenless Zone Zero Walkthrough & Guides Wiki
Pokemon TCG Pocket (PTCGP) Strategies & Guides Wiki
Monster Hunter Wilds Walkthrough & Guides Wiki


Recommended Games
Diablo 4: Vessel of Hatred Walkthrough & Guides Wiki
Cyberpunk 2077: Ultimate Edition Walkthrough & Guides Wiki
Fire Emblem Heroes (FEH) Walkthrough & Guides Wiki
Yu-Gi-Oh! Master Duel Walkthrough & Guides Wiki
Super Smash Bros. Ultimate Walkthrough & Guides Wiki
Pokemon Brilliant Diamond and Shining Pearl (BDSP) Walkthrough & Guides Wiki
Elden Ring Shadow of the Erdtree Walkthrough & Guides Wiki
Monster Hunter World Walkthrough & Guides Wiki
The Legend of Zelda: Tears of the Kingdom Walkthrough & Guides Wiki
Persona 3 Reload Walkthrough & Guides Wiki


All rights reserved
© 2025 Team Cherry
The copyrights of videos of games used in our content and other intellectual property rights belong to the provider of the game.
The contents we provide on this site were created personally by members of the Game8 editorial department.
We refuse the right to reuse or repost content taken without our permission such as data or images to other sites.