Lost Garmond Boss Guide
★ Sea of Sorrow Free DLC Announced!
☆ Walkthrough
★ Best Crest Builds | Best Tools
☆ Full Interactive Map of Pharloom!
★ Mask Shards | Spool Fragments | Abilities
☆ Boss Guides: The Unravelled | First Sinner

Lost Garmond is a boss located in Blasted Steps in Hollow Knight: Silksong. See a loadout you can use to beat Lost Garmond, its attack patterns, and rewards in this guide!
Lost Garmond Recommended Loadout
| Silk Skill | ・Pale Nails ・Thread Storm |
|---|---|
| Tools | |
| Crests |
 Cogfly
 Voltvessels
 Cogwork Wheel
 Flea Brew
 Warding Bell
 Fractured Mask
 Witch Crest
✎ Press on either Silk Skills, Tools, or Crests to see a full list of each!
The Lost Garmond moves slowly and is mostly on the ground. Using tools that can take advantage of his slow movement will be the most effective to win the fight.
You can easily hit the boss with Voltvessels and Cogwork Wheel since his movement is slow. Alternatively, you can use Cogfly to deal damage passively while attacking with Flea Brew's effects.
Fractured Mask and/or Warding Bell would be enough to help you survive the fight.
Witch Crest's Silk Bind works nicely against the boss as you can easily hit him with the attack and recover HP.
Lost Garmond Location
West of the Blasted Steps

Lost Garmond is located in the western part of the Blasted Steps.
How to Beat Lost Garmond
| Lost Garmond Boss Fight Tips |
|---|
|
|
Move Around and Attack Fast
The Lost Garmond moves slowly throughout the fight, making it easy for you hit him with attacks and tools. Take advantage of his slow movement by moving around and attacking fast. Additionally, use tools like Cogfly, Voltvessels, and/or Cogwork Wheel to deal more damage and exploit his slow movement.
Go Behind During the Projectile Attack
The Lost Garmond occasionally does an attack where he shoots multiple projectiles in an arc. During this attack, the boss stays in place and has his back exposed. When the boss does this attack, you should go behind him and deal as much damage as possible before the attack ends.
Lost Garmond Attack Patterns
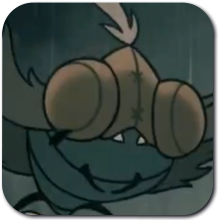
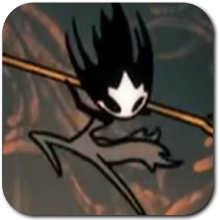
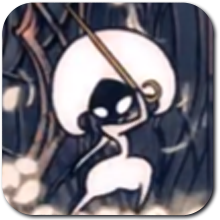
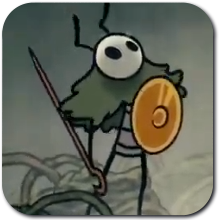
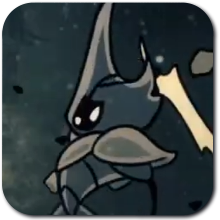
Wild Swing
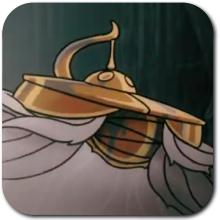
| Visual Cue | 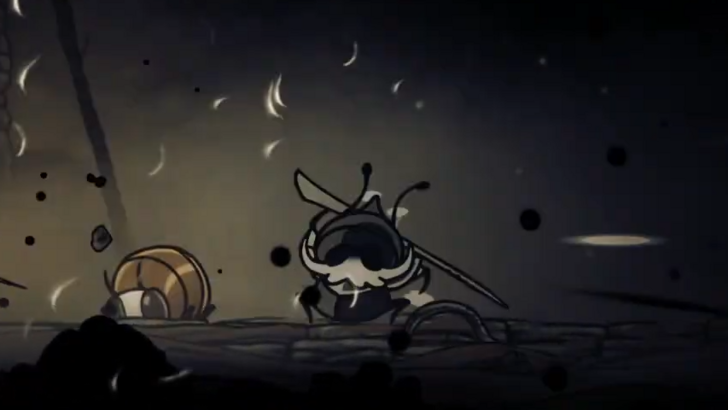 Changes stance. |
|---|---|
| Counter | Move away. |
The Lost Garmond swings his weapon wildly from side to side. This attack has a farily wide area of effect, so you need to just move away from the boss to avoid getting hit.
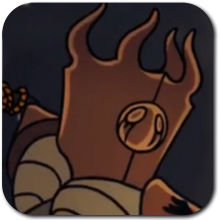
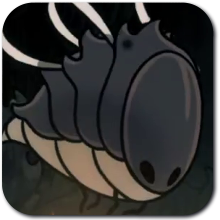
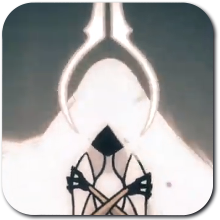
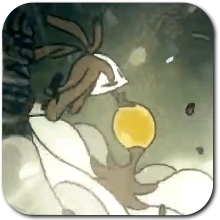
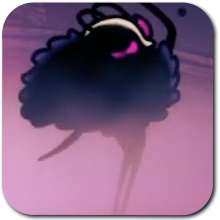
Projectile Attack
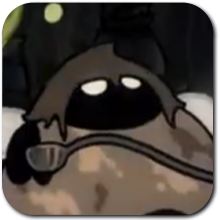
| Visual Cue | 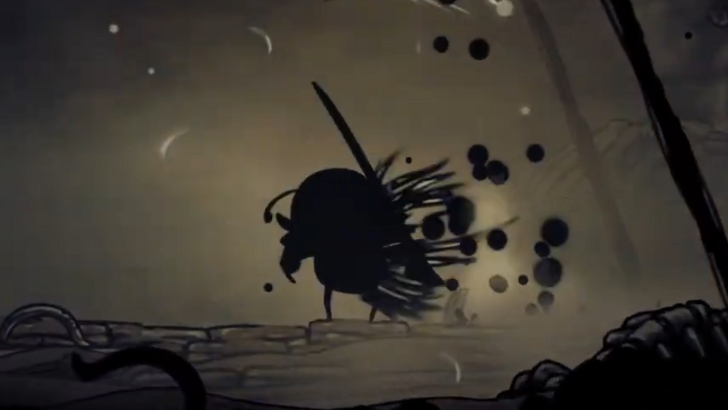 Turns completely black. |
|---|---|
| Counter | Go behind the boss. |
The Lost Garmond shoots multiple black projectiles in an arc. The best way to dodge the attack is by going behind the boss.
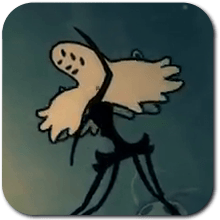
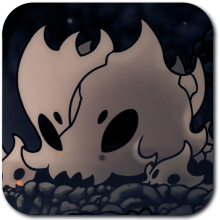
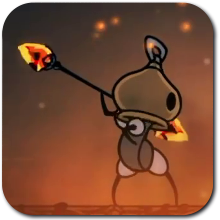
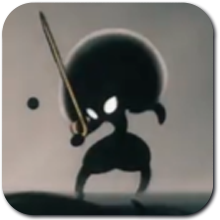
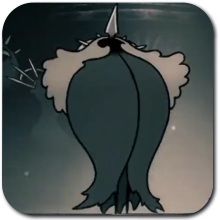
Dive Attack
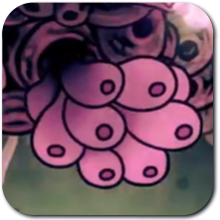
| Visual Cue | 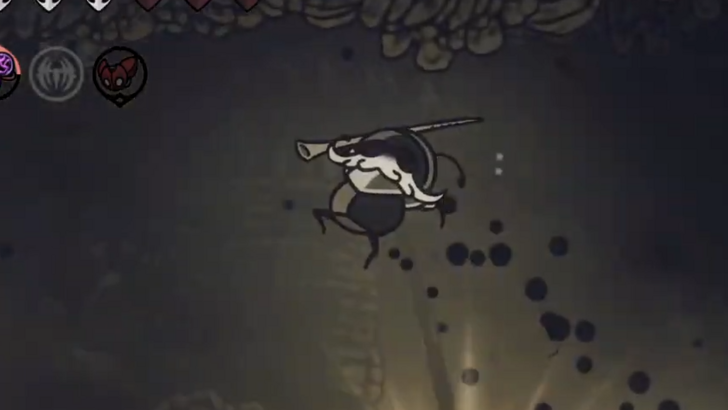 Pauses in the air. |
|---|---|
| Counter | Move away from the boss. |
The Lost Garmond jumps into the air, pauses for a while, then drives his weapon downward to the ground, releasing multiple dark orbs that turn into blades once they hit the ground. You need to stay away from the boss to dodge the entire attack.
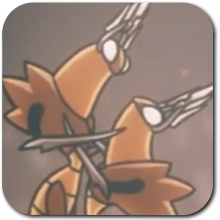
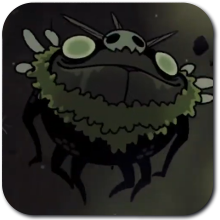
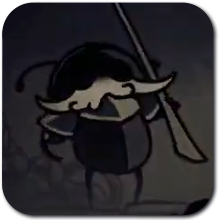
Lunging Attack
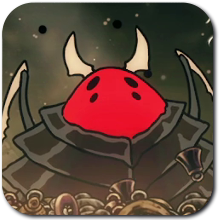
| Visual Cue | 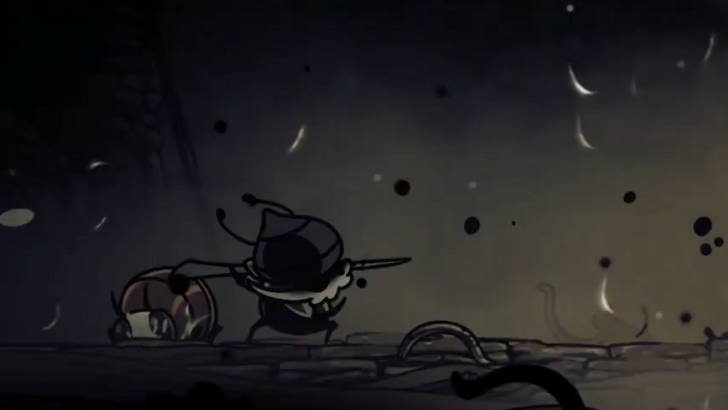 Changes stance. |
|---|---|
| Counter | Move away. |
The Lost Garmond lunges forward multiple times. You can either dash away from the boss or jump to avoid the attack.
Lost Garmond Rewards
Hero's Memento
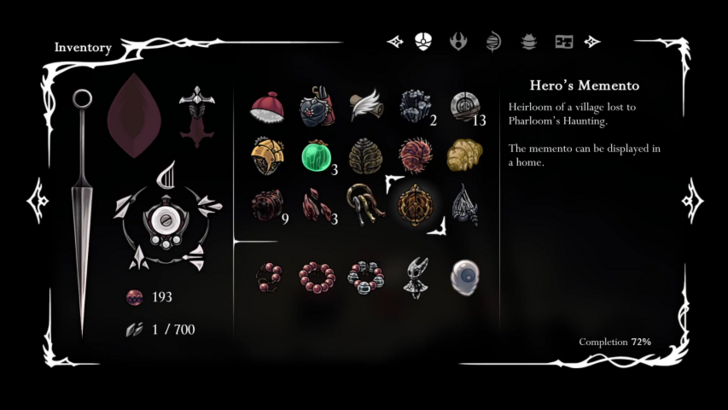
You'll be given the Hero's Memento heirloom after defeating the Lost Garmond.
Hollow Knight: Silksong Related Guides

Act 1 Bosses
| Main Story Bosses | ||
|---|---|---|
 Moss Mother Moss Mother
|
 Bell Beast Bell Beast
|
 Lace Lace
|
 Fourth Chorus Fourth Chorus |
 Moorwing Moorwing |
 Sister Splinter Sister Splinter |
 Widow Widow |
 Last Judge Last Judge |
- |
| Optional Bosses | ||
 Savage Beastfly Savage Beastfly |
 Skull Tyrant Skull Tyrant |
 Great Conchflies Great Conchflies |
 Summoned Saviour Summoned Saviour |
- | - |
| Secret Bosses | ||
 Phantom Phantom |
- | - |
Act 2 Bosses
| Main Story Bosses | ||
|---|---|---|
 Cogwork Dancers Cogwork Dancers |
 Trobbio Trobbio |
 Lace (Act 2) Lace (Act 2) |
 Grand Mother Silk Grand Mother Silk |
- | - |
| Optional Bosses | ||
 Forebrothers Signis and Gron Forebrothers Signis and Gron |
 Raging Conchfly Raging Conchfly |
 Groal the Great Groal the Great |
 Disgraced Chef Lugoli Disgraced Chef Lugoli |
 Broodmother Broodmother |
 Father of the Flame Father of the Flame |
 Voltvyrm Voltvyrm |
- | - |
| Secret Bosses | ||
 First Sinner First Sinner |
 Unravelled Unravelled |
- |
Act 3 Bosses
| Main Bosses | ||
|---|---|---|
 Bell Eater Bell Eater |
 Skarrsinger Karmelita Skarrsinger Karmelita |
 Nyleth Nyleth |
 Seth Seth |
 Crust King Khann Crust King Khann |
 Lost Lace Lost Lace |
Optional Bosses |
 Watcher at the Edge Watcher at the Edge |
 Gurr the Outcast Gurr the Outcast |
 Second Sentinel Second Sentinel |
 Lost Garmond Lost Garmond |
 Crawfather Crawfather |
 Plasmified Zango Plasmified Zango |
 Tormented Trobbio Tormented Trobbio |
 Clover Dancers Clover Dancers
|
 Pinstress Pinstress
|
 Palestag Palestag |
- | - |
Comment
Author

Lost Garmond Boss Guide
Rankings
- We could not find the message board you were looking for.
Gaming News


![Marathon Cryo Archive Map Teased as [REDACTED] on Selection Screen](https://img.game8.co/4442236/6357203e58172f6de57f1991e7c39b22.png/thumb)


Popular Games

Genshin Impact Walkthrough & Guides Wiki
Umamusume: Pretty Derby Walkthrough & Guides Wiki
Pokemon Pokopia Walkthrough & Guides Wiki
Honkai: Star Rail Walkthrough & Guides Wiki
Monster Hunter Stories 3: Twisted Reflection Walkthrough & Guides Wiki
Arknights: Endfield Walkthrough & Guides Wiki
Wuthering Waves Walkthrough & Guides Wiki
Zenless Zone Zero Walkthrough & Guides Wiki
Pokemon TCG Pocket (PTCGP) Strategies & Guides Wiki
Monster Hunter Wilds Walkthrough & Guides Wiki


Recommended Games
Diablo 4: Vessel of Hatred Walkthrough & Guides Wiki
Cyberpunk 2077: Ultimate Edition Walkthrough & Guides Wiki
Fire Emblem Heroes (FEH) Walkthrough & Guides Wiki
Yu-Gi-Oh! Master Duel Walkthrough & Guides Wiki
Super Smash Bros. Ultimate Walkthrough & Guides Wiki
Pokemon Brilliant Diamond and Shining Pearl (BDSP) Walkthrough & Guides Wiki
Elden Ring Shadow of the Erdtree Walkthrough & Guides Wiki
Monster Hunter World Walkthrough & Guides Wiki
The Legend of Zelda: Tears of the Kingdom Walkthrough & Guides Wiki
Persona 3 Reload Walkthrough & Guides Wiki


All rights reserved
© 2025 Team Cherry
The copyrights of videos of games used in our content and other intellectual property rights belong to the provider of the game.
The contents we provide on this site were created personally by members of the Game8 editorial department.
We refuse the right to reuse or repost content taken without our permission such as data or images to other sites.