Best Tools Tier List
★ Sea of Sorrow Free DLC Announced!
☆ Walkthrough
★ Best Crest Builds | Best Tools
☆ Full Interactive Map of Pharloom!
★ Mask Shards | Spool Fragments | Abilities
☆ Boss Guides: The Unravelled | First Sinner
Here is a tier list of all the best tools in Hollow Knight: Silksong. See a list of the best early, mid, and late game tools that can help Hornet in boss fights, gauntlets, and overall traversal!
List of Contents
Hollow Knight: Silksong Tools Tier List
Tools Tier List
| Tier | Red | Blue | Yellow |
|---|---|---|---|
|
|
|
|
|
|
|
|
|
|
|
|
|
|
|
Tier List Explanation
Our current tier list is based on our initial playthrough of Hollow Knight: Silksong. This tier list takes into account how well the tool performs in comparison with each other and their usability throughout the story's progression.
Since this is our initial playthrough, this tier list is subject to change as we continue playing what Hollow Knight: Silksong has to offer!
Best Tools for Each Stage of the Game
Best Early-Game Tools
| Tool | Slot Color | Explanation |
|---|---|---|
|
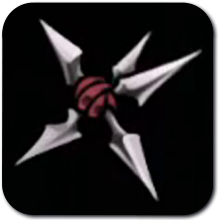
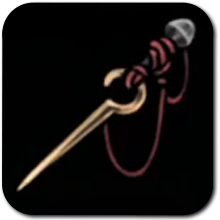
Sting Shard
|
The Sting Shard is an easy to get, early Red Tool that allows Hornet to control space in fights. This deals multiple instances of damage, and gives her an object to pogo from. | |
|
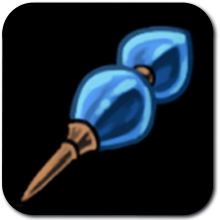
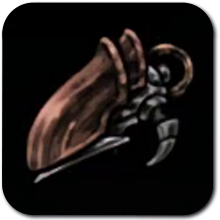
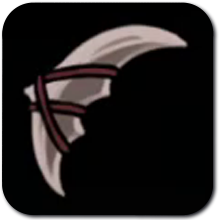
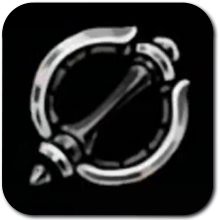
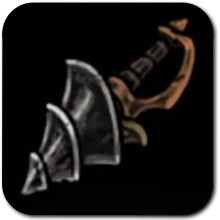
Curveclaw
|
The Curveclaw is an excellent tool that makes dealing with flying mobs easier, while Hornet does not have her mobility skills. Well placed Curveclaws can deal multiple instances of damage to bosses. | |
|
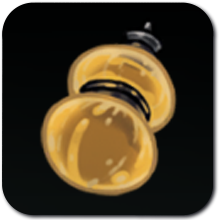
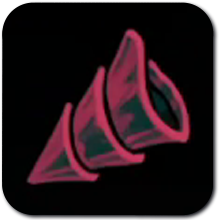
Flea Brew
|
Flea Brew allows players to move between attacks faster and get in more hits with the added attack speed. This, paired with several buffs can make most boss fights quicker and easier. | |
|
Druid's Eye
|
Druid's Eye is a good tool that makes the game more forgiving for players. Gaining Silk upon getting hit will give players more options to heal during a fight. | |
|
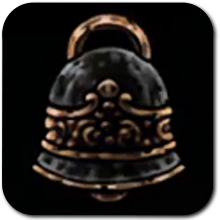
Warding Bell
|
Warding Bell is useful for boss fights, and learning their attack patterns. Use this tool to learn when your openings to heal are during tough fights. | |
|
Fractured Mask
|
Fractured Mask is an essential tool, as bosses start dealing two masks of damage early on in the game. This essentially extends Hornet's health bar as it allows her to survive one hit of damage. | |
|
Compass
|
It is recommended to frequently use the Compass when traversing Pharloom. Without this, players will not be able to see Hornet on the map and get their bearings. | |
|
Magnetite Brooch
|
The Magnetite Brooch can help in early game farming. This tool attracts Rosaries that drop, preventing players from missing out on currency that could be used for a bench, Bellway Station, or merchant. | |
|
Weighted Belt
|
The Weighted Belt allows players to lay more damage on enemies during attack windows by completely reducing the knockback of Hornet's Attack. This can help players learn how to better space in combat. |
Best Mid-Game Tools
| Tool | Slot Color | Explanation |
|---|---|---|
|
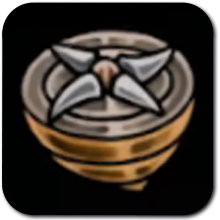
Cogwork Wheel
|
Cogwork Wheel is an activated tool that damages enemies in a line. This can deal multiple instances of damage to bosses, and clear ground enemies in gauntlets. | |
|
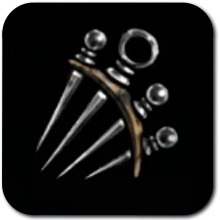
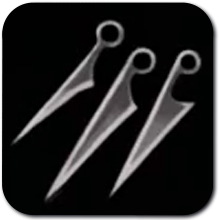
Tacks
|
Tacks are a hazard that can be laid down during fights. This is especially useful in boss fights as these can greatly damage bosses. | |
|
Flea Brew
|
Flea Brew allows players to move between attacks faster and get in more hits with the added attack speed. This, paired with several buffs can make most boss fights quicker and easier. | |
|
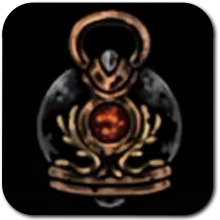
Plasmium Phial
|
Plasmium Phial is a great tool to have at all stages of the game. Increasing your mask count will allow you to tank more hits, or provide you with an emergency heal. | |
|
Pollip Pouch
|
The Pollip Pouch ties your offensive tools together, as multiple instance of damage will also convert into poison, allowing you to deal damage over time. This can greatly shorten boss fights. | |
|
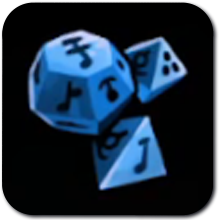
Magnetite Dice
|
Magnetite Dice is an inconsistent tool to have, but never bad to have. This can allow players to randomly negate one instance of damage, which overall increases your survivability. |
Best Late-Game Tools
| Tool | Slot Color | Explanation |
|---|---|---|
|
Cogfly
|
The Cogfly spawns autonomous sprites that independently attack enemies. These can serve as a consistent source of damage, allowing Hornet to focus on dodging and finding windows to heal. | |
|
Injector Band
|
The Injector Band increases the speed of binding. This can be useful in harder fights as it gives Hornet more time to reposition and heal in scenarios she normally wouldn't be able to. | |
|
Spool Extender
|
The Spool Extender is a tool that is always good, extending your reservoir of silk. This can make Hornet heal and use Silk skills more frequently. | |
|
Reserve Bind
|
The Reserve Bind is an extra heal that players can use in an emergency. It is only good for one use, but always refreshes at a bench. | |
|
Claw Mirrors
|
Claw Mirrors make Hornet emit an AoE effect that damages surrounding enemies when binding. This is perfect for players who enjoy the Witch Crest, and its mix of offense and defense. | |
|
Volt Filament
|
The Volt Filament enhances Hornet's Silk Skills, causing them to do more damage. This works with late game builds that use the Shaman Crest, prioritizing skill usage. | |
|
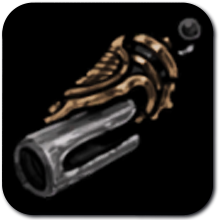
Quick Sling
|
The Quick Sling is an essential for builds centered around Red Tools. Doubling the amount of projectiles will increase your DPS, leading to faster fights. | |
|
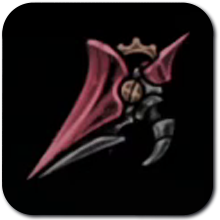
Longclaw
|
The Longclaw extends Hornet's effective range with melee attacks. This is useful for players who like to hit and run, allowing them to safely poke enemies. |
Hollow Knight: Silksong Related Guides

All Tools Guides
| Silksong Tools Guides | |
|---|---|
| Best Tools for Each Type | Best Silkshot to Get |
Author

Best Tools Tier List
Rankings
- We could not find the message board you were looking for.
Gaming News


![The Liar Princess and the Blind Prince Review [PC] | Lovely to Look at but Tedious to Play](https://img.game8.co/4442586/8d95f5faf05780f1765ce7e0938bd825.jpeg/thumb)
![Marathon Cryo Archive Map Teased as [REDACTED] on Selection Screen](https://img.game8.co/4442236/6357203e58172f6de57f1991e7c39b22.png/thumb)

Popular Games

Genshin Impact Walkthrough & Guides Wiki
Umamusume: Pretty Derby Walkthrough & Guides Wiki
Pokemon Pokopia Walkthrough & Guides Wiki
Honkai: Star Rail Walkthrough & Guides Wiki
Monster Hunter Stories 3: Twisted Reflection Walkthrough & Guides Wiki
Arknights: Endfield Walkthrough & Guides Wiki
Wuthering Waves Walkthrough & Guides Wiki
Zenless Zone Zero Walkthrough & Guides Wiki
Pokemon TCG Pocket (PTCGP) Strategies & Guides Wiki
Monster Hunter Wilds Walkthrough & Guides Wiki


Recommended Games
Diablo 4: Vessel of Hatred Walkthrough & Guides Wiki
Cyberpunk 2077: Ultimate Edition Walkthrough & Guides Wiki
Fire Emblem Heroes (FEH) Walkthrough & Guides Wiki
Yu-Gi-Oh! Master Duel Walkthrough & Guides Wiki
Super Smash Bros. Ultimate Walkthrough & Guides Wiki
Pokemon Brilliant Diamond and Shining Pearl (BDSP) Walkthrough & Guides Wiki
Elden Ring Shadow of the Erdtree Walkthrough & Guides Wiki
Monster Hunter World Walkthrough & Guides Wiki
The Legend of Zelda: Tears of the Kingdom Walkthrough & Guides Wiki
Persona 3 Reload Walkthrough & Guides Wiki


All rights reserved
© 2025 Team Cherry
The copyrights of videos of games used in our content and other intellectual property rights belong to the provider of the game.
The contents we provide on this site were created personally by members of the Game8 editorial department.
We refuse the right to reuse or repost content taken without our permission such as data or images to other sites.
SAWTOOTH IN B TIER??