Last Judge Boss Guide
★ Sea of Sorrow Free DLC Announced!
☆ Walkthrough
★ Best Crest Builds | Best Tools
☆ Full Interactive Map of Pharloom!
★ Mask Shards | Spool Fragments | Abilities
☆ Boss Guides: The Unravelled | First Sinner
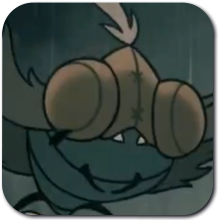
Last Judge is a boss located in Blasted Steps in Hollow Knight: Silksong. See a loadout you can use to beat Last Judge, its attack patterns, and how to navigate the run back in this guide!
Last Judge Recommended Loadout
| Silk Skill | ・Thread Storm |
|---|---|
| Tools | |
| Crests |
 Fractured Mask
 Magnetite Dice
 Sting Shard
 Reaper Crest
 Hunter Crest
✎ Press on either Silk Skills, Tools, or Crests to see a full list of each!
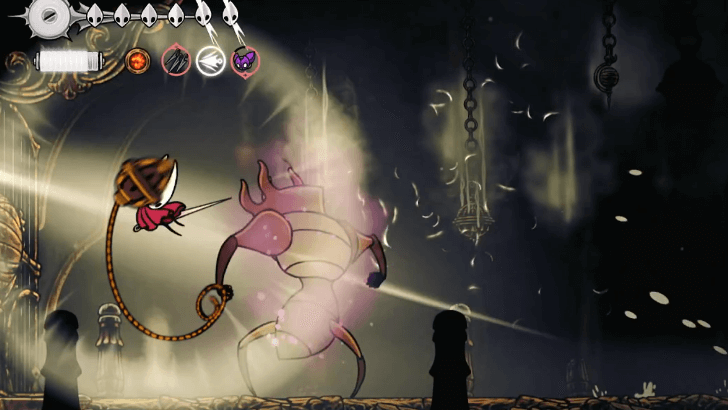
The Last Judge is a boss that starts out slow, but will get faster when it is heavily injured. This makes the Threadstorm ability incredibly useful in this fight, since its wide AoE can punish the Last Judge if it gets too close.
In such a high pressure battle, you would want to have as much health as possible so bring the Fractured Mask for an extra life. We also recommend bringing the Magnetite Dice which occassionally lets you tank hits without any damage.
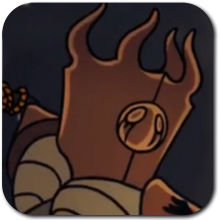
During the second half of the fight, the Last Judge will start using fire attacks, so having the Magma Bell equipped will lesson the damage you take.
You should also consider bringing the Sting Shard. With the Last Judge's large size, this tool can easily do big damage in a short amount of time.
The Reaper Crest's slow but stronger moveset will be very effective during this fight. The crescent slash in particular has a wider coverage and can make landing hits a lot easier.
The Hunter Crest is also a good option for this fight. Its long range leaves you with enough space to avoid Last Judge's attacks and its charged attack covers a wide AoE, dealing immense damage.
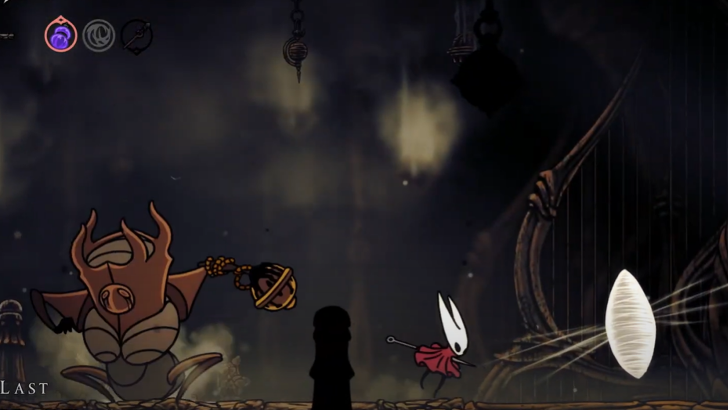
Last Judge Location
To the East of the Blasted Steps, Guarding the Grand Gate

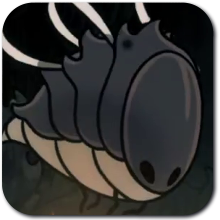
The Last Judge is the final boss of Act 1 in Hollow Knight: Silksong. You can find the Last Judge to the east of the Blasted Steps, guarding the way to the Citadel.
Last Judge Run Back Walkthrough
| Run Back Guide | |
|---|---|
| 1 | Head to the east from the bench in the Blasted Steps. This will lead to an open area where you need to alternate between floating and jumping to get across the gaps and reach the top platform. |
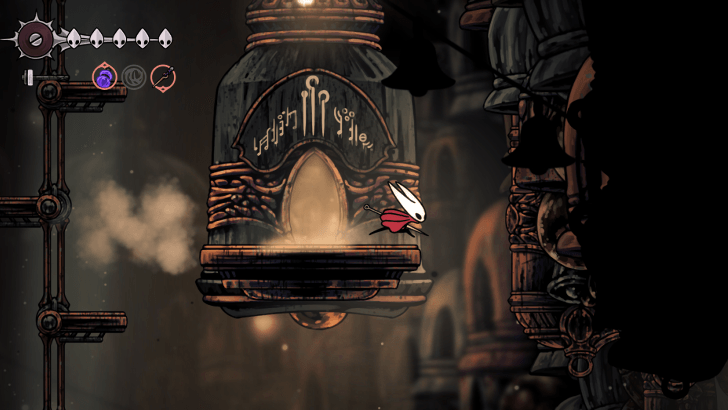
| 2 | From the platform, pogo on the hanging bells to the right and then climb up to reach a large open area. |
| 3 | Before continuing to the northeast, you can drop down the hole and go left to dig up a Craftmetal located at the end of the path. Be wary of falling boulders when navigating the shafts. |
| 4 | 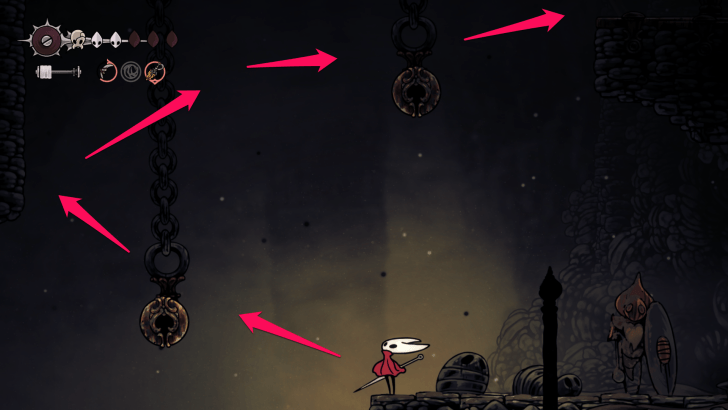 Climb back up to the open area and head to the spot with the statue of a bug warrior. Pogo on the bells to the left of the statue, and wall hop to reach the area in the upper right. |
| 5 | 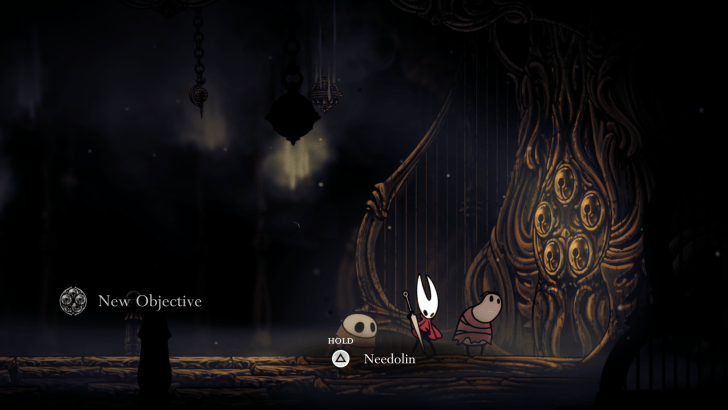 Enter the area to the right and talk to the two Pilgrims. You will learn that the Grand Gate requires you to activate all benches with bells in other areas to play the Needolin. If you haven't unlocked all benches, you'll receive the Grand Gate quest and the missing benches will get marked on your map. Once you activate all the benches with bells, return to the gate and play the Needolin to summon The Last Judge. |
How to Beat Last Judge
| Last Judge Boss Fight Tips |
|---|
|
|
Equip the Magma Bell to Take Less Damage
| Tool | How to Get | Effect |
|---|---|---|
 Magma Bell Magma Bell
|
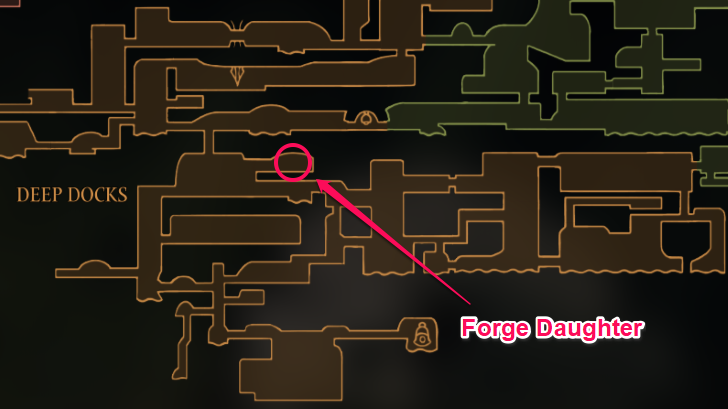 Can be crafted by the Forge Daughter found in the Deep Docks for 110 Rosaries. |
Forged iron bell, crafted to ward against the intense heat of the Deep Docks. Reduces the damage taken from flame and magma. |
The Magma Bell is needed for the second phase of the fight. Once you reach the half-way point of the battle, the Last Judge's attacks will be infused with flames. If you get hit by a flame attack, you will lose 2 masks. However, with the Magma Bell equipped, the damage you take is reduced by 1 mask.
Bring Magnetite Dice to Negate Damage
If you have the Magnetite Dice equipped, there is a chance that you will take zero damage after you get hit by an attack. This effect happens at random, but it can save you during crucial moments.
How to Get Magnetite Dice and Effects
Get the Needle Upgrade in Bellhart
| Map Location | World Location |
|---|---|
 |
 |
Make sure to grab the Needle Upgrade in Bellhart before fighting The Last Judge. The Needle Upgrade can be obtained by talking to Pinmaster Plinney after freeing them from Widow. The sharpened needle will allow Hornet to inflict more damage with less strikes.
Avoid Going Into Corners
As much as possible avoid trapping yourself in a corner. The Last Judge has a lot of AoEs that are difficult to dodge without a lot of maneuvering, so try to stay in the middle of the arena when possible.
Do Not Stand Between the Last Judge and the Bell
When the Last Judge throws it bell, do not stand between the boss and the bell. After a short delay, the boss will retract the bell, and you will get hit if you are standing between.
Hit it After it Does the Flaming Spin
Try to get as close as possible to the Last Judge while it's doing its Flaming Spin attack. After it finishes, the Judge will be stunned for a few seconds, allowing you to get a few hits in.
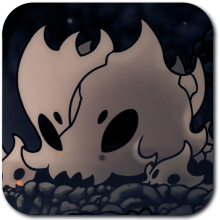
Dash Away Before Last Judge Self-Destructs
As the Last Judge is defeated, it will pull off one final attack—a self-destruct that can take out Hornet if she is standing too near. When you see the Last Judge on its knees, dash away until you are no longer within range of its smoke.
Save Your Silk Cocoon for Emergencies
After dying, you leave behind a silk cocoon that you can hit to reclaim your rosaries and get full Silk in your threadspool. Instead of hitting your Silk Cocoon after arriving at the arena, try to save it until you are in a tight spot where you need a full Silk gauge.
Last Judge Attack Patterns
| Jump to a Section! | |
|---|---|
| Phase 1 | Phase 2 |
Phase 1 Attacks
Jump and Slam
The Last Judge jumps up then slams the bell into the ground, hurting anyone caught underneath it when it lands.
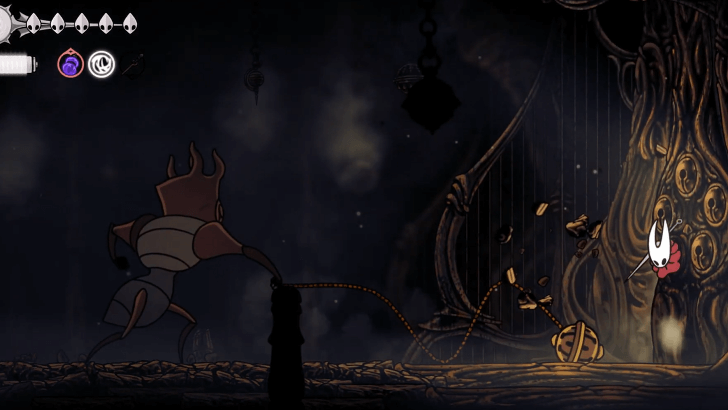
Bell and Chain
The Last Judge throws its bell at Hornet then retracts it shortly after. Do not stand between the Judge and the bell to avoid getting hit.
Chain Spin
The Last Judge spins its bell by the chain for 3 seconds, creating a circular AoE.
Phase 2 Attacks
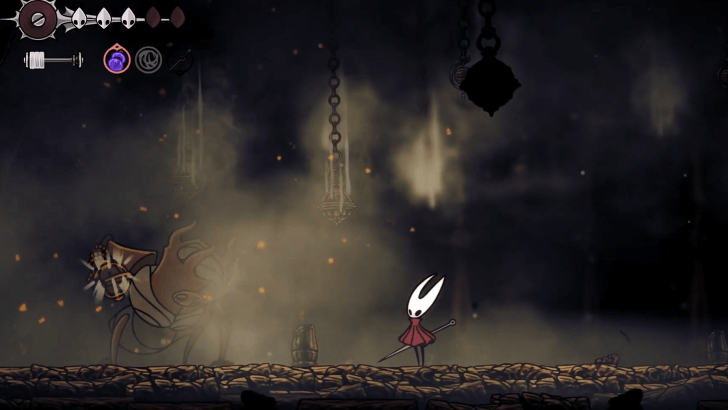
Flaming Jump and Slam
The Last Judge jumps up then slams the bell into the ground, causing flames to erupt across the area in a wide AoE attack.
Flaming Bell and Chain
The Last Judge throws its bell at Hornet. After a slight delay, fire erupts from the bell, burning anyone caught within its AoE. Once the fire runs out, the Last Judge retracts the bell.
Flaming Spin
The Last Judge spins its bell by the chain for 3 seconds, creating arcs of fire that spread outwards.
Flame Dash
The Last Judge dashes from one end of the arena to the other. After a short delay, pillars of fire erupt from the ground.
Self-Destruct
When Last Judge's health reaches zero, it will self-destruct and take down anyone caught in its smoke before finally being defeated.
Hollow Knight: Silksong Related Guides

Act 1 Bosses
| Main Story Bosses | ||
|---|---|---|
 Moss Mother Moss Mother
|
 Bell Beast Bell Beast
|
 Lace Lace
|
 Fourth Chorus Fourth Chorus |
 Moorwing Moorwing |
 Sister Splinter Sister Splinter |
 Widow Widow |
 Last Judge Last Judge |
- |
| Optional Bosses | ||
 Savage Beastfly Savage Beastfly |
 Skull Tyrant Skull Tyrant |
 Great Conchflies Great Conchflies |
 Summoned Saviour Summoned Saviour |
- | - |
| Secret Bosses | ||
 Phantom Phantom |
- | - |
Act 2 Bosses
| Main Story Bosses | ||
|---|---|---|
 Cogwork Dancers Cogwork Dancers |
 Trobbio Trobbio |
 Lace (Act 2) Lace (Act 2) |
 Grand Mother Silk Grand Mother Silk |
- | - |
| Optional Bosses | ||
 Forebrothers Signis and Gron Forebrothers Signis and Gron |
 Raging Conchfly Raging Conchfly |
 Groal the Great Groal the Great |
 Disgraced Chef Lugoli Disgraced Chef Lugoli |
 Broodmother Broodmother |
 Father of the Flame Father of the Flame |
 Voltvyrm Voltvyrm |
- | - |
| Secret Bosses | ||
 First Sinner First Sinner |
 Unravelled Unravelled |
- |
Act 3 Bosses
 Bell Eater
 Skarrsinger Karmelita
 Nyleth
 Seth
Seth Crust King Khann
 Lost Lace
 Watcher at the Edge
 Gurr the Outcast
 Second Sentinel
 Lost Garmond
 Crawfather
 Plasmified Zango
 Tormented Trobbio
 Clover Dancers
 Pinstress
 Palestag
Comment
You can't have all 3 blue tools, reaper crest only has 2 blue slots so u gotta pick which 2 to use
Author

Last Judge Boss Guide
Rankings
- We could not find the message board you were looking for.
Gaming News

![Monster Hunter Stories 3 Review [First Impressions] | Simply Rejuvenating](https://img.game8.co/4438641/2a31b7702bd70e78ec8efd24661dacda.jpeg/show)
![The Liar Princess and the Blind Prince Review [PC] | Lovely to Look at but Tedious to Play](https://img.game8.co/4442586/8d95f5faf05780f1765ce7e0938bd825.jpeg/thumb)
![Marathon Cryo Archive Map Teased as [REDACTED] on Selection Screen](https://img.game8.co/4442236/6357203e58172f6de57f1991e7c39b22.png/thumb)

Popular Games

Genshin Impact Walkthrough & Guides Wiki
Umamusume: Pretty Derby Walkthrough & Guides Wiki
Pokemon Pokopia Walkthrough & Guides Wiki
Honkai: Star Rail Walkthrough & Guides Wiki
Monster Hunter Stories 3: Twisted Reflection Walkthrough & Guides Wiki
Arknights: Endfield Walkthrough & Guides Wiki
Wuthering Waves Walkthrough & Guides Wiki
Zenless Zone Zero Walkthrough & Guides Wiki
Pokemon TCG Pocket (PTCGP) Strategies & Guides Wiki
Monster Hunter Wilds Walkthrough & Guides Wiki


Recommended Games
Diablo 4: Vessel of Hatred Walkthrough & Guides Wiki
Cyberpunk 2077: Ultimate Edition Walkthrough & Guides Wiki
Fire Emblem Heroes (FEH) Walkthrough & Guides Wiki
Yu-Gi-Oh! Master Duel Walkthrough & Guides Wiki
Super Smash Bros. Ultimate Walkthrough & Guides Wiki
Pokemon Brilliant Diamond and Shining Pearl (BDSP) Walkthrough & Guides Wiki
Elden Ring Shadow of the Erdtree Walkthrough & Guides Wiki
Monster Hunter World Walkthrough & Guides Wiki
The Legend of Zelda: Tears of the Kingdom Walkthrough & Guides Wiki
Persona 3 Reload Walkthrough & Guides Wiki


All rights reserved
© 2025 Team Cherry
The copyrights of videos of games used in our content and other intellectual property rights belong to the provider of the game.
The contents we provide on this site were created personally by members of the Game8 editorial department.
We refuse the right to reuse or repost content taken without our permission such as data or images to other sites.
The dice is an yellow tool